The Conversation (0)
Sign Up
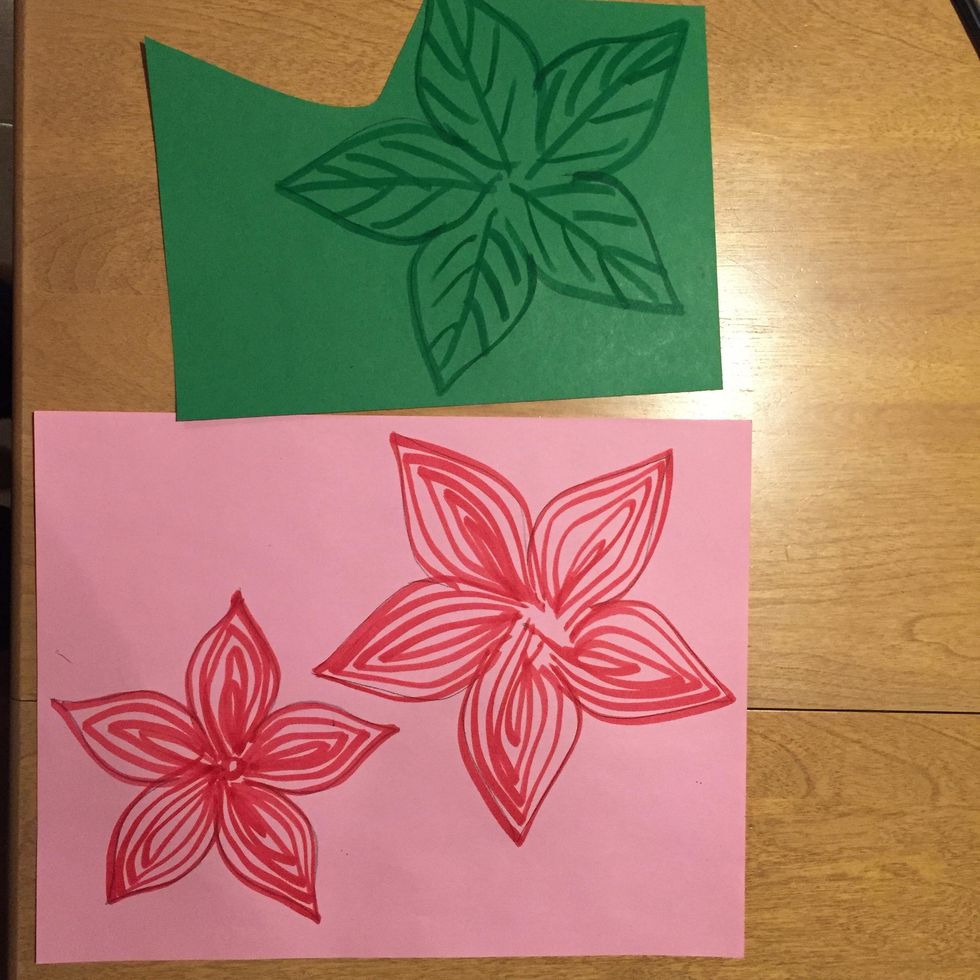
Pick 1 green sheet and 1 pink (or white) sheet. Use multiple markers to create your design on your petals and leaves. Small and large petals do NOT have to match in color or pattern! BE CREATIVE!

Carefully cut out all 3 pieces.
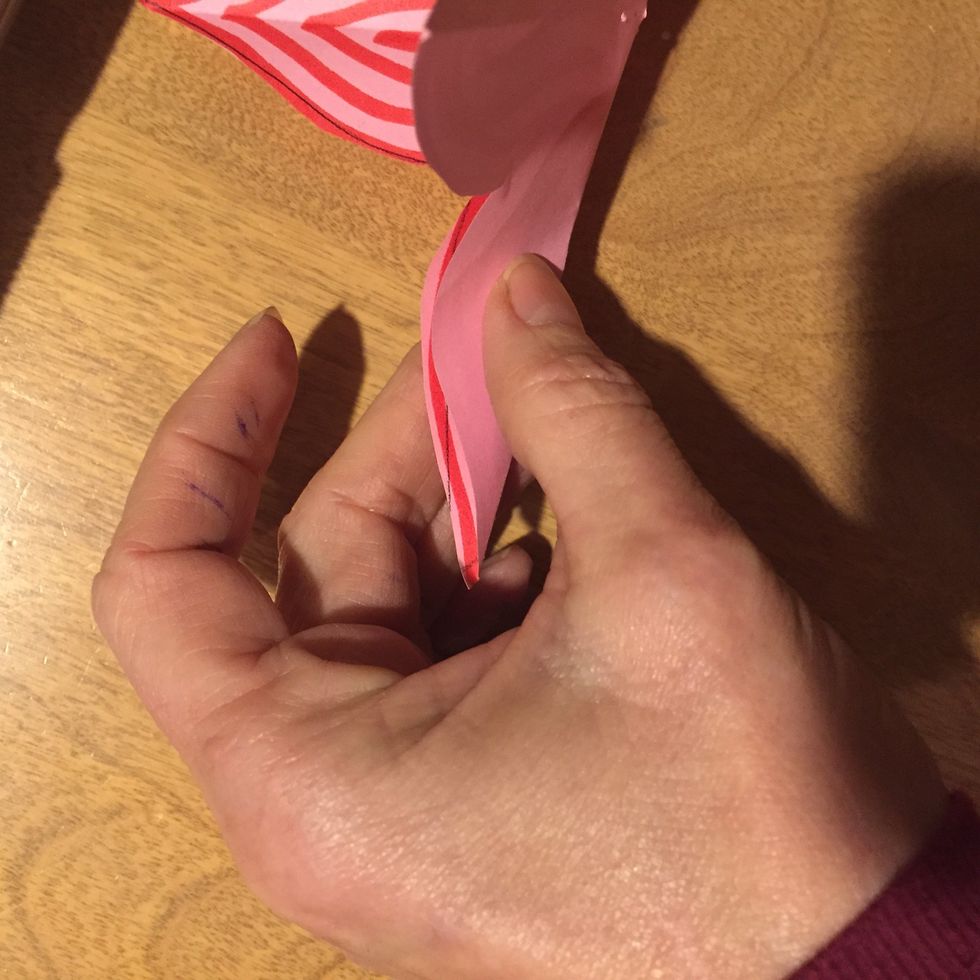
Carefully fold each petal so the edges line up. Crease the fold. There are 10 petals to fold and crease!
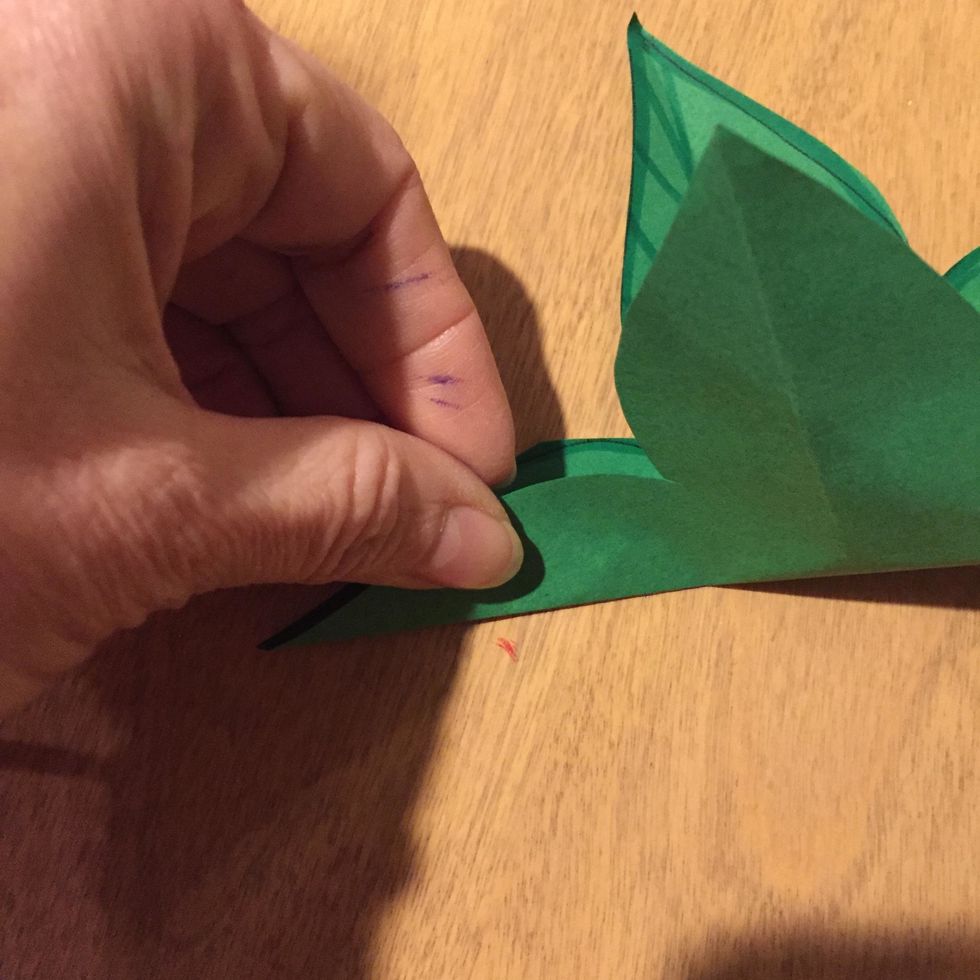
Fold and crease the 5 leaves.
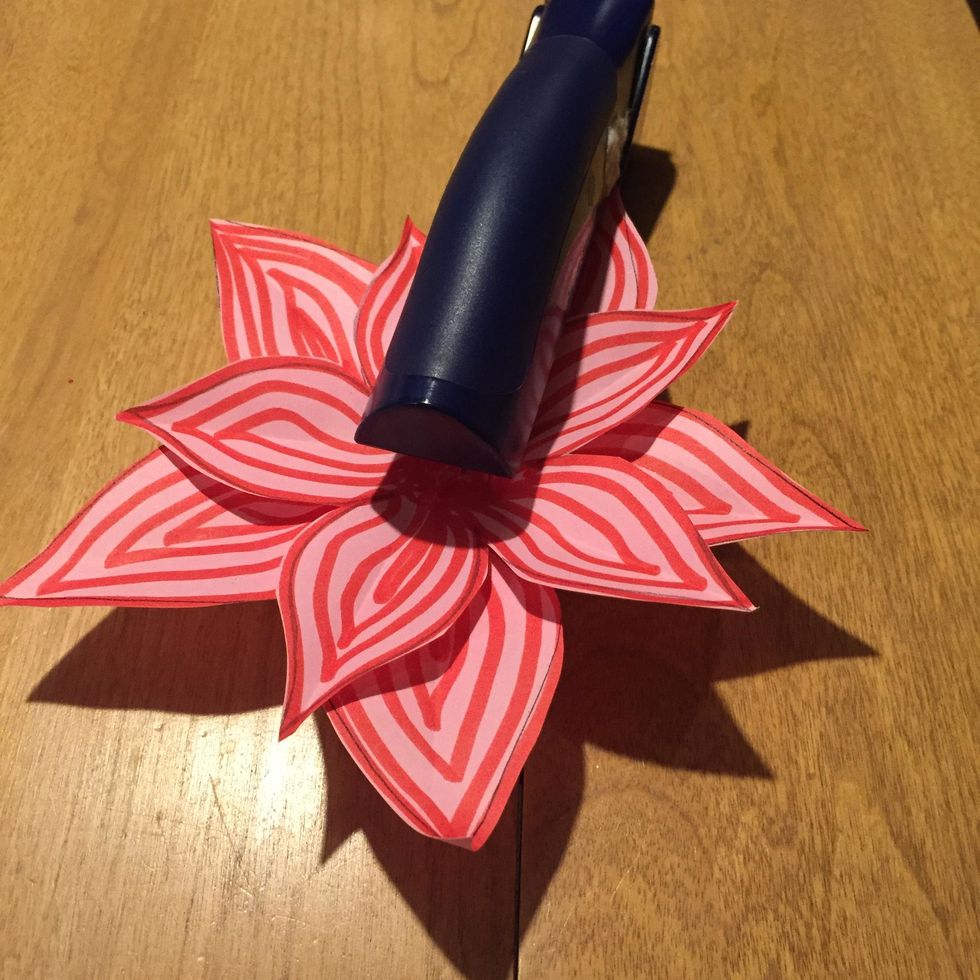
Line up your petals so they are "alternating" and take up space! STAPLE once.
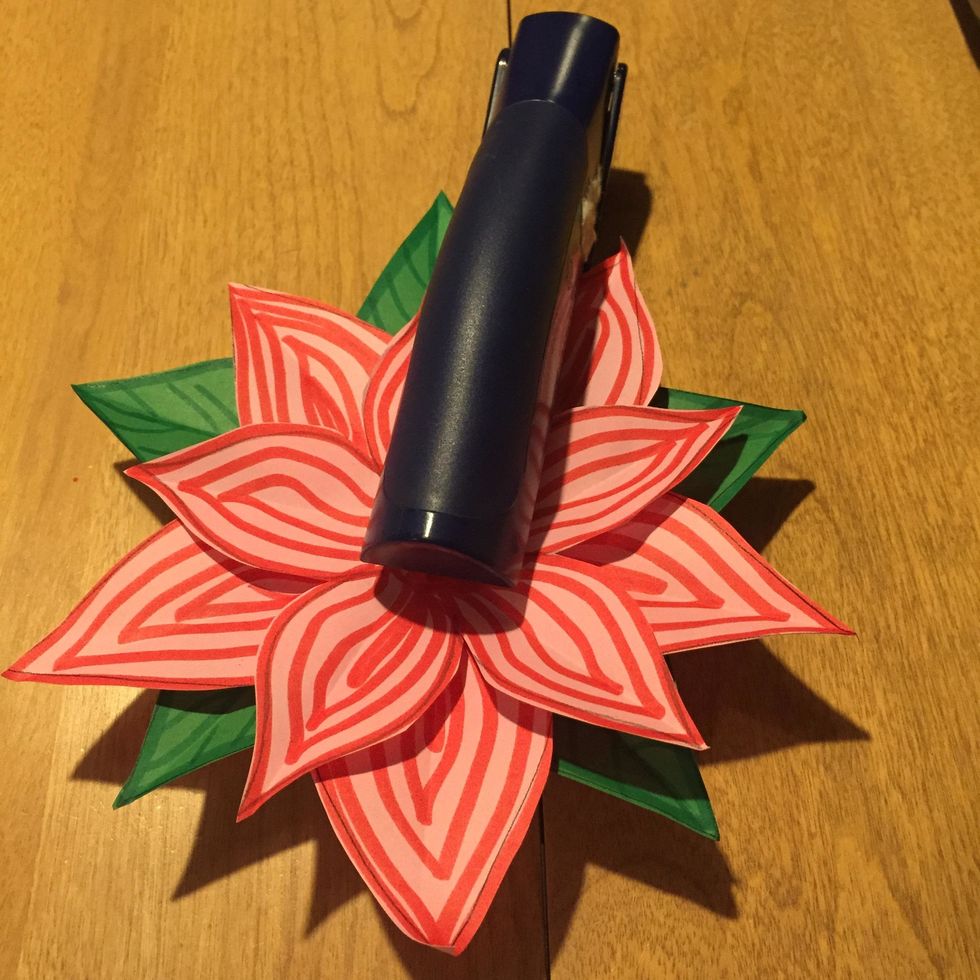
Place your leaves under your flower so you can see your leaves. STAPLE AGAIN!
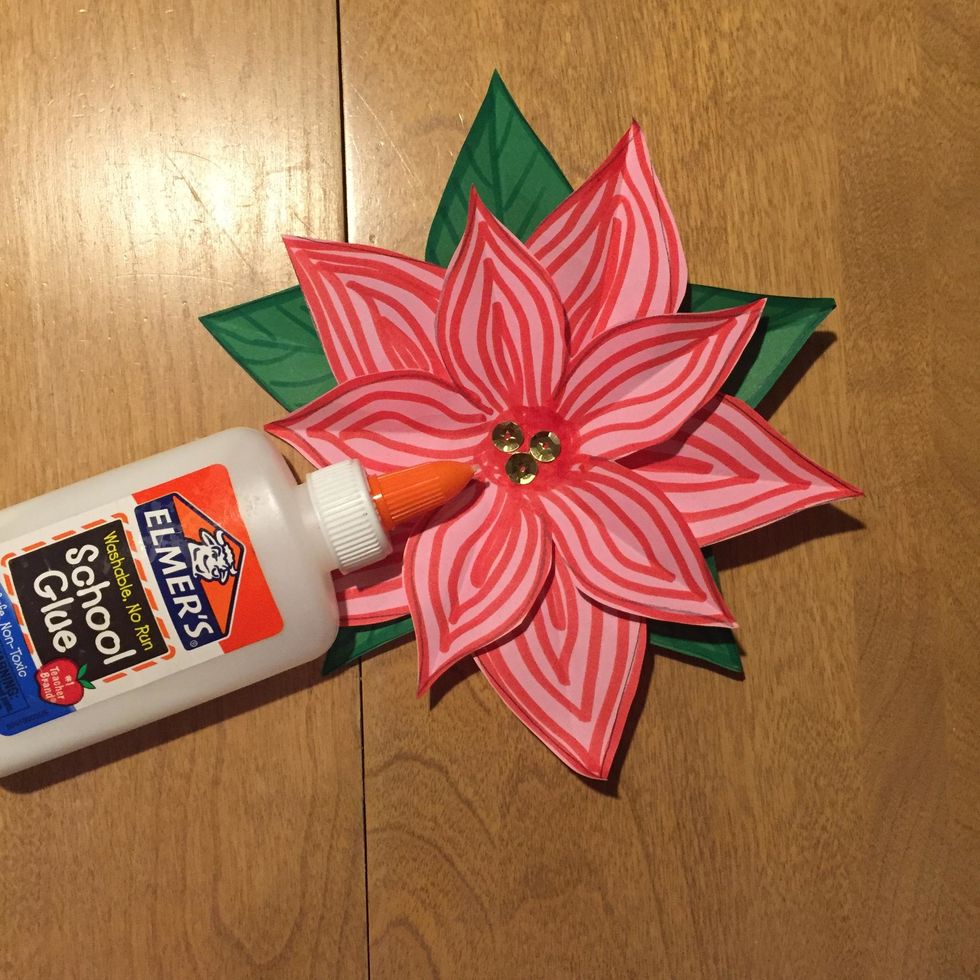
Get 3 sequins from the bowl and glue them over your staples. (Optional) You're done!