The Conversation (0)
Sign Up

I recommend wearing some gloves during this project to keep from slicing yourself. Also, adult supervision is required! Begin by cutting top off of desired can.
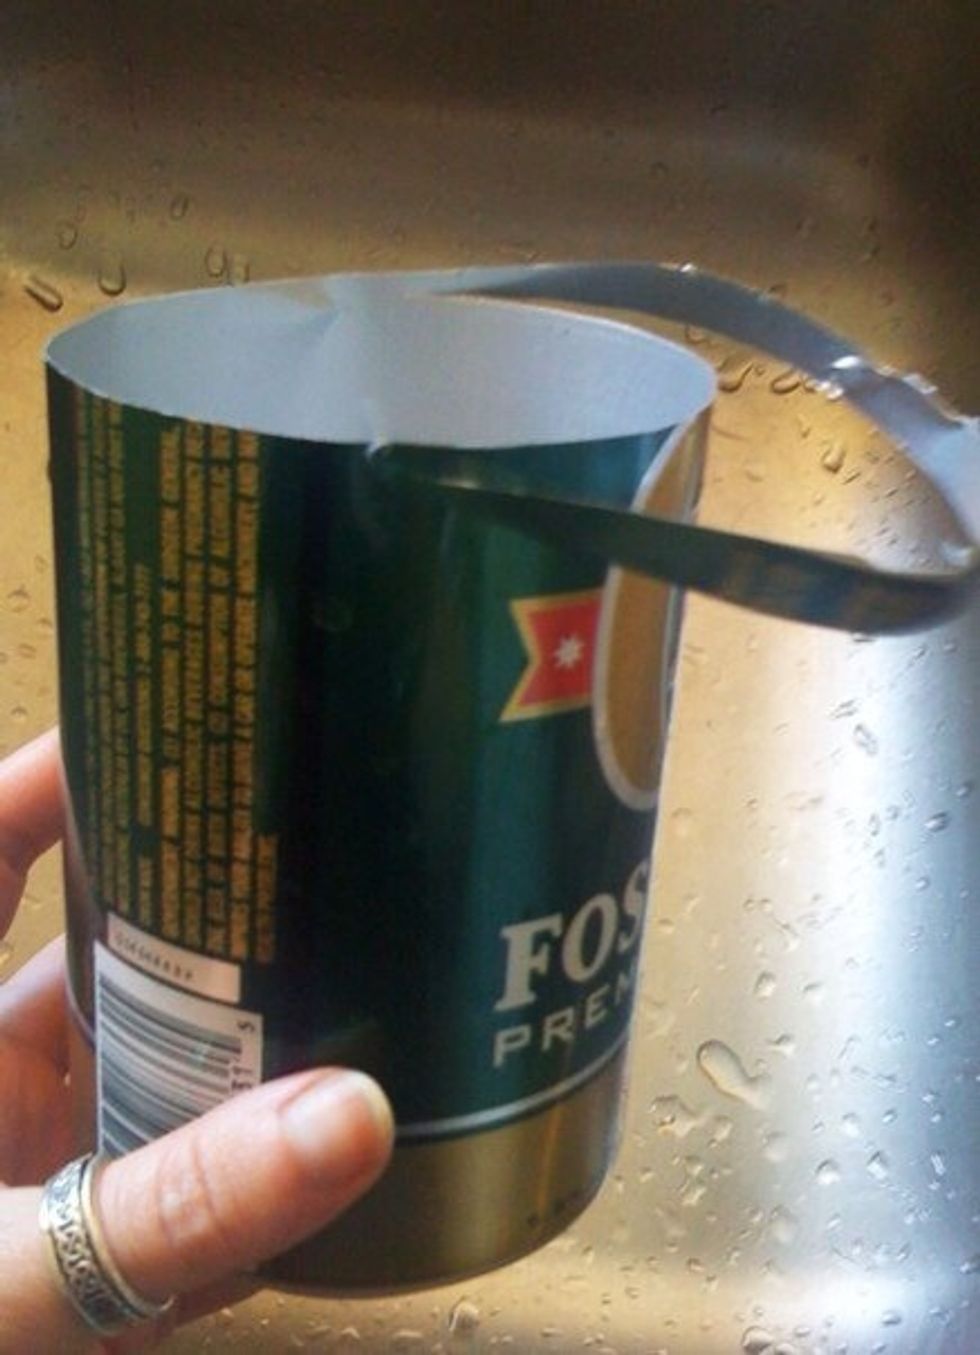
Take some scissors to trim it nicer.
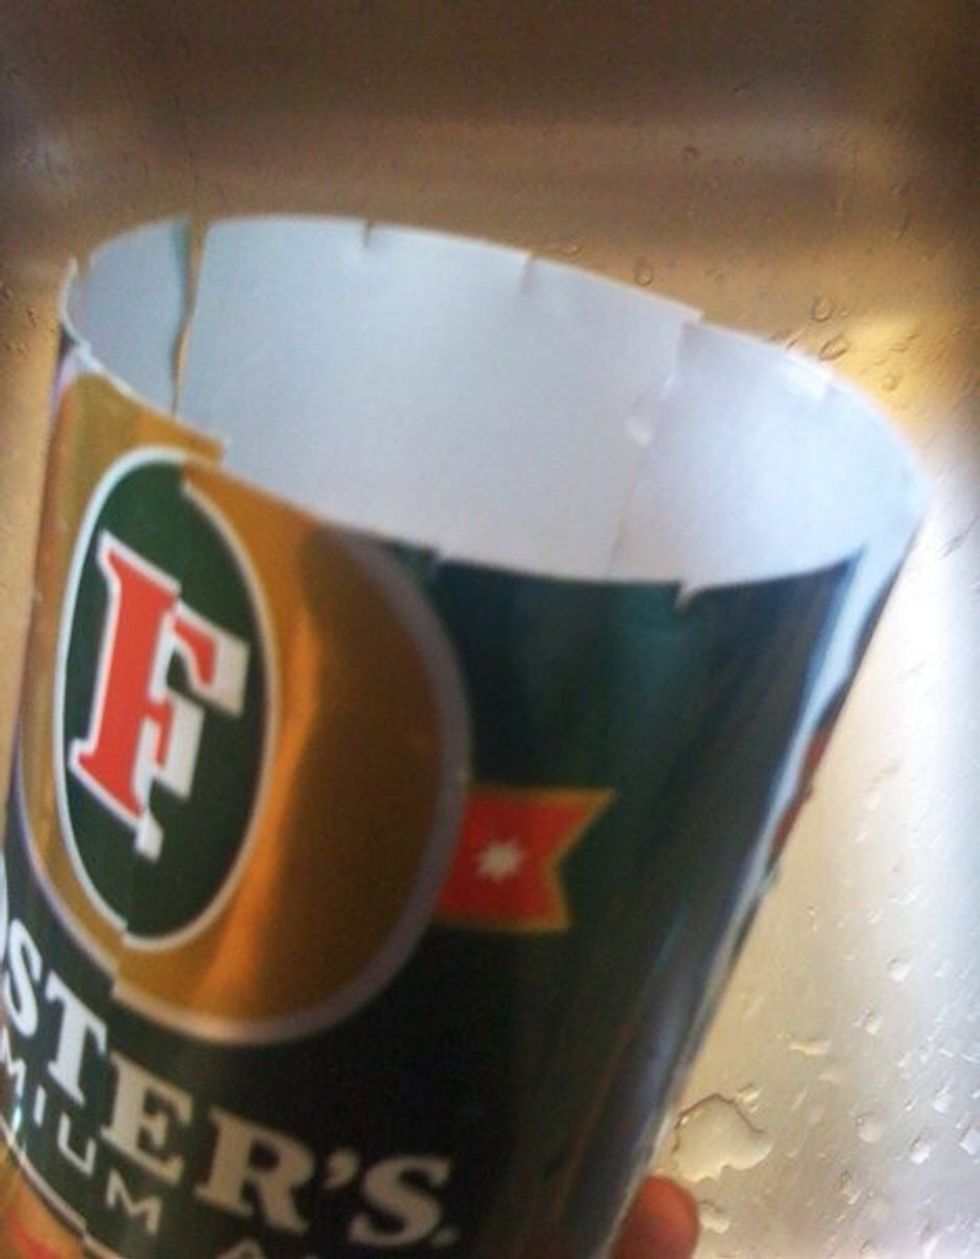
Make 12 evenly spaced slices down can. I use scissors. It helps to start w/ 4 in cross shape & then put 2 in between each (think clock). How far down to bottom u slice determines height of container.
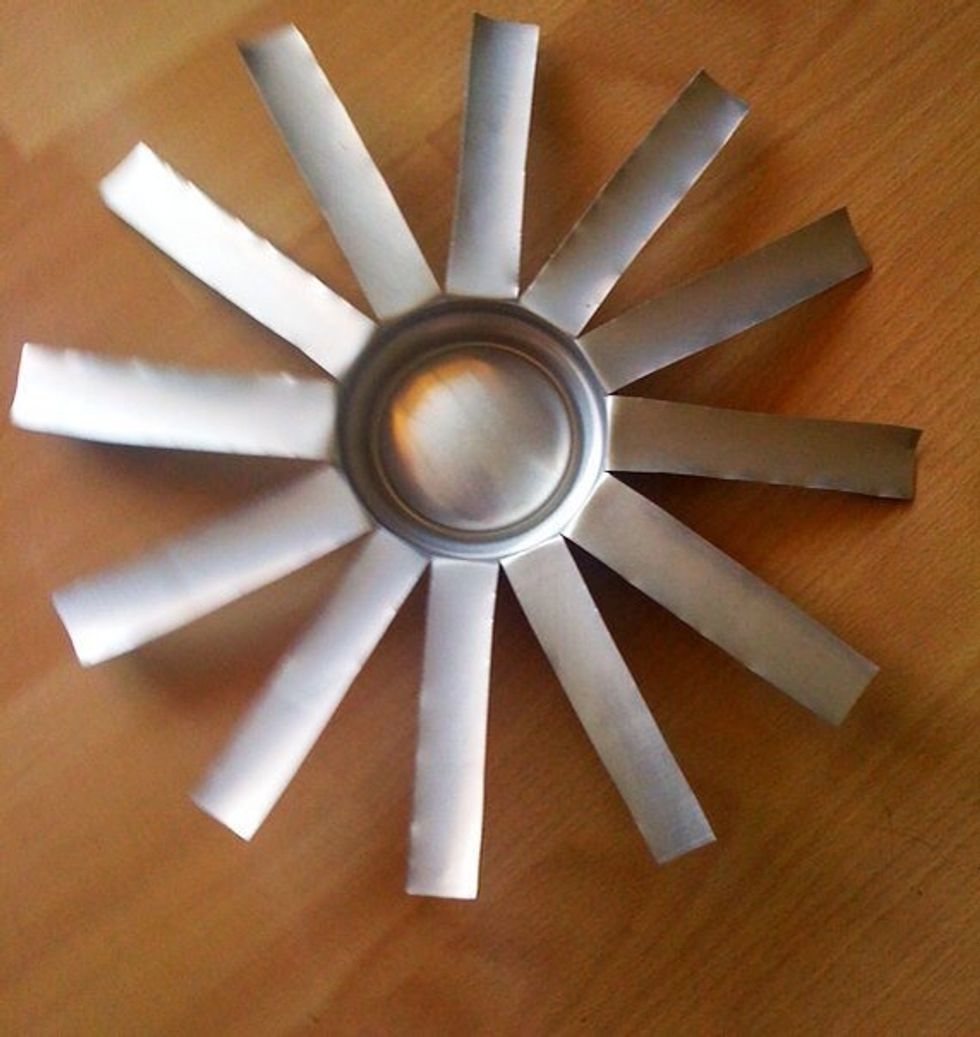
Now pull each strip down so they're sticking out like this.

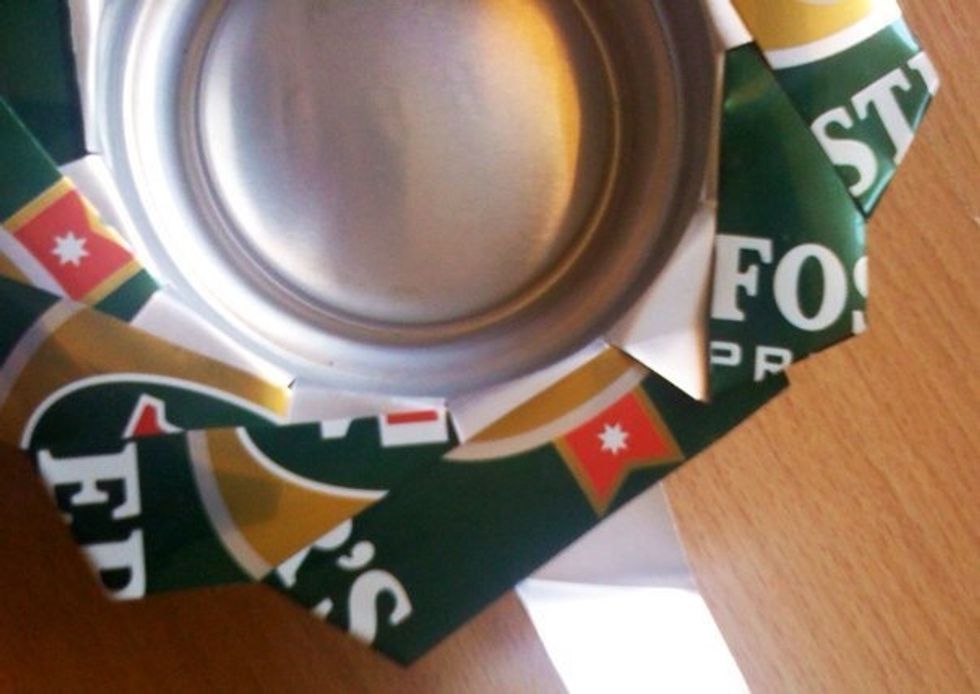
Time to weave! Fold first strip over the one by it & under the next one as shown.
Keep going all the way around...careful not to slice yourself or rip the strips.
The last one is tricky & u really have tone extra careful not cut yourself or rip the strip. This one you'll have to push n wriggle into the by it & under the next. See next picture...
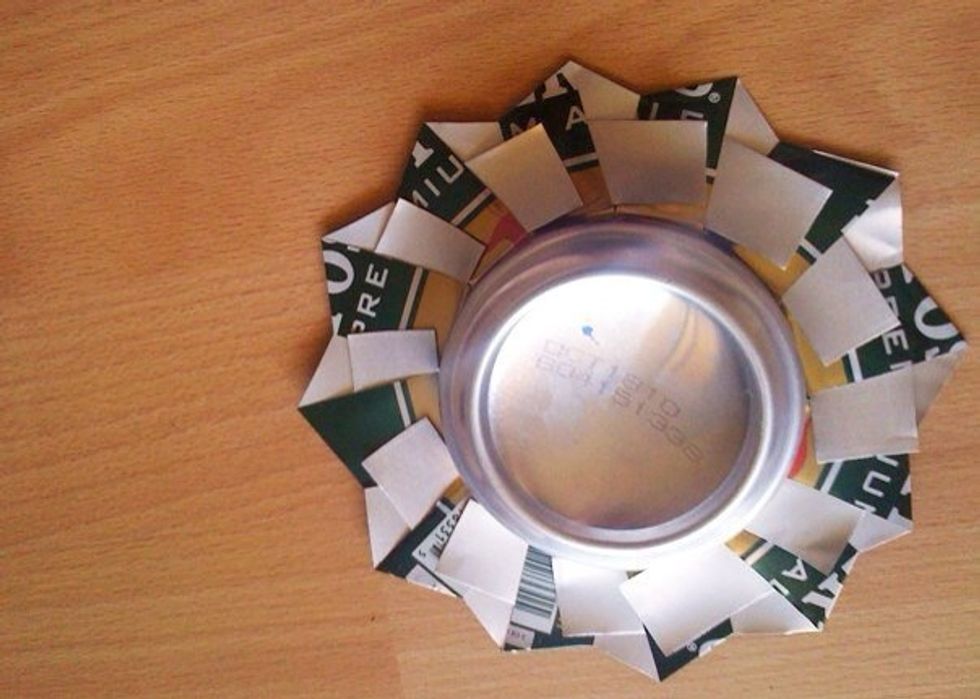
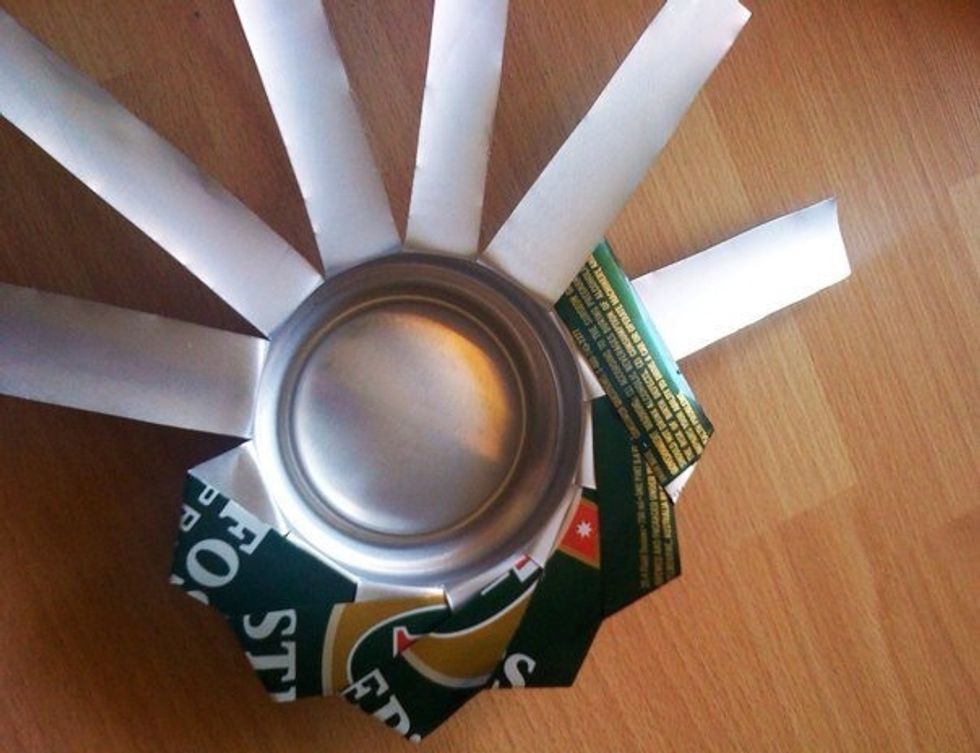
Here's what it looks like on the bottom to give you an idea of how last strip needs some wiggle room to get in there. I suppose you could even give it a trim to make it more narrow.
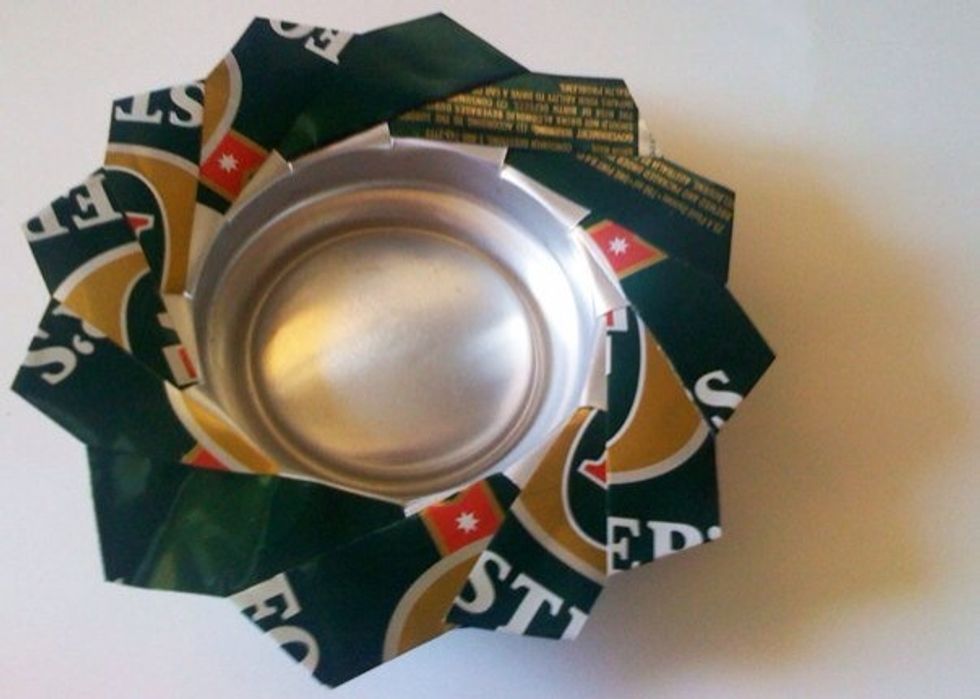
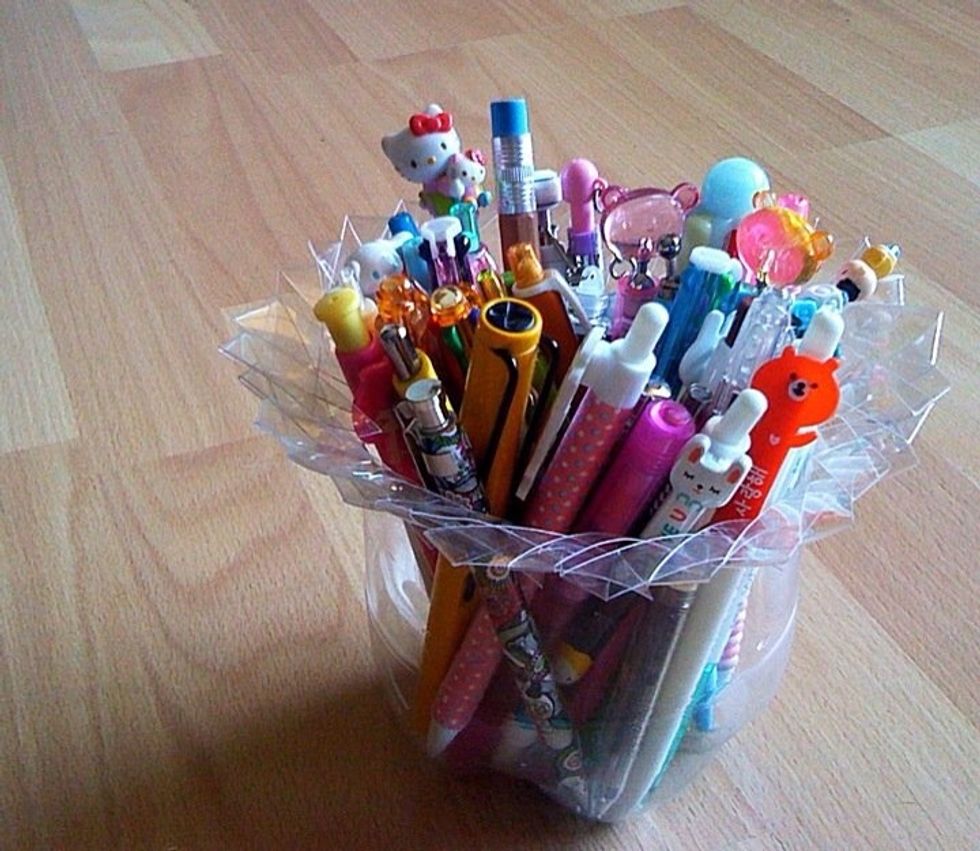
And the top. All done!
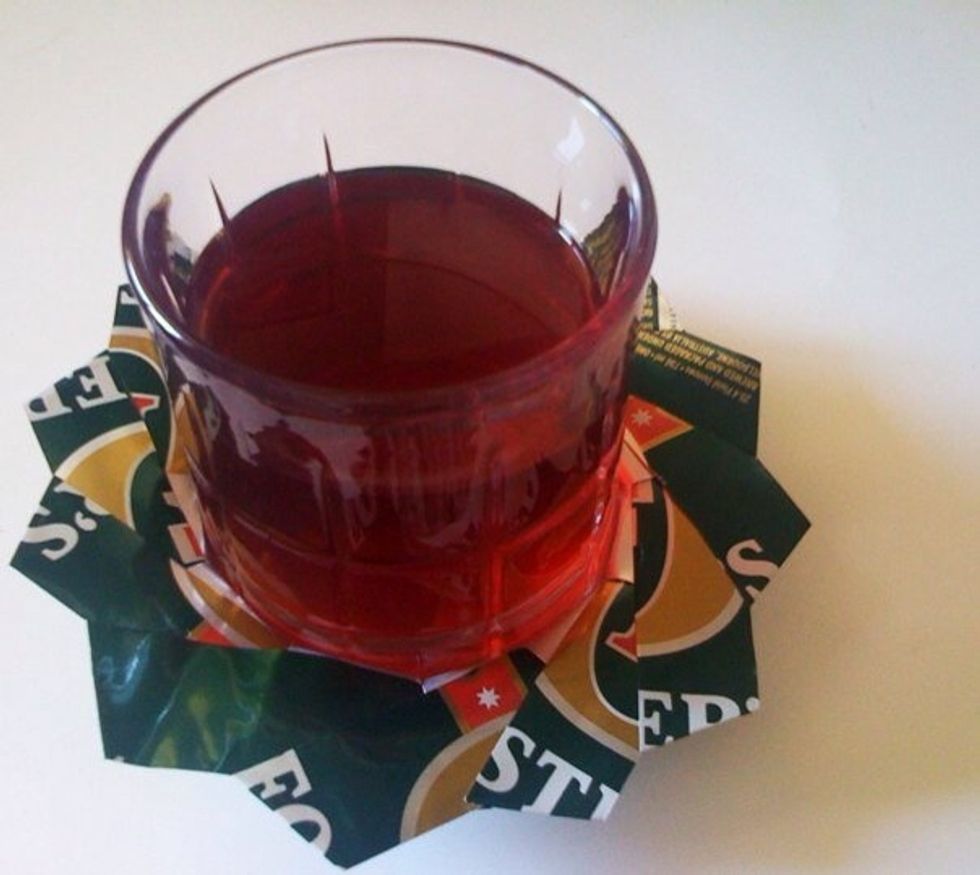
After all that you deserve a drink!
You can use plastic bottles...notice in this one I cut the strips only about half way down the bottle.
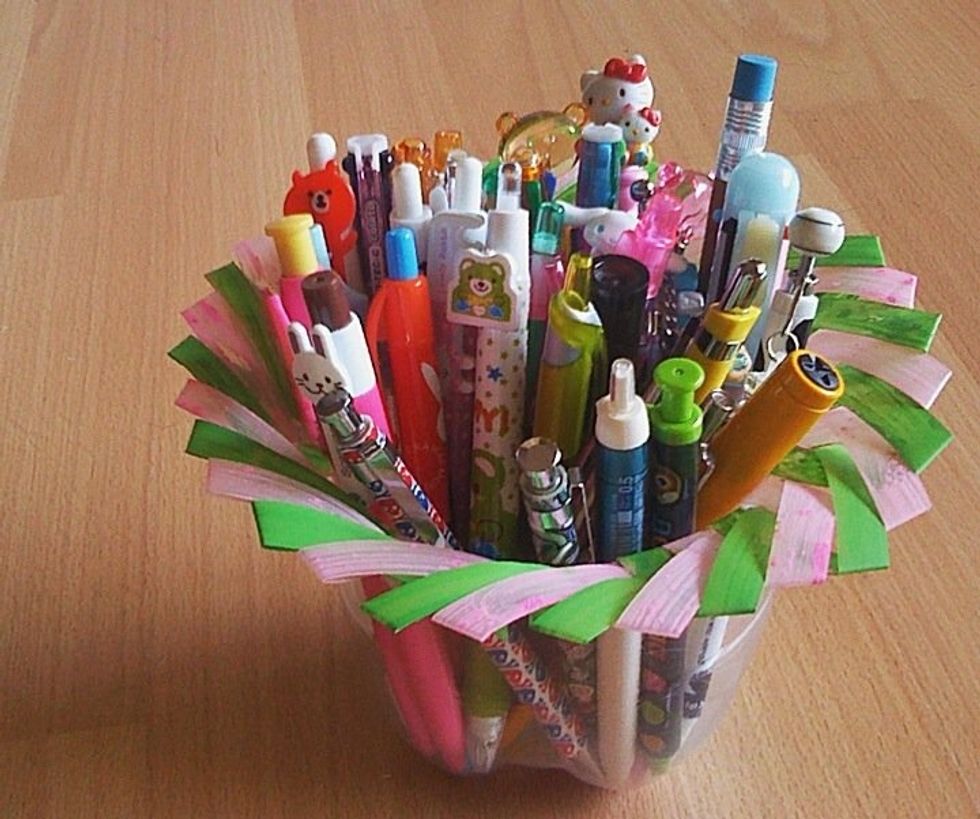
You could even paint the strips. What kind of bottle or can will you use & what will you do with yours? So many options!
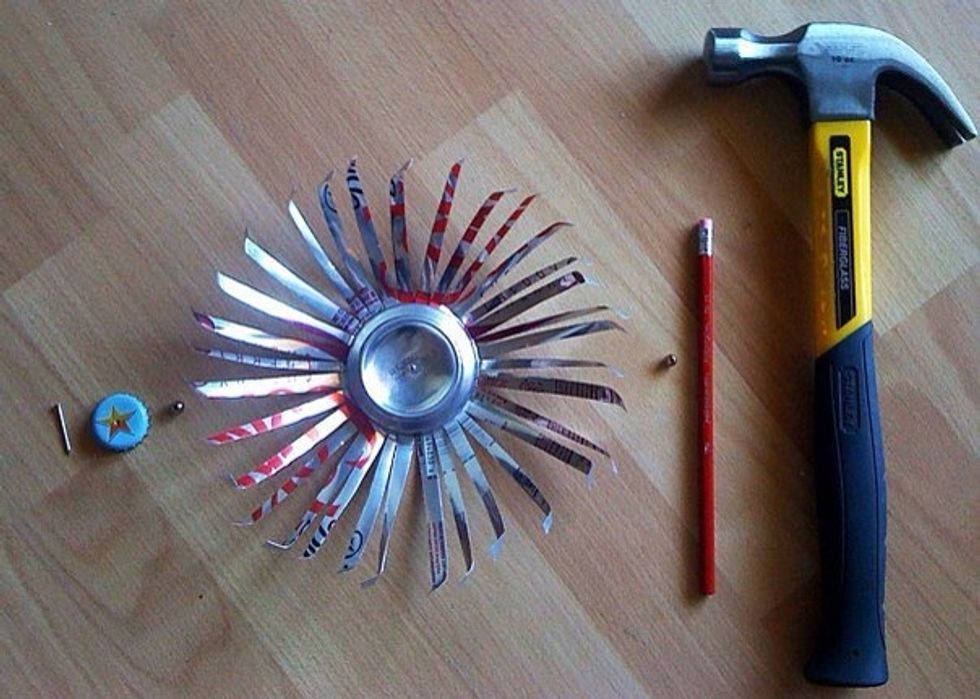
BONUS PROJECT!...nail + metal beer lid or plastic bottle lid + bead or nut + sliced up can + bead or nut + stick or dowel rod or ruler or ? + hammer = recycled pinwheel flower for your yard or patio.
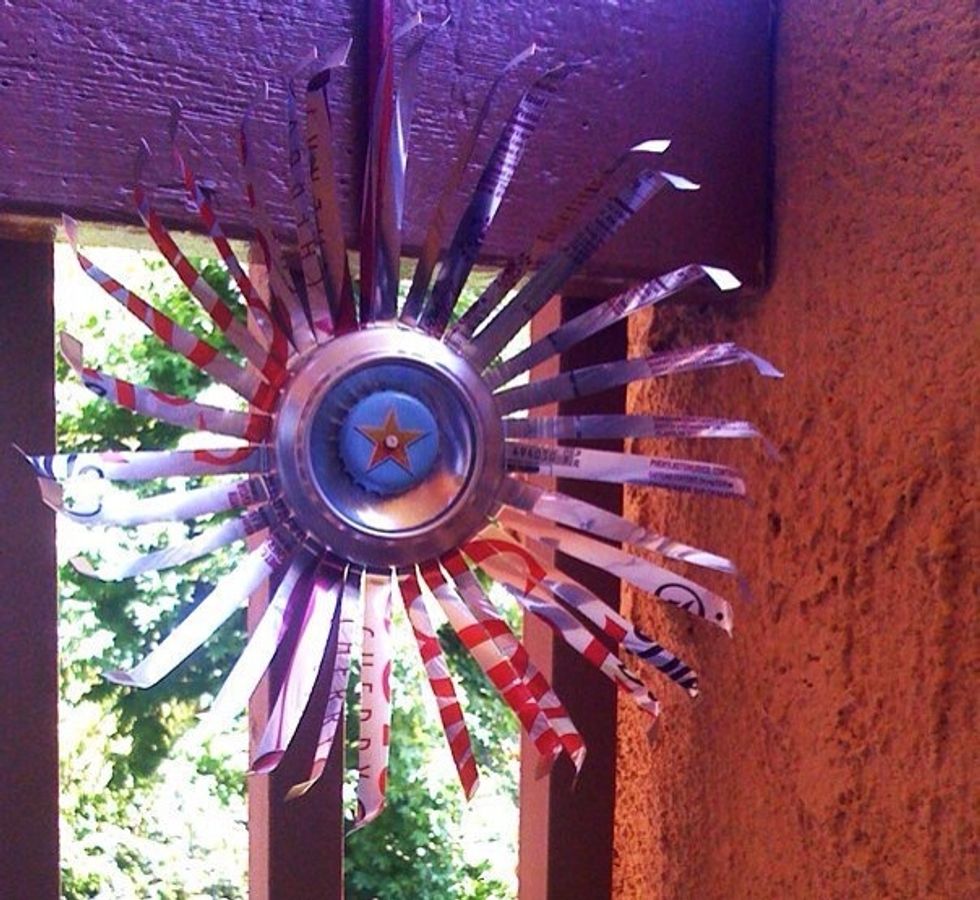
Ta-da! Notice that you should bend the ends so the wind has something to catch & make spin.

Pretty.