The Conversation (0)
Sign Up
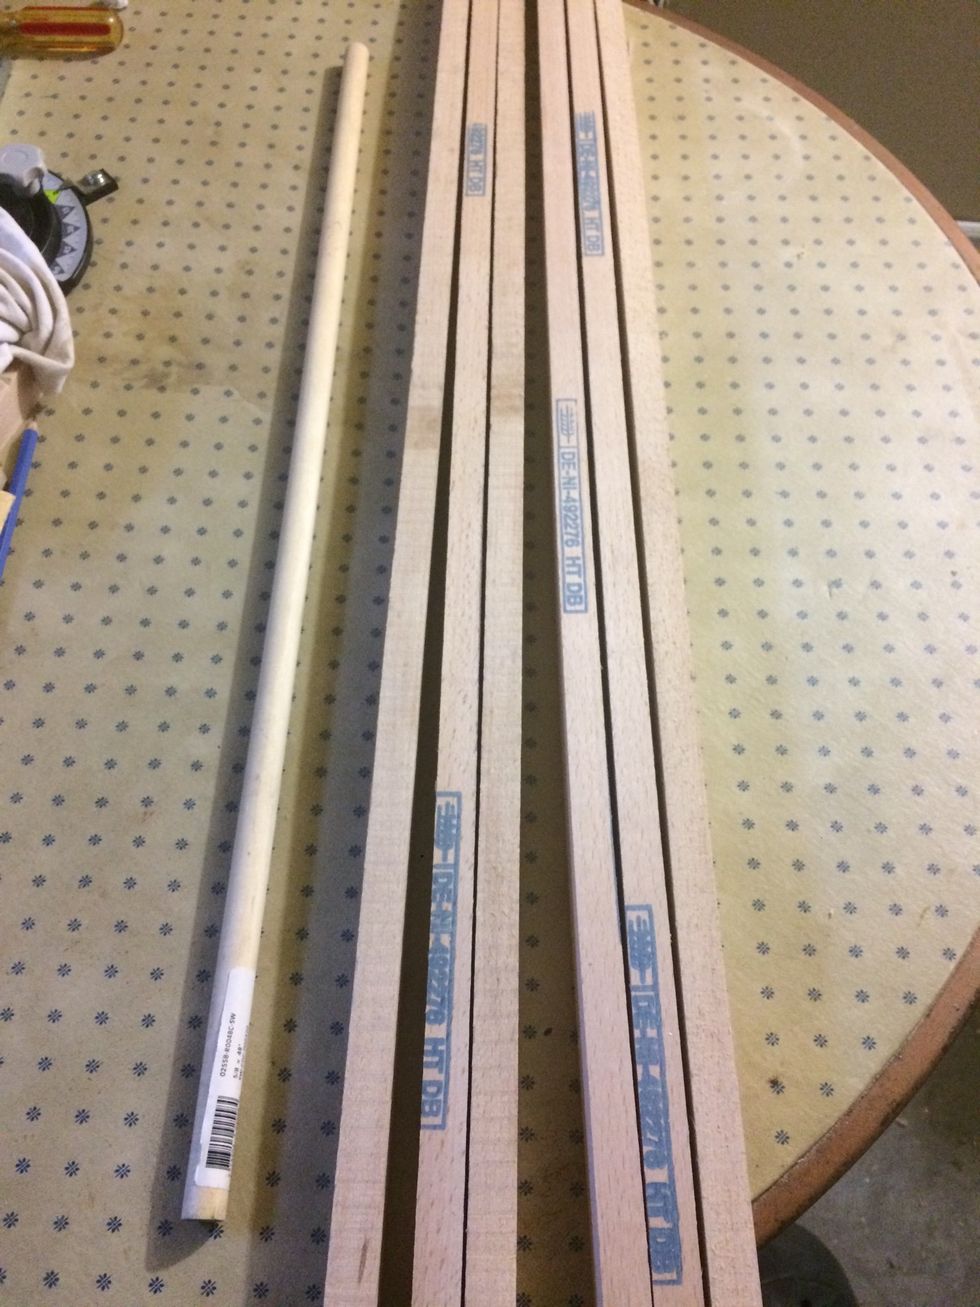
This is the wood that I am using. I get these from Miele dishwashers, part of the shipping package. The dowel on the left I had lying around.

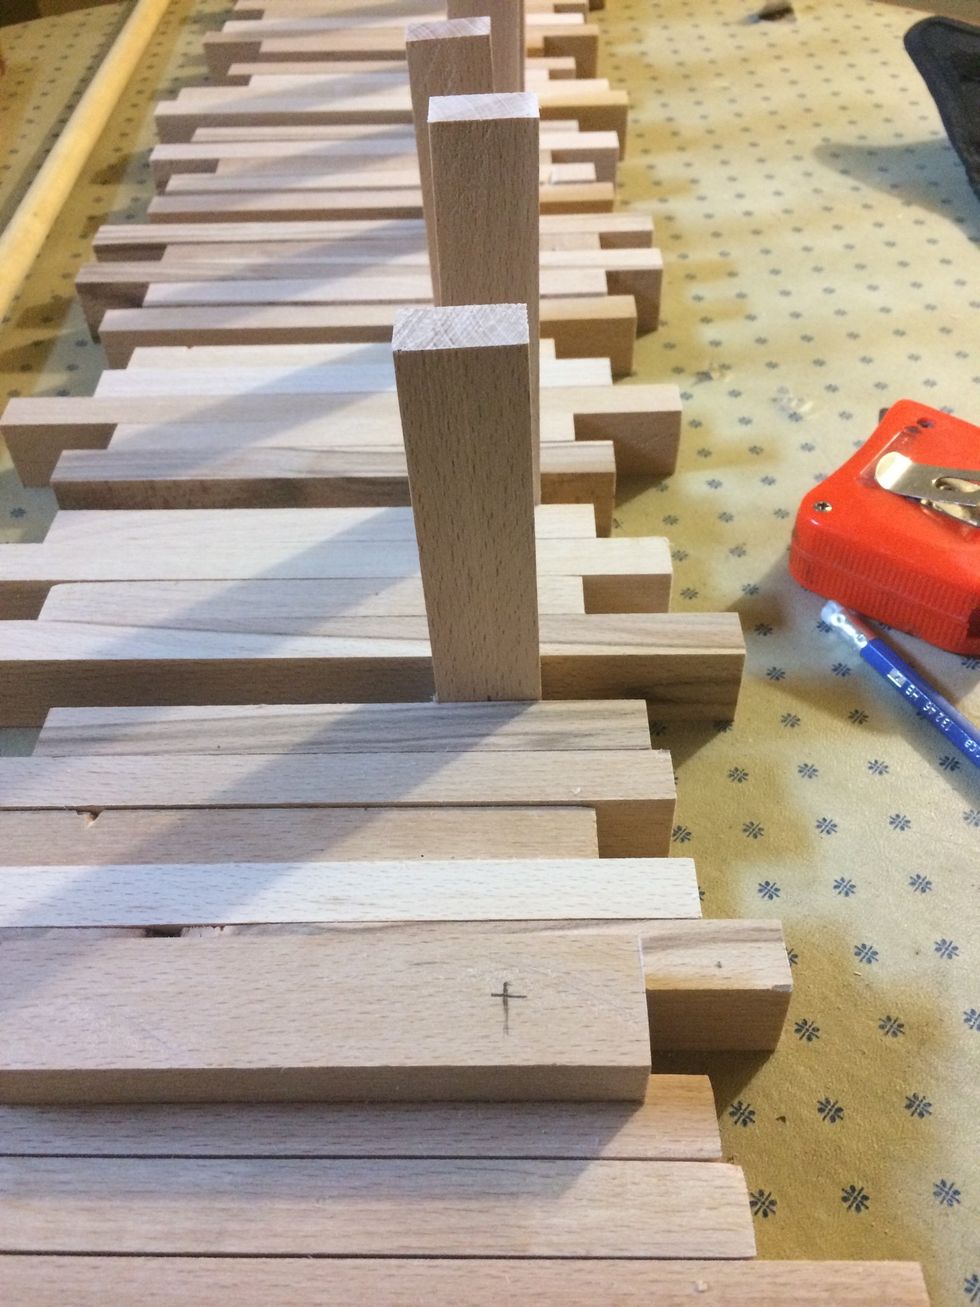
I started cutting the wood at different lengths. Started at 5" up to 9" at 1/2" increments.
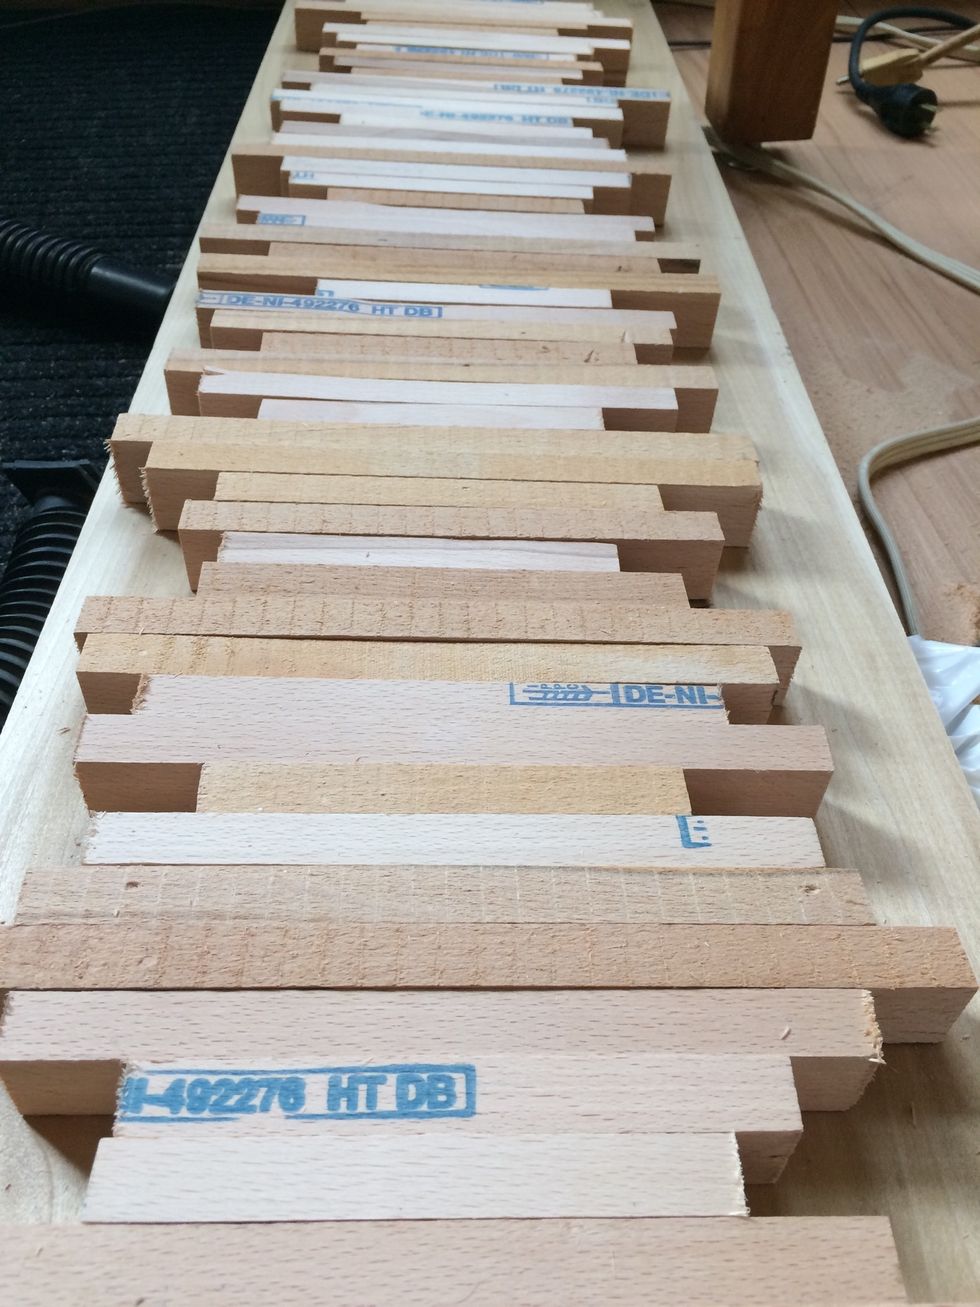
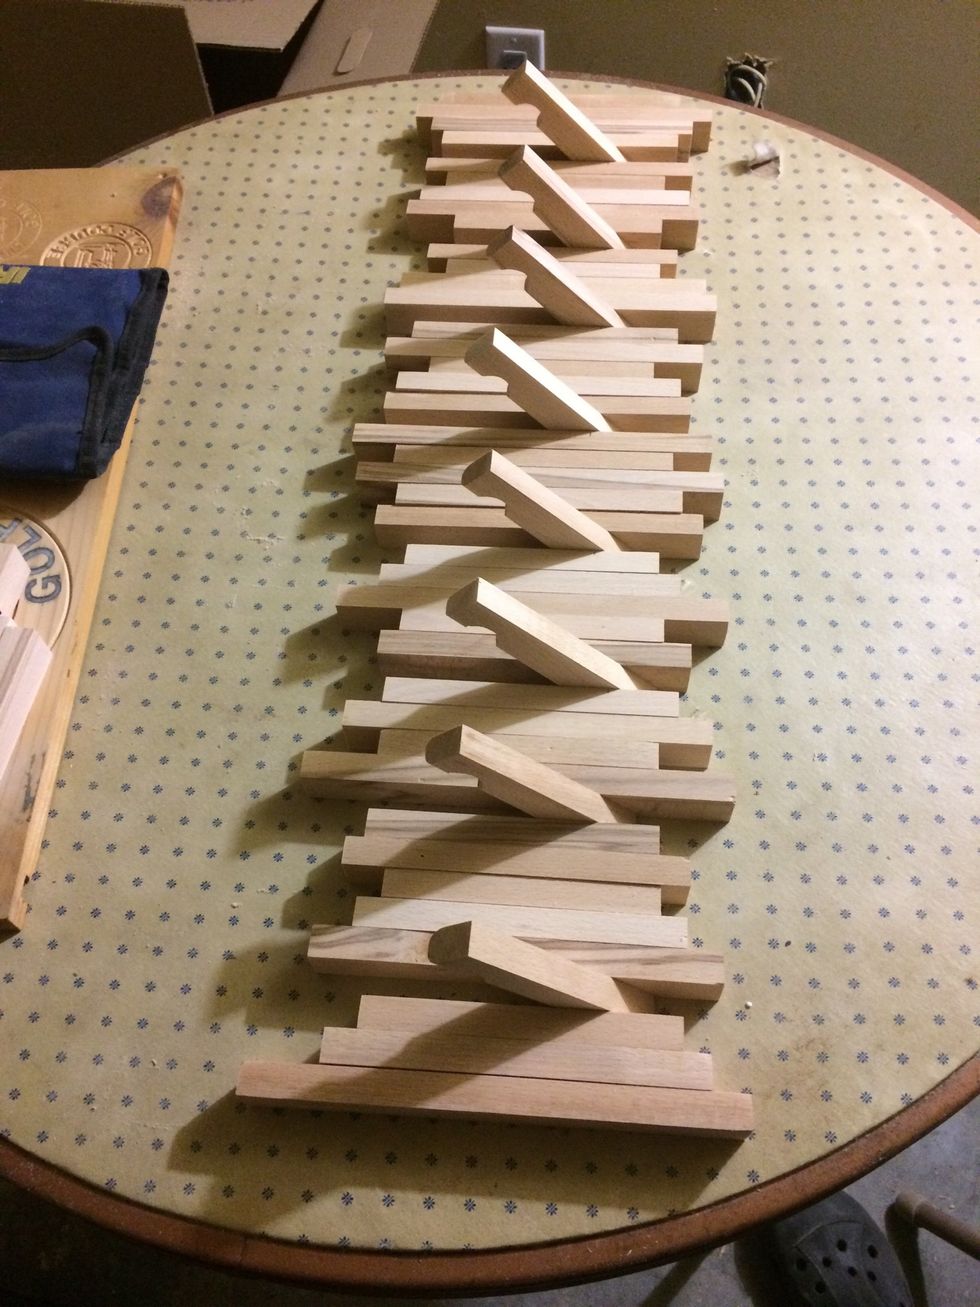
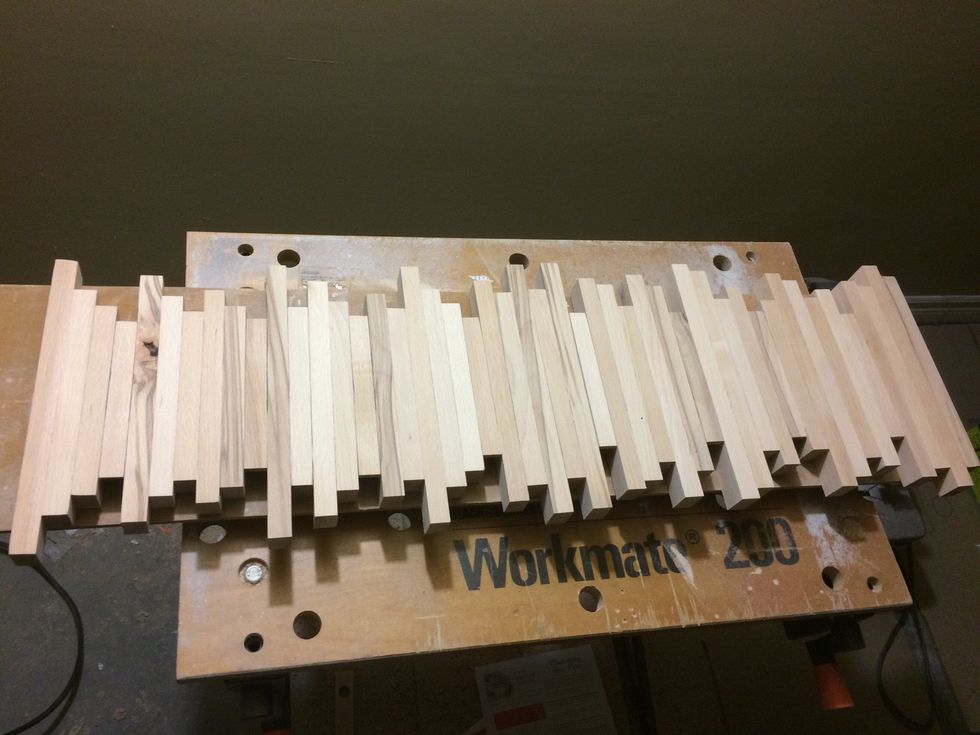
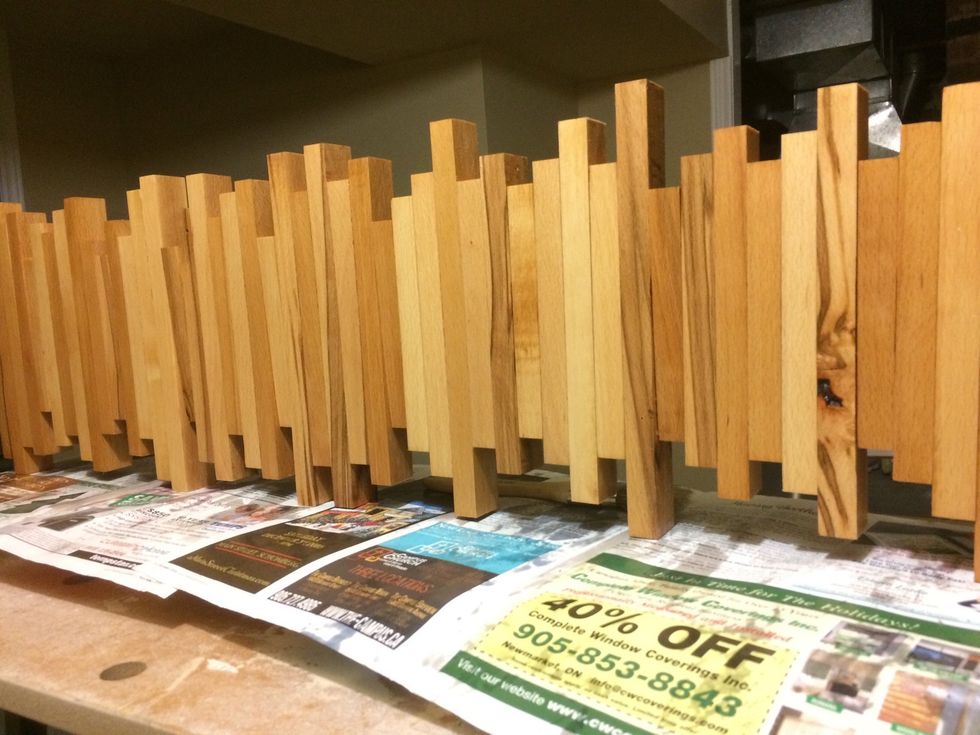
I put the cut pieces in a pattern that I was happy with. I made this about 30" in length so it can fit where I want it.
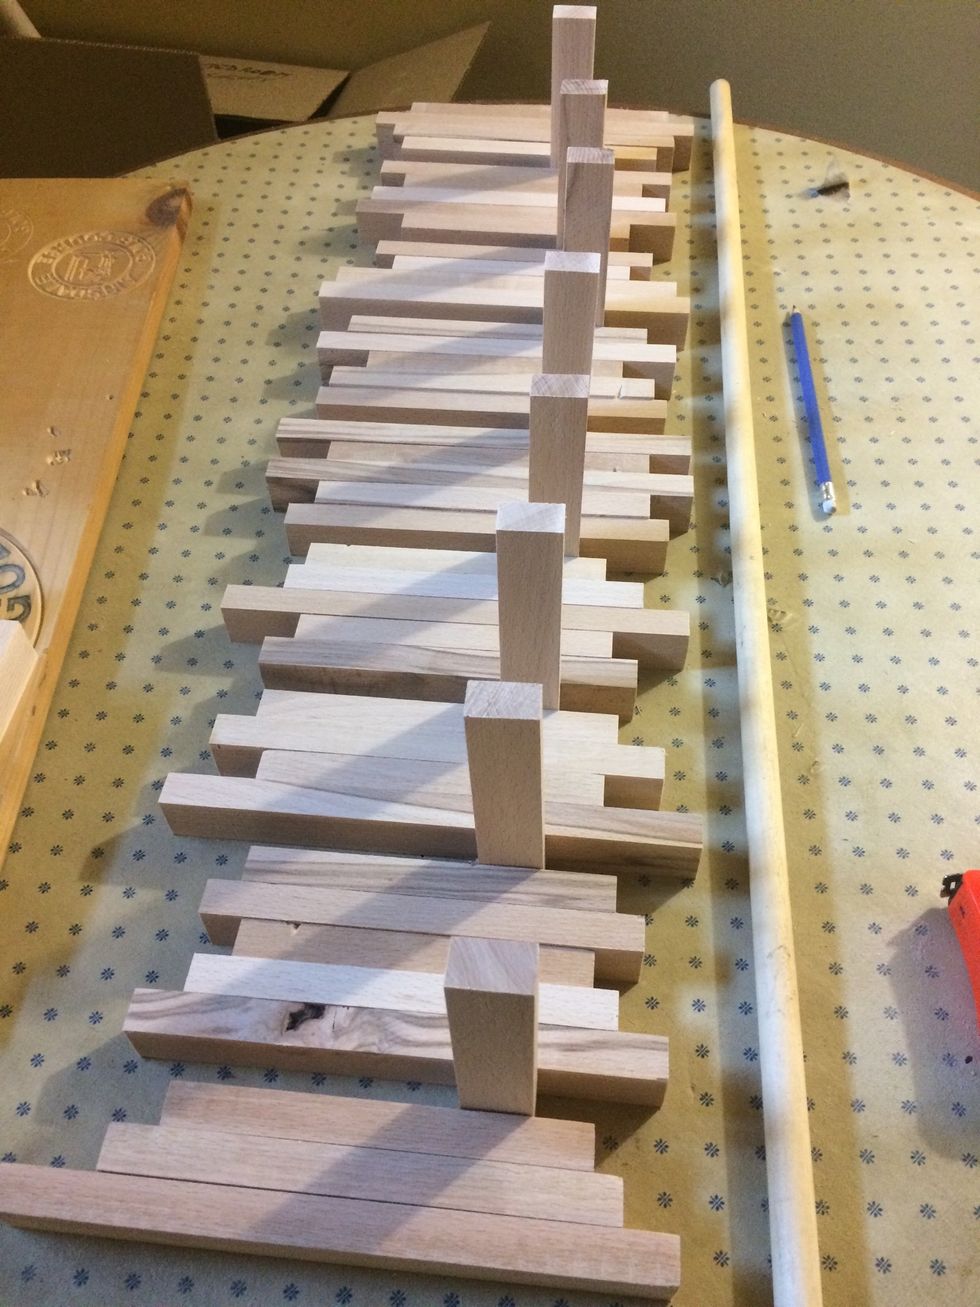
Once I was happy with the look I decided that the smallest sticks would be the hooks.
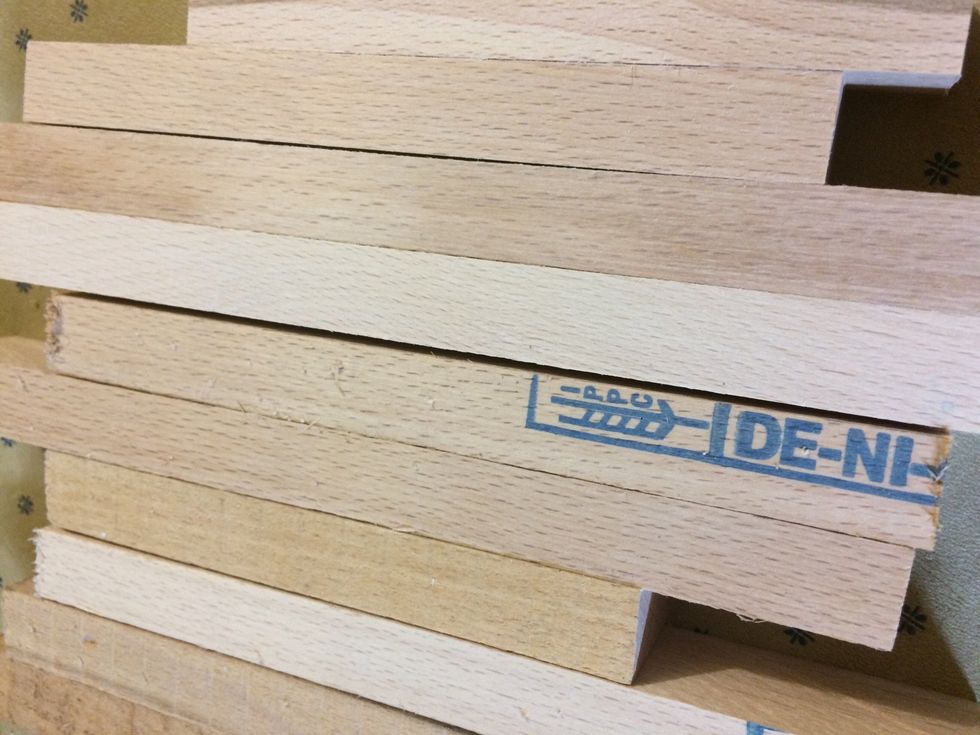
Now to start sanding to take the label off. In this pic the top half are already sanded.
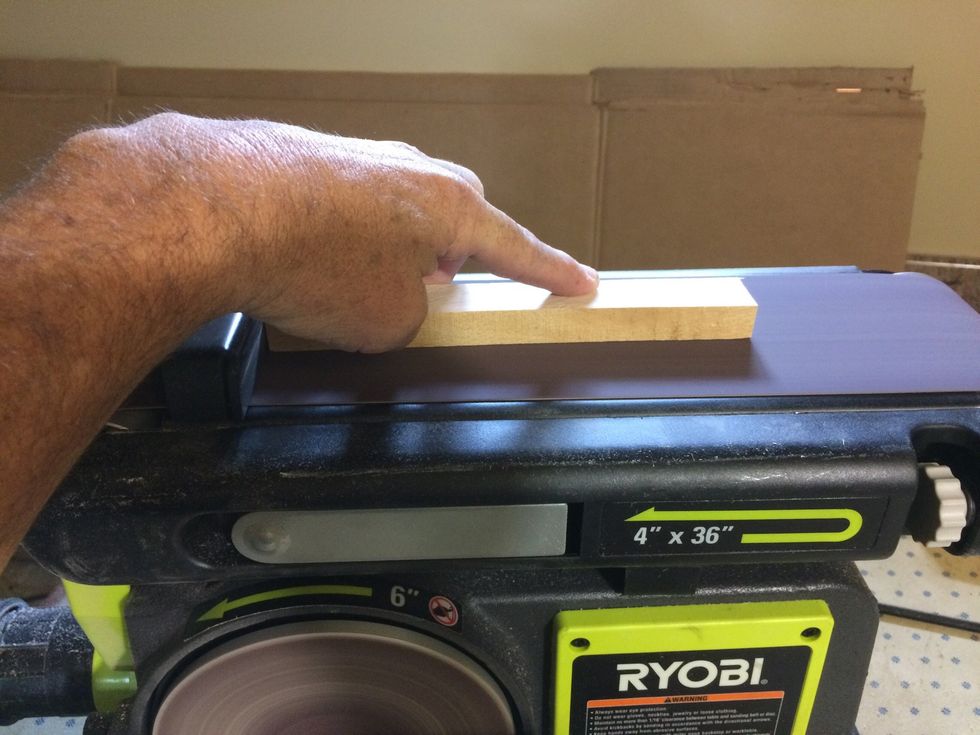
I had a belt sander to make sanding easier. Now if you had rough wood and that's the look you like then no sanding is necessary.
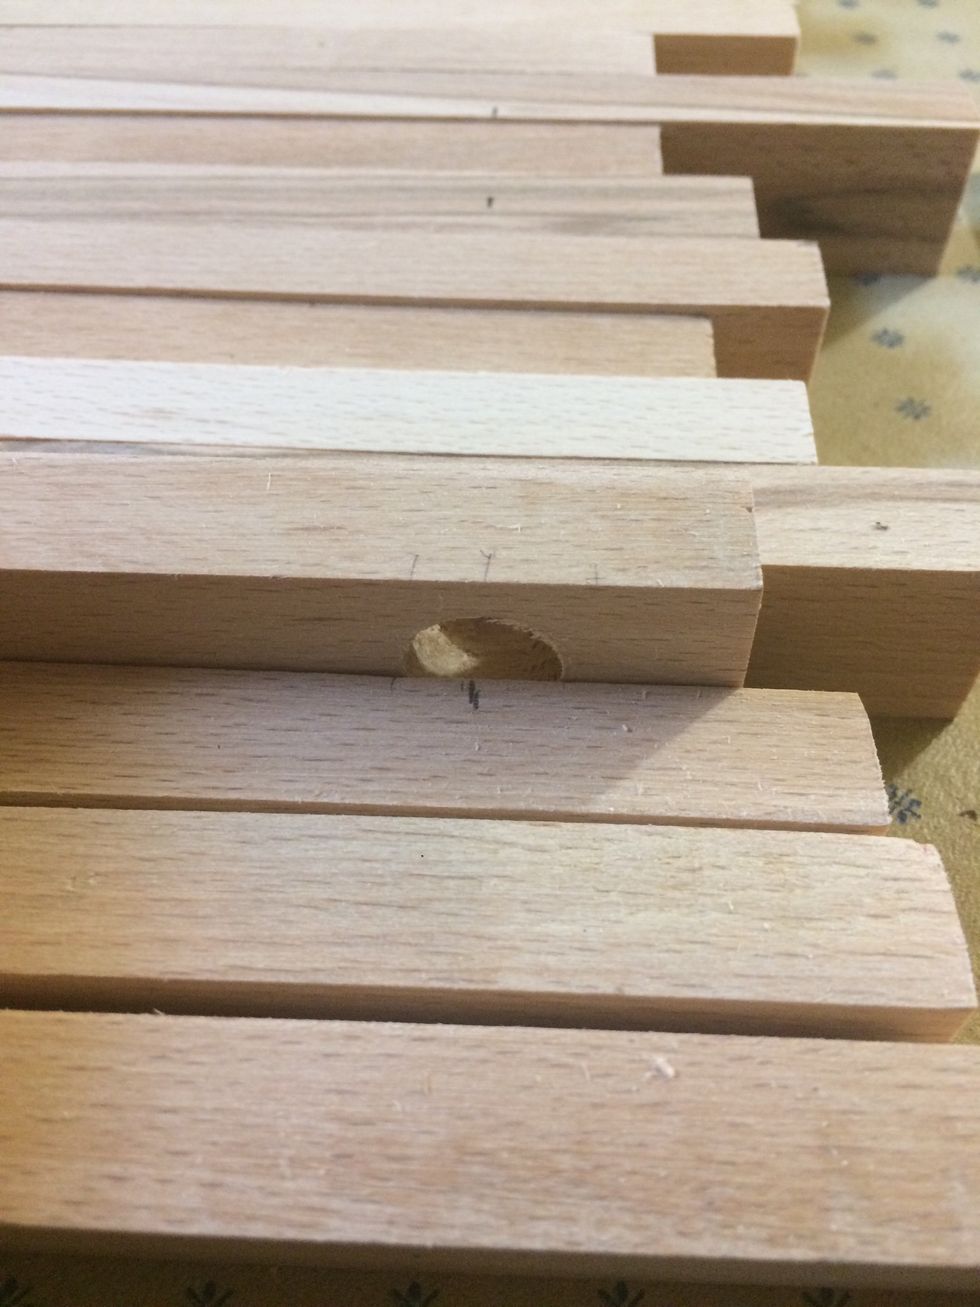
When finished the sanding I marked the hooks where the dowel was going through them. It was about 1.25" from the bottom.
All I had was a 5/8" dowel so I used a 5/8" spade bit to make all the holes in the hooks

I would start drilling in one side until the tip came through the bottom. Then I would flip it over and drill this side until all the way through. I do this so I don't have tear out at the bottom.
Make sure that the dowel fits and loose enough to move freely.
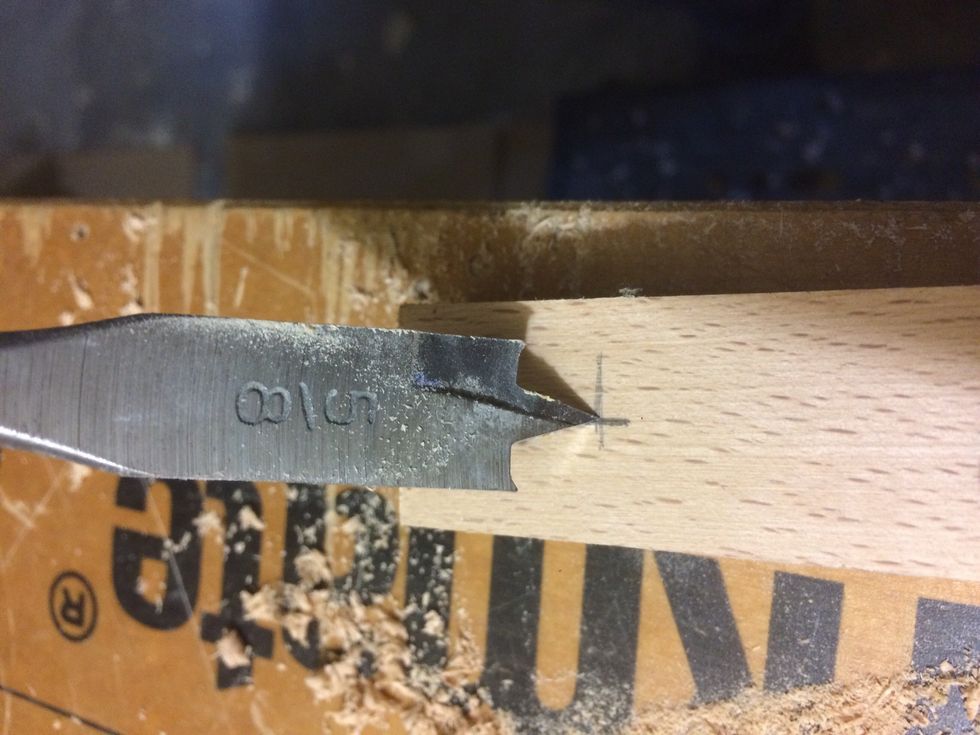
I made a mark where the hole is so that I can make holes in the sticks beside the hooks. That's where the dowel will go through.
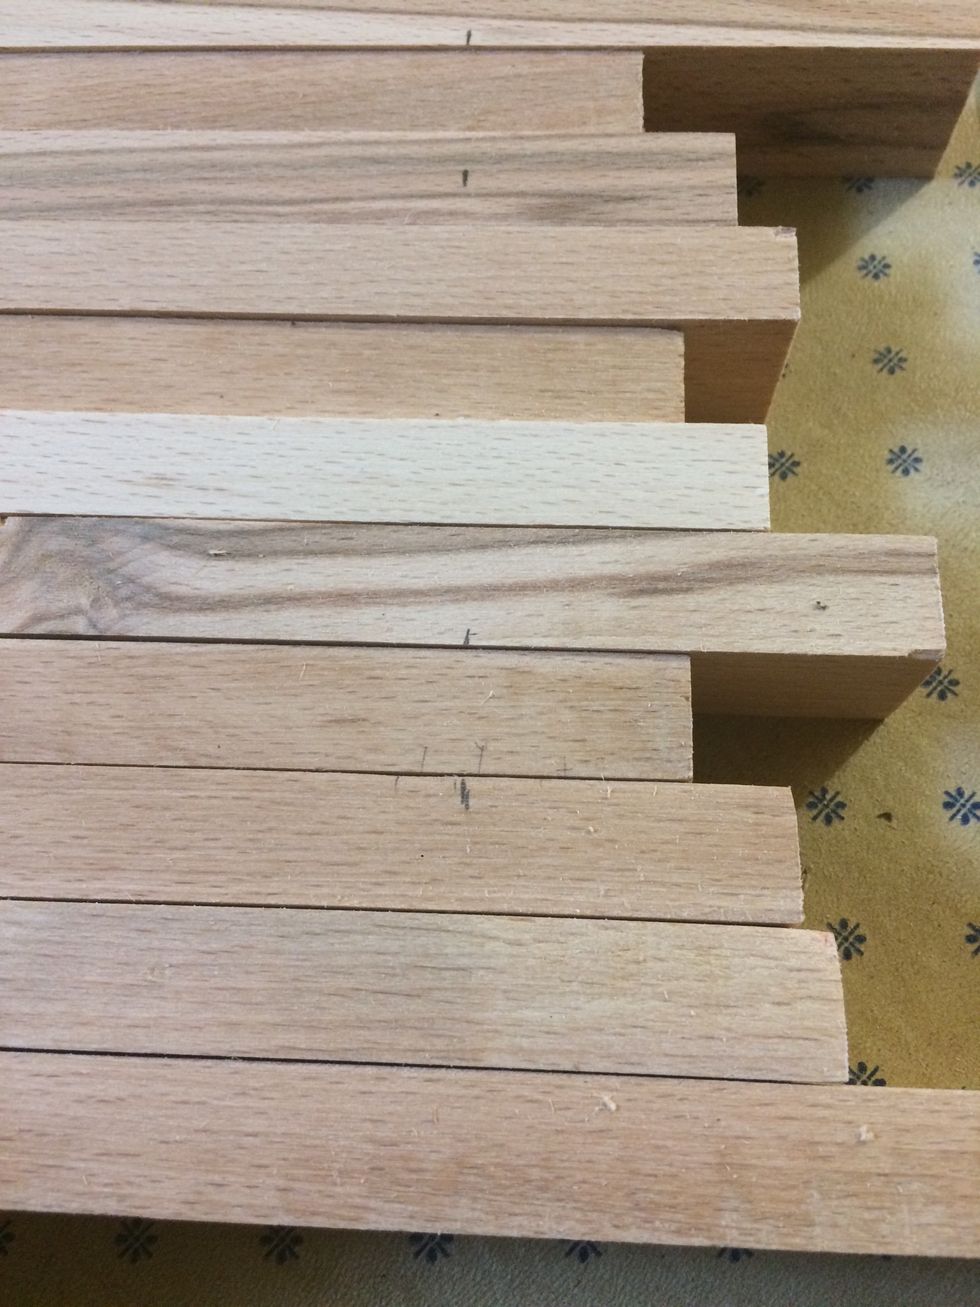
These are the marks for the dowel. Now drill holes in these pieces.
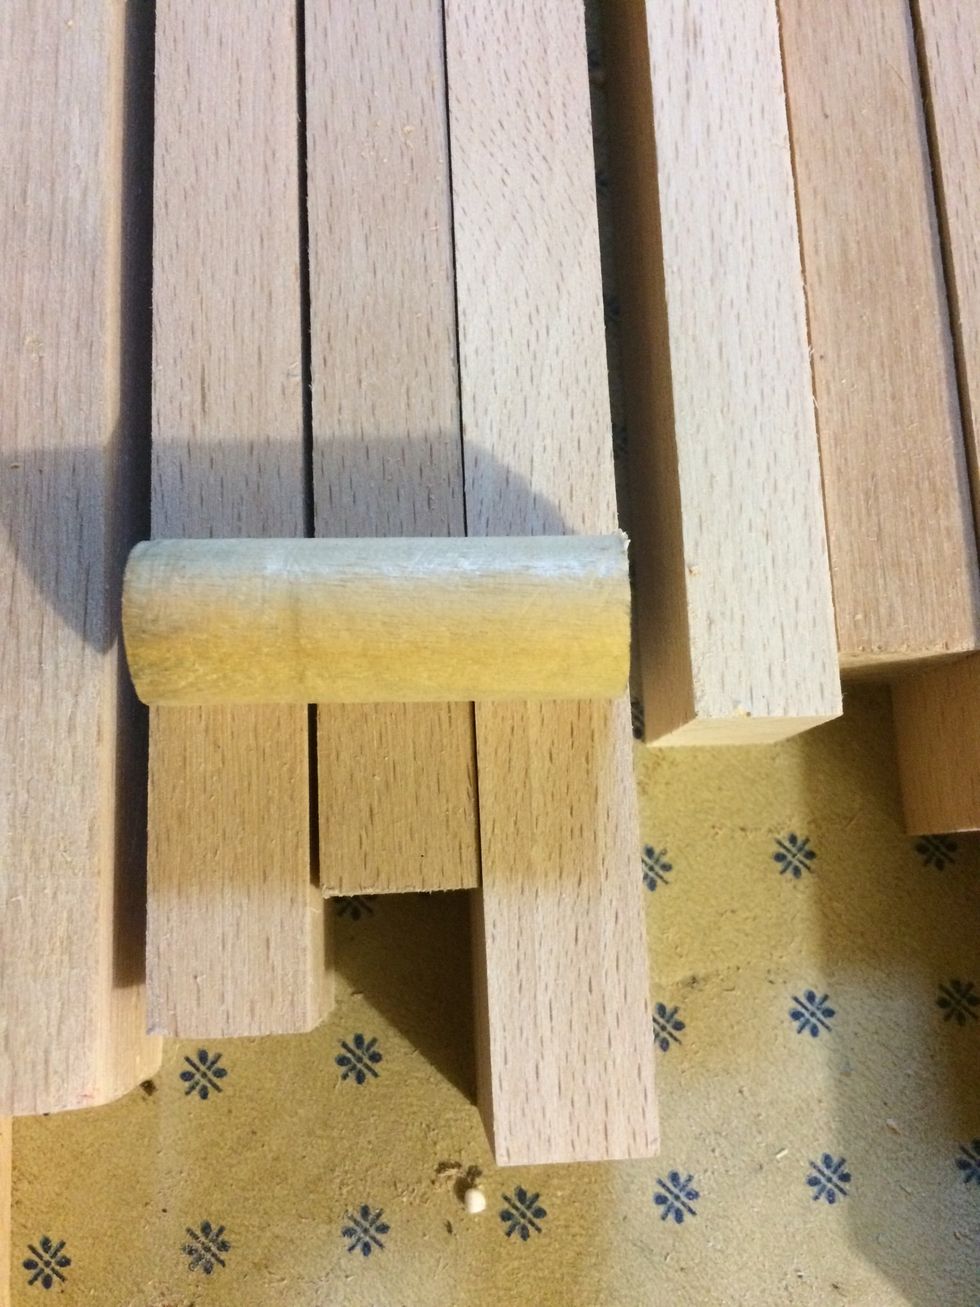
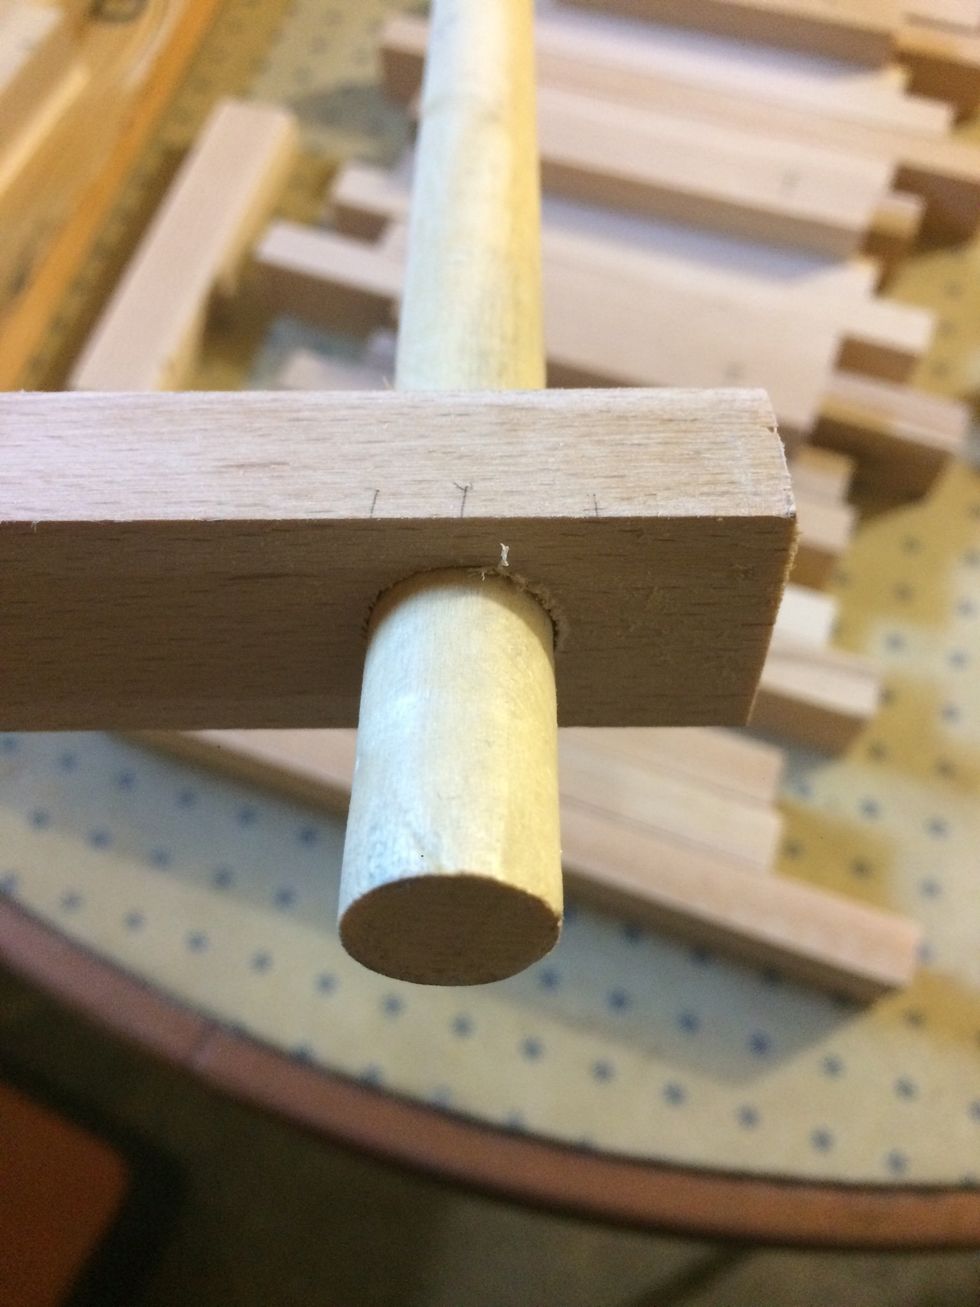
I cut my dowel into pieces that is a little smaller than the three pieces of wood.

This is the fit I was looking for.

The dowel acts like a hinge.
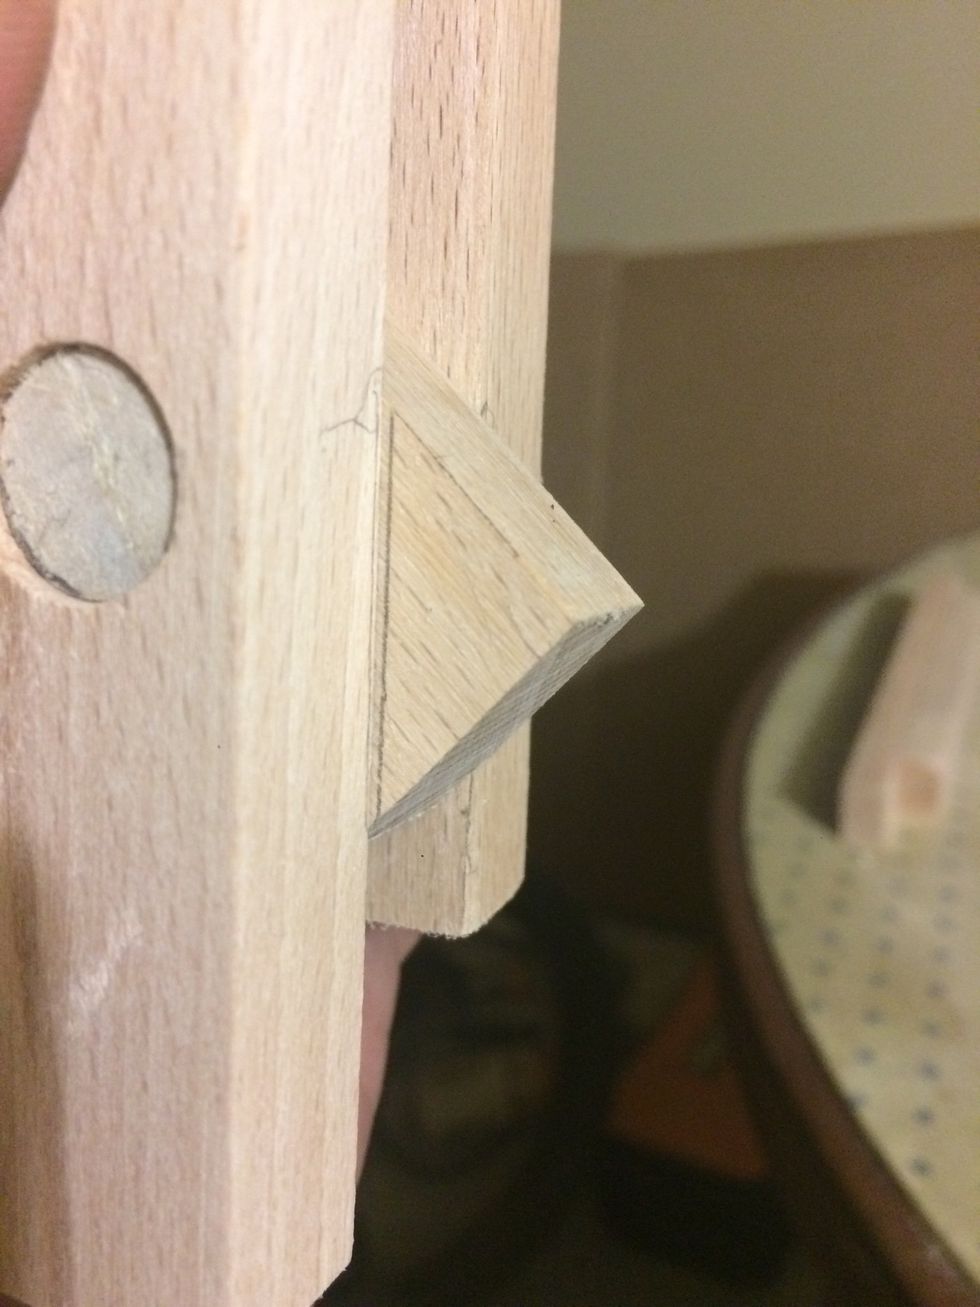
When the hook opens on the back side it is protruding past the back, this has to be removed. So I marked each hook.

Using the sander I removed the wood up to the line.
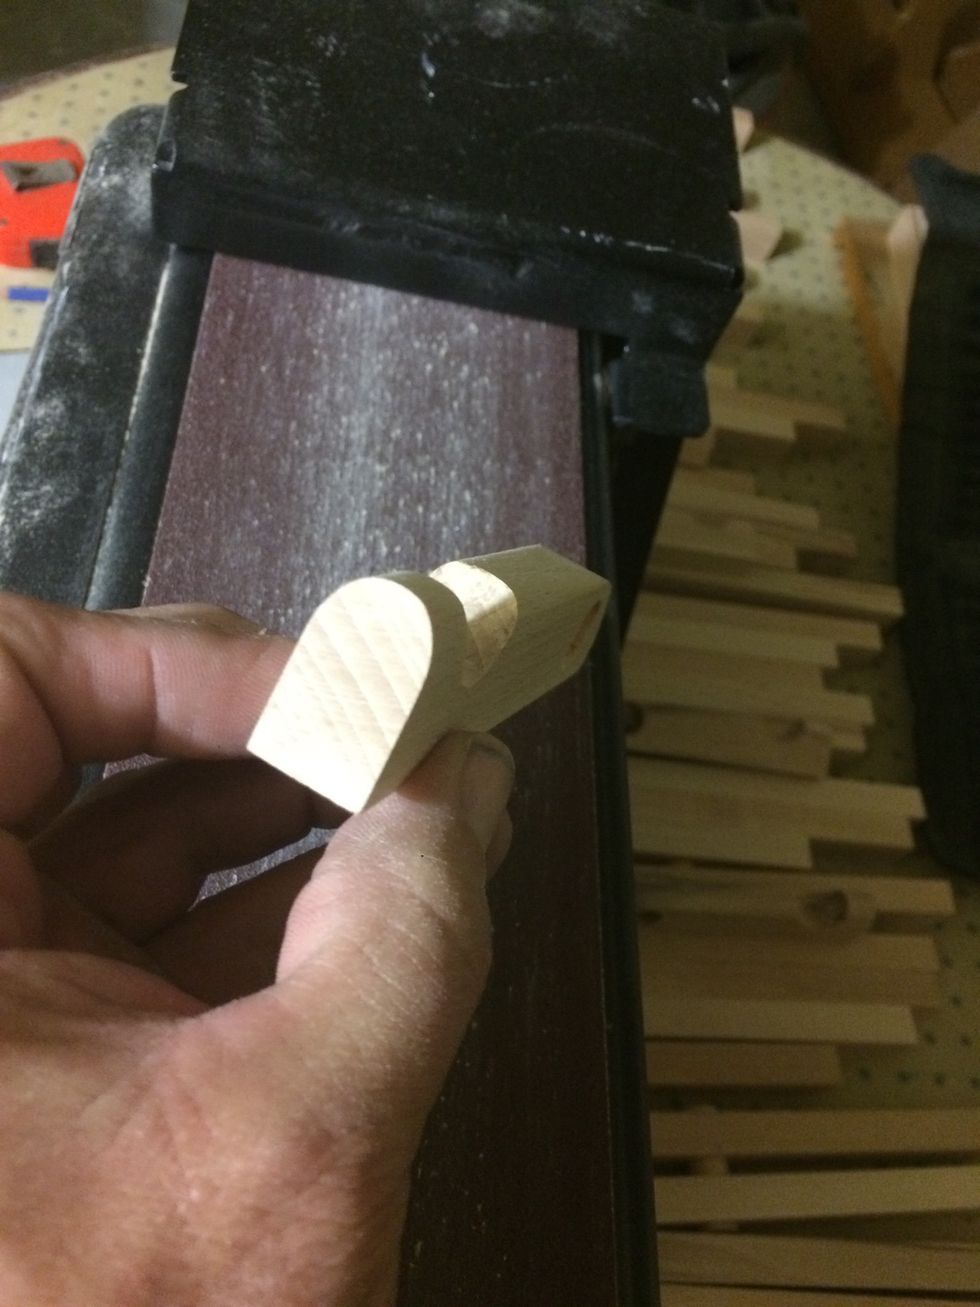
Once sanded I tested the hook and I needed to round over the piece. This is needed so that the hook can open smoothly.
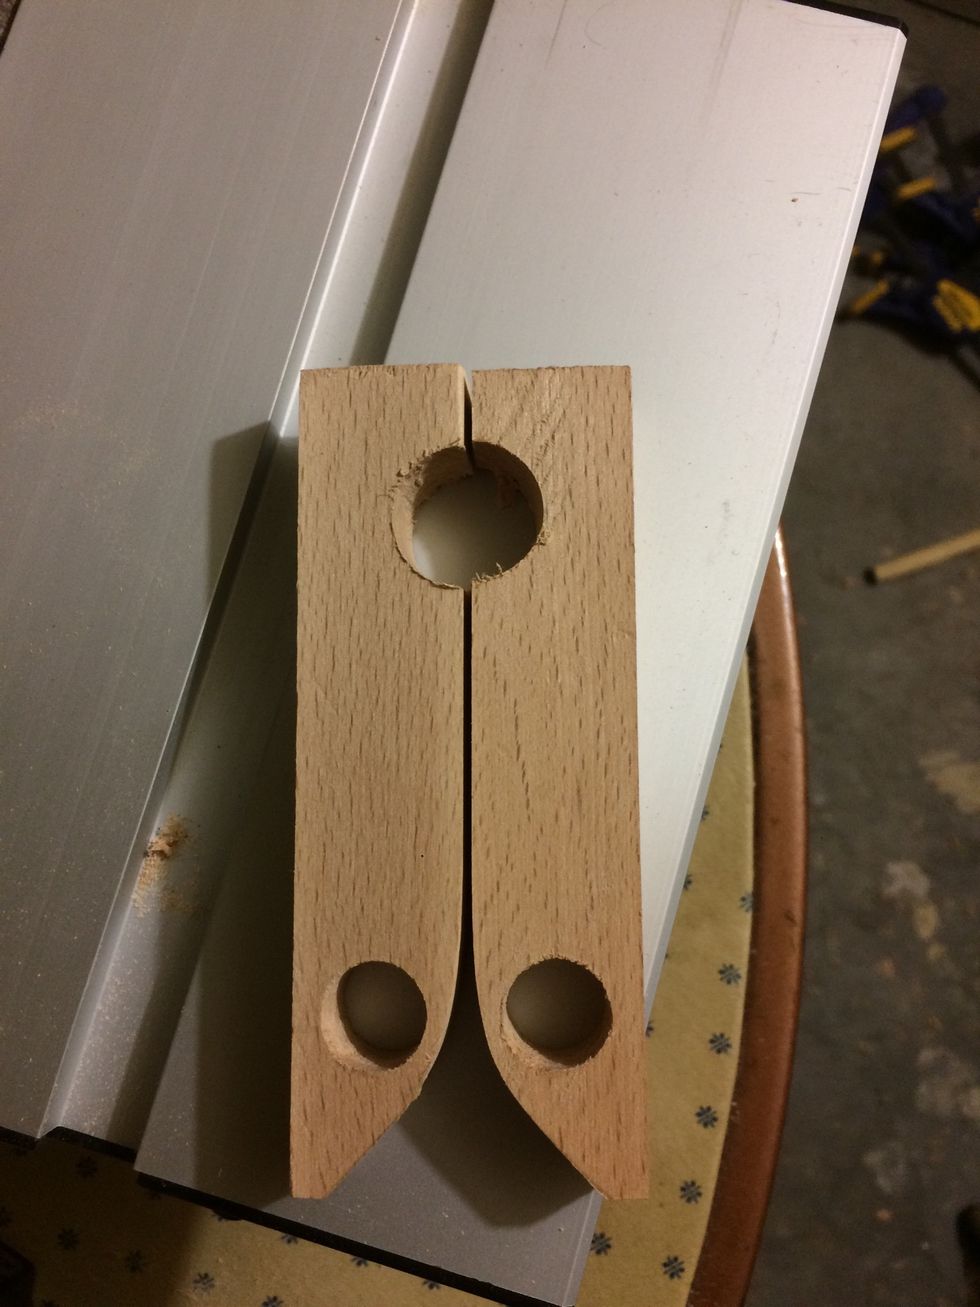
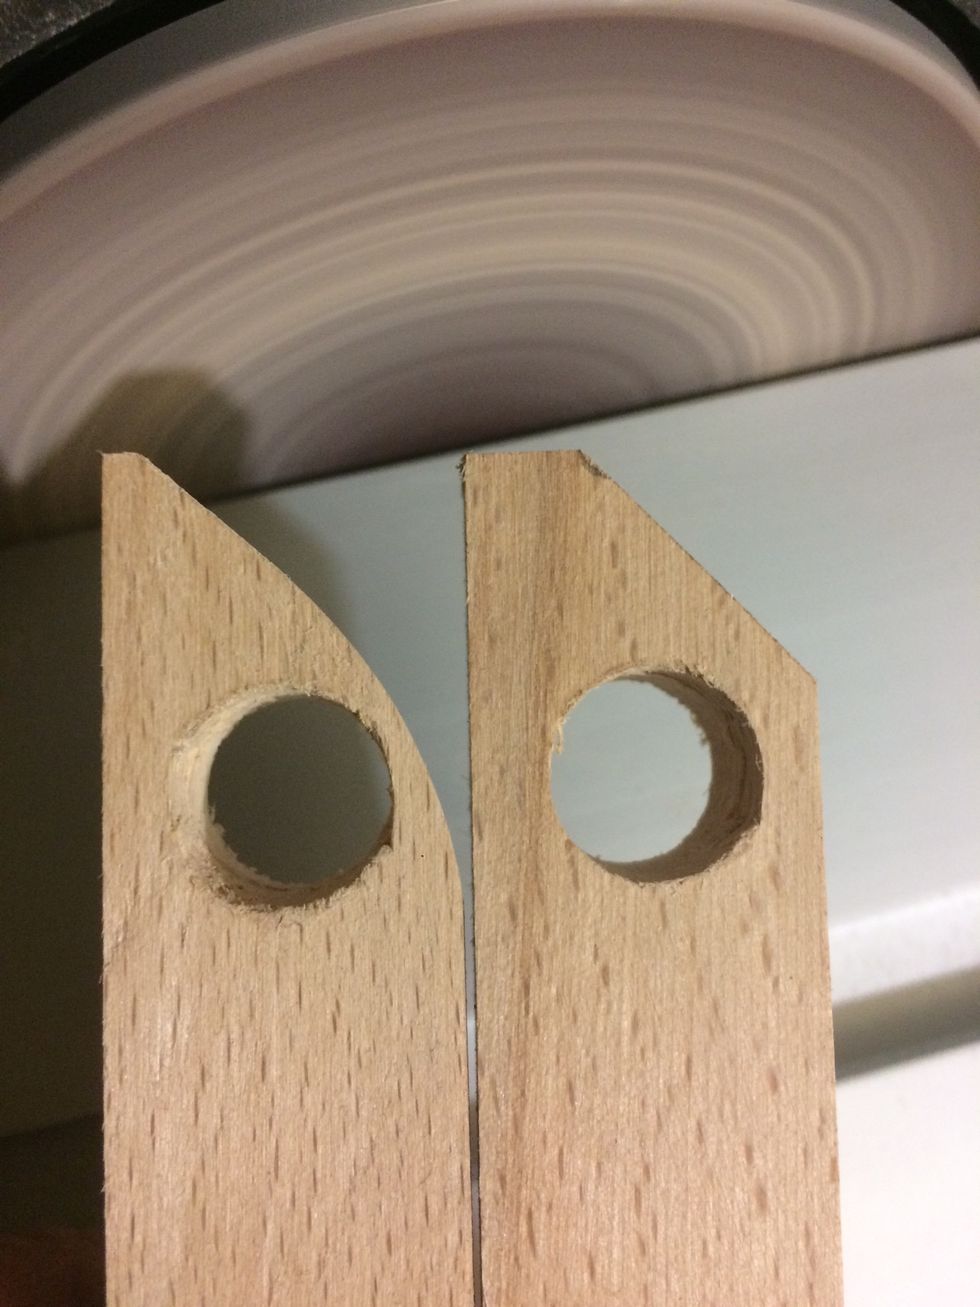
I wanted some type of hook on the piece of wood. So I put two hooks together and used a 7/8" spade bit to make this shape.

Just make sure you put the pieces the right way to achieve the proper hooks.
Using the sander I decided to round over the hooks. I only rounded over the inside so the outside will still be the same shape as the other pieces of wood.
Everything seems to fit together well enough, I guess I can start gluing.
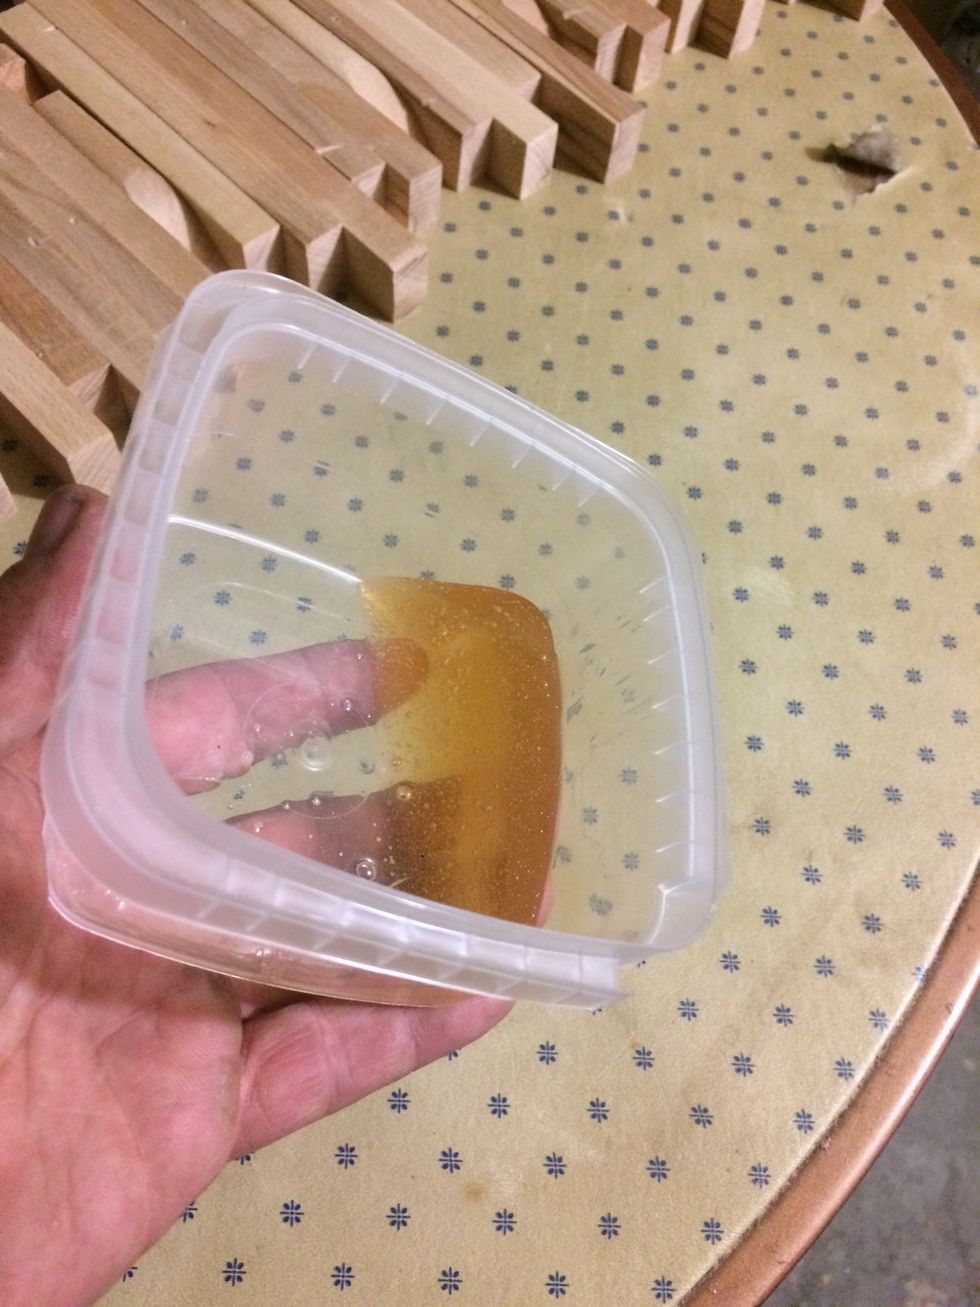
All I had was epoxy, so I mixed up some.
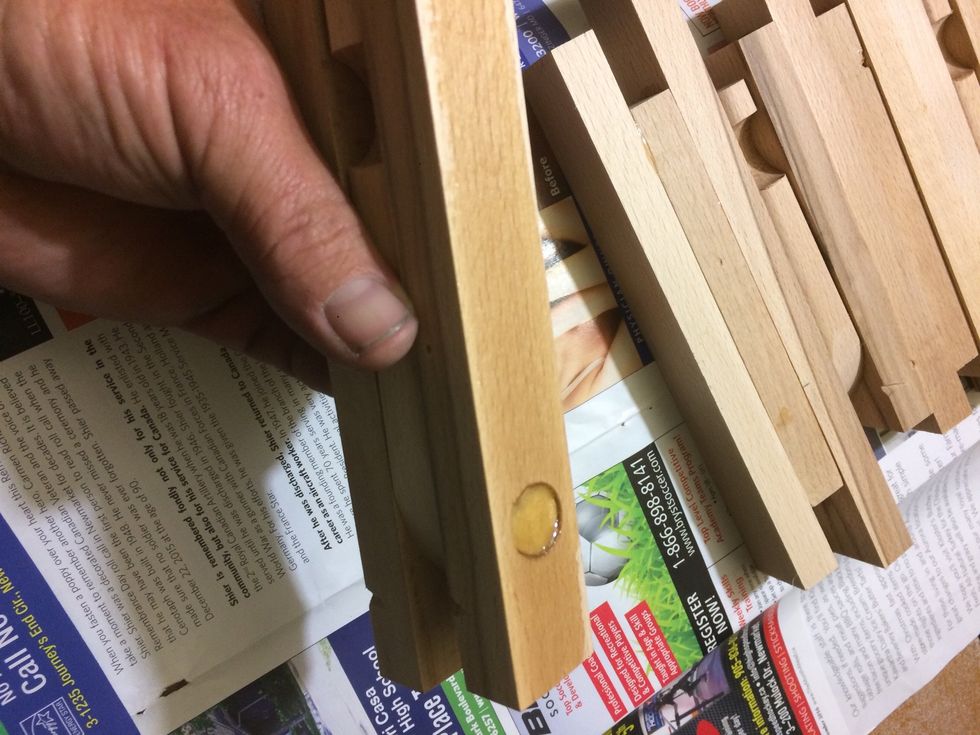
I used a disposable brush to apply the epoxy. Where the hook are I ended up putting epoxy around the dowel but none around the hook.( need it to move)
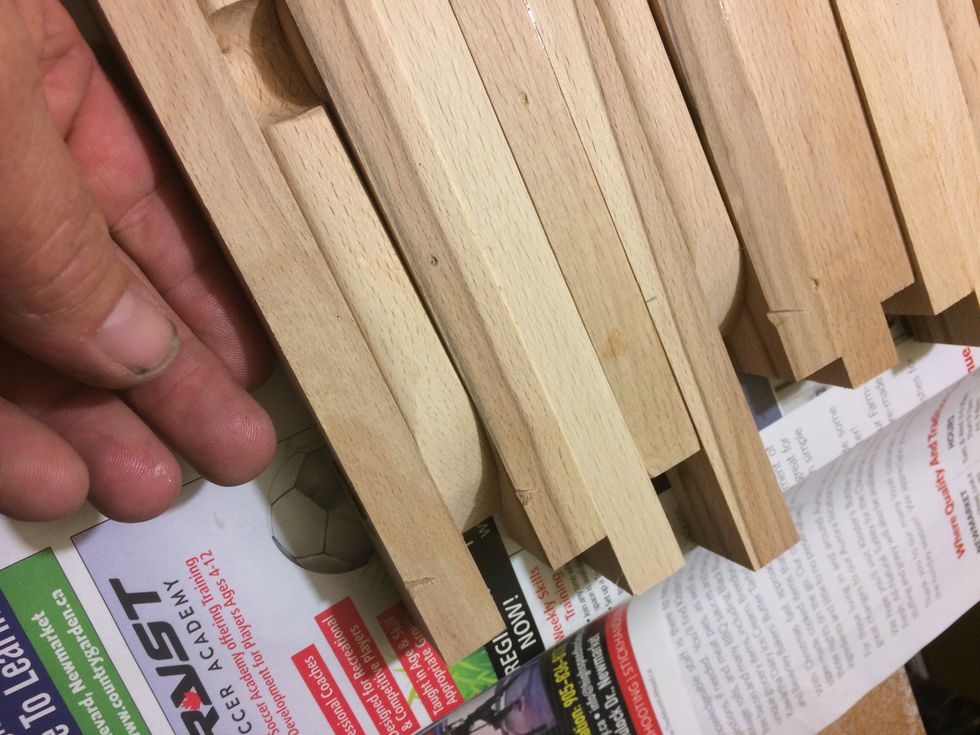
Now do the rest of the pieces and we are almost finished.
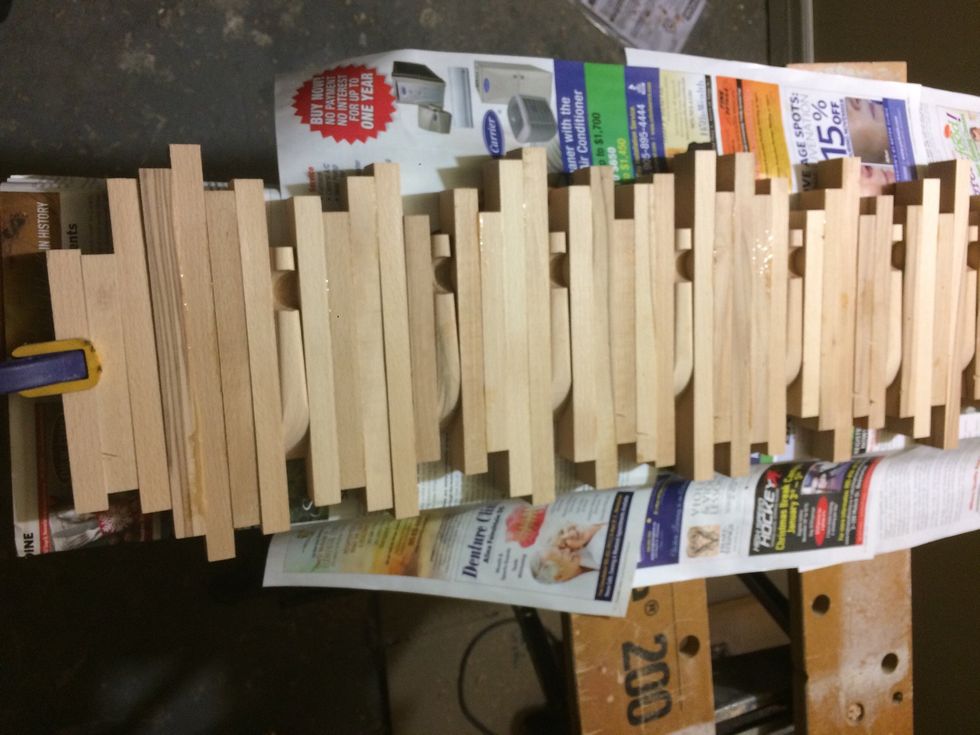
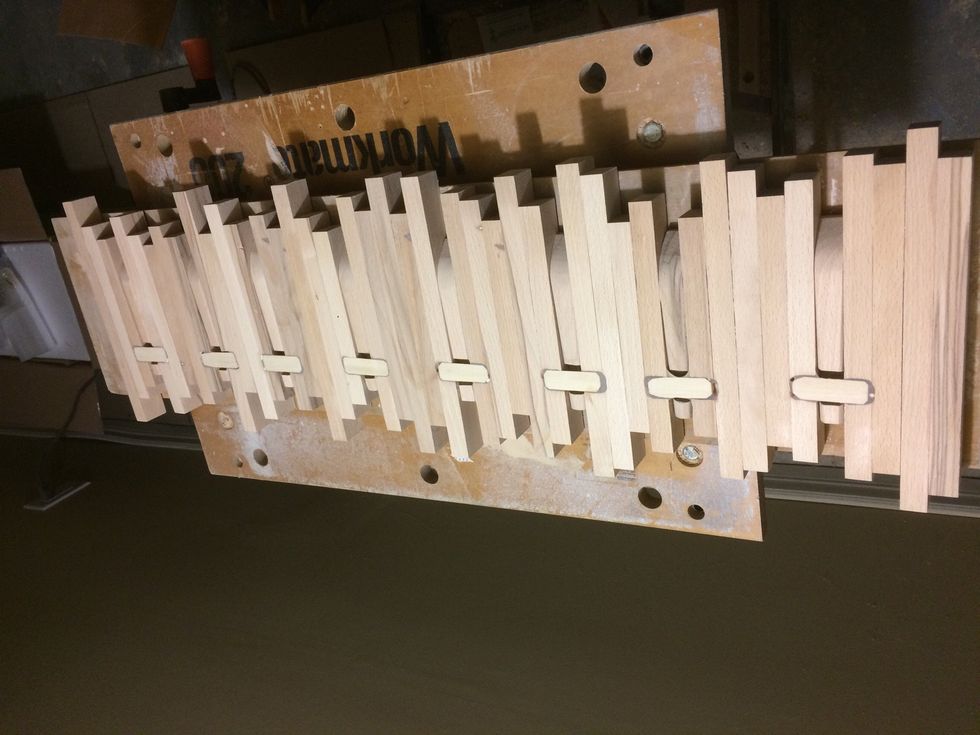
Once it was dry I noticed that it wanted to fan out, because I only had it glued around the dowel. So I need to put braces in between the hooks.
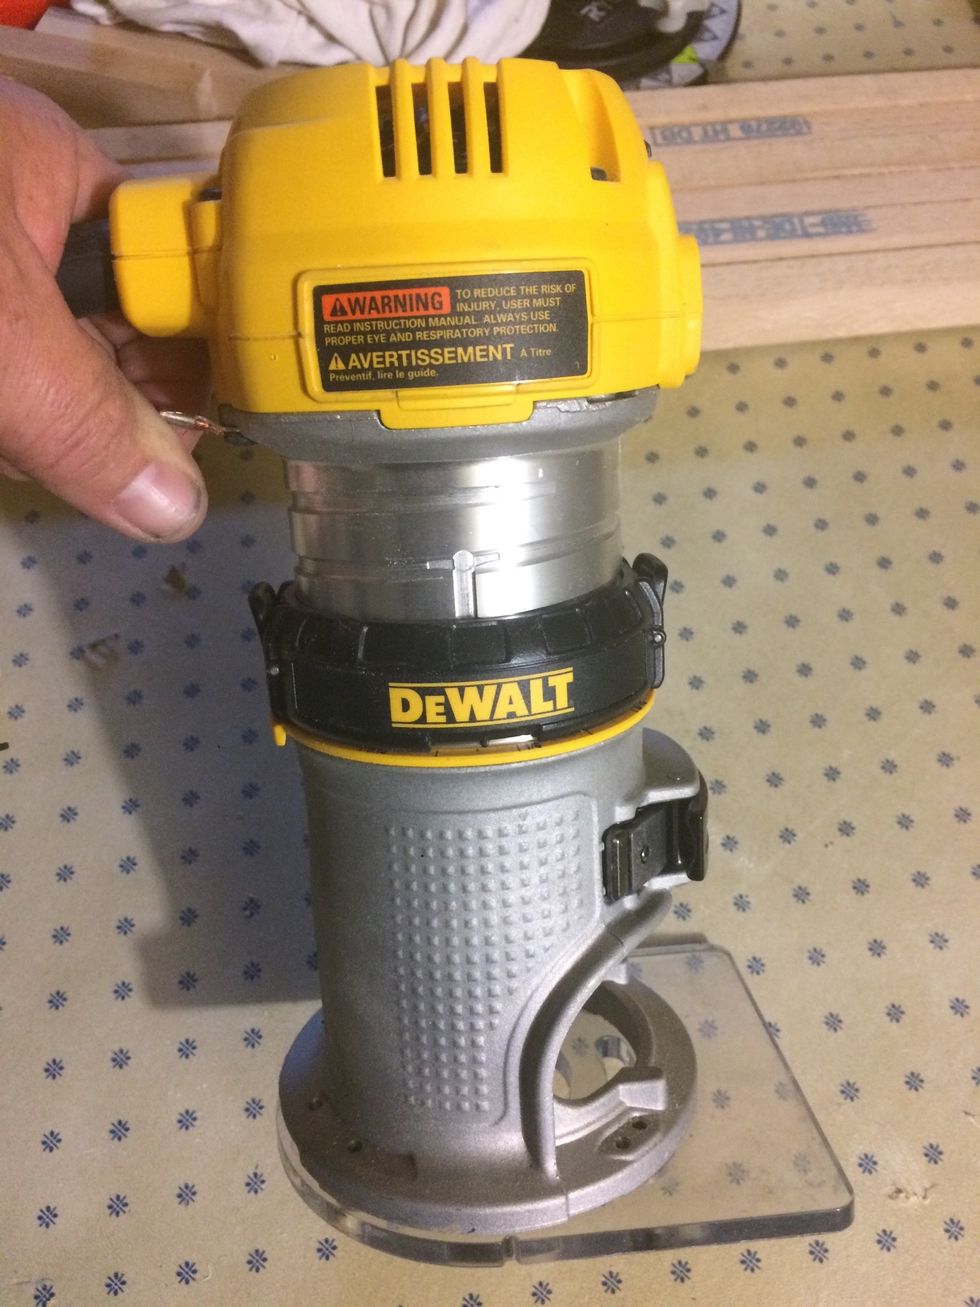
So I got out my router.

I used a 1/4" ball nose end mill.
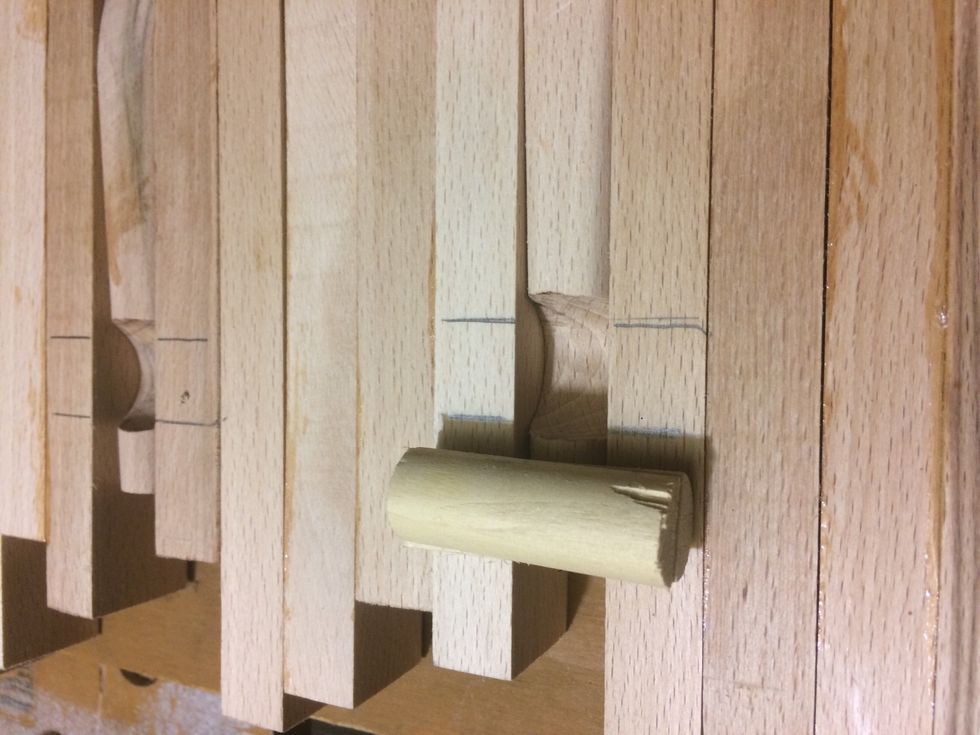
I marked out where I wanted the braces. I cut a dowel in half and used that as a brace.
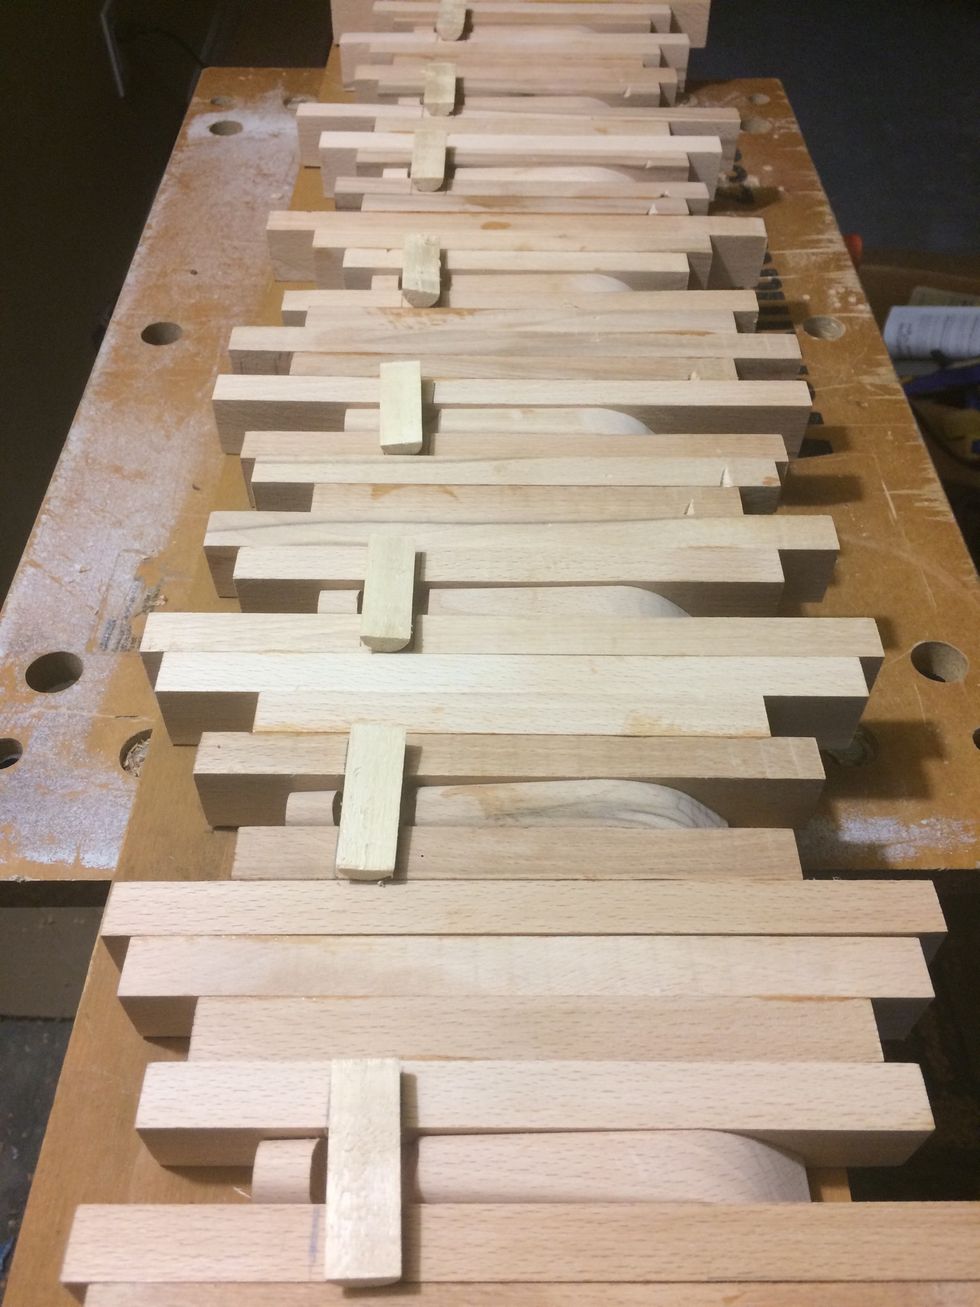
All the braces ready for epoxy. Maybe next time I'll use a full piece instead of the small braces. Or maybe a dowel all the way through so it's hidden.
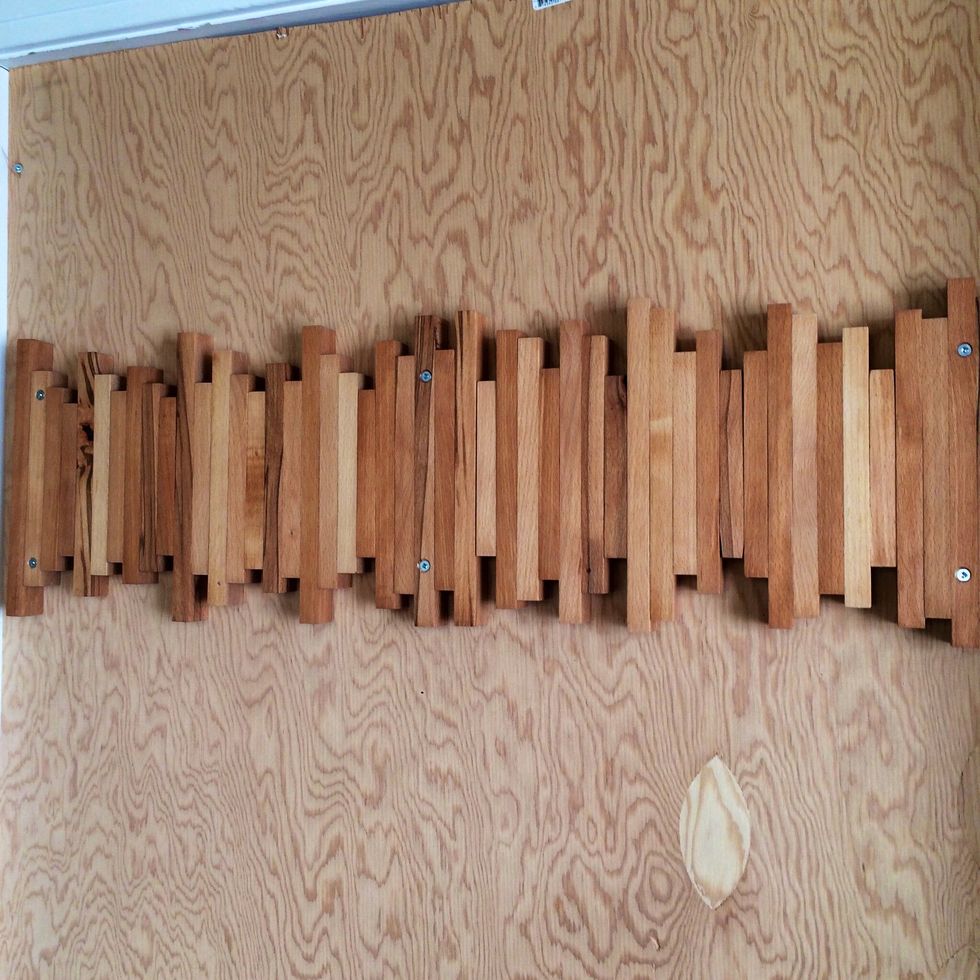
Now that everything is glued I used an orbital sander(80grit) to flatten and smooth out the coat rack. I did have to sand down the hooks so they would work properly.
Once the front was done it was on to the back. Maybe the next one I will put the dowel all the way through for the braces and the hinge. Might make it a little sturdier.

Now to add the oil to make it pop!!
Now let the oil soak in and we are done.

Making sure all the hooks open.
Find a place to mount it and clean up those coats.
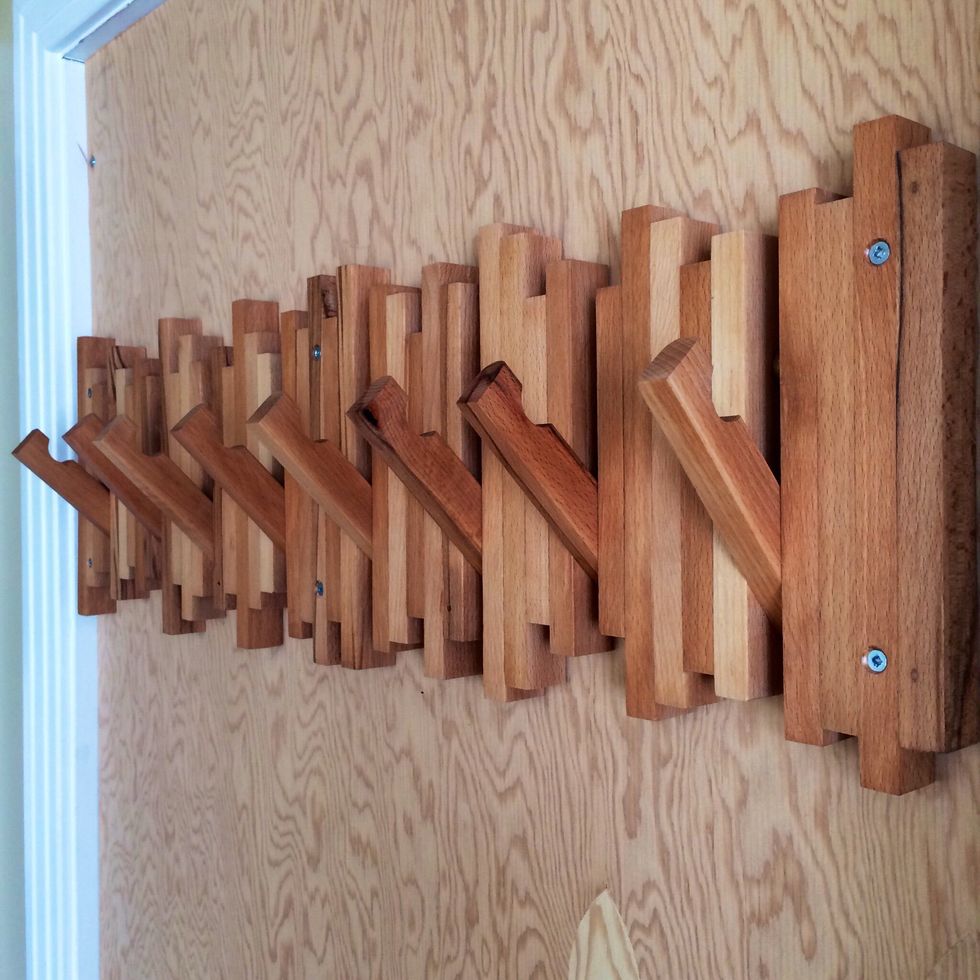
I think it looks pretty good!!
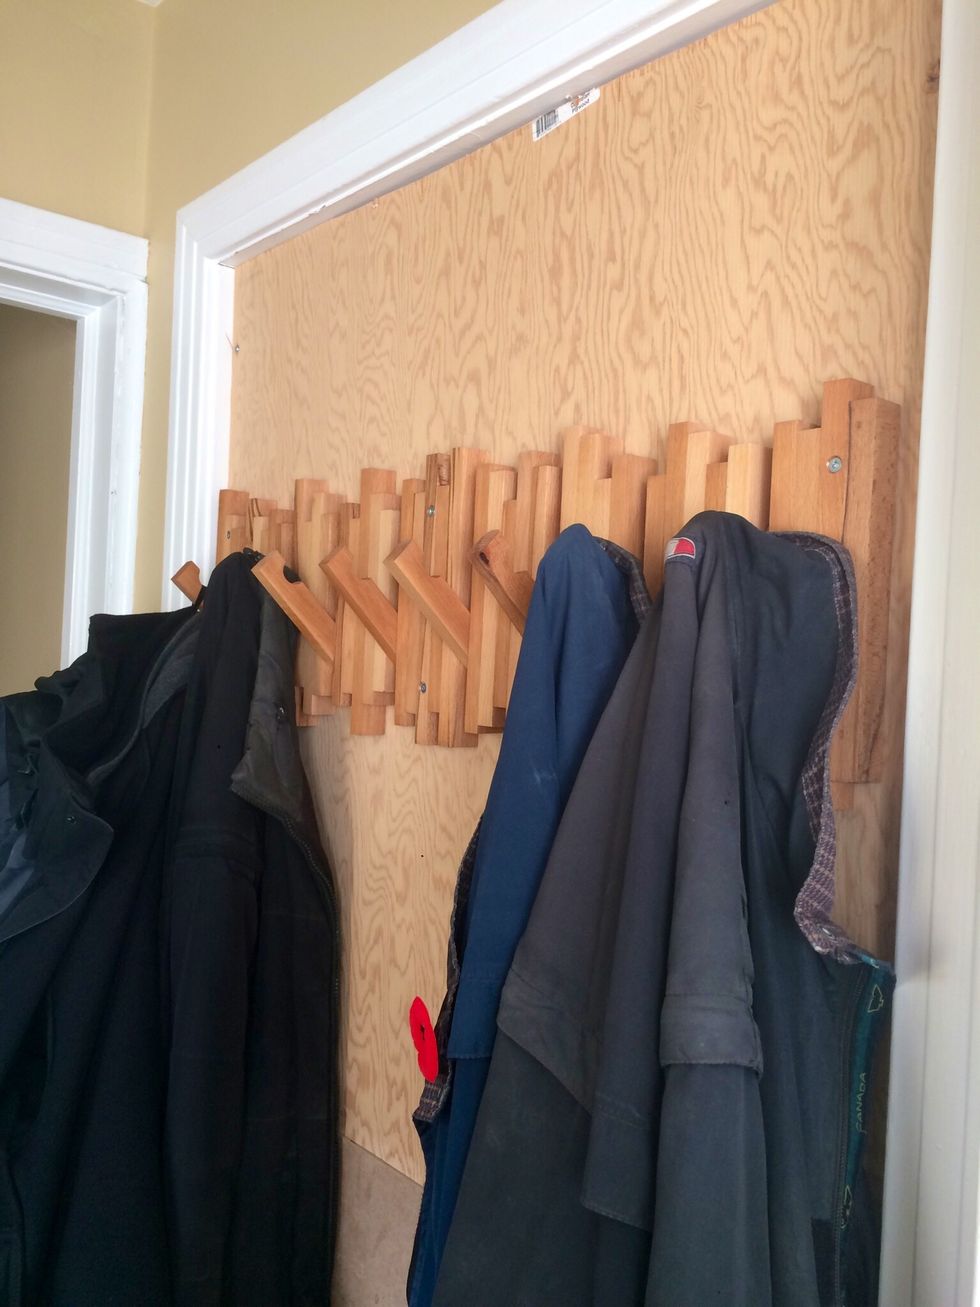
Now place those coats on it and that's it.