The Conversation (0)
Sign Up
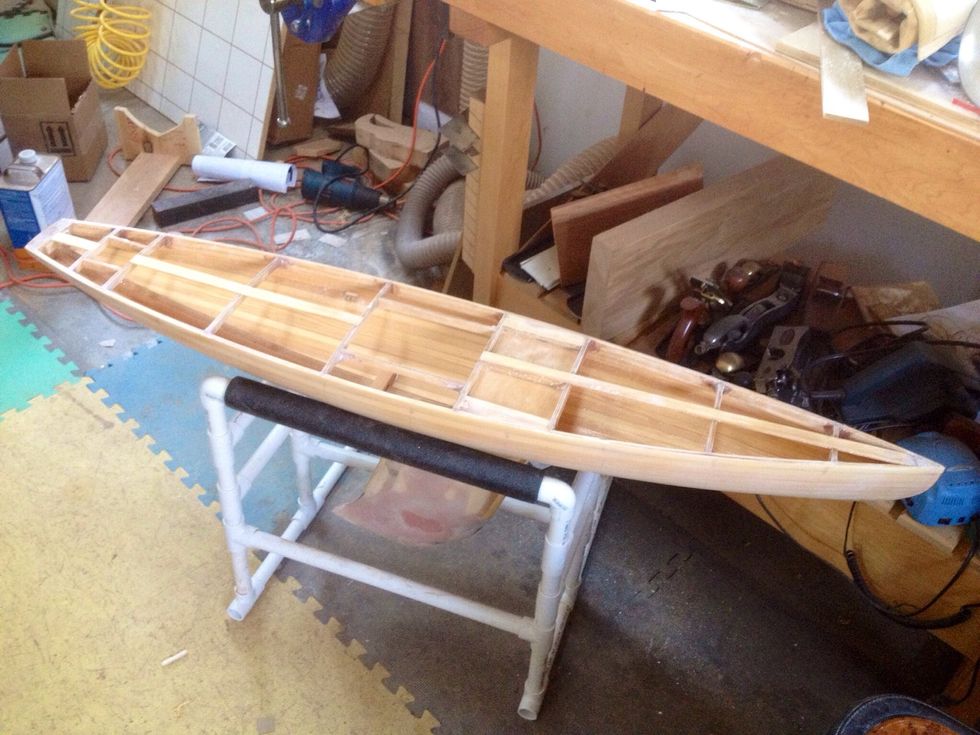
After two weeks at the Wooden Boat school I had finished the ruff-in of the hull, mast, electronics and sub deck ready to start the final assembly.
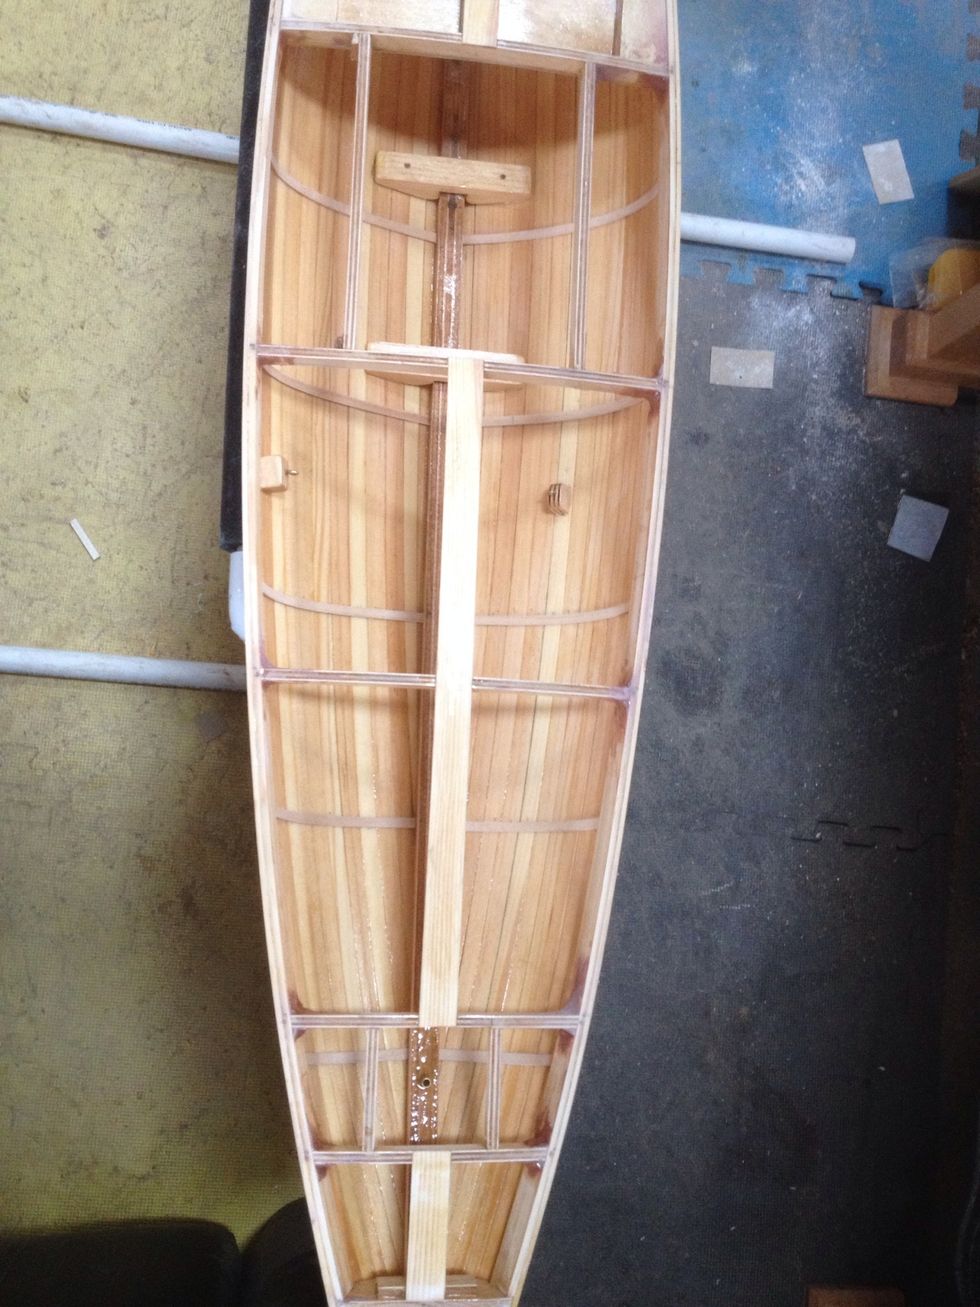
Here you see the 1/16 inch plywood sub-deck has been removed. I have added ribs to help support the shape of the sides.
Here you see, that all the ribs are in place, I have added epoxy to unify and strengthen the hull.
Fair the hull but don't spend a lot of time on it right now.
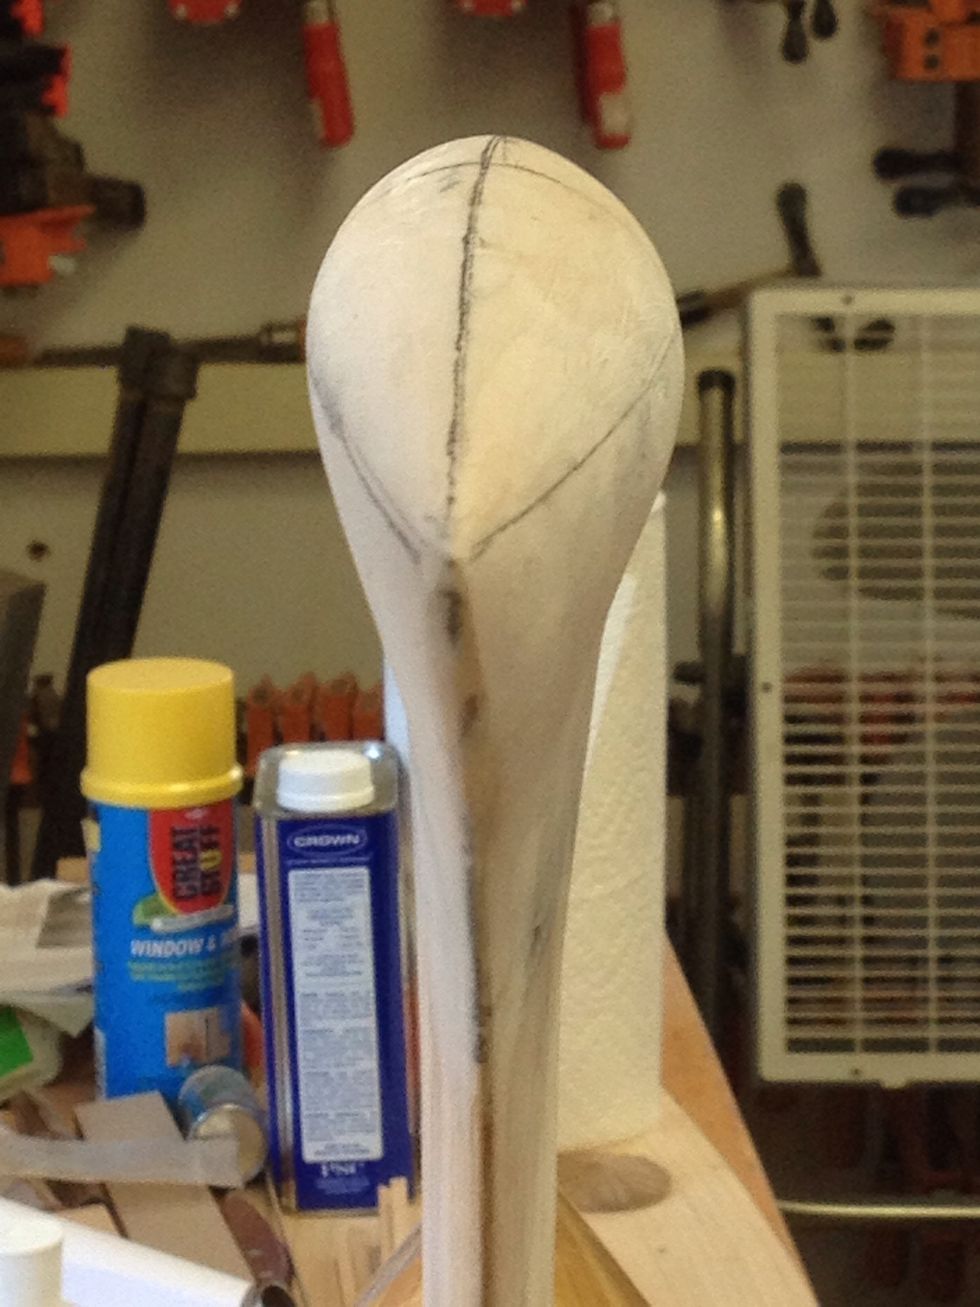
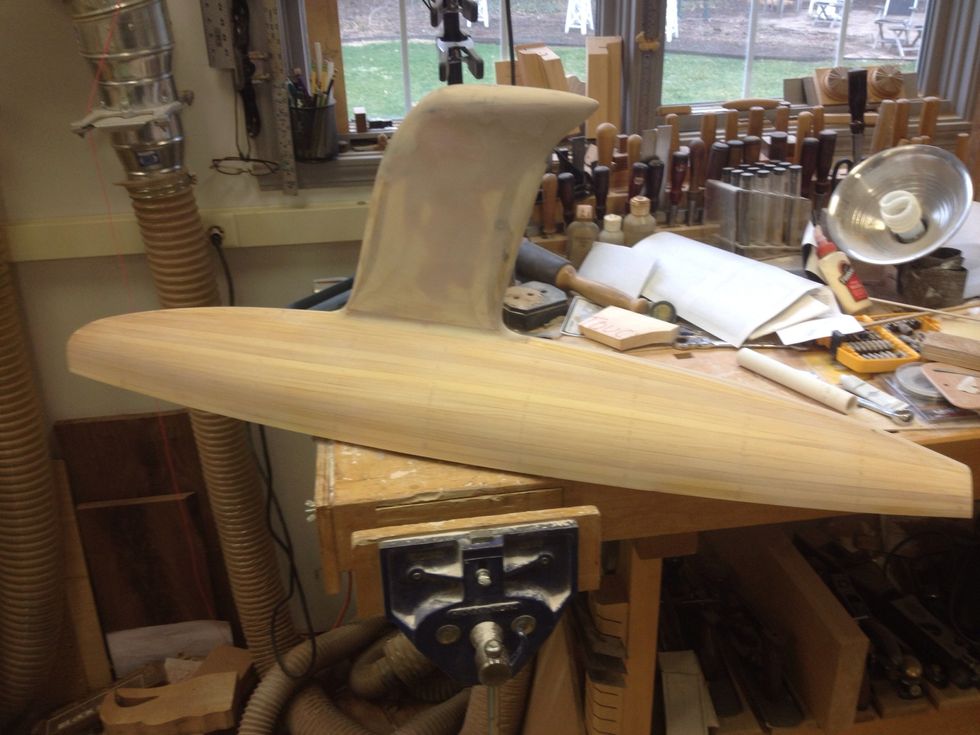
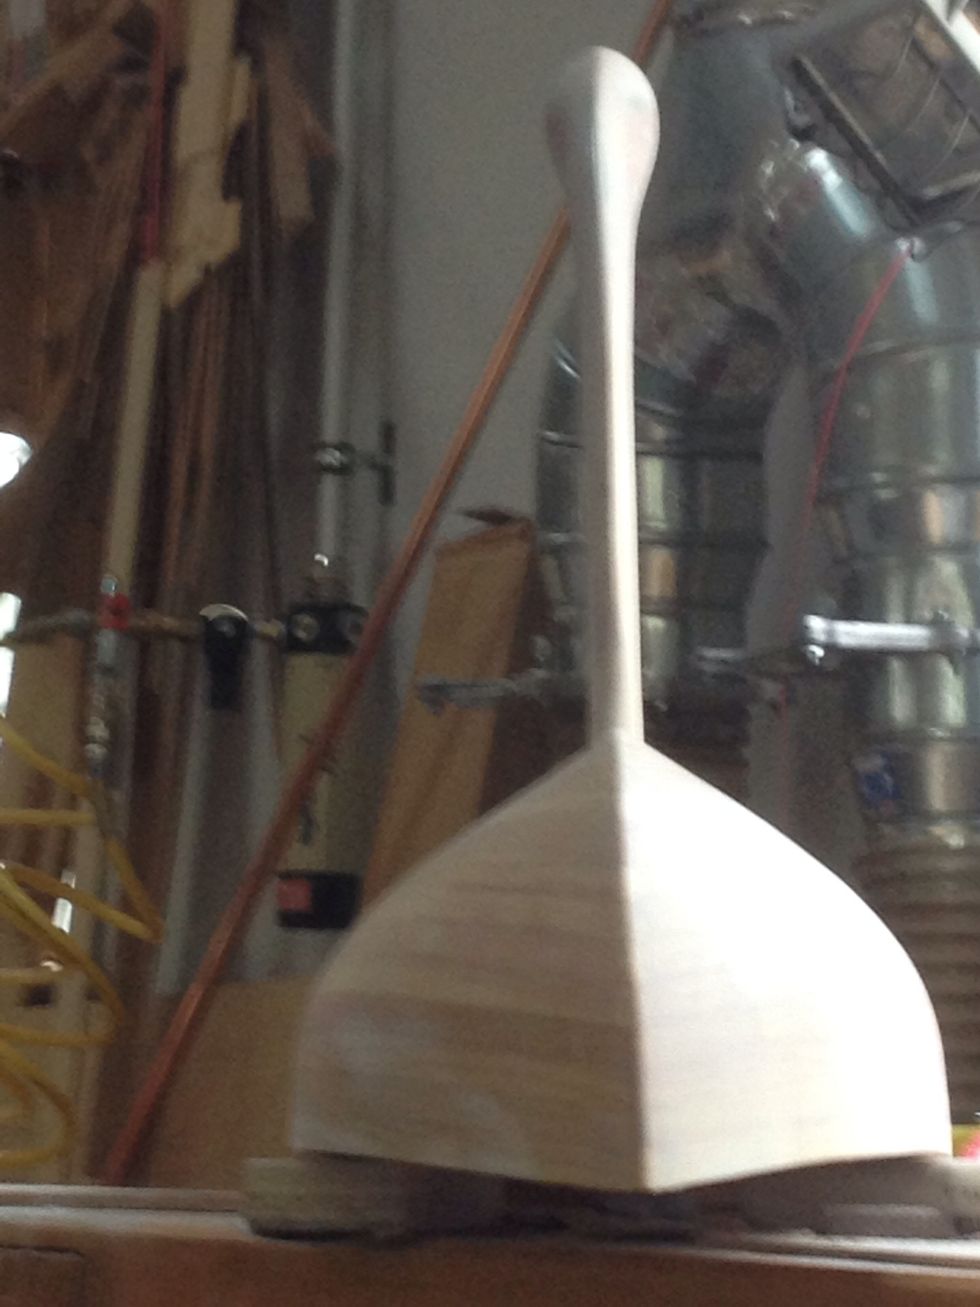
Establish the center lines this is when I shape the keel and ballast.

Take pictures and use the black & white mode to help see any fluctuations in the keel.
Try different exposures

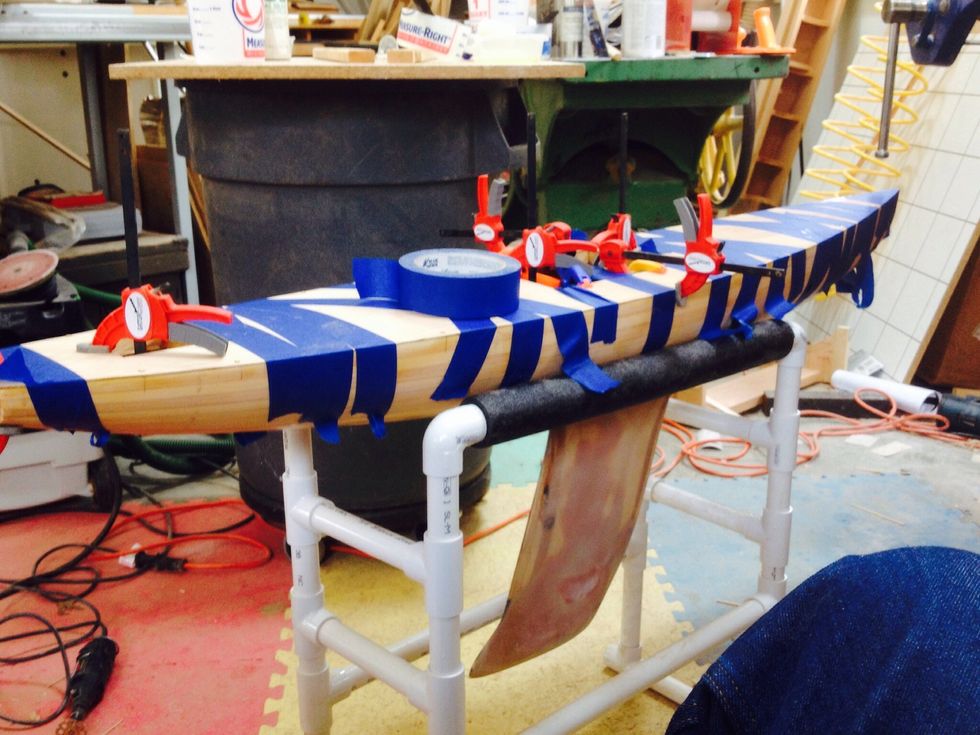
A PVC pipe building support makes a big difference for accurate work. It's important to have complete & easy access to the hull at this point.
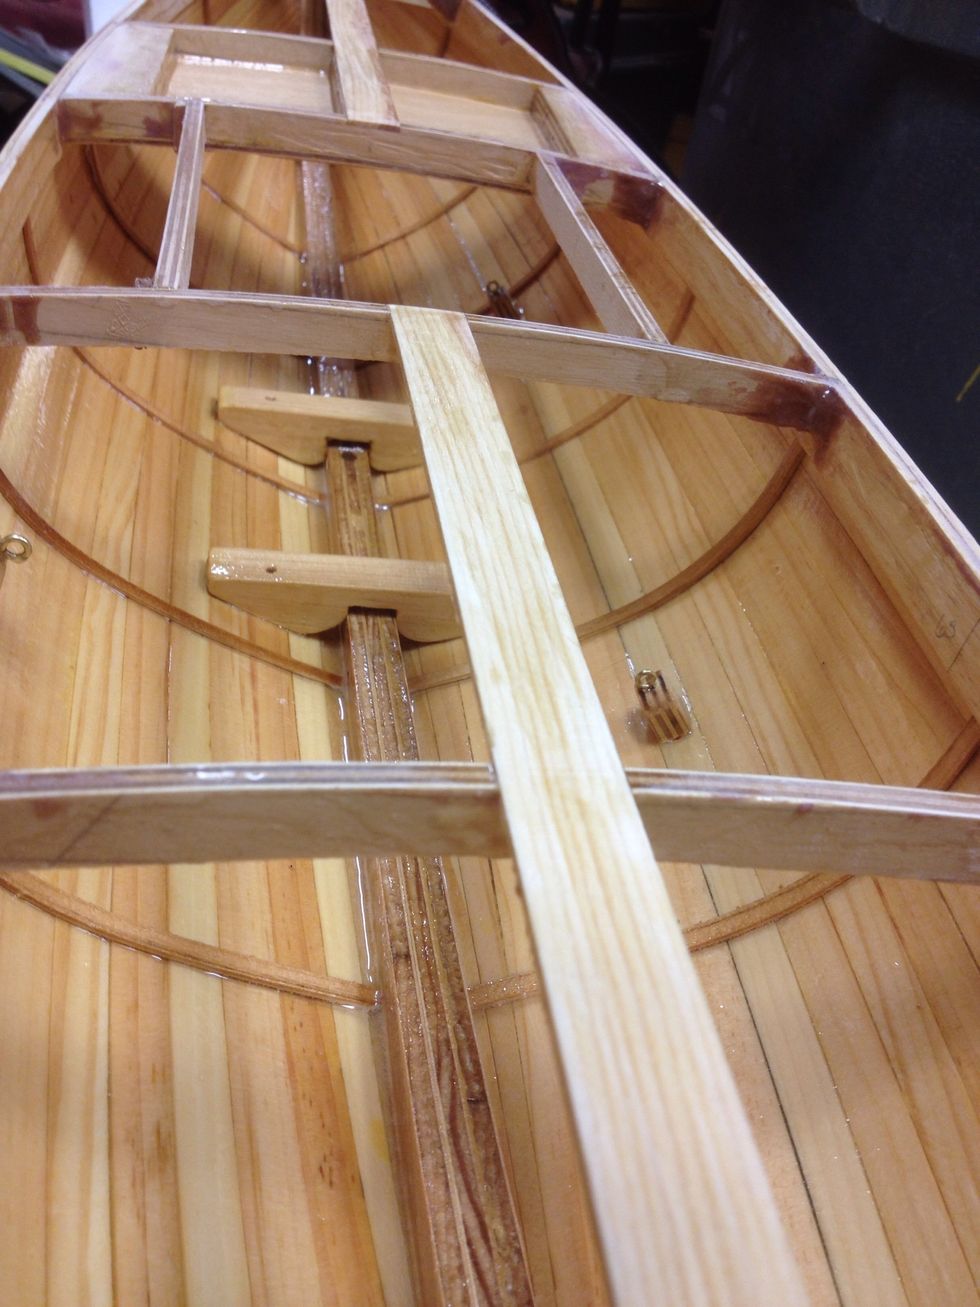
I use epoxy to seal the underside of the deck, two coats, while it's tacky I apply thickened epoxy to the deck beams and sheer.
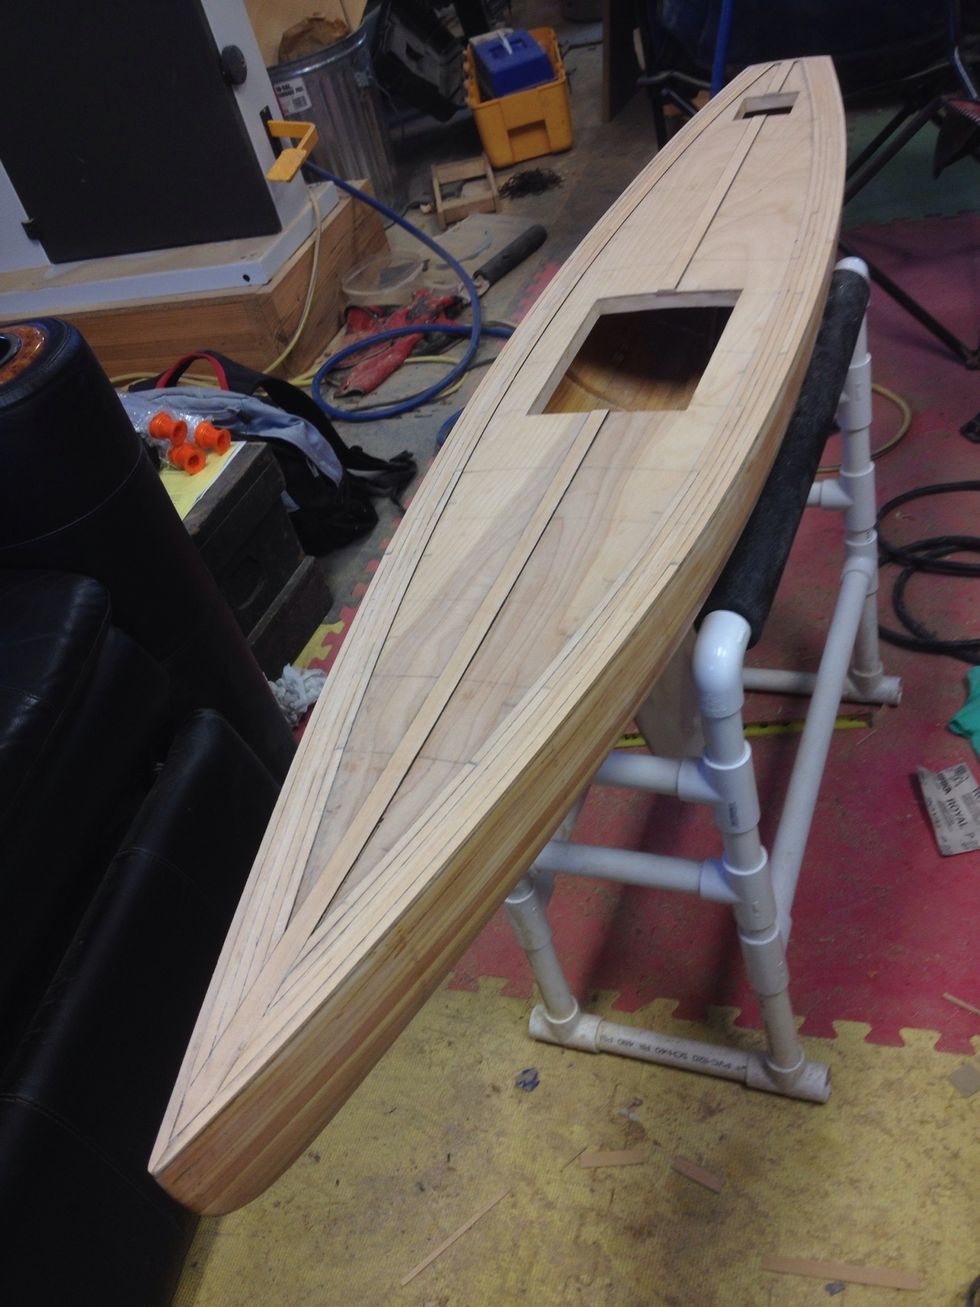
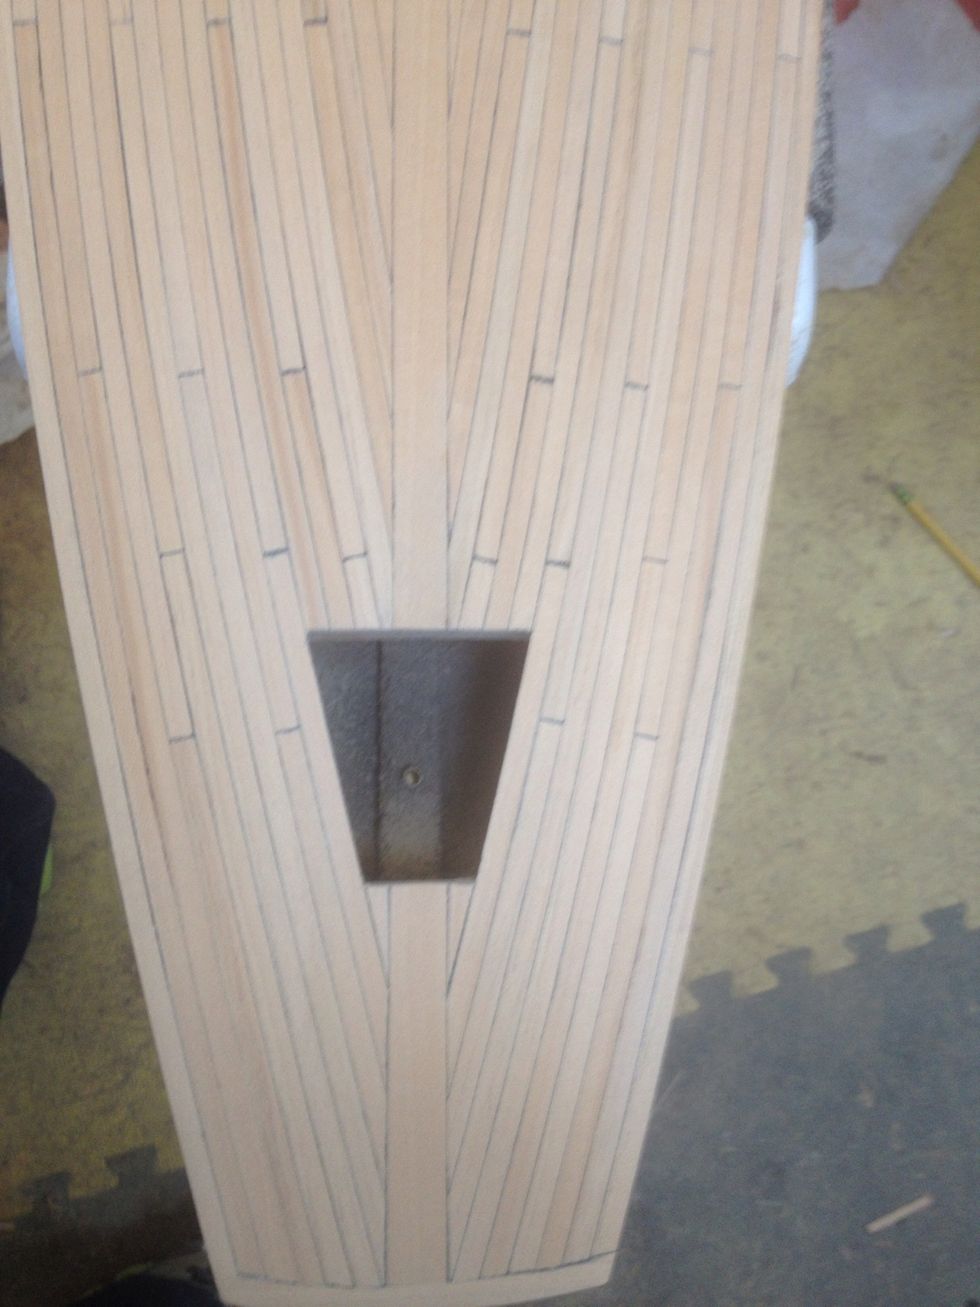
Lay the decking from the outside toward the king plank.
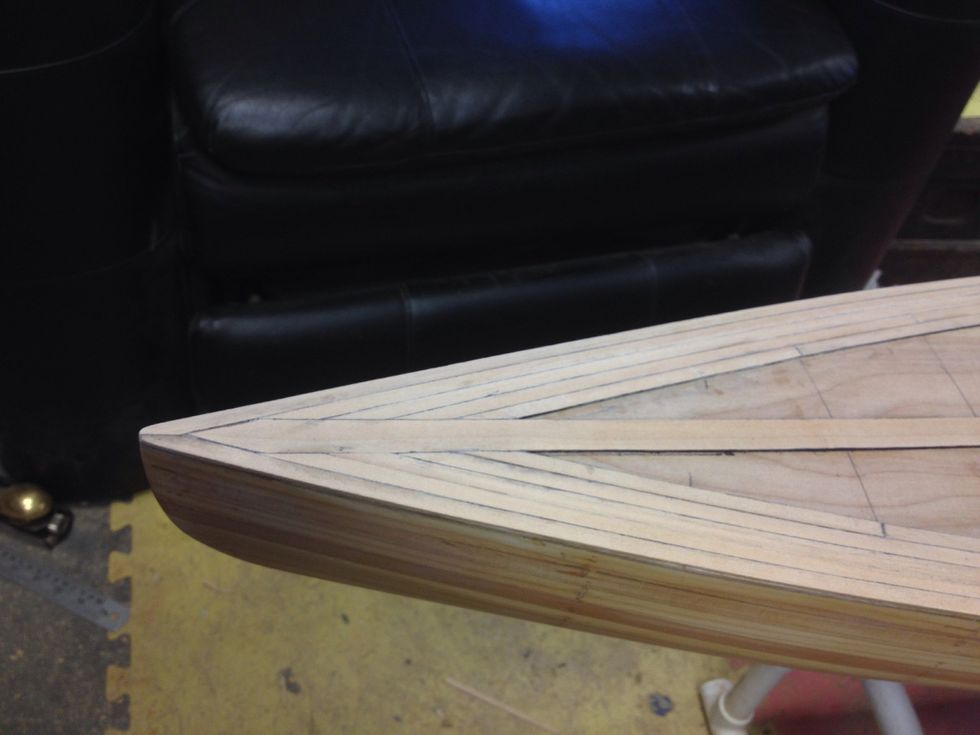
To get a deck to look right do not only look at where the points meet but also the trailing edge of the plank. You may need to trim each side of a deck plank to keep both sides of the deck even.
Don't rush!
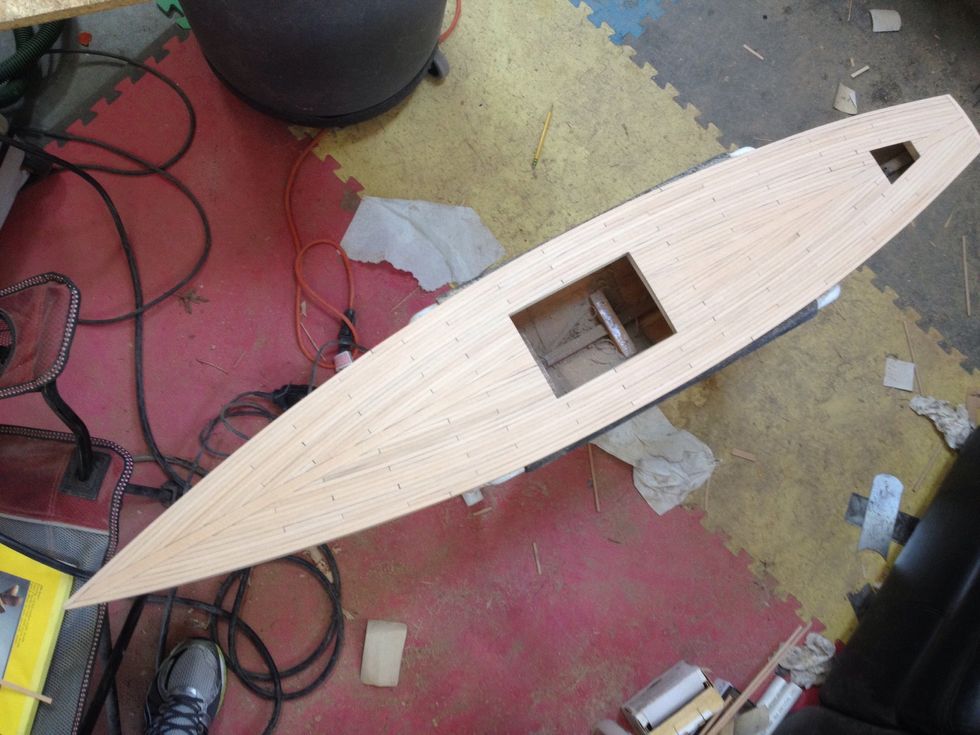
The design of the deck is completely up to you;-)

You may like contrasting wood or a reproduction look like this?
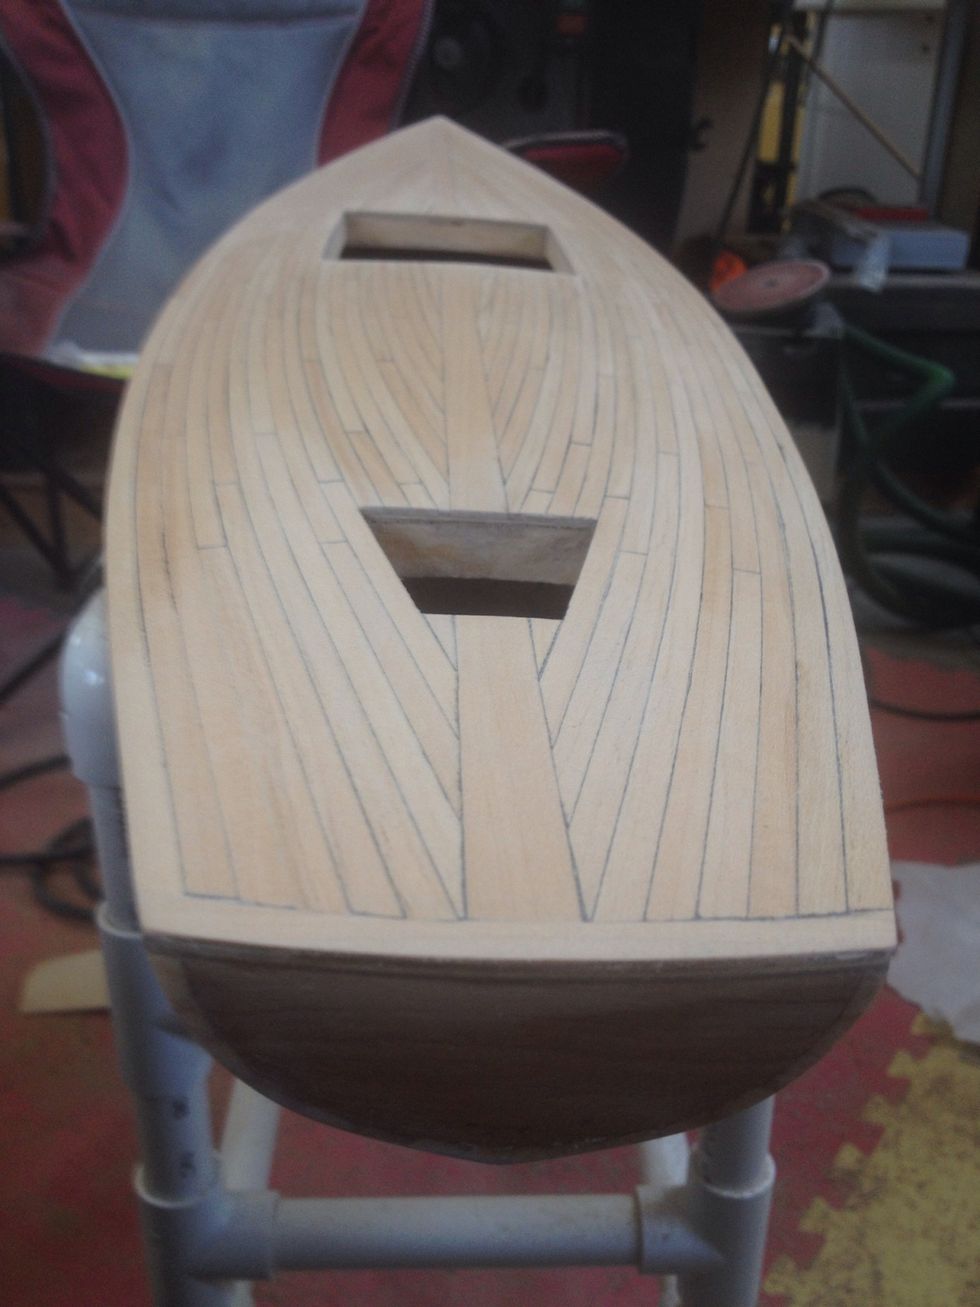
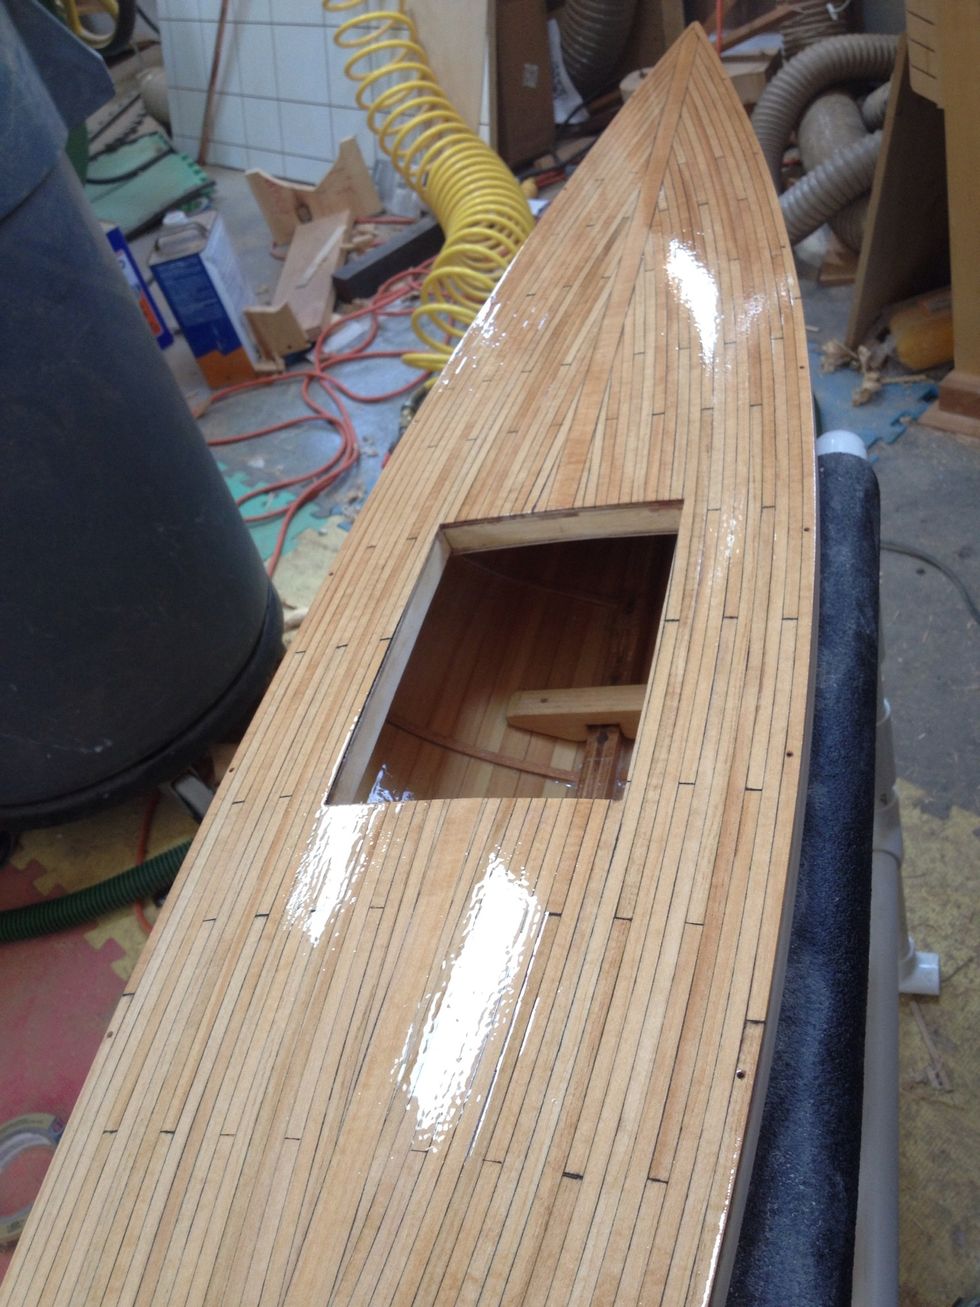
Finished deck ready for three coats of epoxy.

I put the epoxy finish on before the hatch combing. I think it makes it easer to get a smooth finish.

Three coats of epoxy ready to complete hatches.
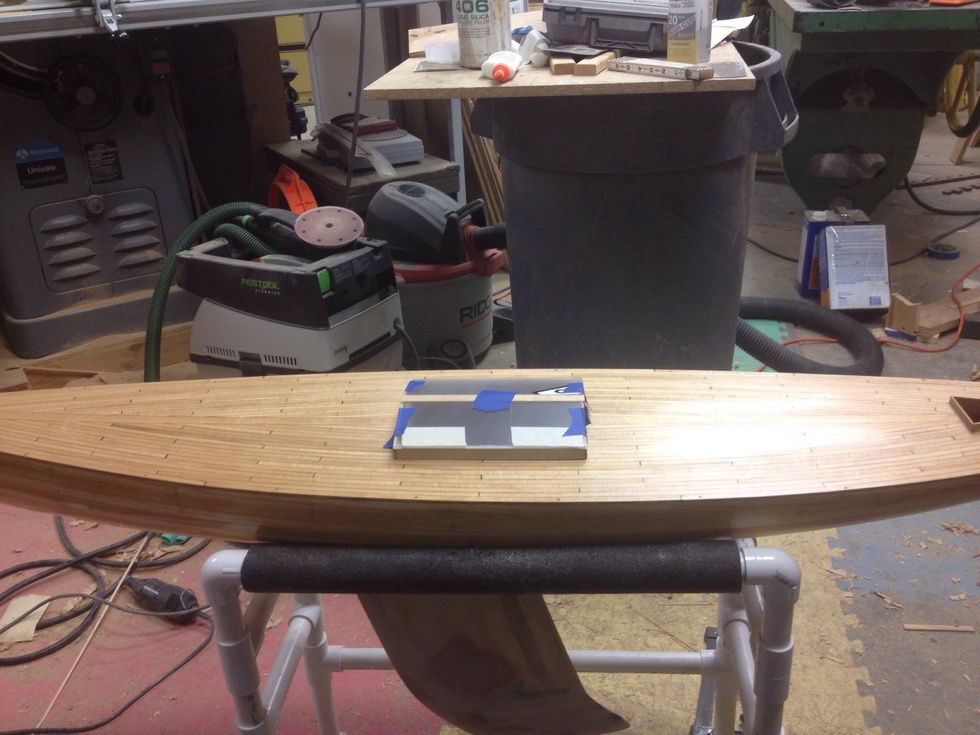
Needs buffing to improve the look and feel.
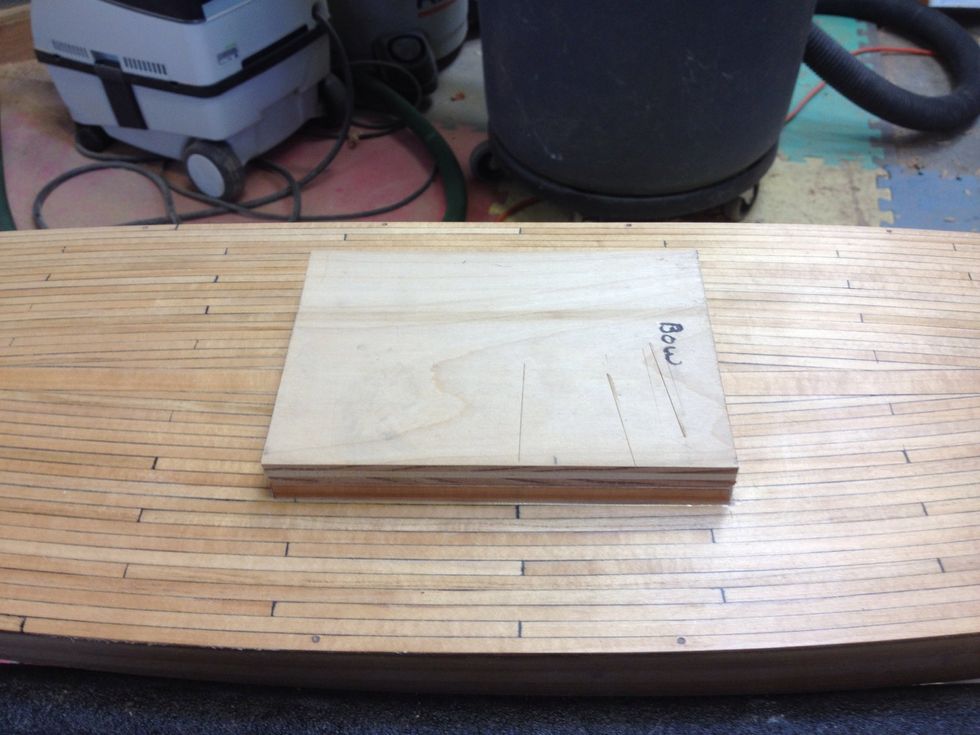
Plywood mold to glue hatch frames together with.
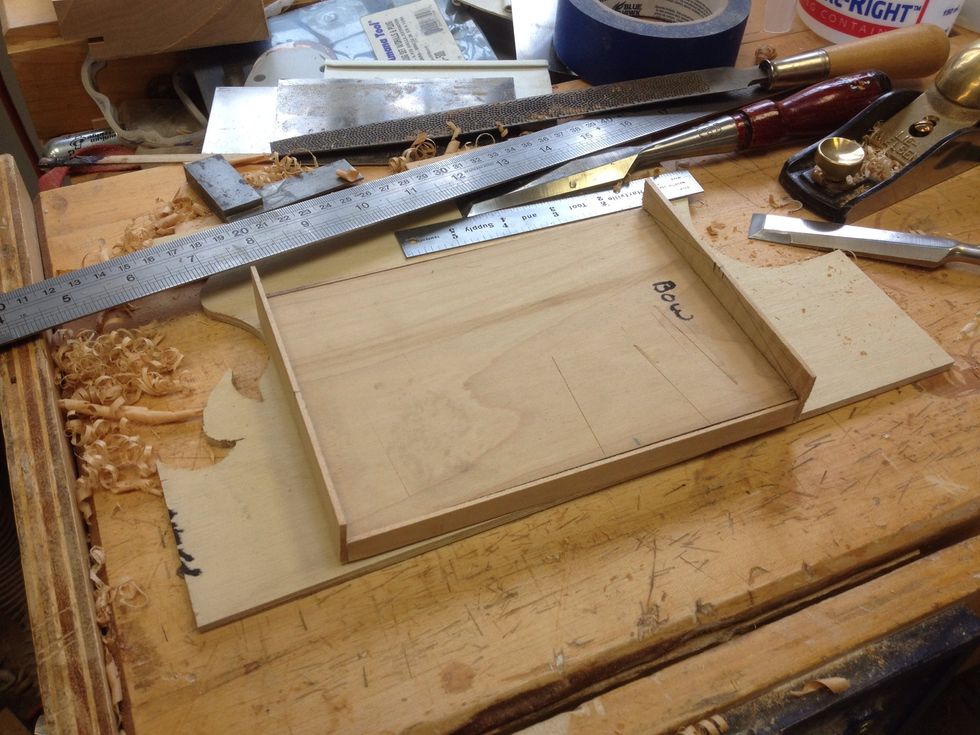
Plywood jig in use
Plug removed and windows fitted to the frame.