The Conversation (0)
Sign Up
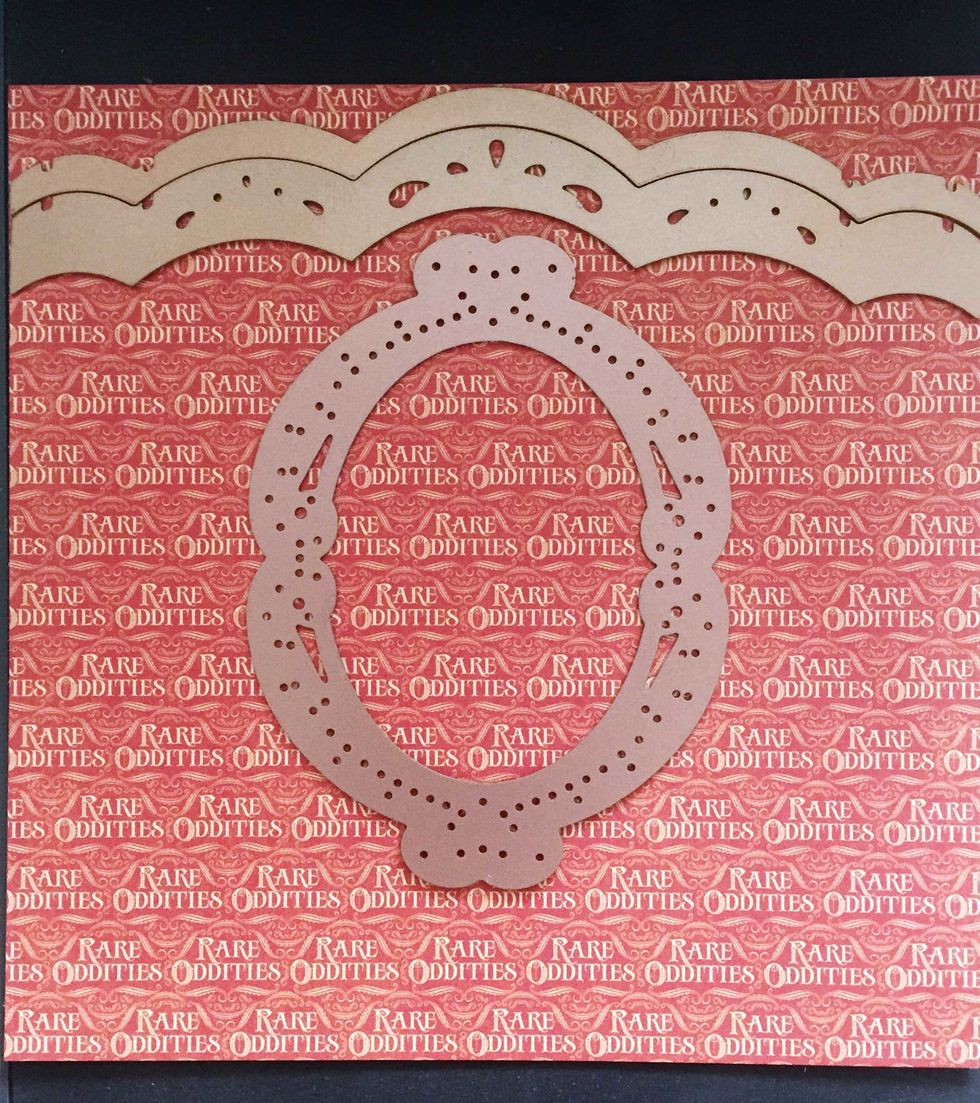
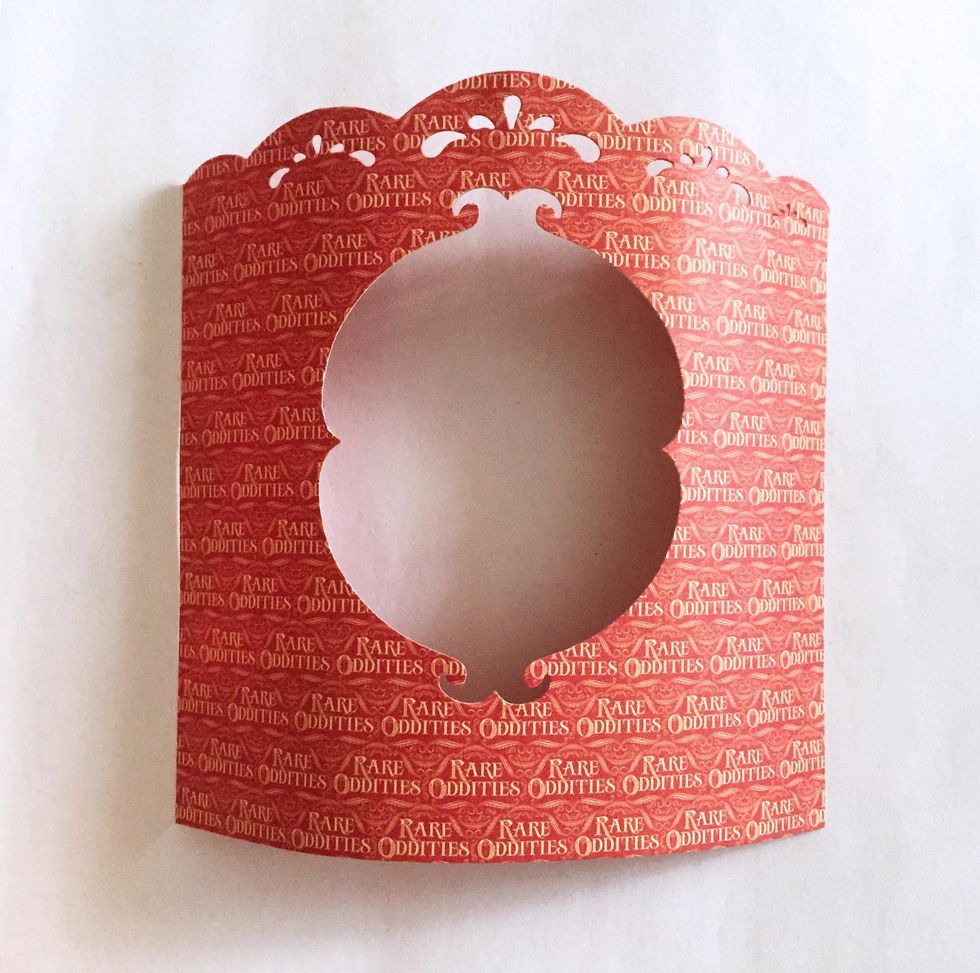
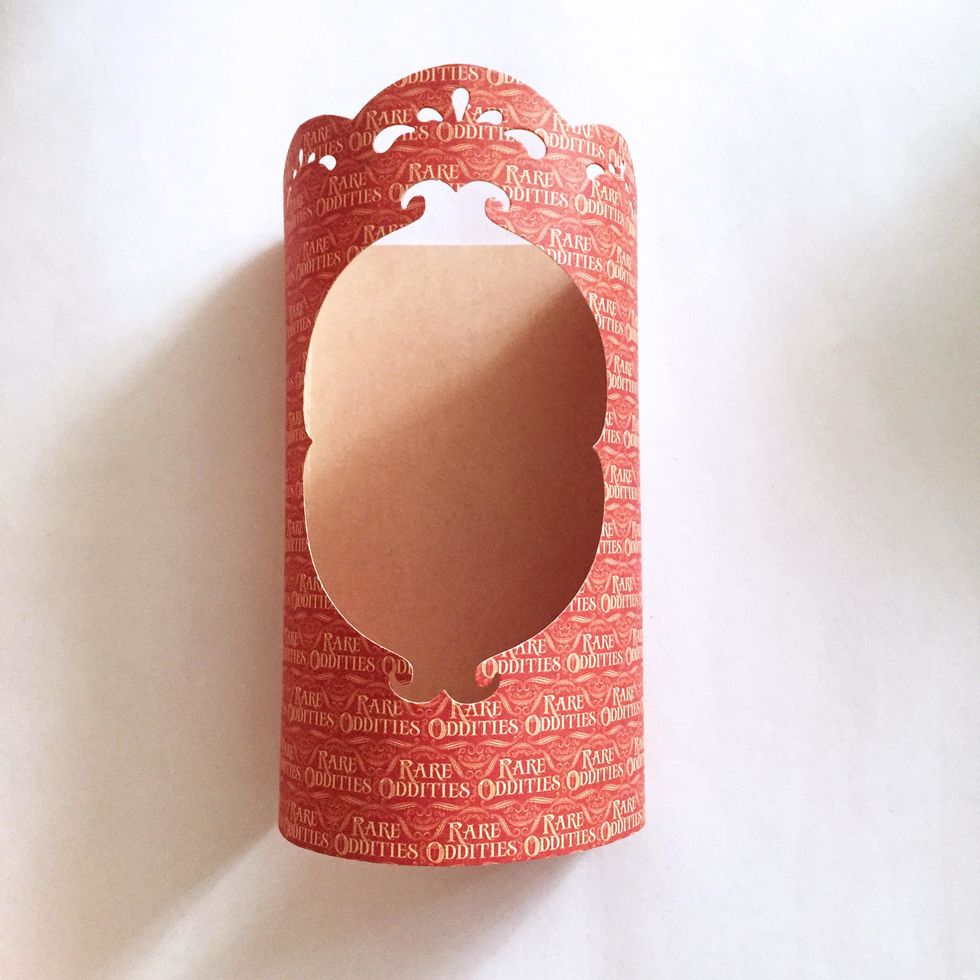
Use a 6" x 6" paper (or cut from a paper of your choice) from the solid & pattern paper pad, place the Spellbinders dies as follows - scallop border dies on top & the oval die below, near the center.

Run through the machine, and after die-cutting you will get 2 of these as shown.

Trim a 3.5" x 5.25" rectangle out from another pattern paper of your choice. This will be the backing of the candle cover.
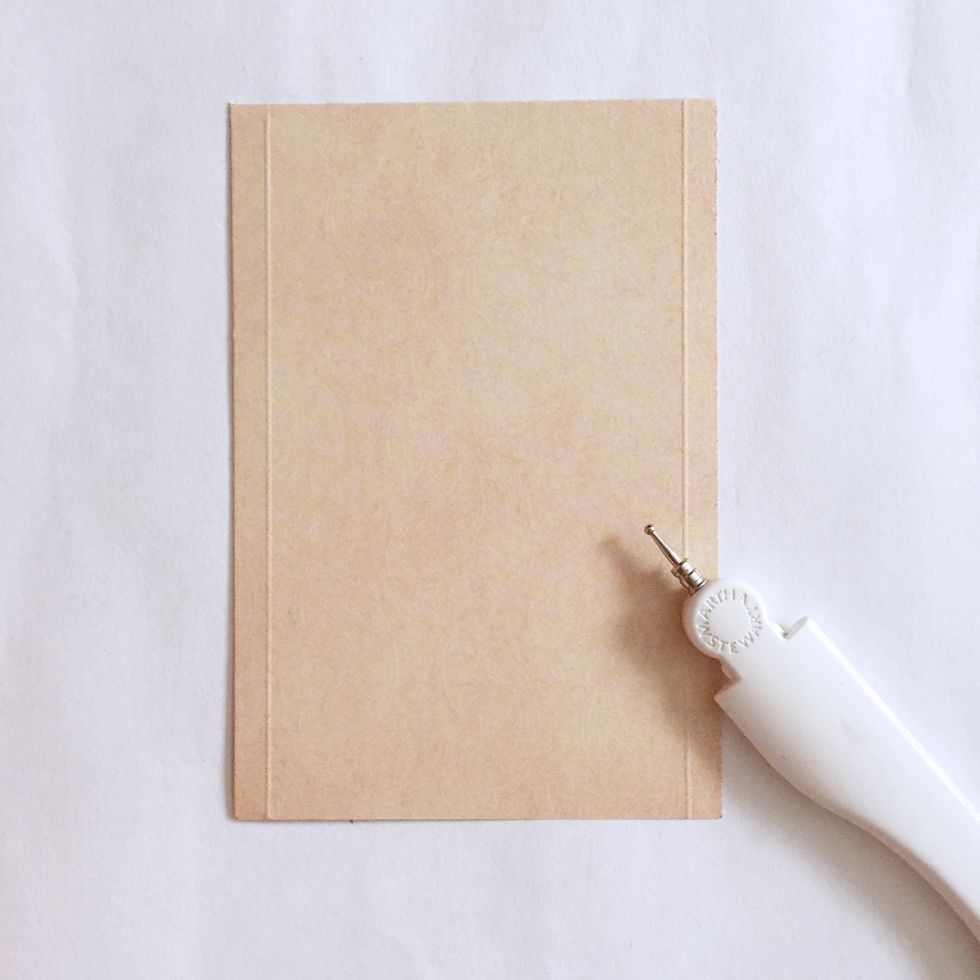
Score a 0.25" at both ends of the lengths.
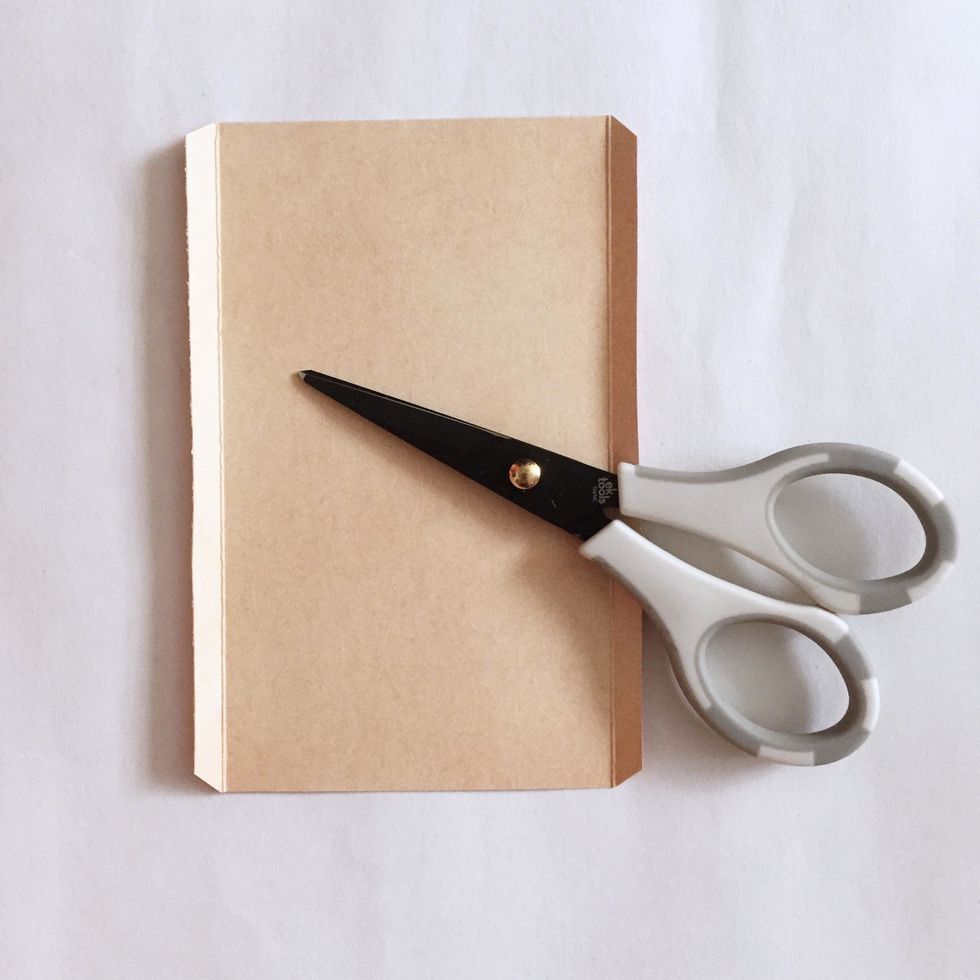
Fold and trim off the edges. Tapering off the edges is optional, you can just leave it as it is if the right angle edges doesn't bother you that much as I do.
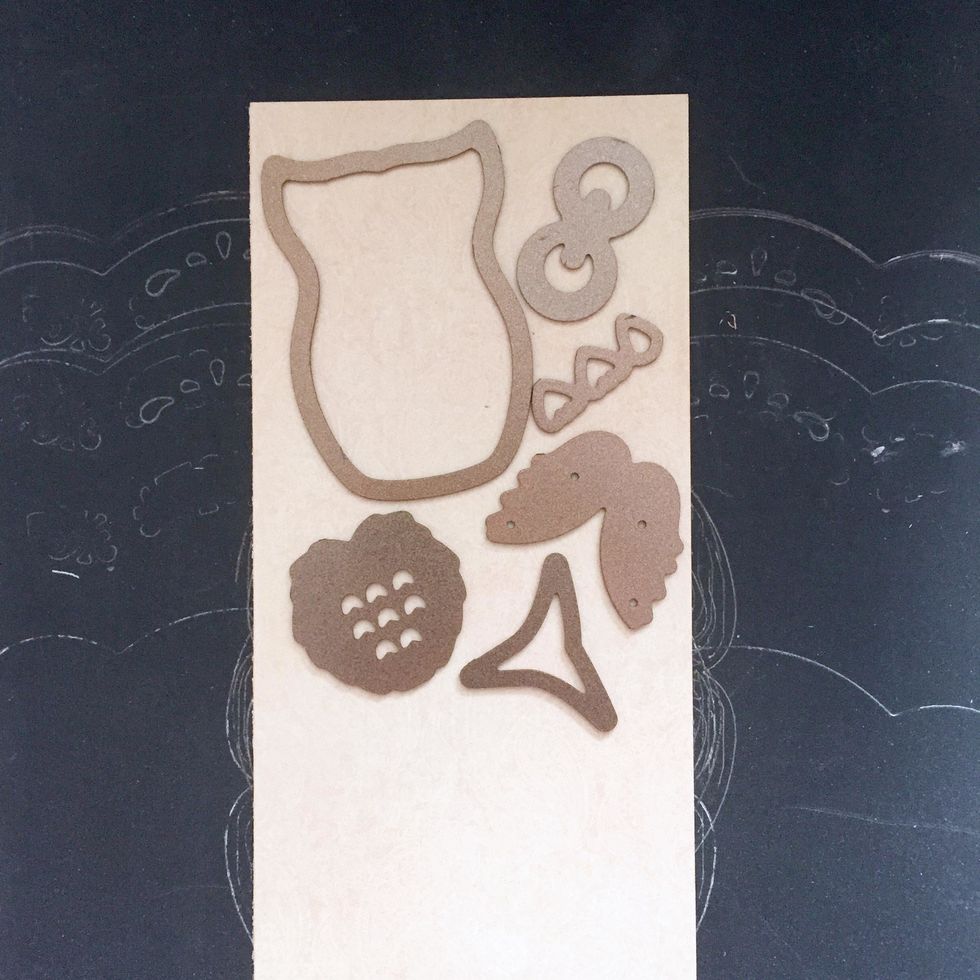
Place the Owl dies and die cut them through the machine.
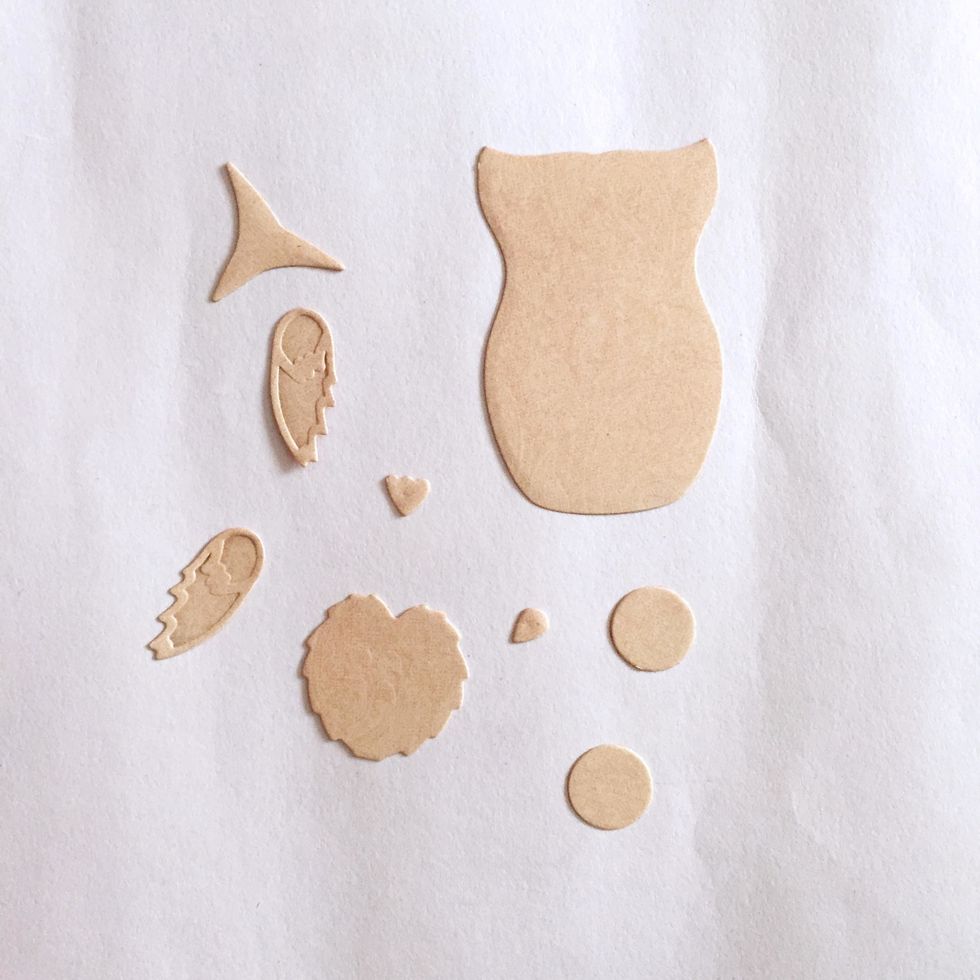
These are the little pieces after running the Owl dies through the machine.
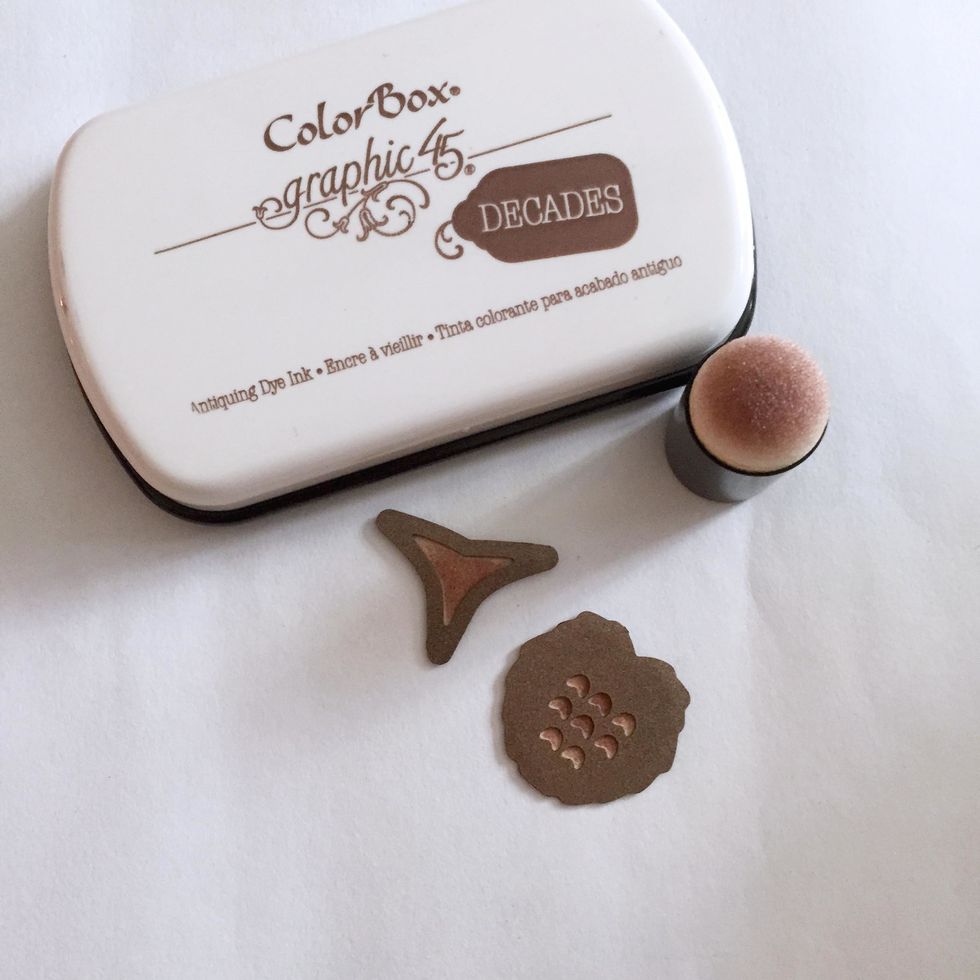
To create some dimensions, place the forehead and the belly of the owl back to their respective dies and ink them through as shown.
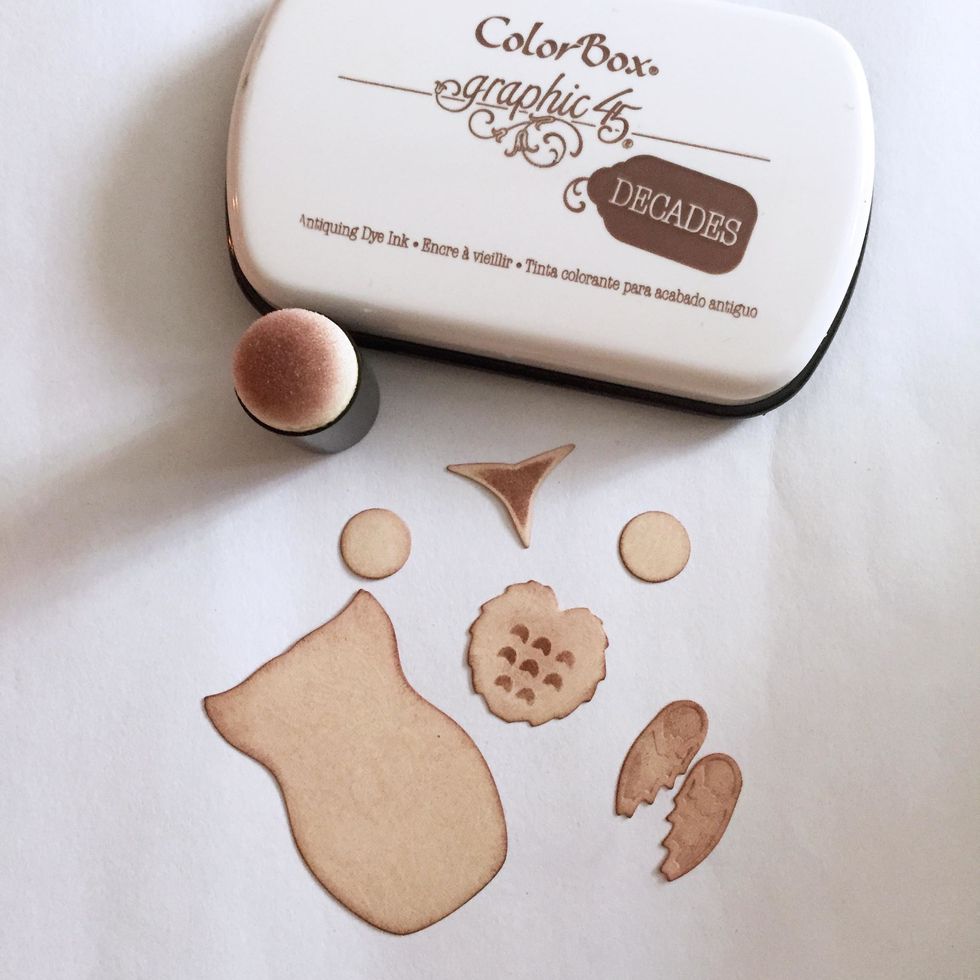
Distress the edges if preferred.
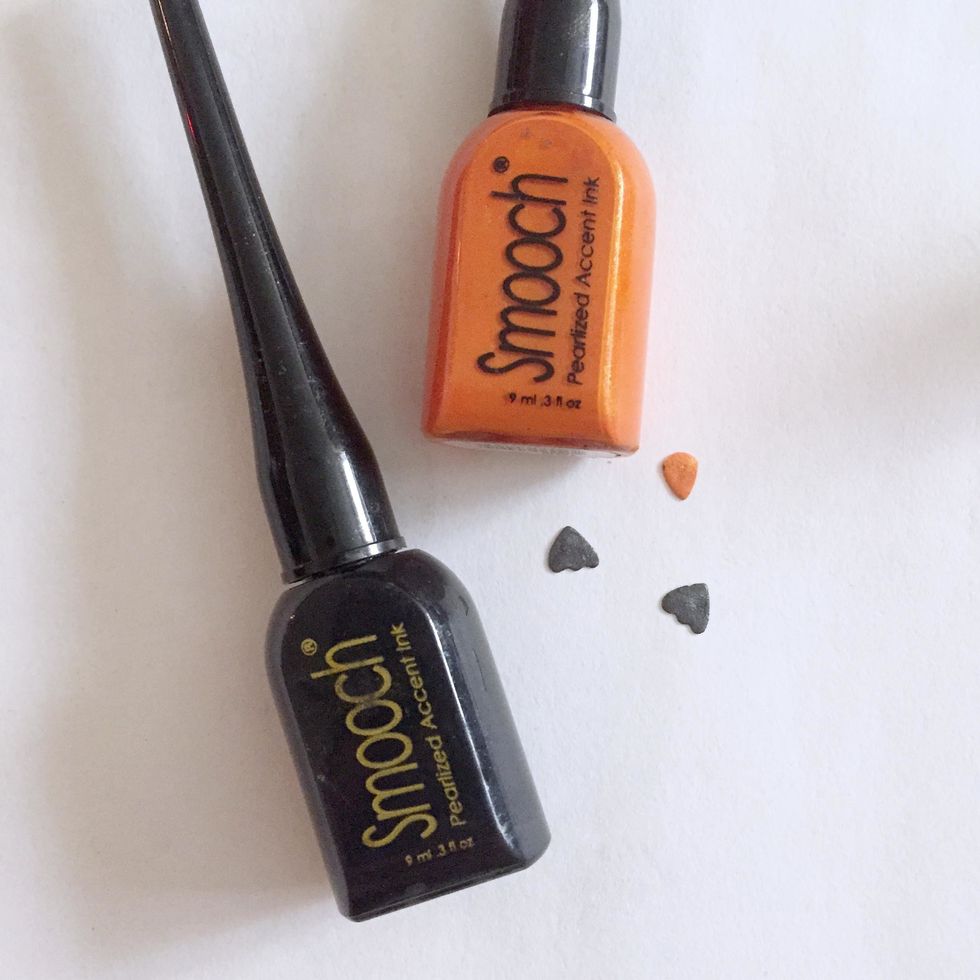
Color the beak with an orange ink and the feet with black ink.

Assemble the Owl and give some eyeballs to the eyes by drawing them using a black sharpie pen. And here you get your little dude here!!
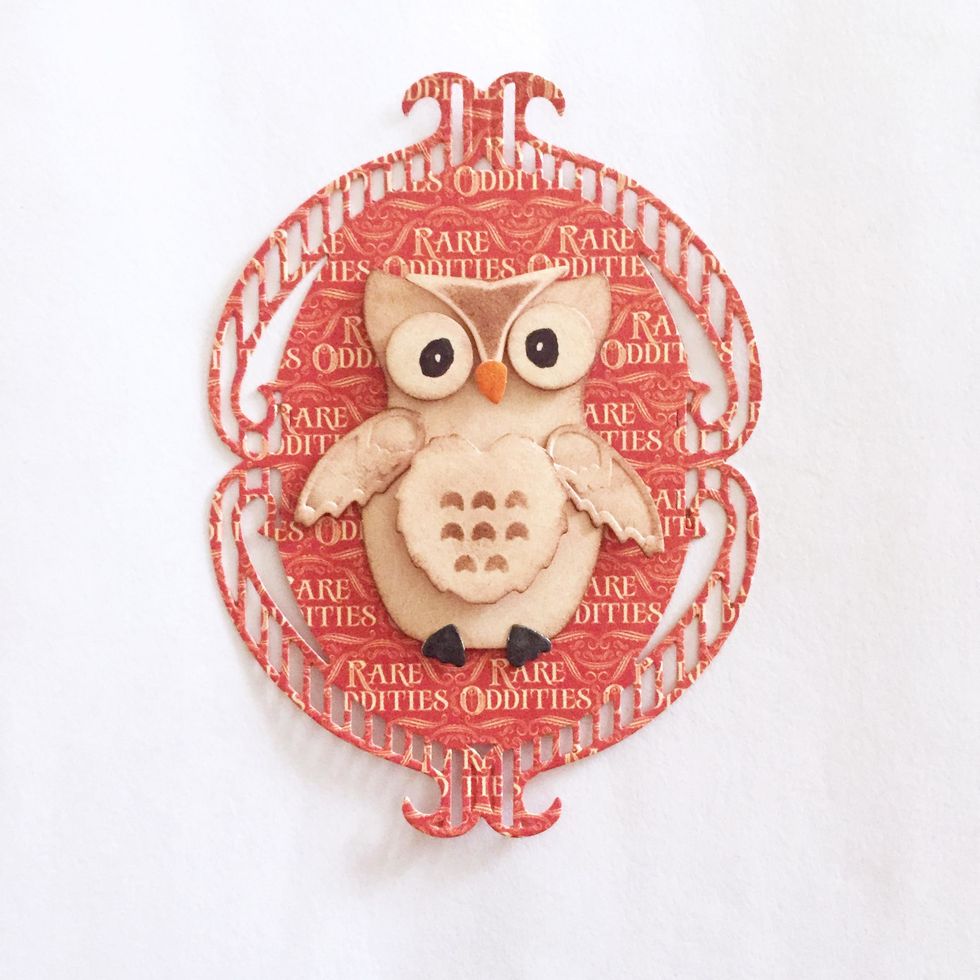
Place the finished Owl onto the piece of oval ornate piece as shown.
Round the cover by slowly roll the paper with your hands. If needed to, use a roller but be careful not to roll too much.

On the backing from Step 5, apply some glue or glossy accent on one of the edges as shown.
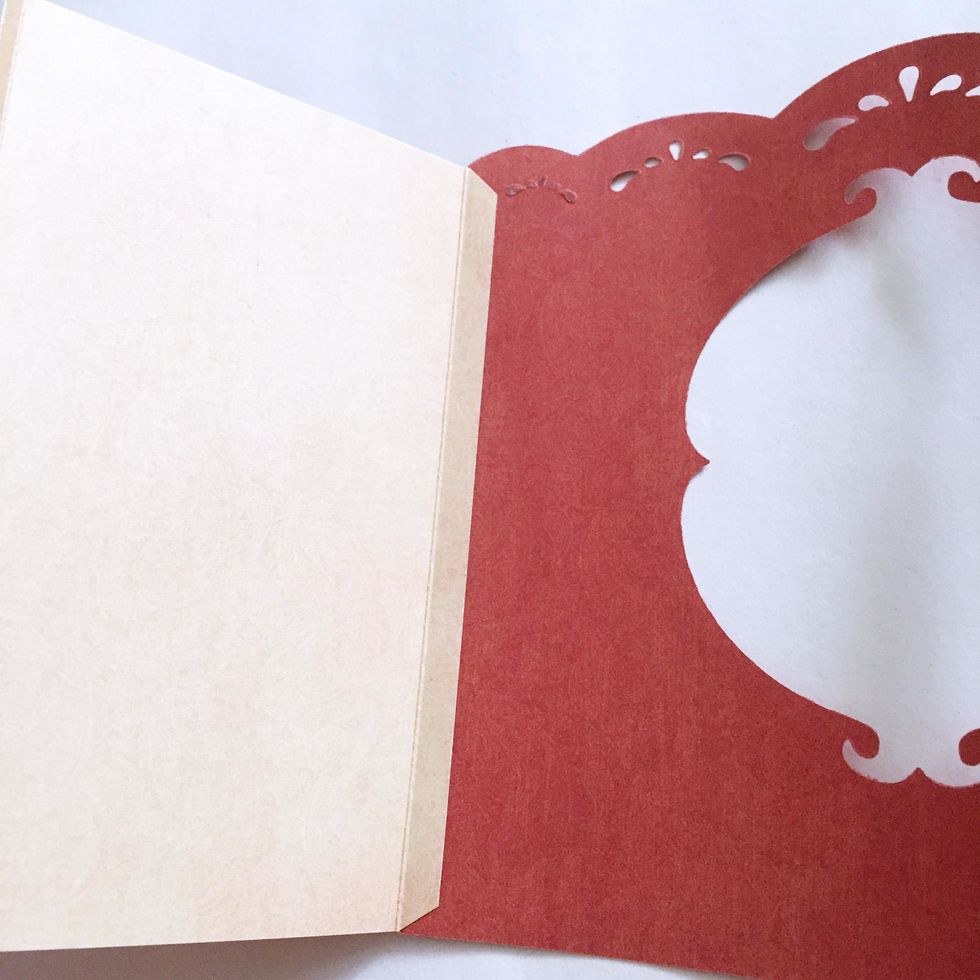
Attached and glue onto the interior of the cover as shown.
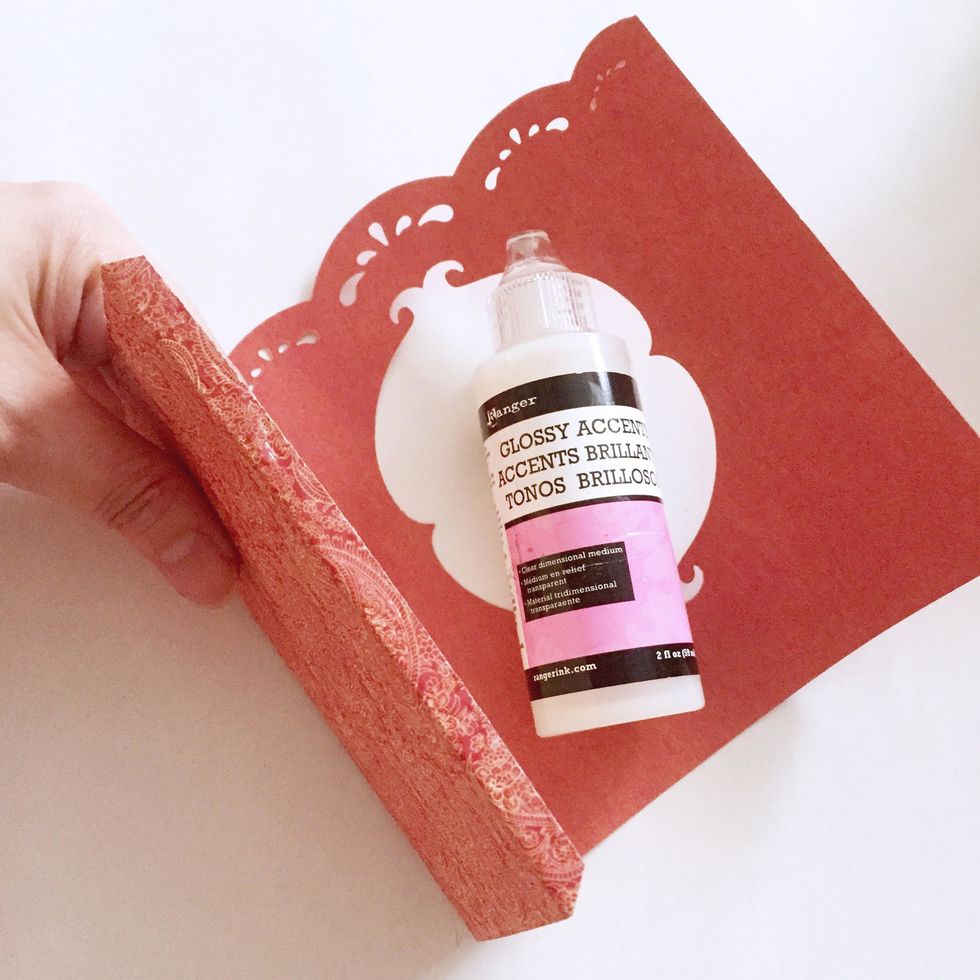
Apply glue/glossy accent on the other end as shown.
Then attach and glue over to the other end of the cover completing the candle cover.
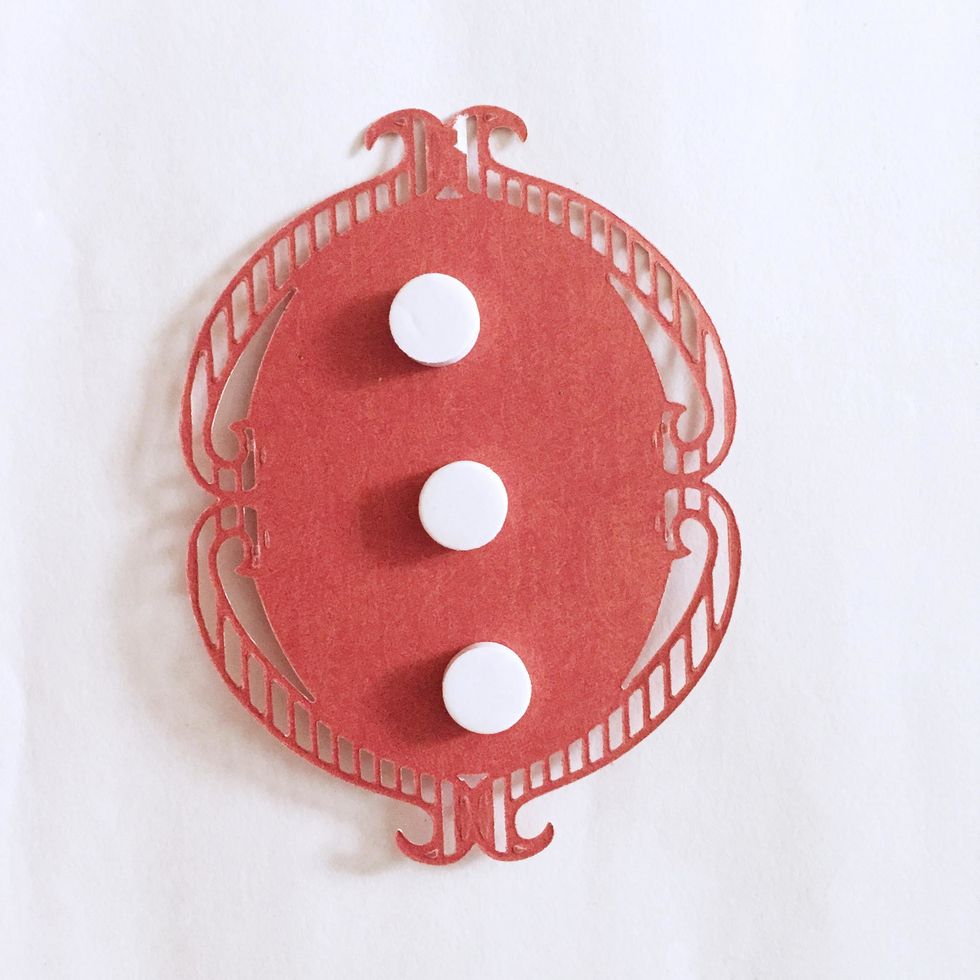
Add some foam dots at the back of the oval ornate piece. This will be the inner centerpiece of the candle cover.
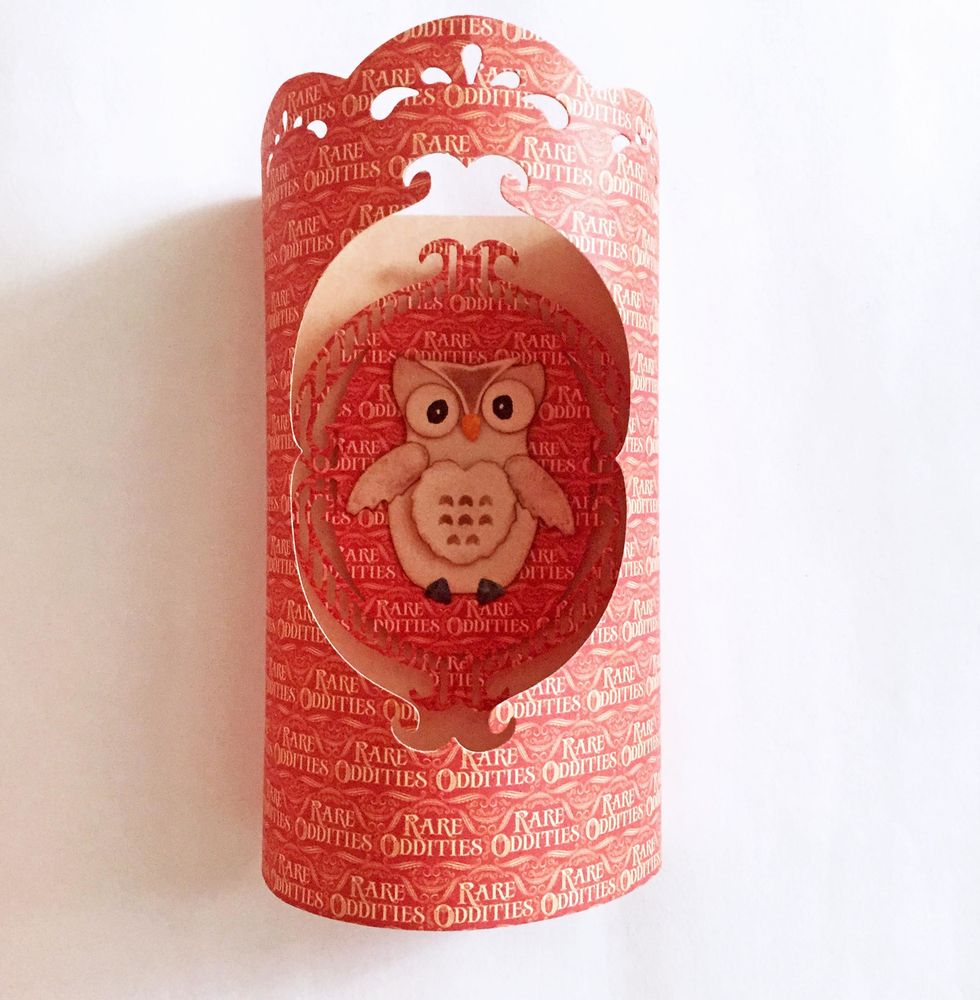
Place the Owl centerpiece inside the candle cover. And you are done!
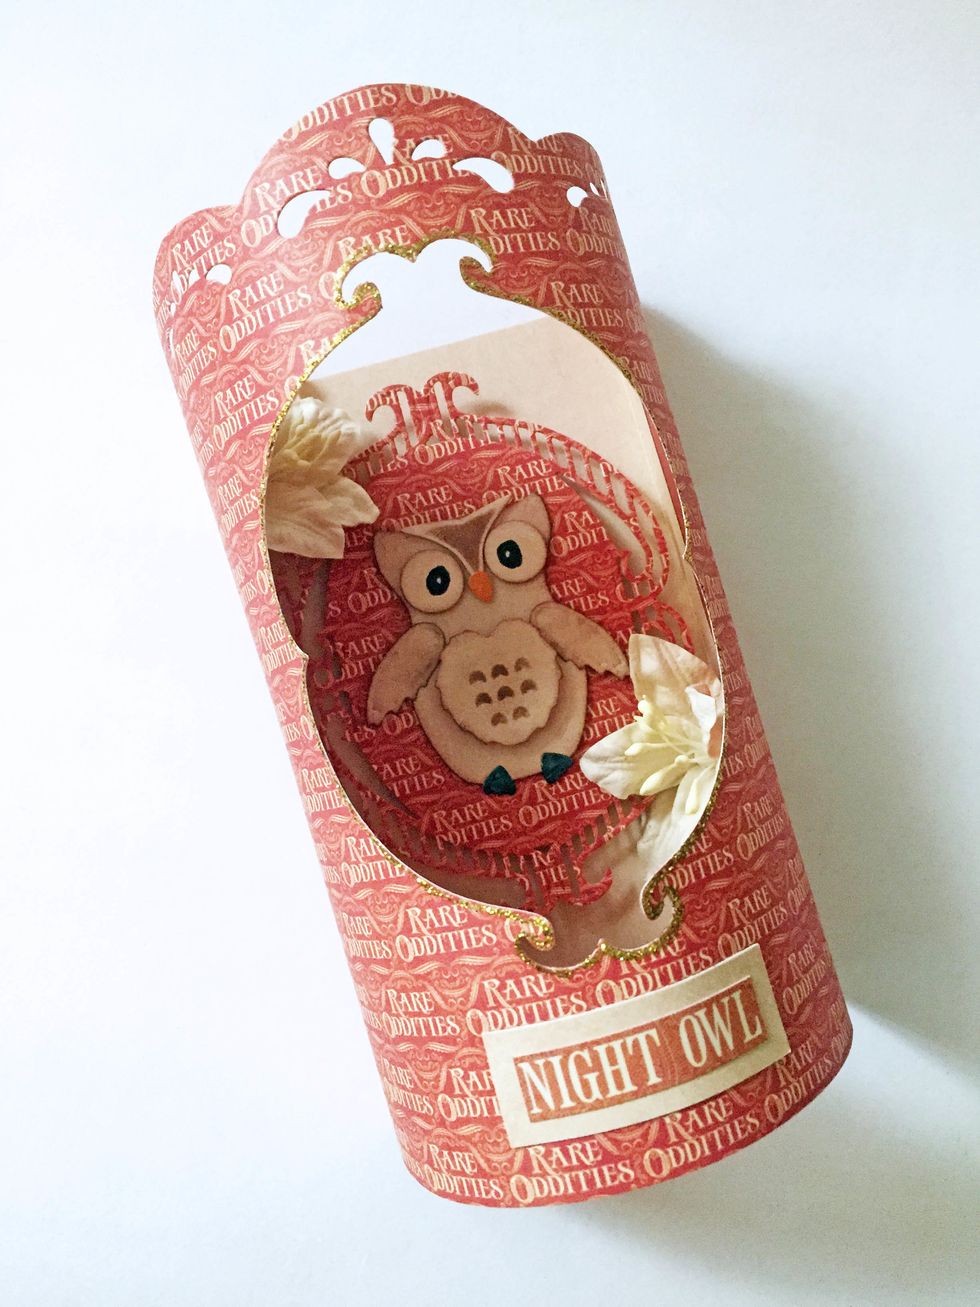
Add the "Night Owl" sticker and some mulberry flowers if you'd like to. Accent the edges using some golden sticklers to enhance it if preferred.

And there you go - the Night Owl Candle Cover. I'm using a LED tea light here. You can use normal candle but be very careful as the candle cover is made of paper.