The Conversation (0)
Sign Up
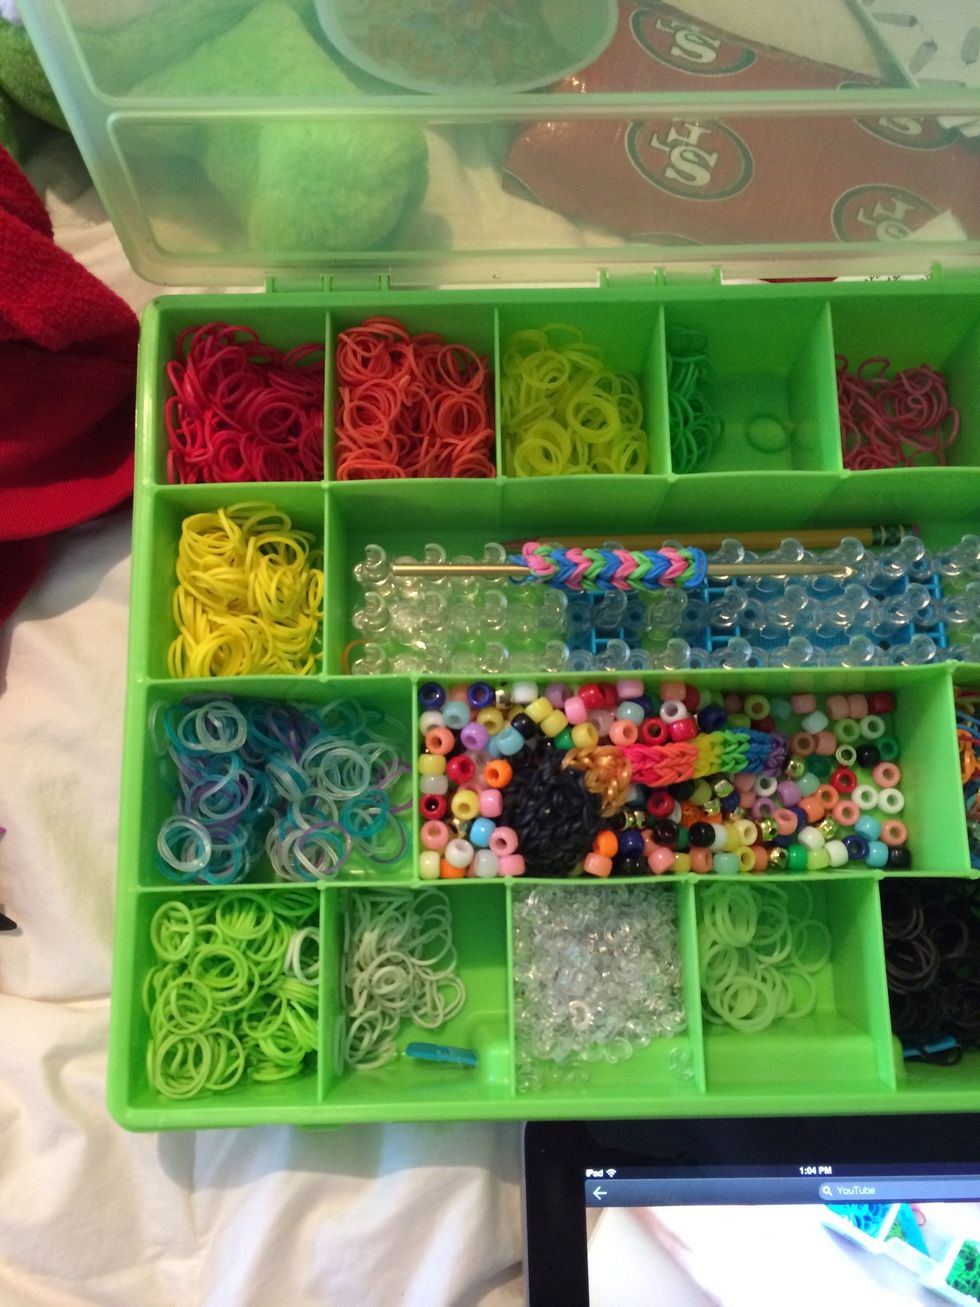
Let's get ready to loom 😃. Grab some rubber bands your hook and your loom.
For this bracelet I will be using a color combo of red orange and yellow. You can do whatever color combo you want. All the steps will remain the same 😊
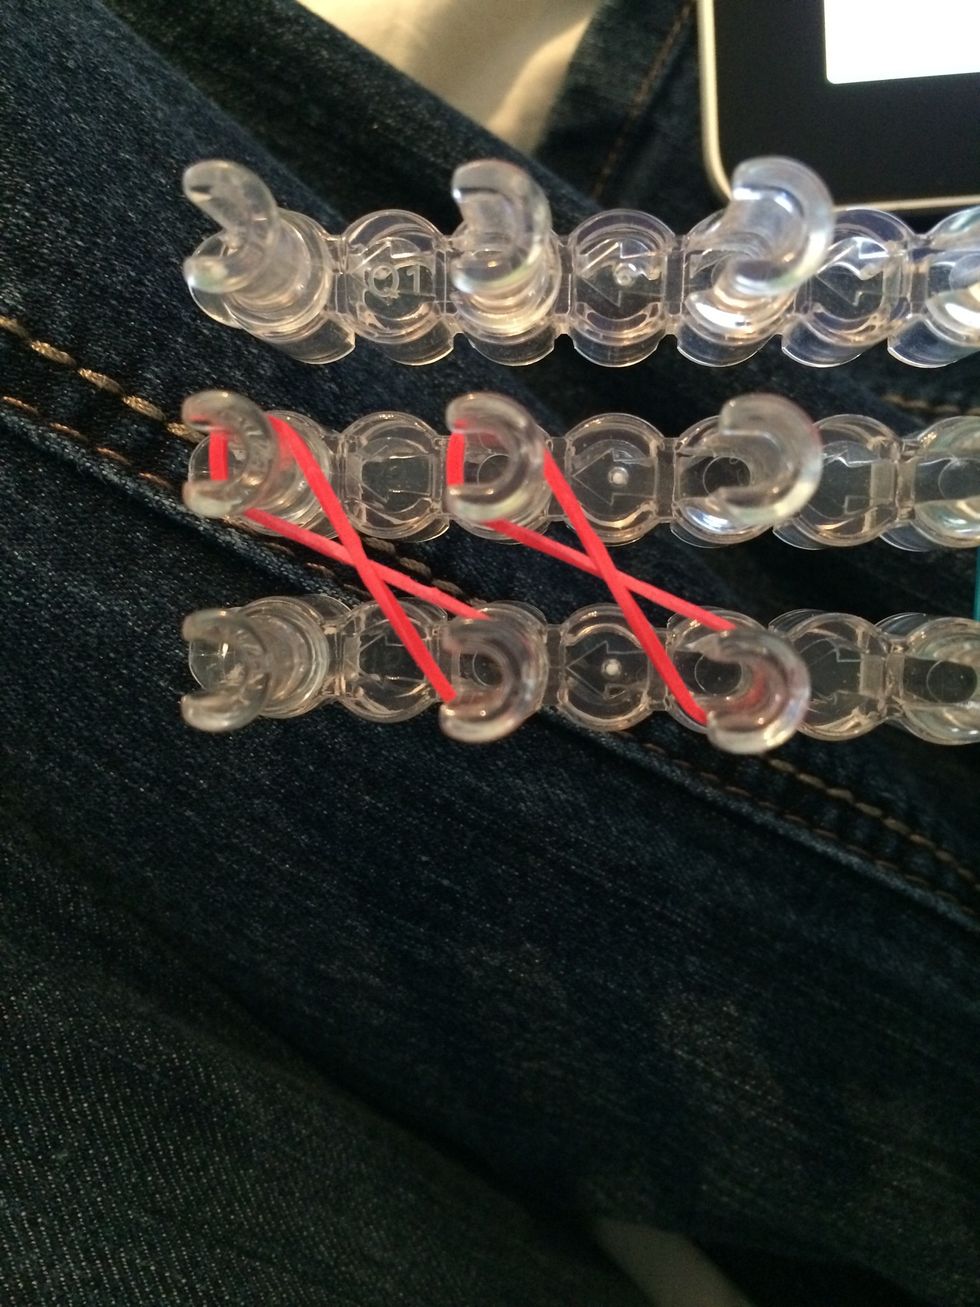
Grab your first colors. Place 2 twisted bands like this. We will be making the base for our bracelet.
Place 2 more bands going the opposite way. Make sure you twist them. Push down the rubber bands.
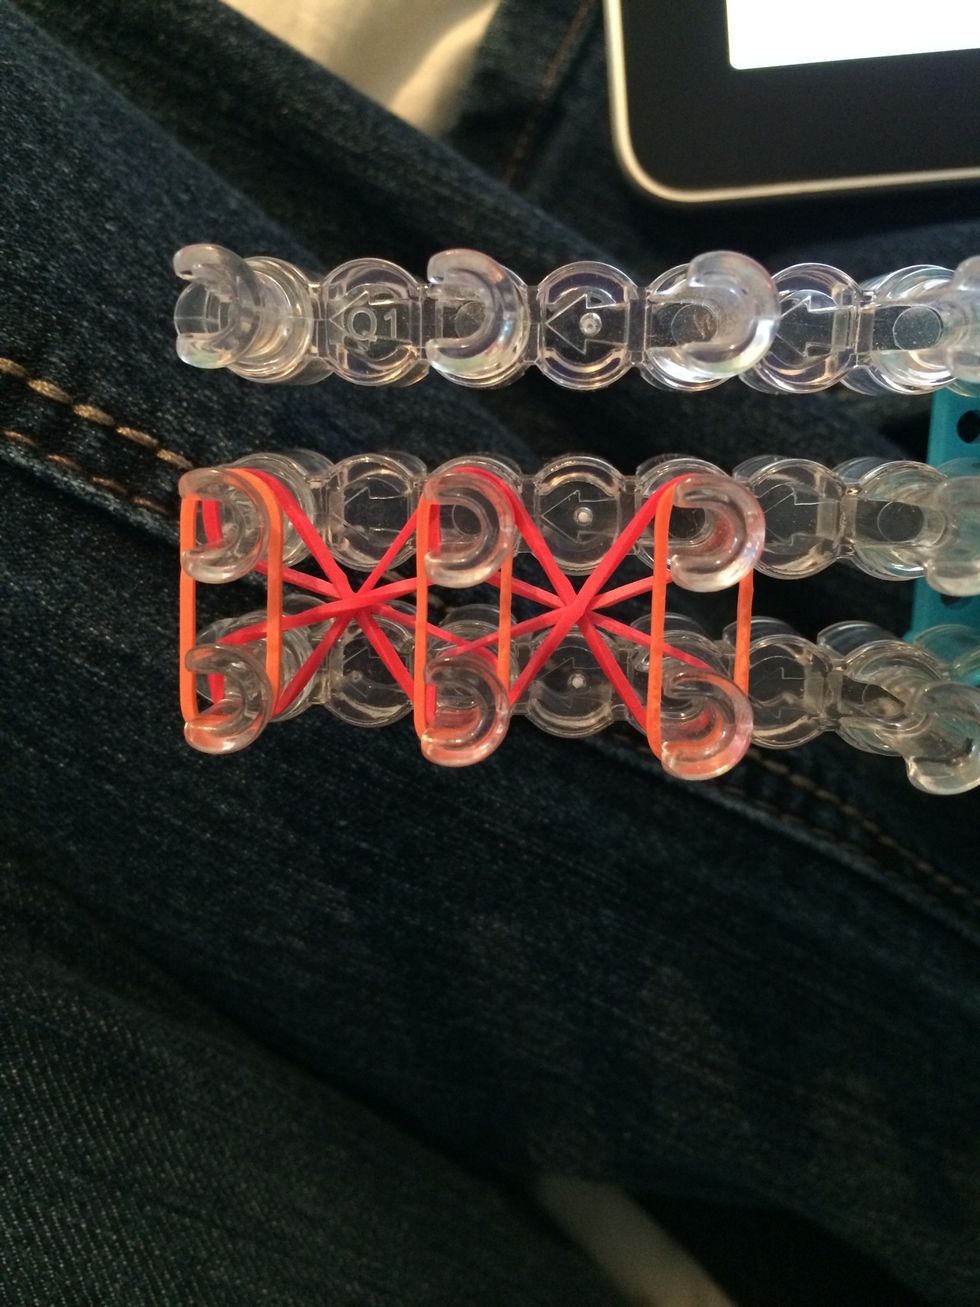
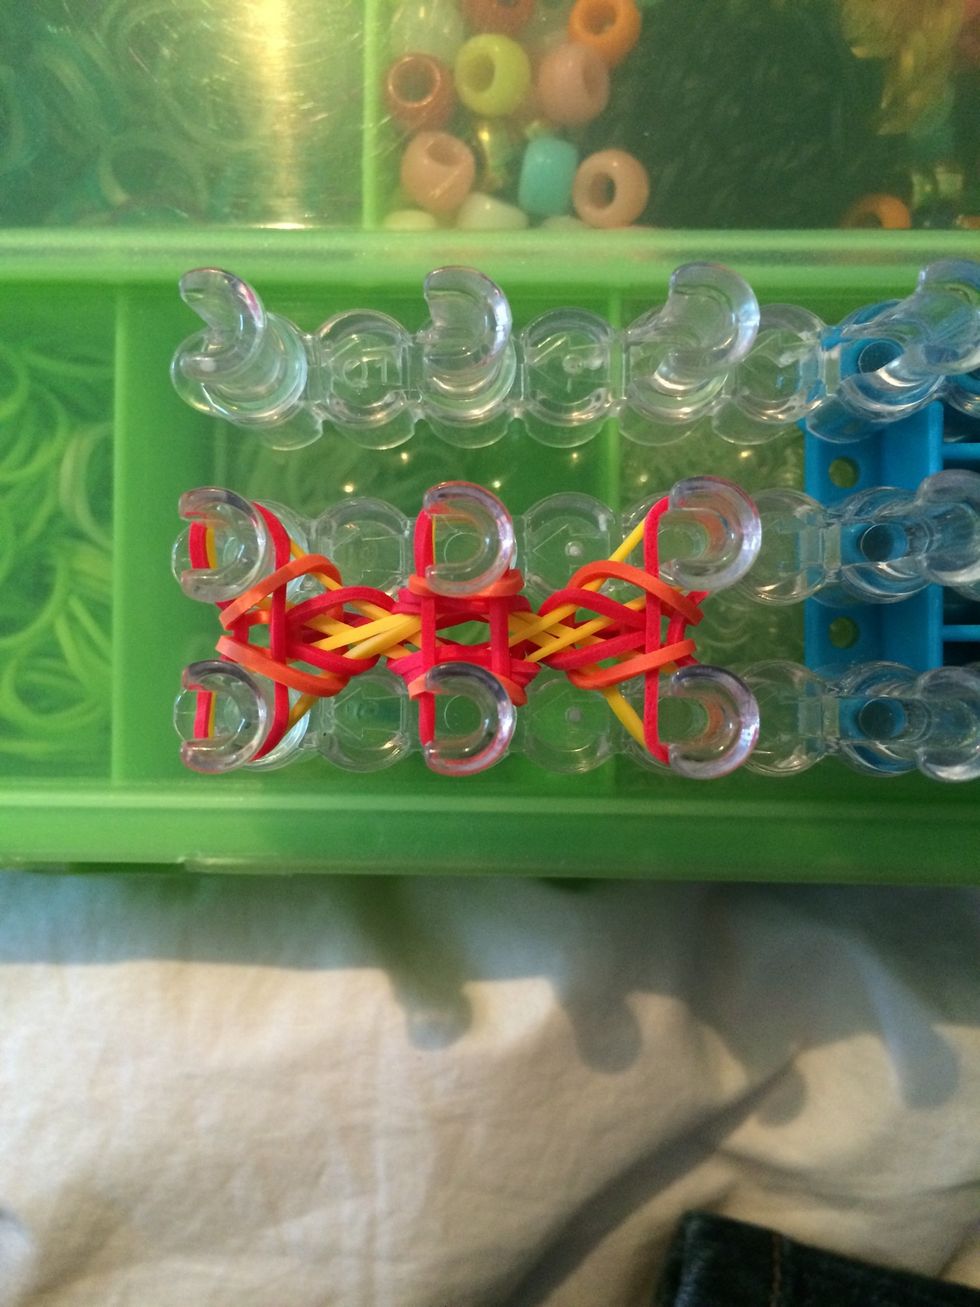
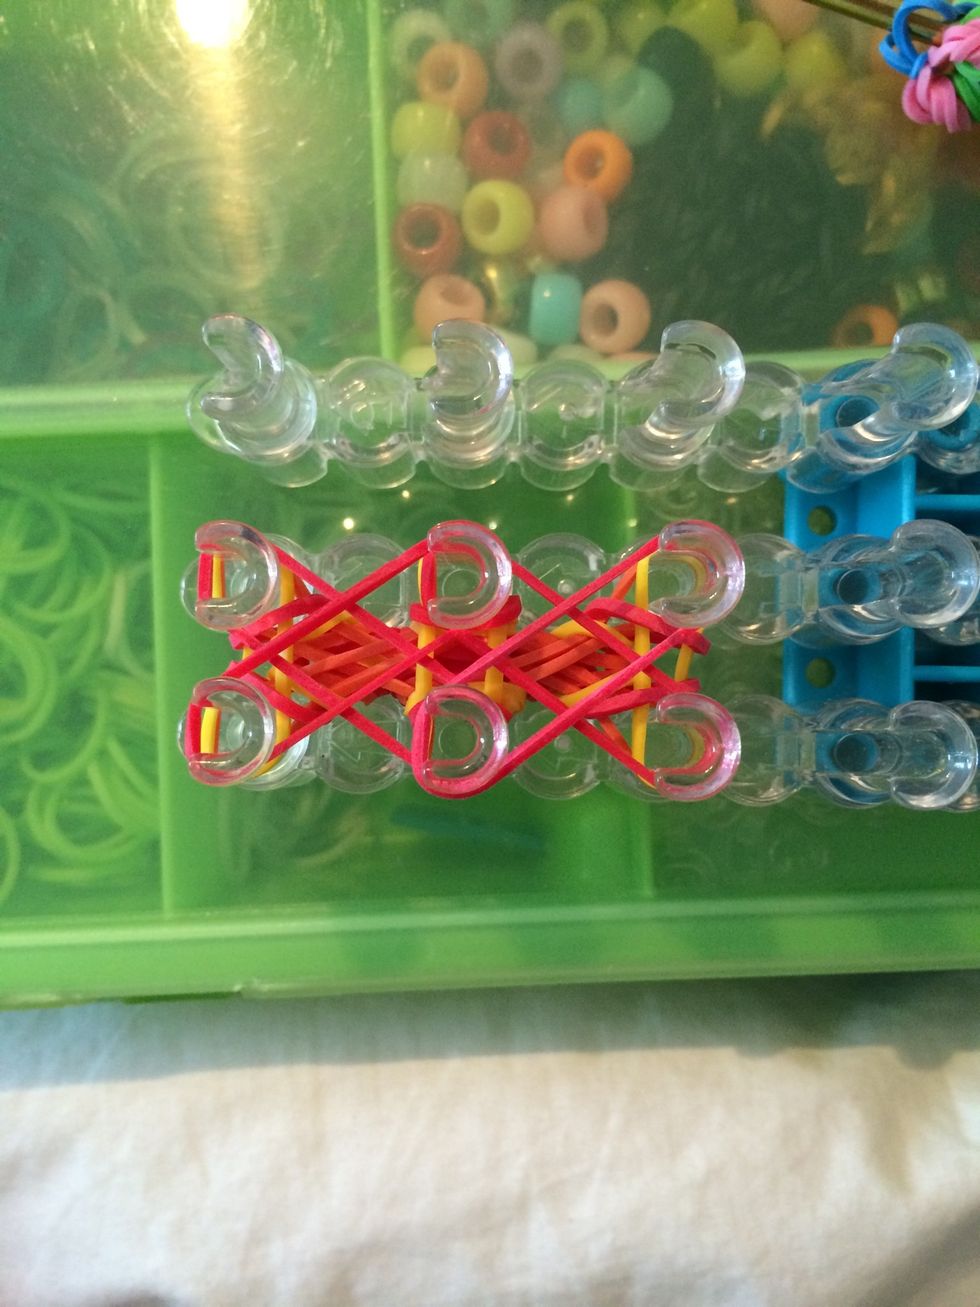
Take 3 bands of your next color and place them on the loom like this. Push down the bands.

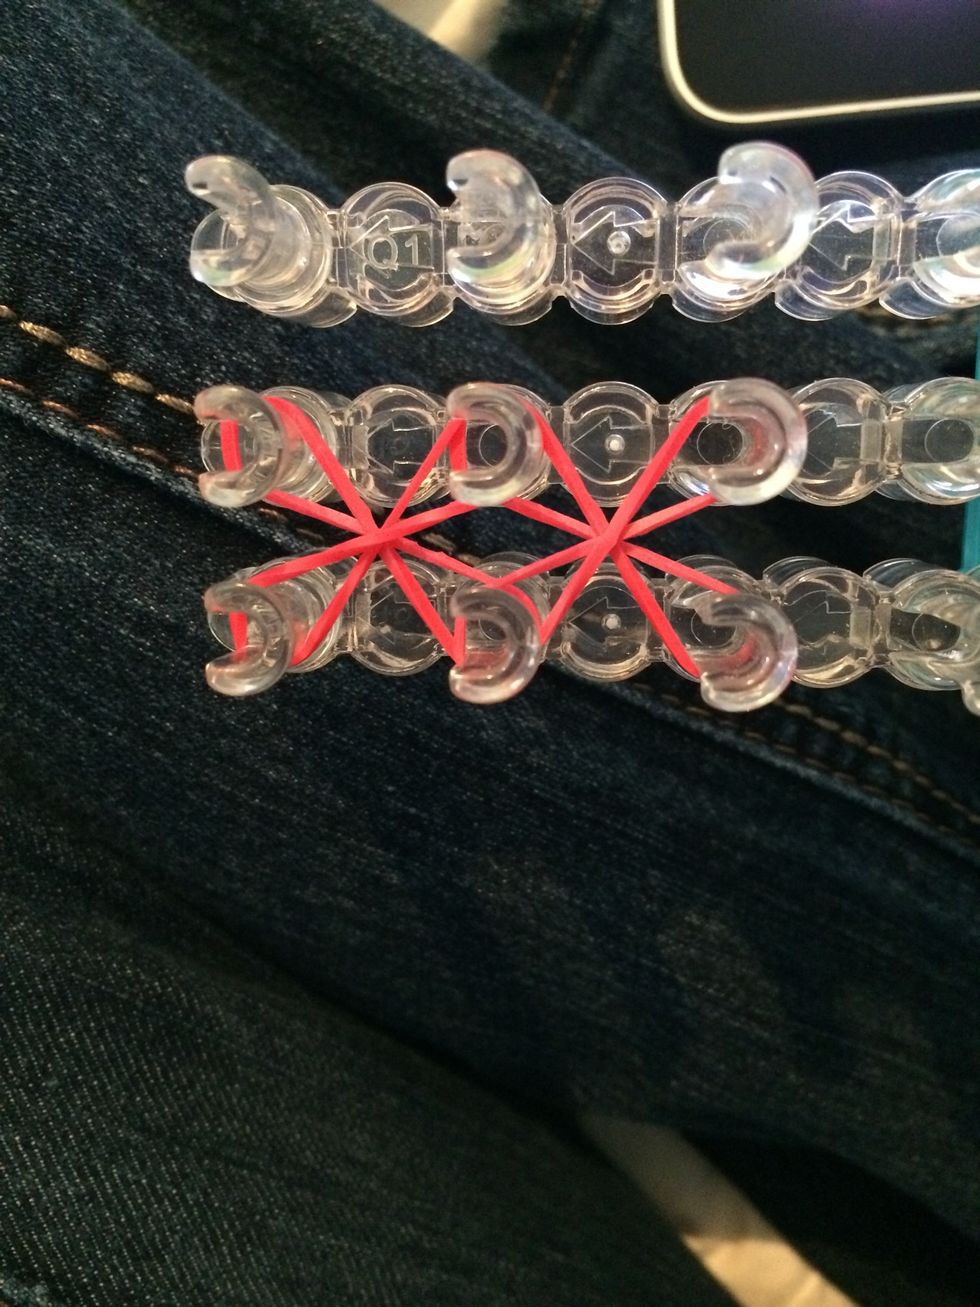
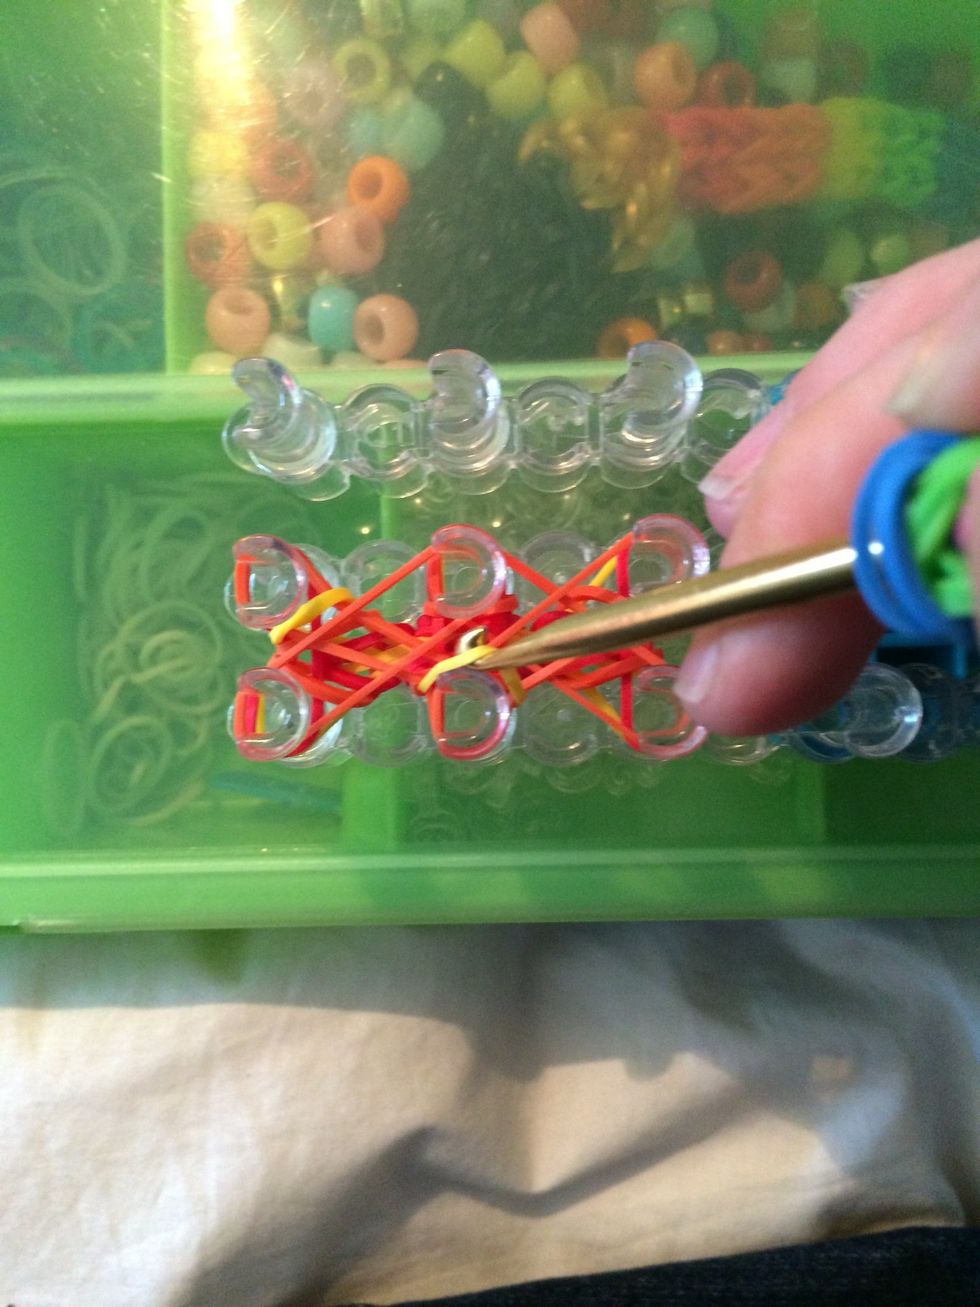
We are going to be making two more X's. Take 2 bands of the next color and place them like this.
Take 2 more bands and cross your X's. Push down your rubber bands.
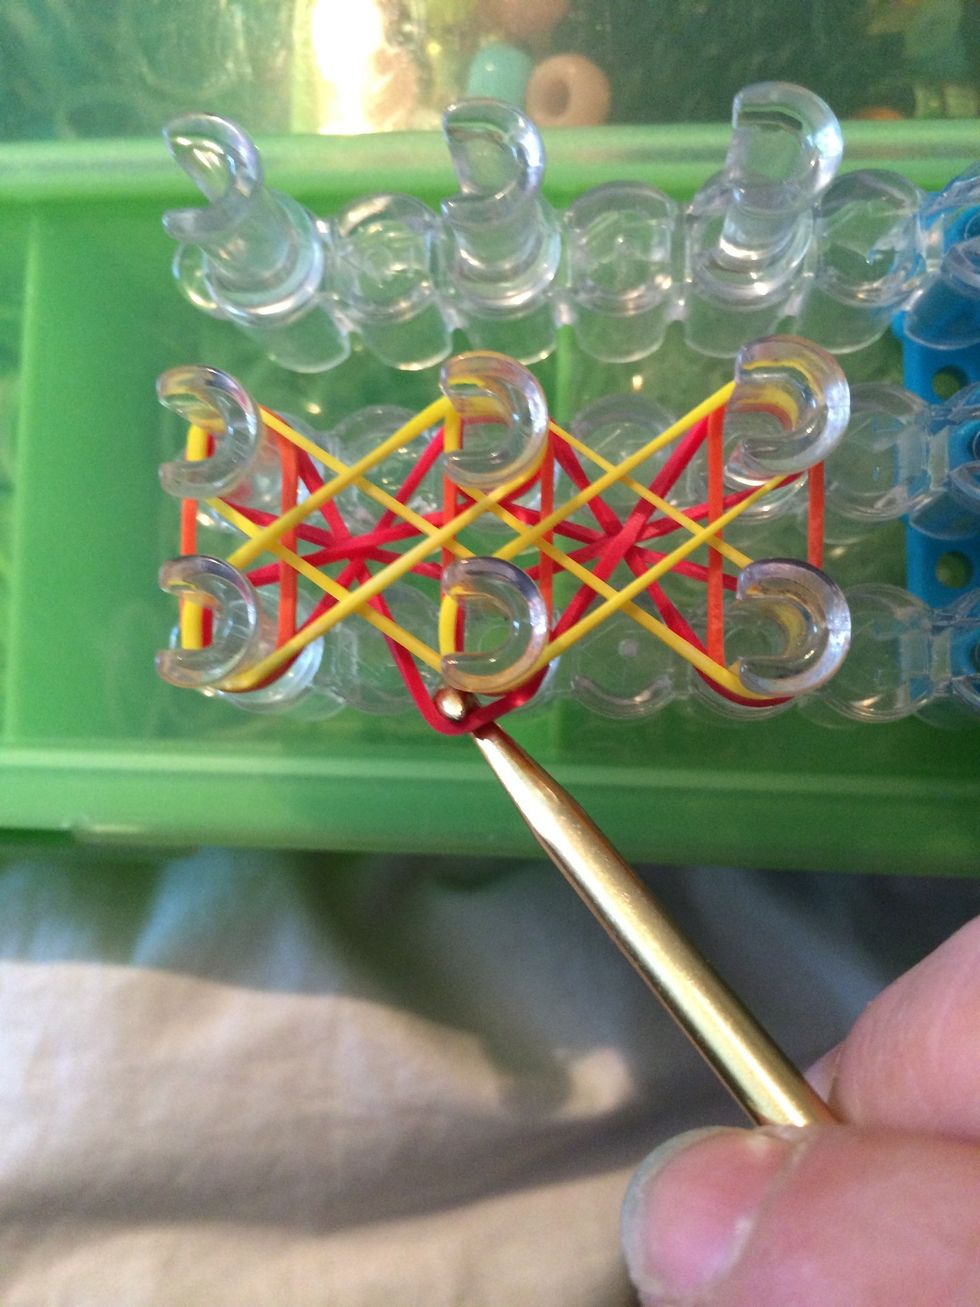
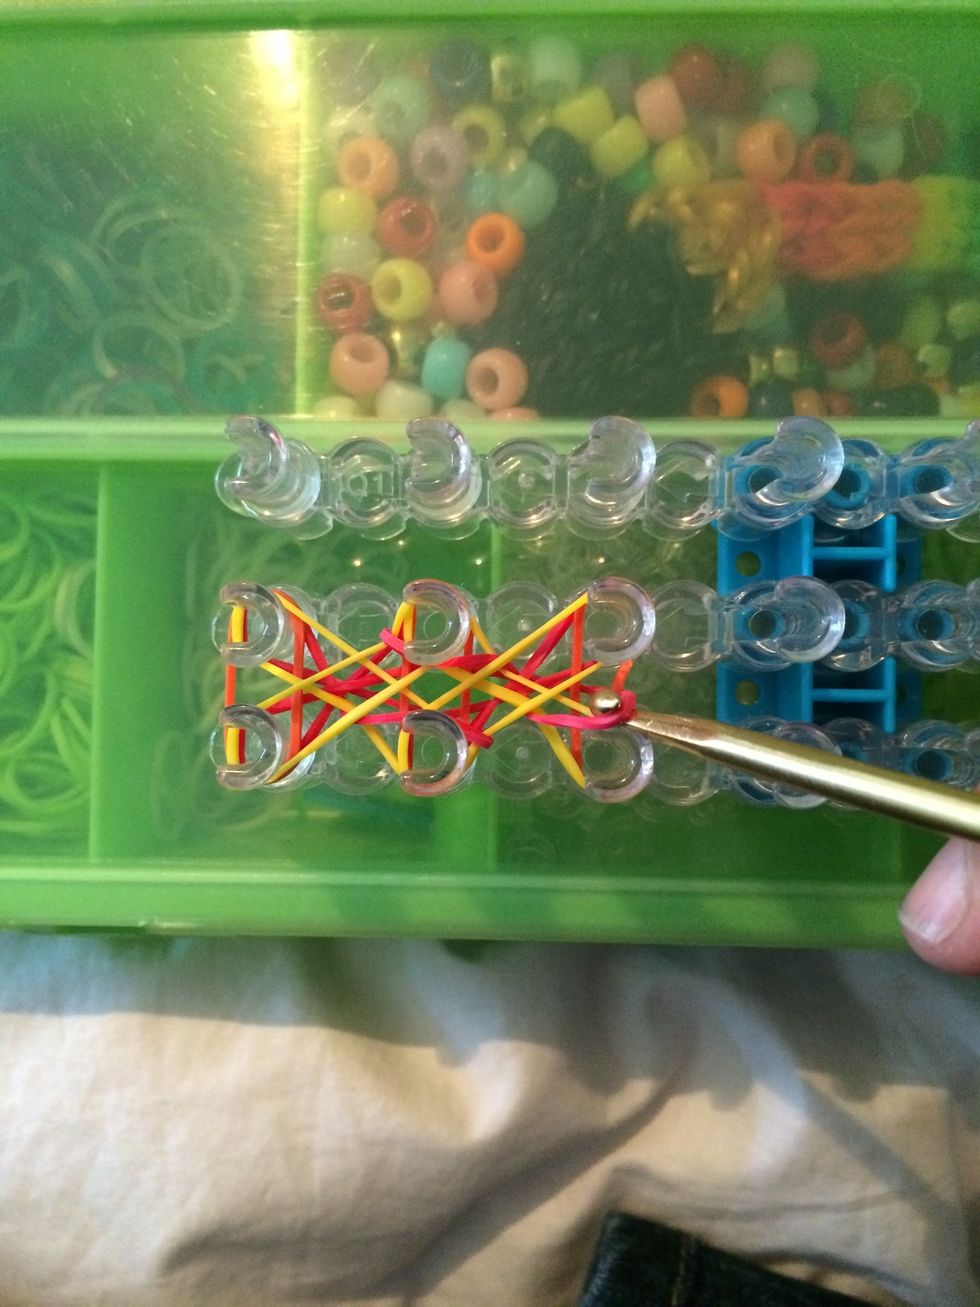
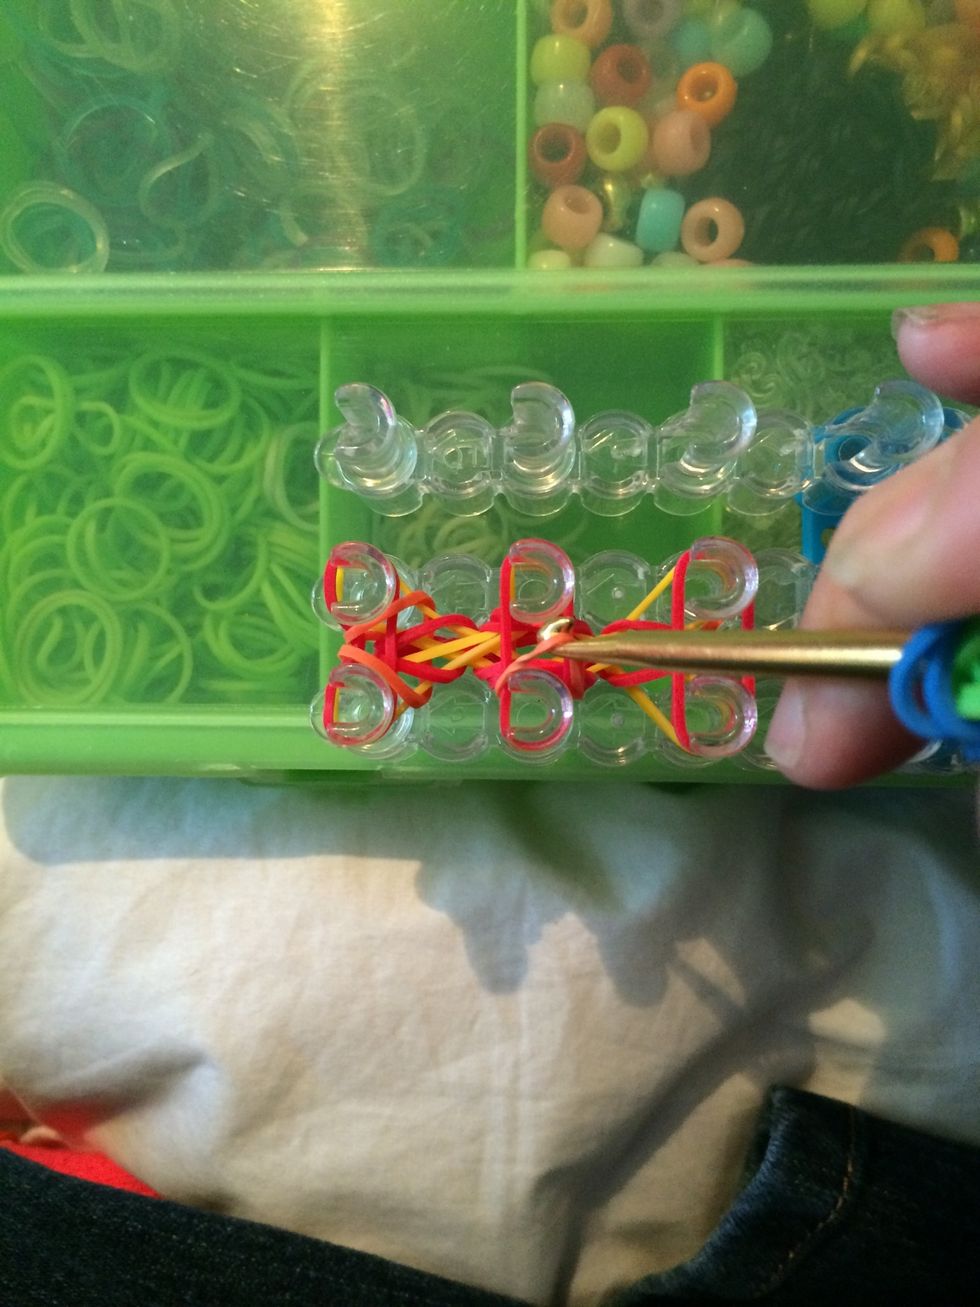
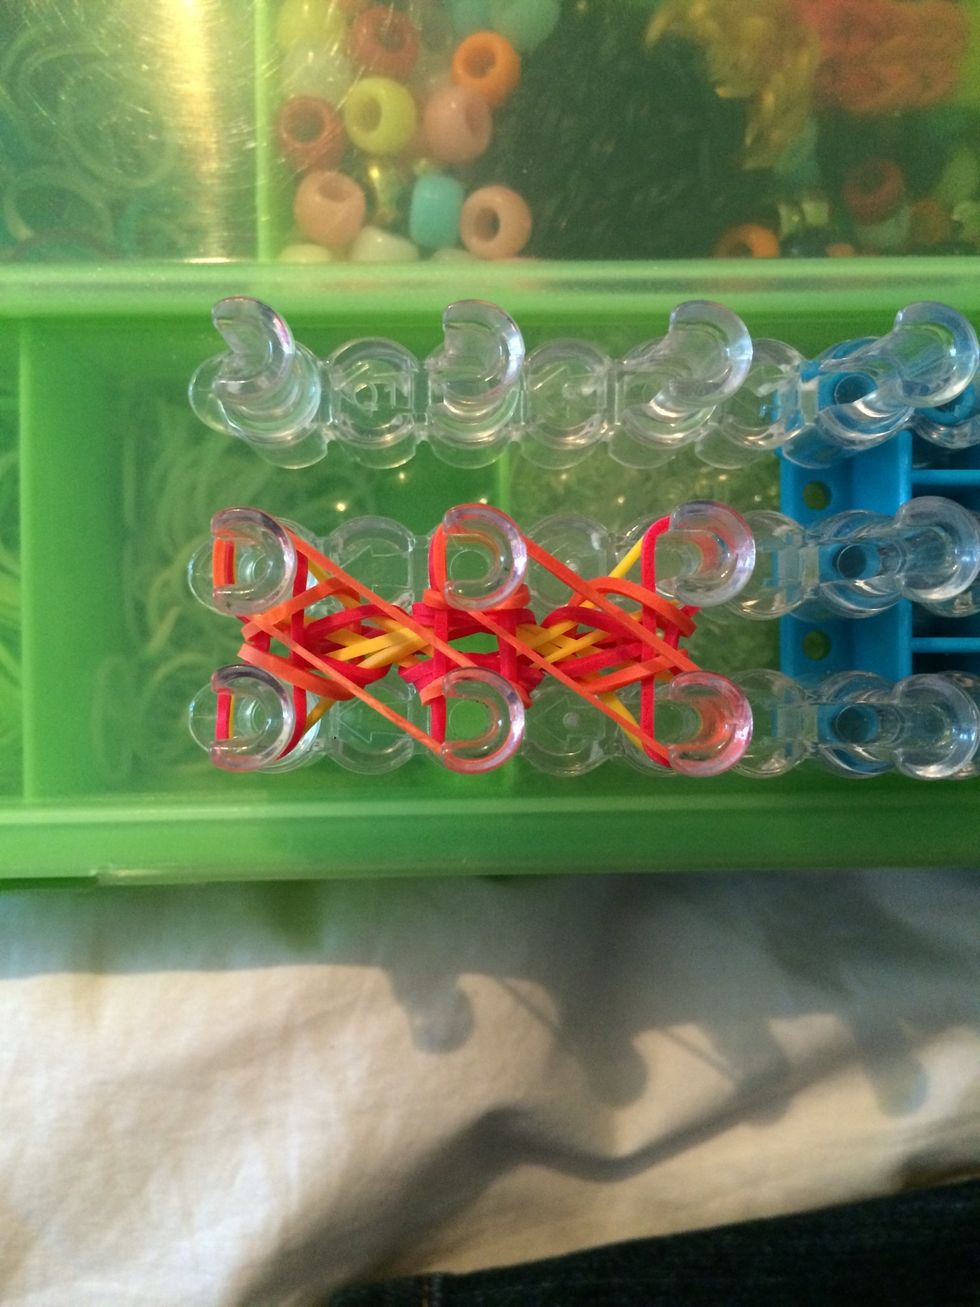
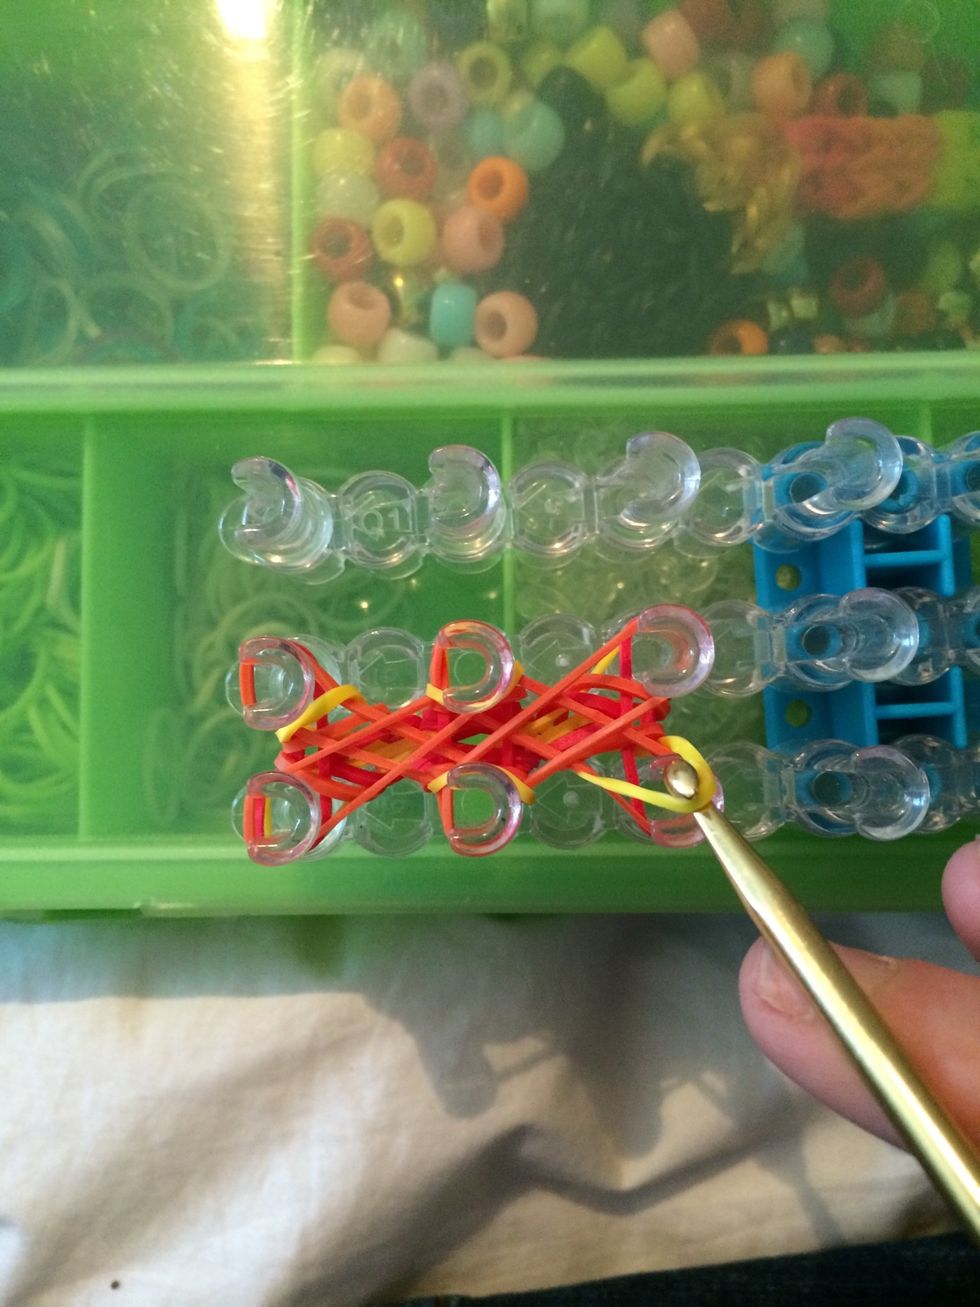
It's time to loop. We are going to be looking for all the red bands.
Pull it over the peg.
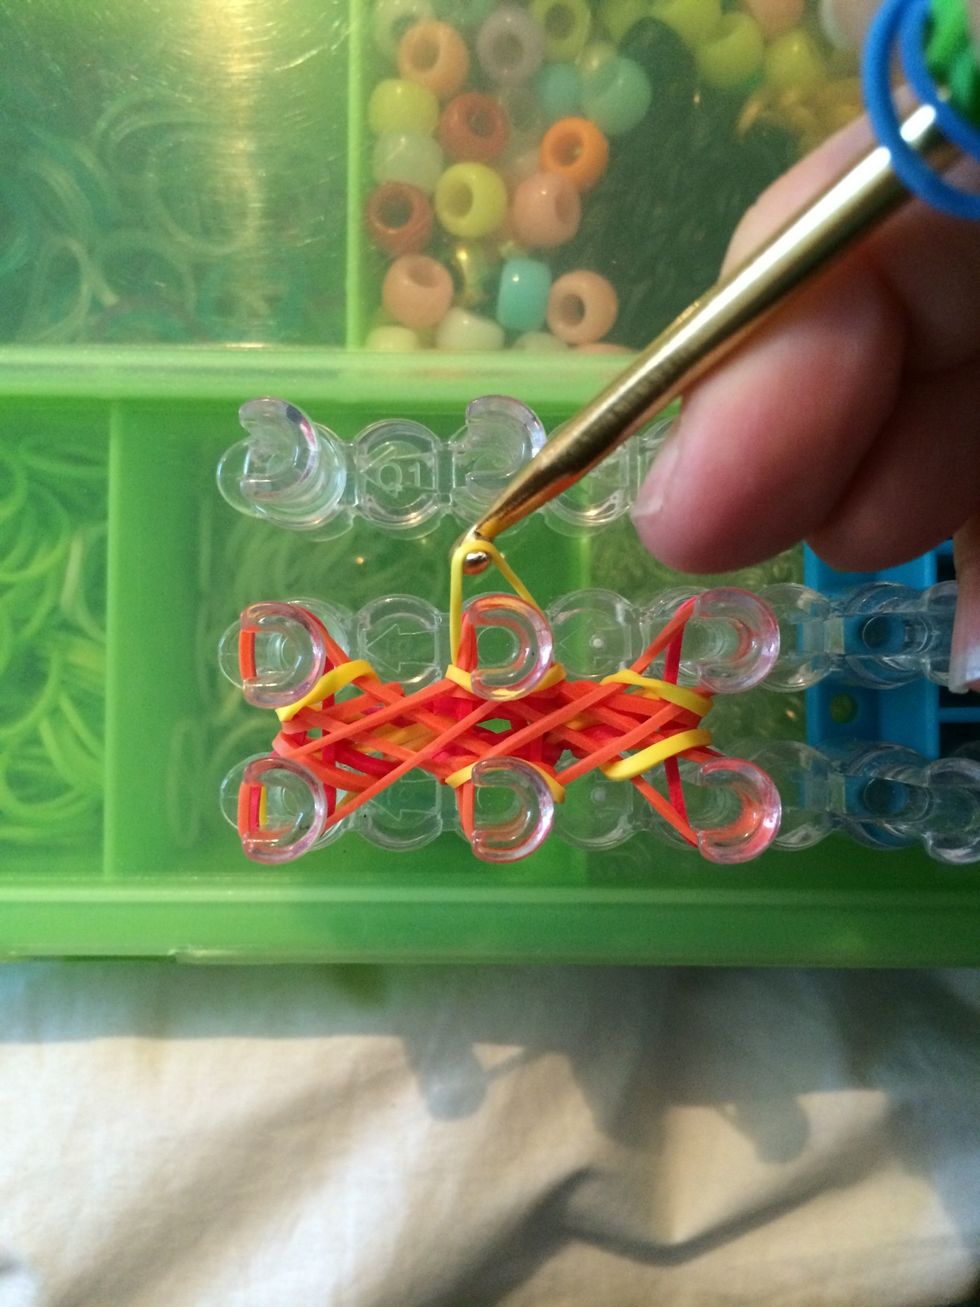
Go for the next one on the other side.
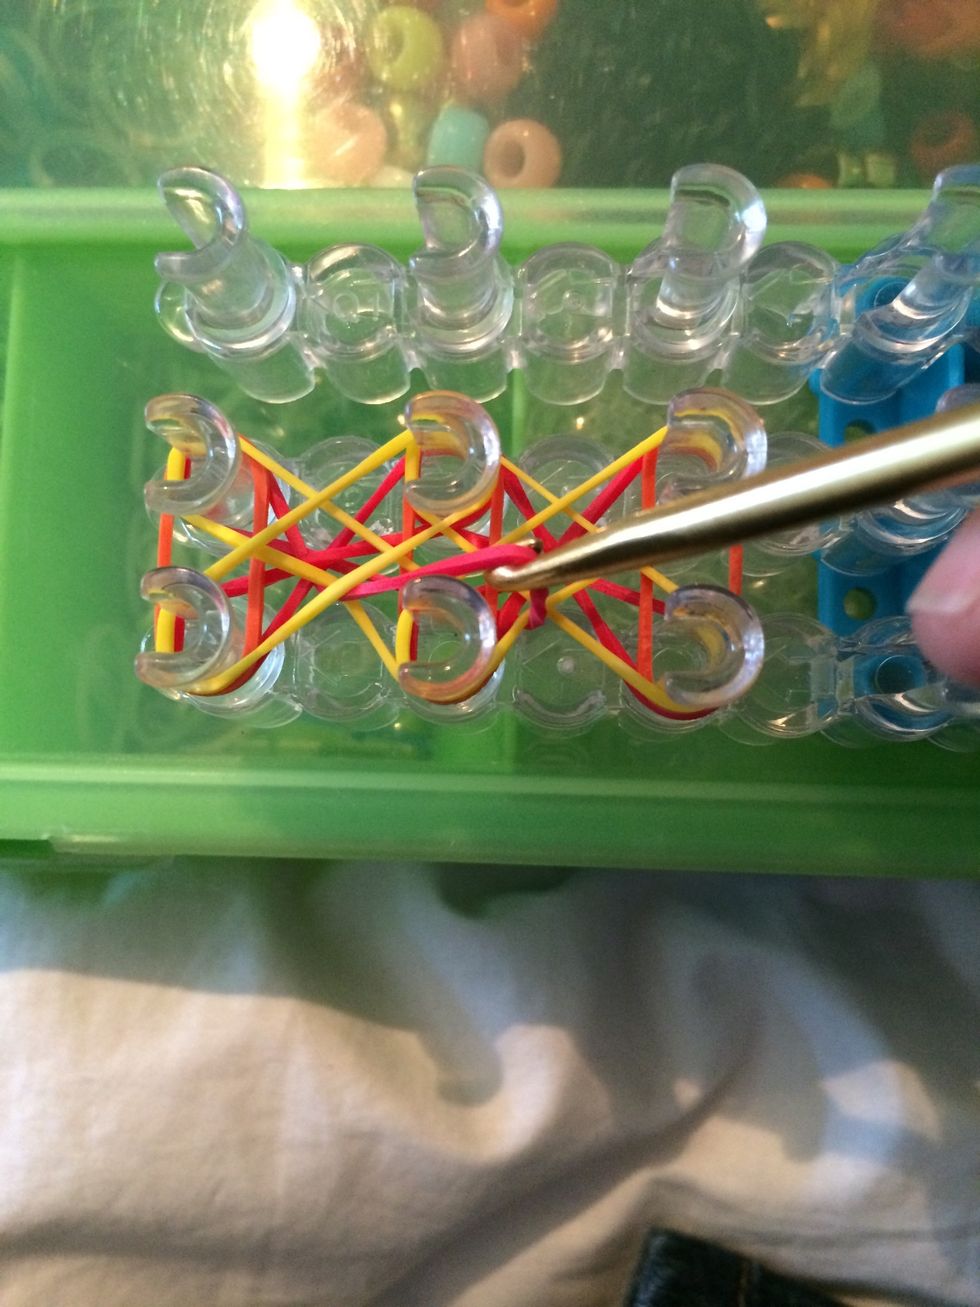
And then this one 😊
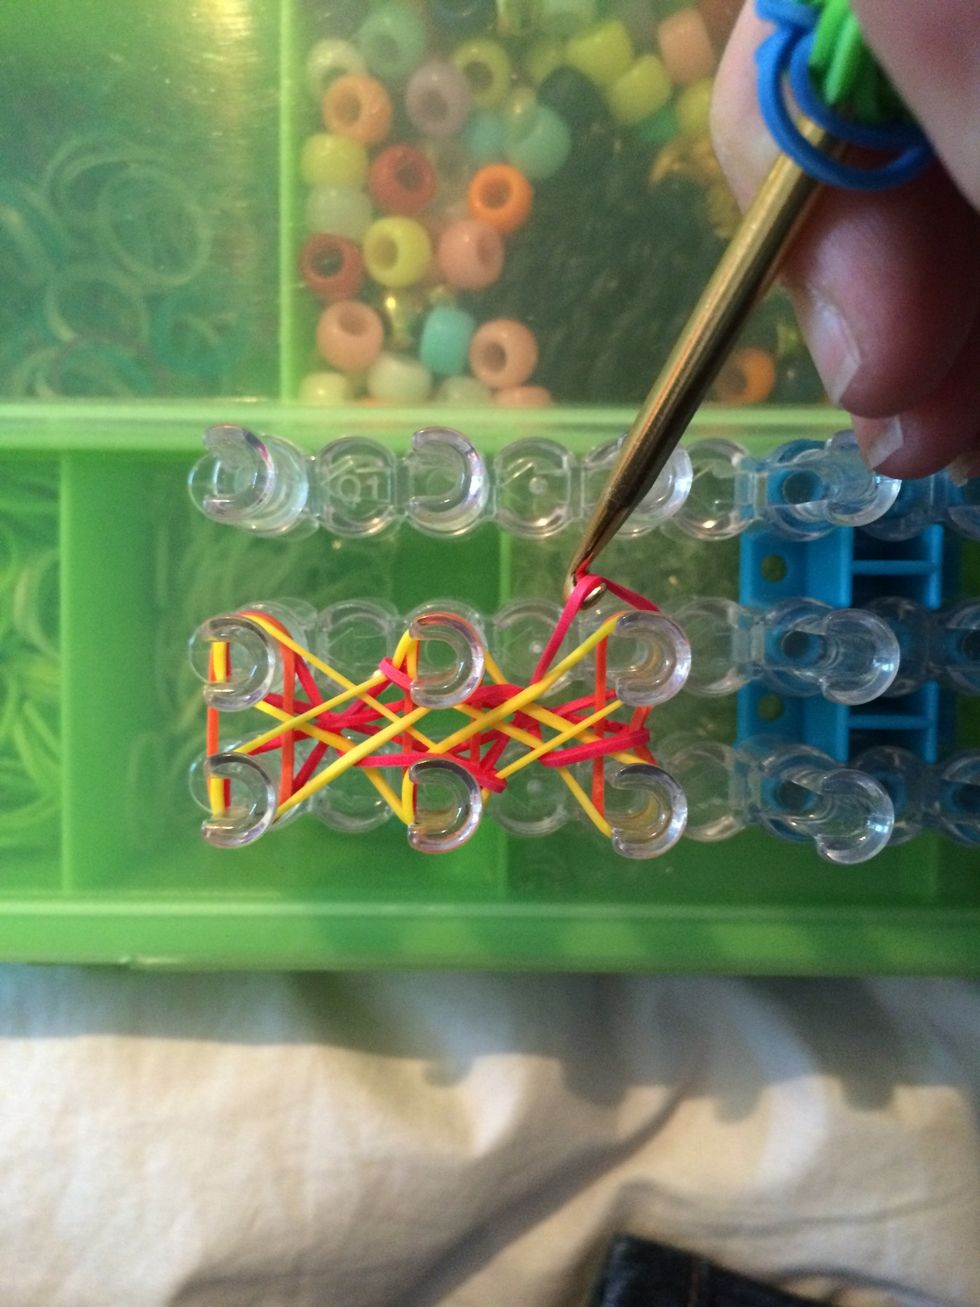
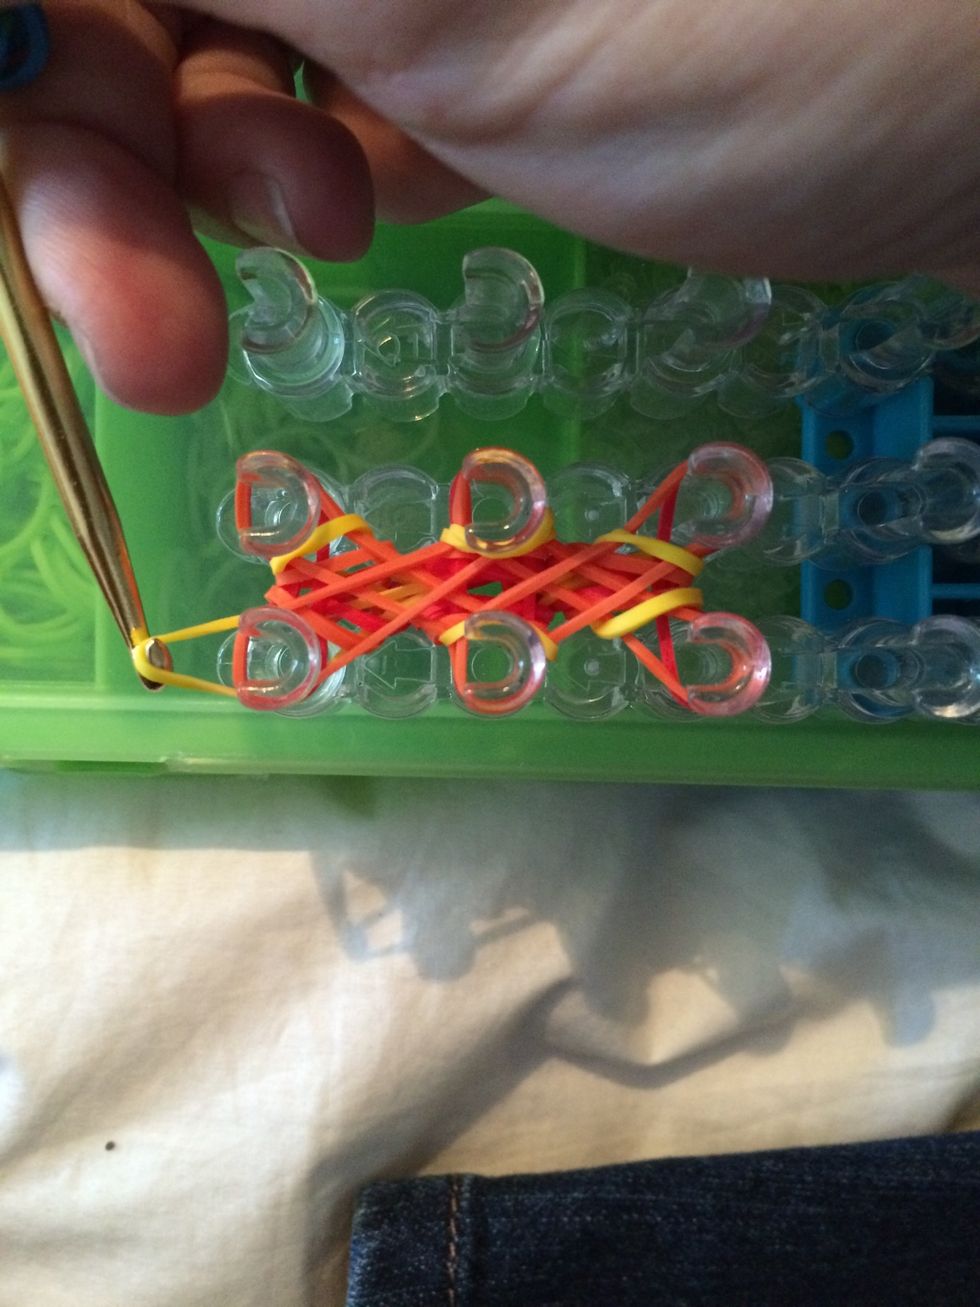
Then this one
And this one too
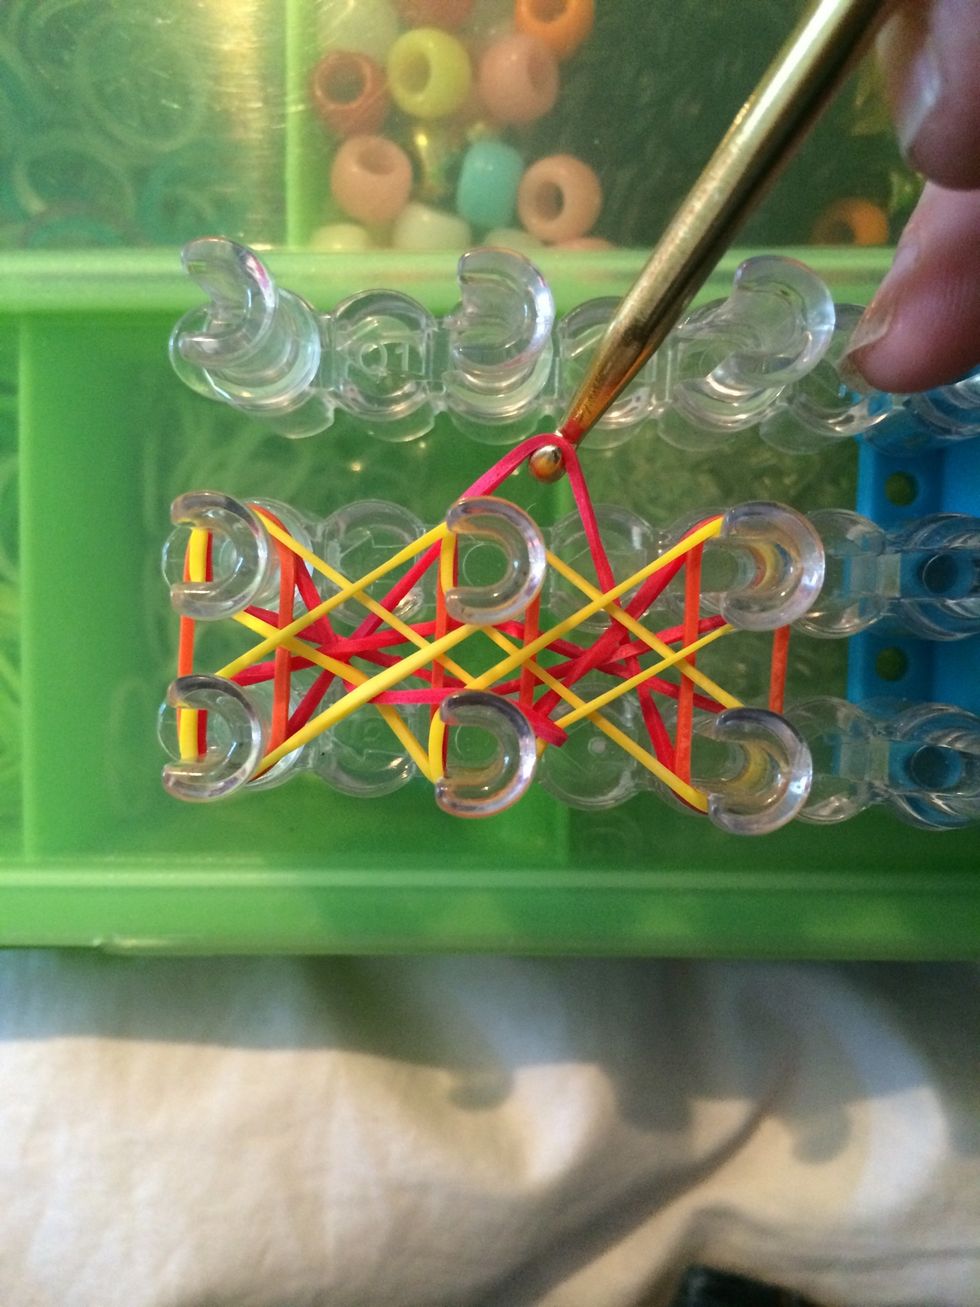
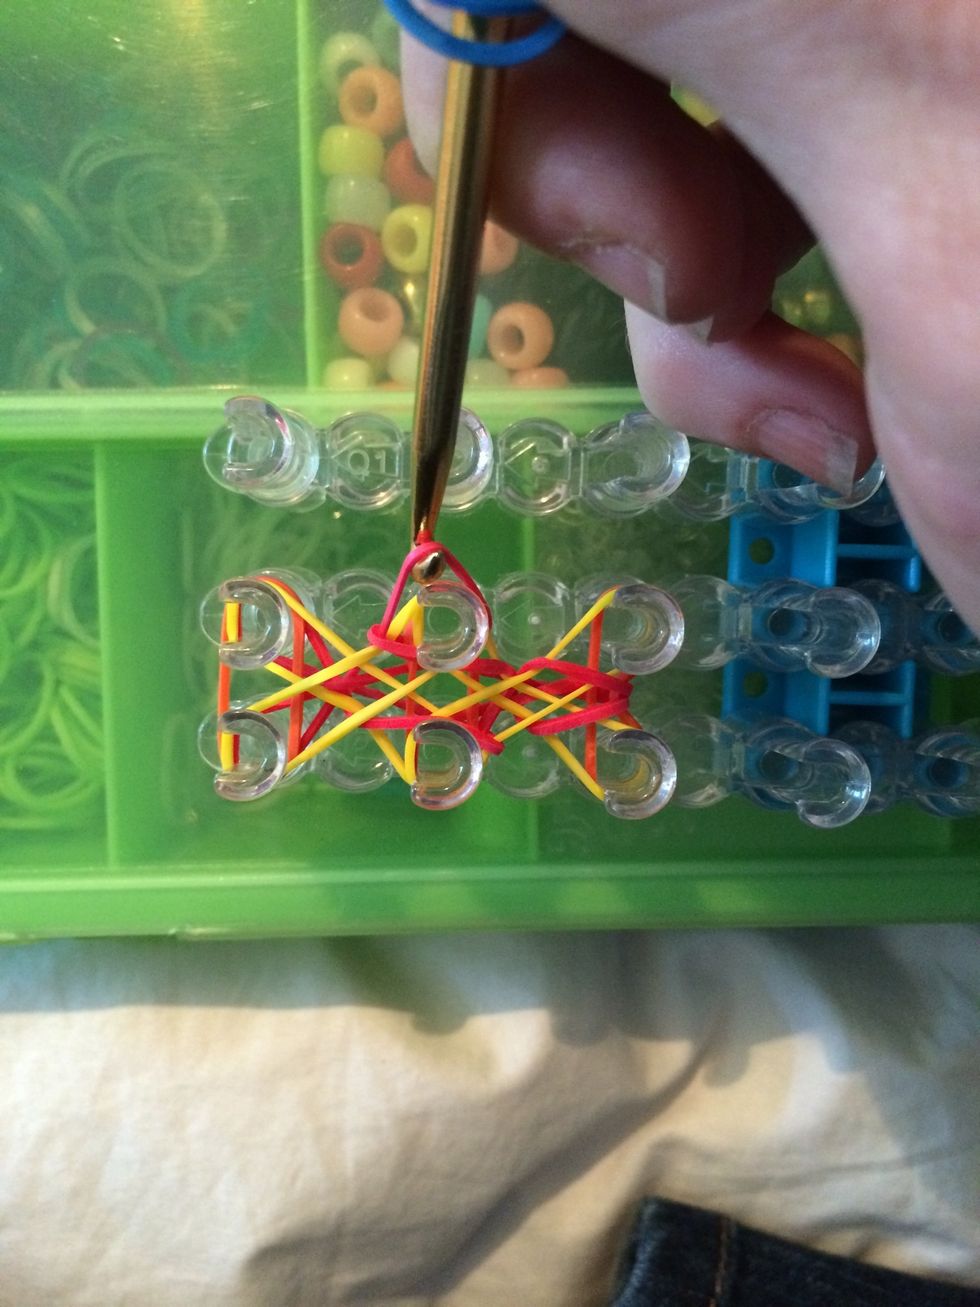
We are going to finish in a counter clockwise way.
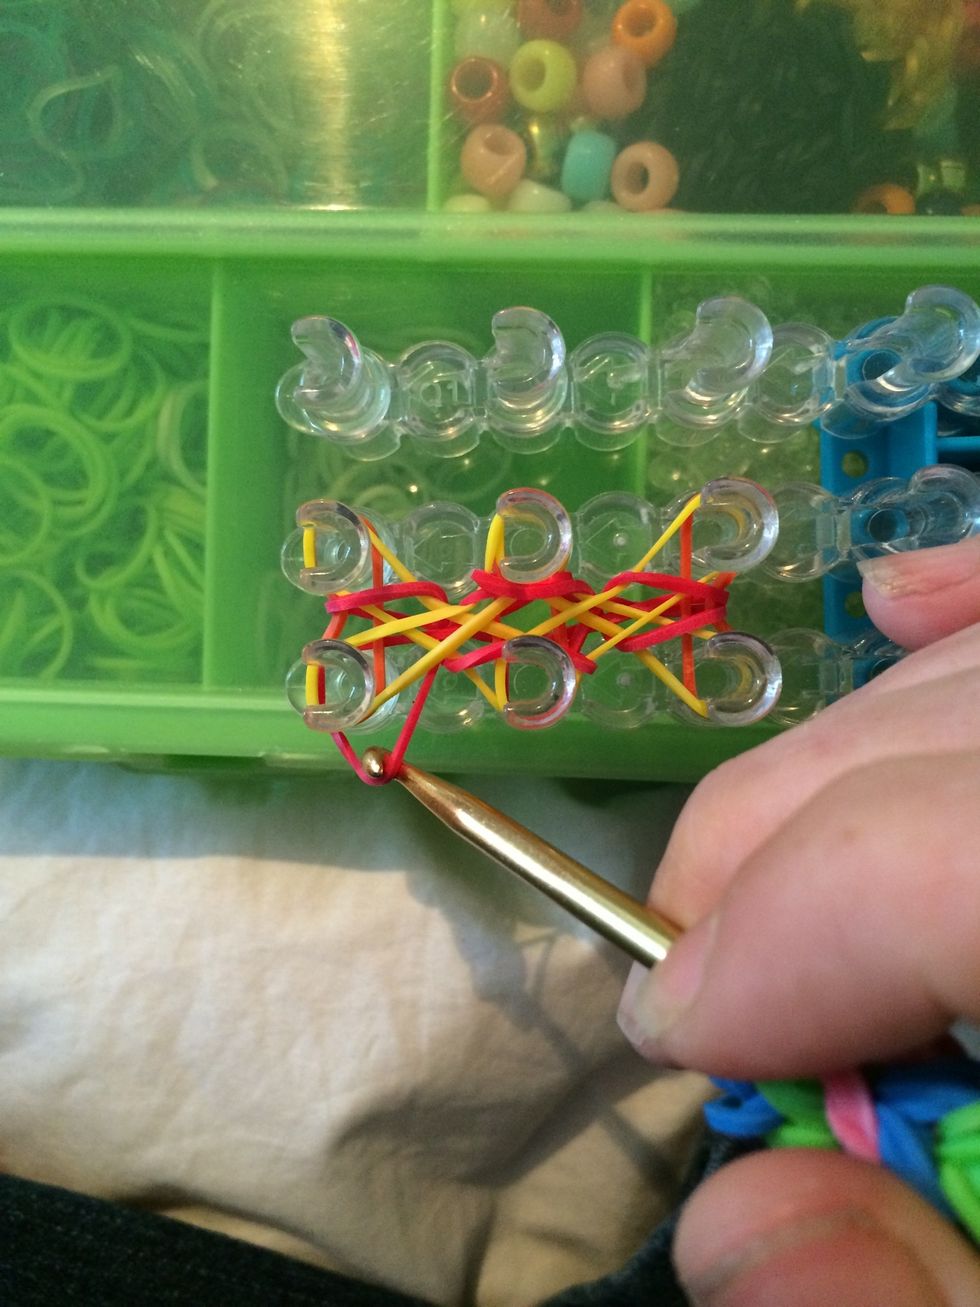
Grab this one
And here is the last one.
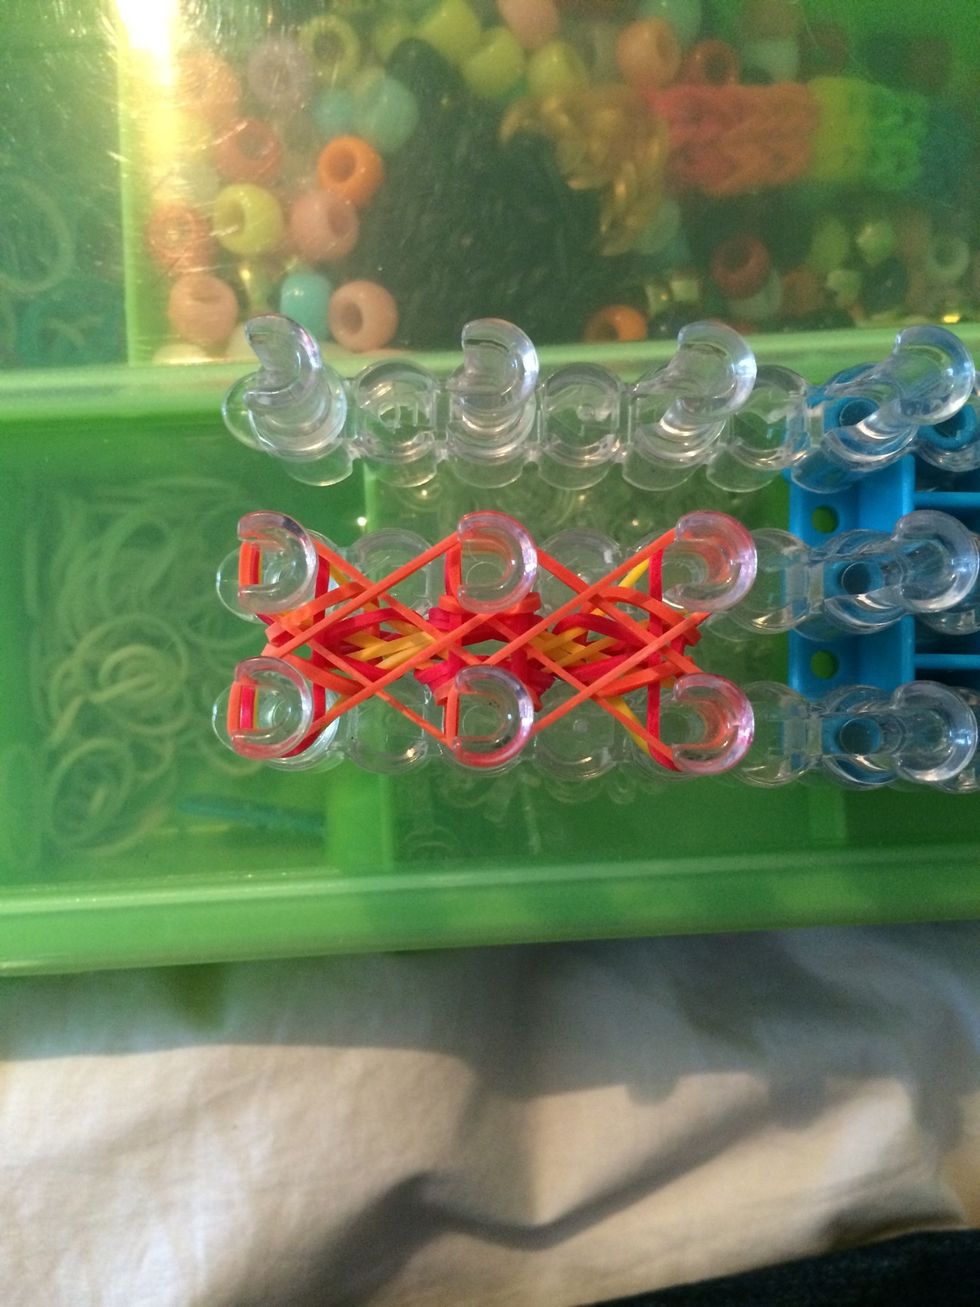
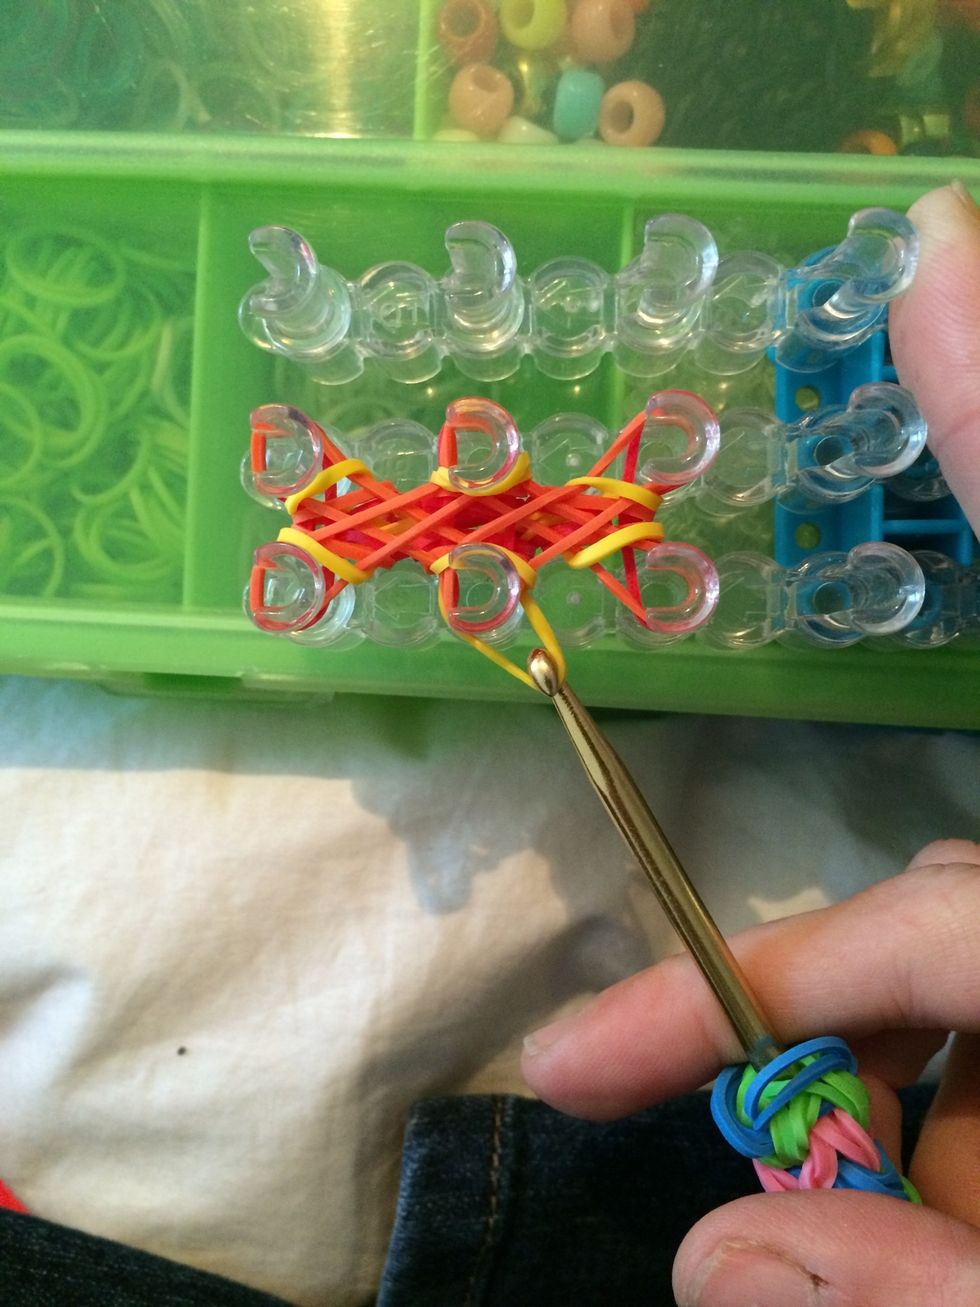
With all 8 ends pull over push down all your bands.

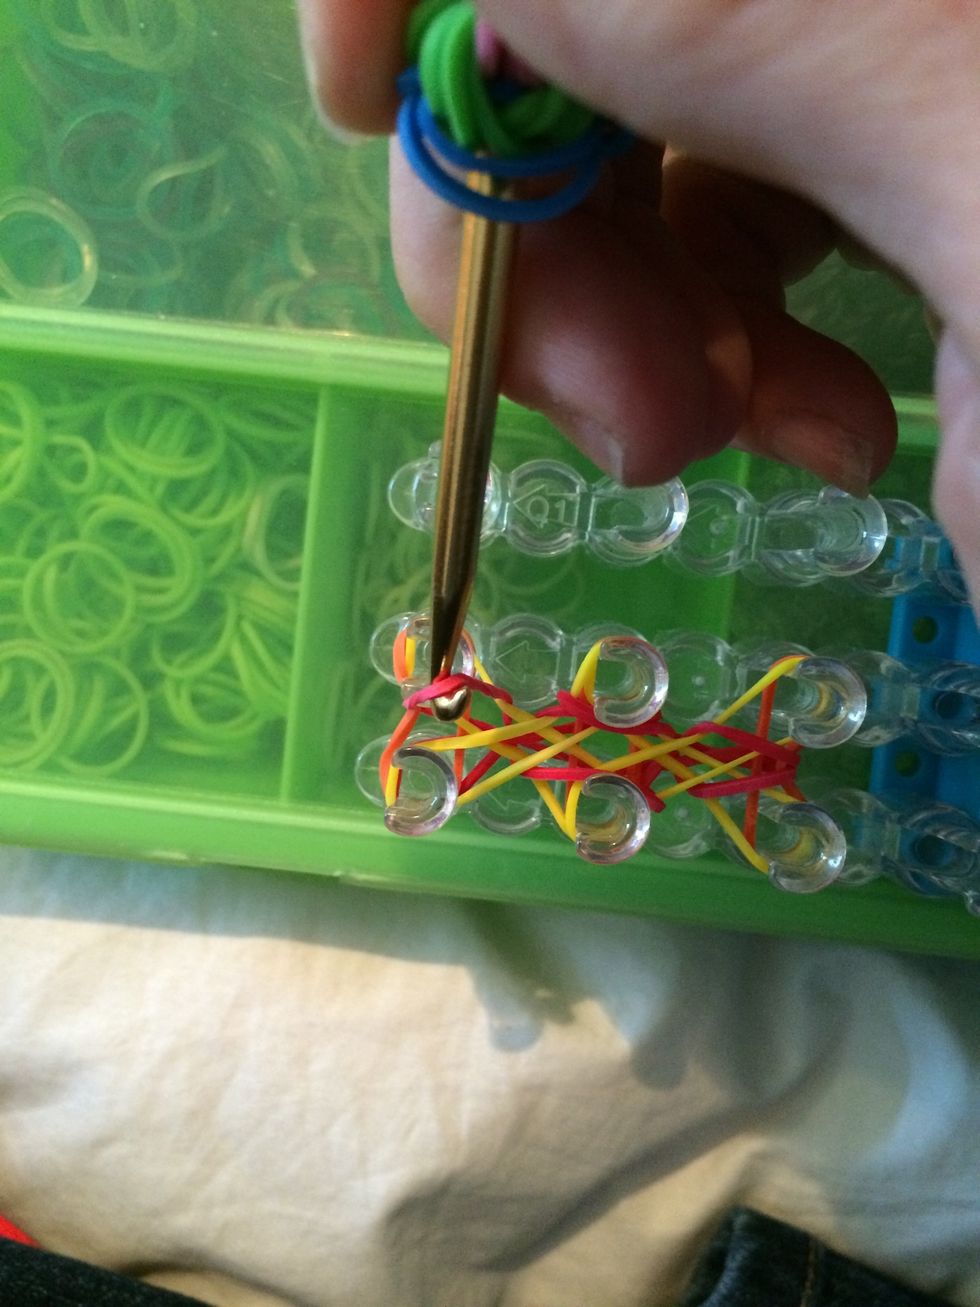
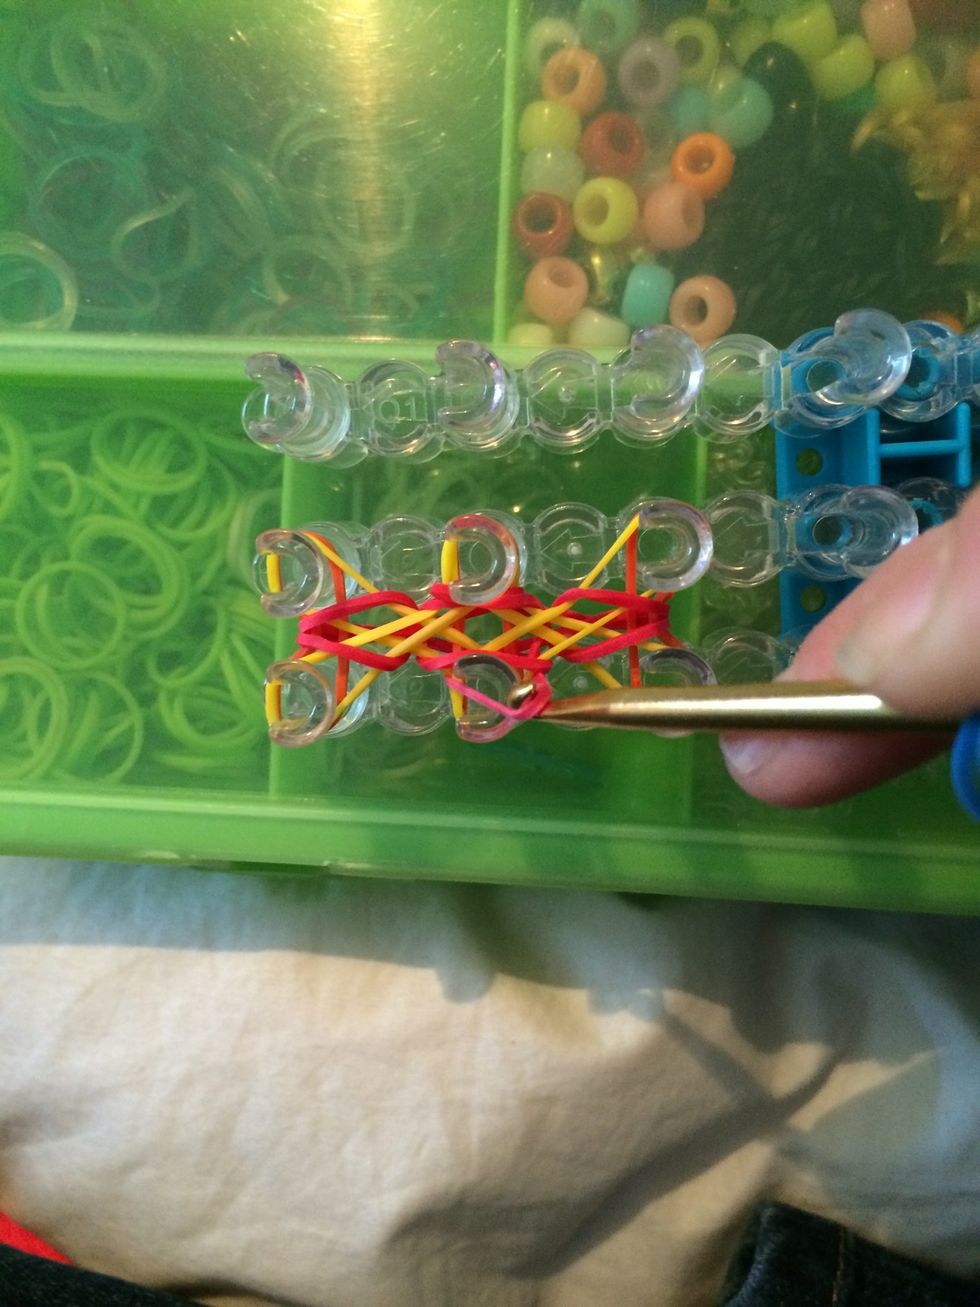
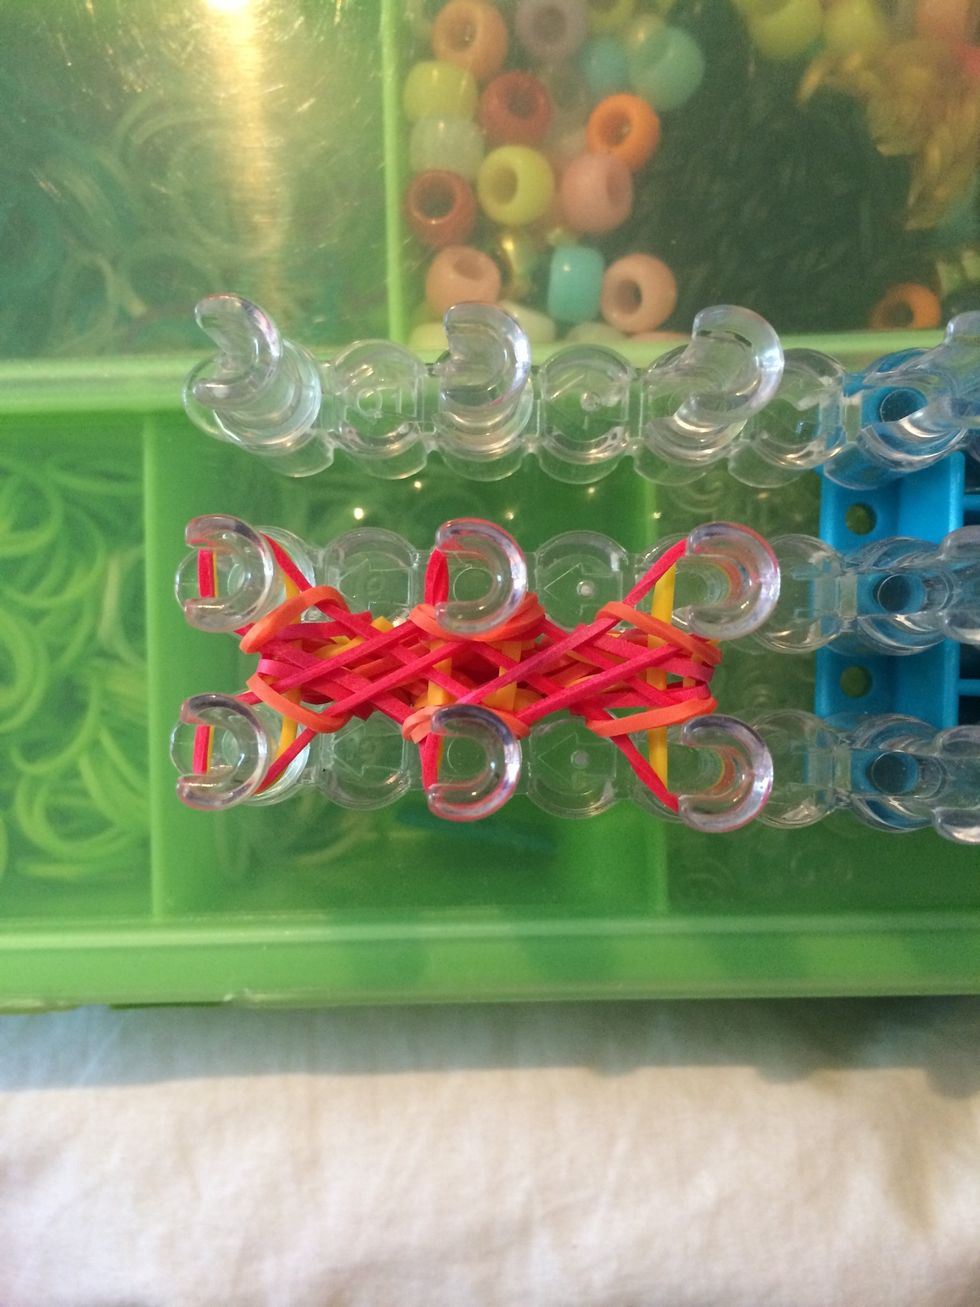
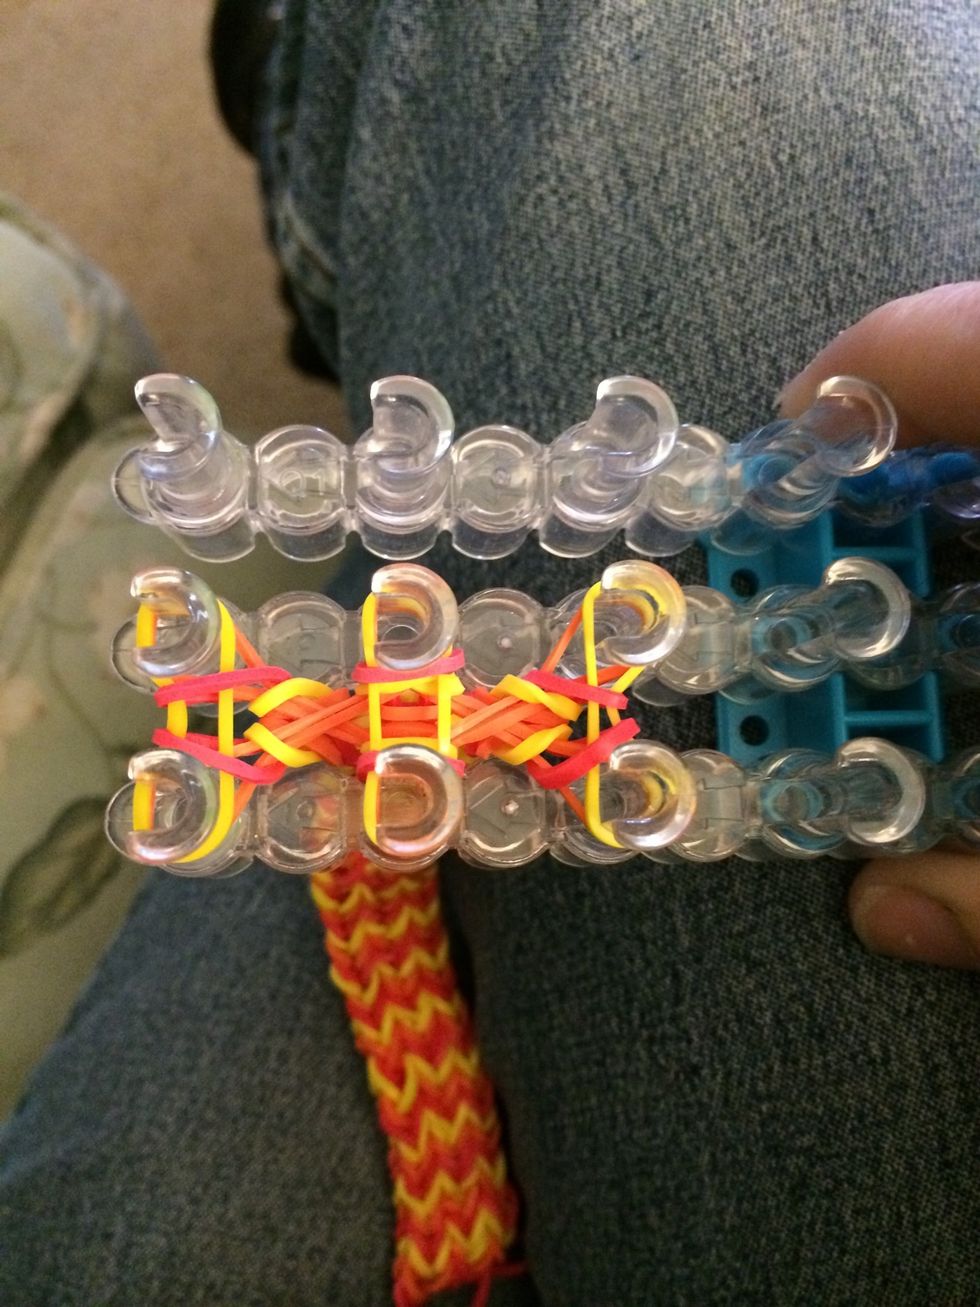
Get 3 red bands and place them across. Push them down.

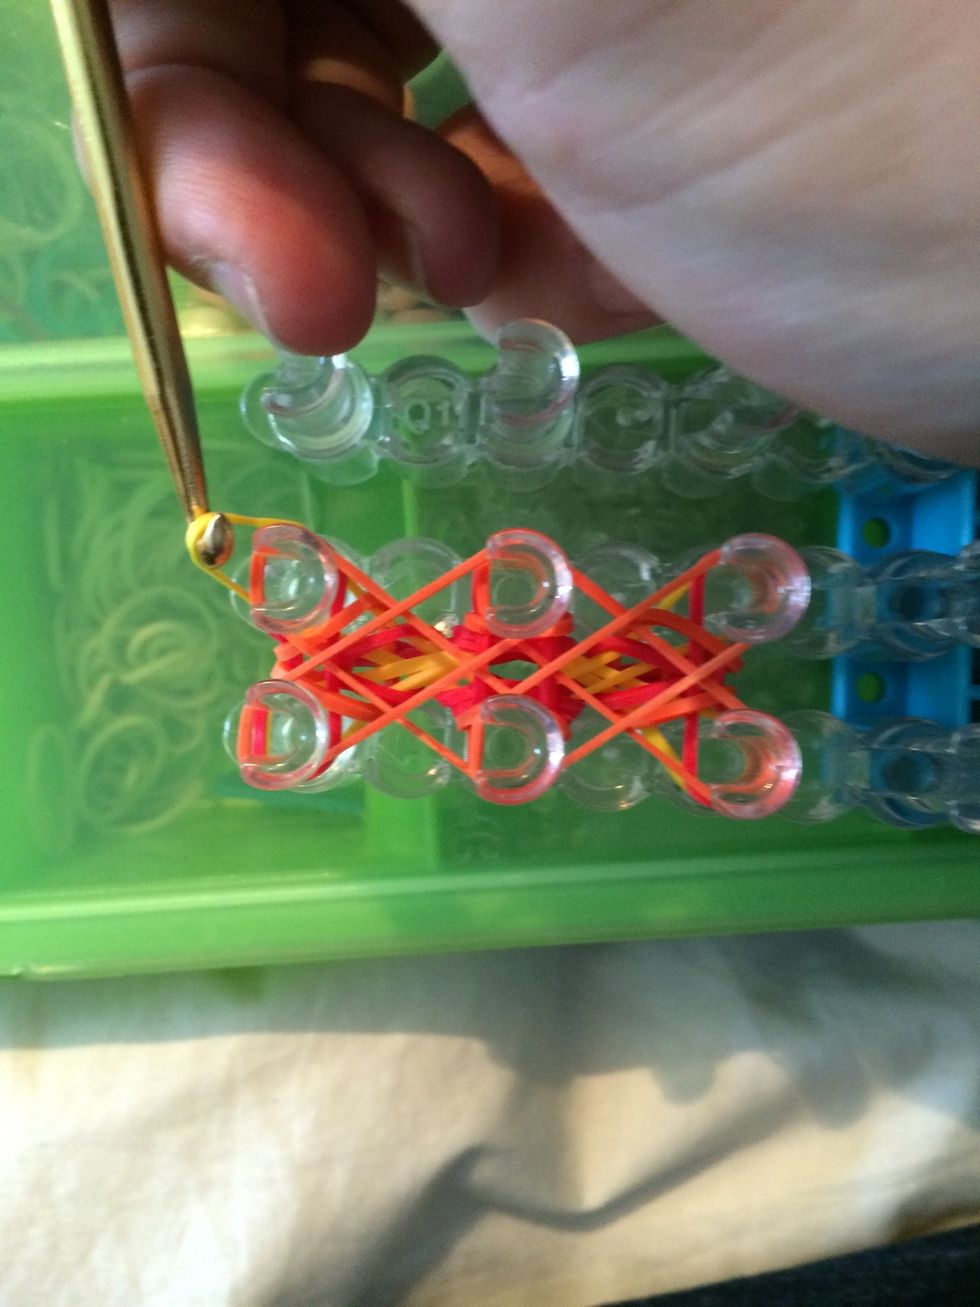
Now we will be grabbing all the orange bands.
We will go around in a counter clockwise way.
Grab the third one.
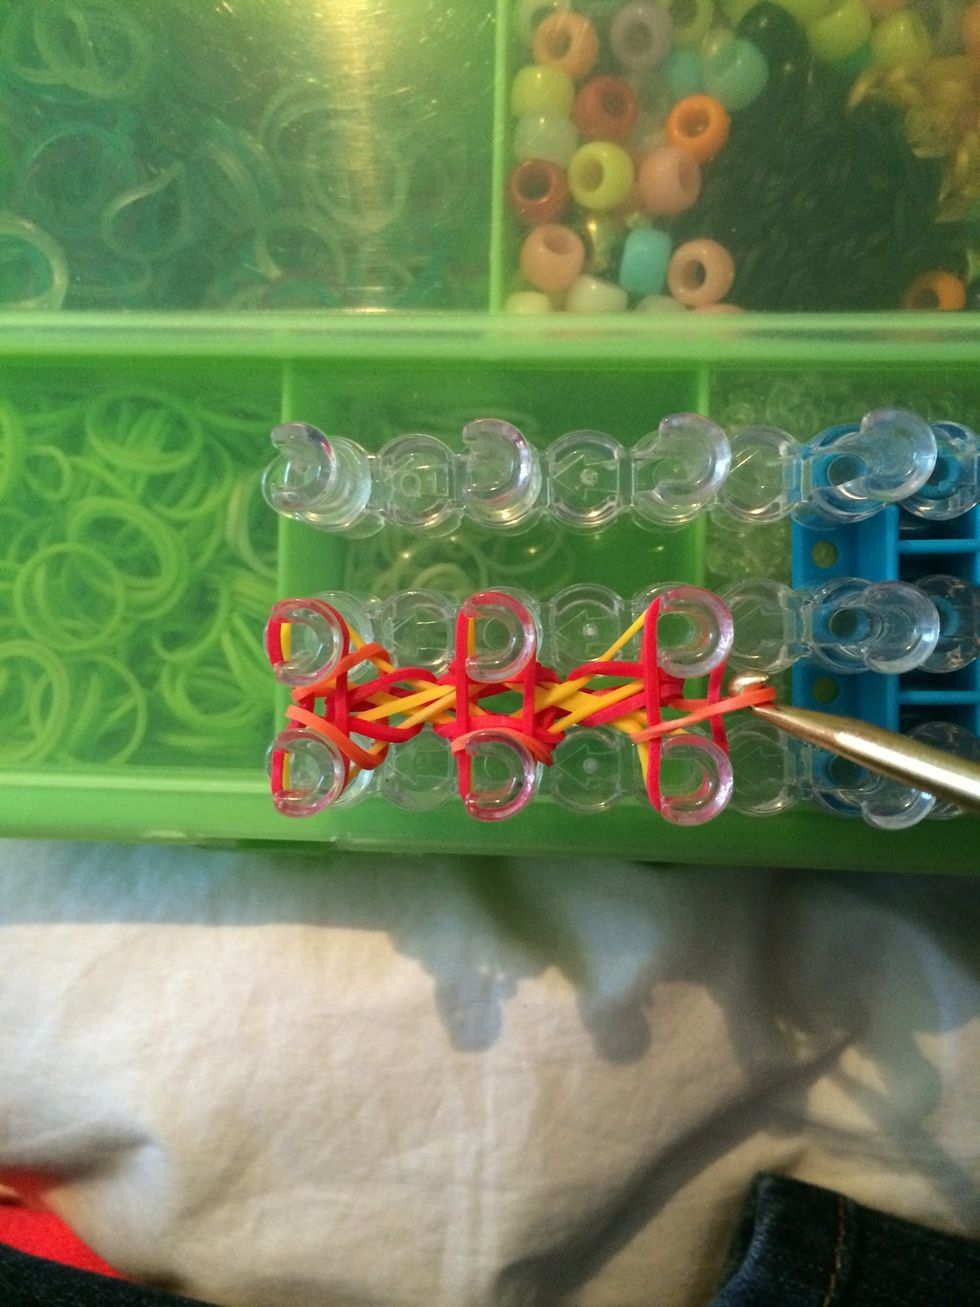
And the fourth.
Grab the fifth one.
And the last one.
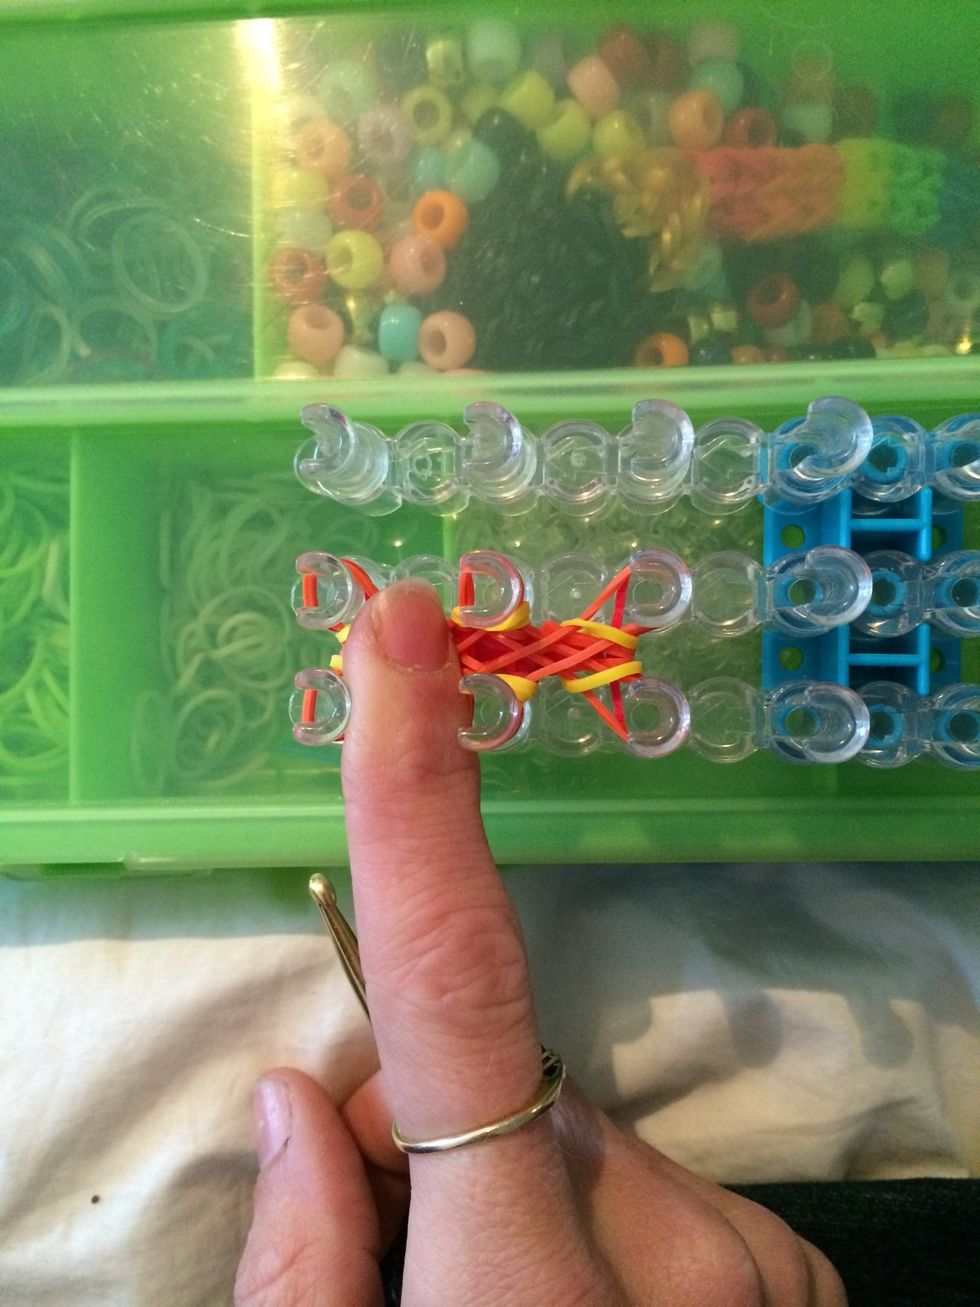
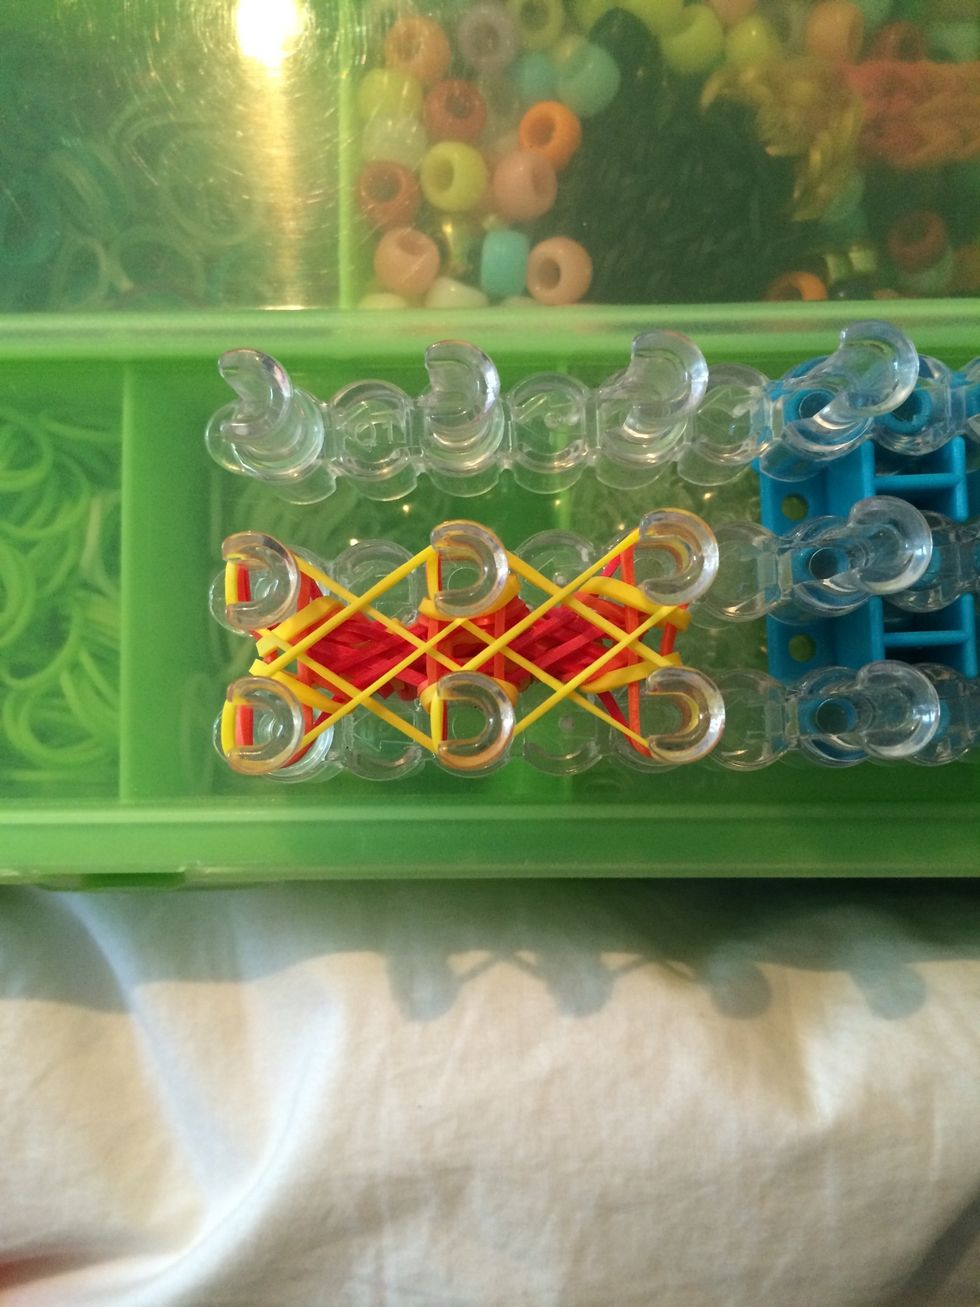
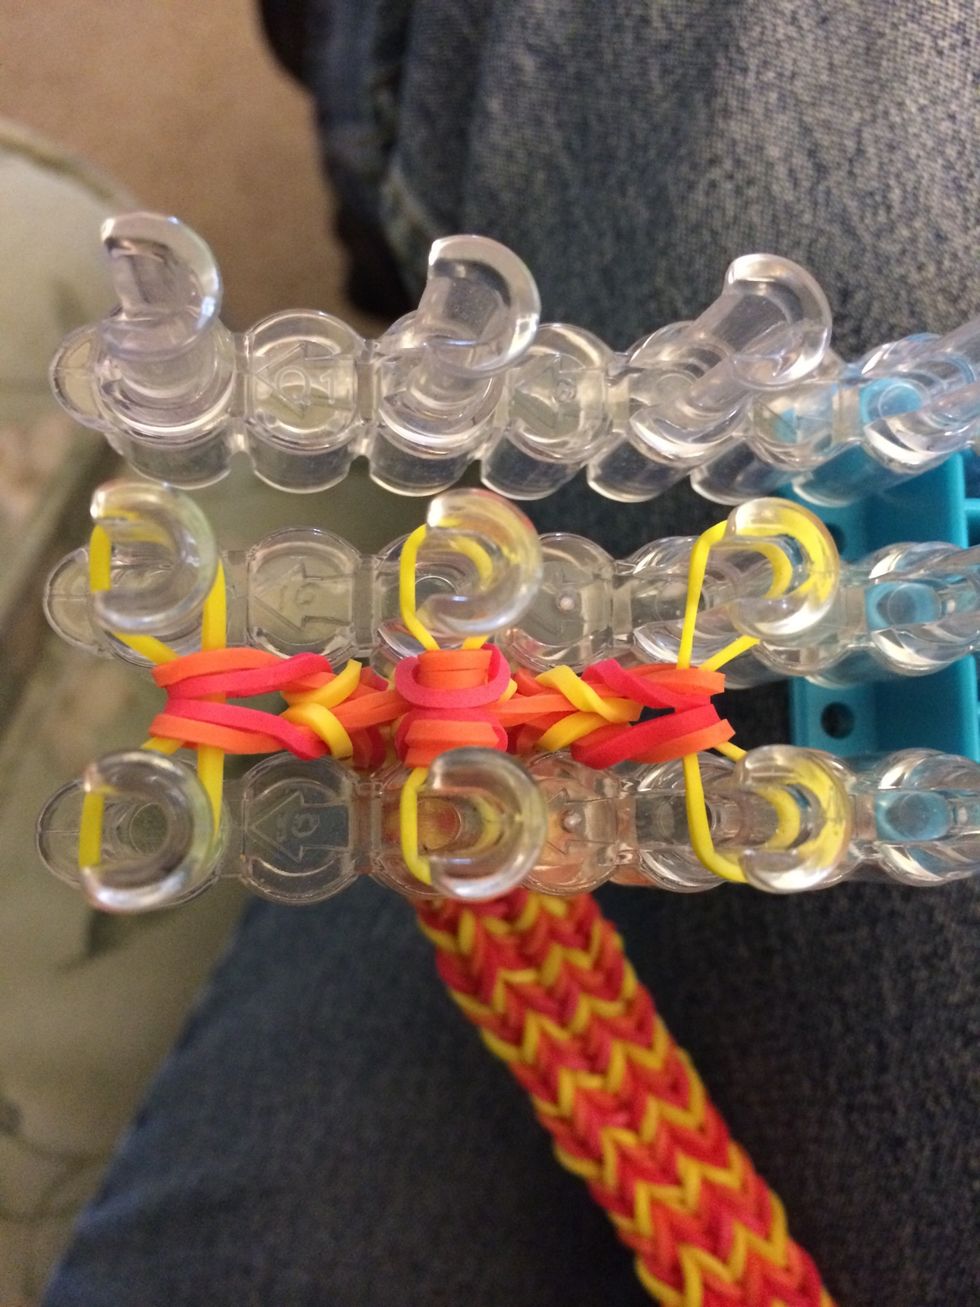
Push all the rubber bands down.
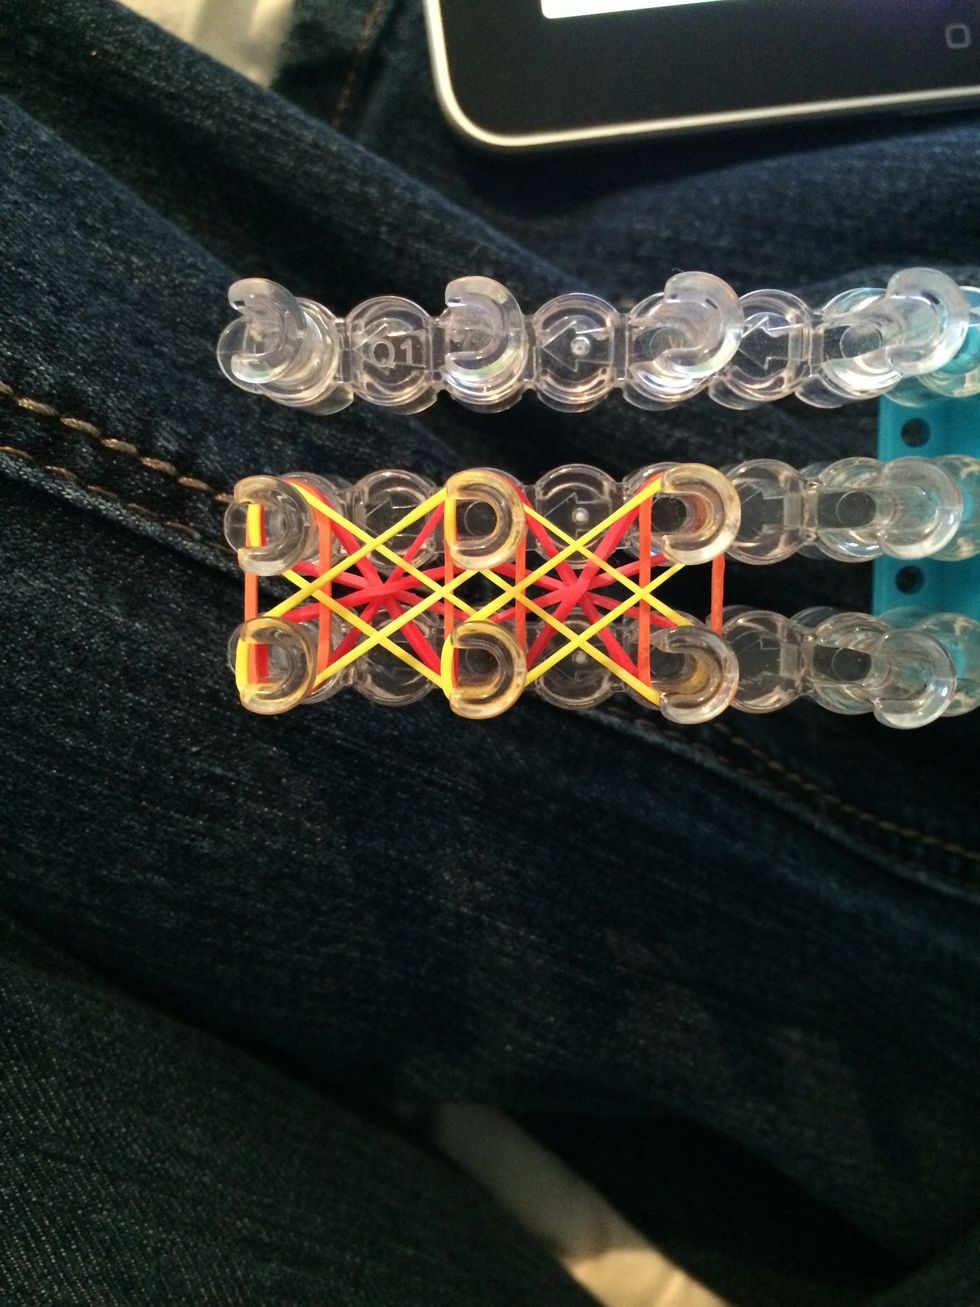
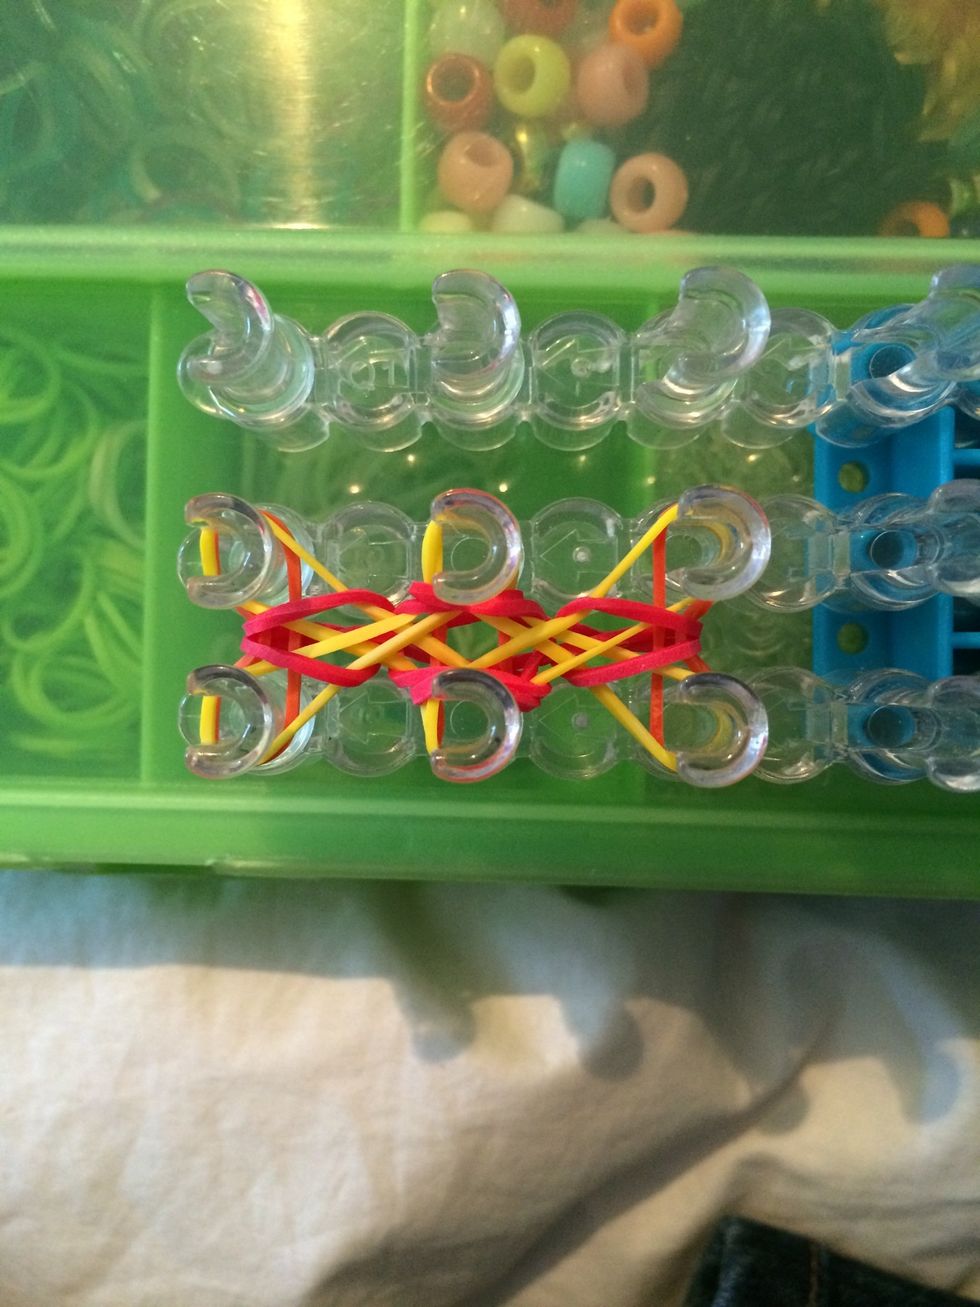
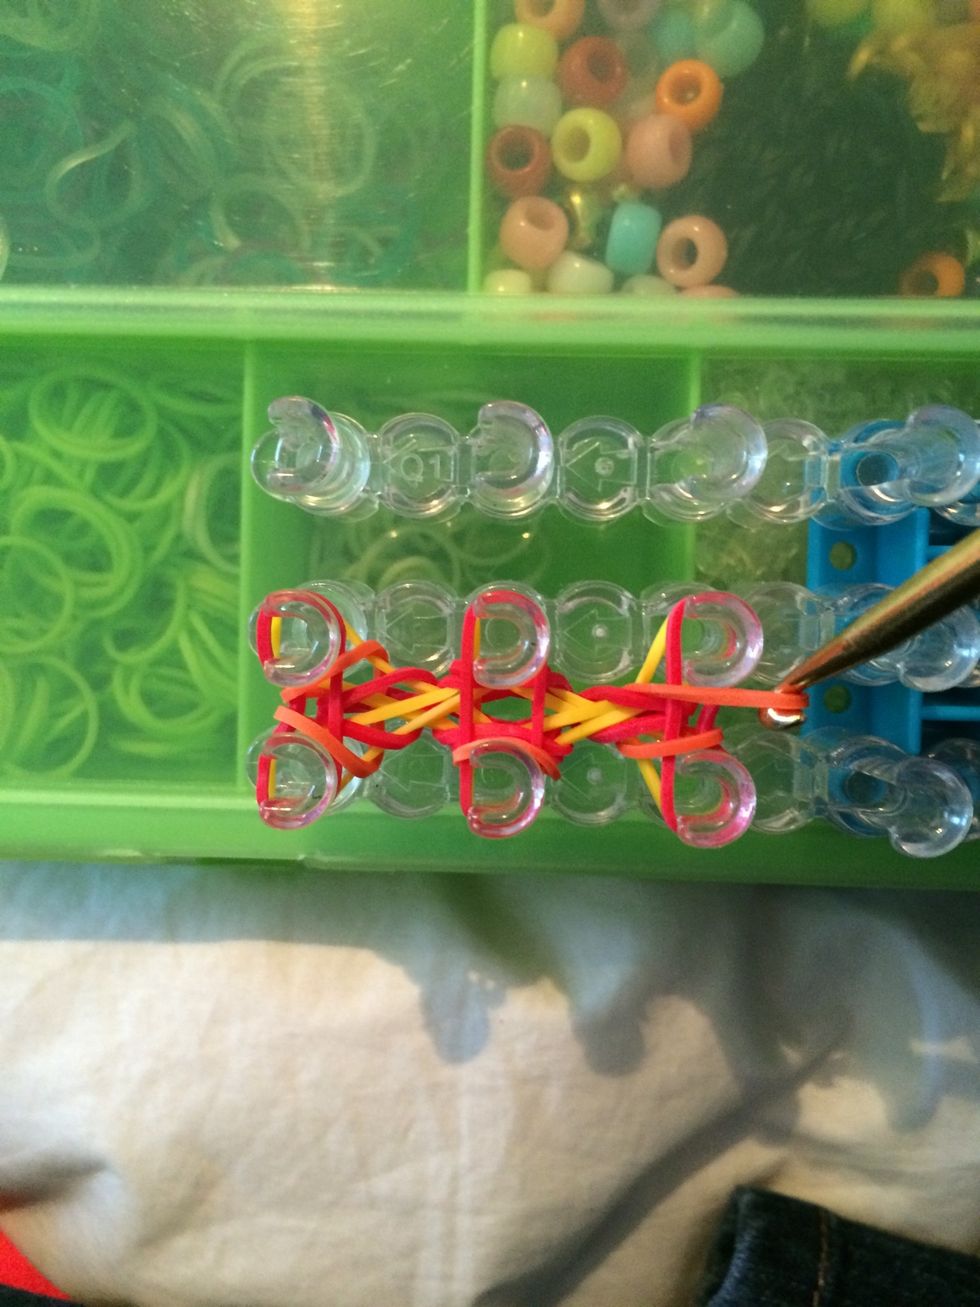
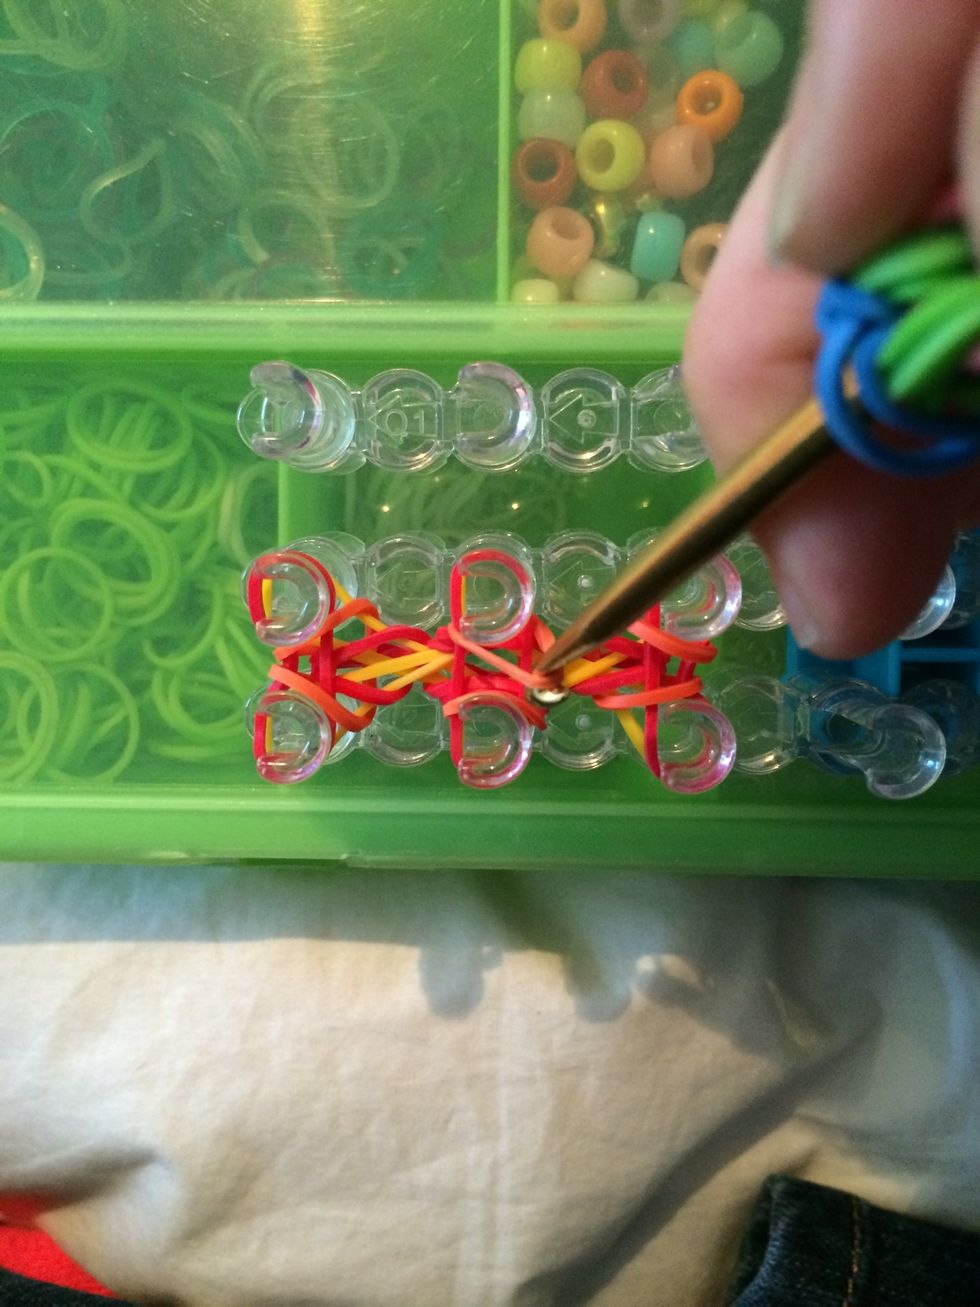
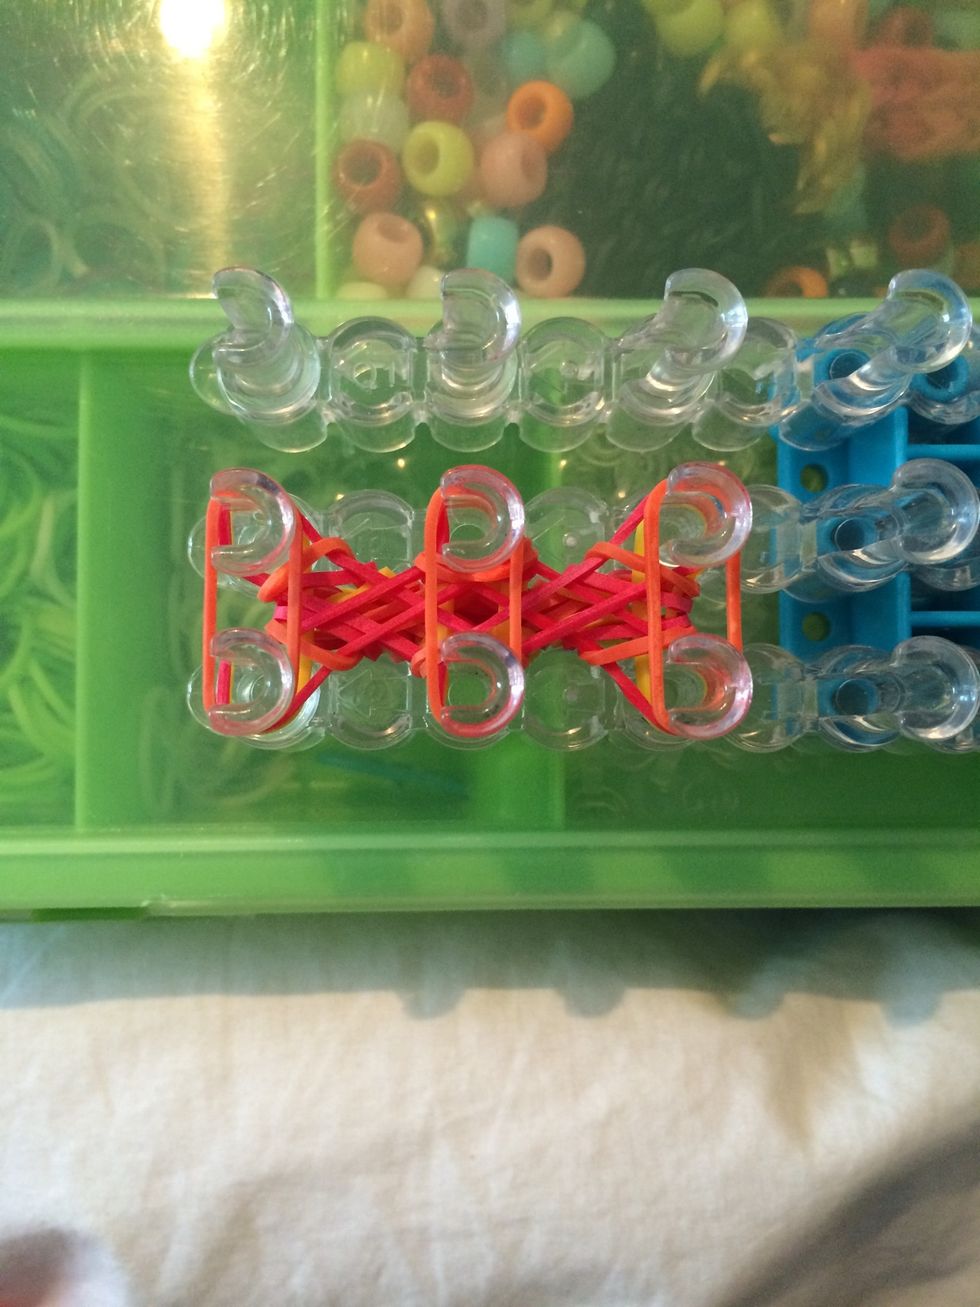
Now for the next row of X's. To make it easy when you do three colors the color that you just looped over will be the next color that you will be placing.
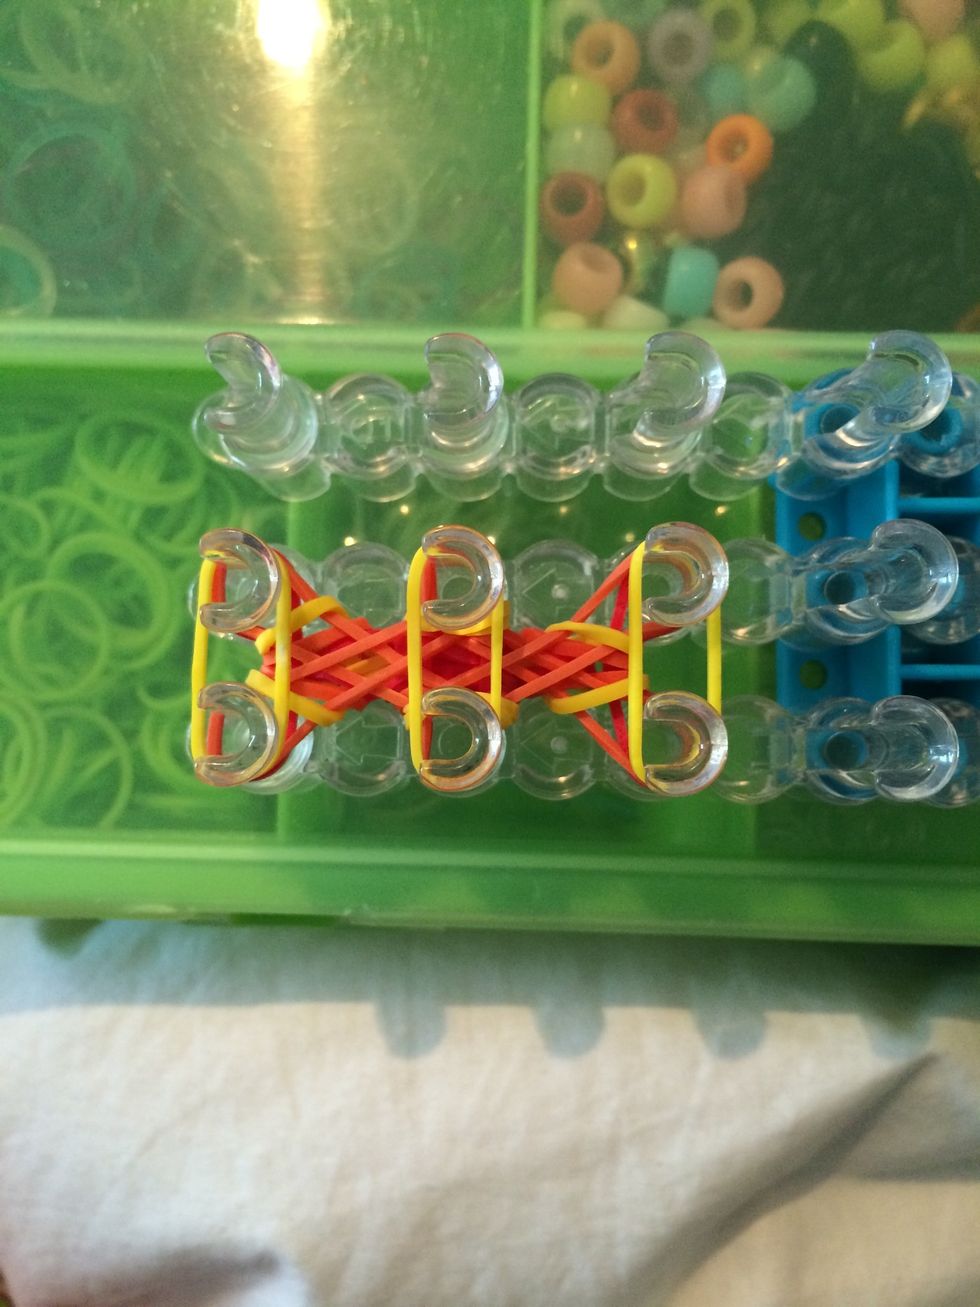
With your orange row done, push down the bands.
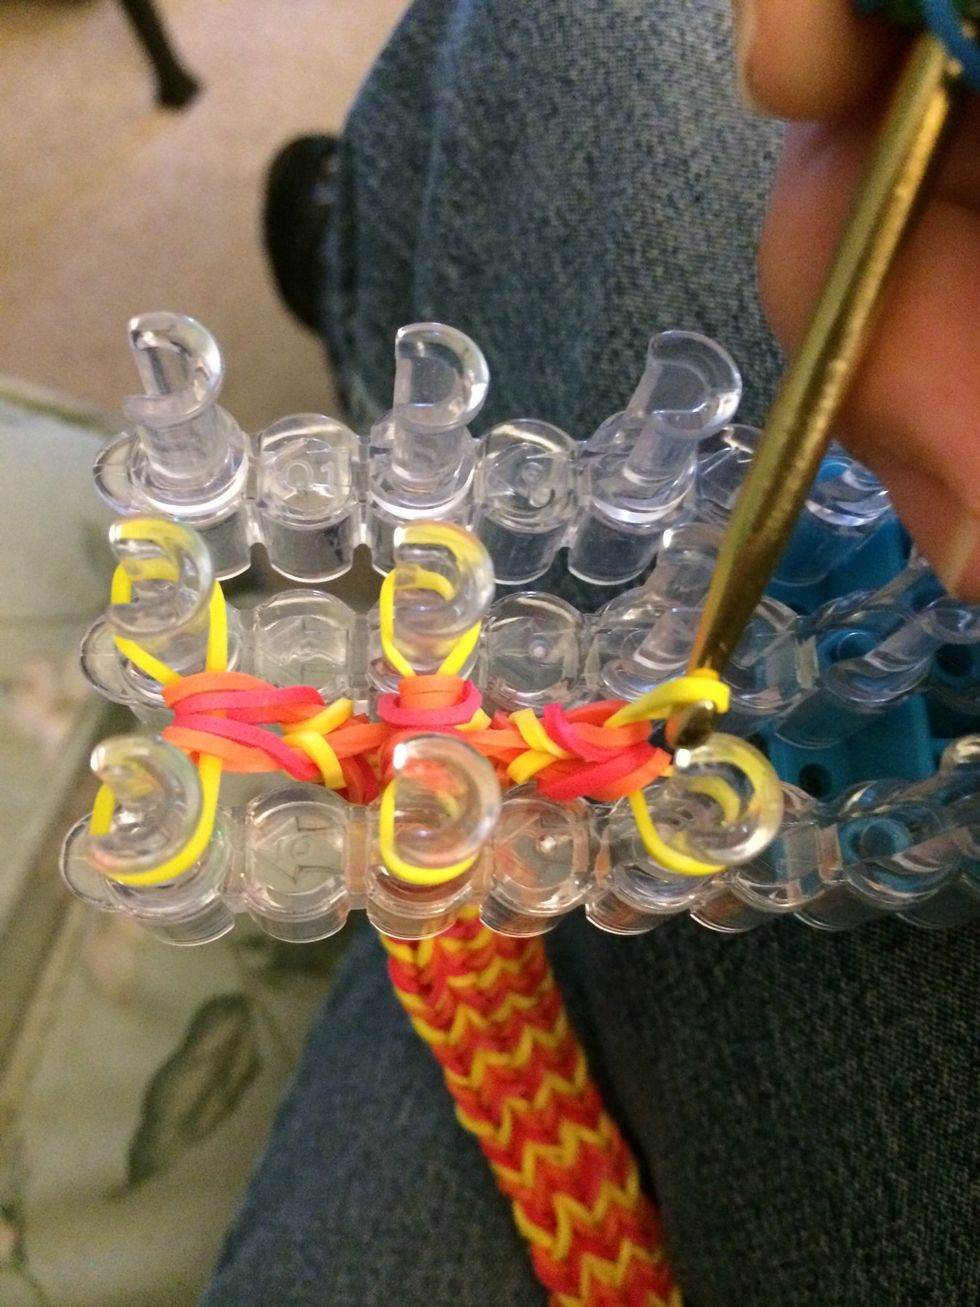
Now it's time to get all the yellow bands looped over.
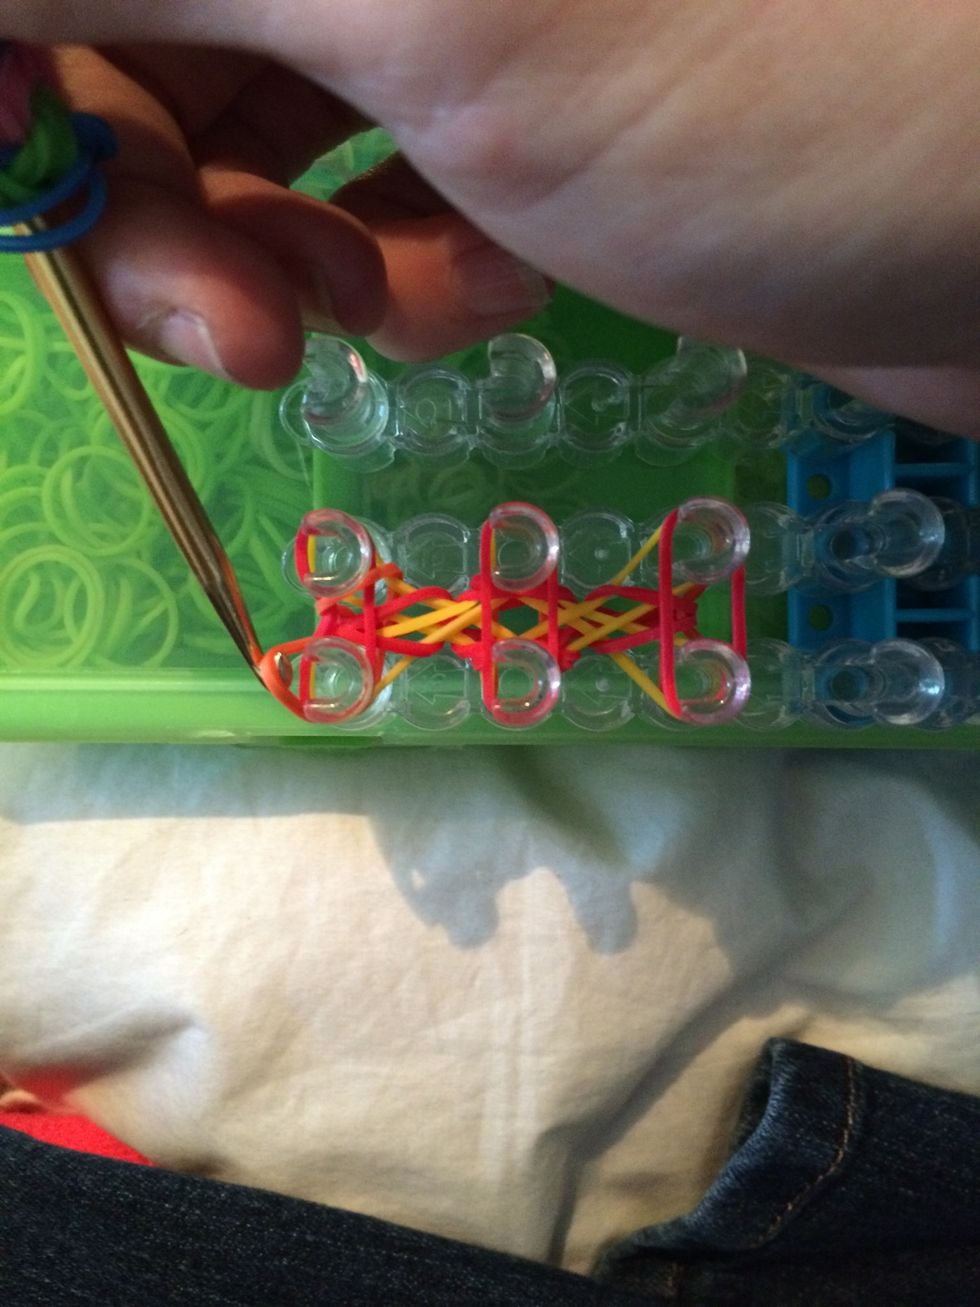
Grab this one.

And then this one.
Then go over here and grab this one.

Grab the fifth one and pull it over.
Then grab this one.
And this one over here.
And finally the last yellow.
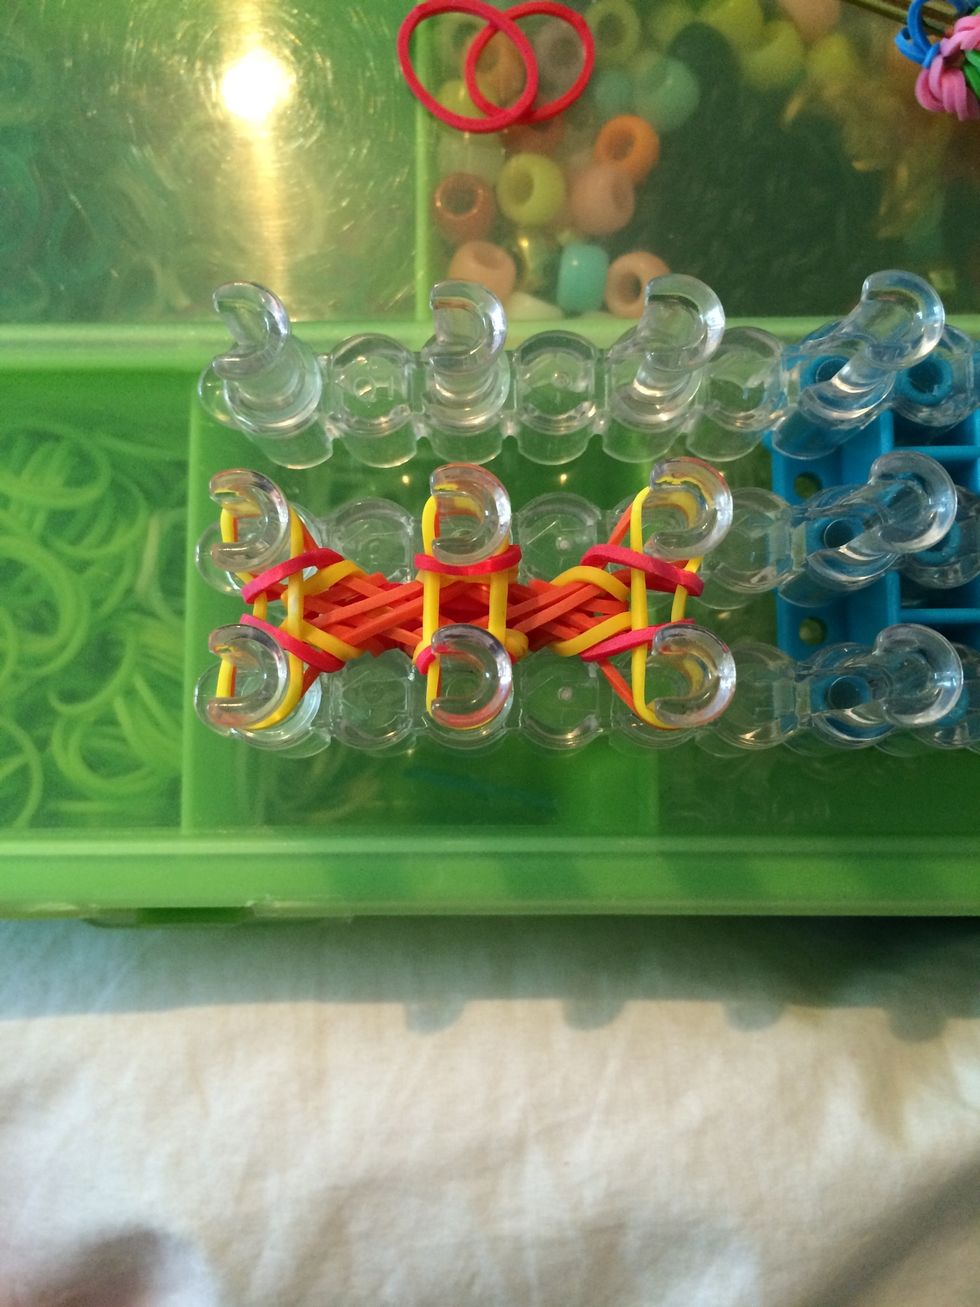
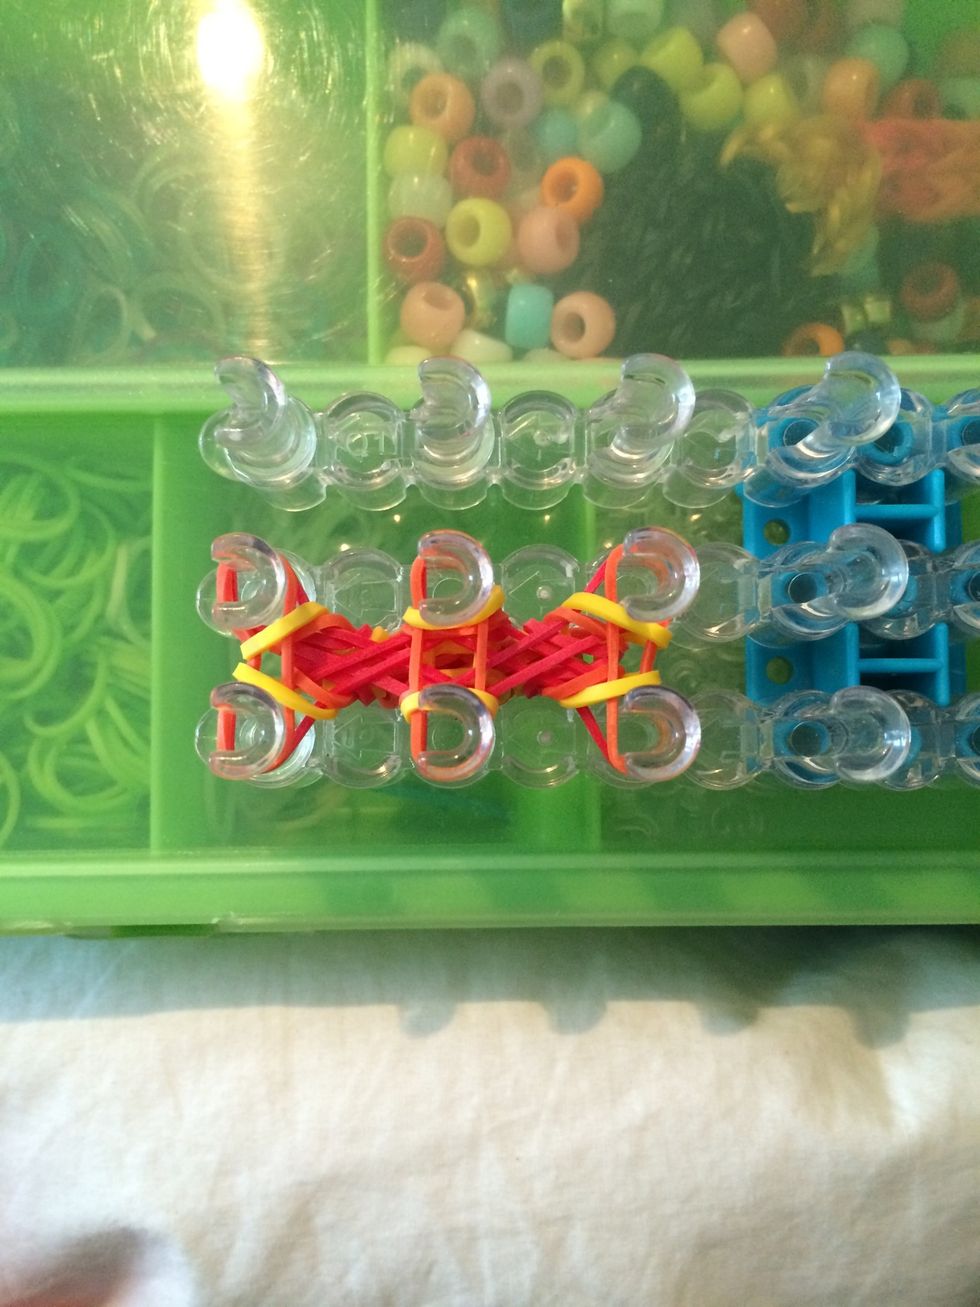
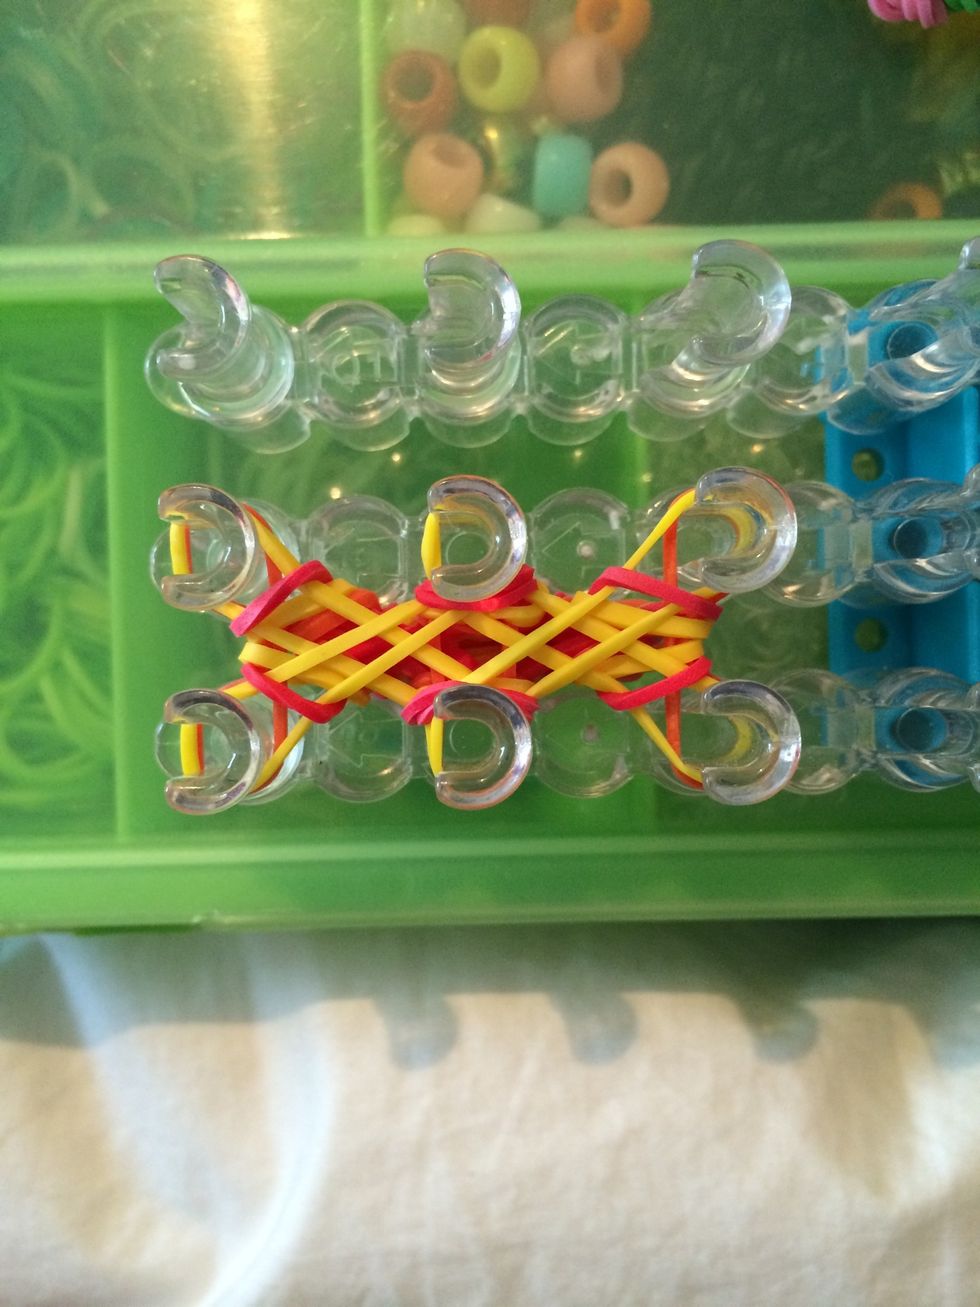
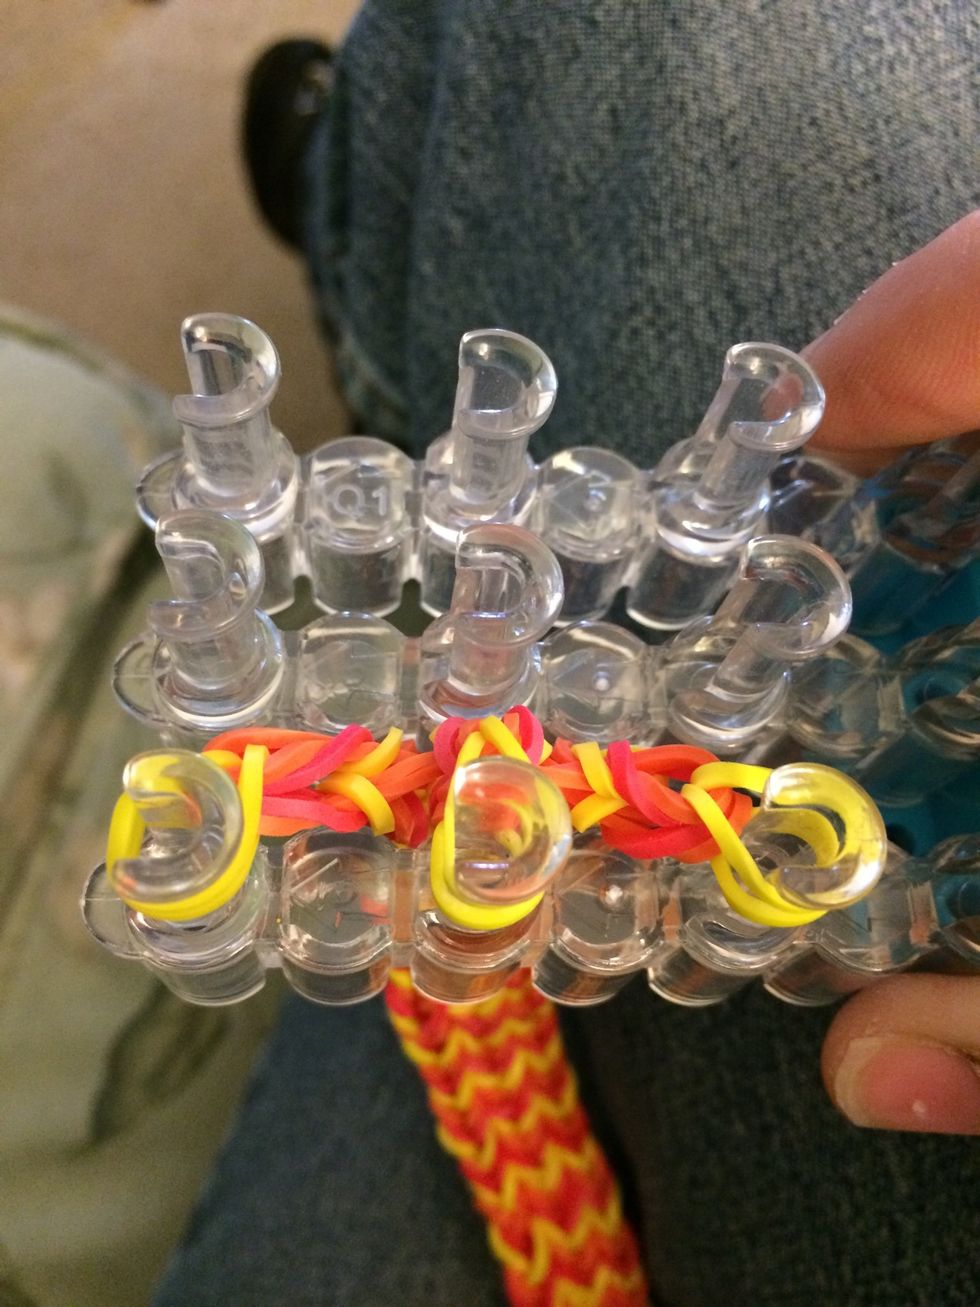
Push all the bands down.
Now we just continue these steps until you have the length you need for a bracelet. I will add a few more photos of the steps.
Place 3 yellow bands.
Loop the red ones.
Place the red X's
Loop the orange bands
Place the orange bands.
Loop the yellow bands.
Place the yellow X's.
Loop the red bands.
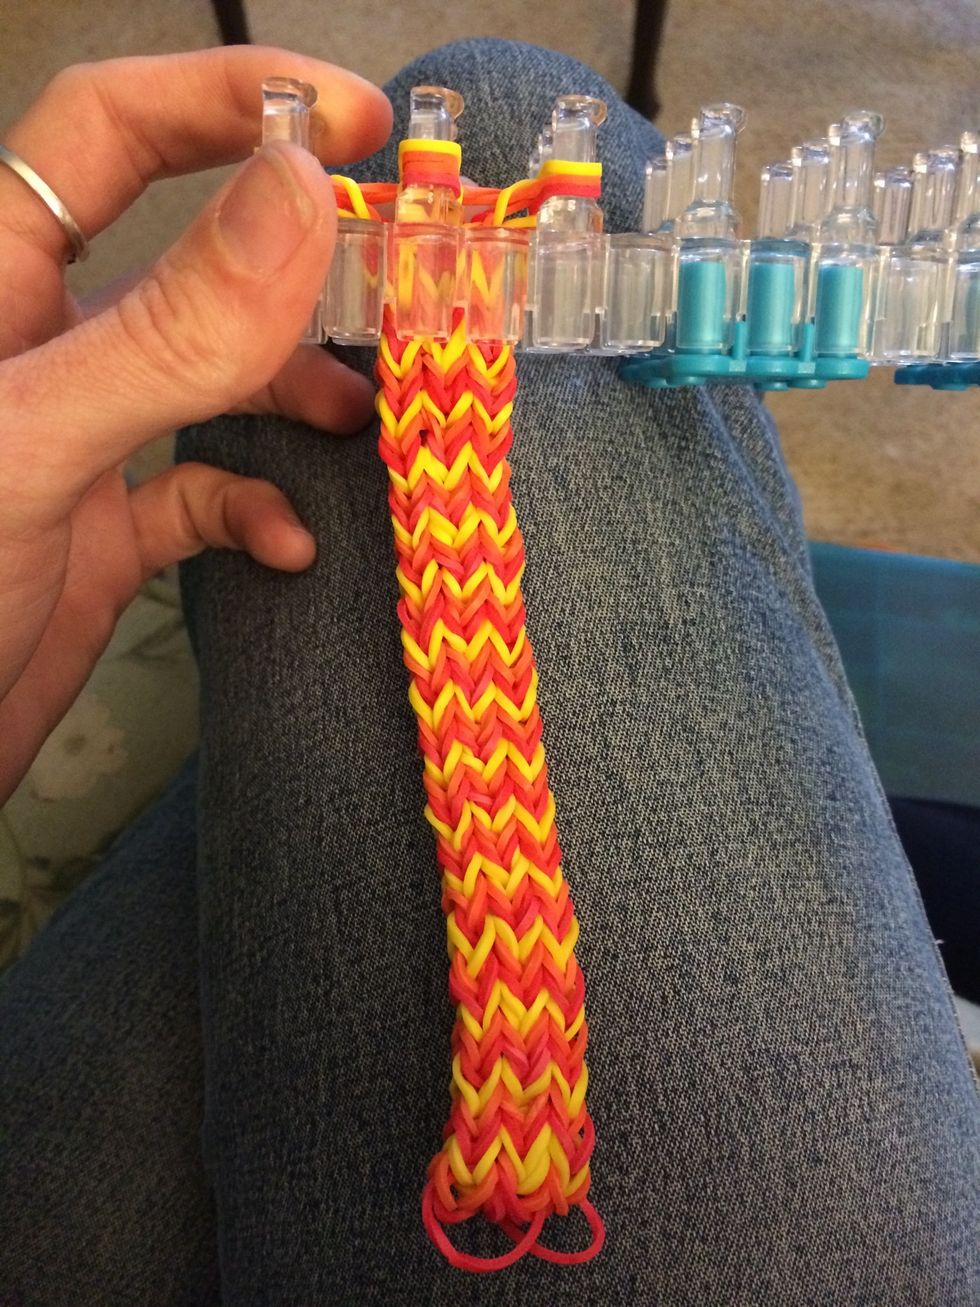
After a few more rows you bracelet will start to stick out the bottom. Don't get discouraged, this bracelet does take a little bit if time but the end result is worth it!!!

As you can see the bracelet is starting to come out the bottom. And looks really nice. Keep going and your bracelet will be finished in now time. And don't worry I will show you how to finish it.
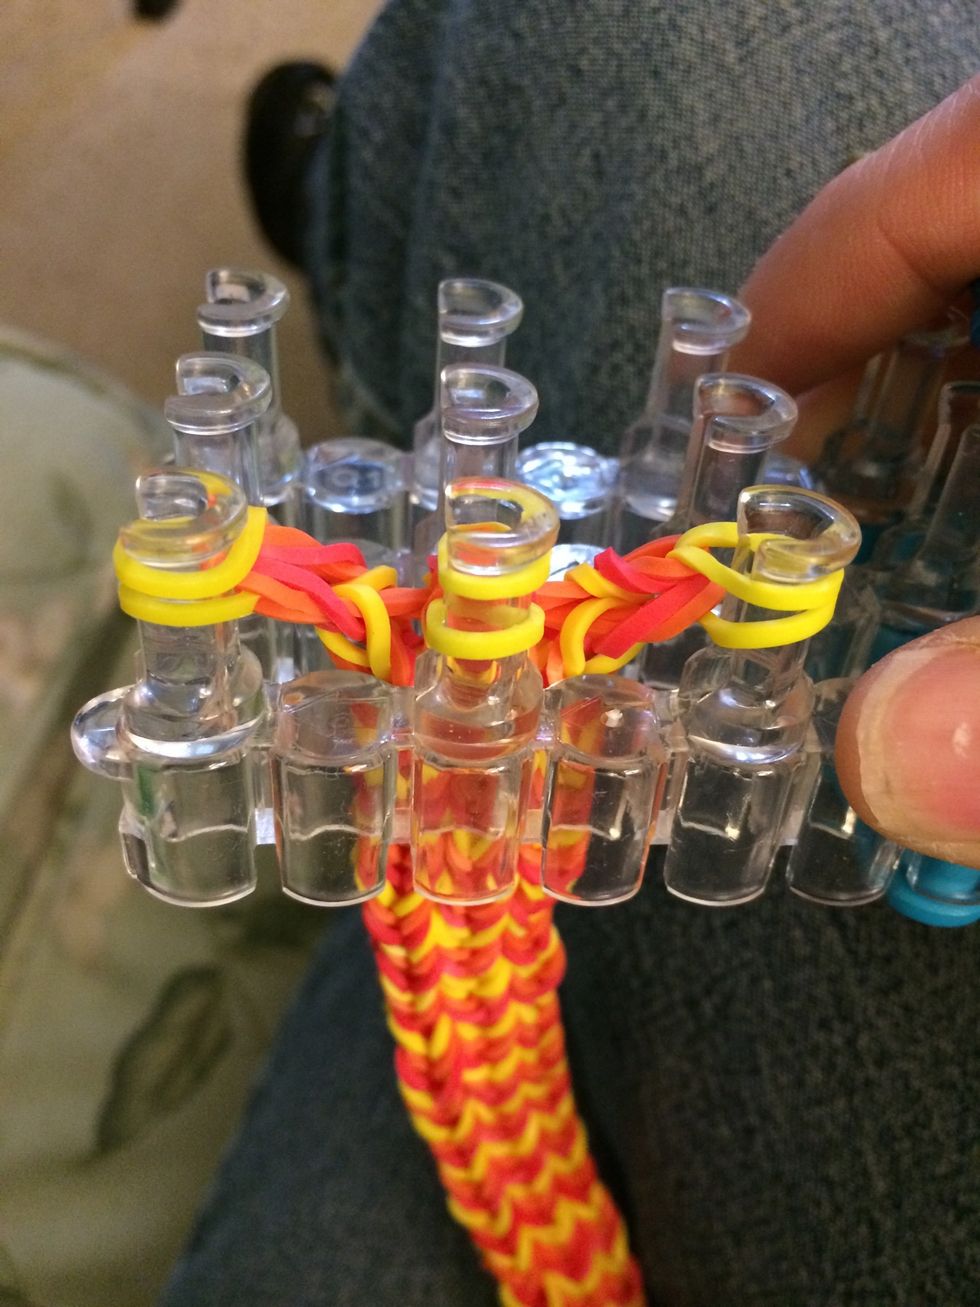
After many rows I think my bracelet is finally done. Let's finish this bad boy off 😃
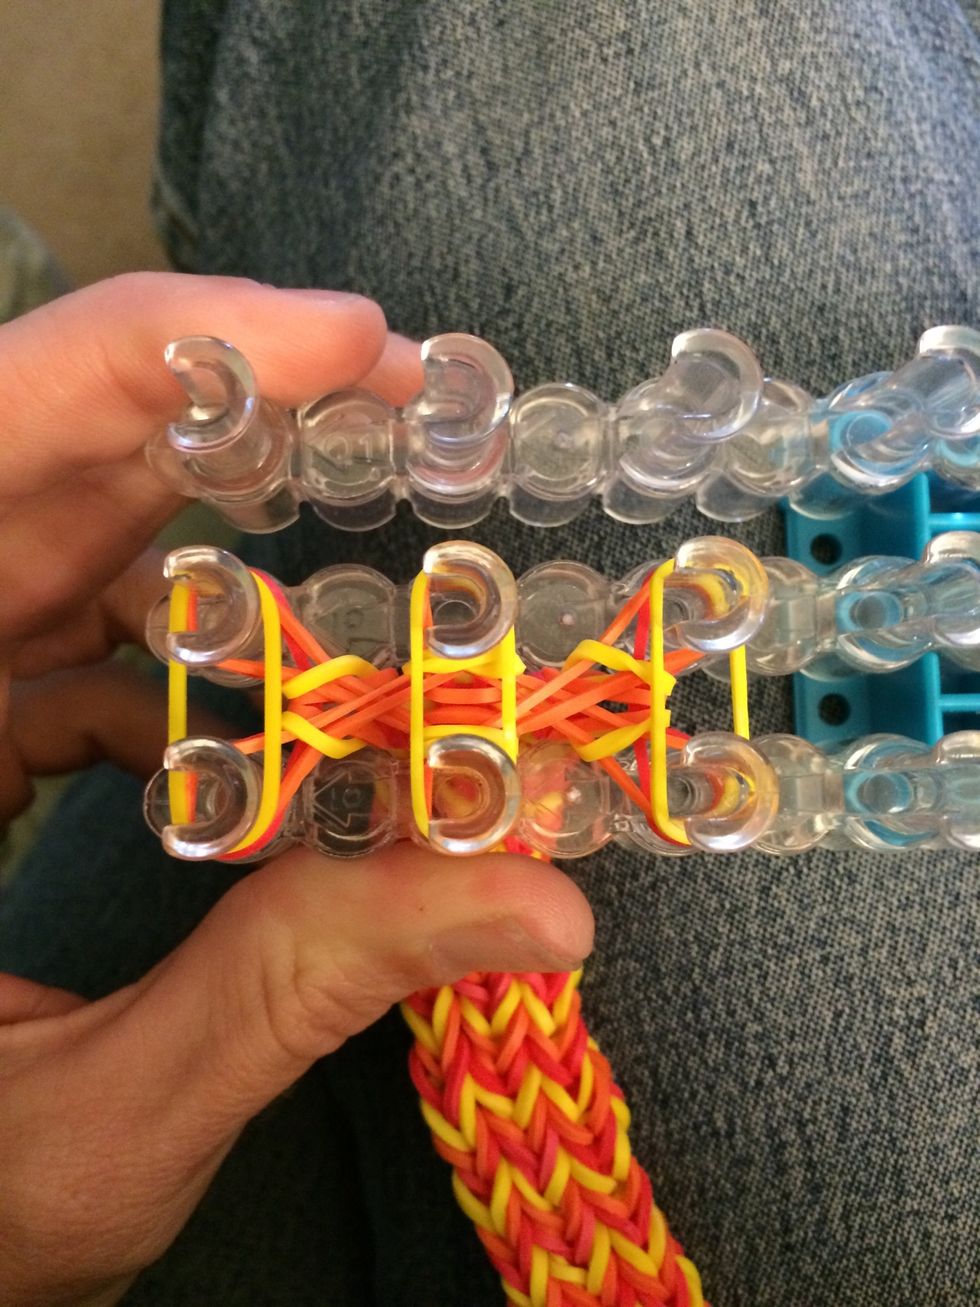
Place your last row of bands. It can stop at either row it doesn't matter.
Loop over all the bands on the bottom. For mine they are red.
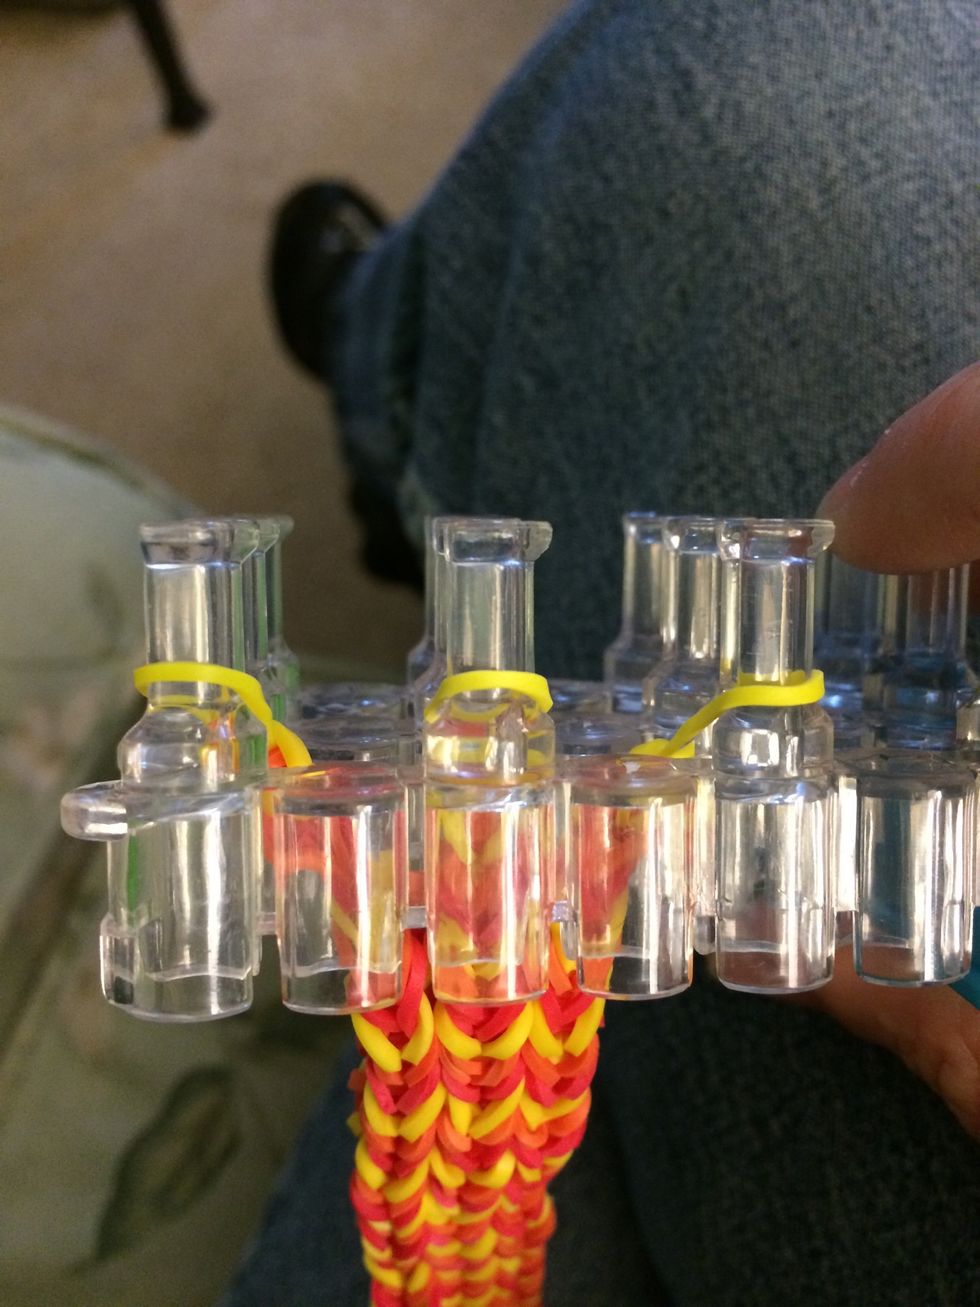
Loop over the next color.
Now we only have 6 bands left. Let's take one ones that are on the second row and move them carefully to the first row.
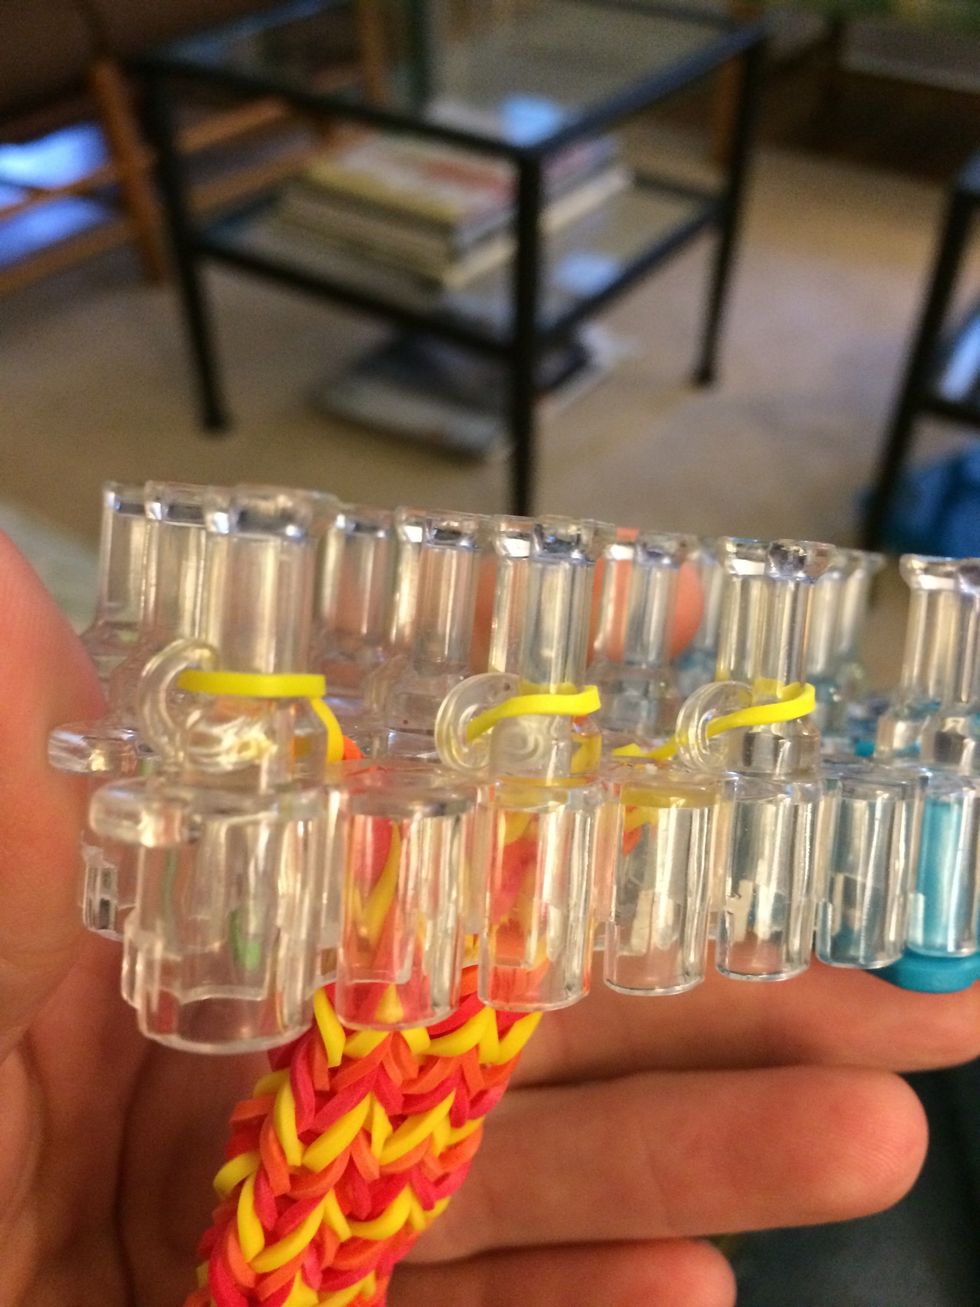
With all the bands on 3 pegs, let's loop the bands over that are on the bottom.
Here is a side view.
With the last bands looped it's time to add your c-clips or s-clips.
With your clips attached you can finally take your bracelet off the loom.
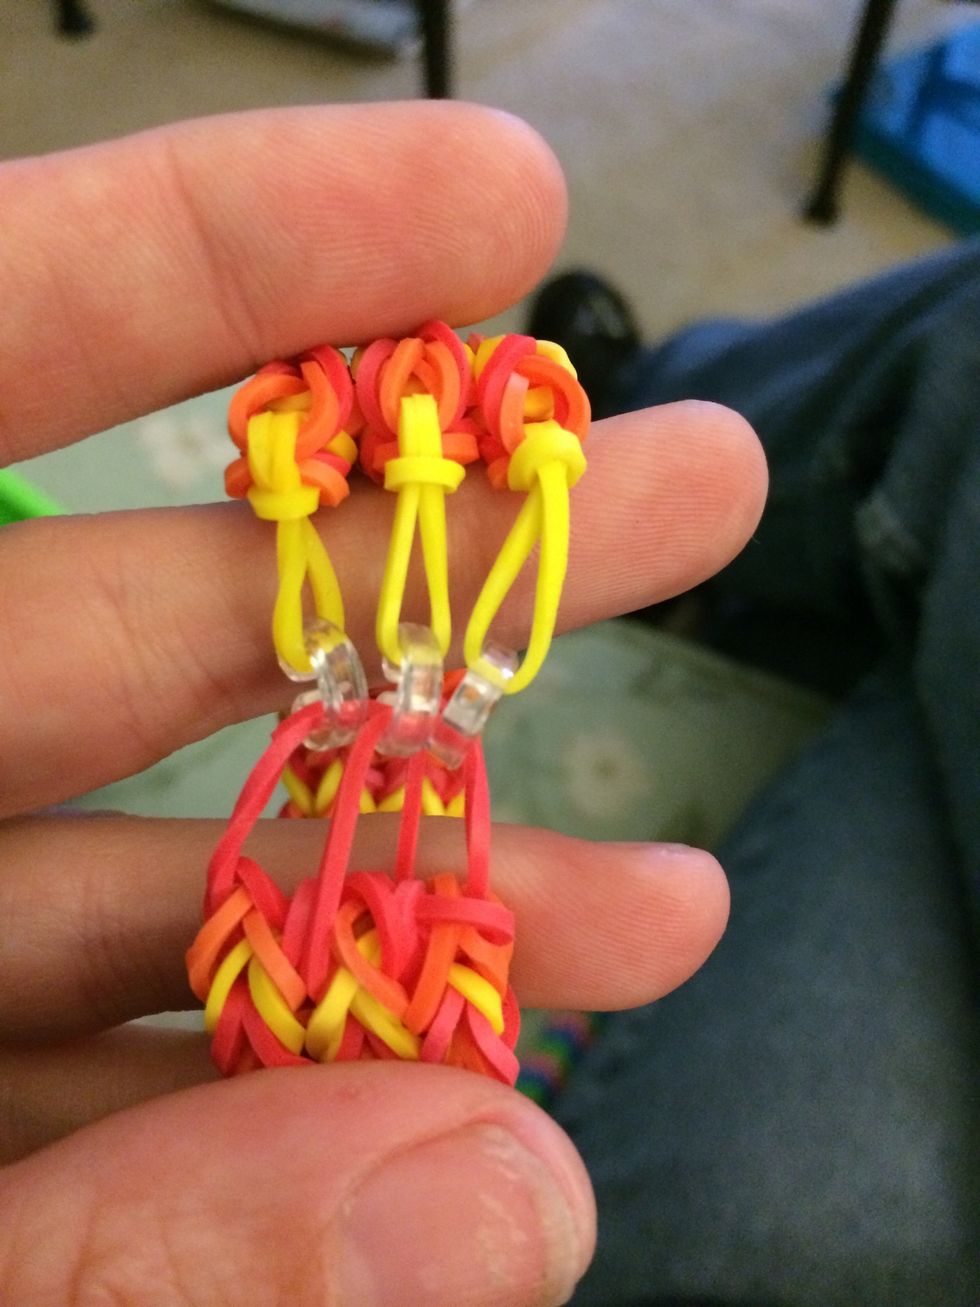
Attach one end to the other.
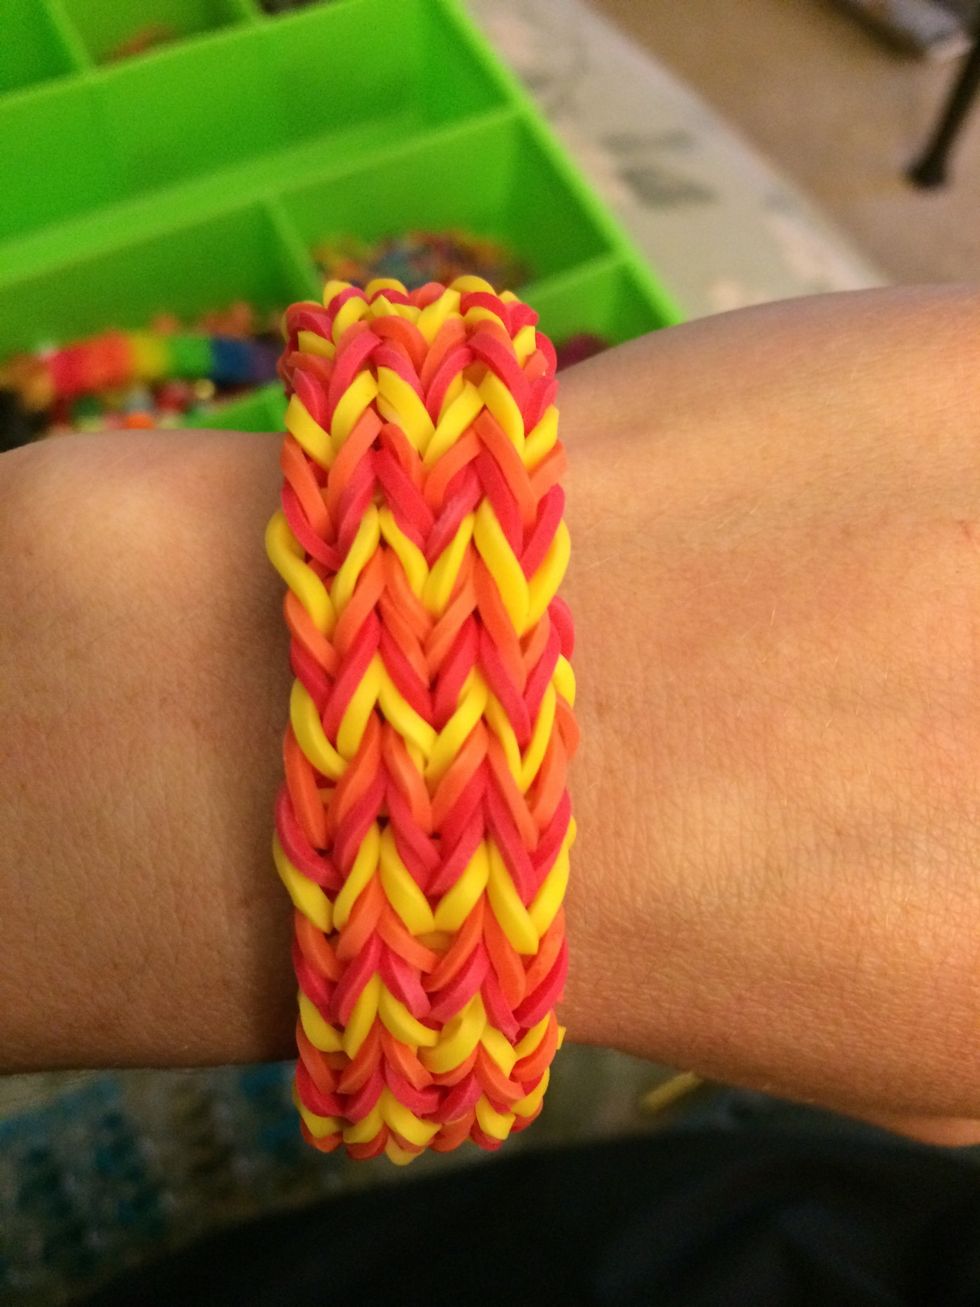
And there you go, you have yourself a triple fishtail bracelet 😃
I hope that making this bracelet was fun for all who make it 😃. So that it took so many steps but it is well worth the time. Thanks for liking if you do and I will see you all next time 😊