The Conversation (0)
Sign Up
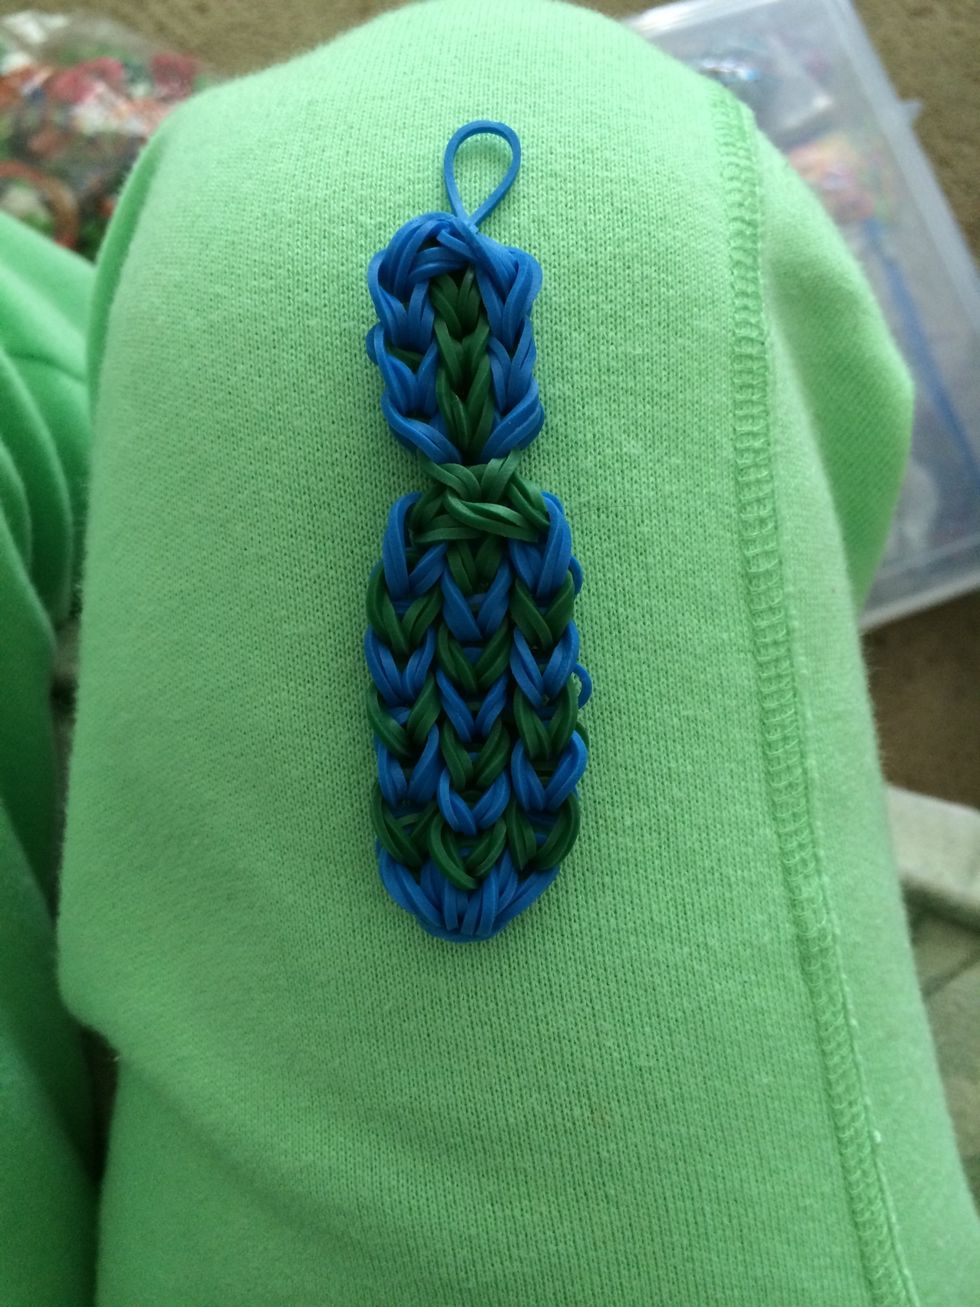
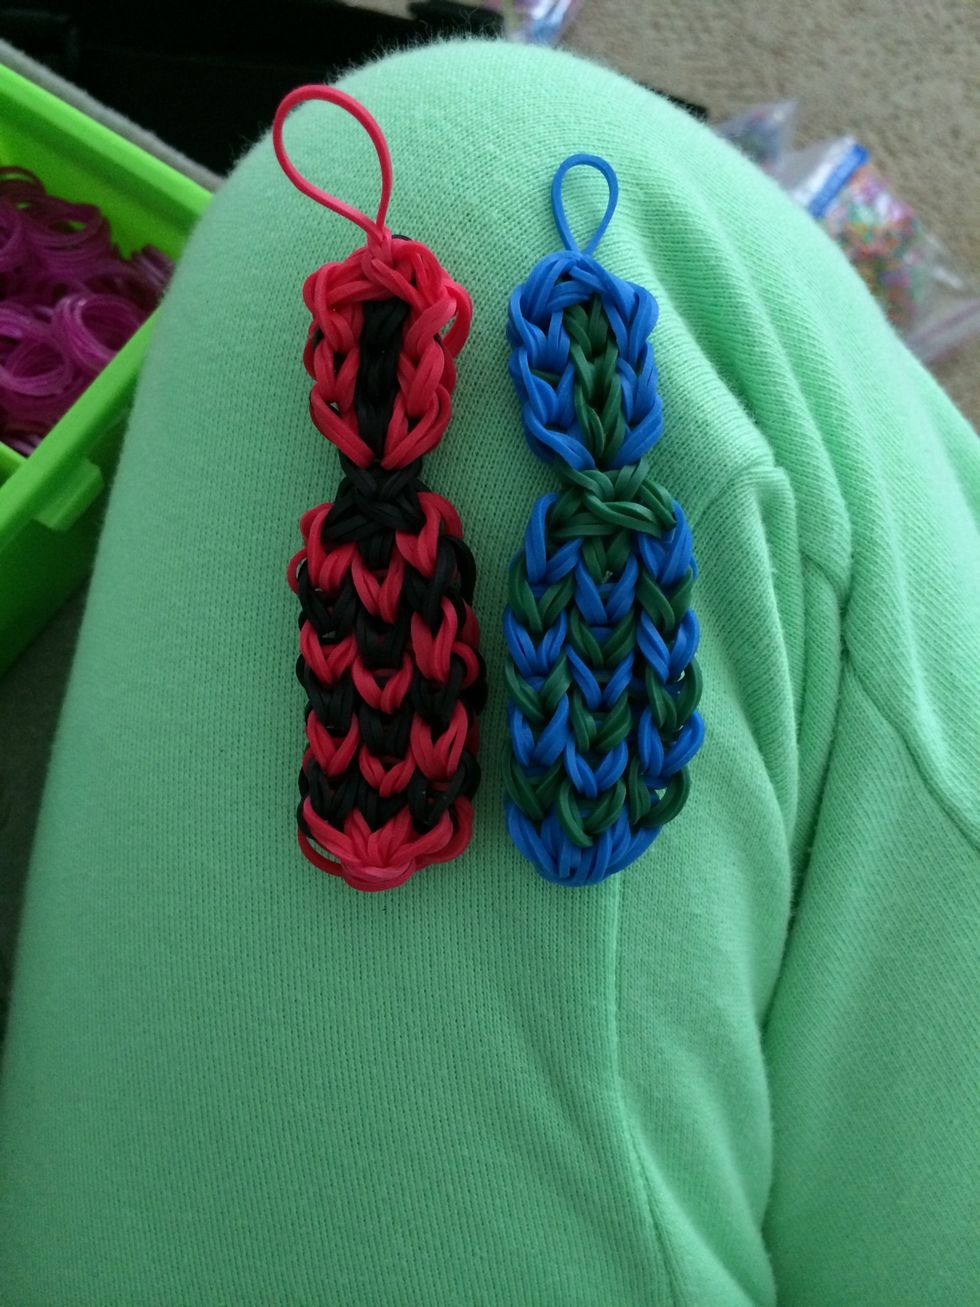
This is what we are going to be making today. My version of a tie. My son actually wants to wear it, lol
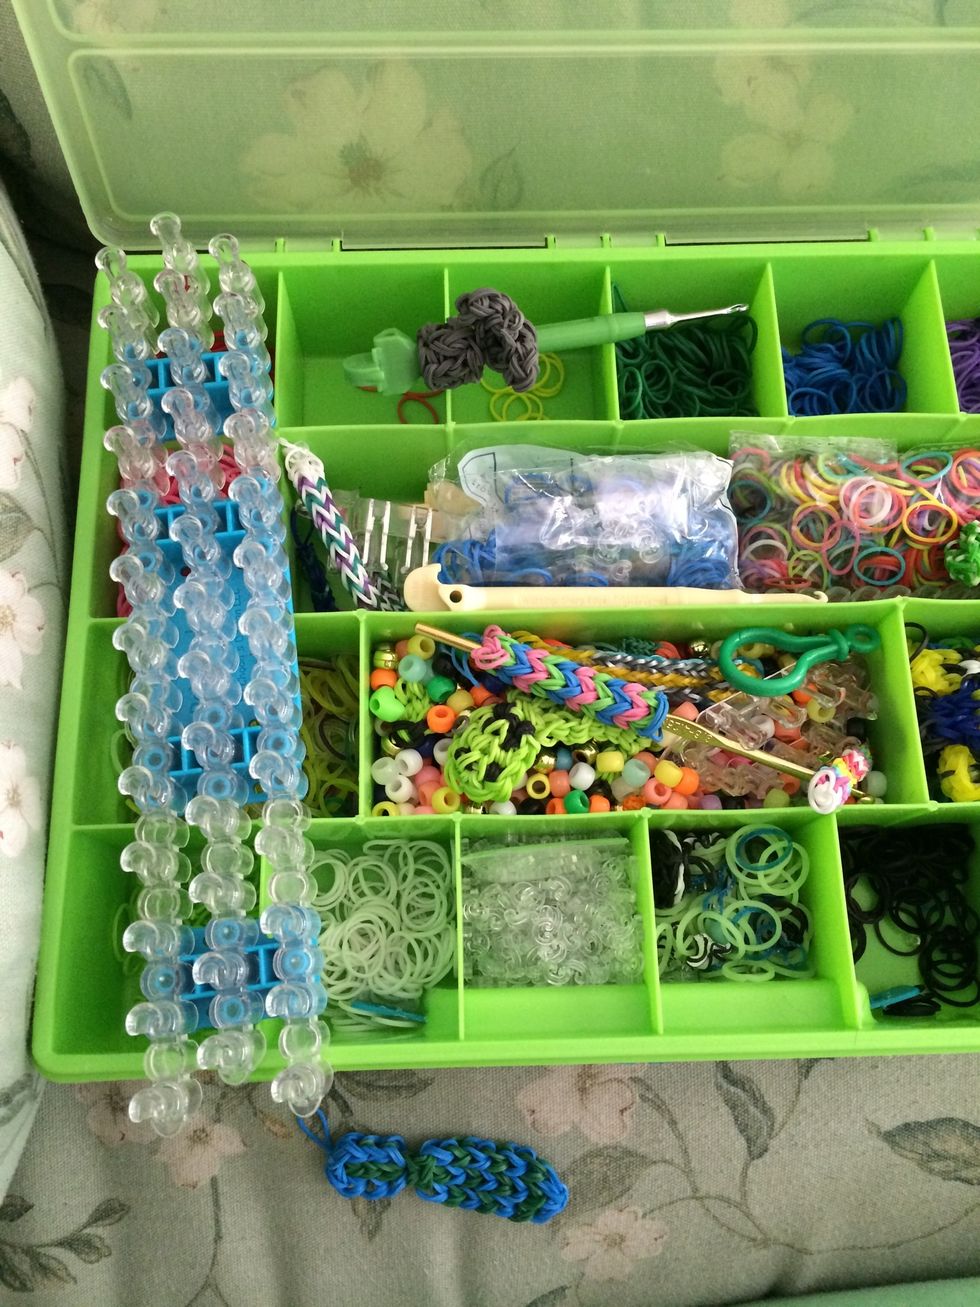
Grab your loom, bands and a hook and let's get started :)
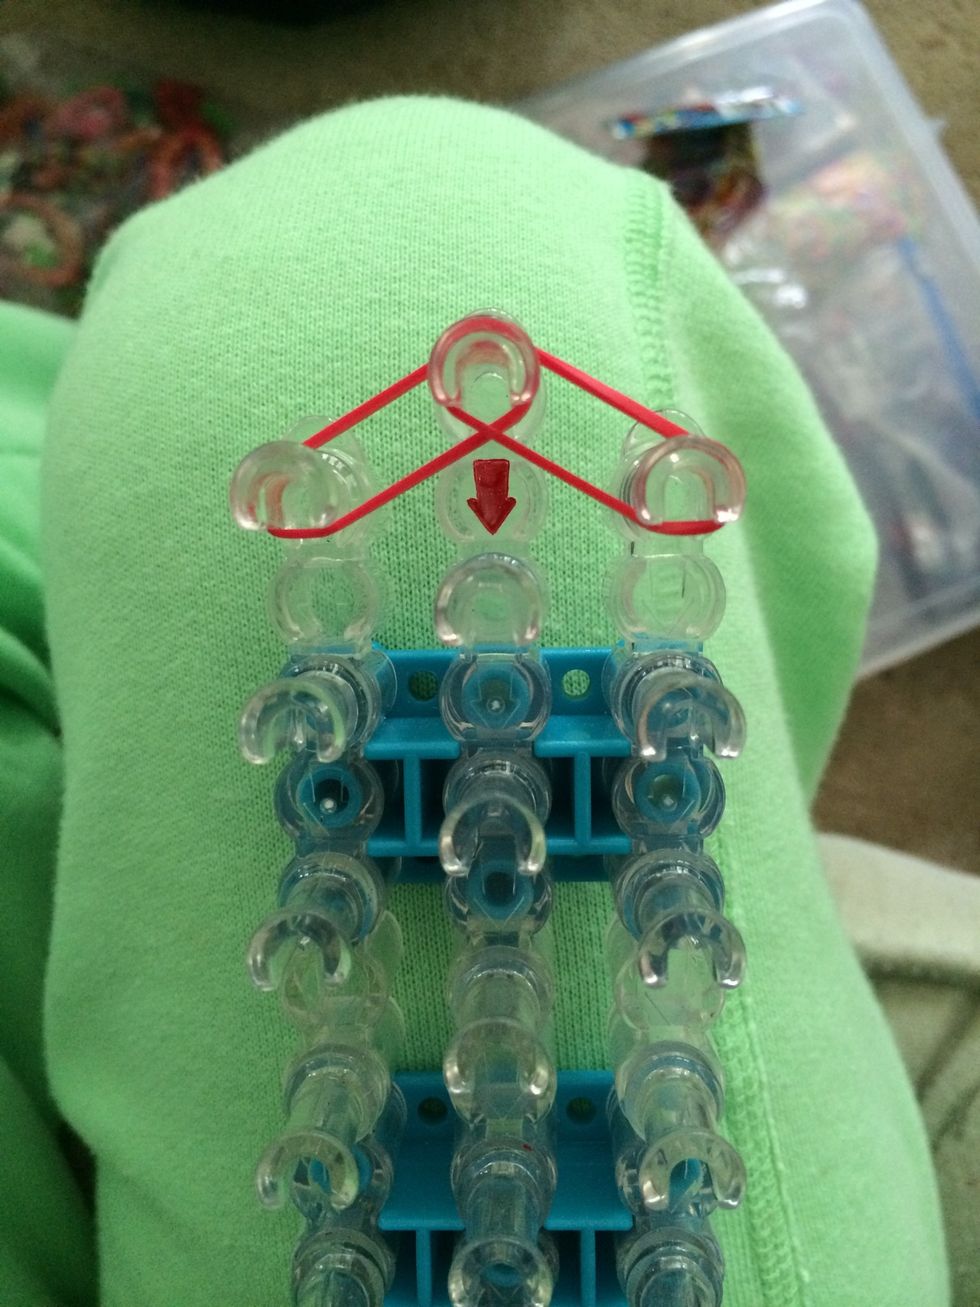
This will charm we will be using double bands. Grab 4 red rubber bands place 2 to the left and 2 to the right.
Place 2 sets of red rubber bands on the left side and on the right side
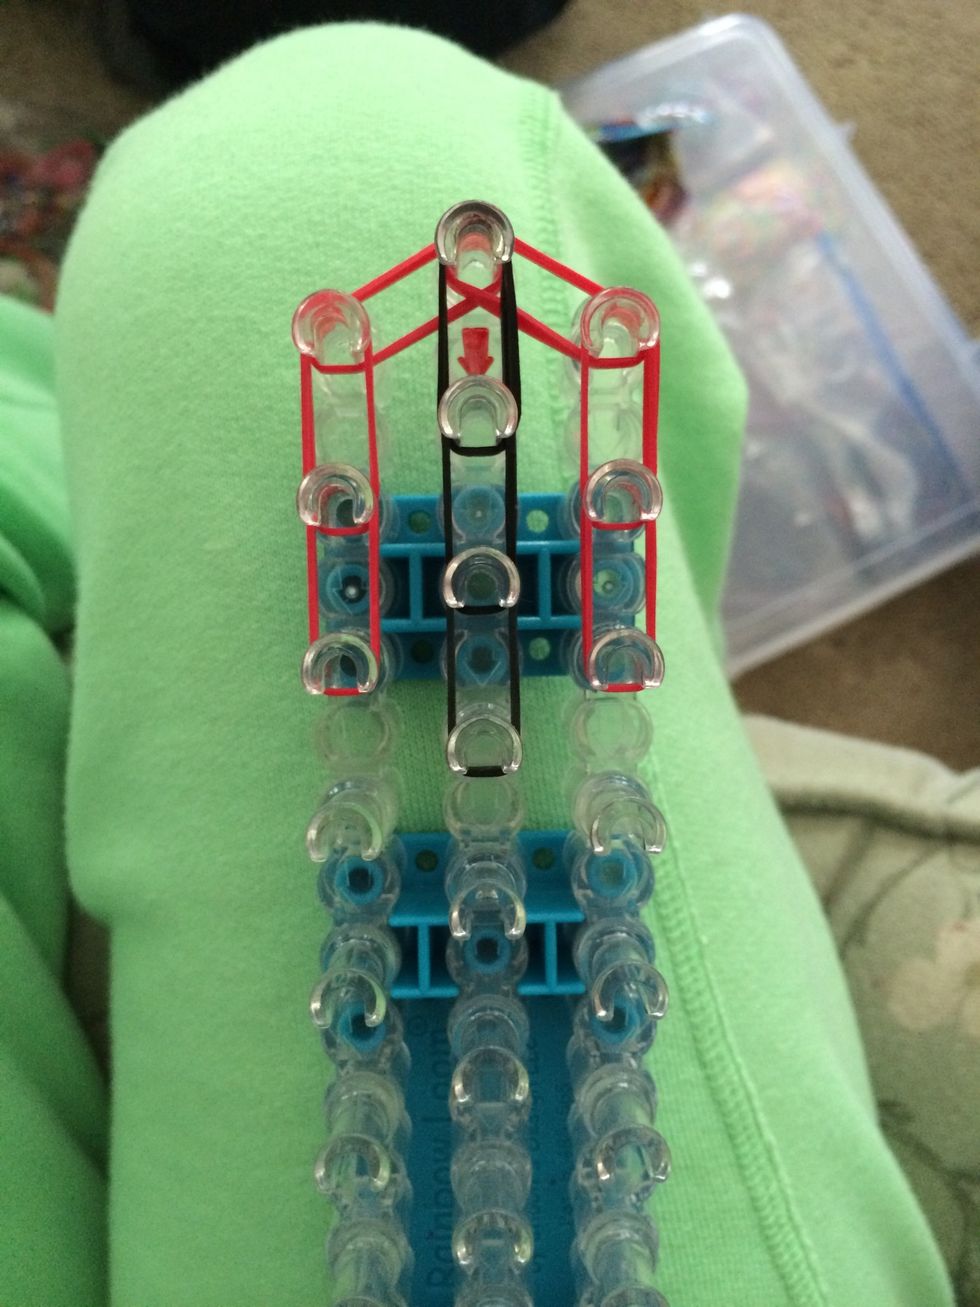
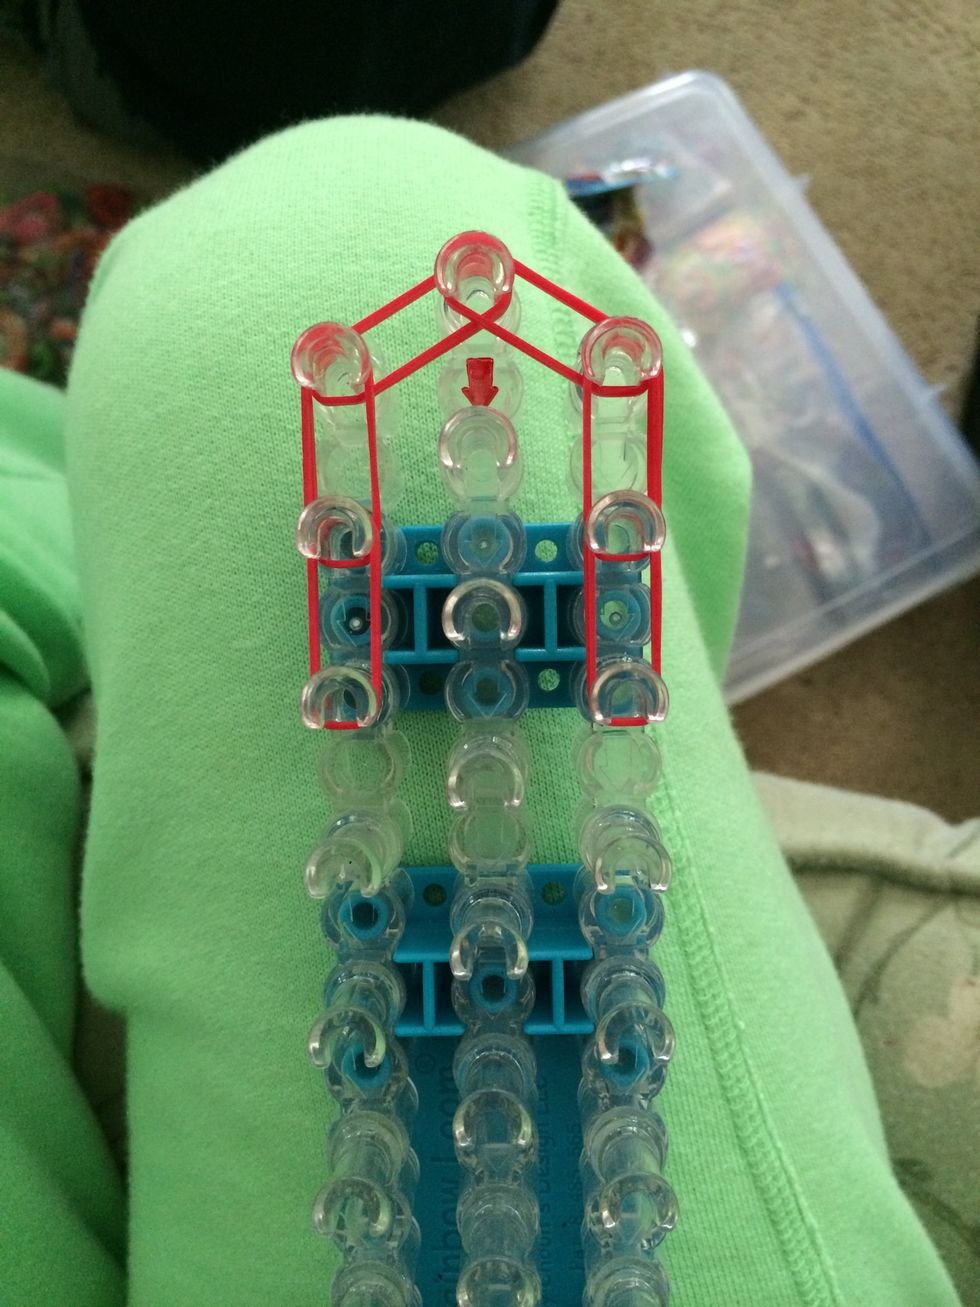
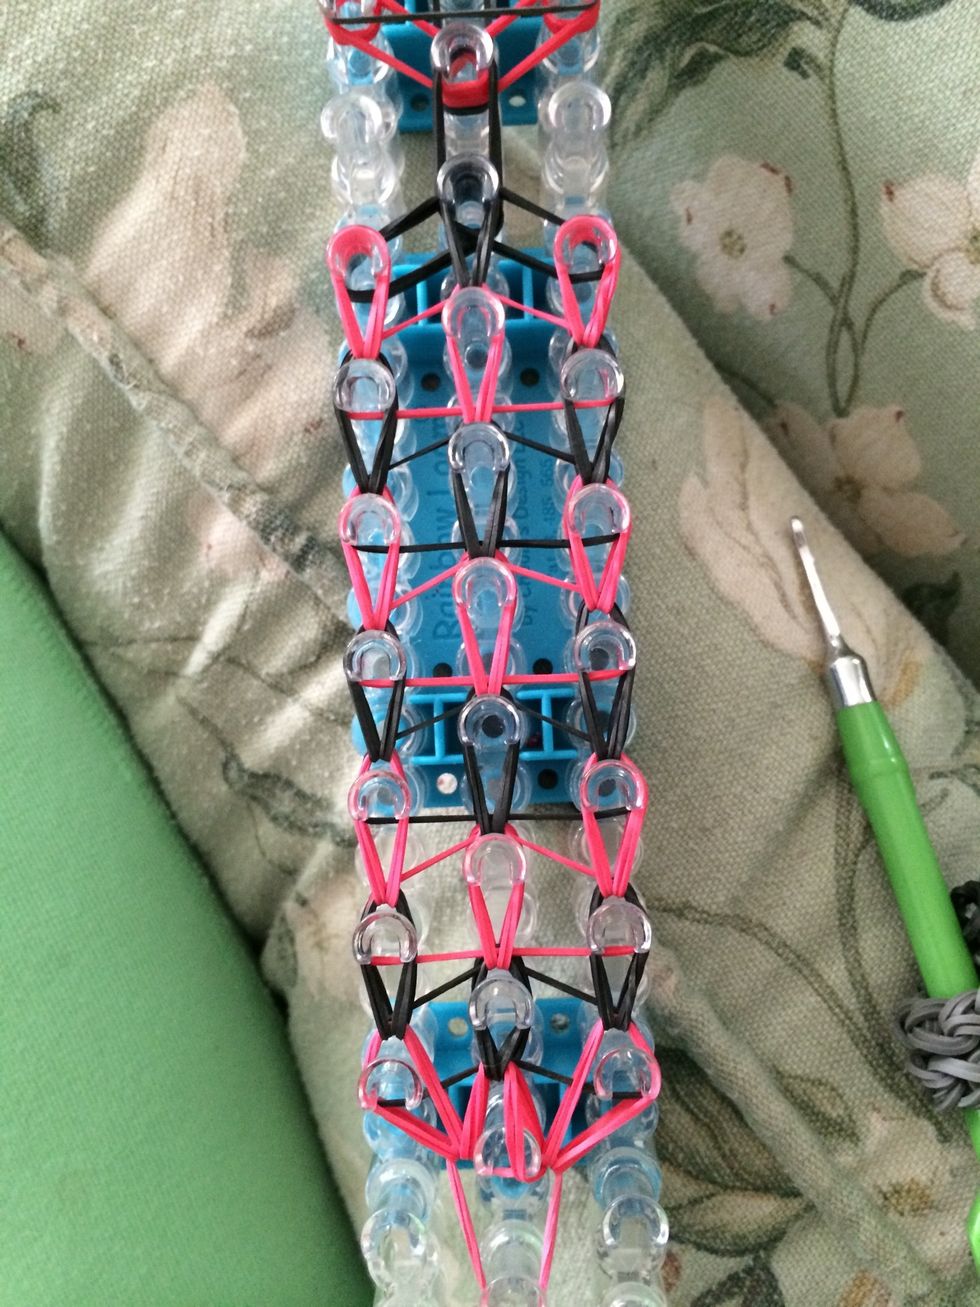
Grab 6 black rubber bands and placed 3 sets down the middle.

Close off the top part of the tie by placing 2 sets of red rubber bands from the left to the center and from the right to the center.

Place 2 black rubber bands down the middle
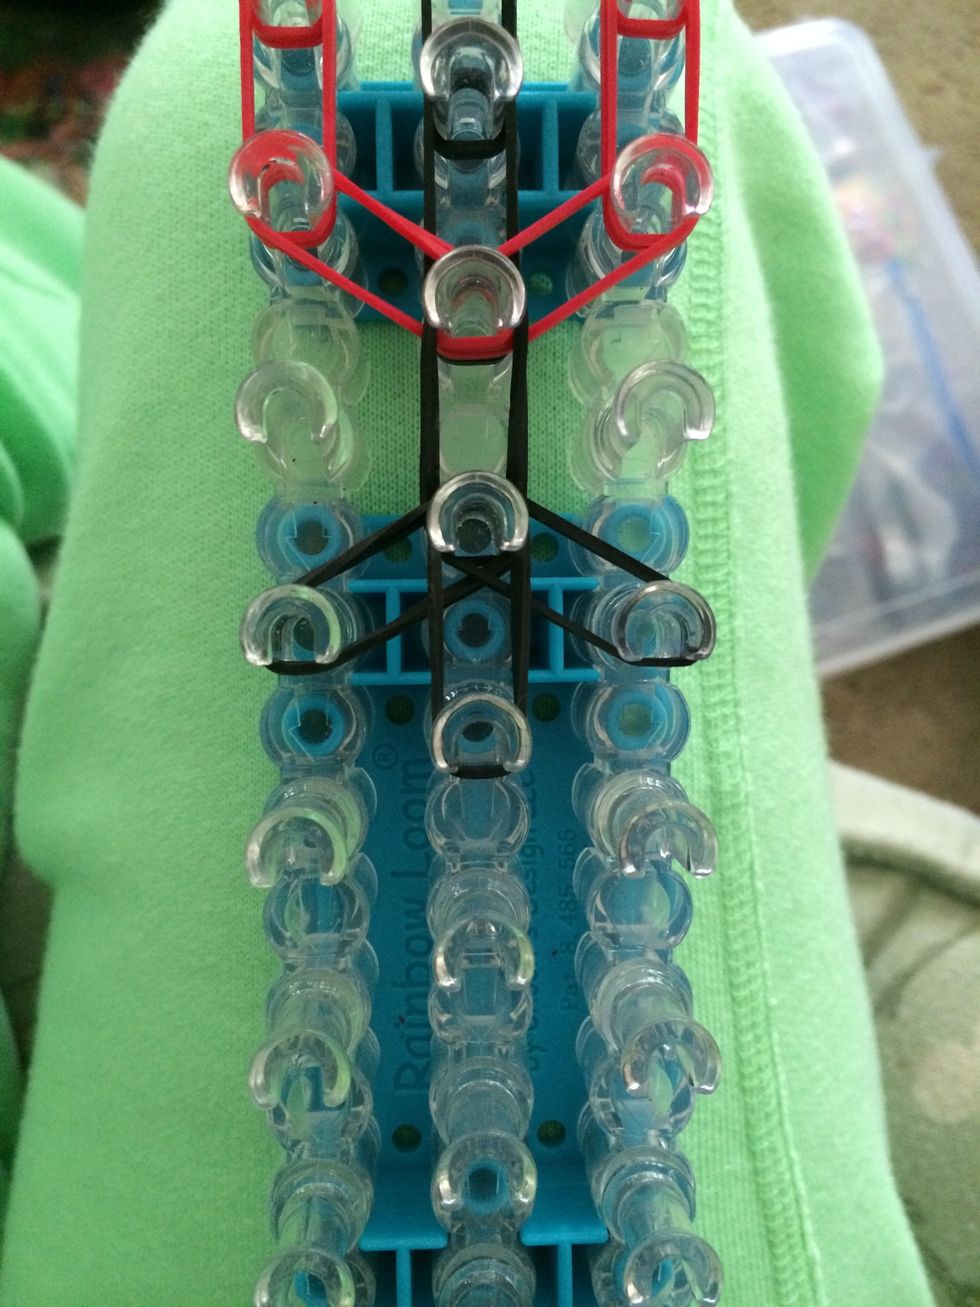
Place 2 black bands to the left to the right and down the middle.
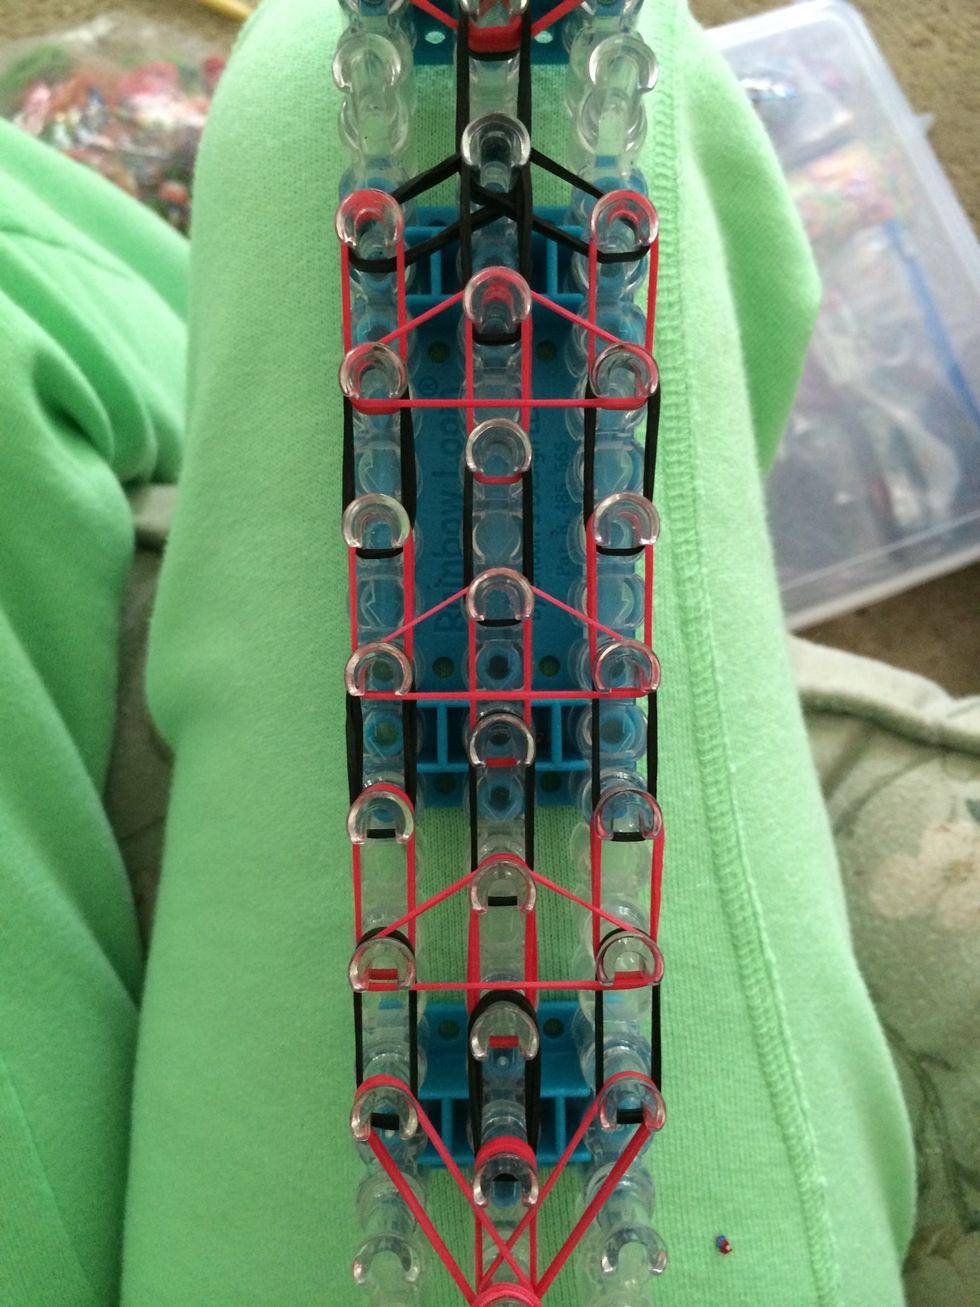
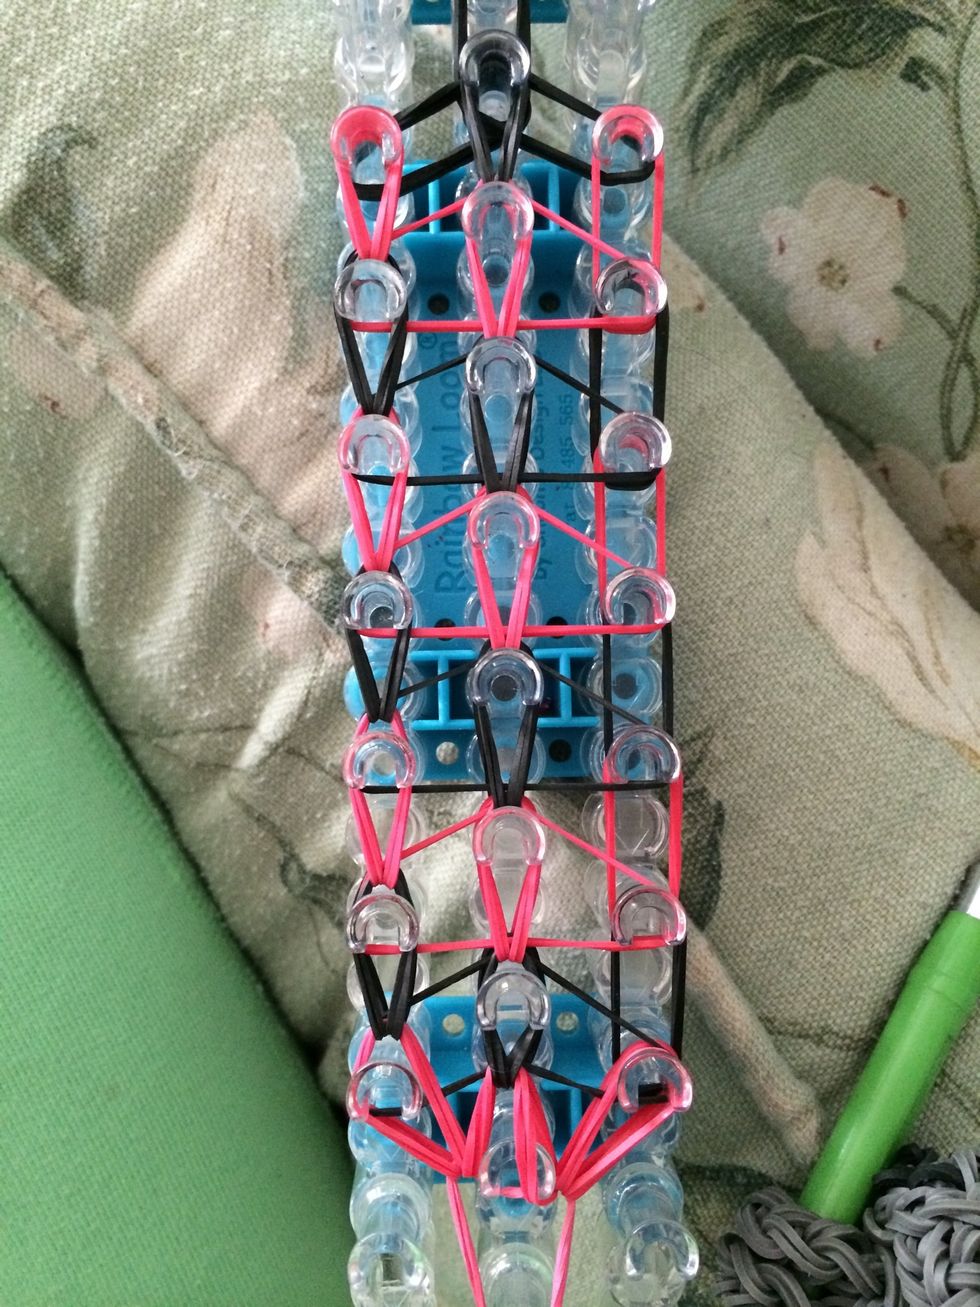
For the rest of the tie we are going to be working in rows. Place one row of red.
Place a row of black.
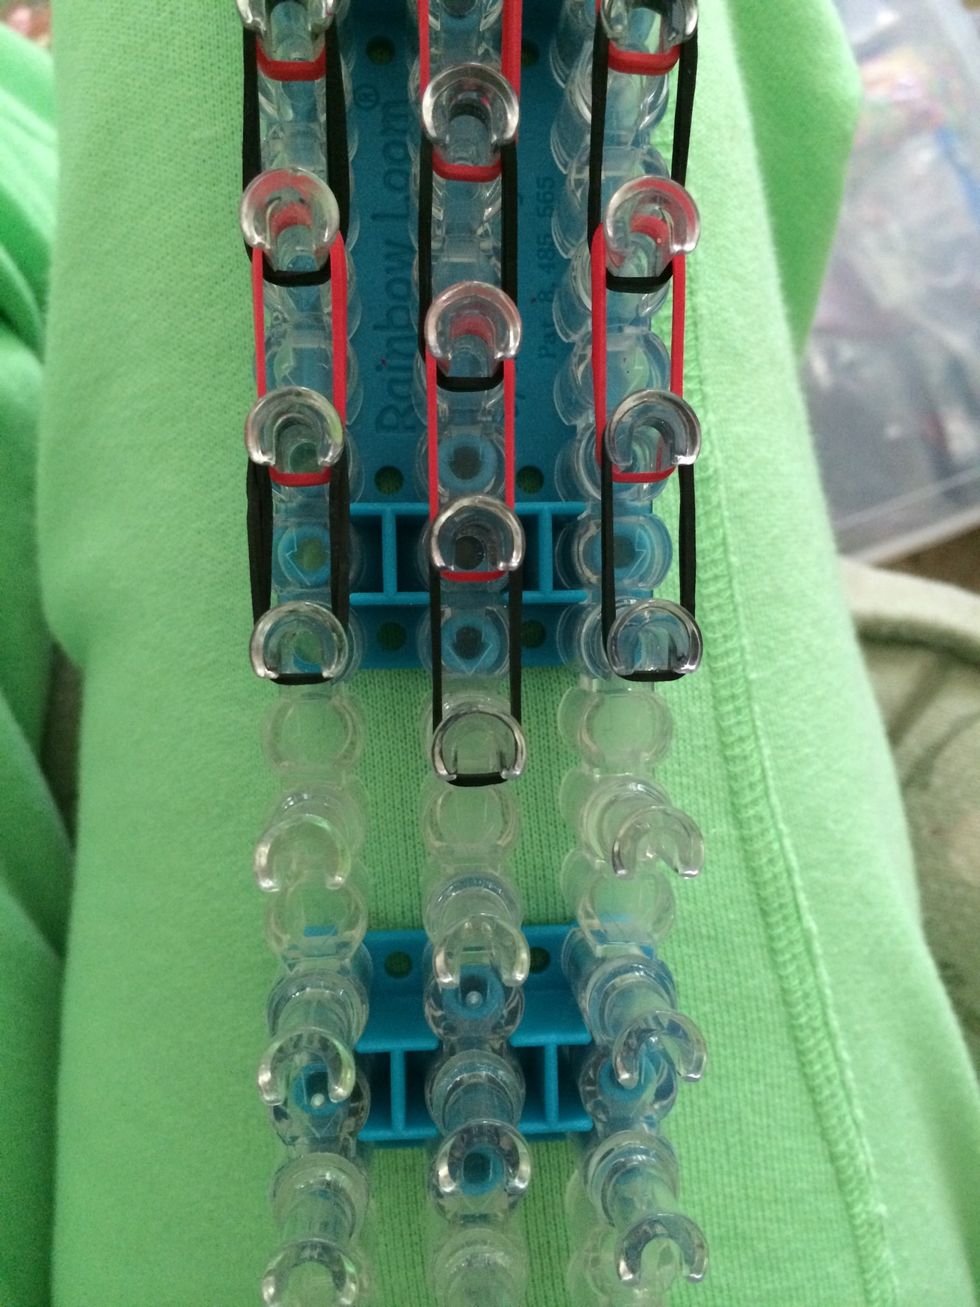
Place a row of red and then a row of black.
Place a row of red.
Place the last row of black.
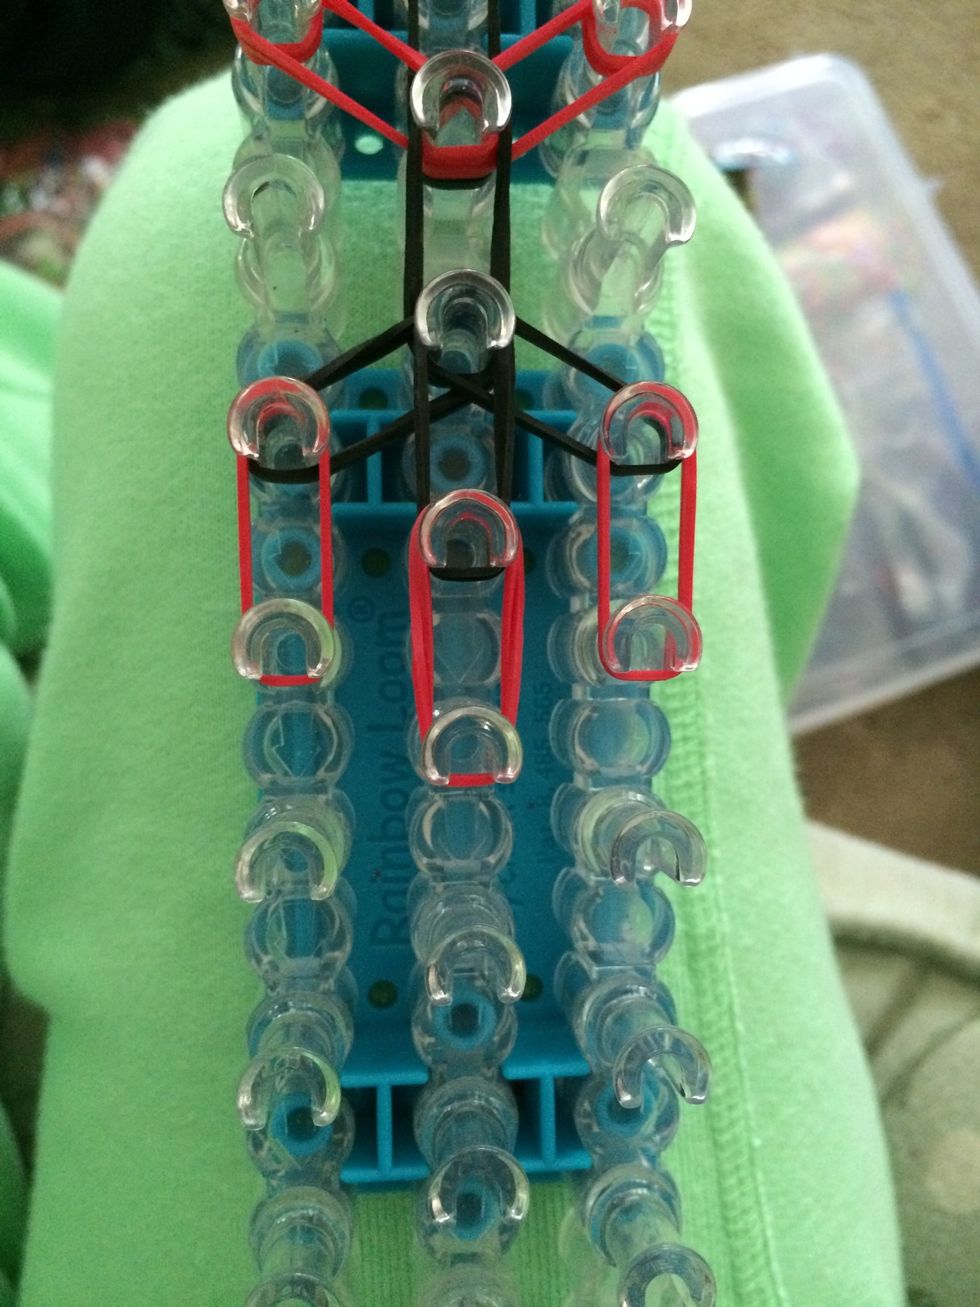
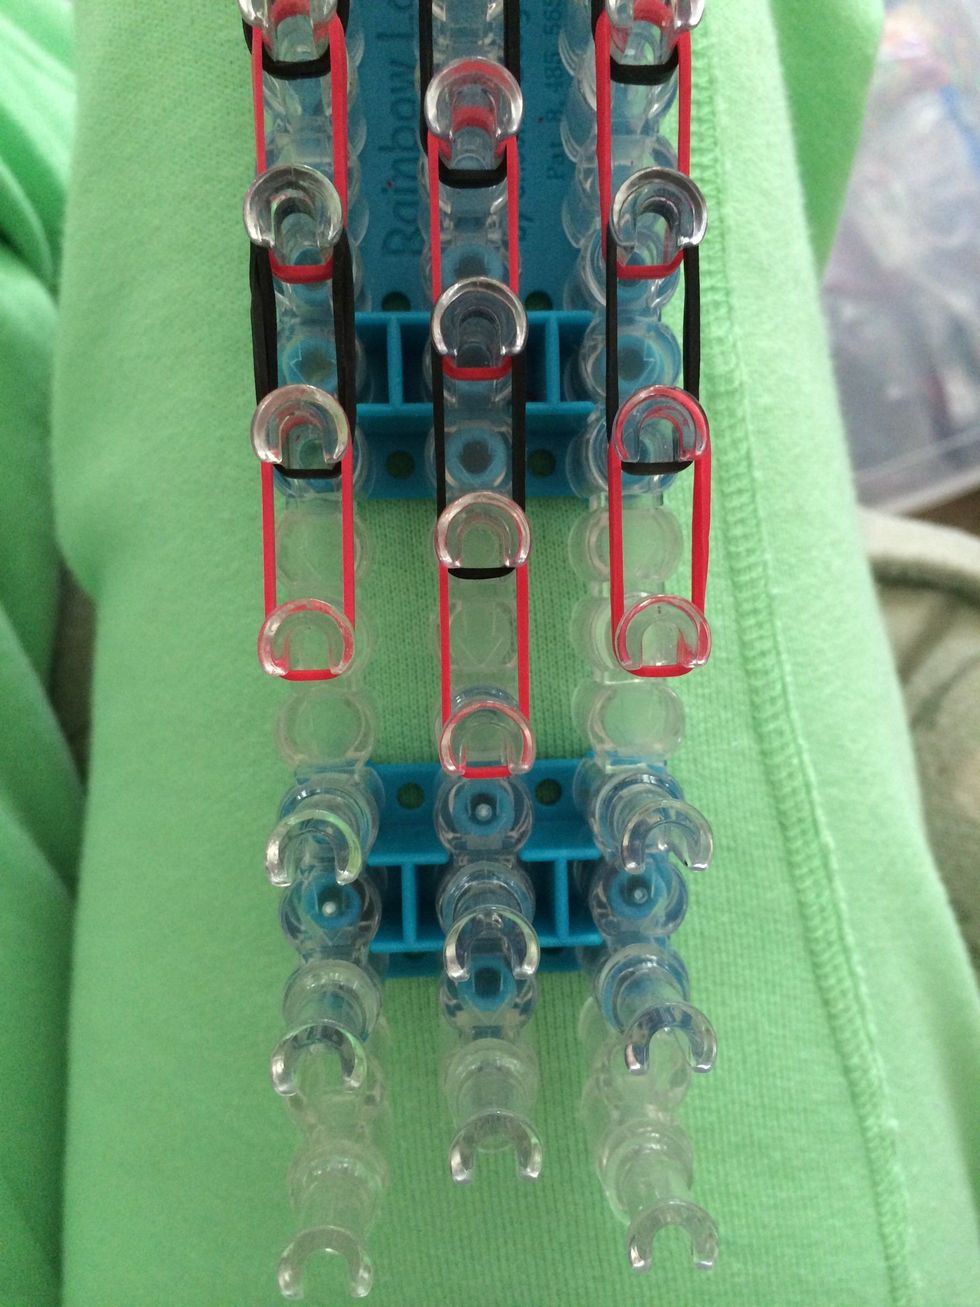
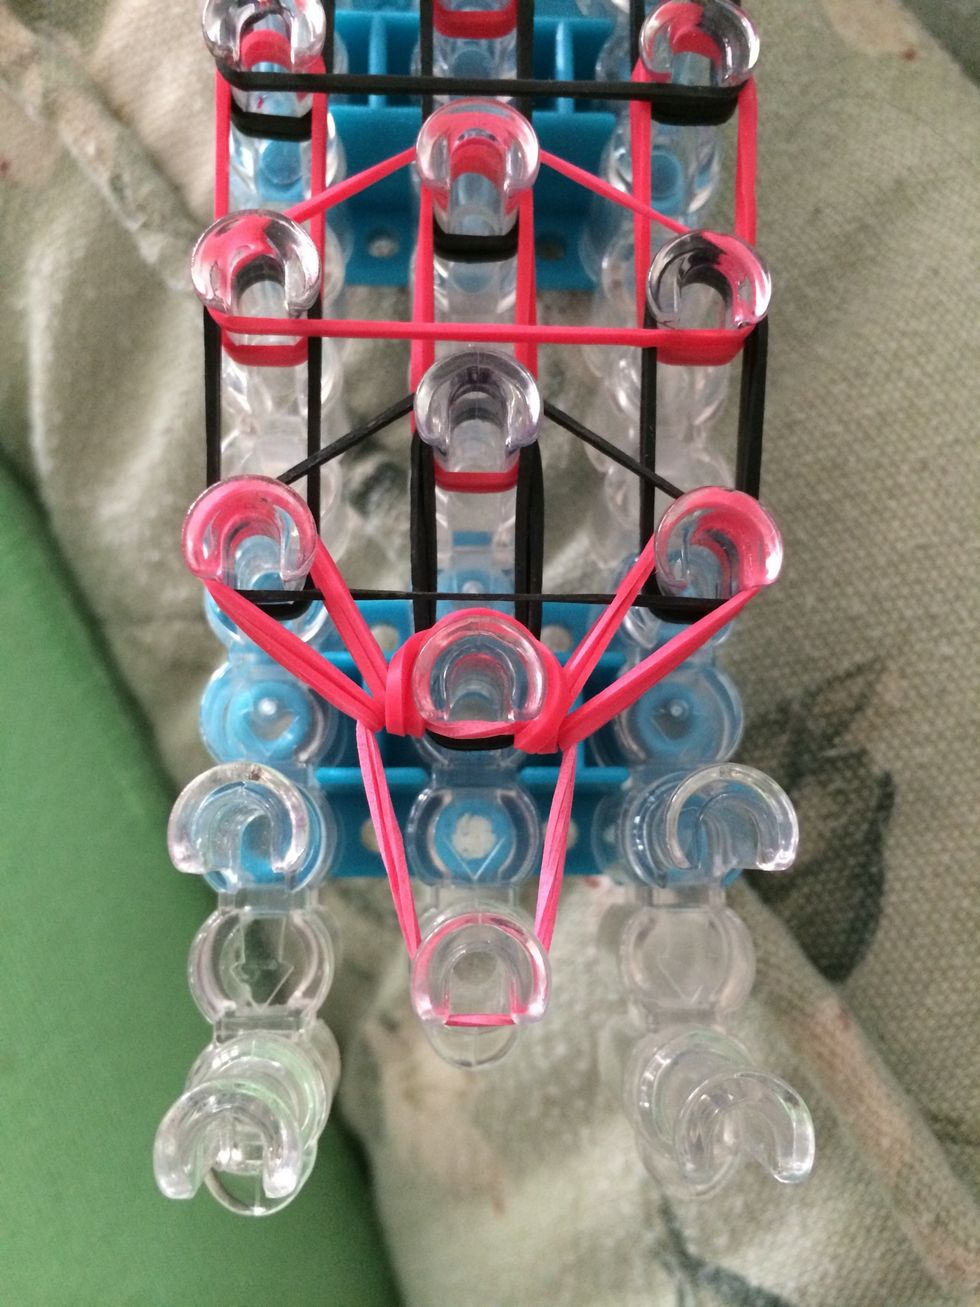
Put 1 set of red bands down the middle
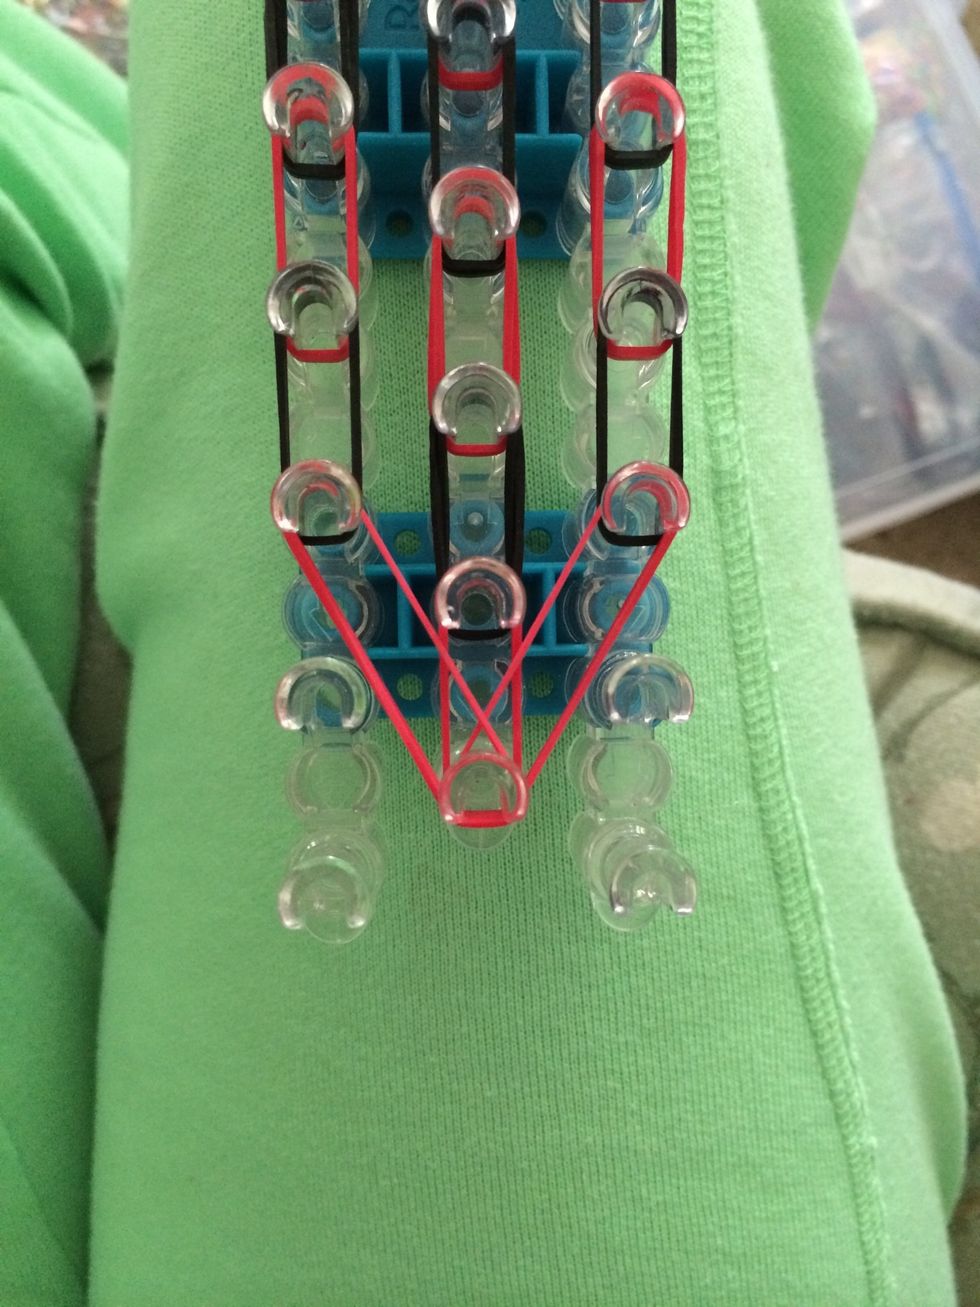
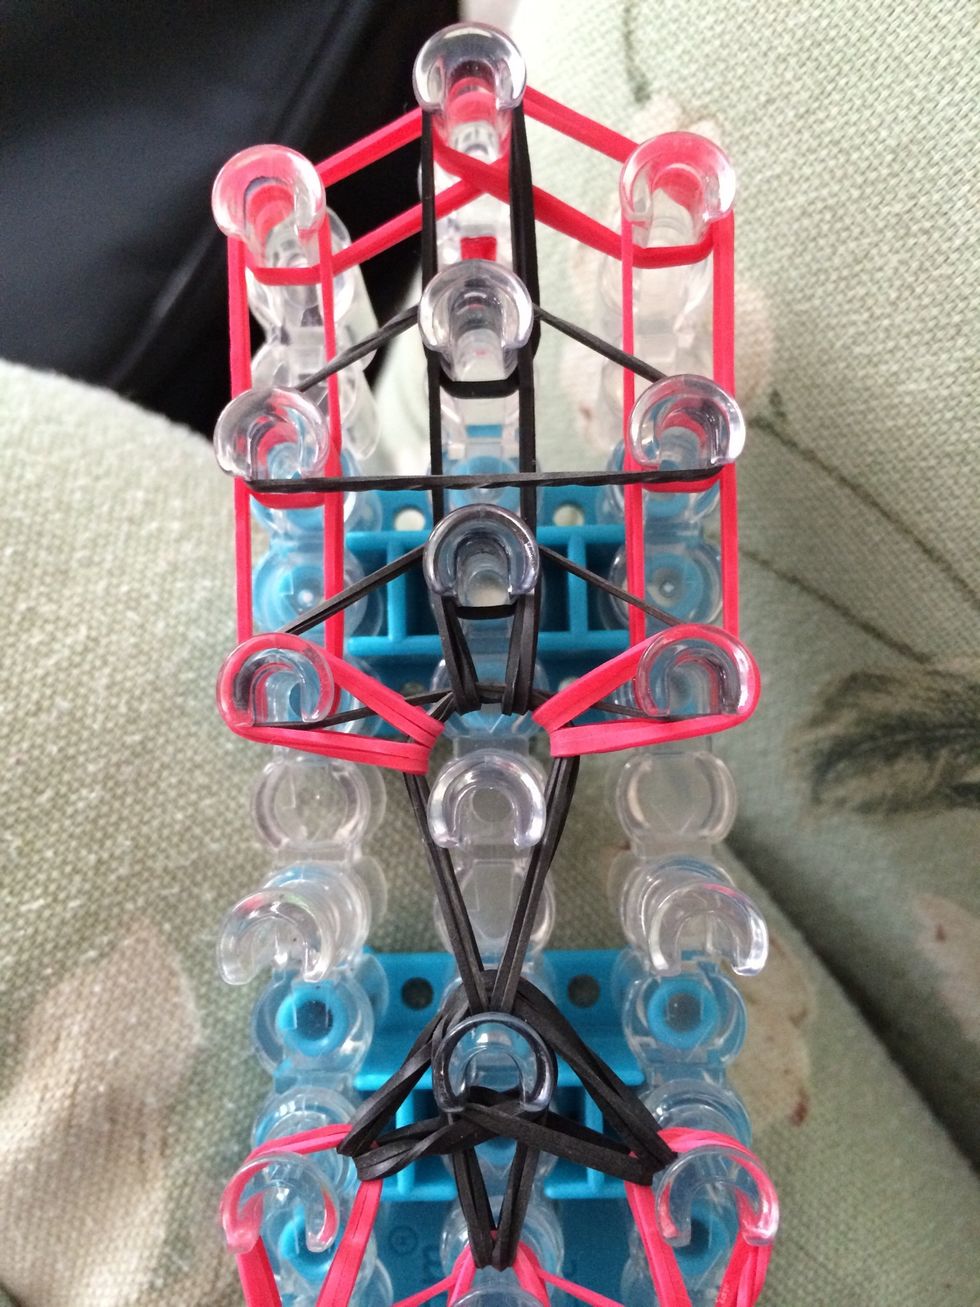
Put the last 2 sets of red bands in a long V-shaped this is going to help with the shape of the tie.
Place a capping band at the end that is looped 3 times.

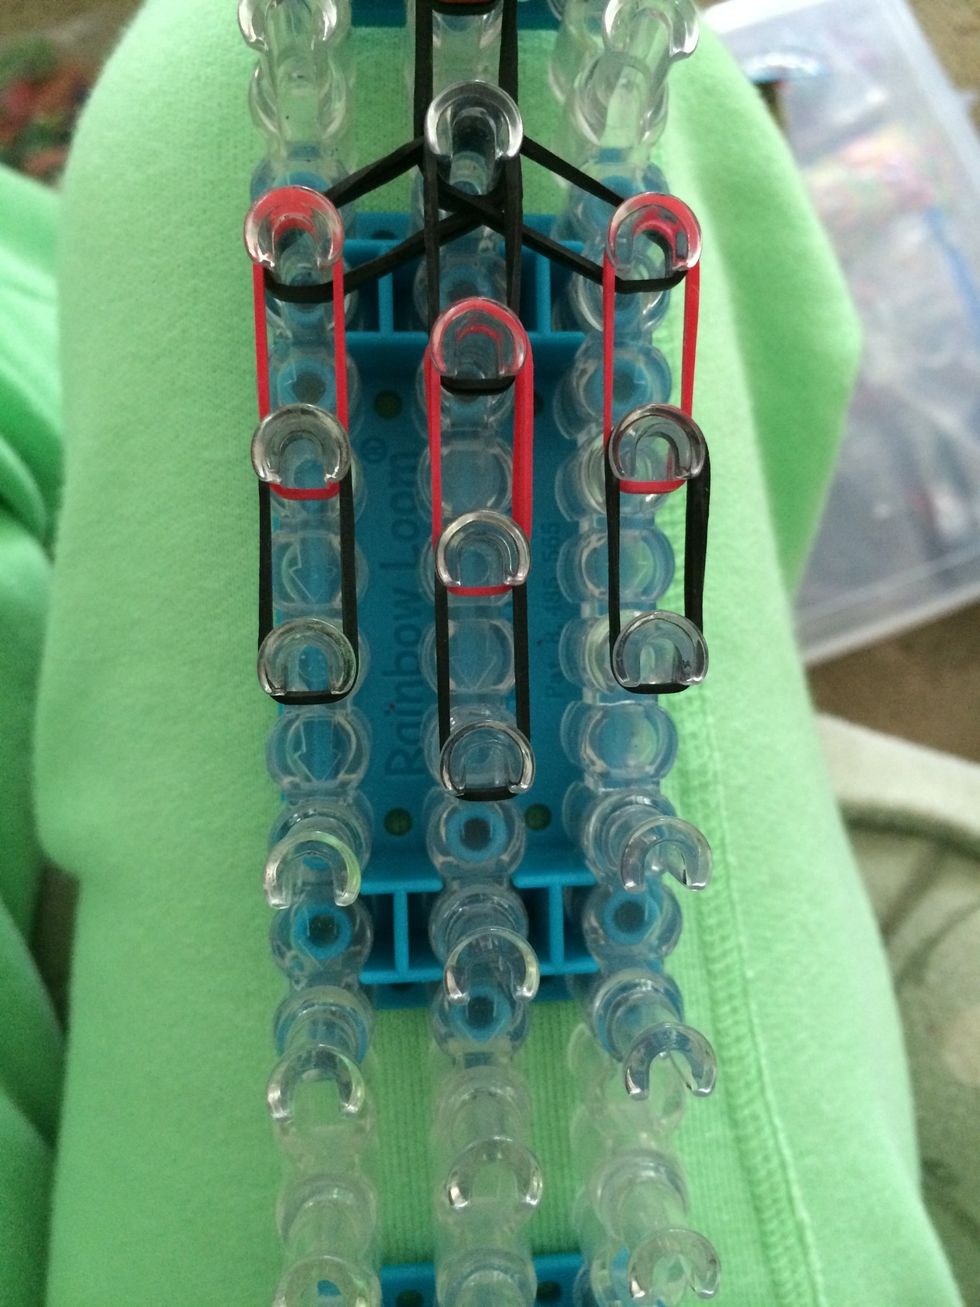
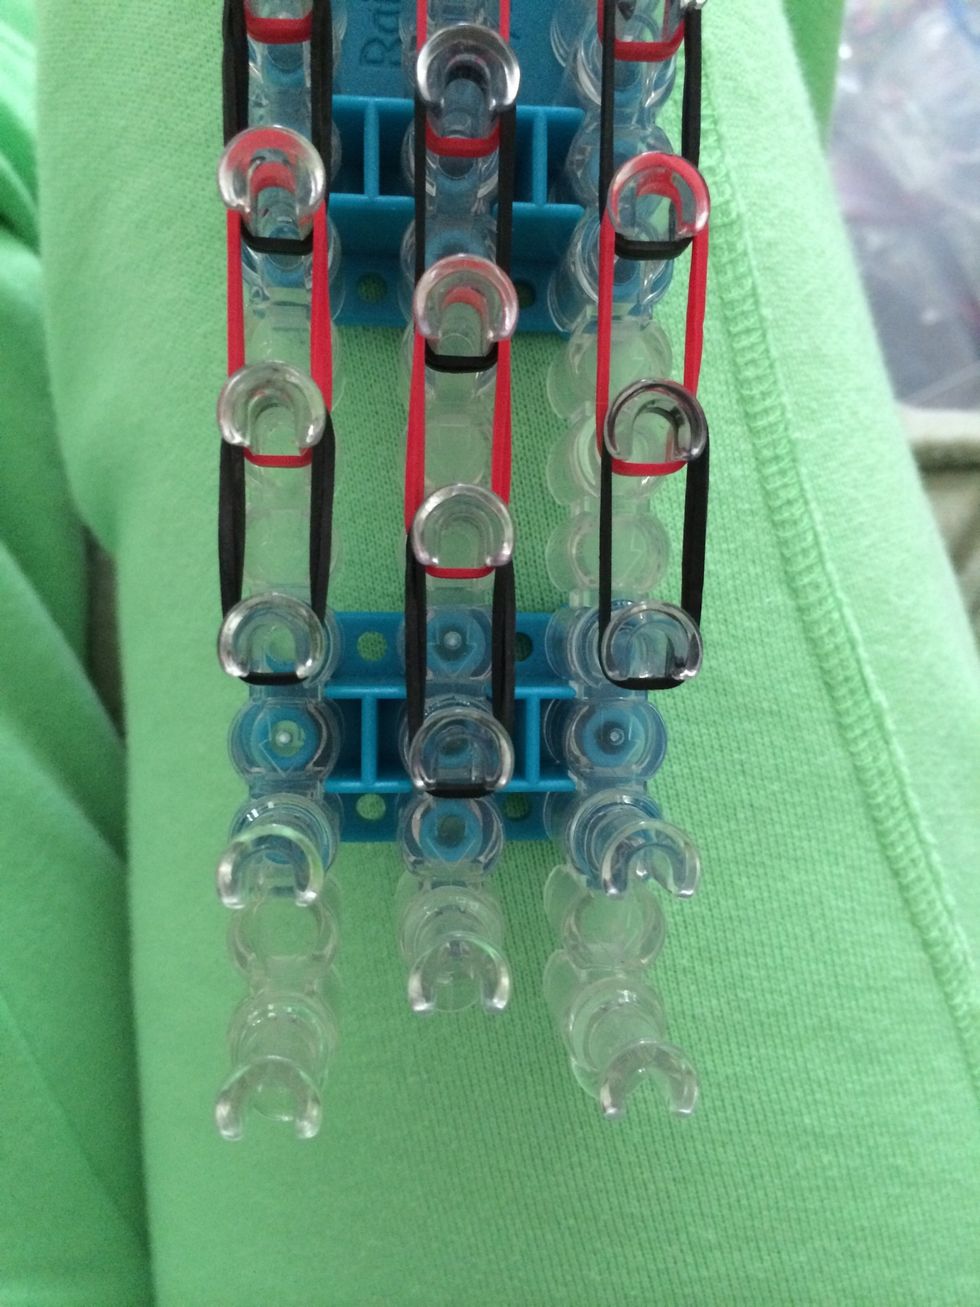
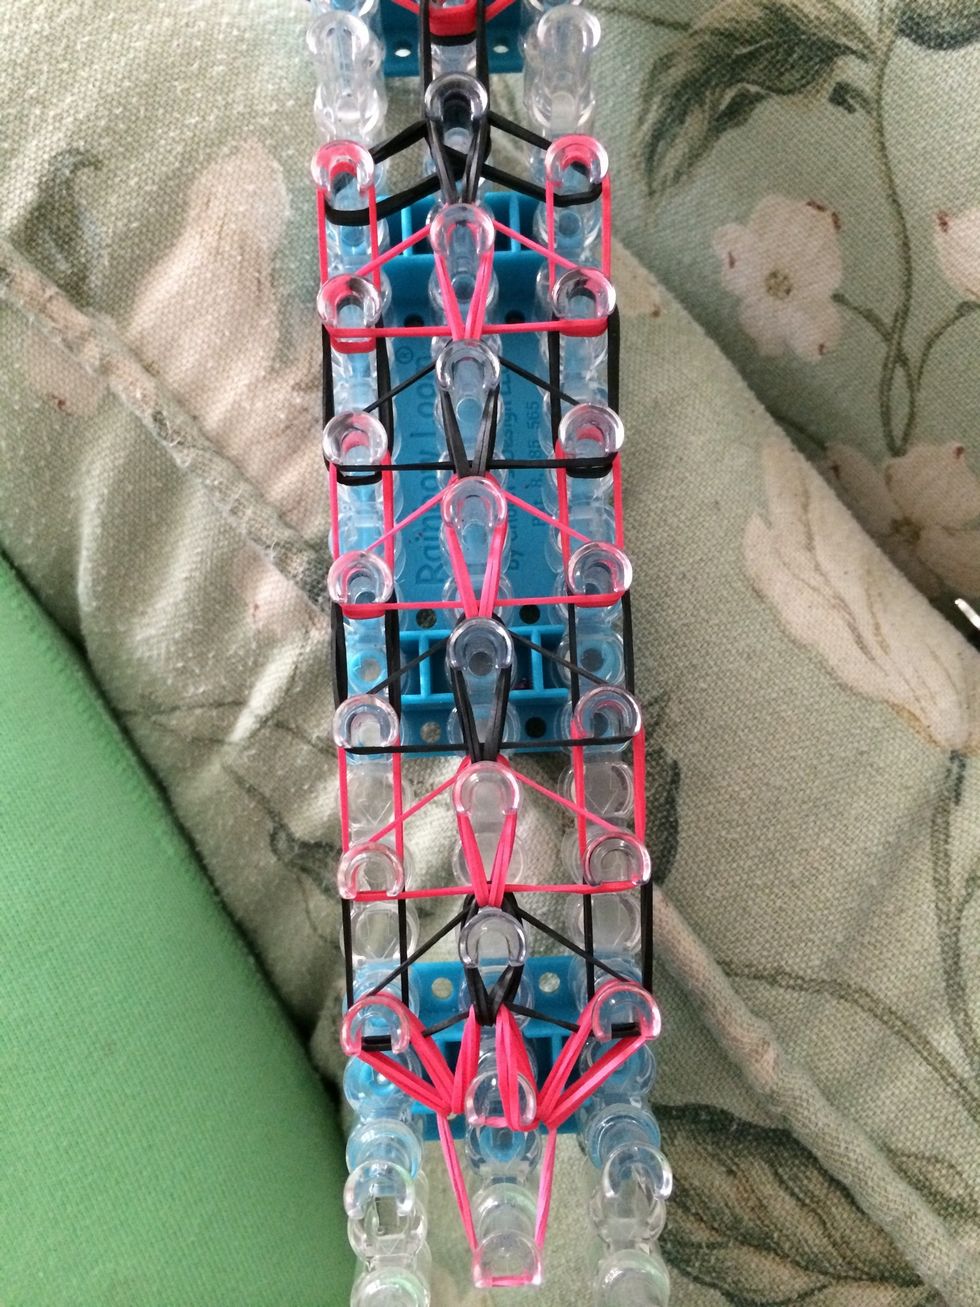
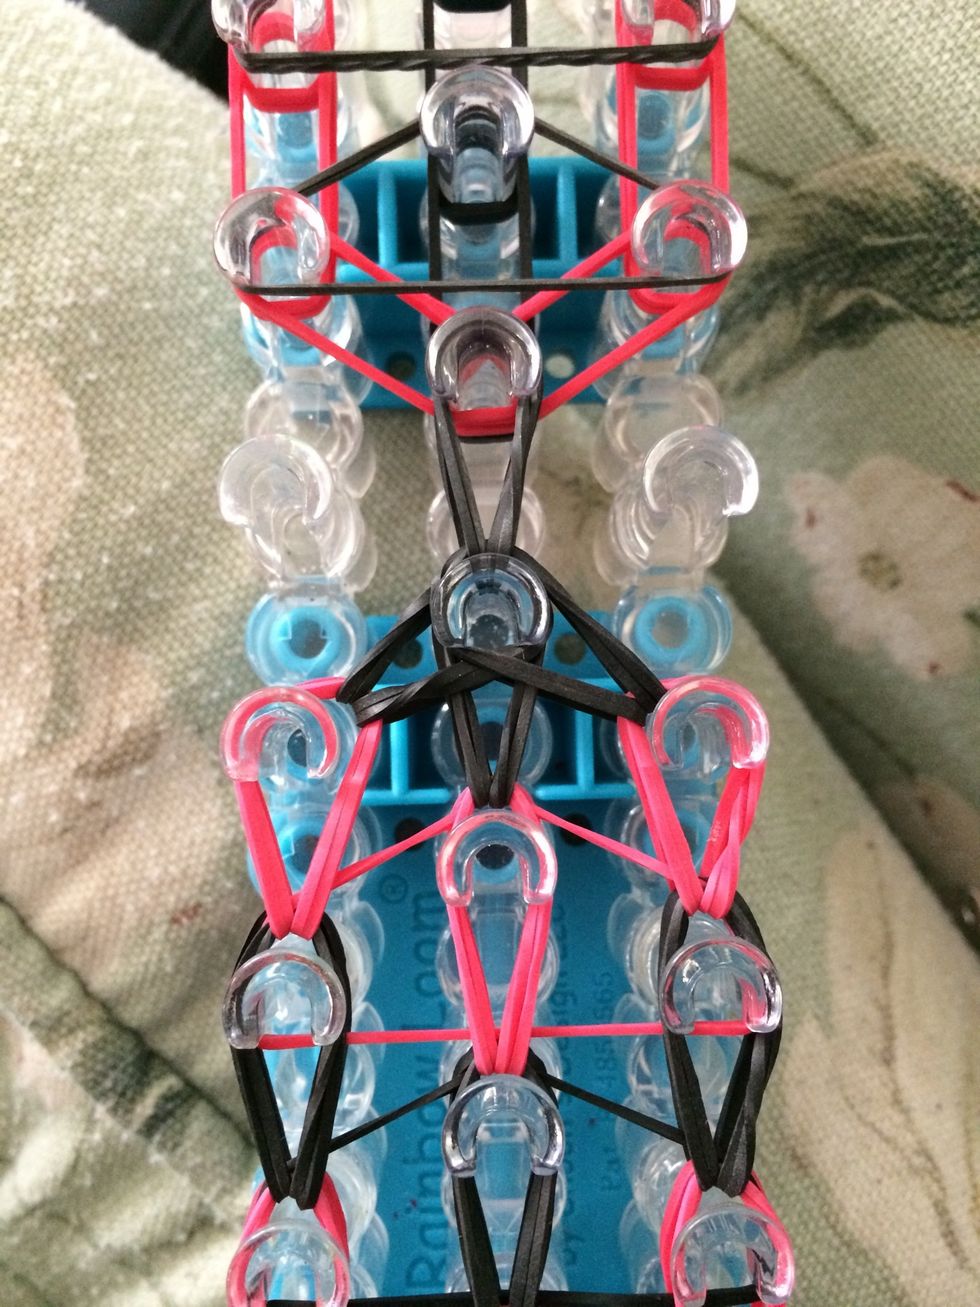
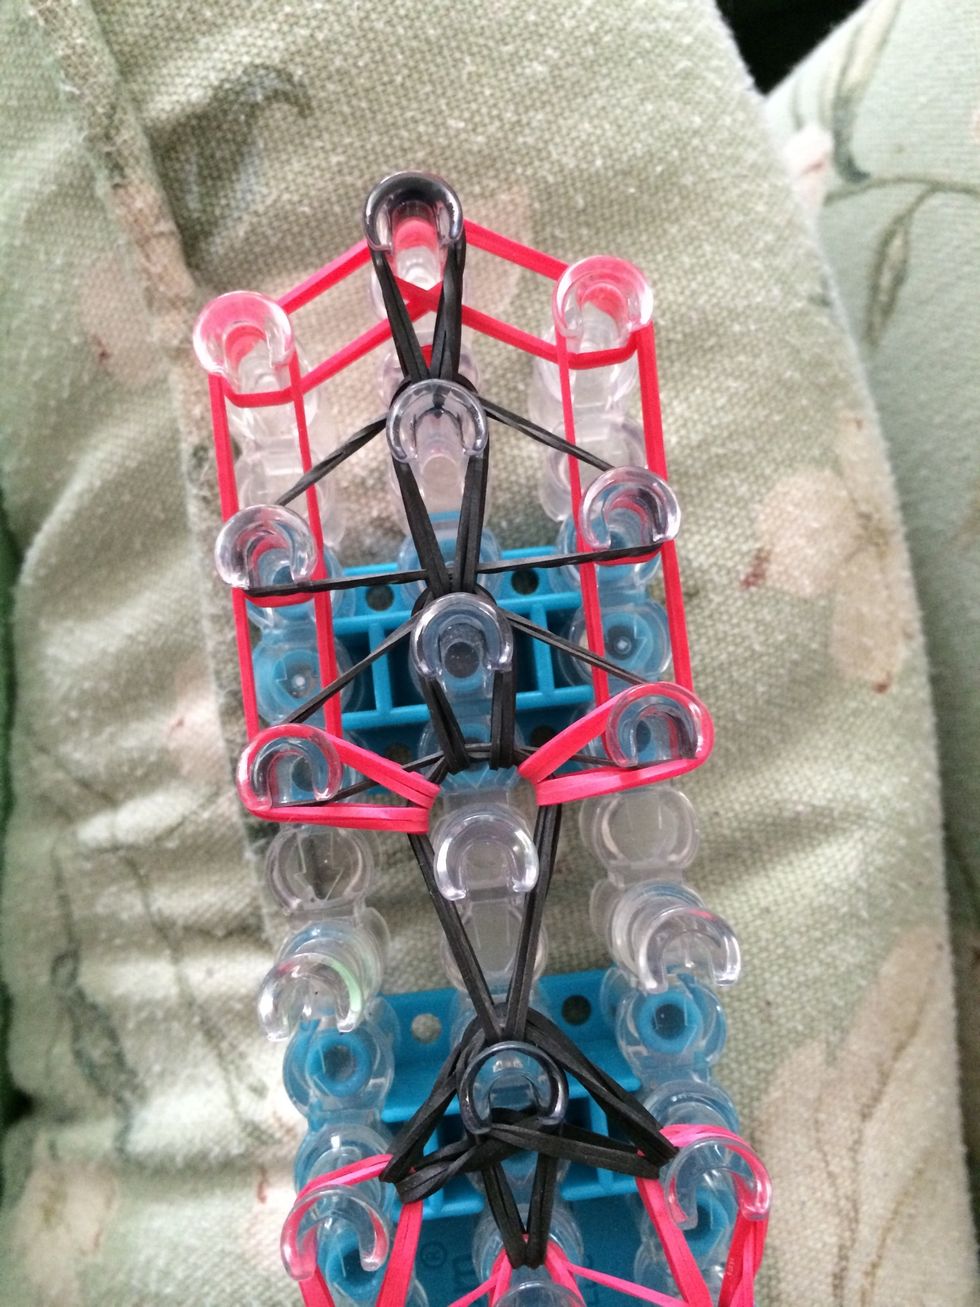
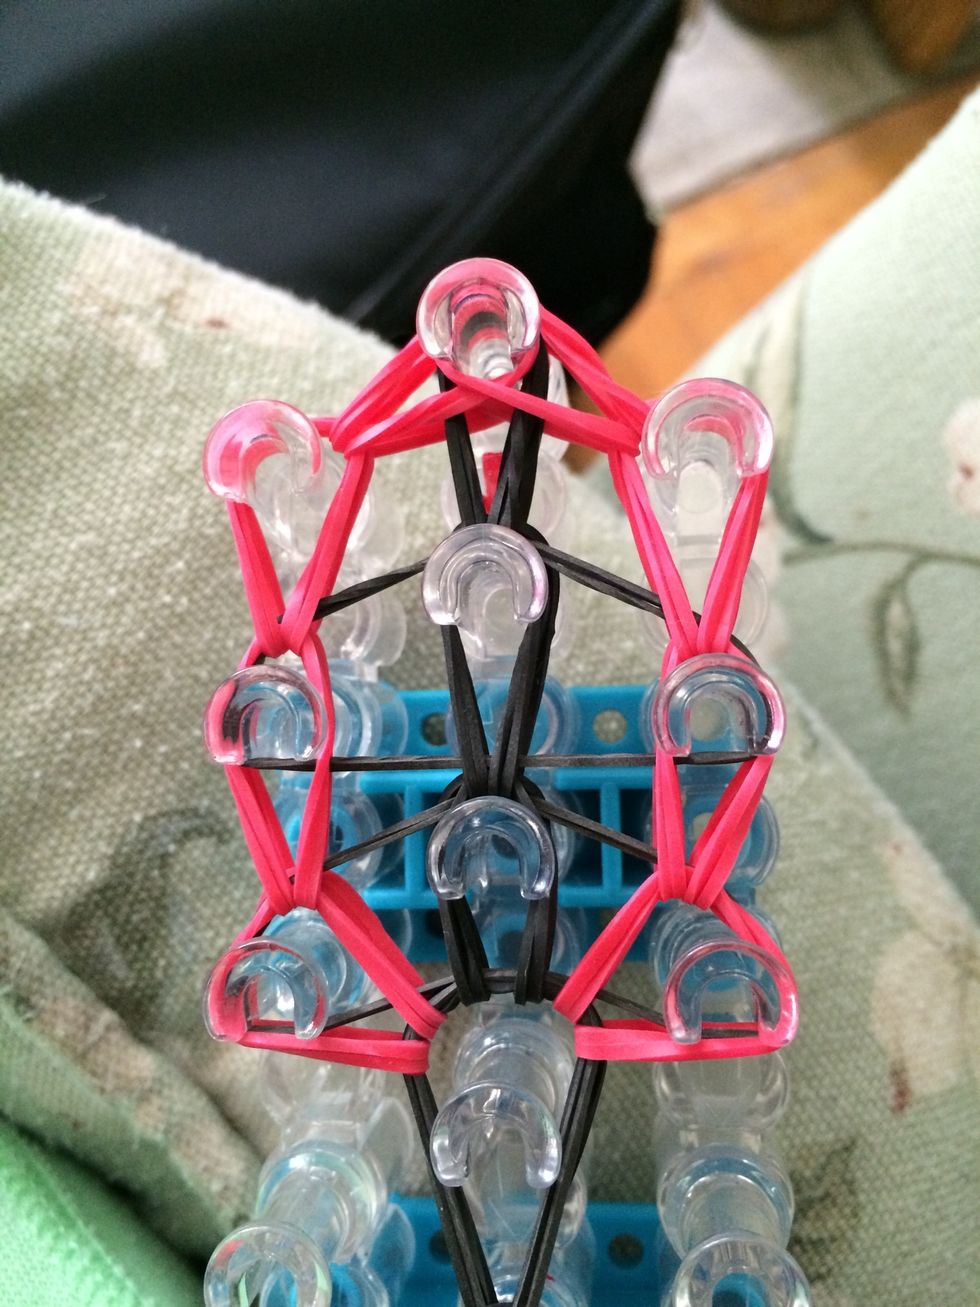
Okay now let's add the last remaining capping bands. Grab 2 black bands and double loop 2 triangles. This is going to give the top of our tie a tighter shape.
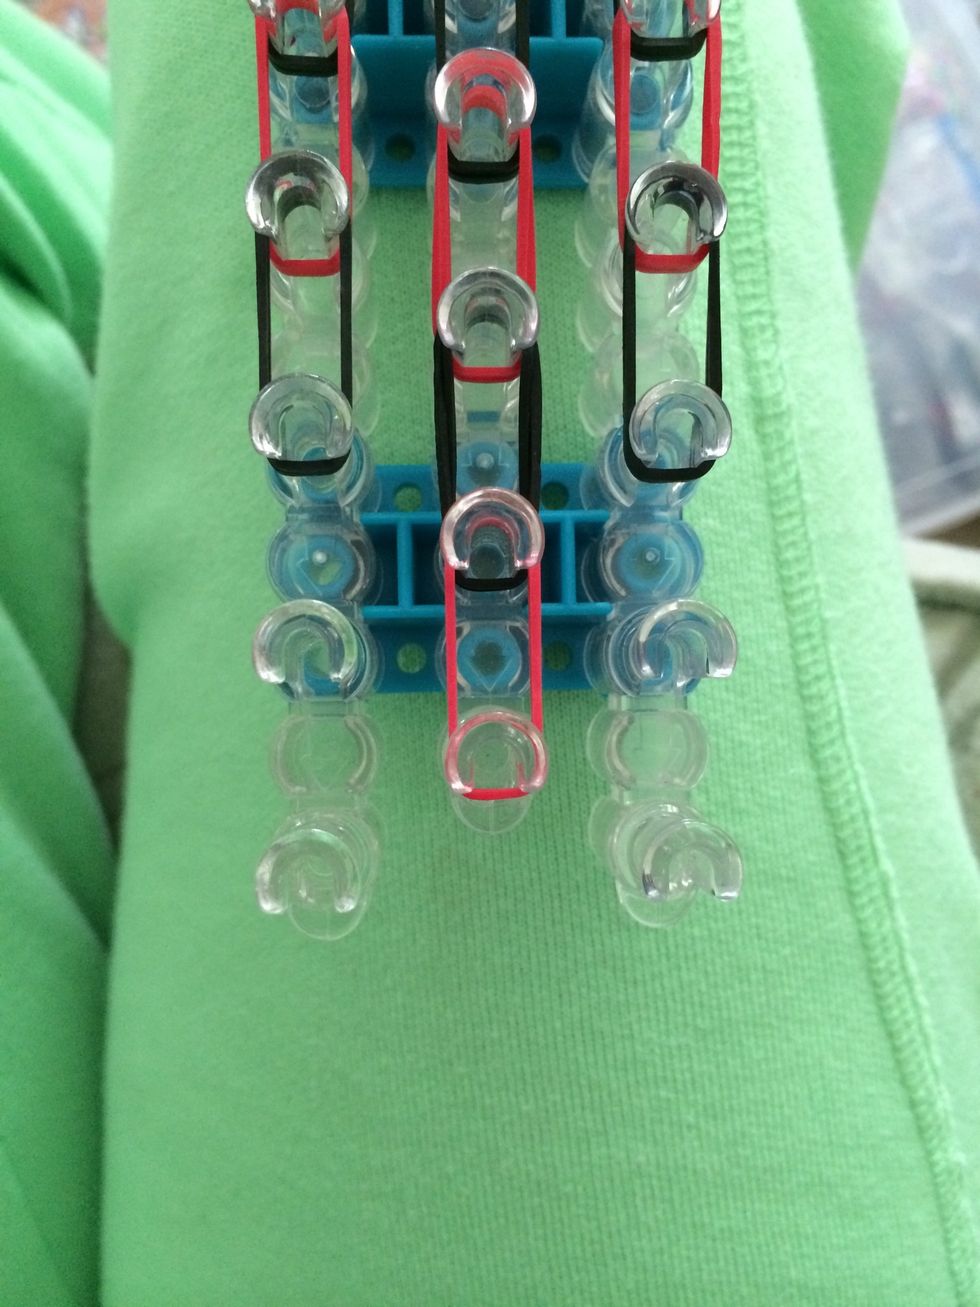
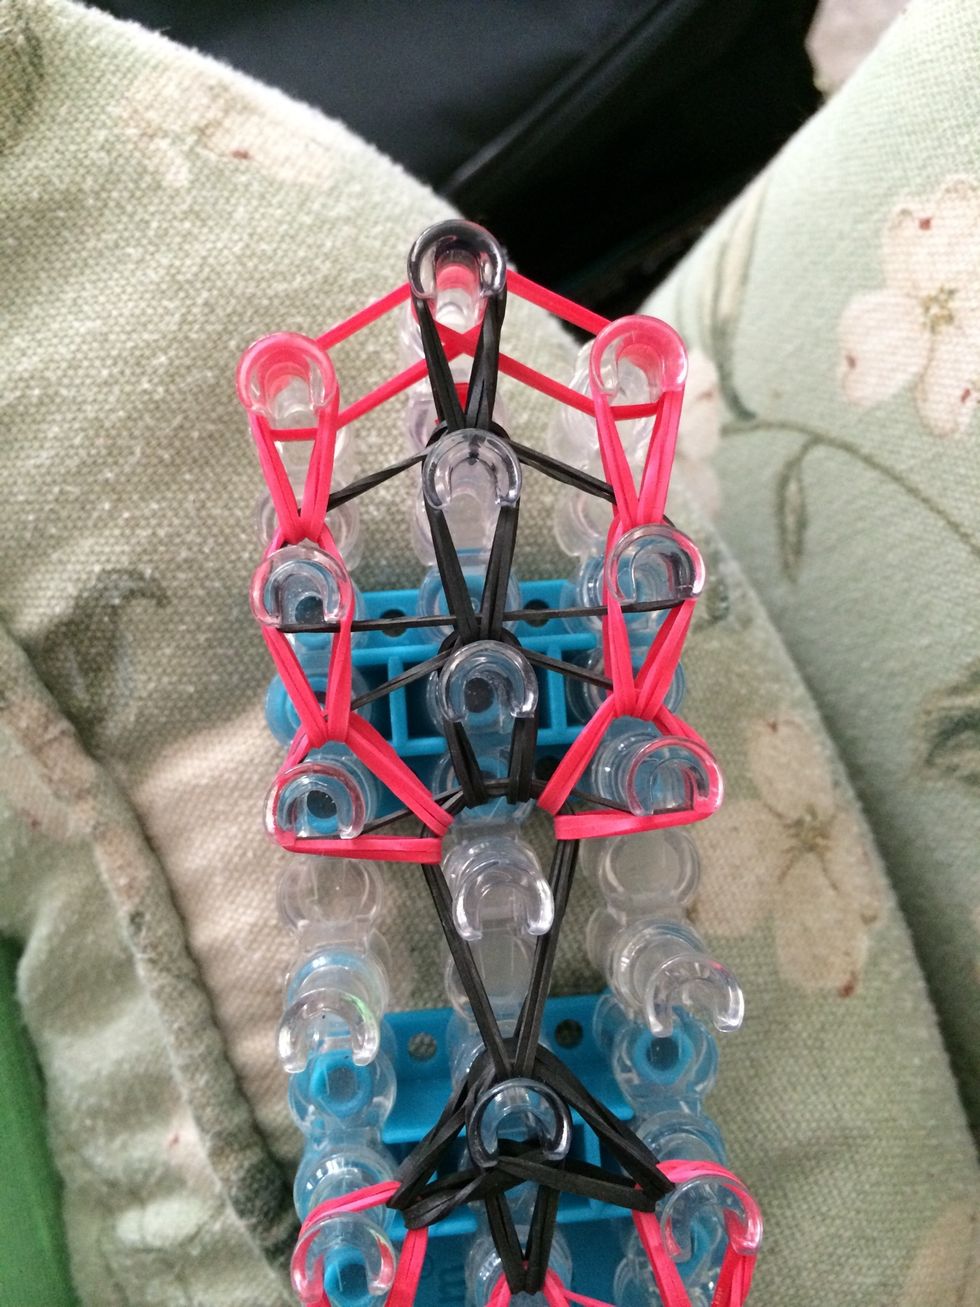
Grab three red rubber bands and make three more triangles
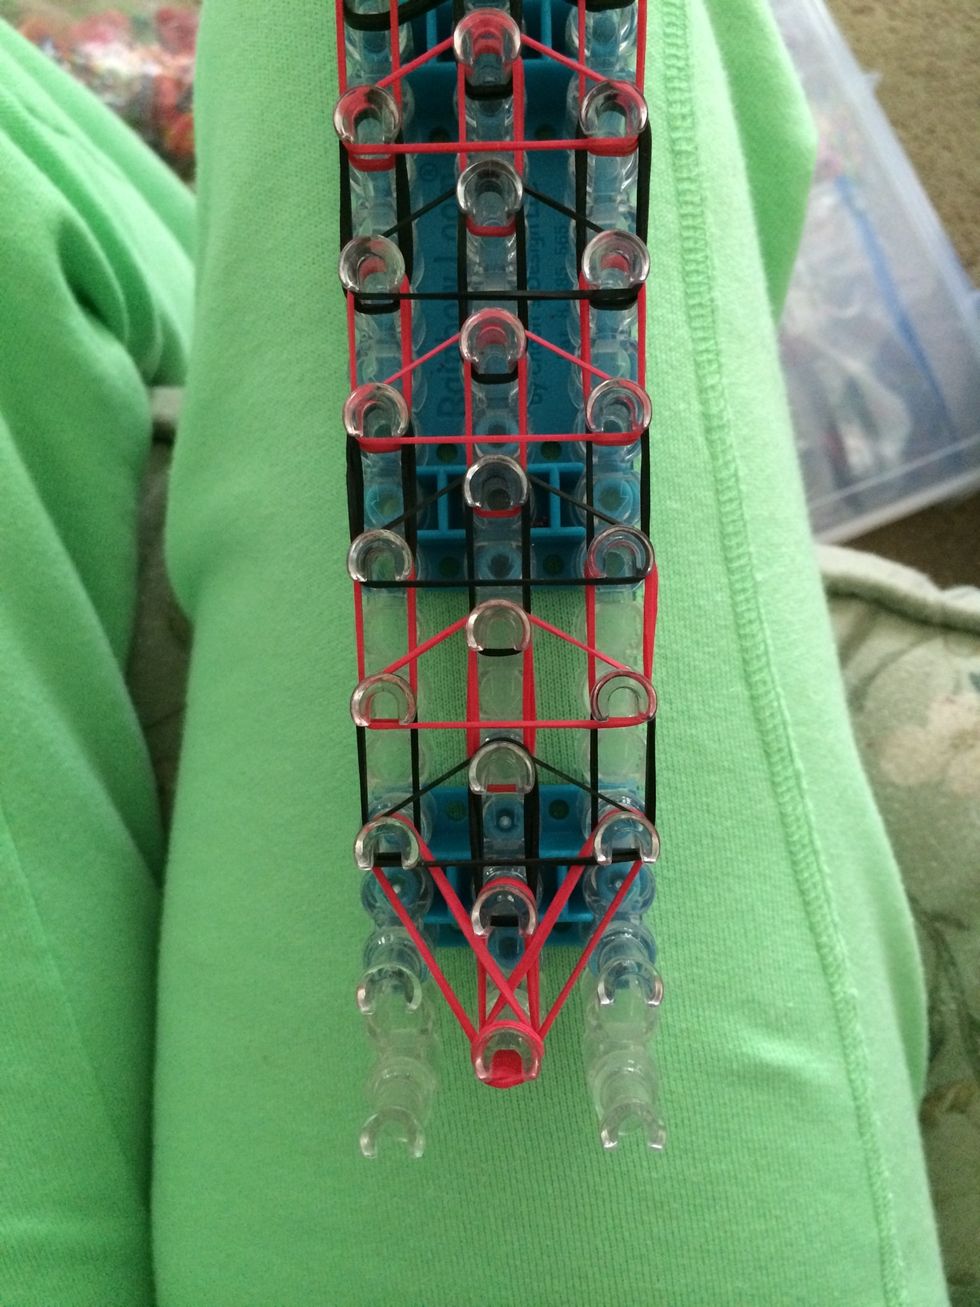
Grab three black rubber bands and make three more triangles
Now that all of our bands are placed let's start the looming. We will not need to rotate the loom since we placed our bands with the arrow facing us.
Loop the bottom red rubber bands. The middle red rubber band is going to be a little loose but that is okay.
Loop all the way up the middle
Loop the left side
Loop the right side
Loop the last two black bands and the middle one
Reach in the middle peg and loop those three rubber bands
Loop up the middle
Loop up the left and right side
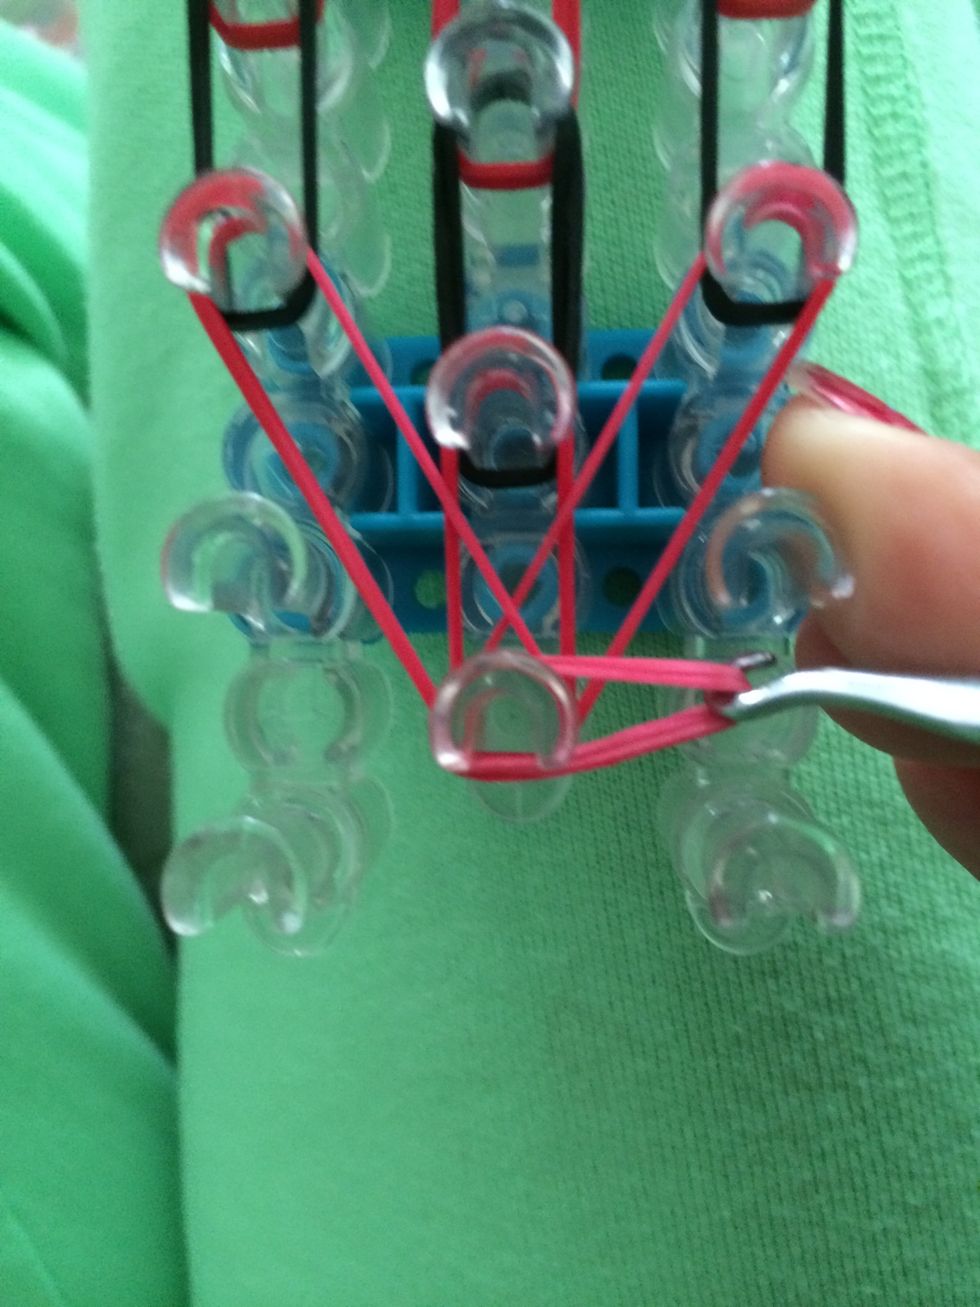
Loop the last two sets of red rubber bands both are going to go towards the middle
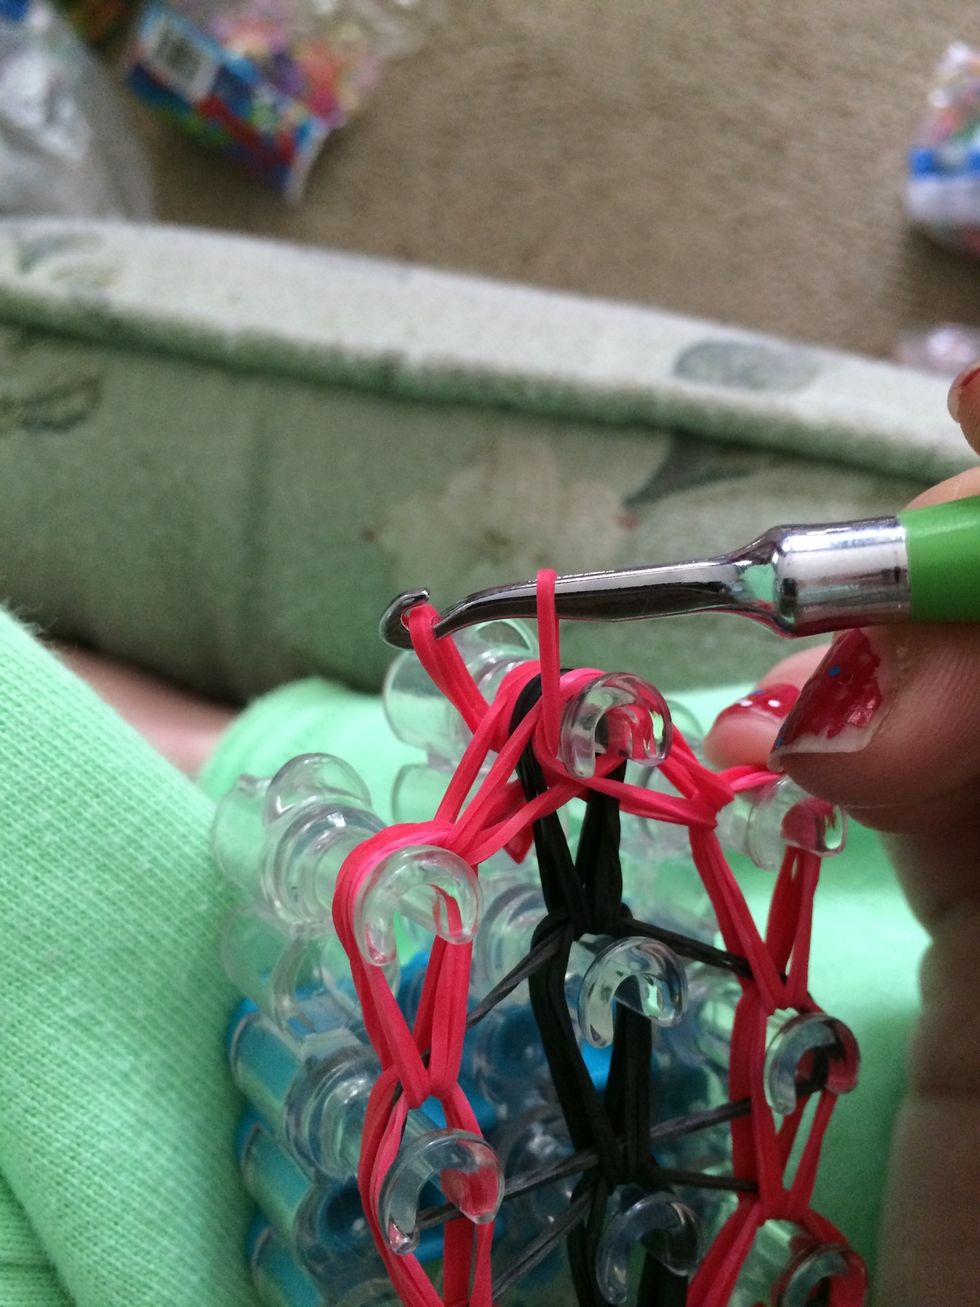
Now with all of our bands looped we need to make the slipknot
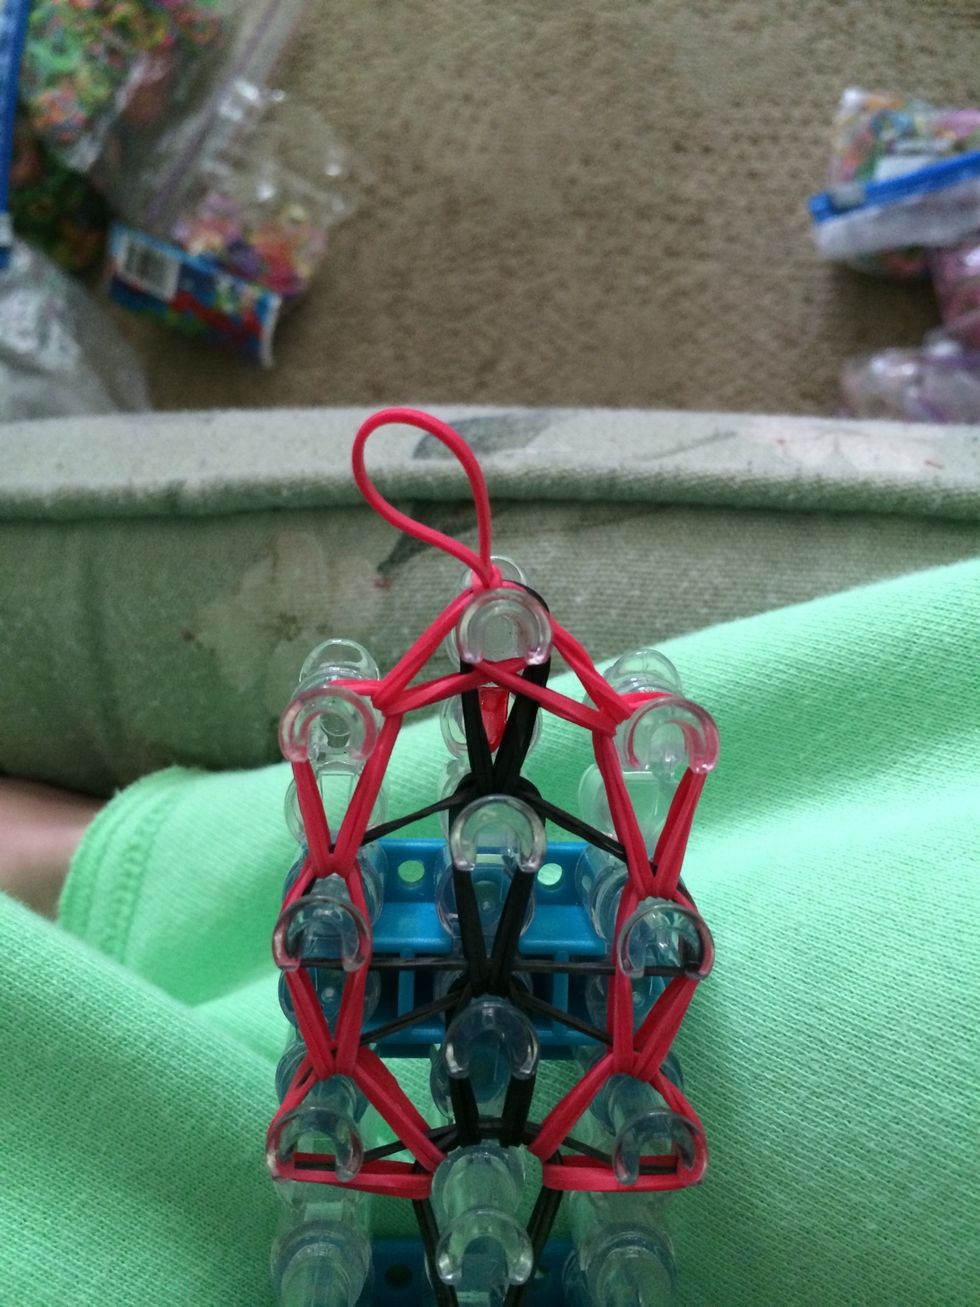
Close the slipknot and make sure that it is snug. With our slipknot in place now it's time to take our tie off loom.
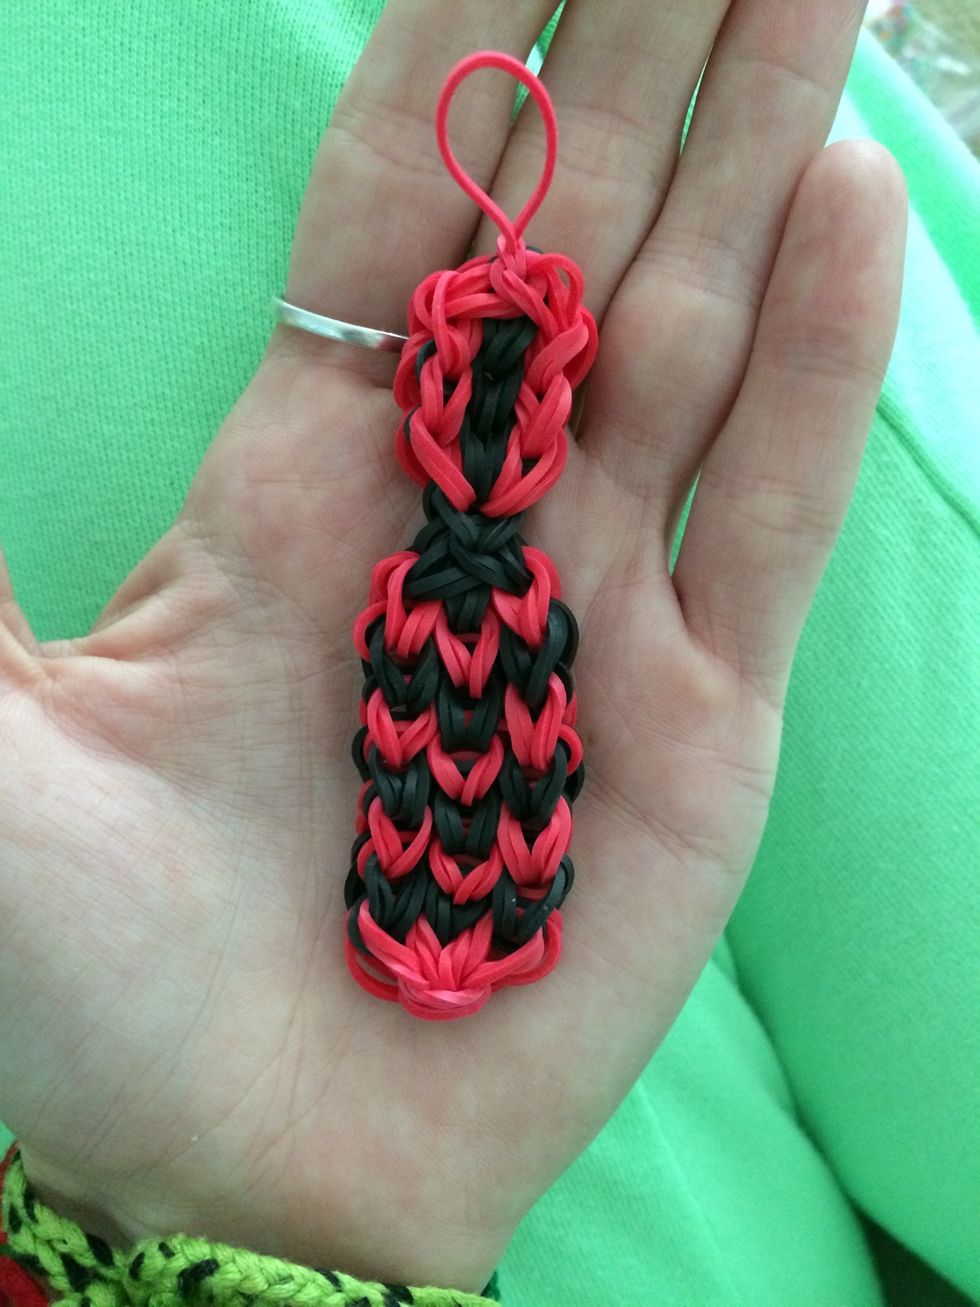
Stretch it out a little bit so it will form it shape
And there you have it you have yourself a tie.
I hope you enjoyed this guide on how to make a tie. If you have any other charms that you would like to see made into a guide please don't hesitate to ask. See you all again soon 😃