The Conversation (0)
Sign Up
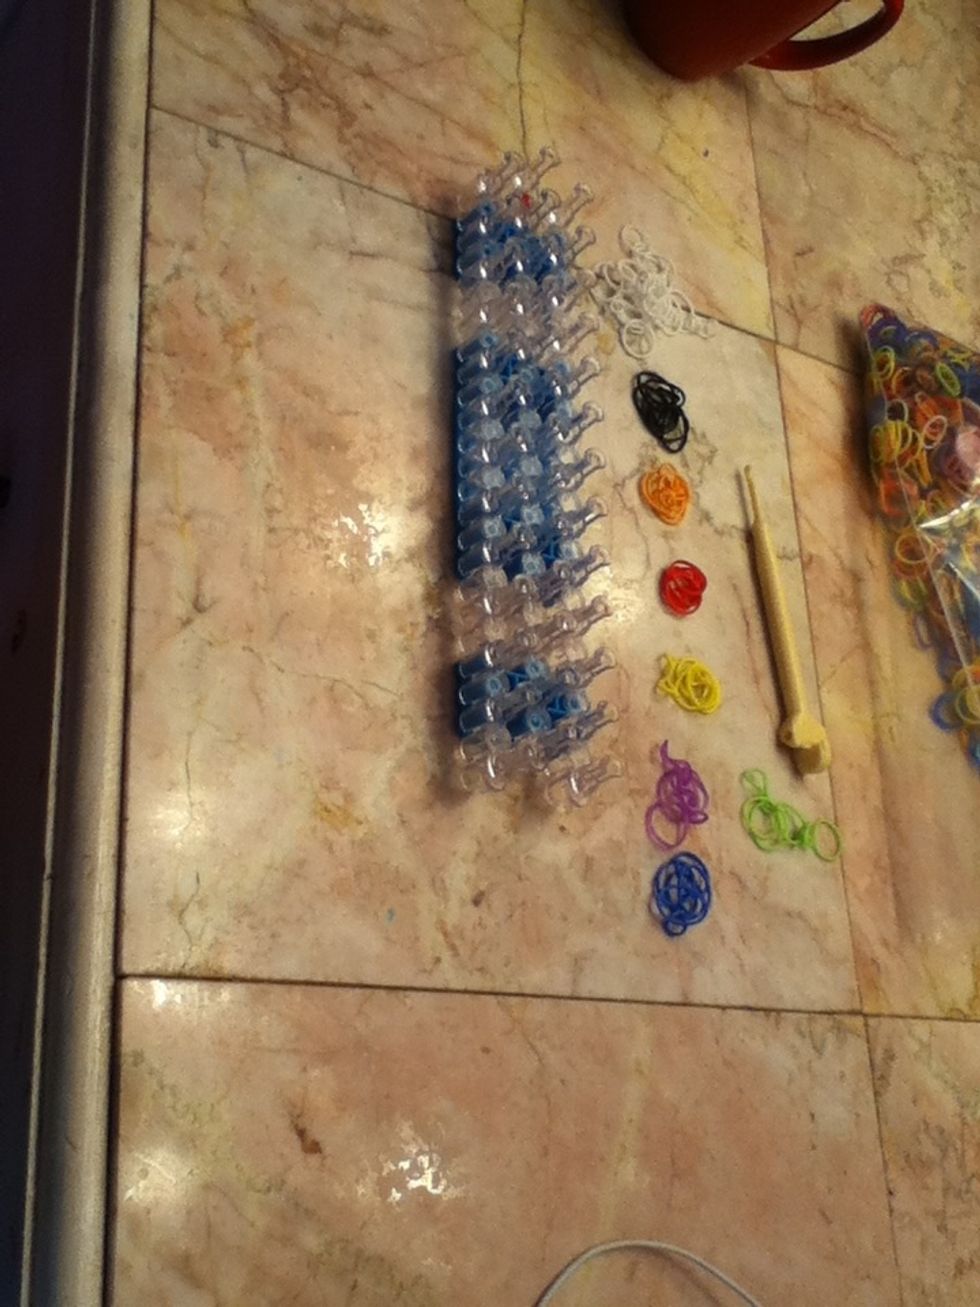
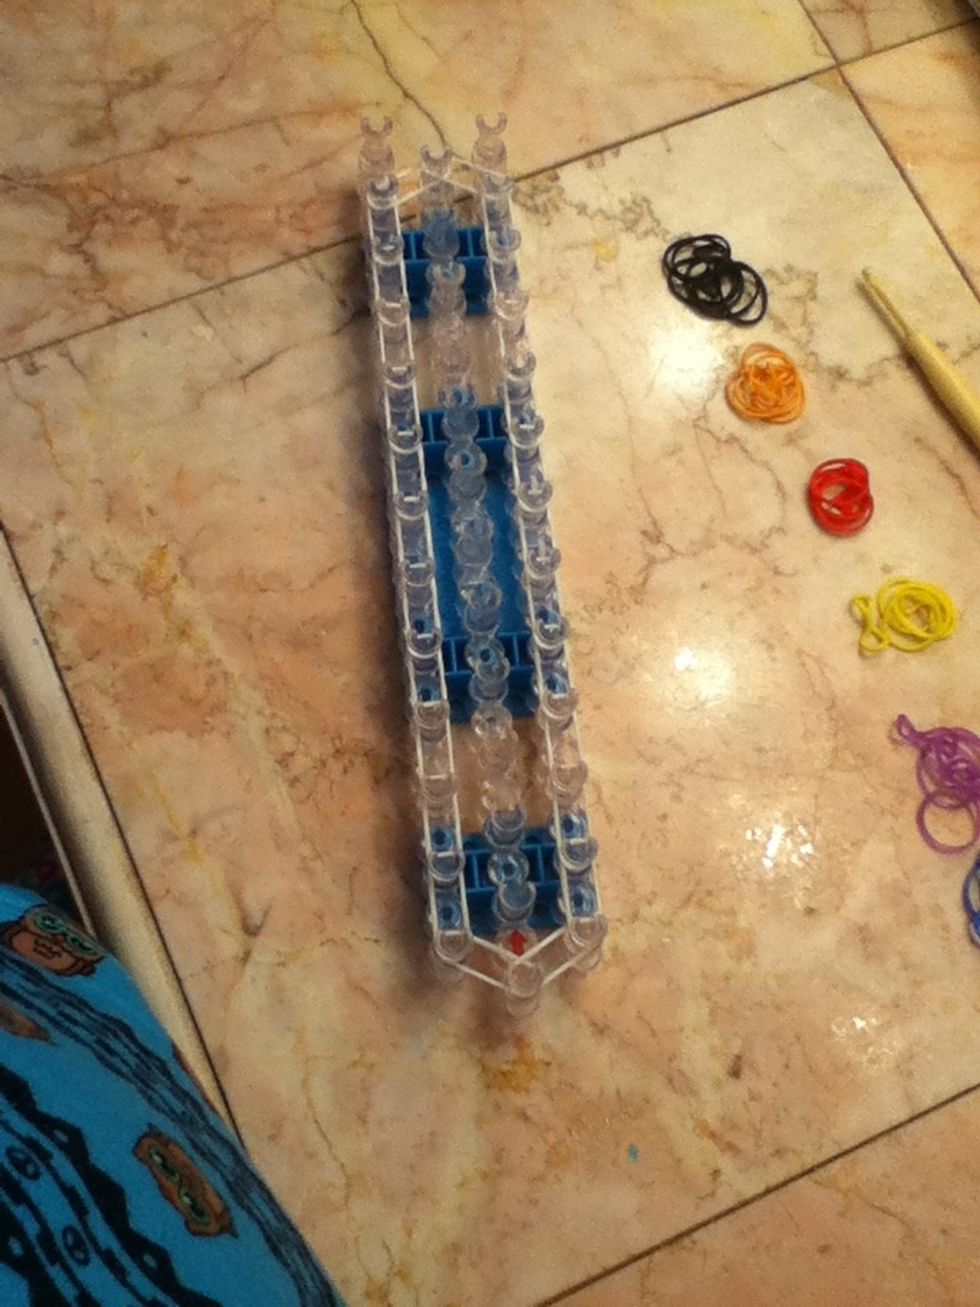
These are the supplies you will need!
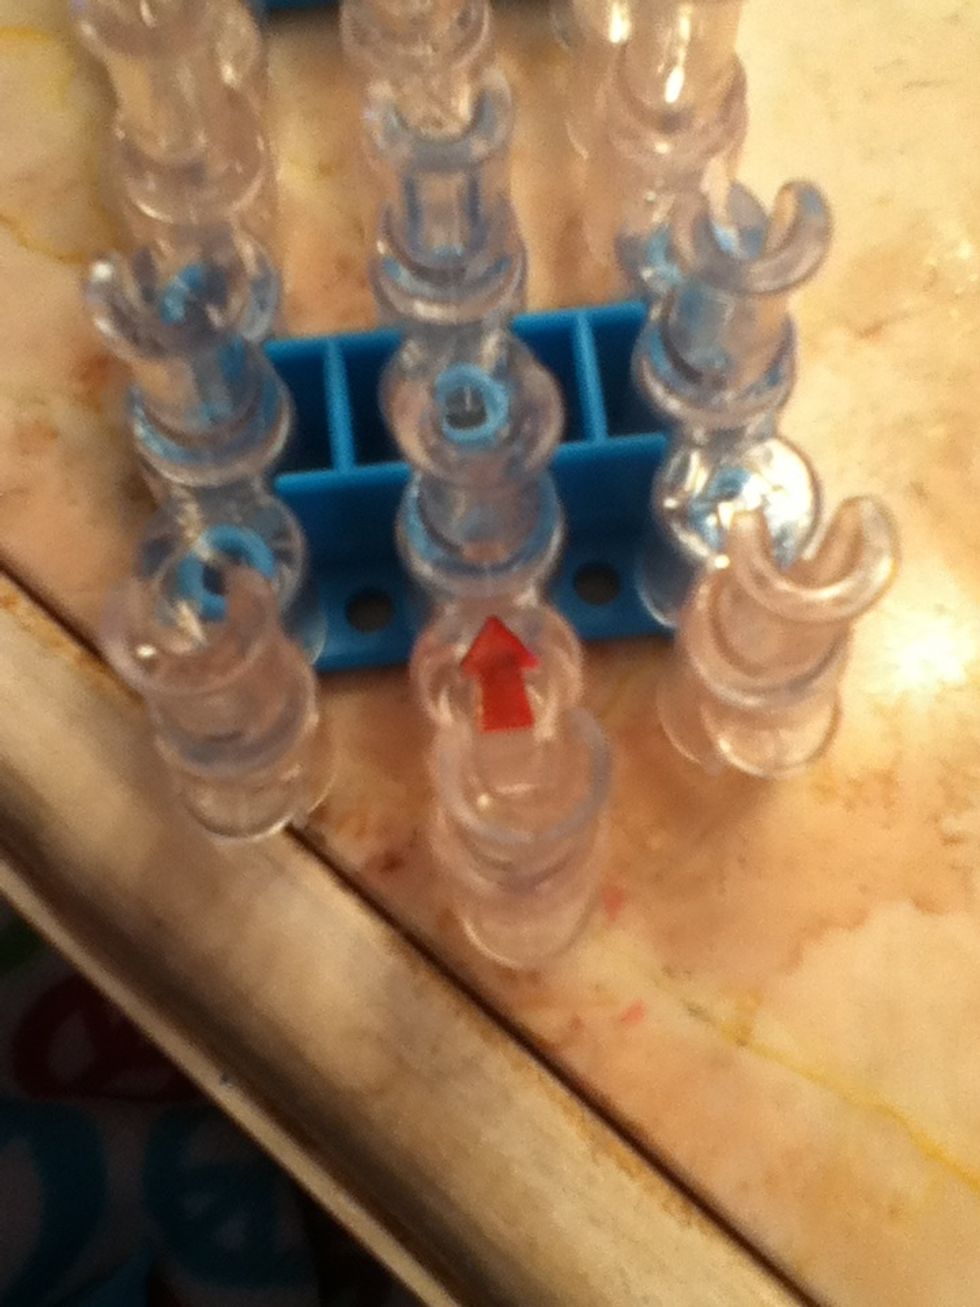
Lets get started! Start with your loom pointing away from you!
Start with putting any color rubber bands on the outside perimeter. I am using white.
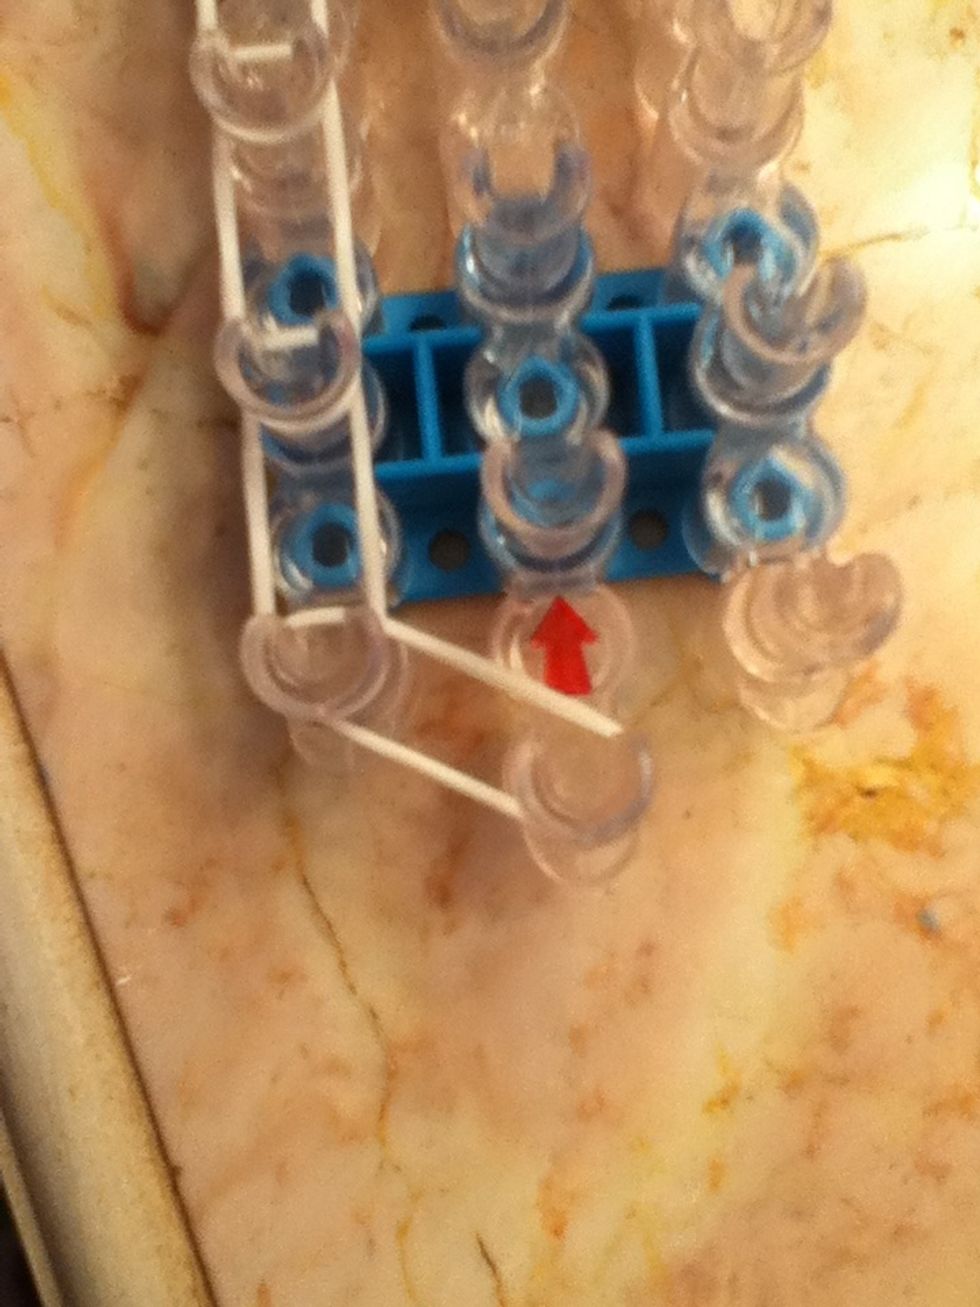
When you get to the end, go diagonal. Push your bands down so you have more room on the top!
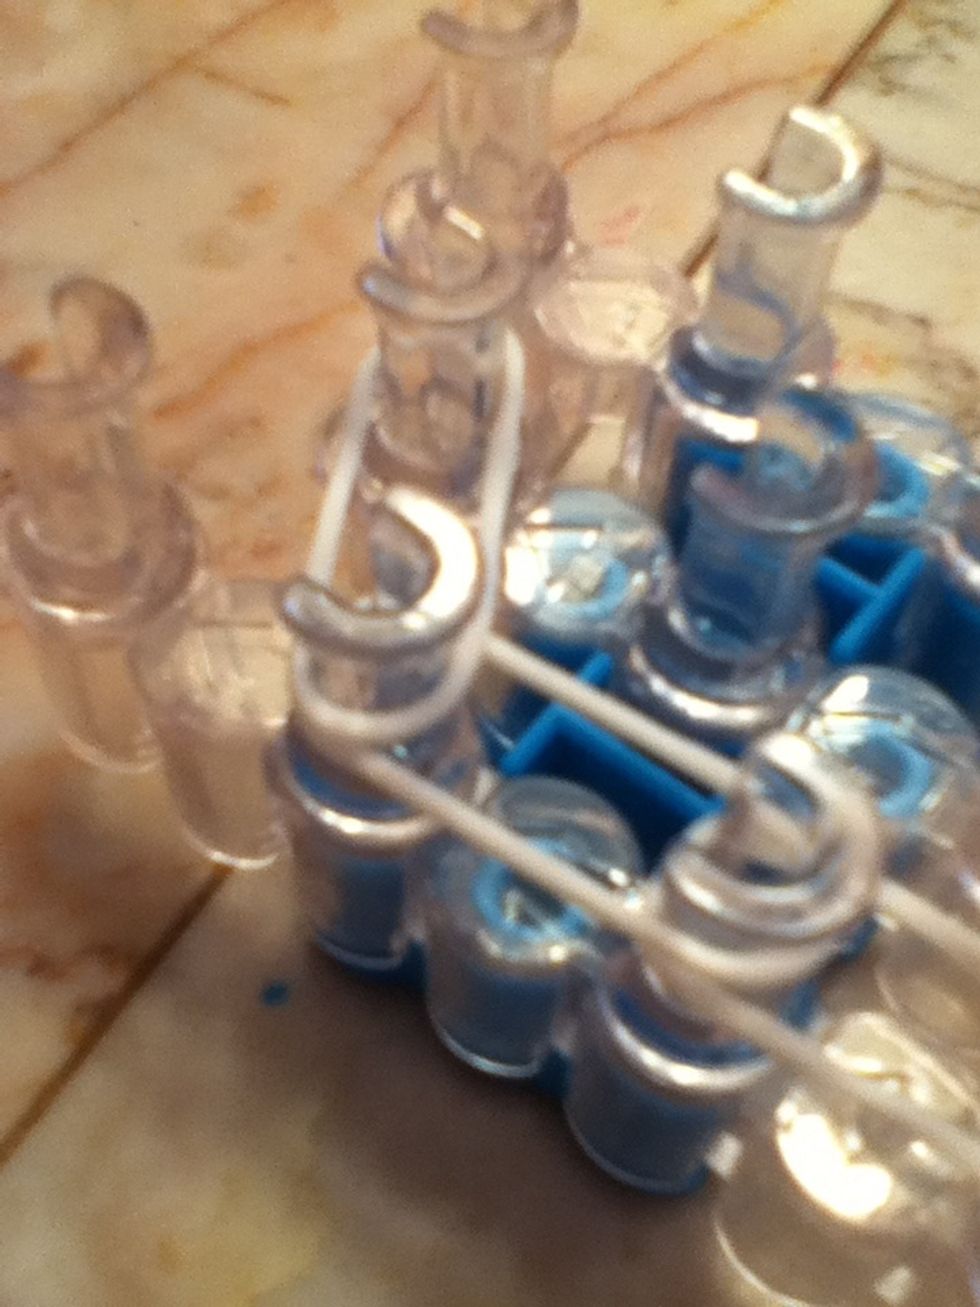
Then add (white) bands to the other side of the loom. This is what it should look like when your done! Go diagonal on the last part.
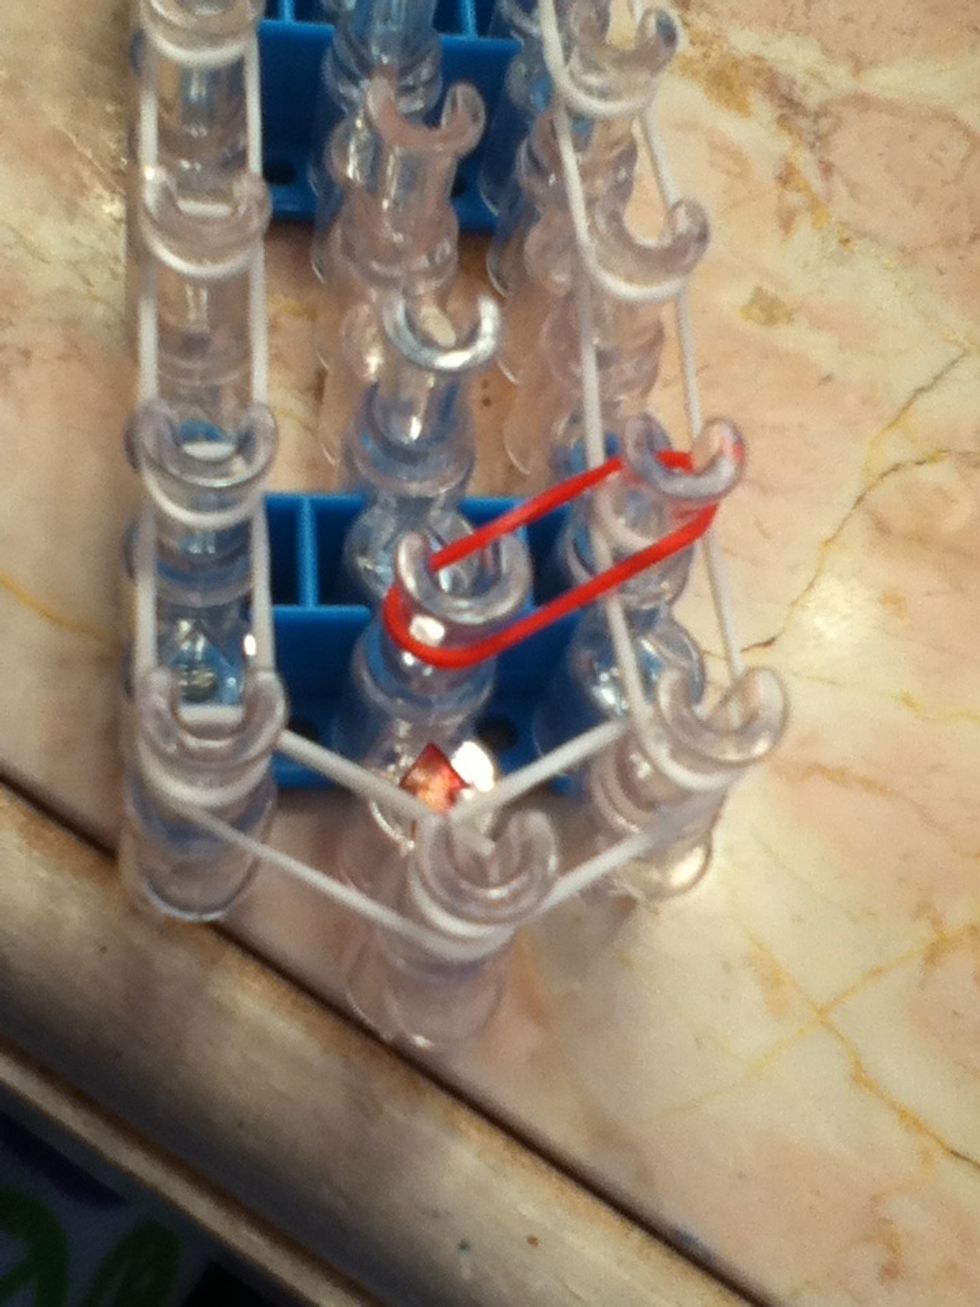
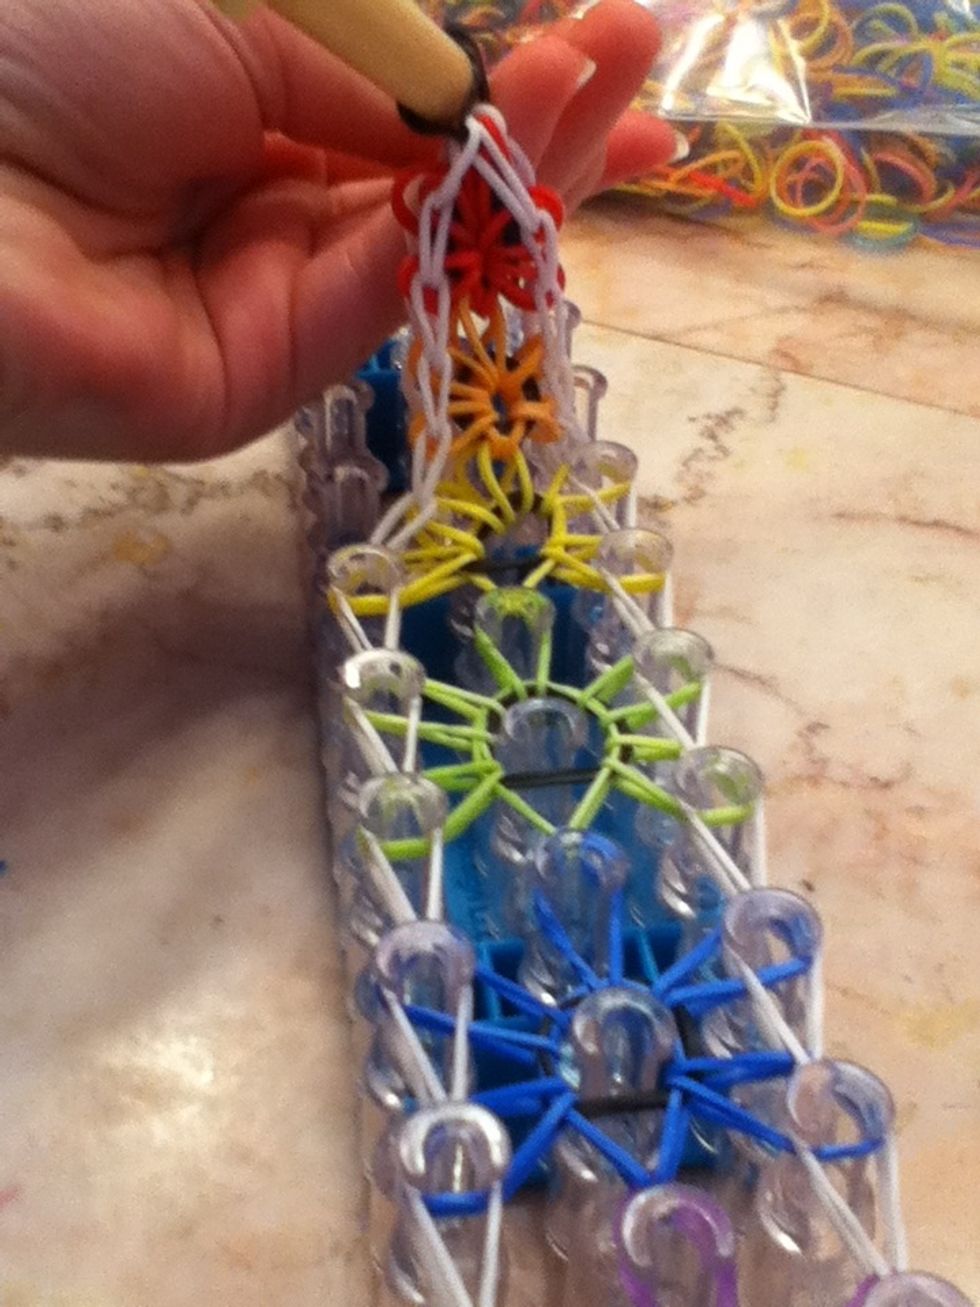
Now we will be making our first flower. Add any color band, just like shown. We will be working counter clock wise.
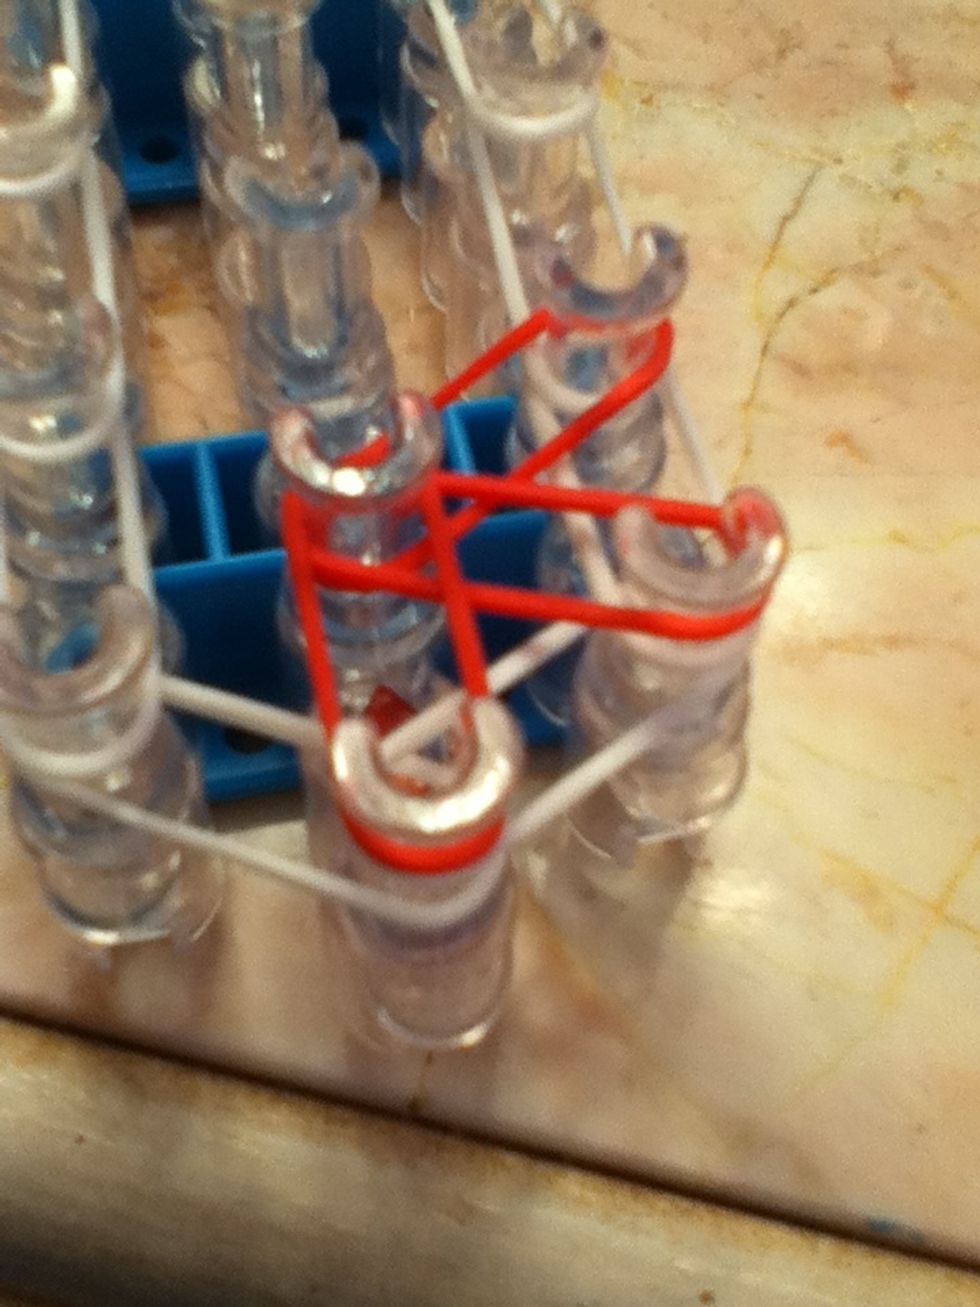
Go counter clock wise!
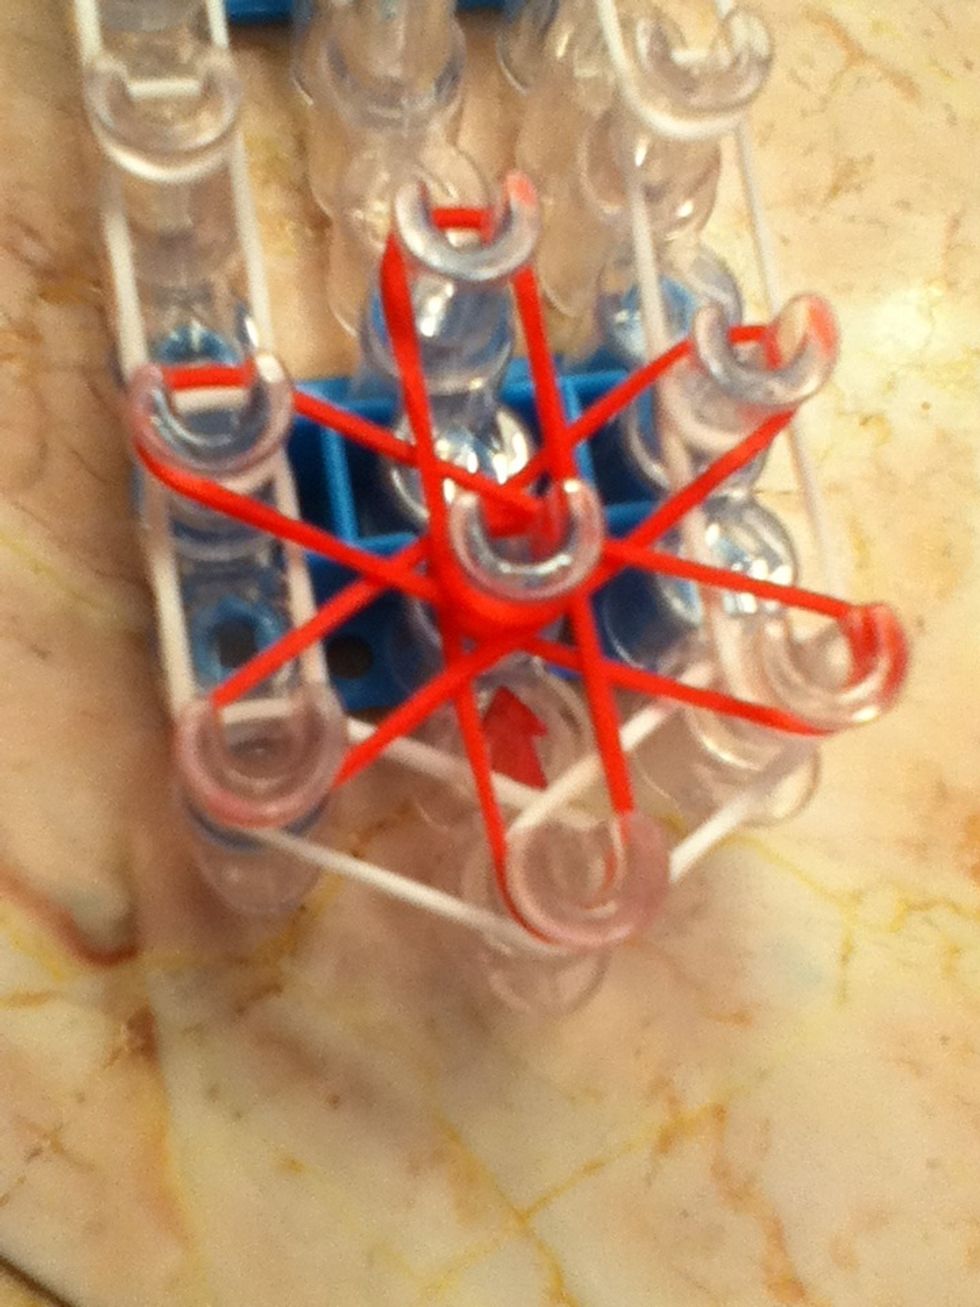
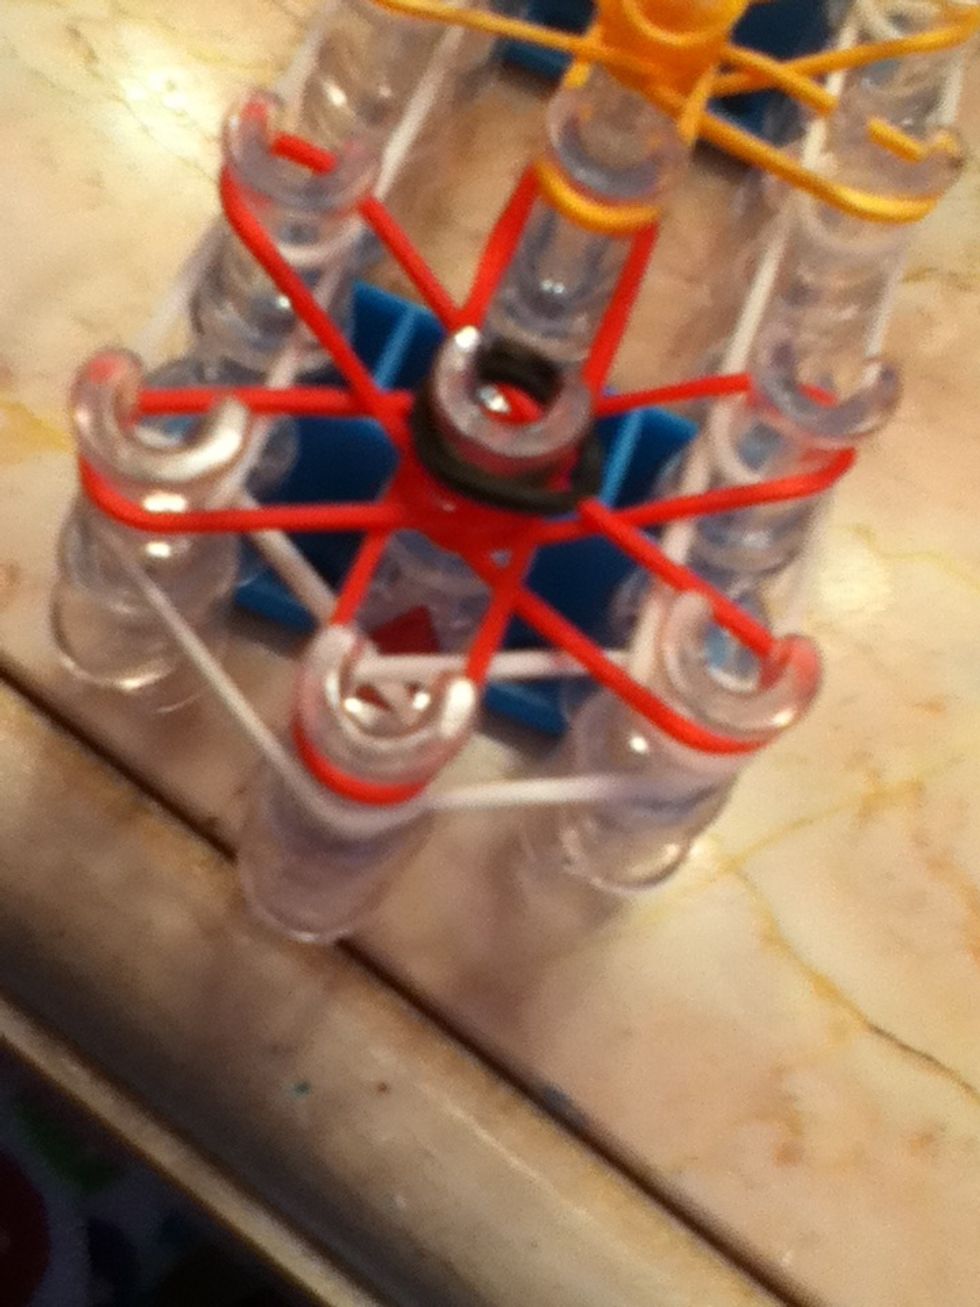
This is what your flower should look like when your done. Push the middle peg down so the bands don't get bunched up. GOING COUNTER CLOCK WISE IS VERY IMPORTANT!

Now do the same thing to the orange flower.
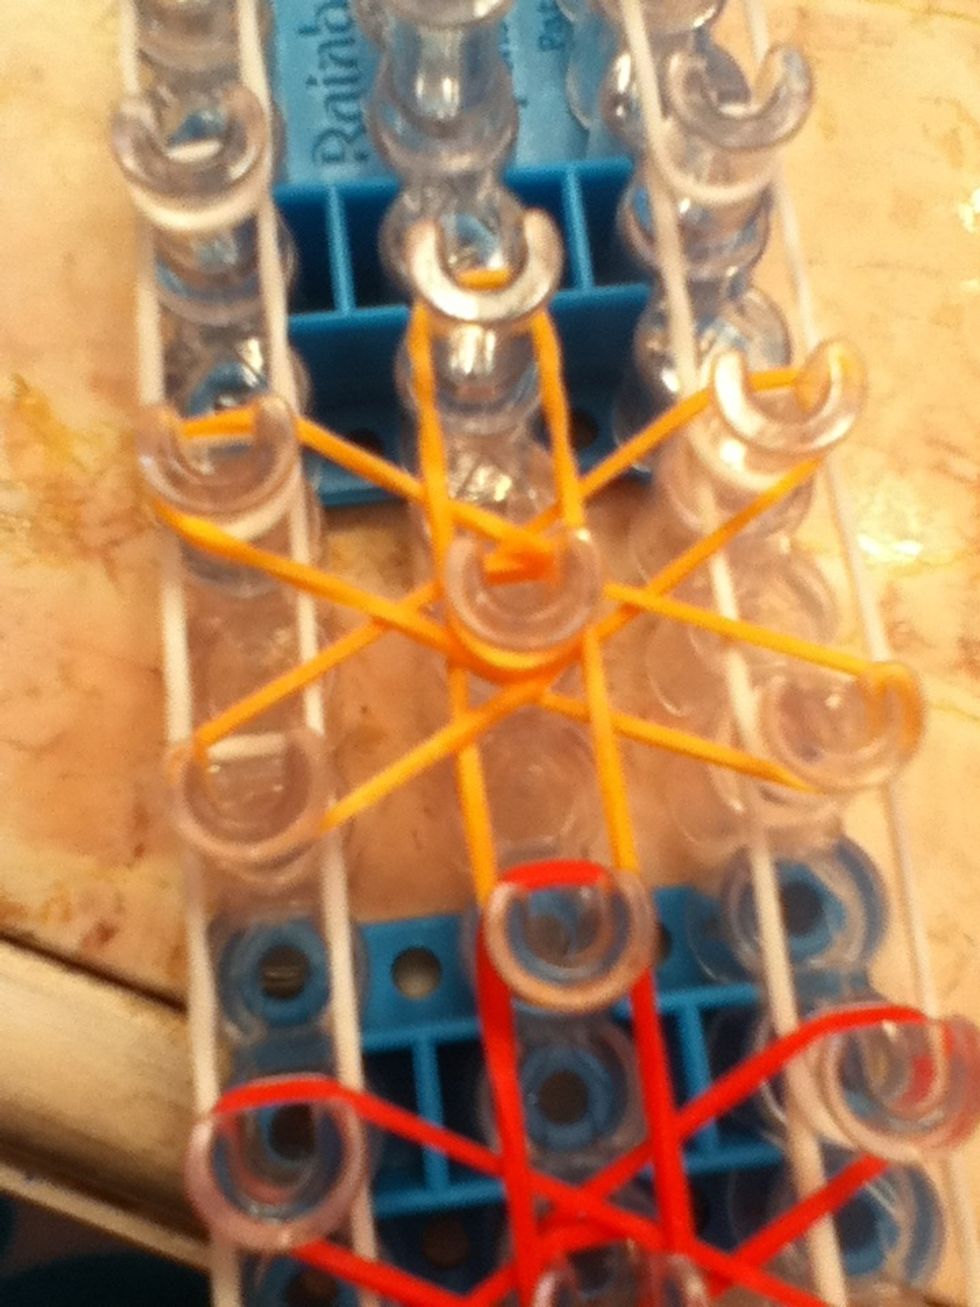
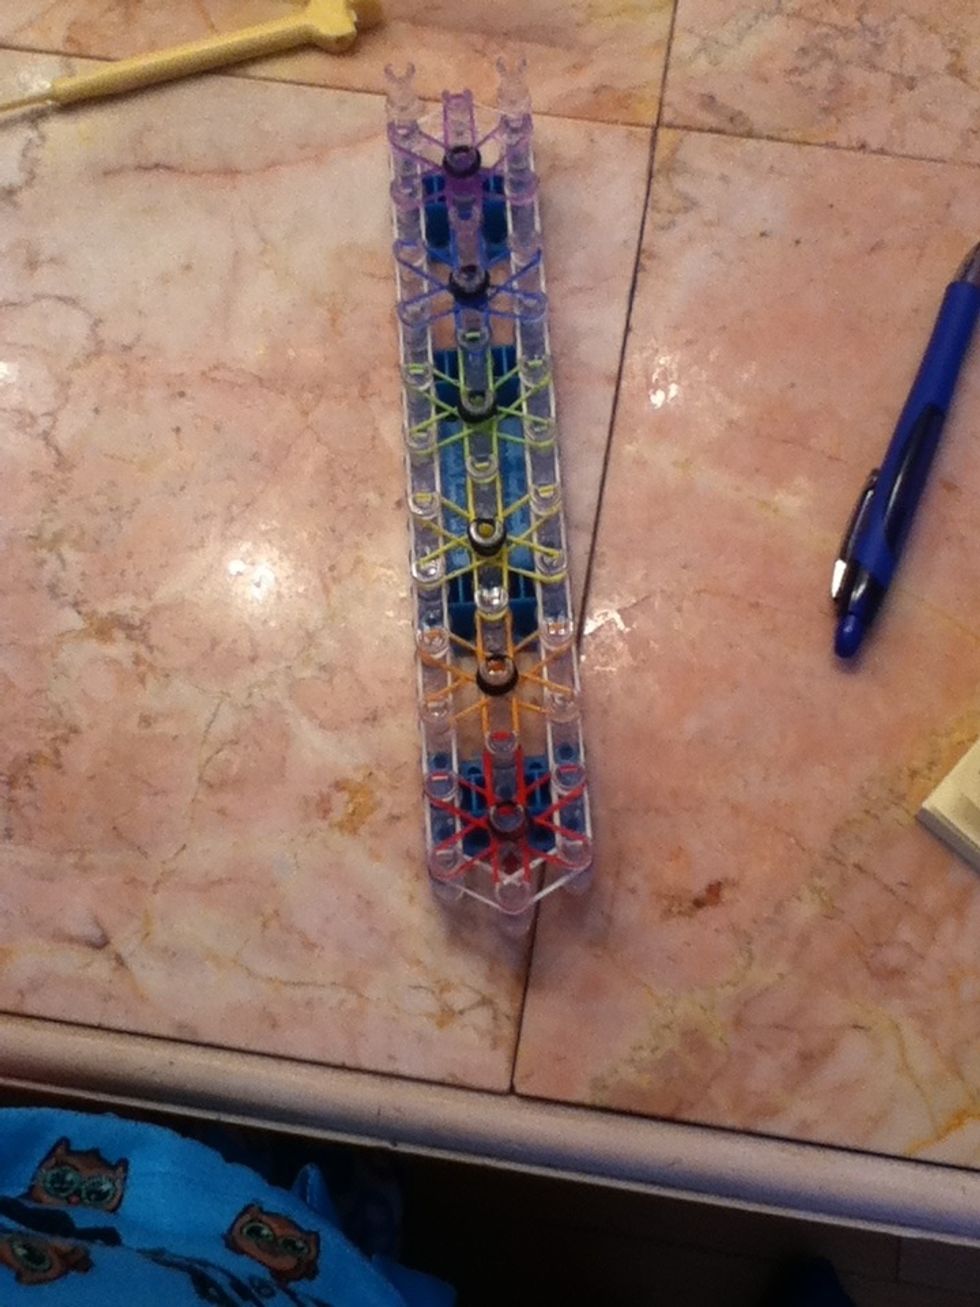
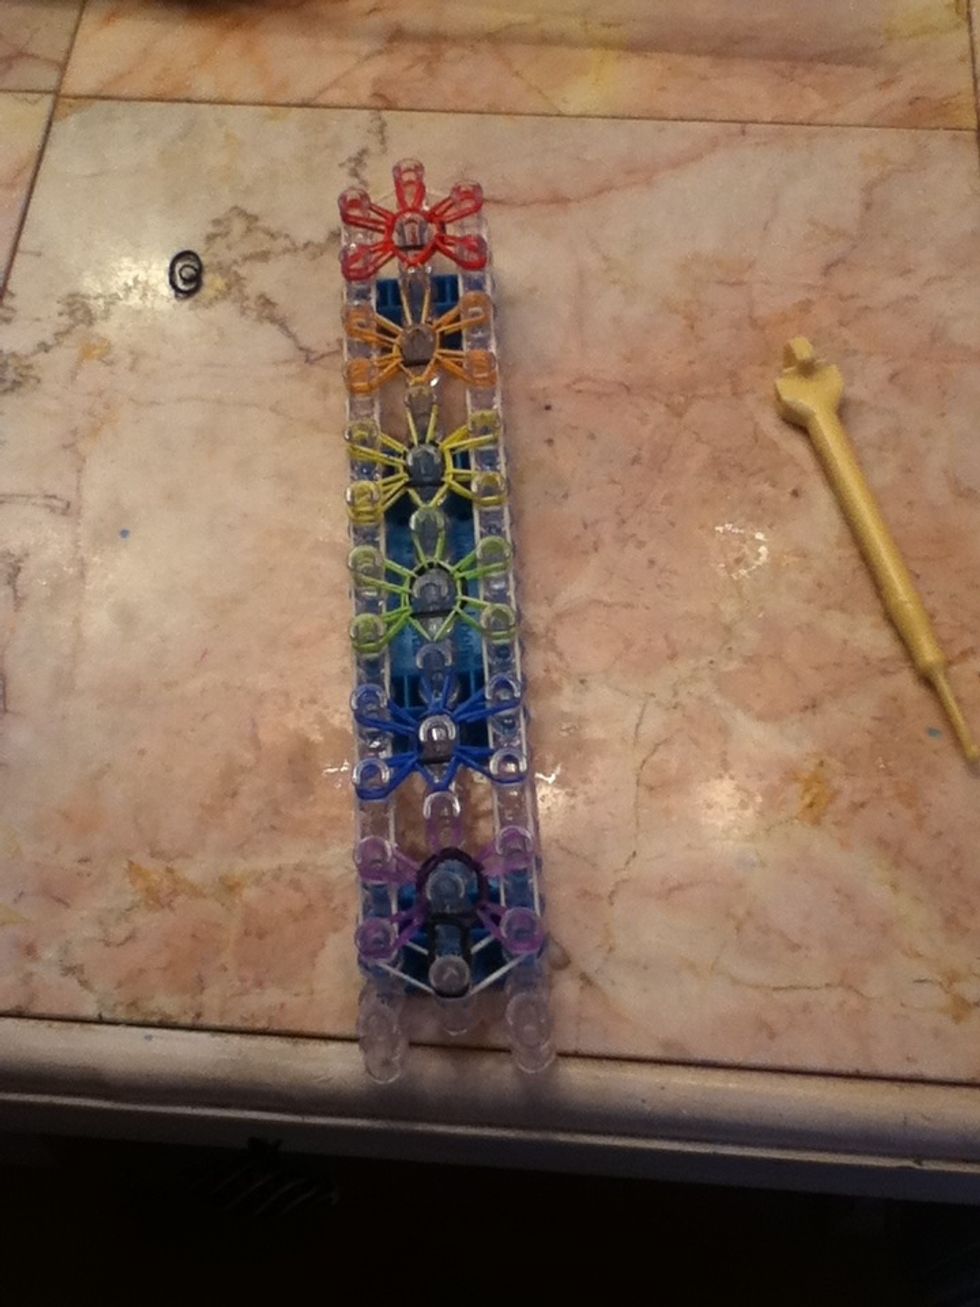
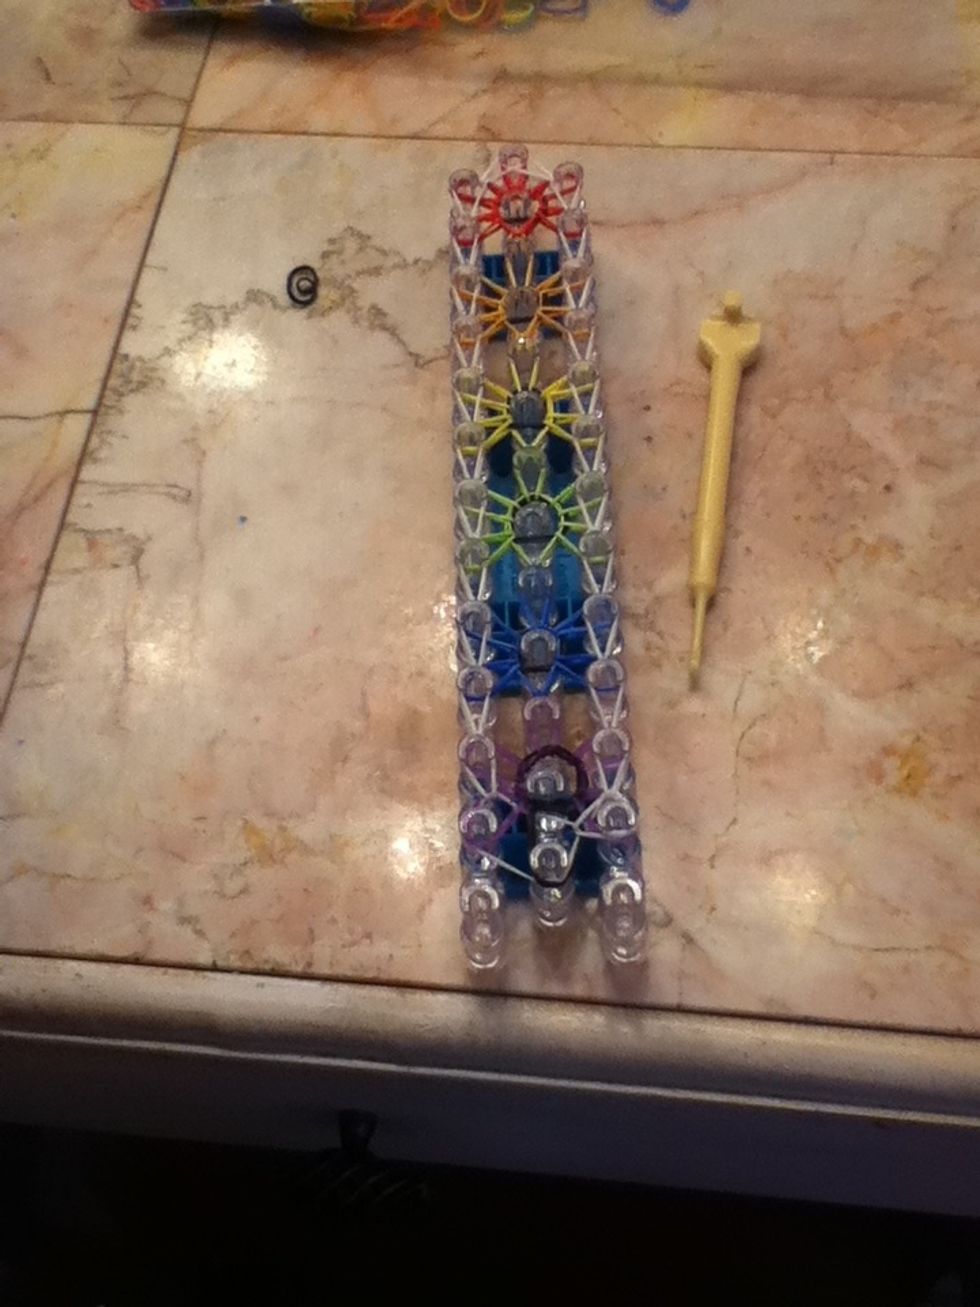
This is what it should look like when your done. Keep going until you reach the top.
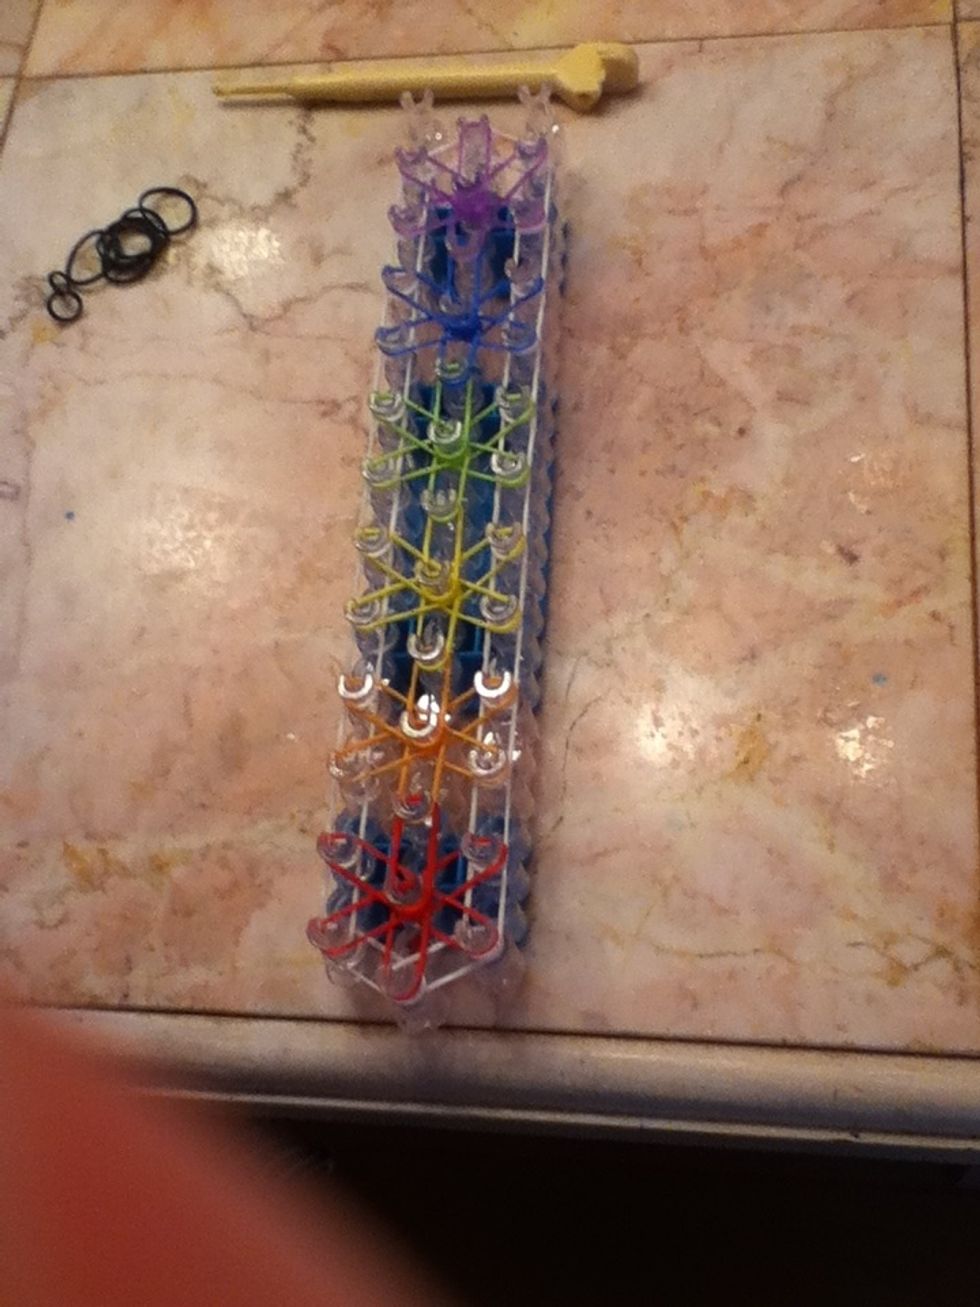
Yay we did it!!!!👍 Now were ready to go on to the cat bands!✌
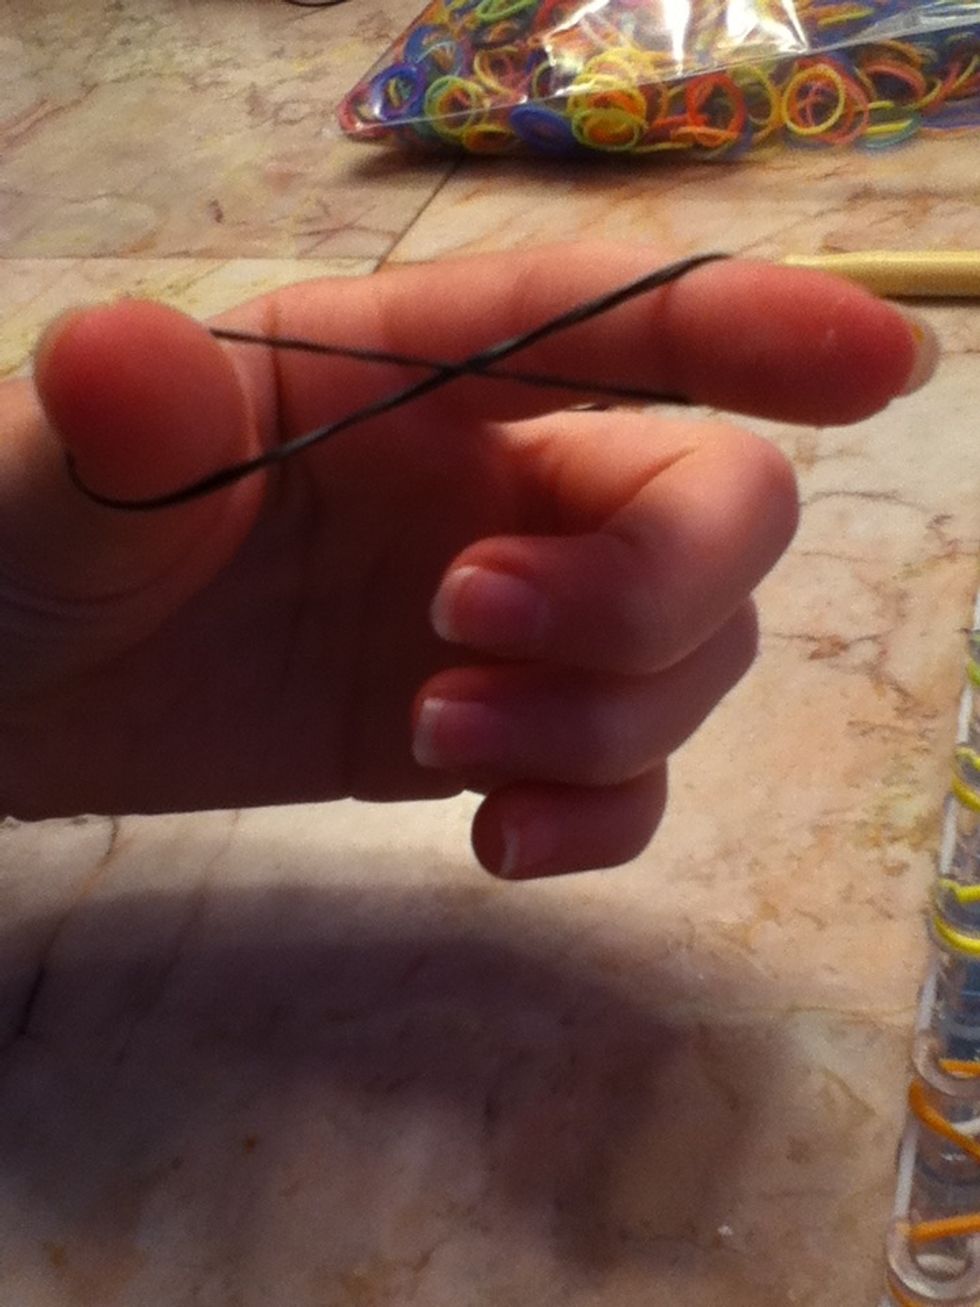
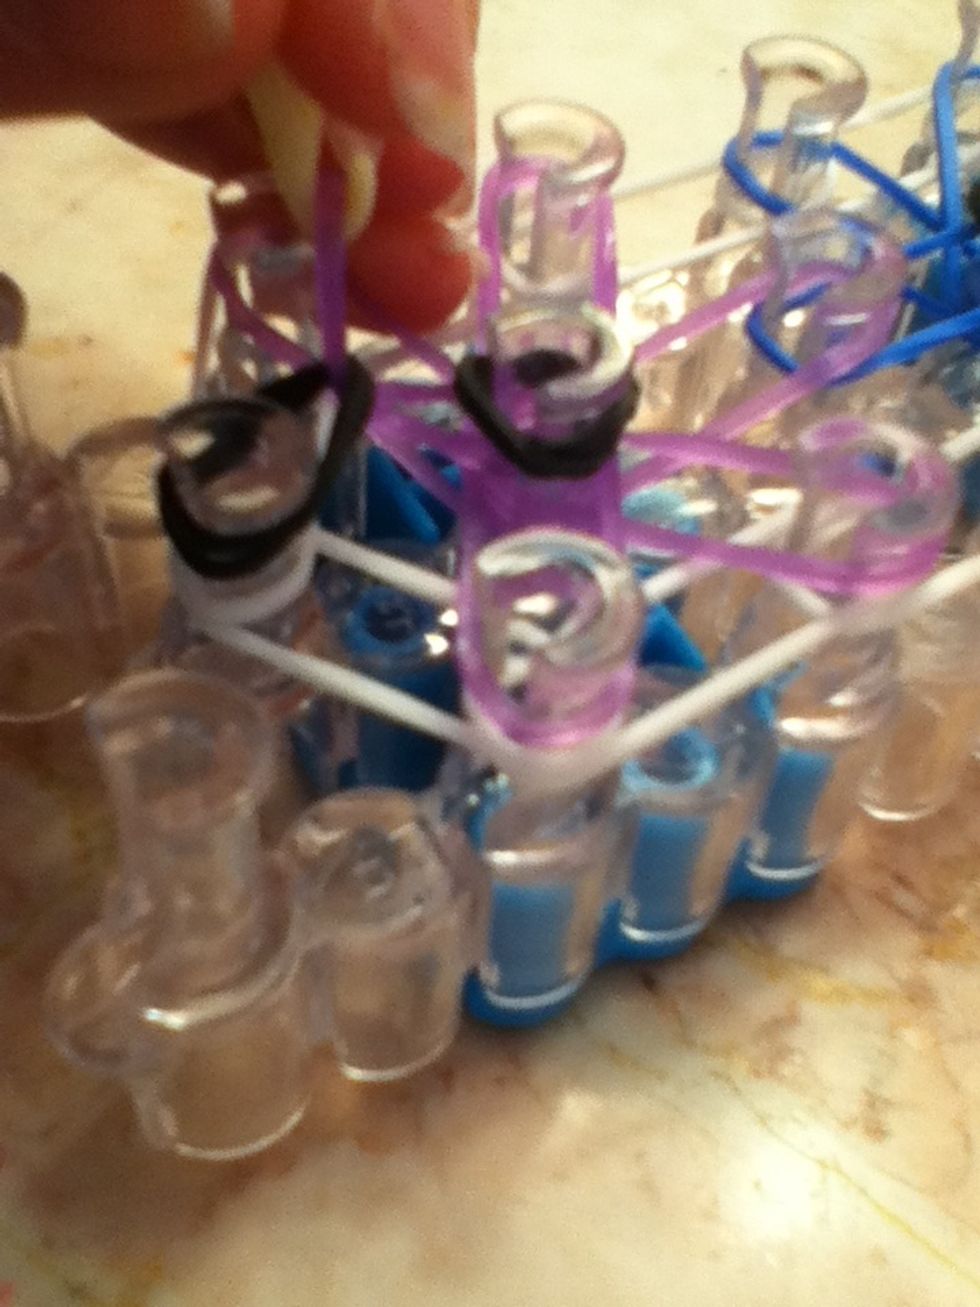
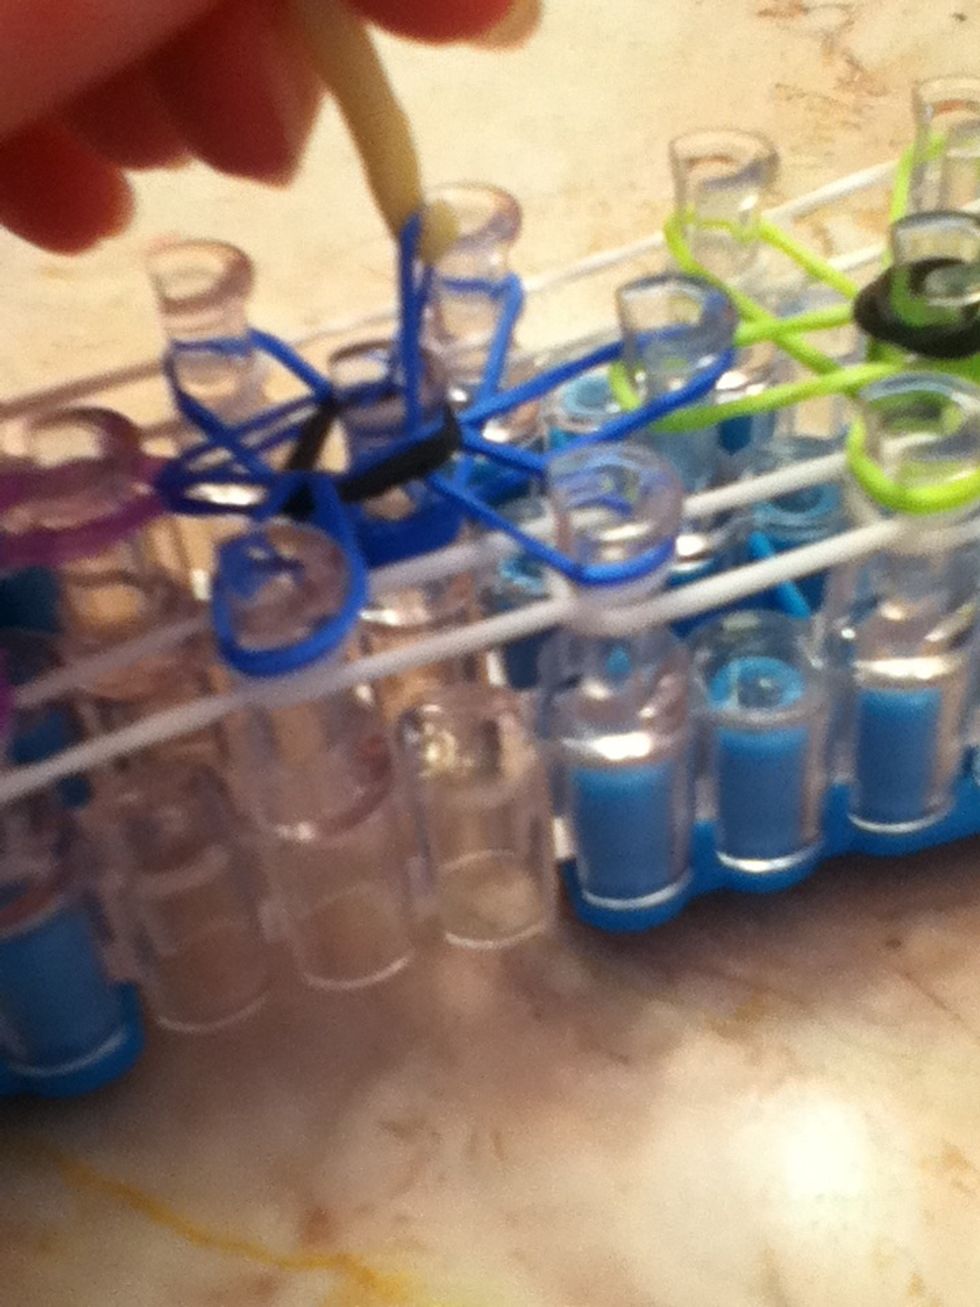
Twist a rubber band (black) into a figure eight
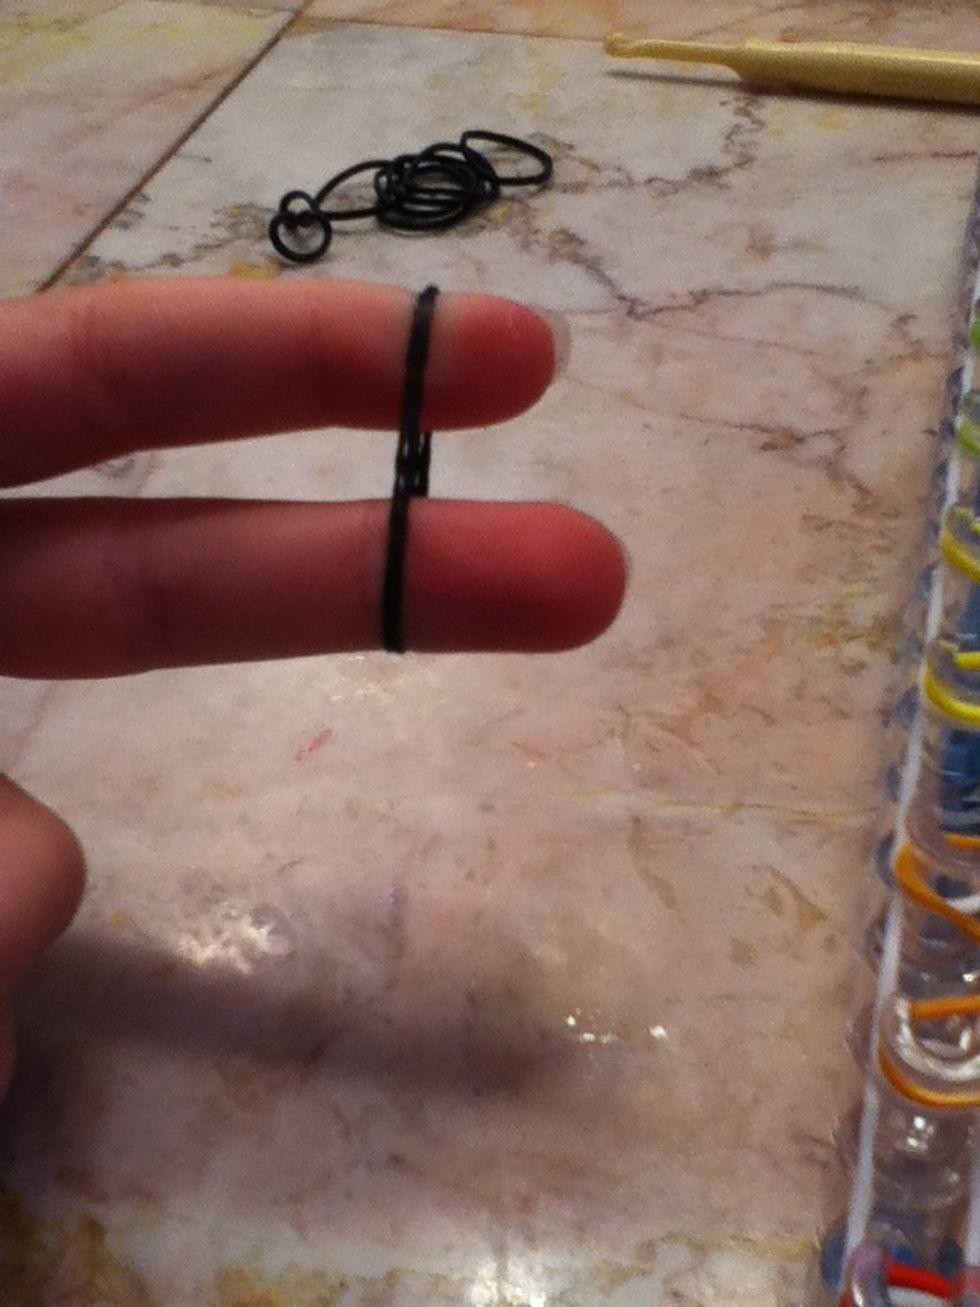
Then turn it back upon itself!😋
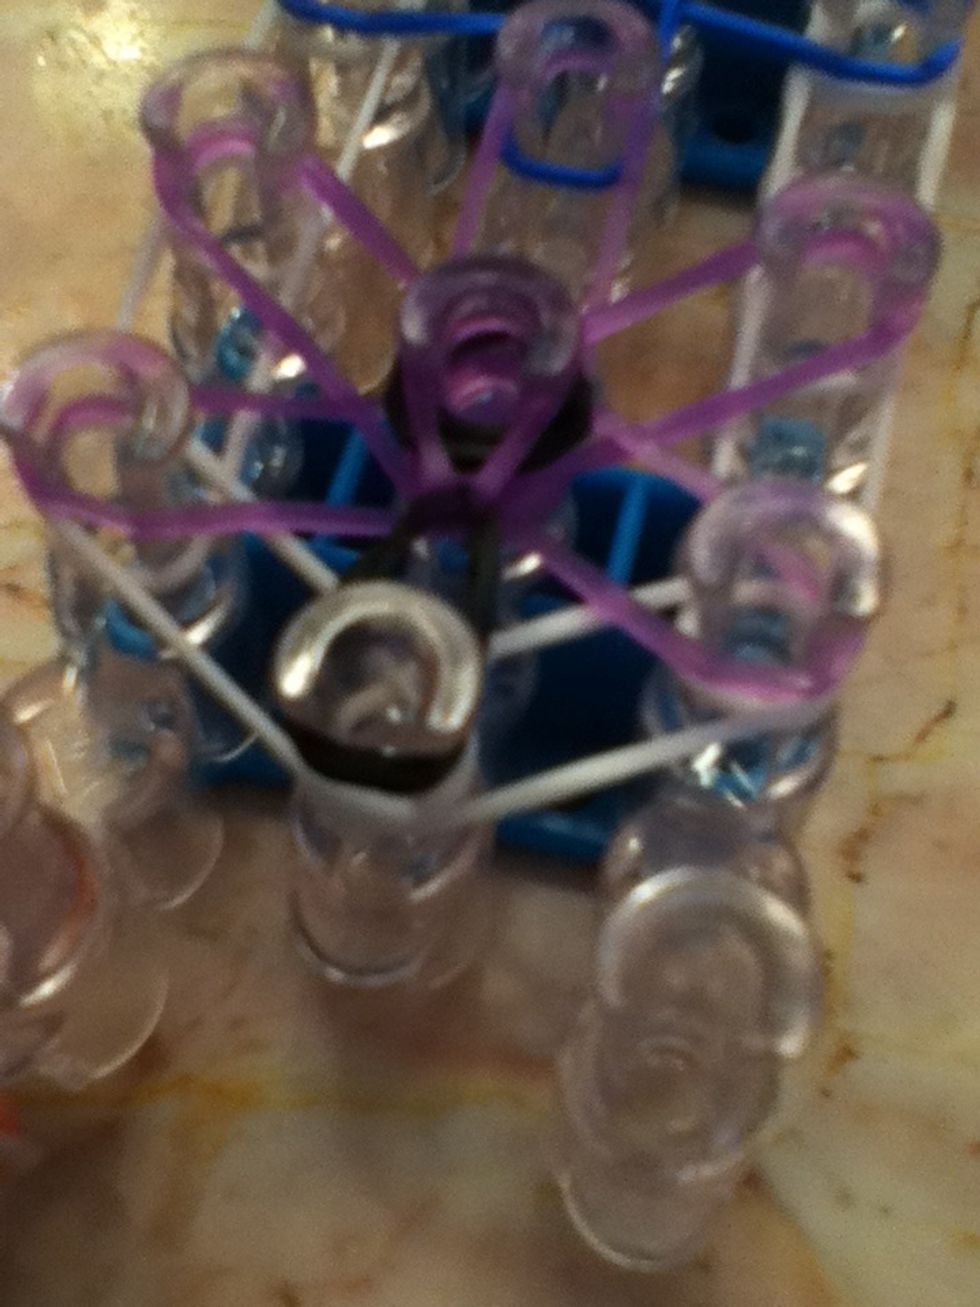
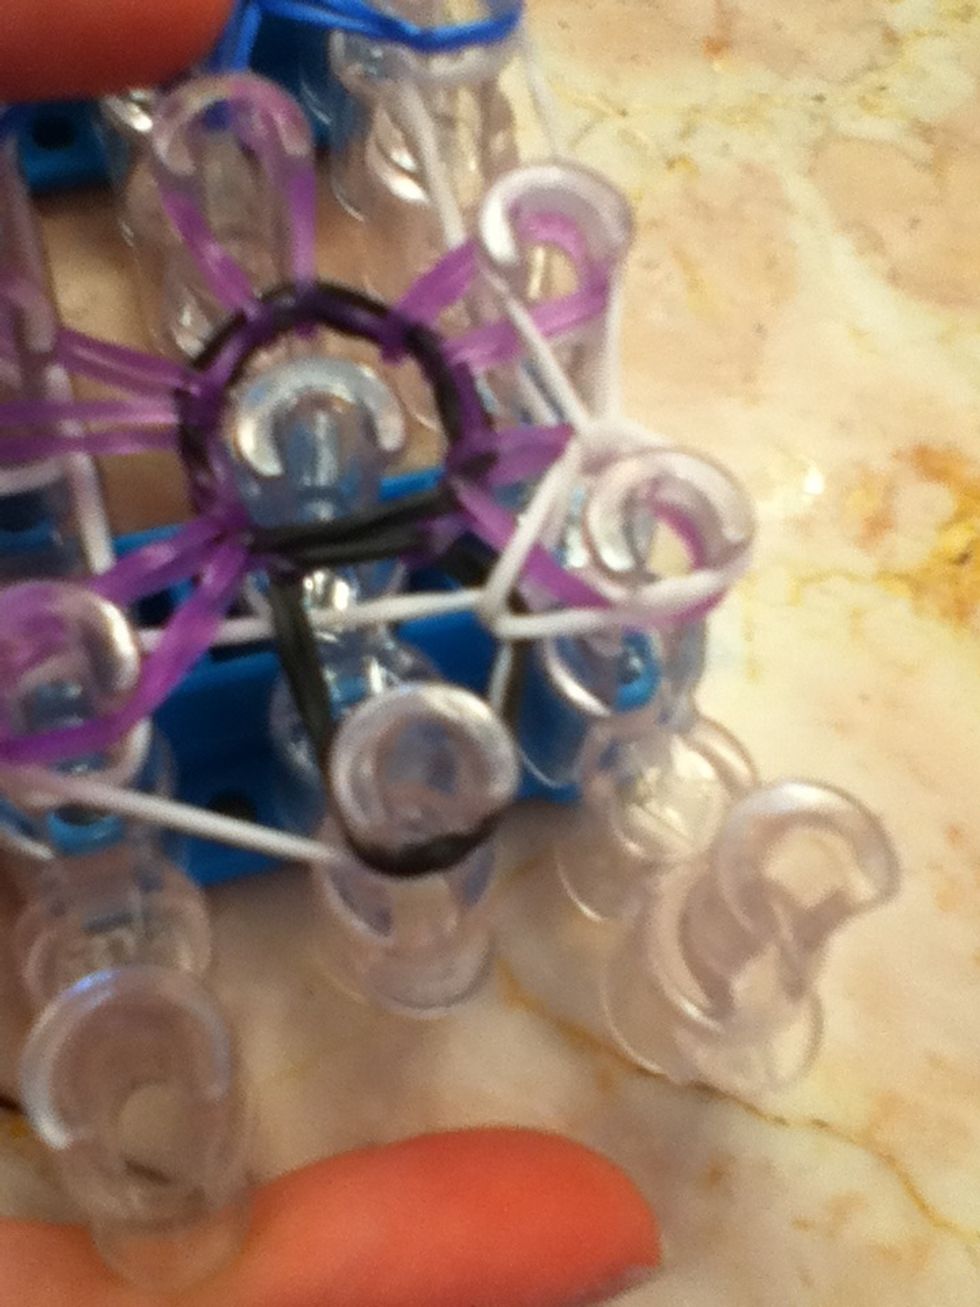
Put it in the middle of every color!
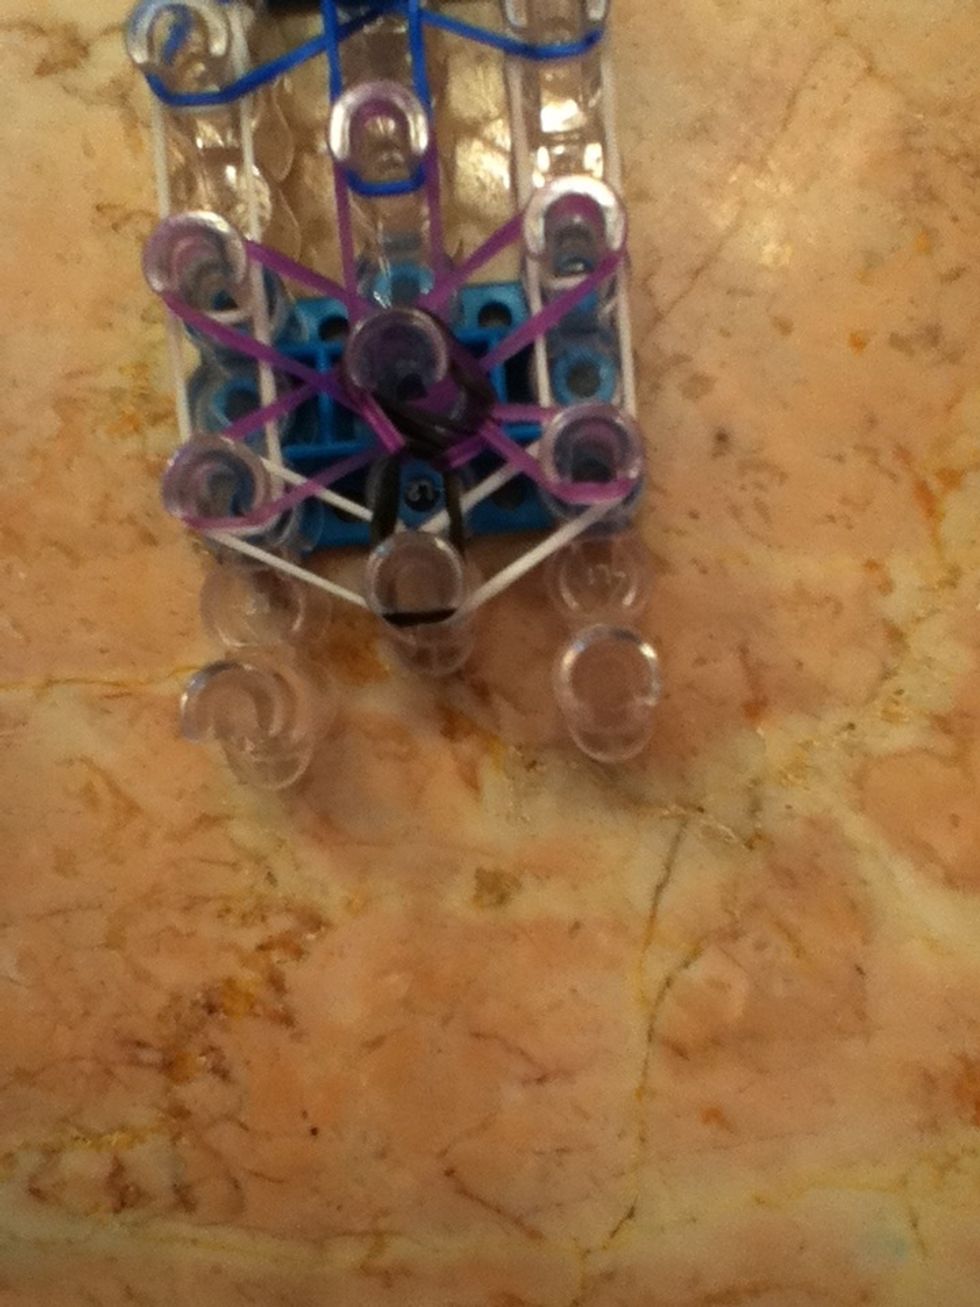
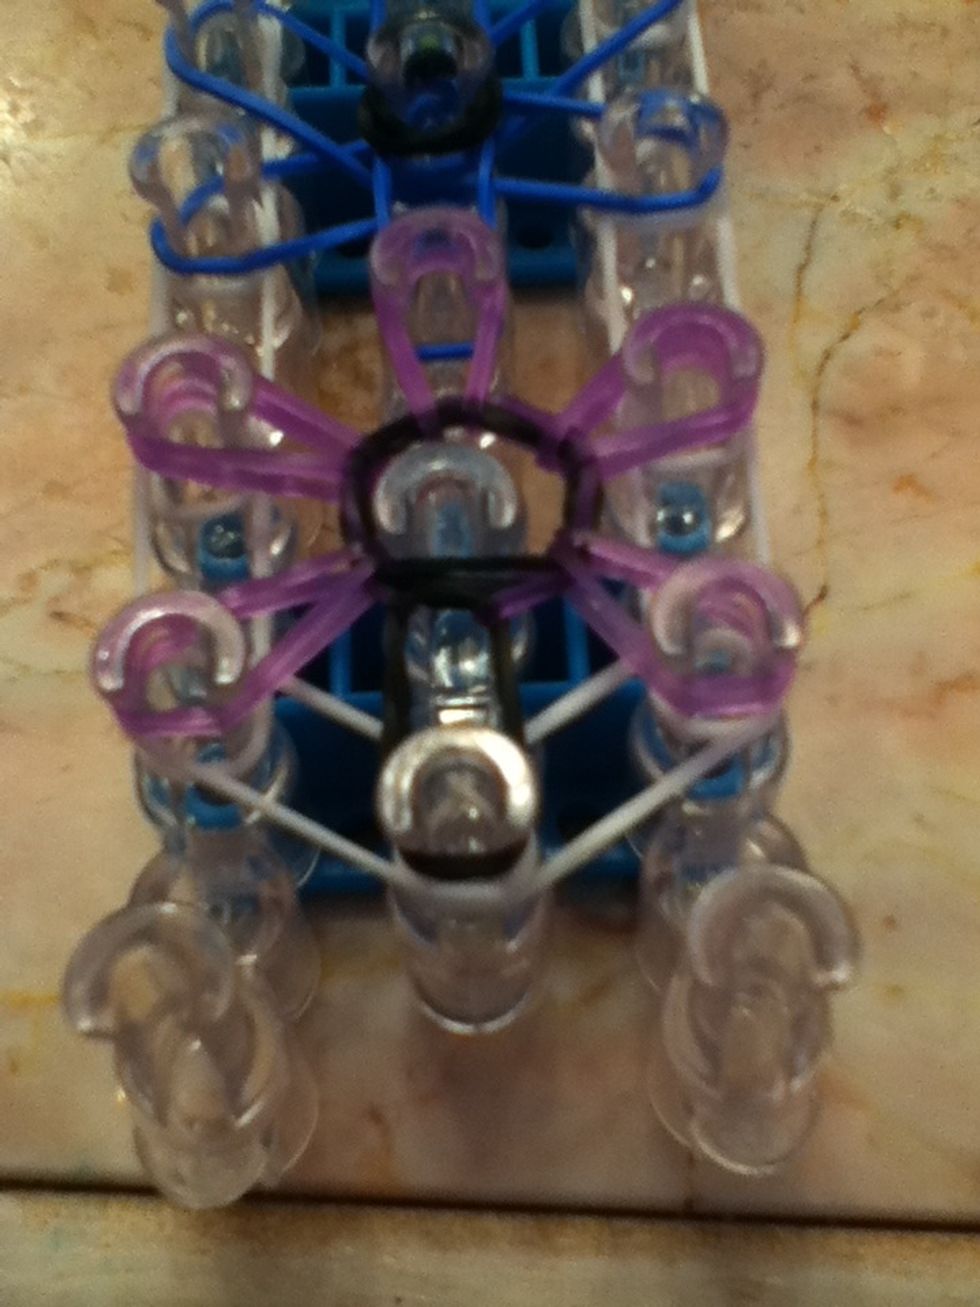
This is what it should look like
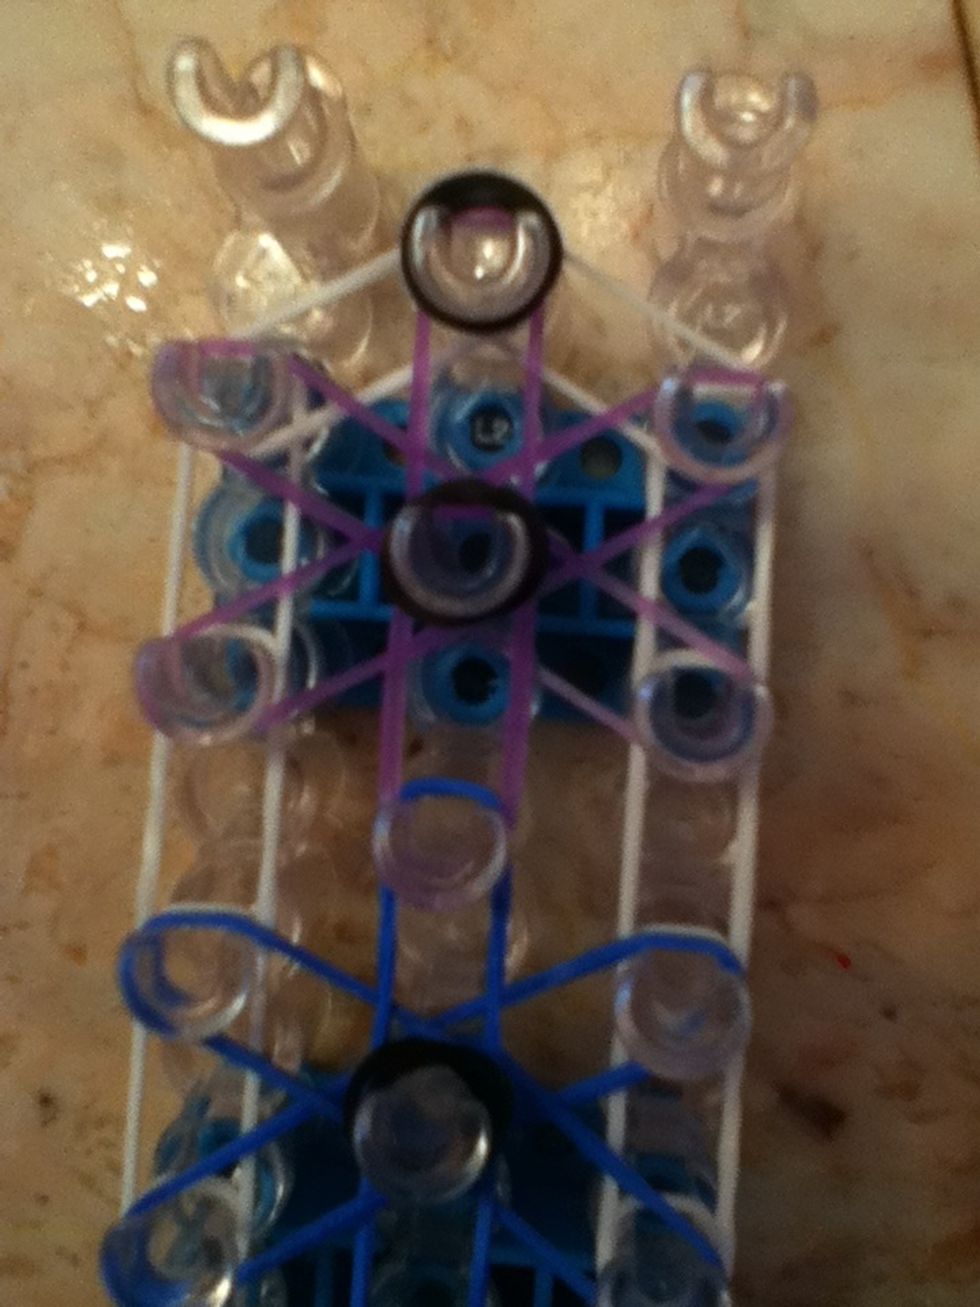
Then add another band to the top peg of the purple band
Turn your loom around! Now the arrow should be pointing at you.
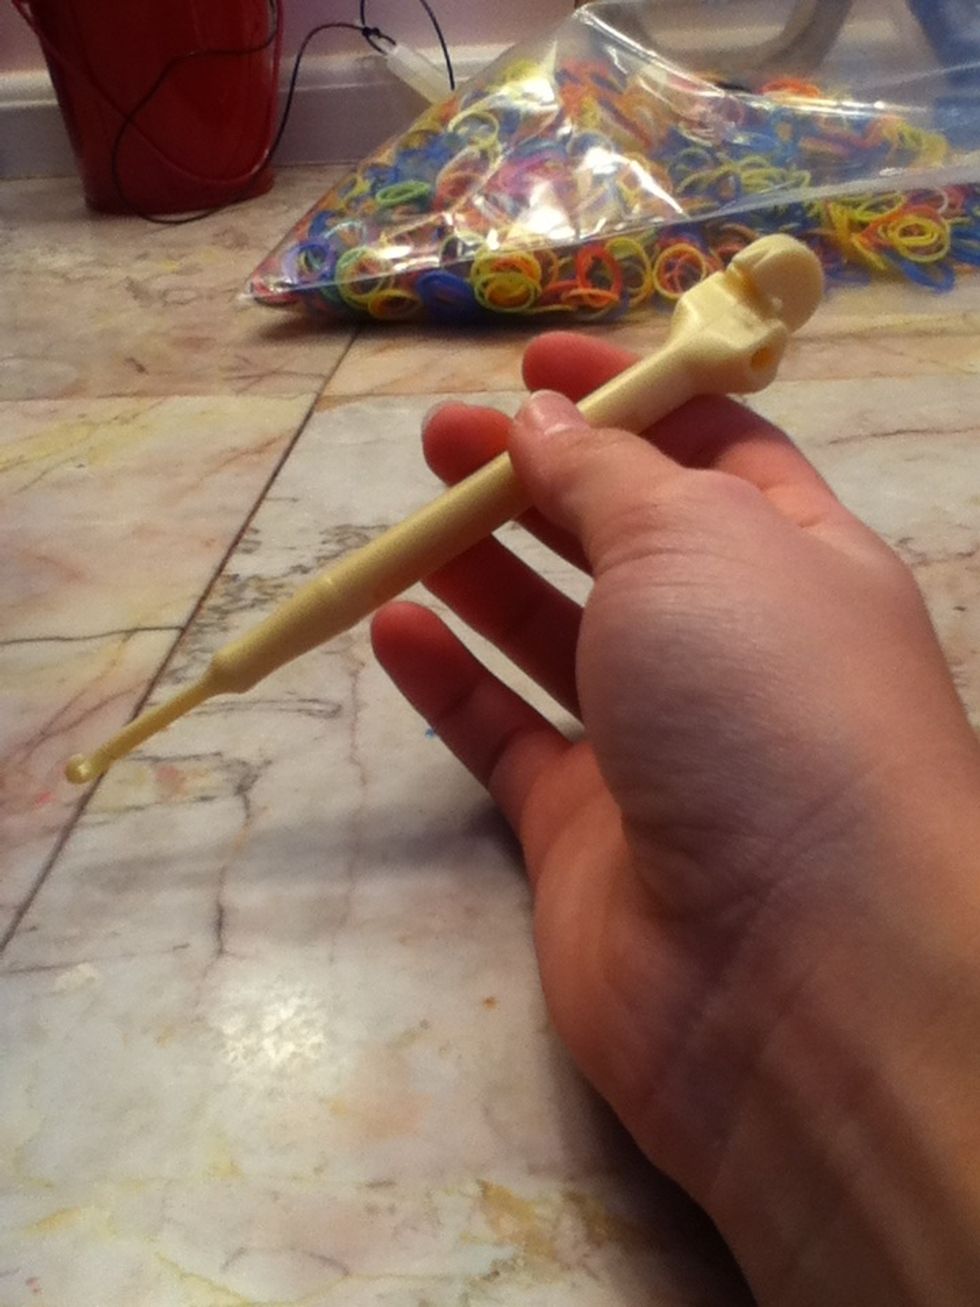
Grab your hook!
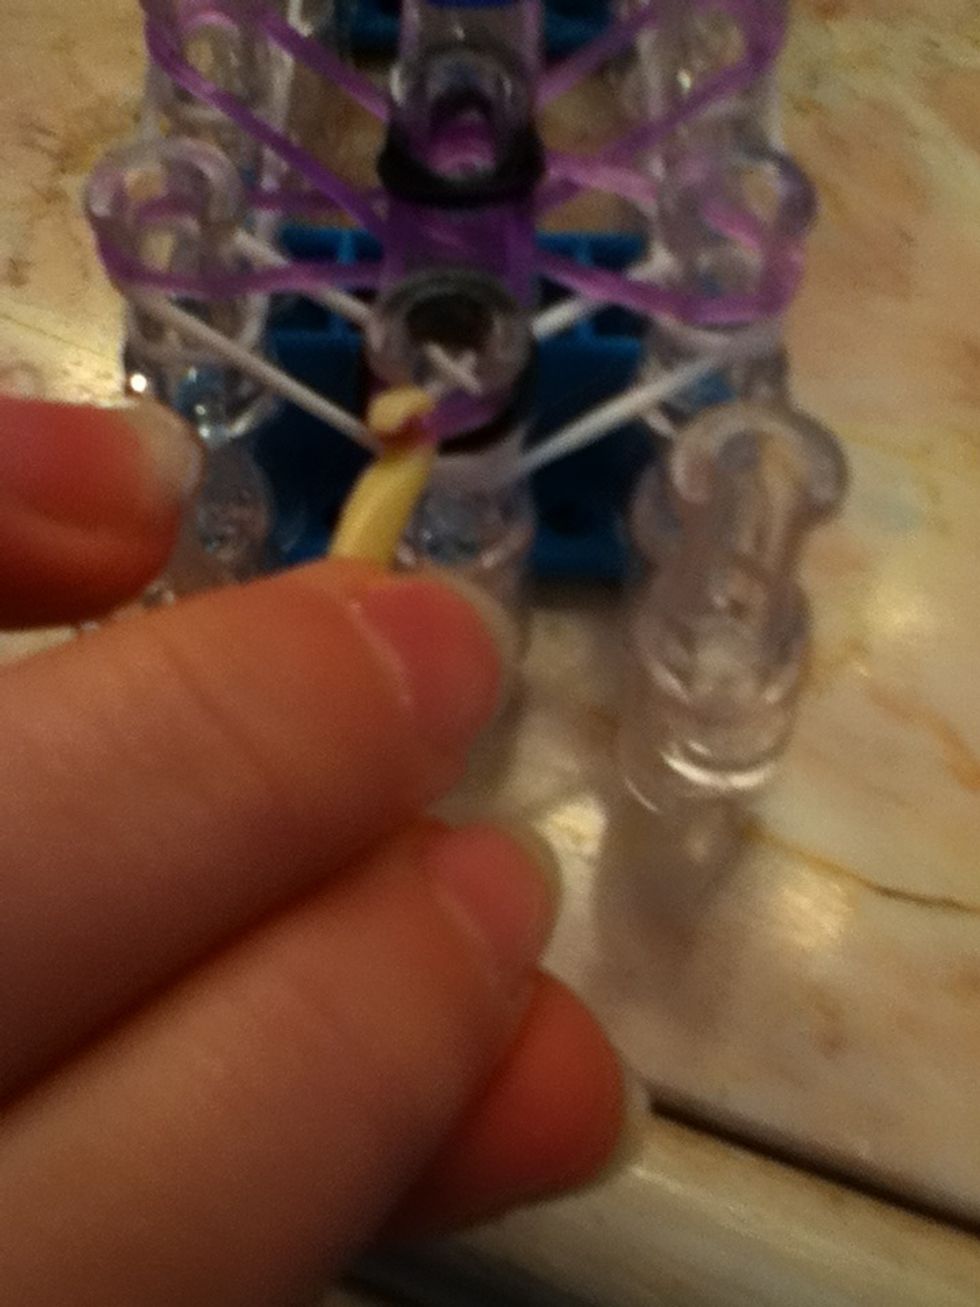
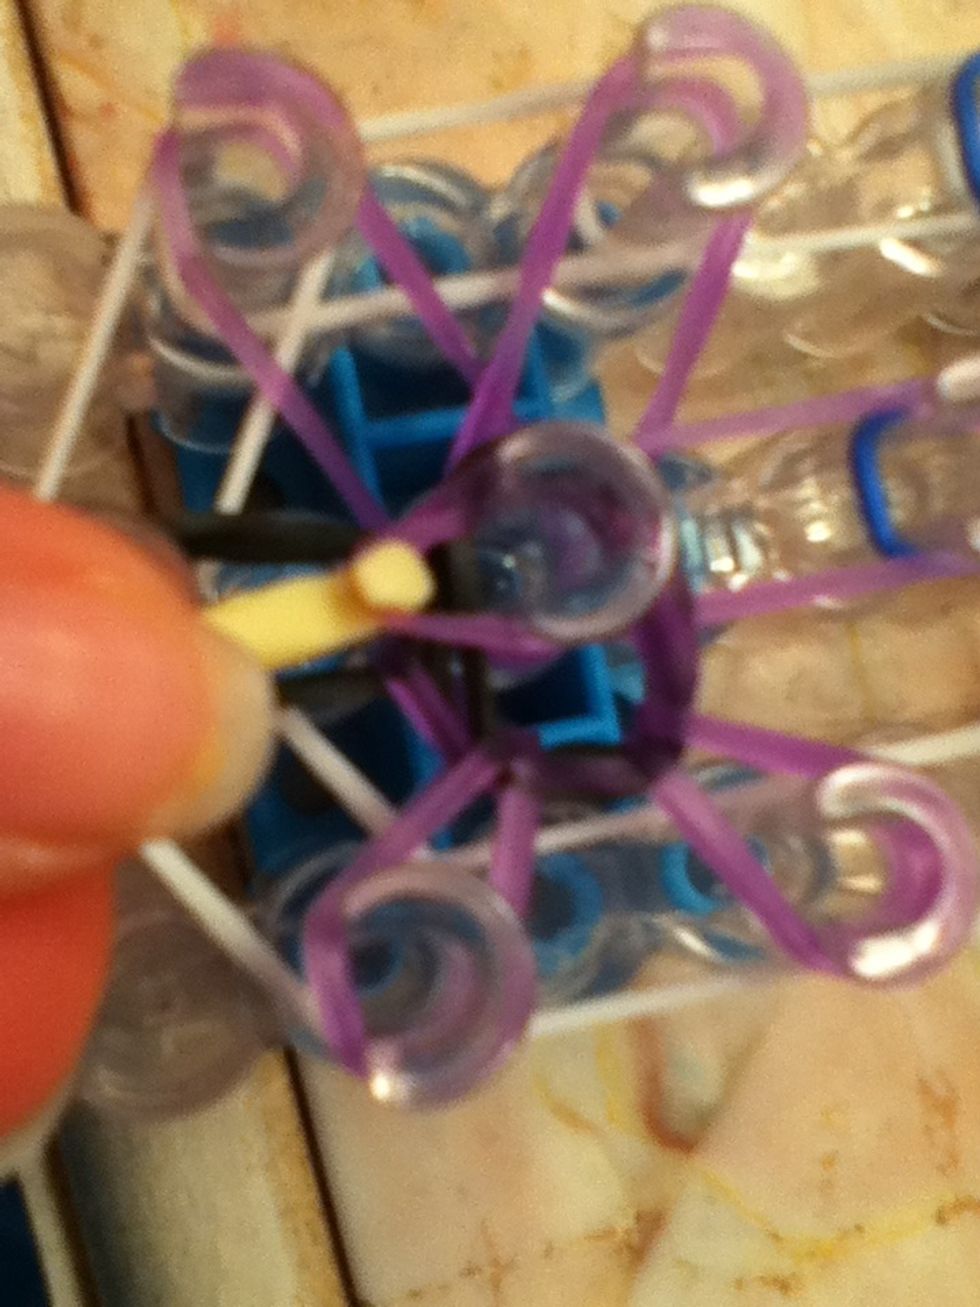
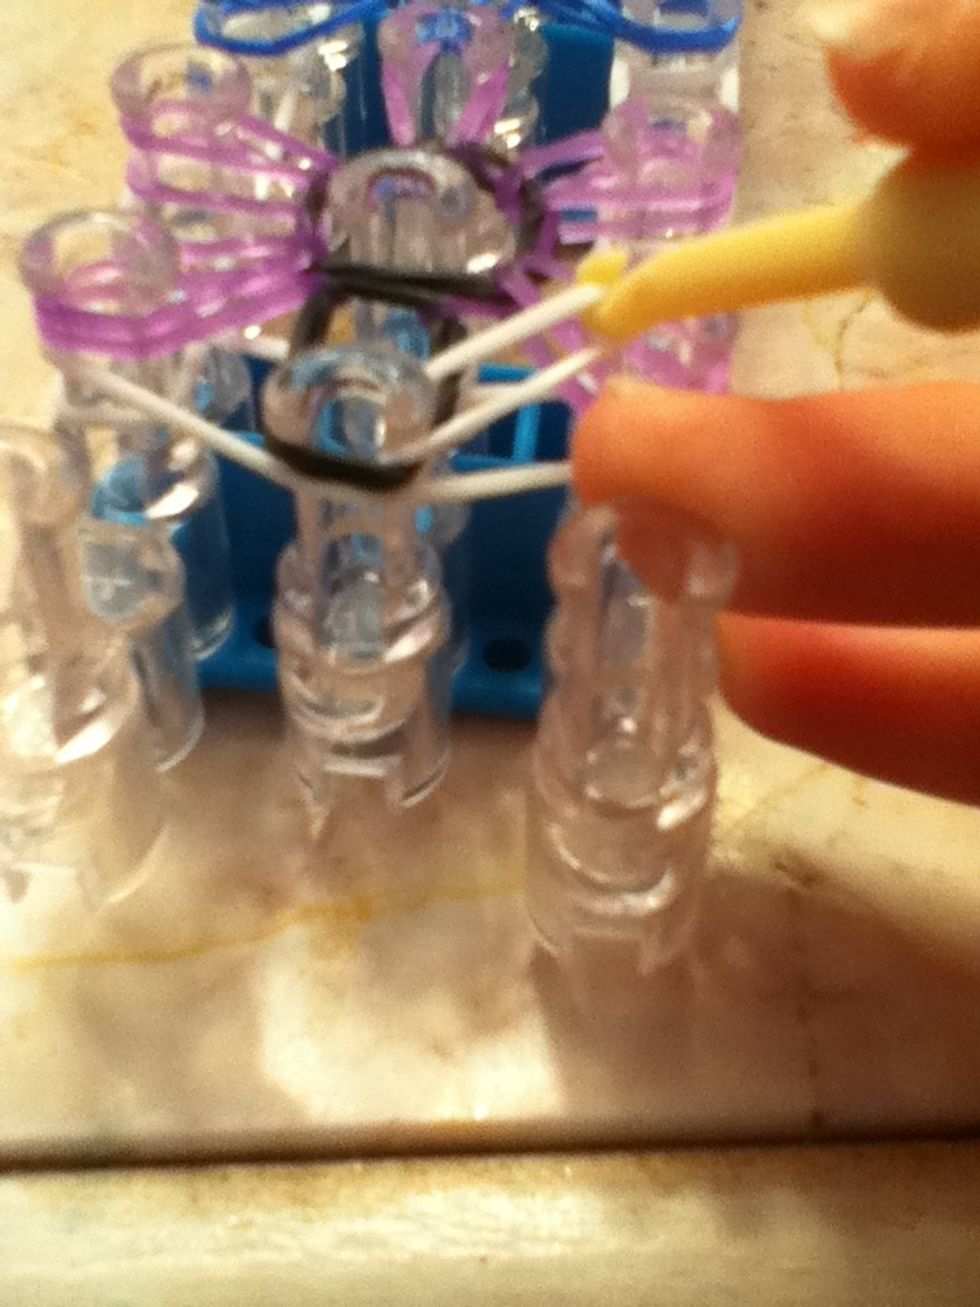
Pull the purple rubber band over the peg
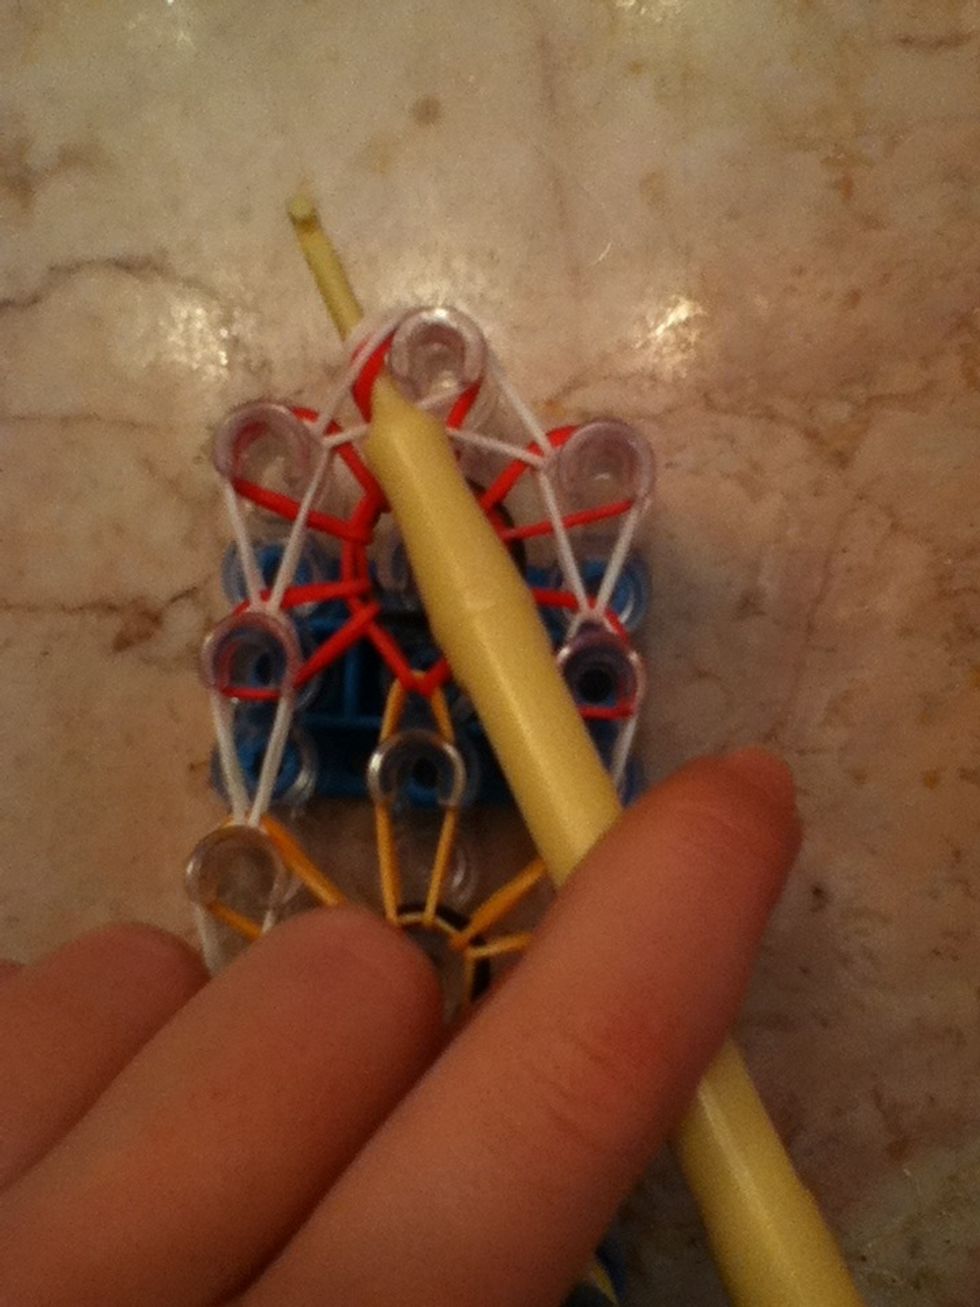
Pull it over and..... Go counter clock wise!
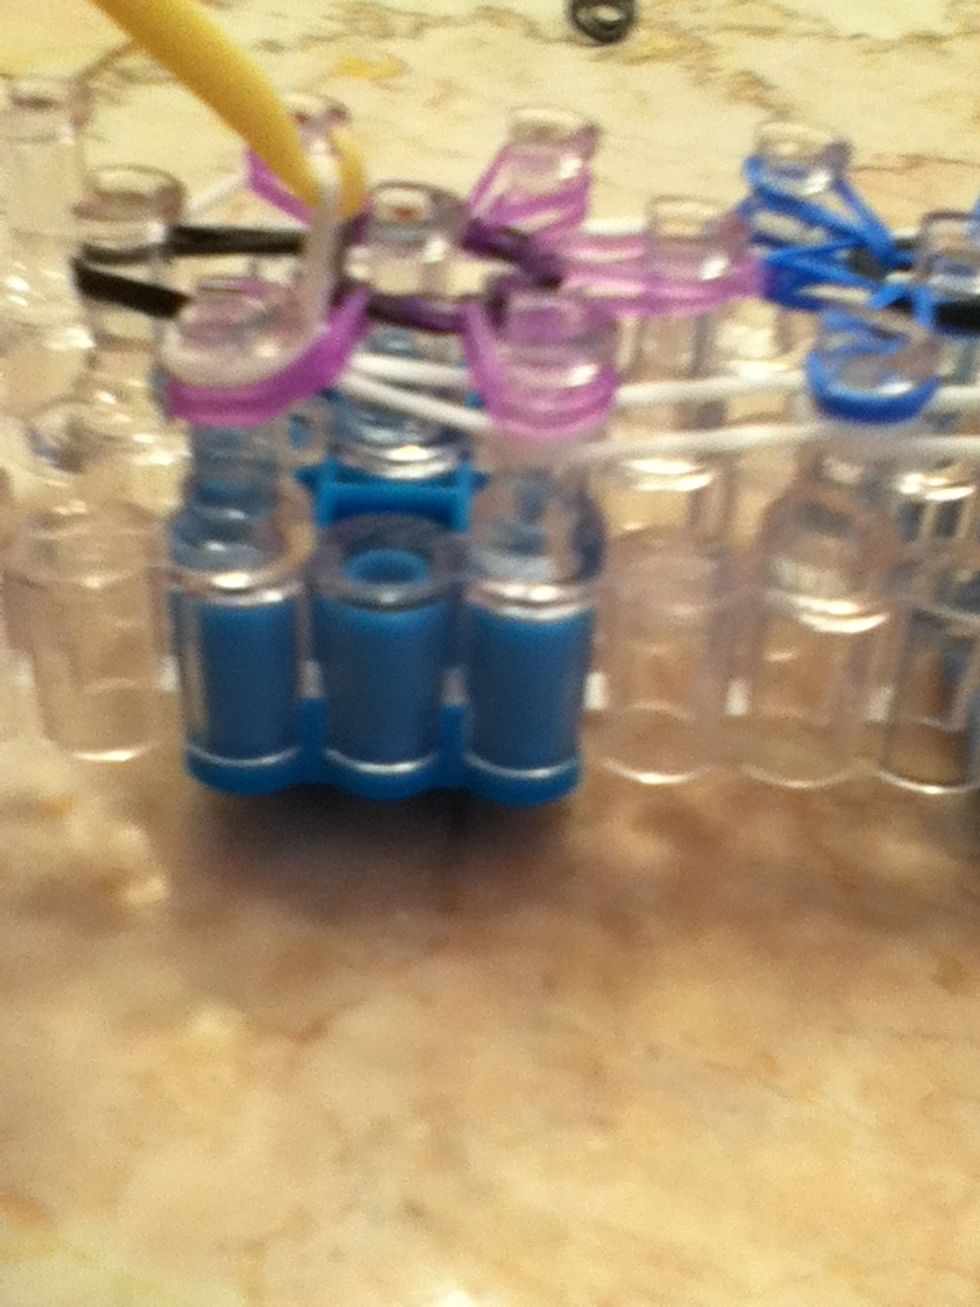
Put it on the peg over it! Go counter clock wise
Do the same thing to the other band! Go counter clock wise!
Pull the middle purple band ( the one that matches the purple band on the other peg) and pull it over. Do this for all the other bands.
This is what it should look like. Do this for all the other colors until you get to the top. No bands should be on the middle peg.
Make sure the two rubber bands match, or your going to mess yourself up!
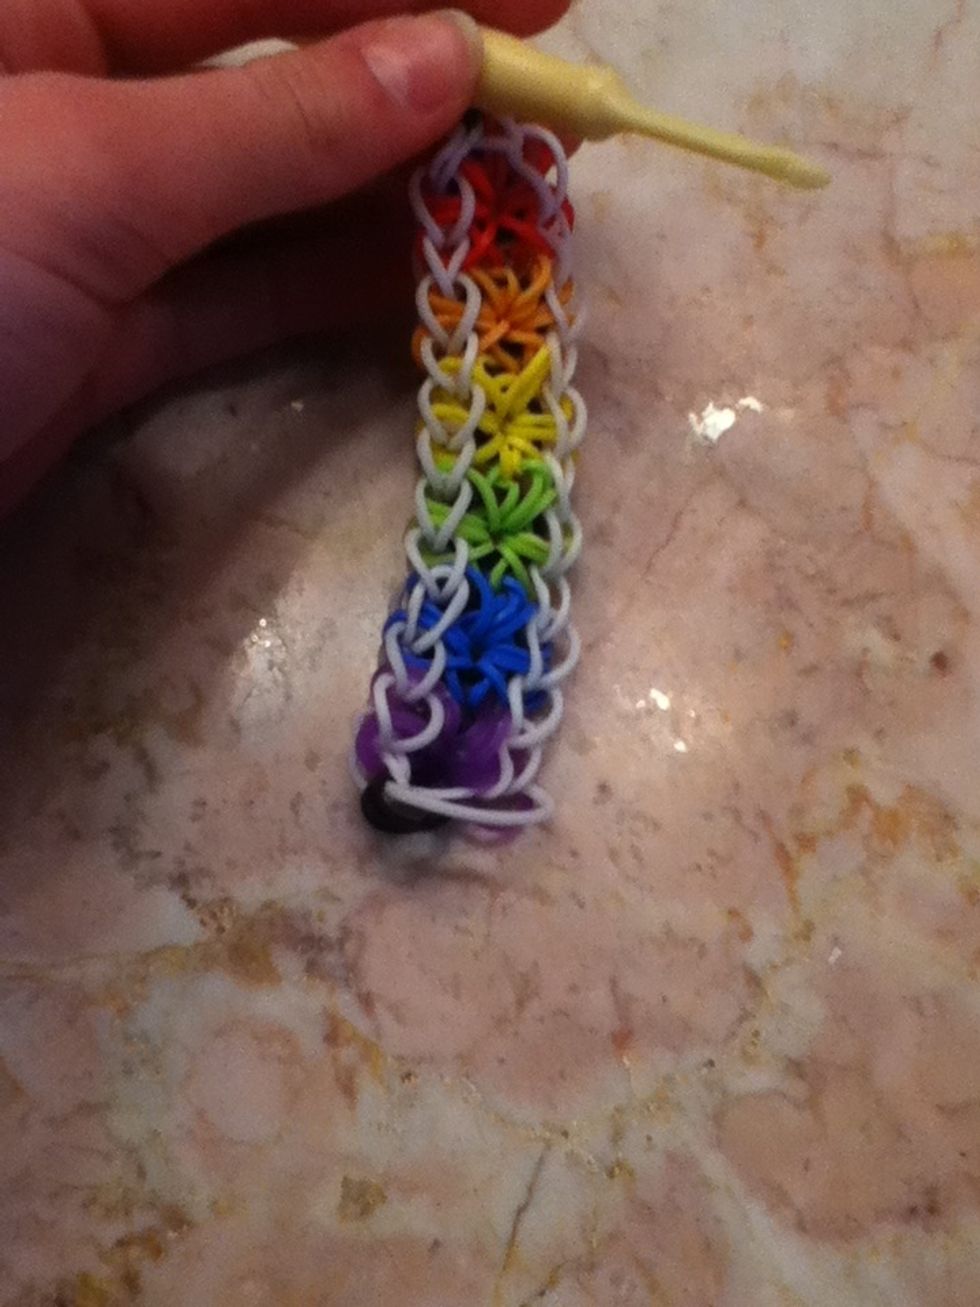
Almost done! This is what it should look like!
Take the white bottom rubber band and pull it over to the peg that is diagonal.

This is what it should look like
Keep doing that until you reach the top.
Like this. When you get to the top, go diagonal
Do that on the other side. This is what you should end up with. When you get to the top, go diagonal again.
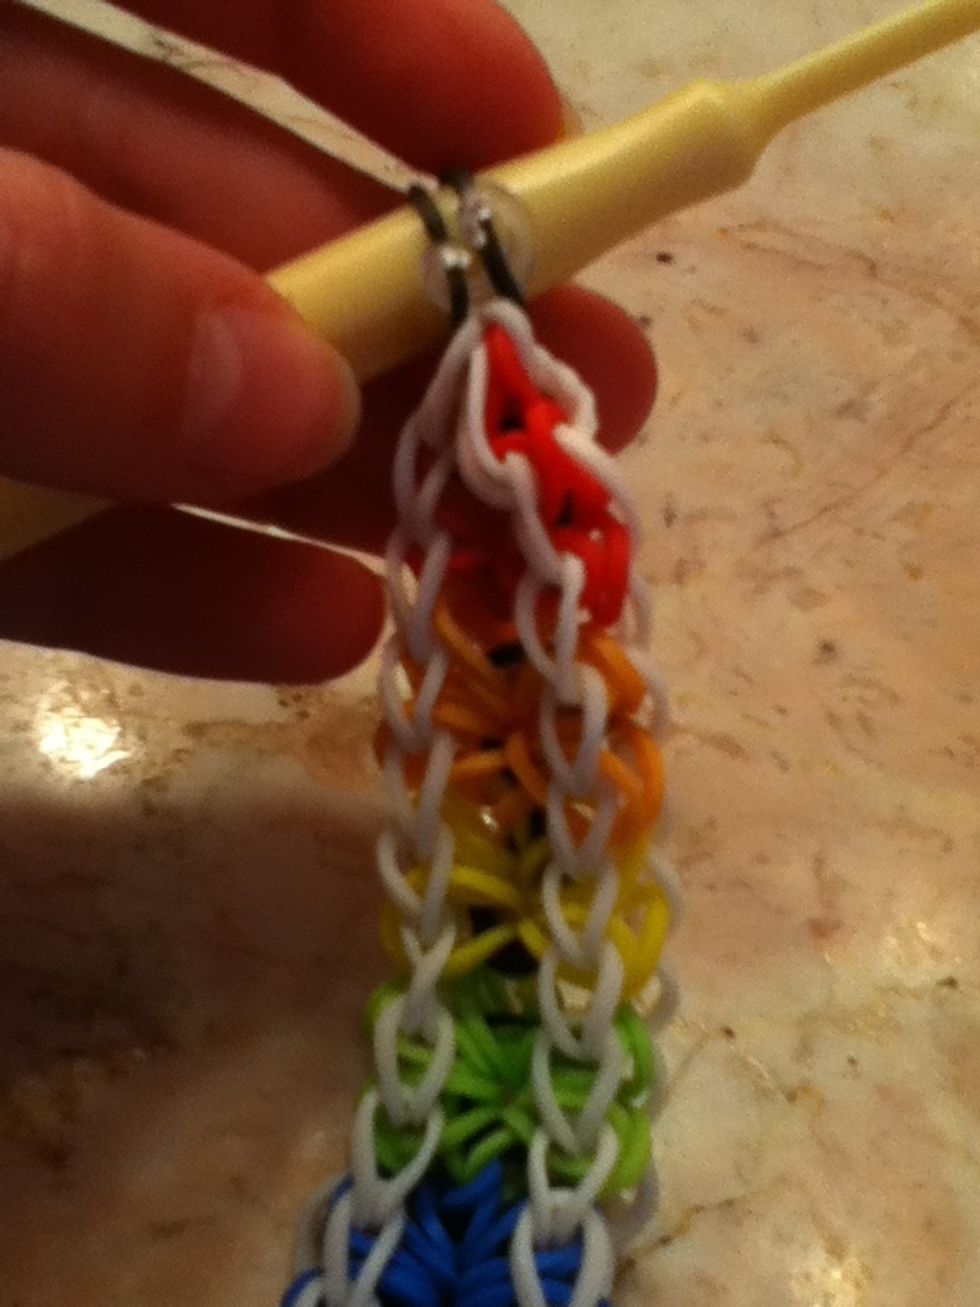
Push your hook down the middle. GET ALL BANDS!
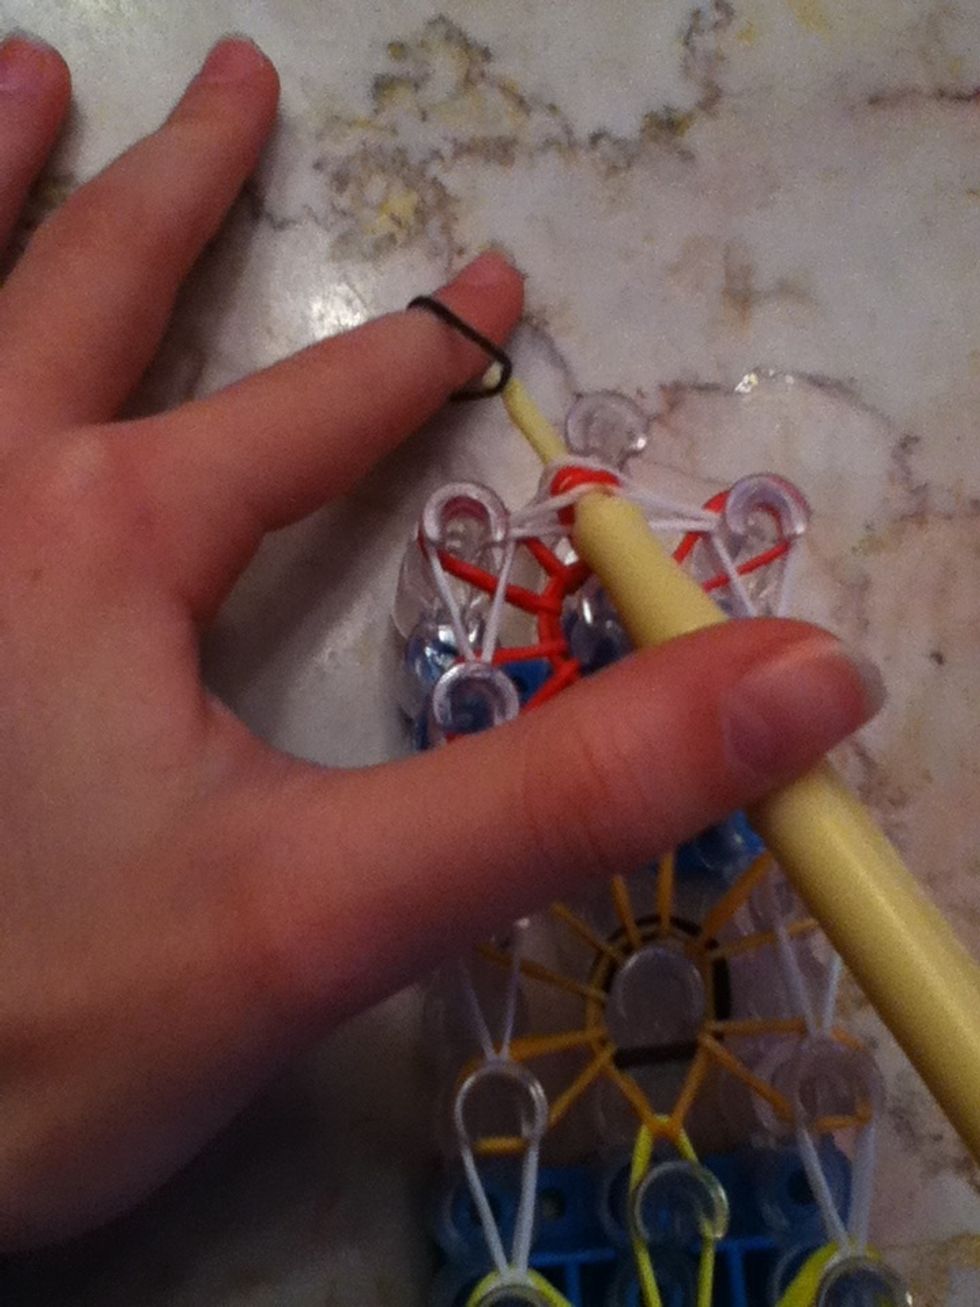
Add a black band to the hook
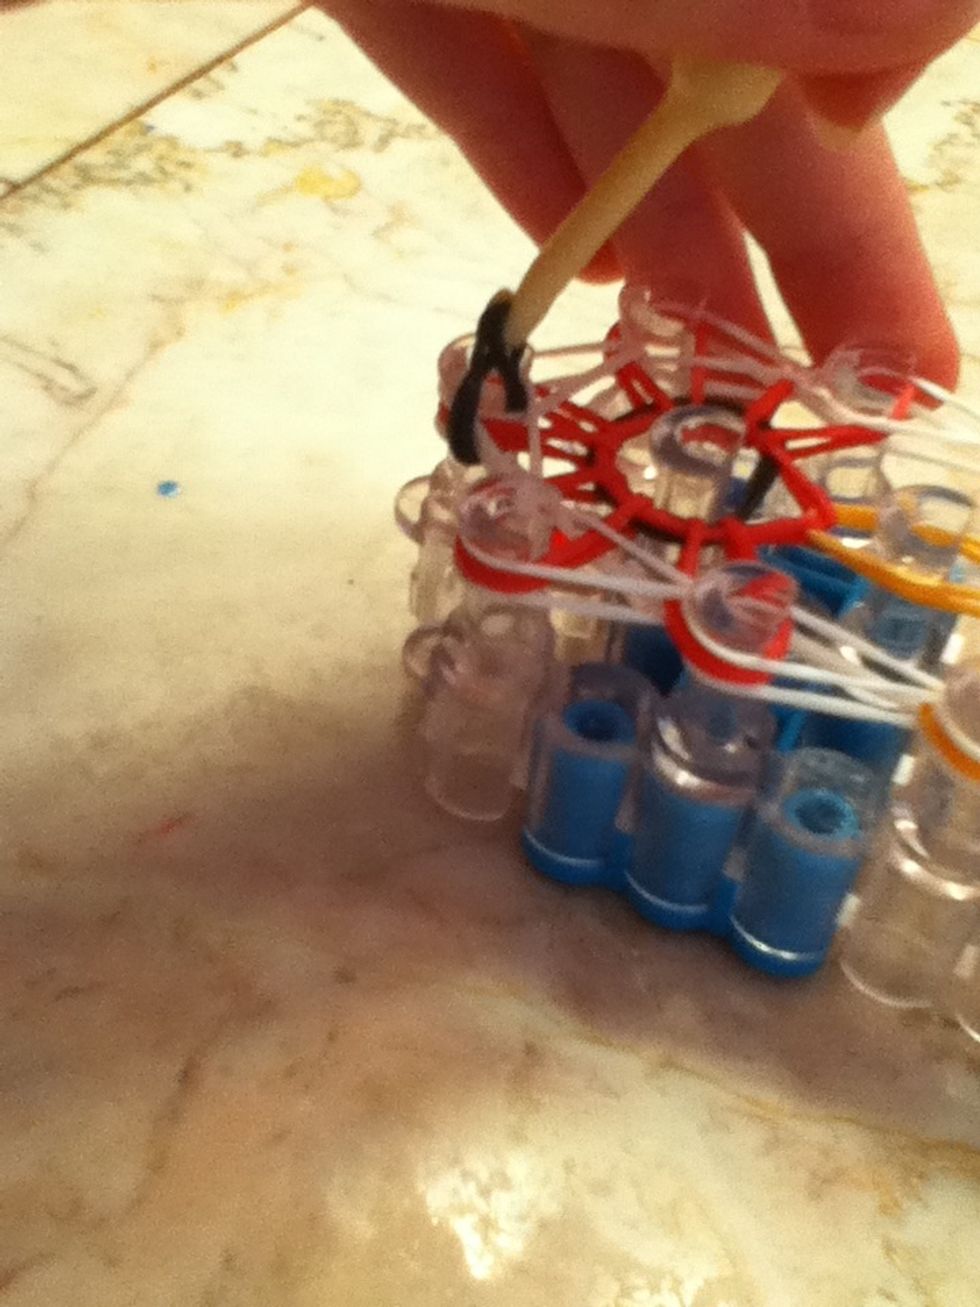
Pull it through the bands and you will have a double "o" on your hook
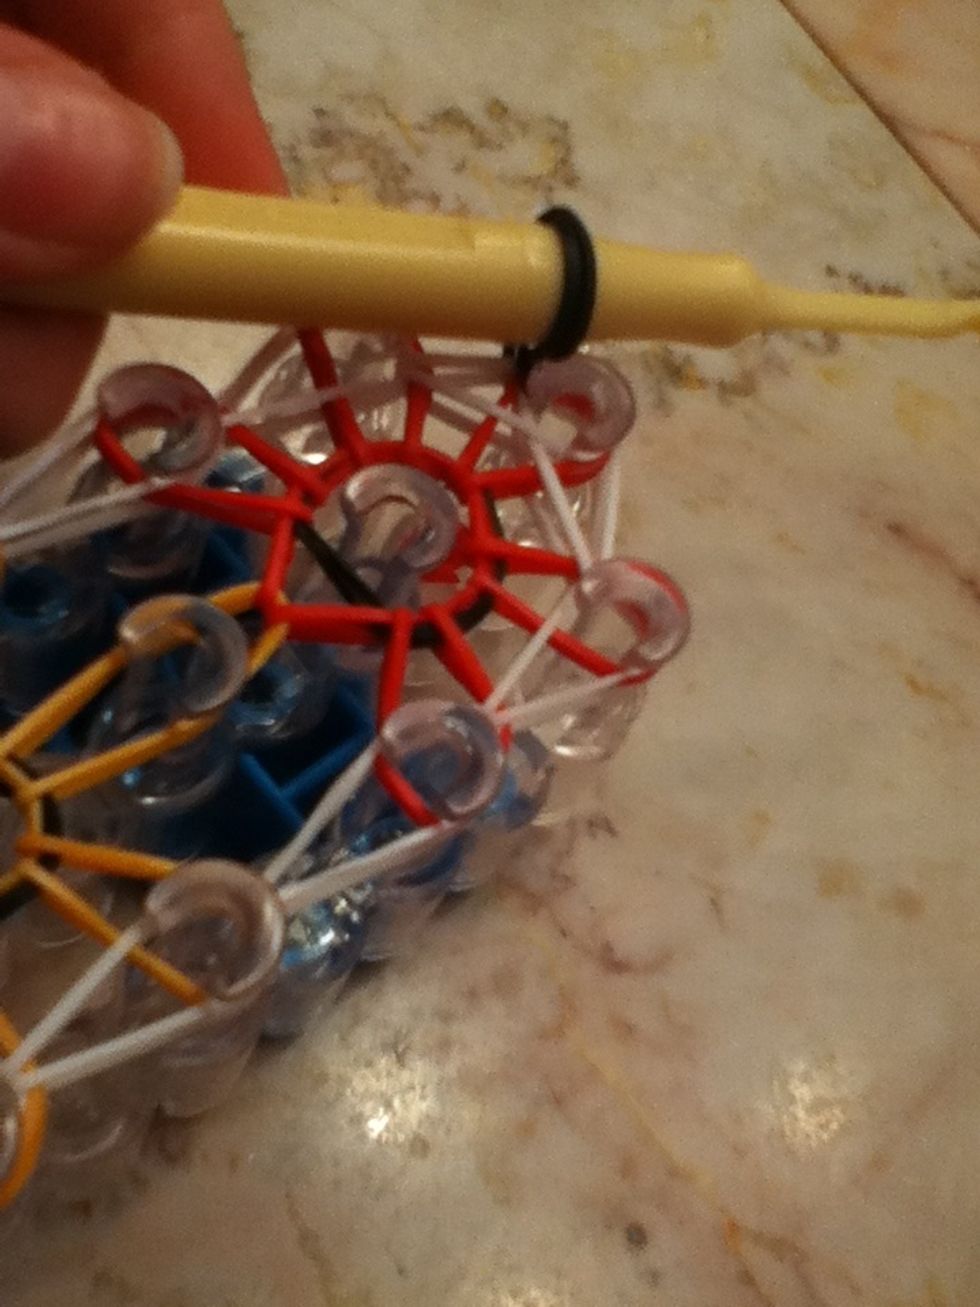
Push the "o" to the thickest part of your hook
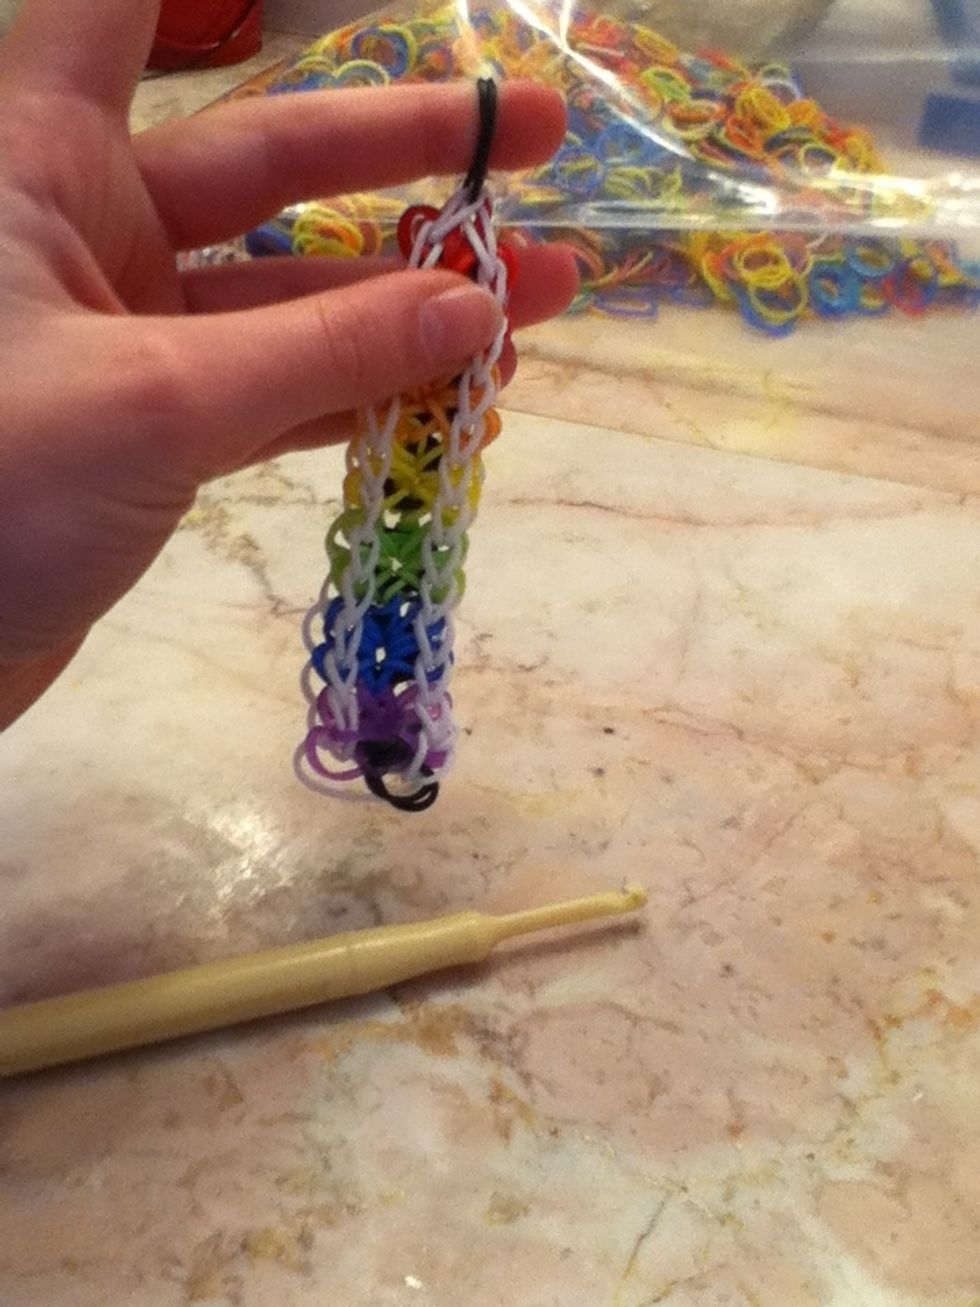
Take your braclet off, CAREFULLY!
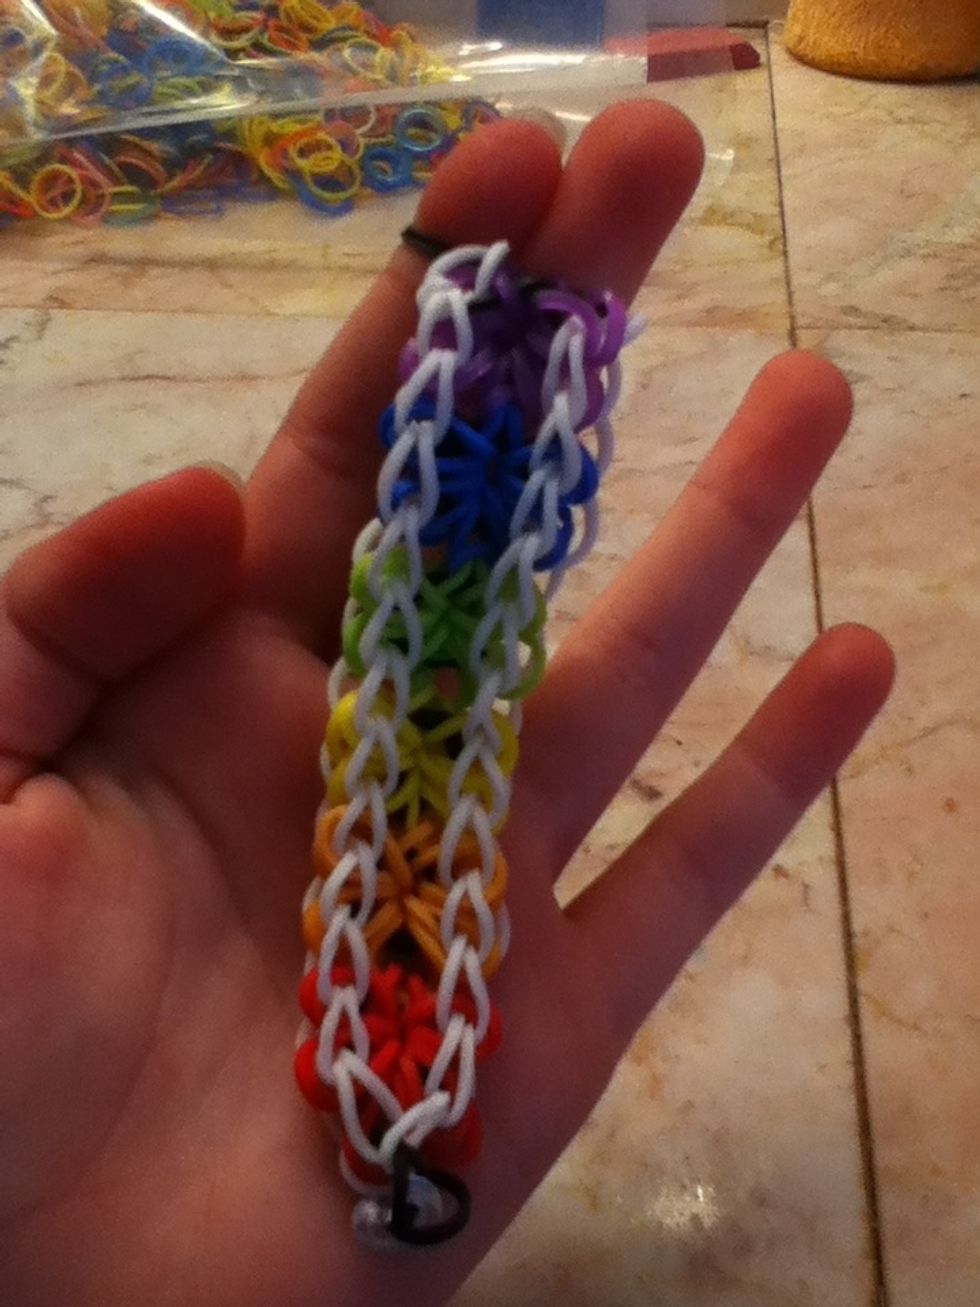
Here it is! We're almost done! Grab the red side of the braclet.
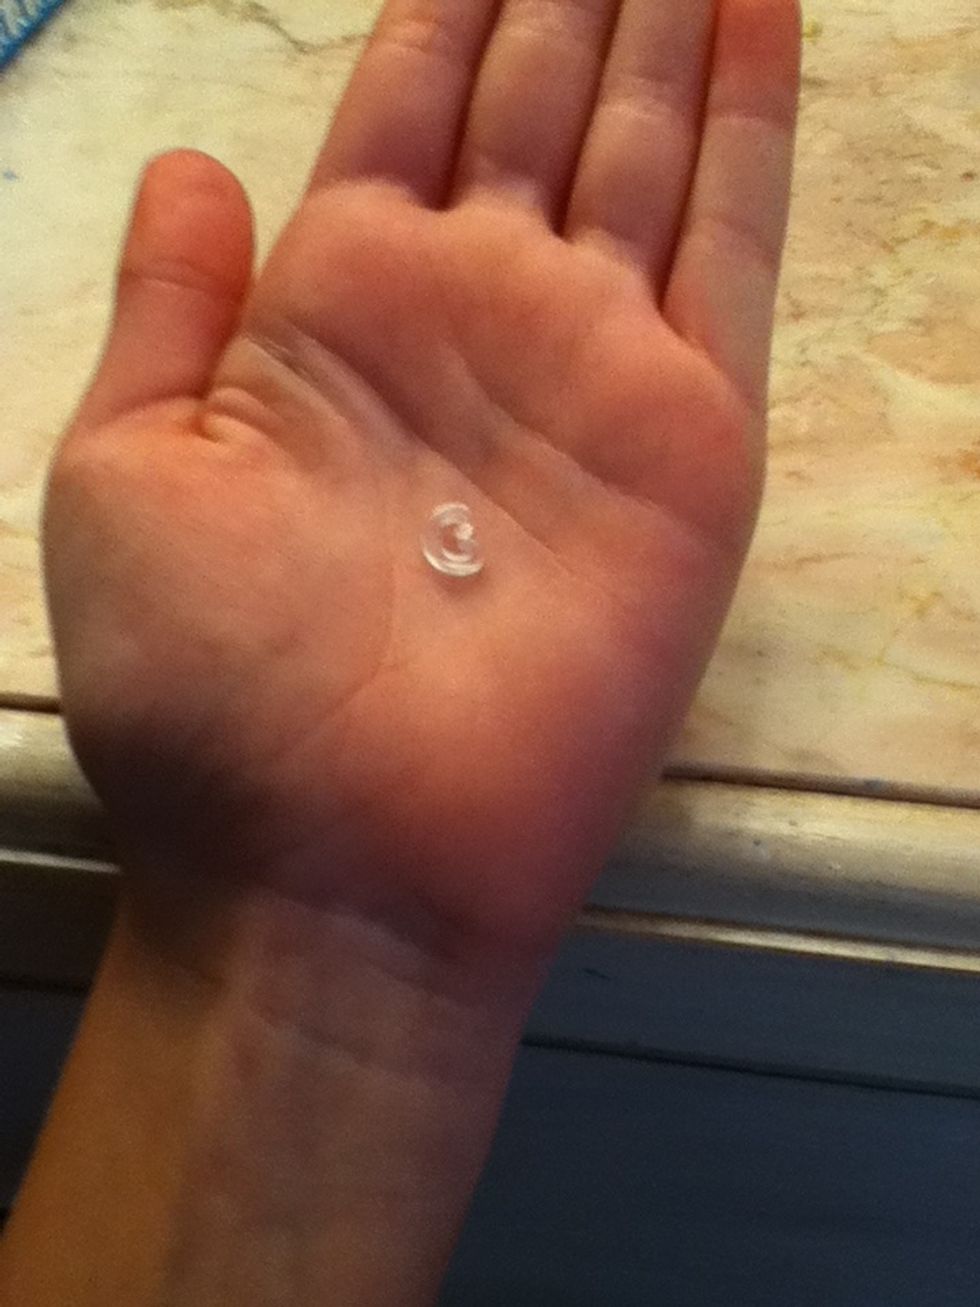
Get your c- clip
Put your c- clip on the black bands
This is what it should look like
Now grab the opposite side. Put two fingers through.

Add a white band
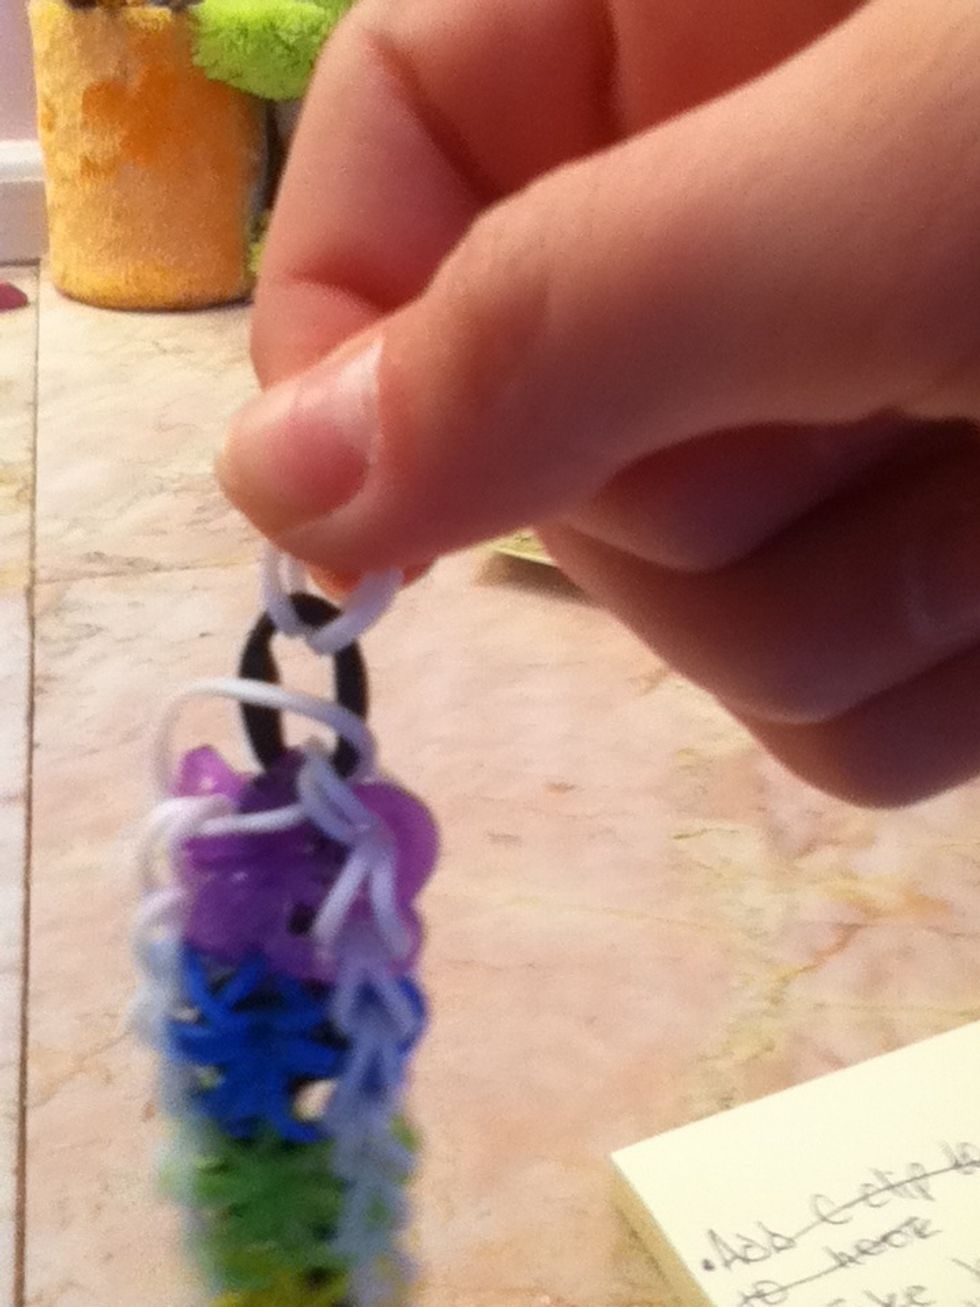
And pull the outside parts. Do this 5-6 times.
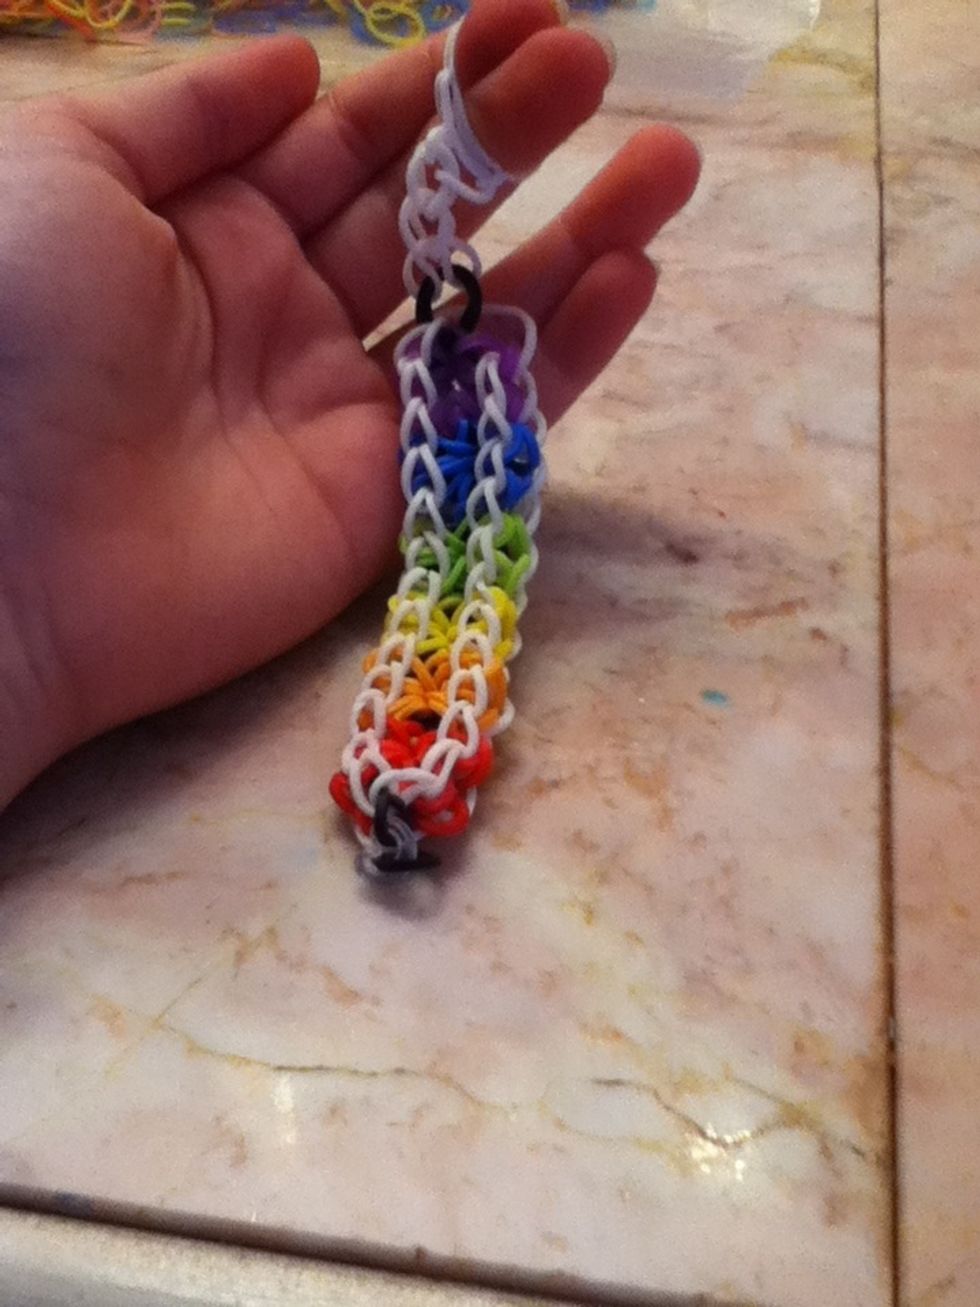
This is what it should look like
Add your c-clip to both sides.
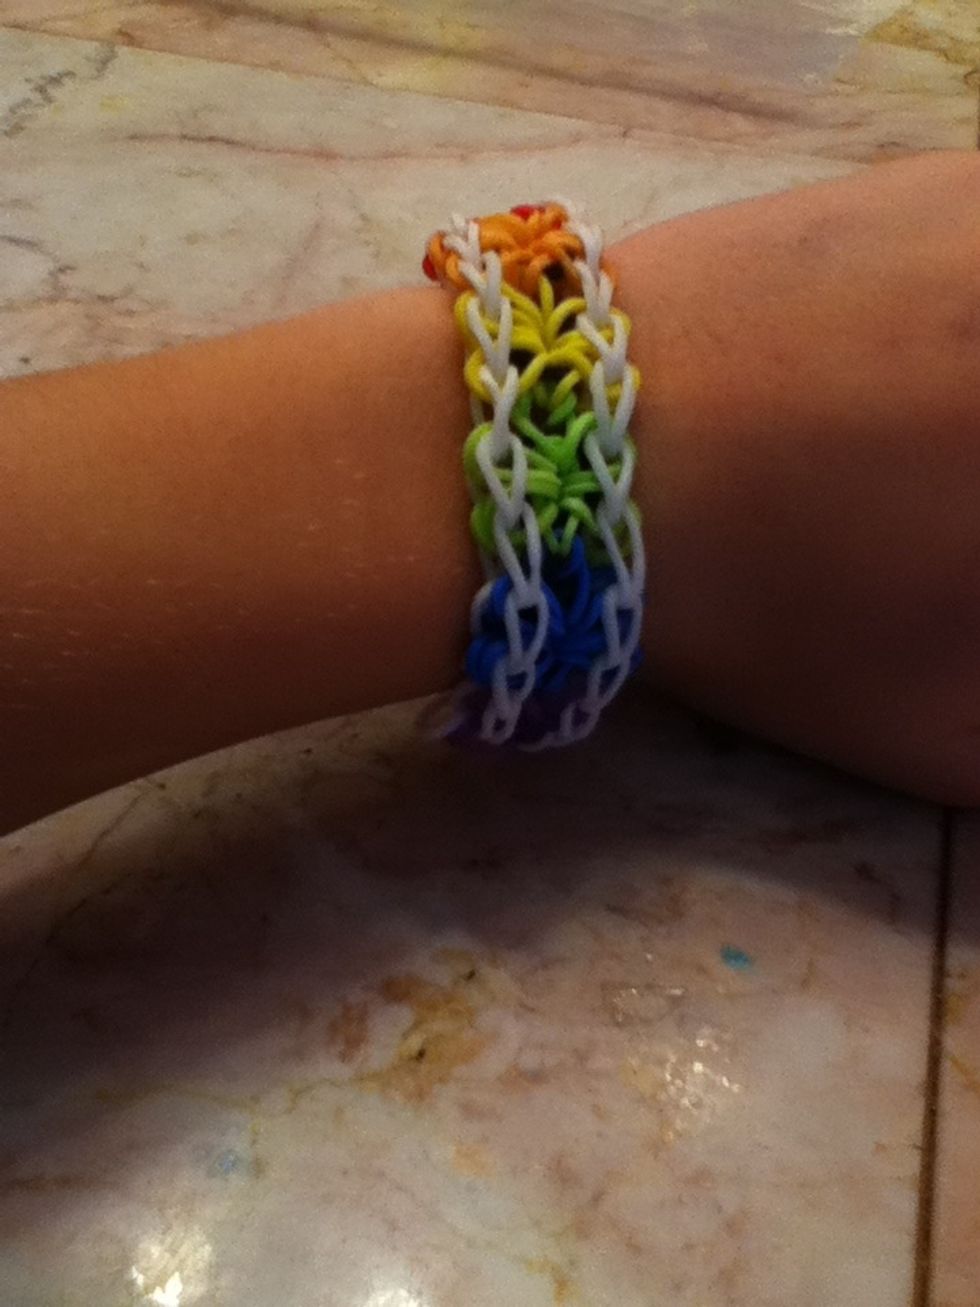
Yayyyyyy!!!!! You did it!!!!!!👍👍👍👍👍😋😋😋👌👌👌👌