The Conversation (0)
Sign Up
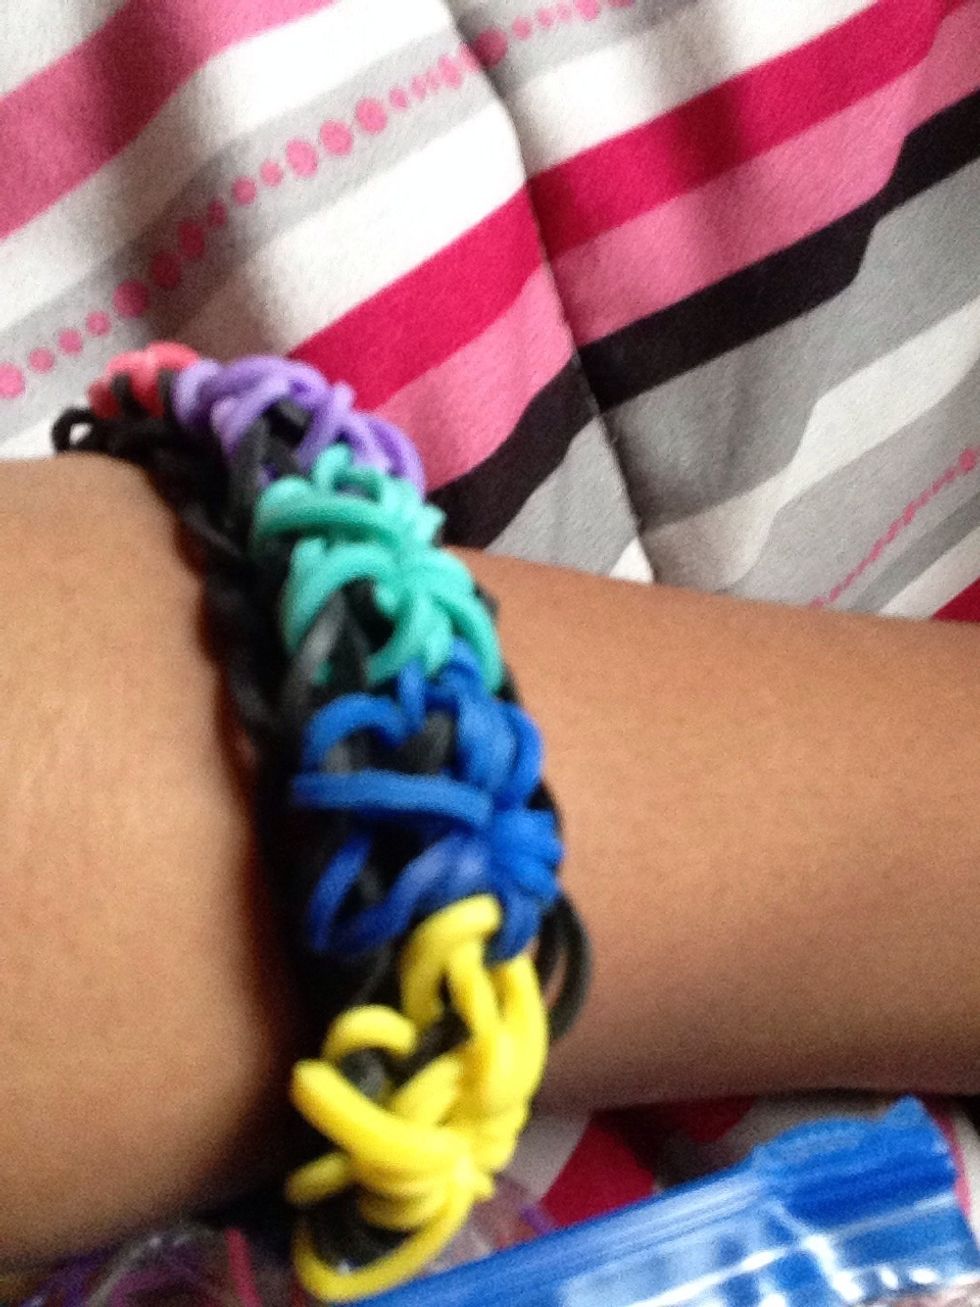
Hi Guys!! Today I will be teaching you how to make a rainbow loom starburst! 😃
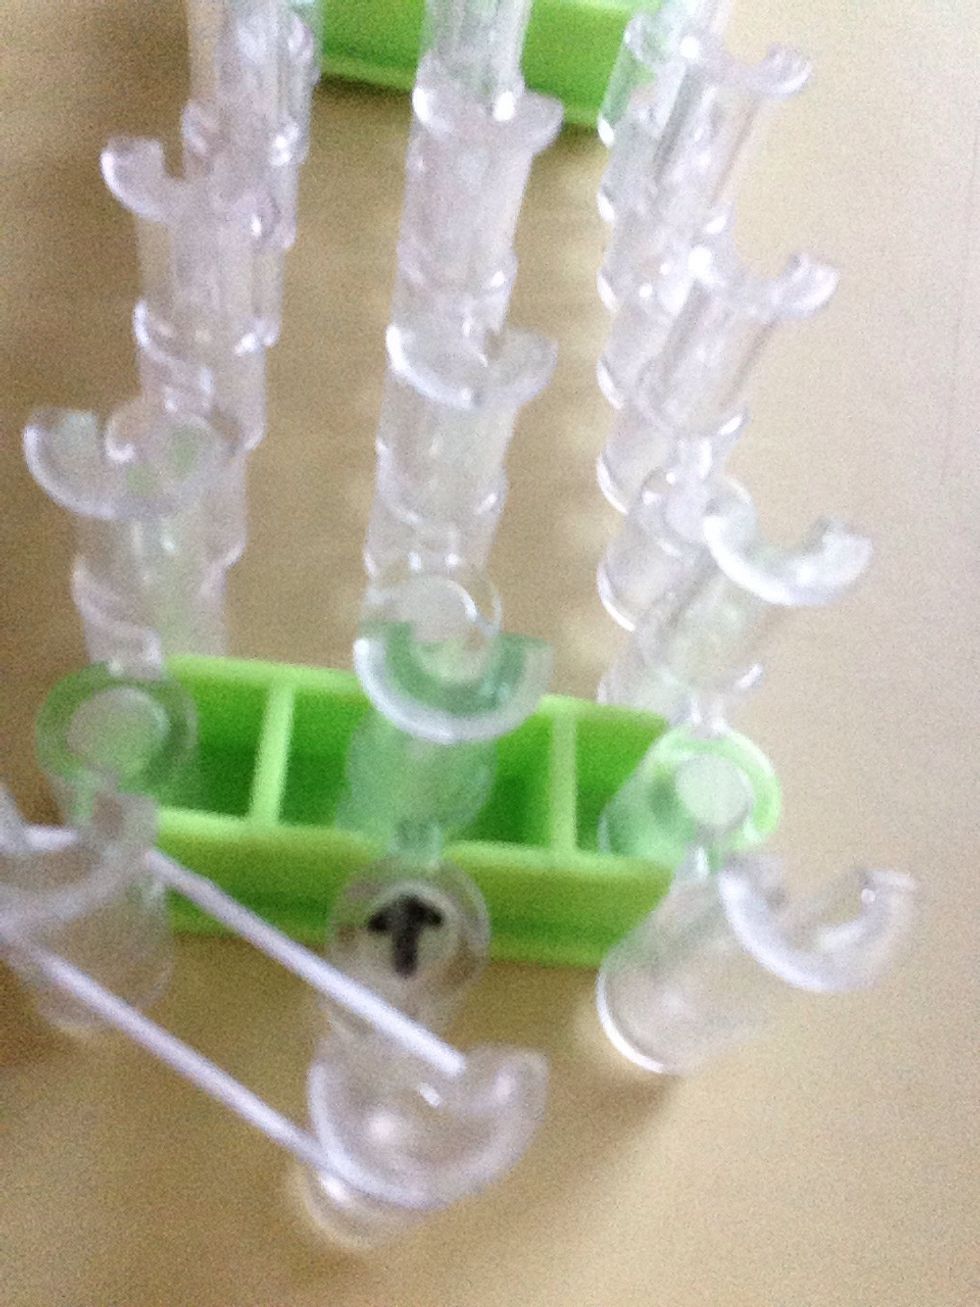
So we are going to start with the arrow pointing up. As you can see my loom is a little different but any loom with that format can work. 😀
Now you are going to take your first base band and hook it to the left.
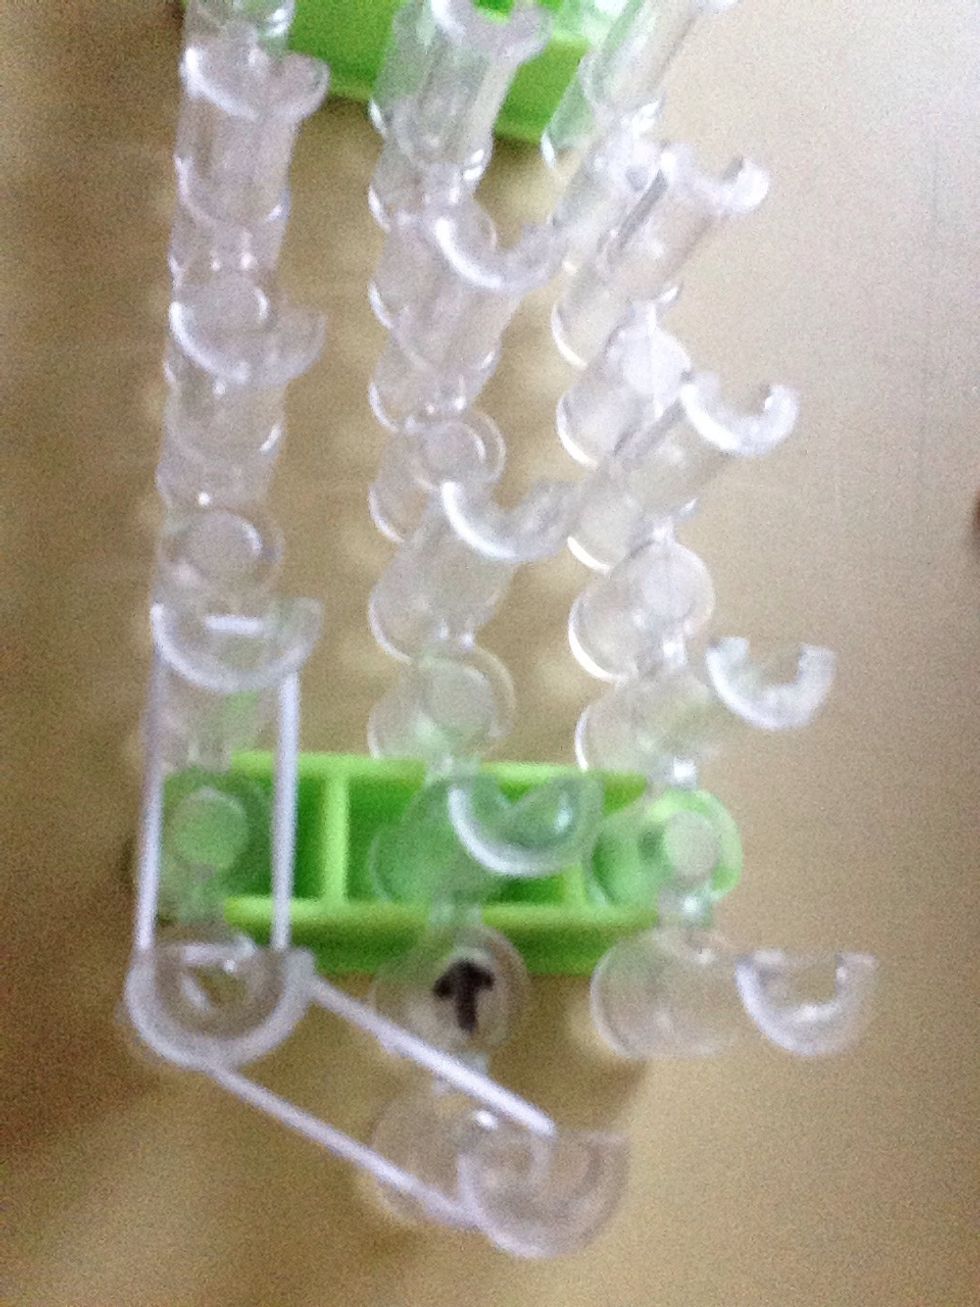
Go up each peg until you reach the top.
Continue going up just like that.
At the top put your base band to the side.
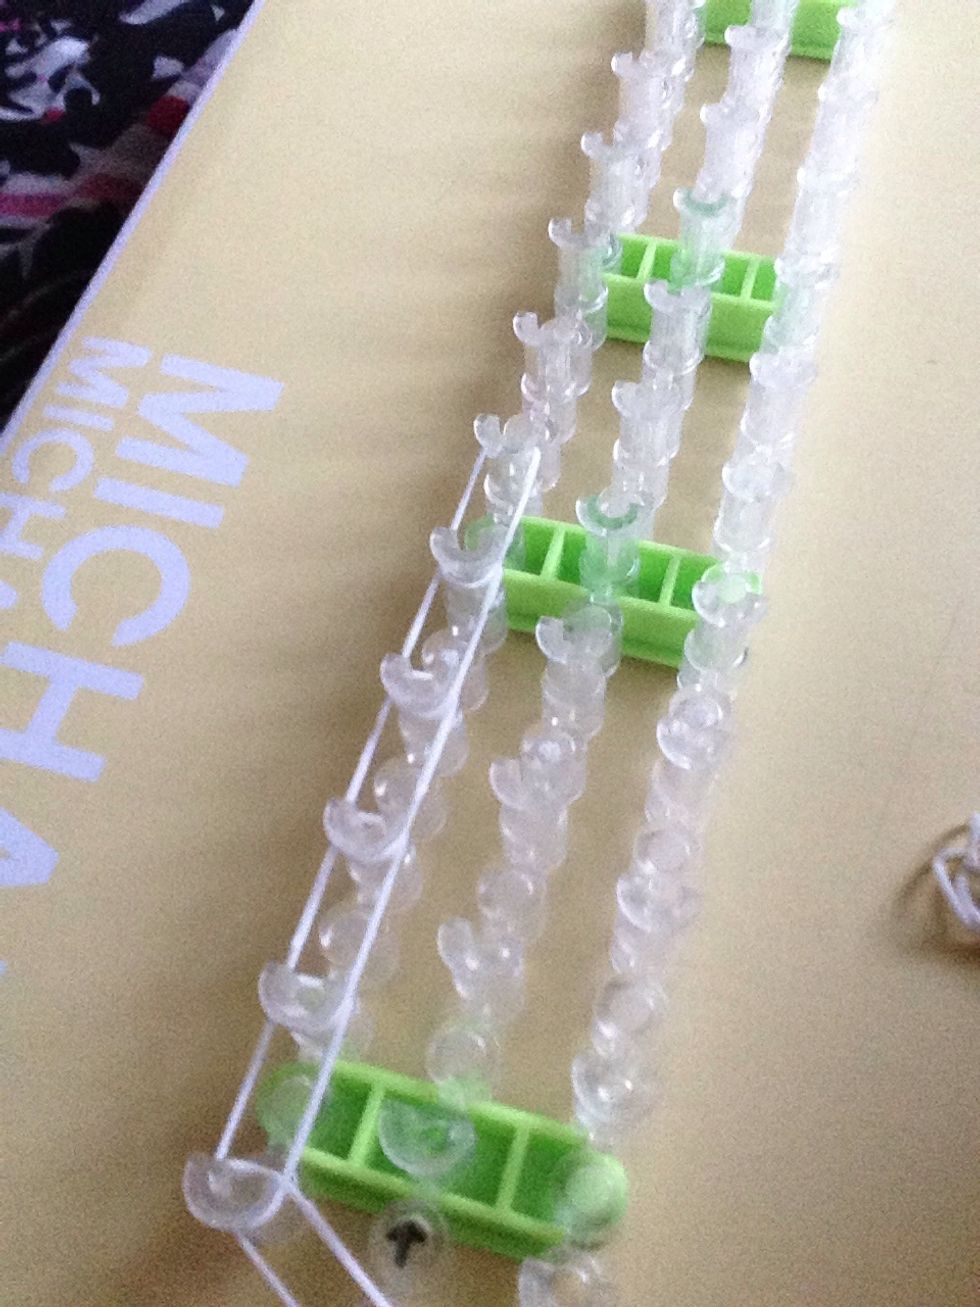
Now to do the other side, go back to the bottom and work your way up again.
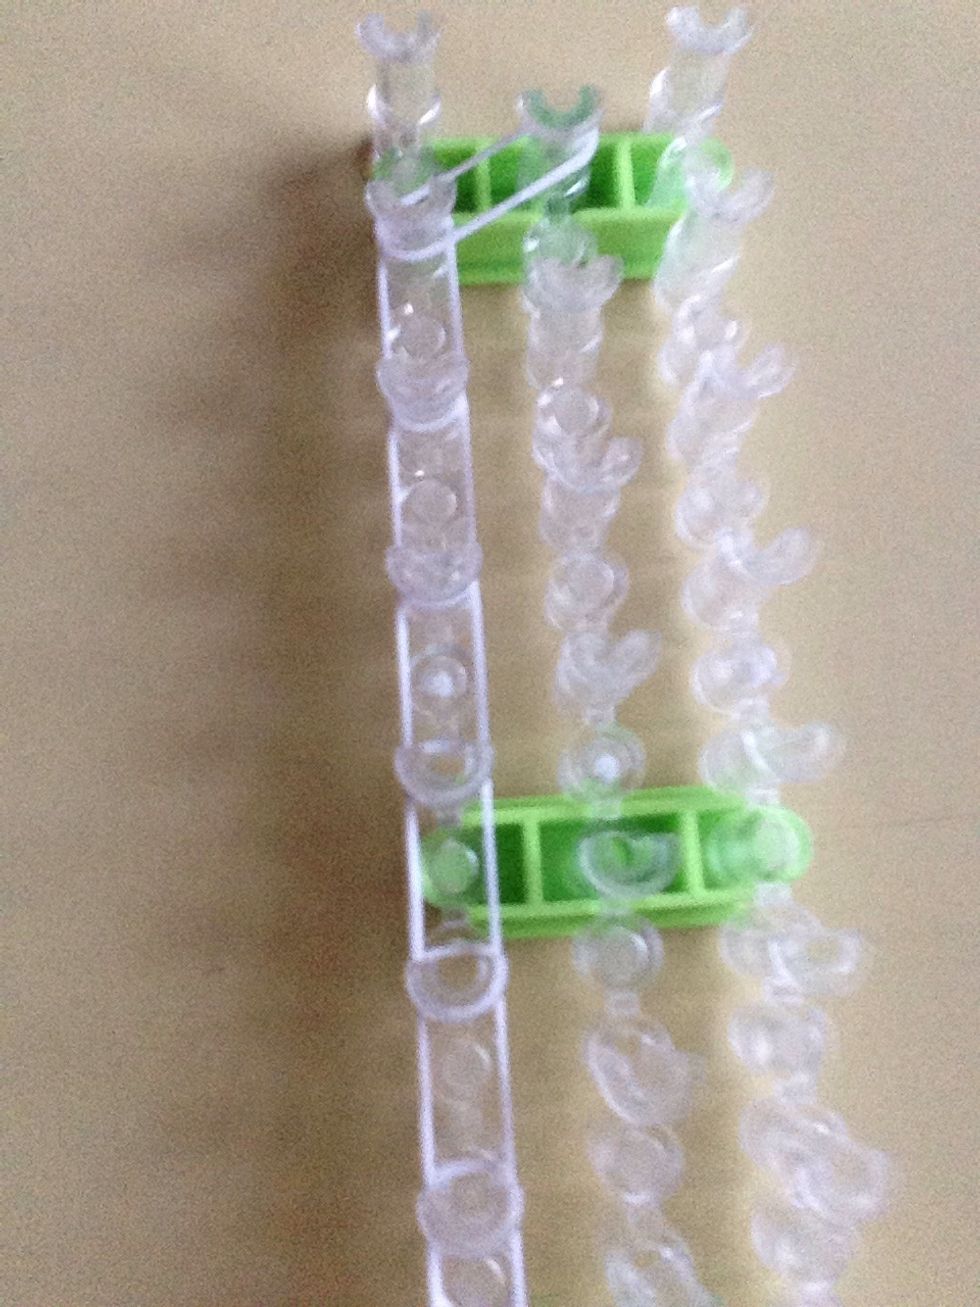
It should look like this.
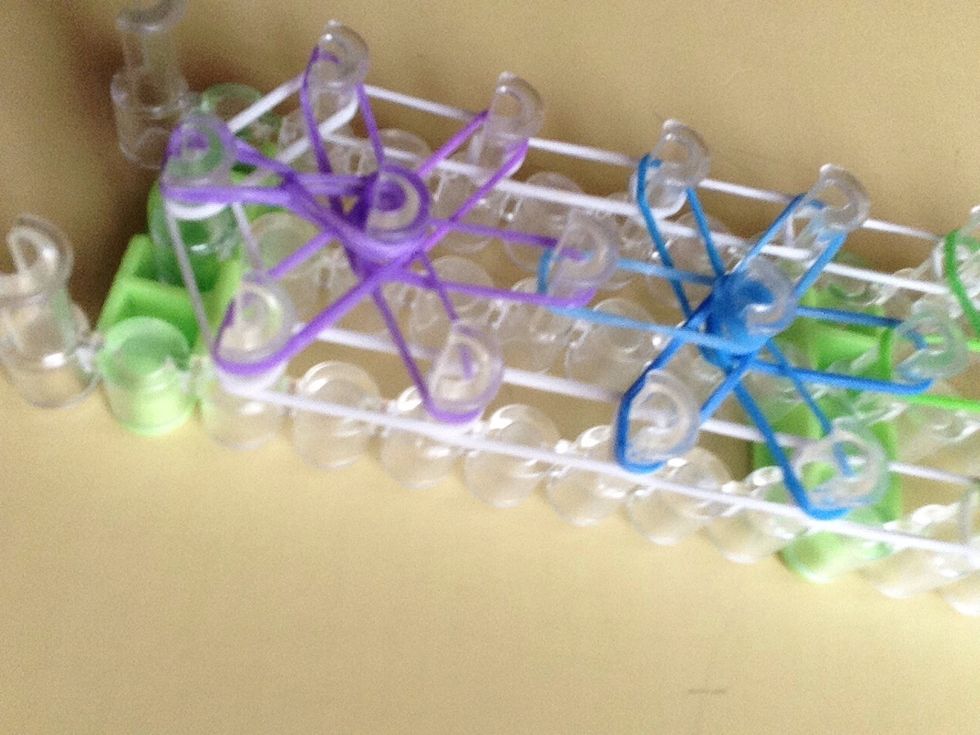
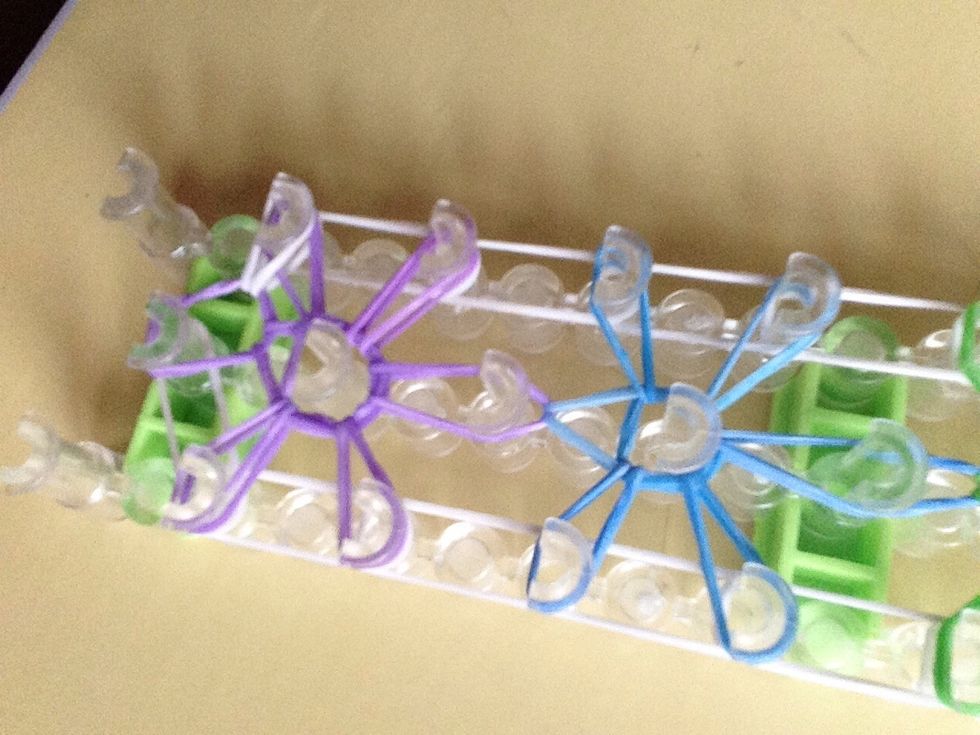
Take color #1 and put it on the peg in front of the arrow and stretch it the the peg on the top right.
Keep going counter clockwise ( going towards the left in a circle )

I will show you this one more time.
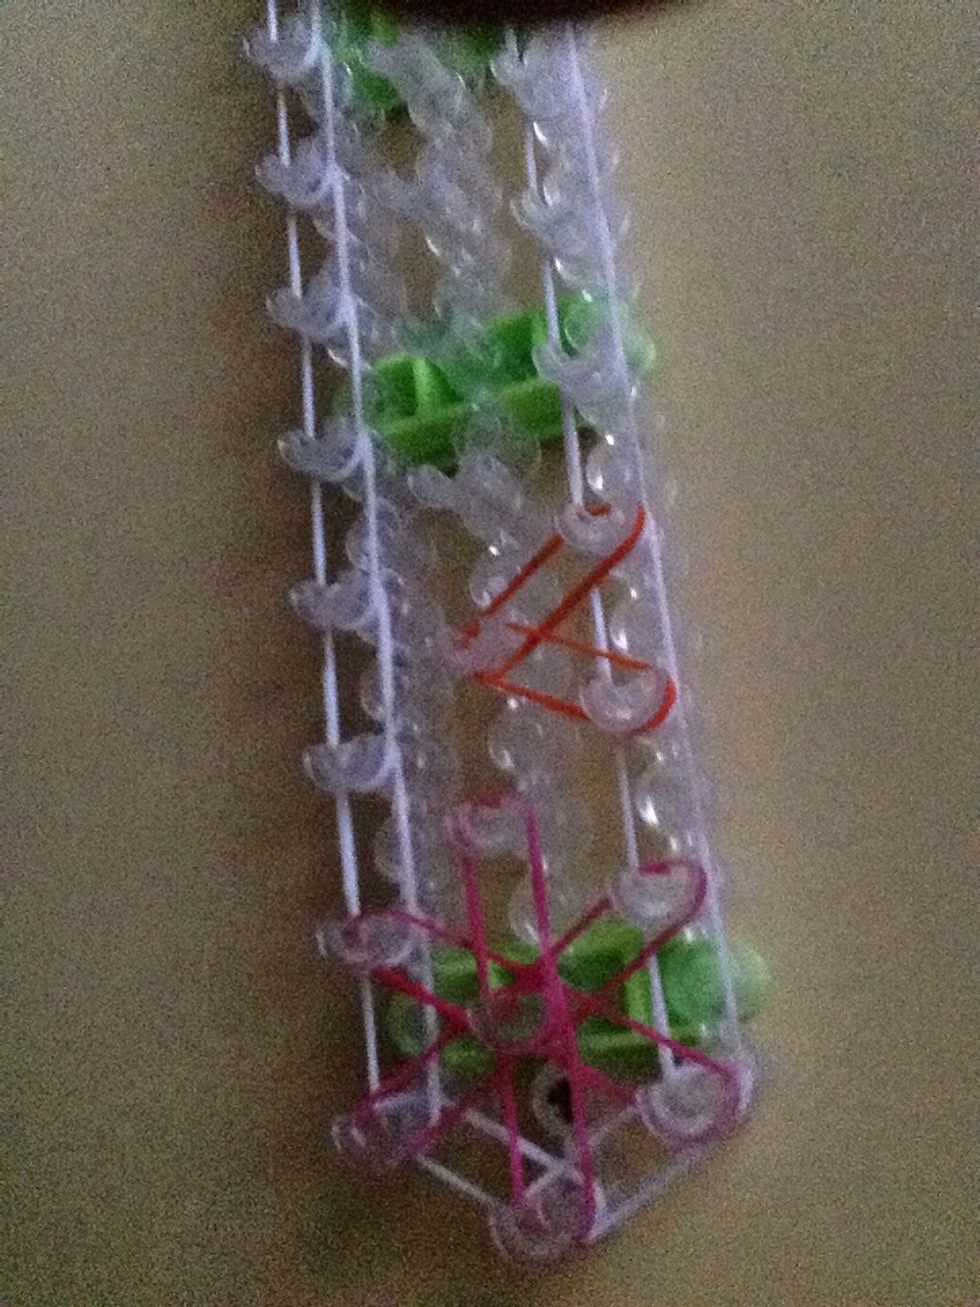
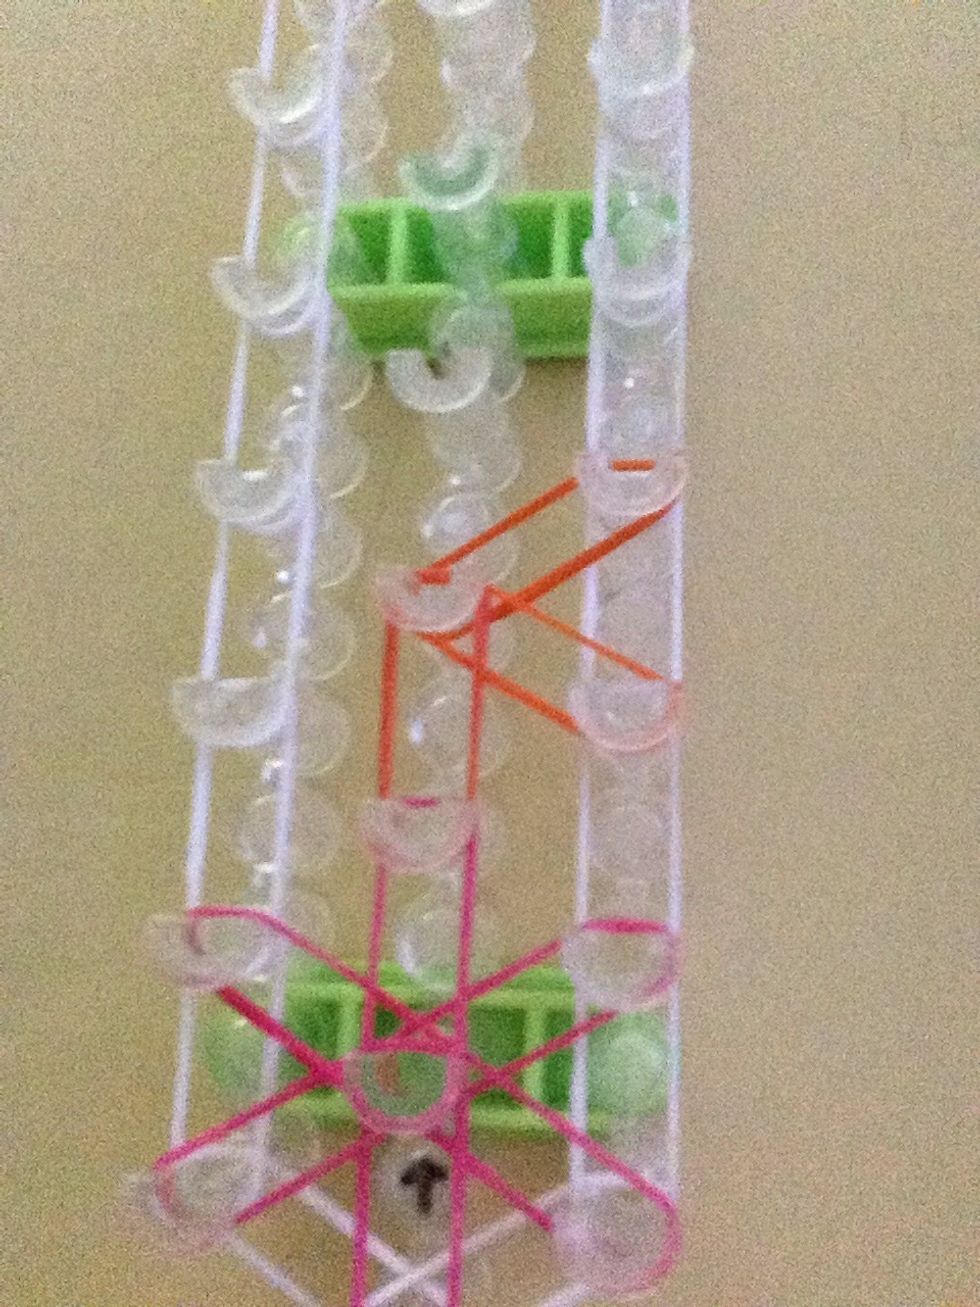

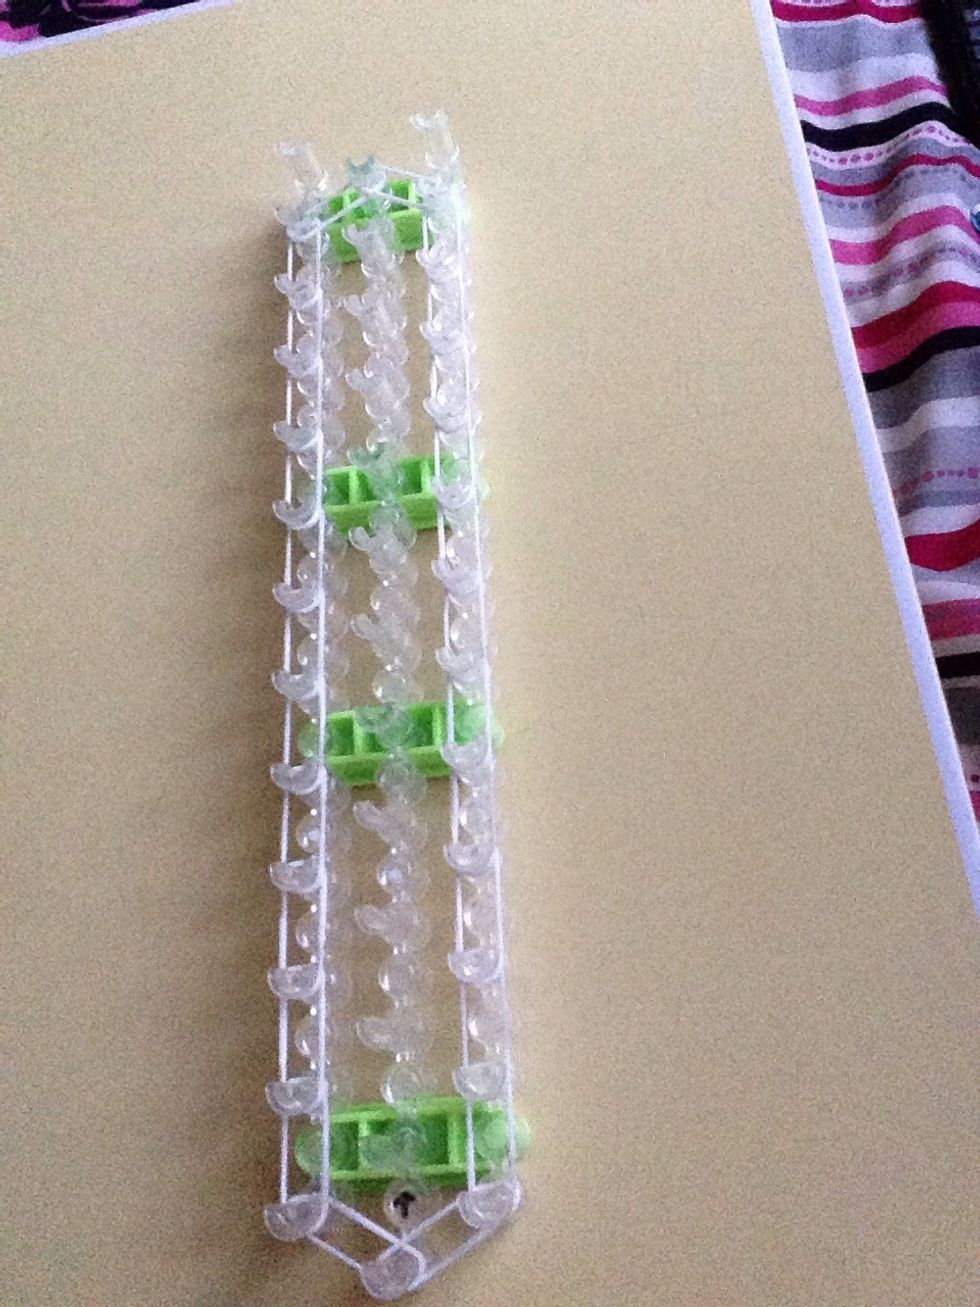
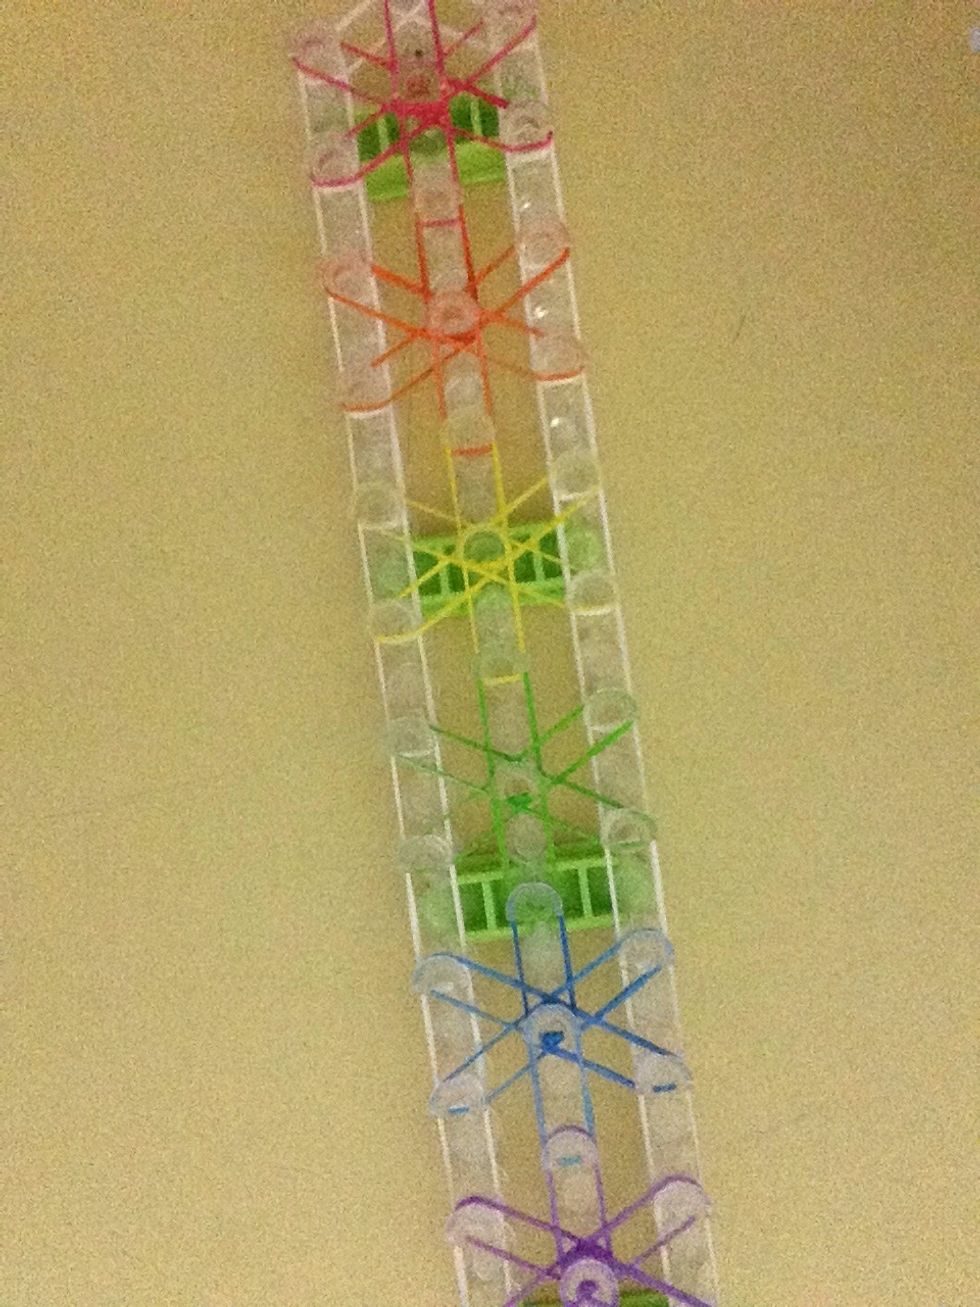
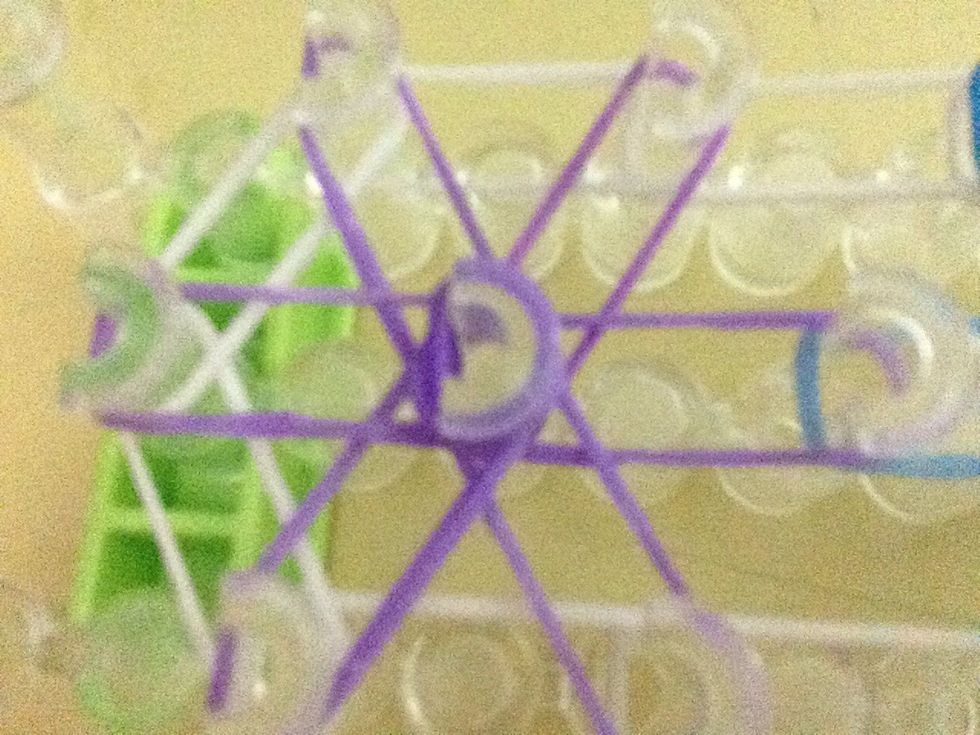
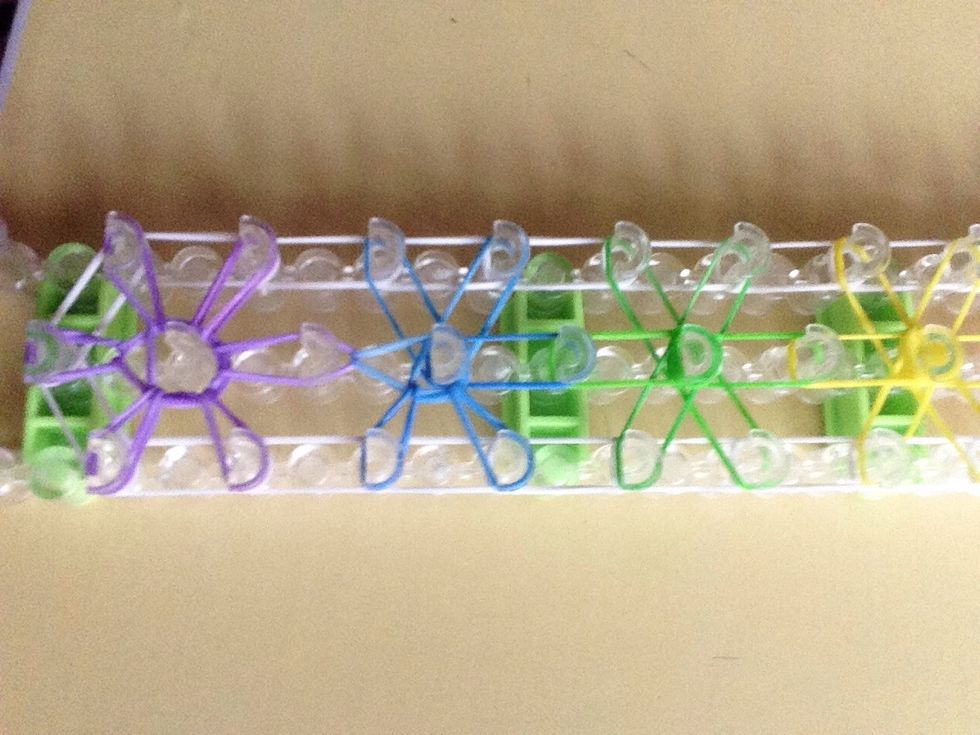
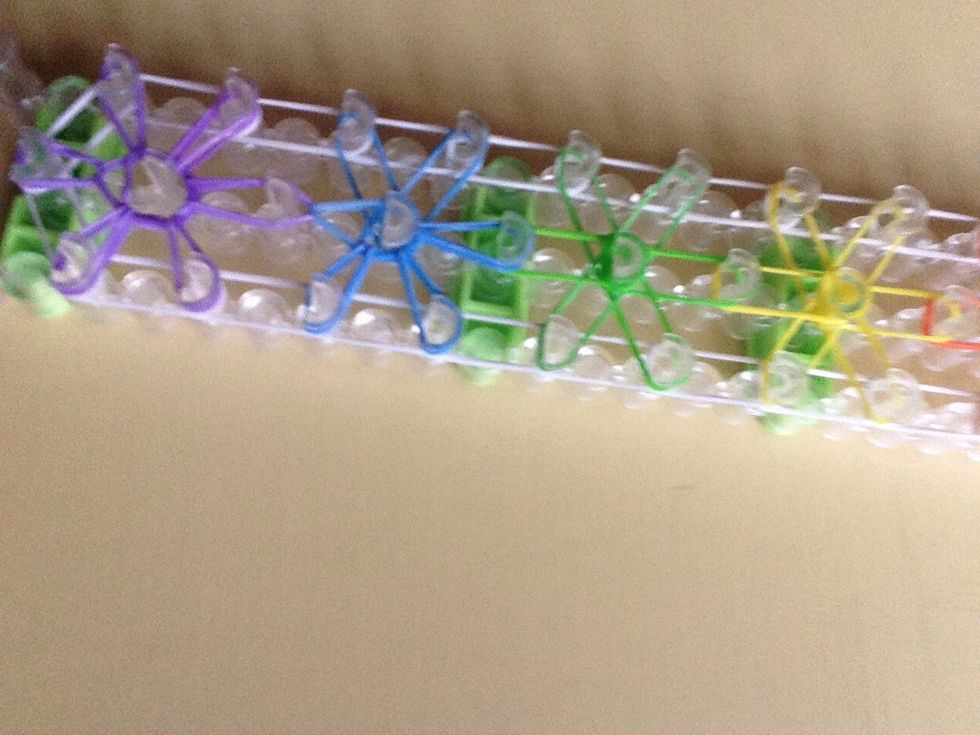
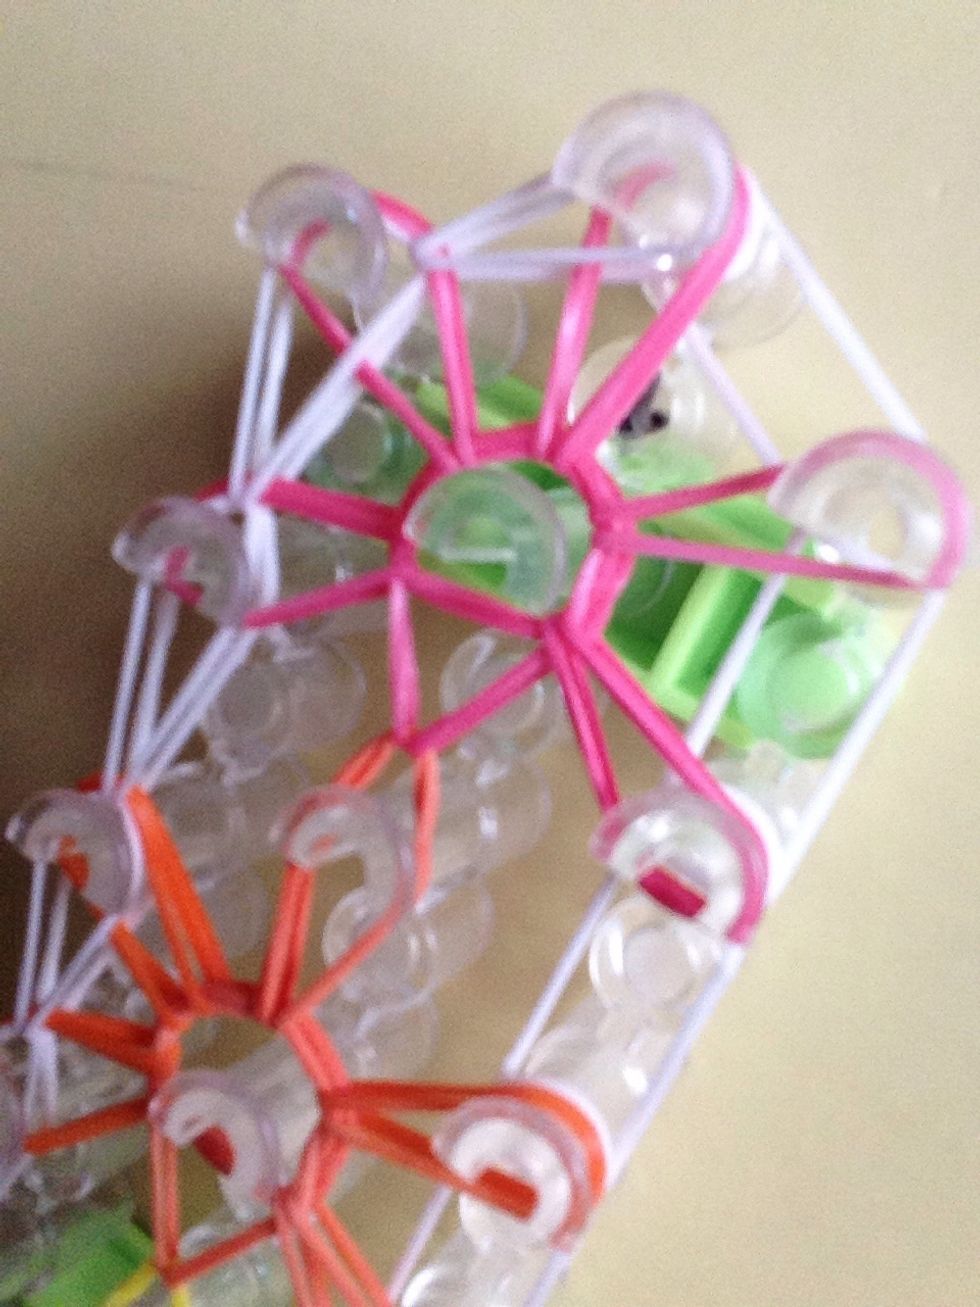
This should be what it should look like right now. Keep going up to the top making the stars.
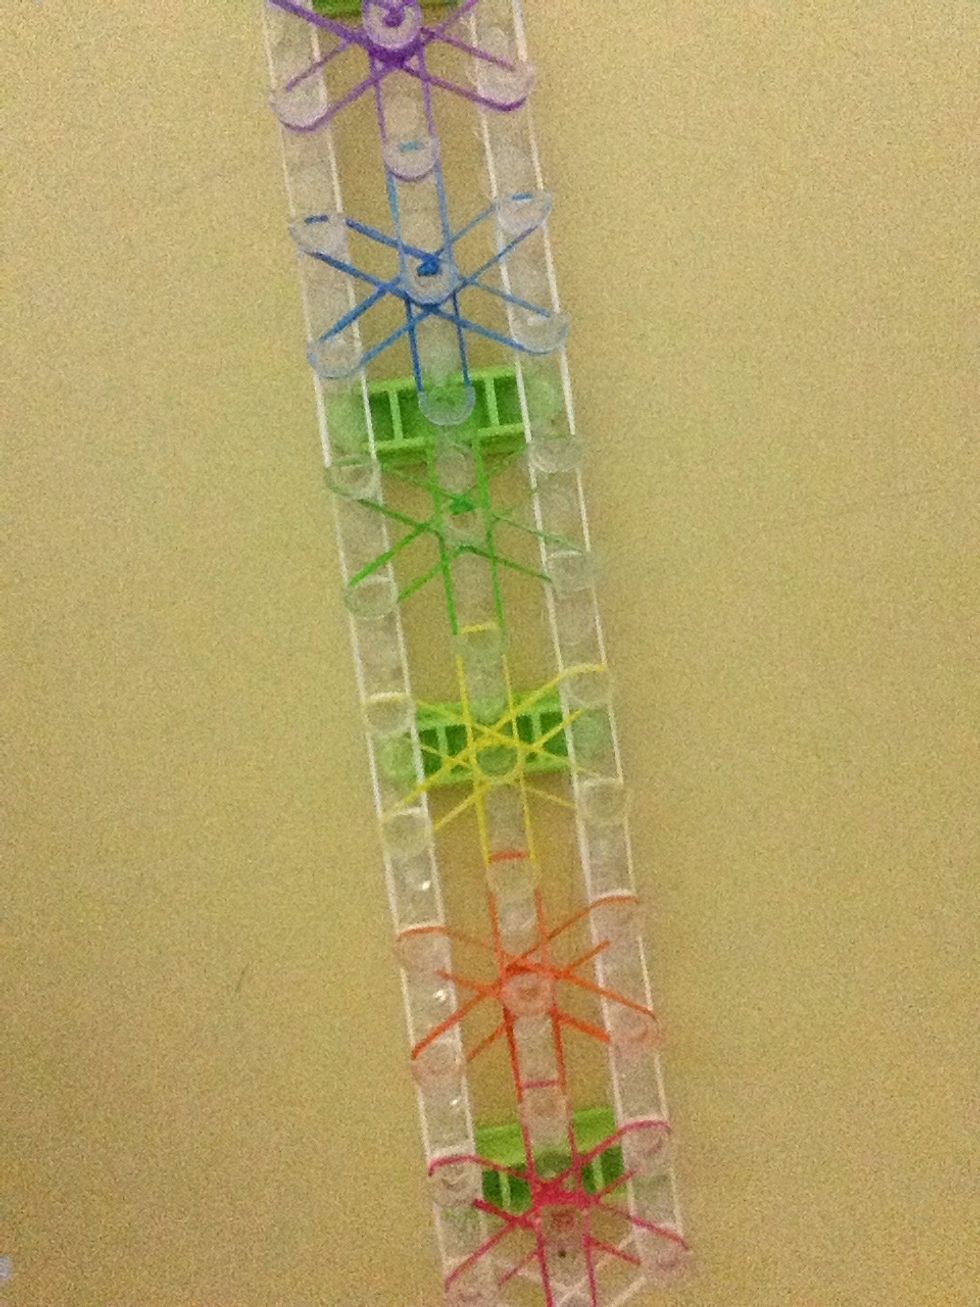
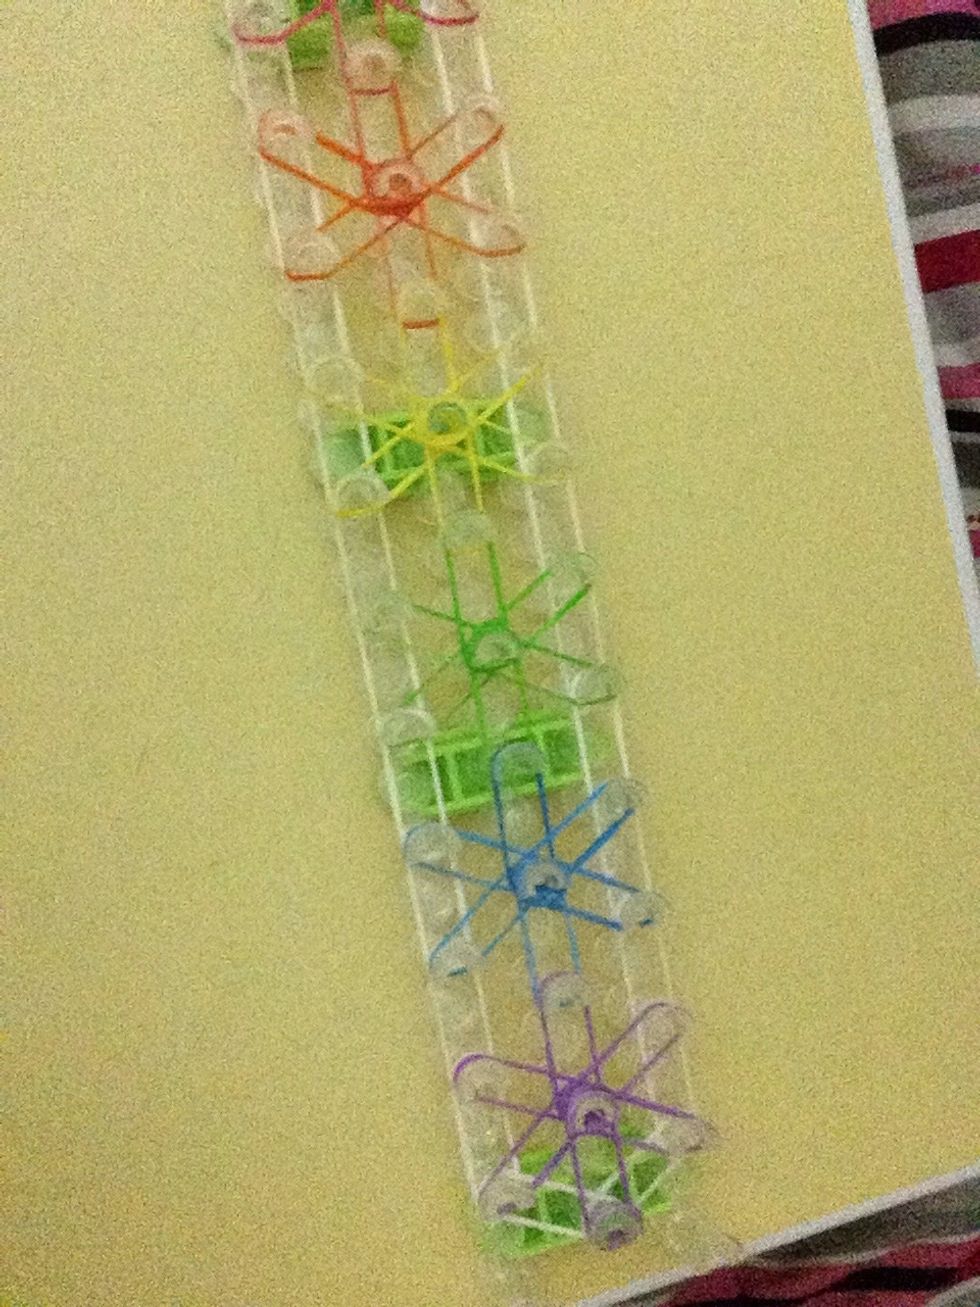
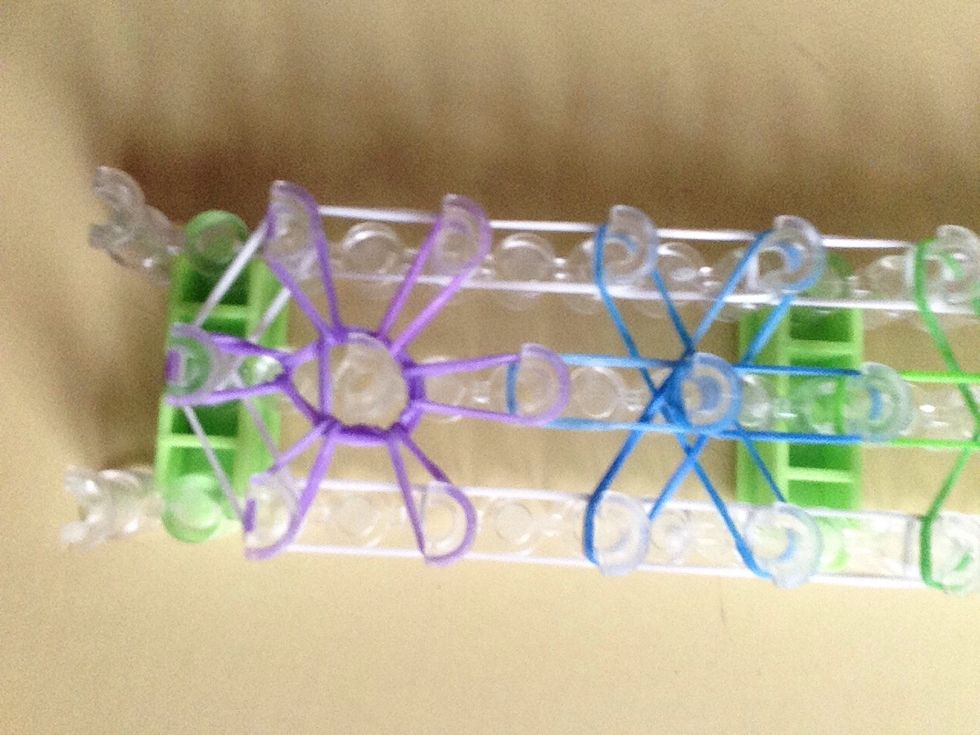
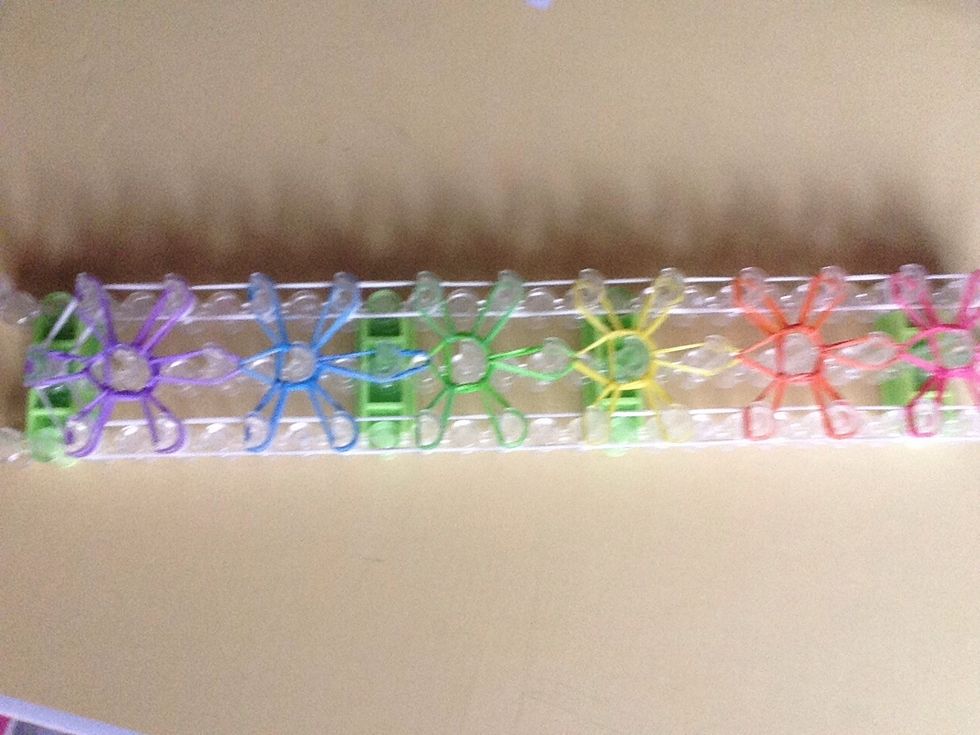
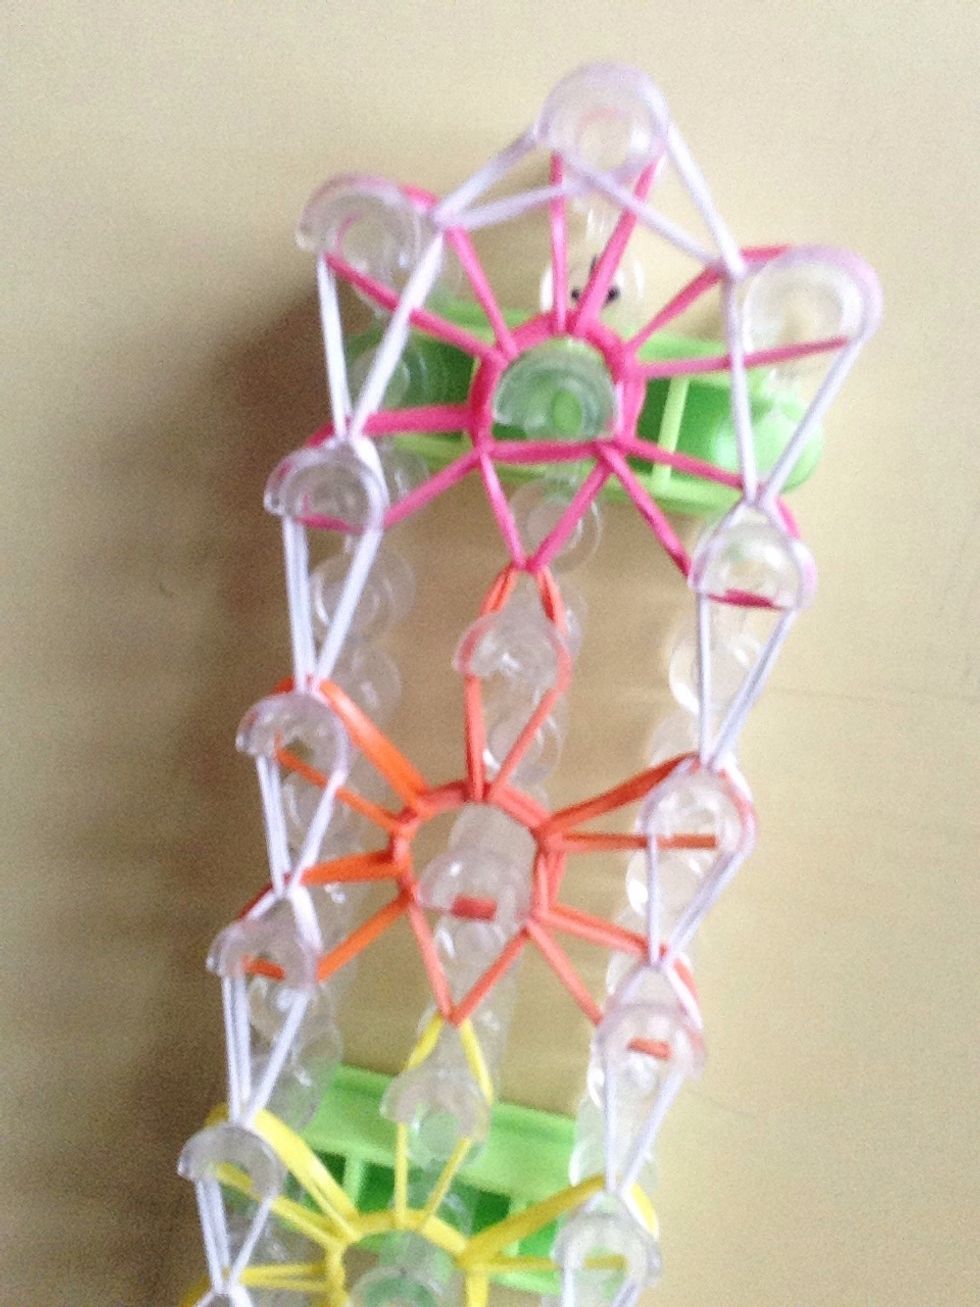
This is the Final product for placing the bands.
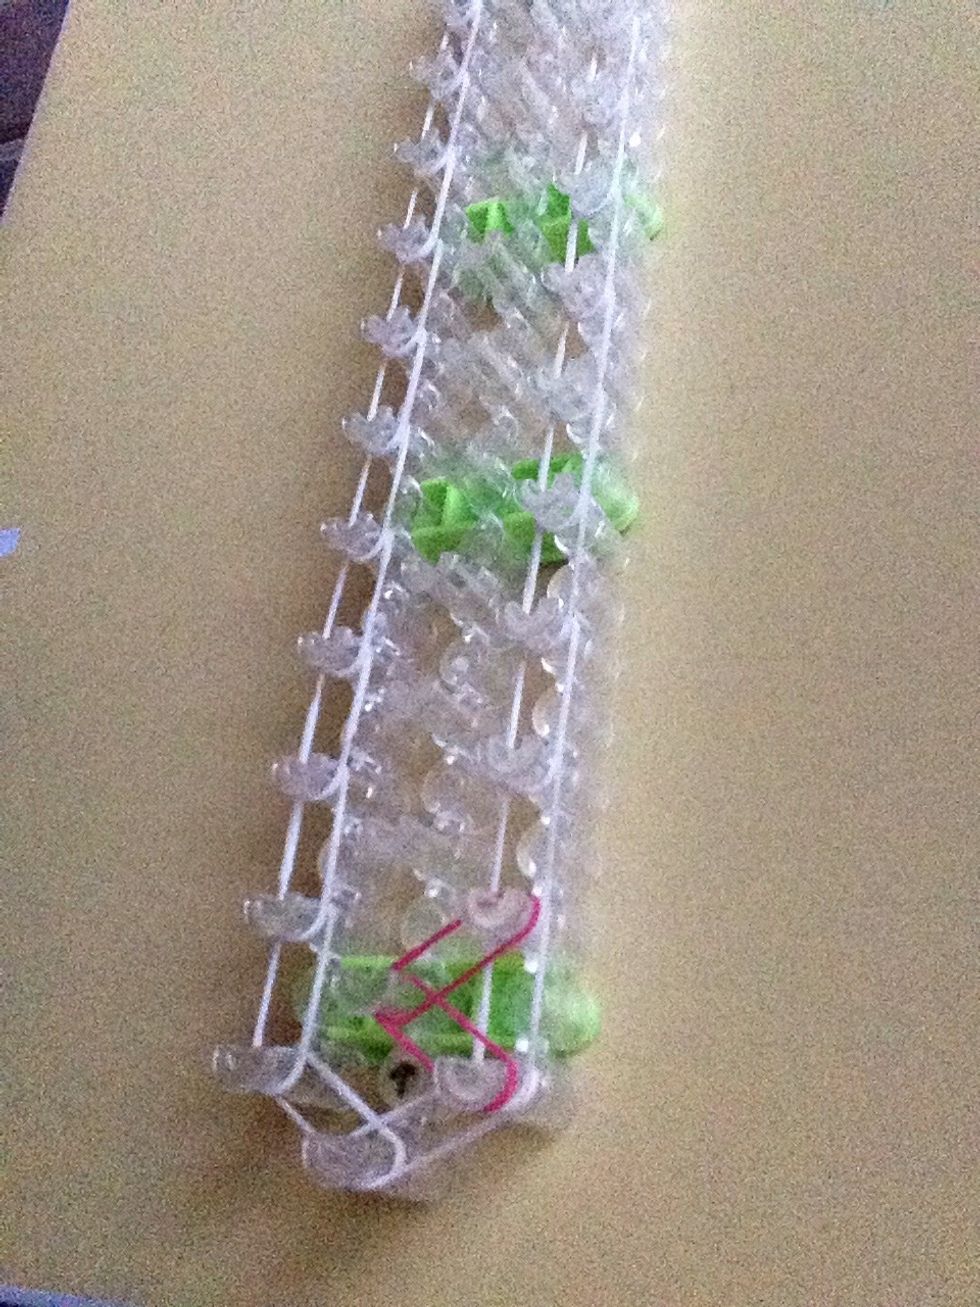
Now flip your loom around so that Aarow is facing you.
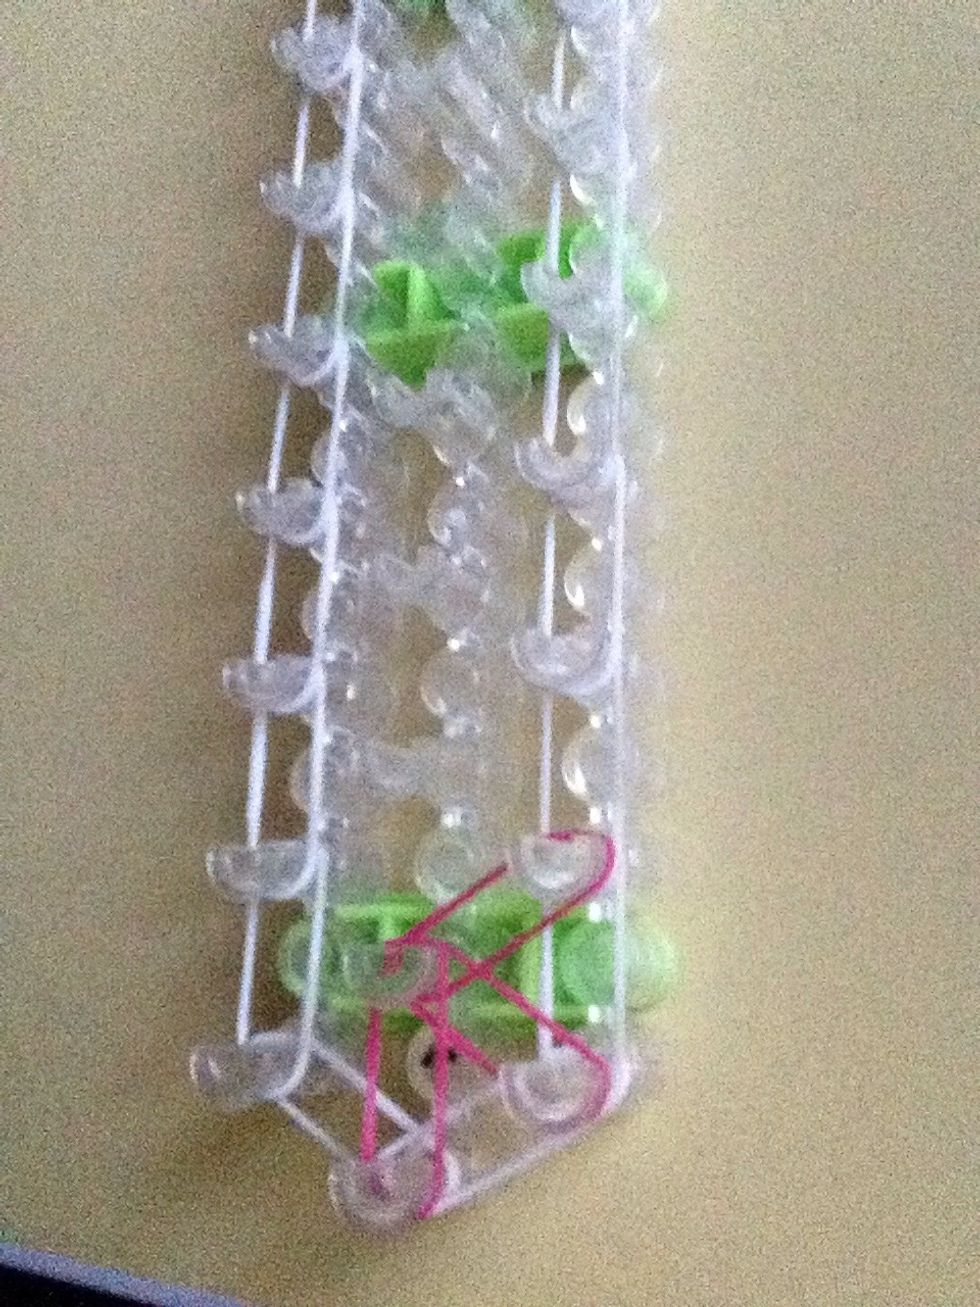
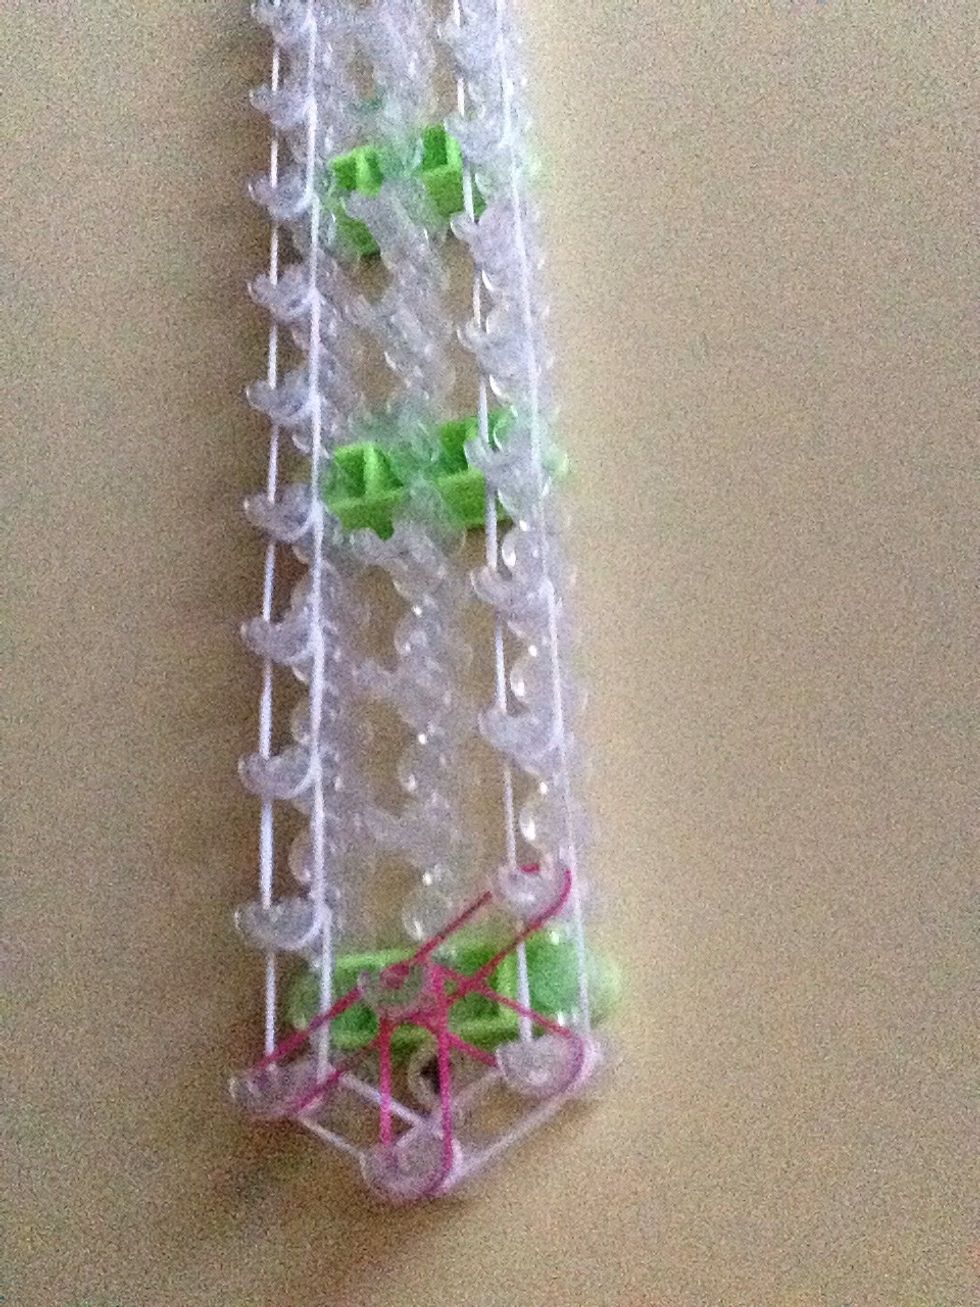
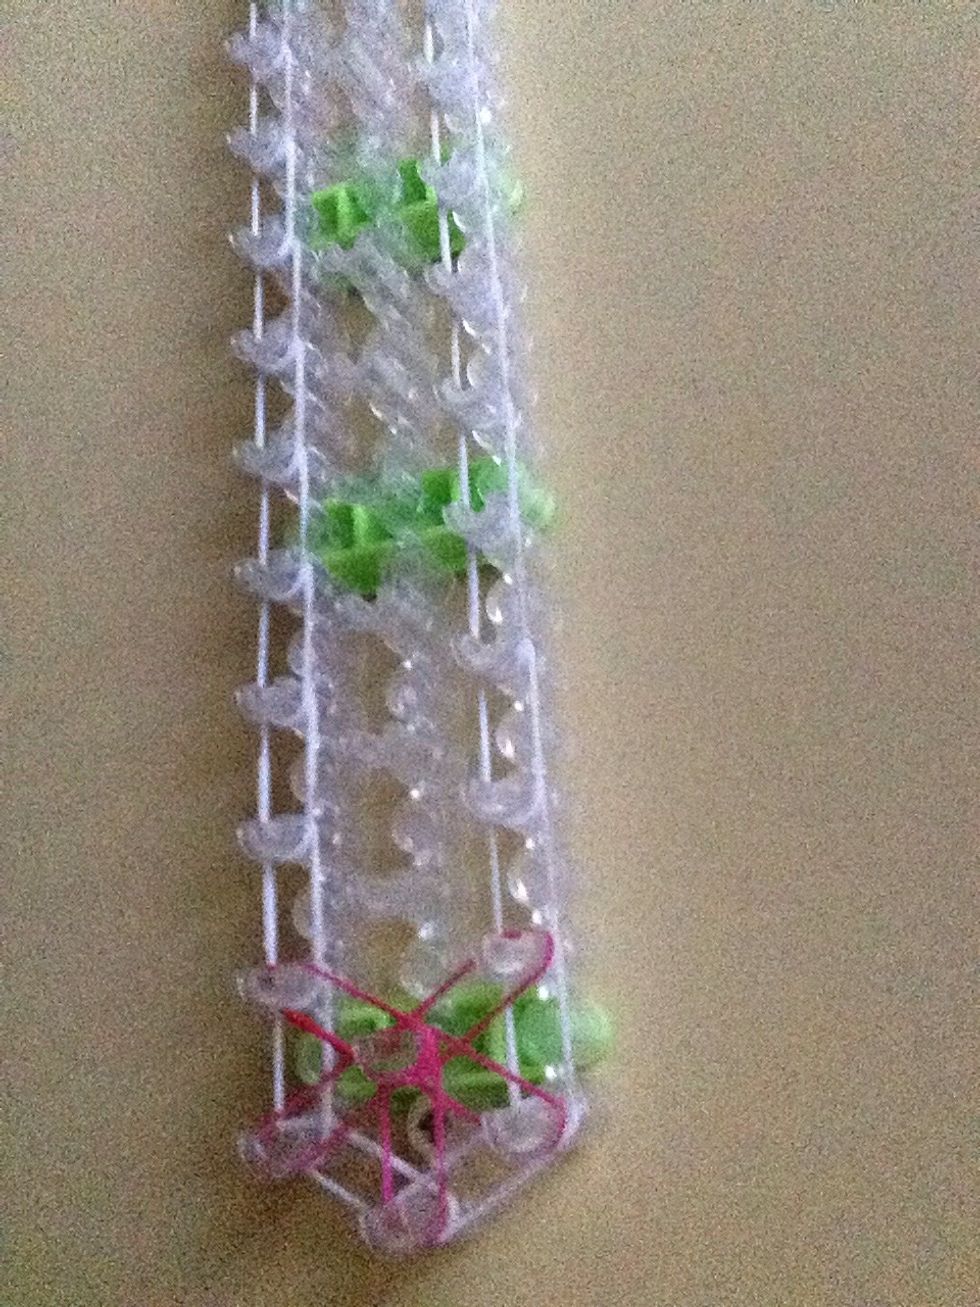
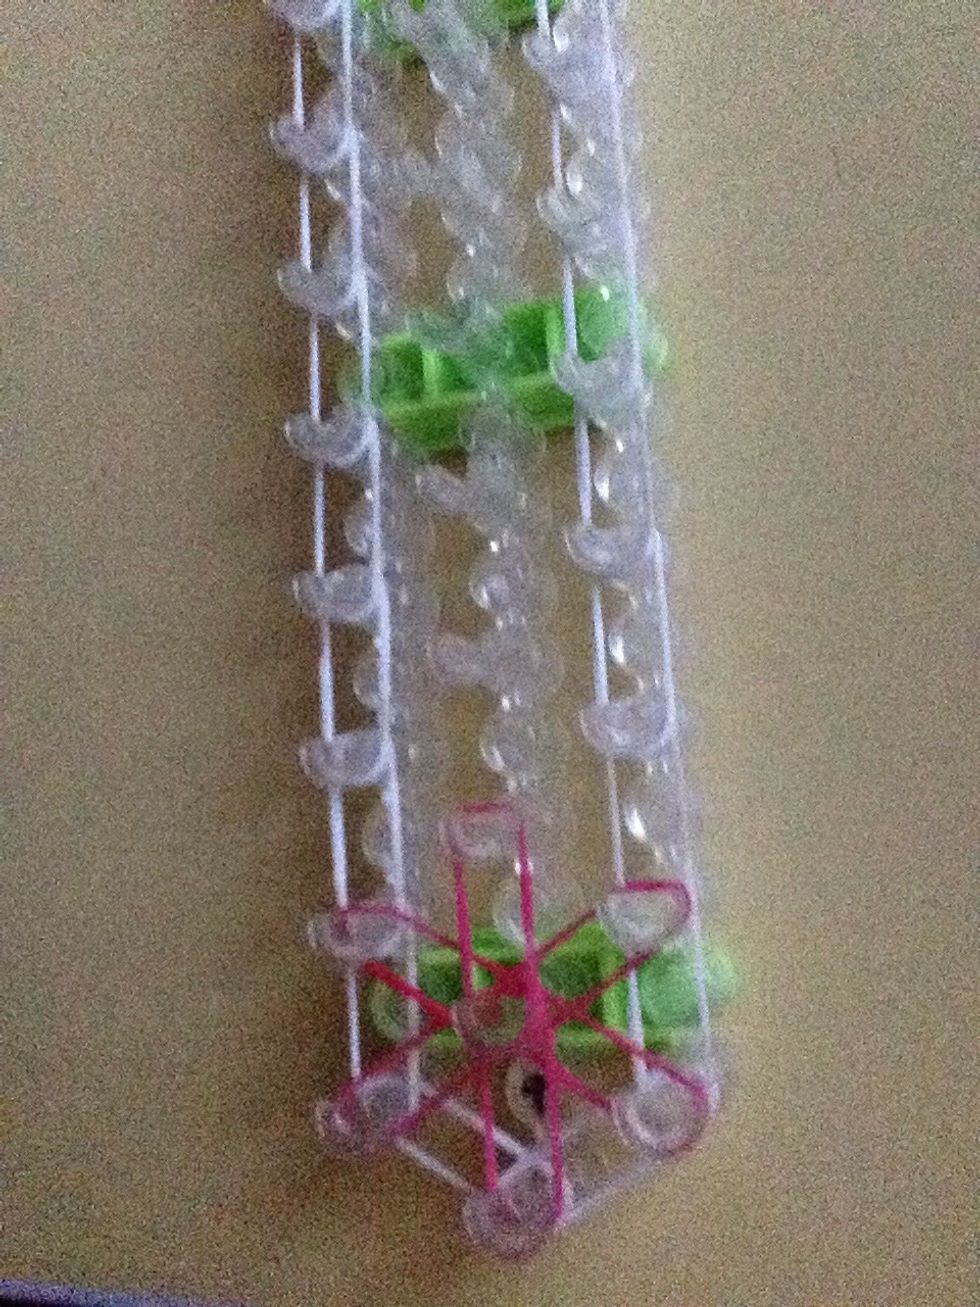
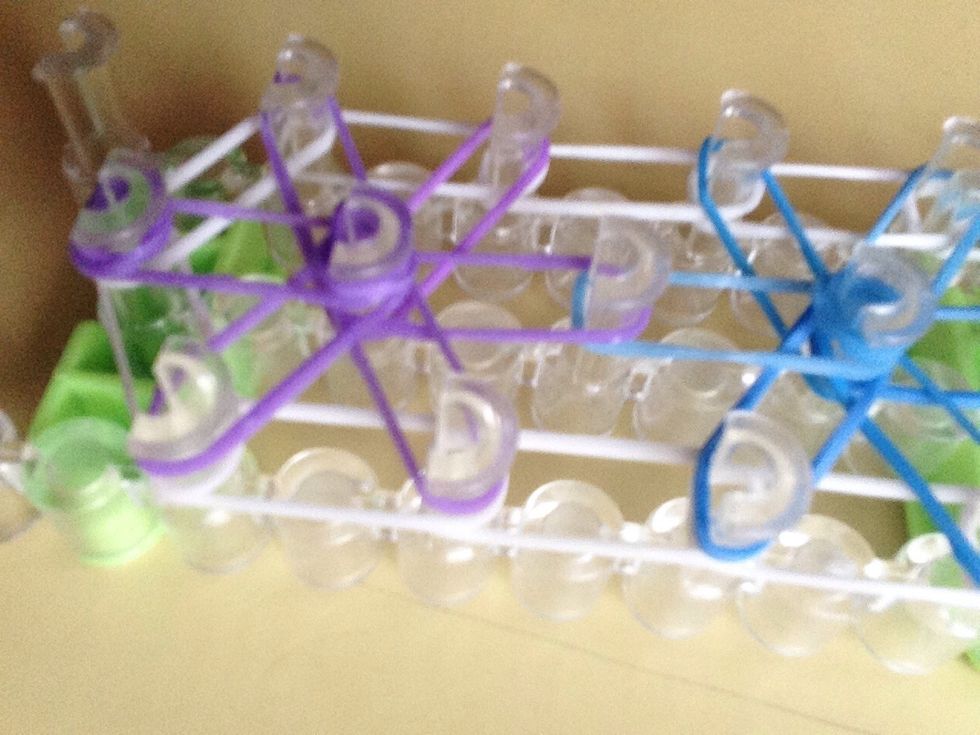
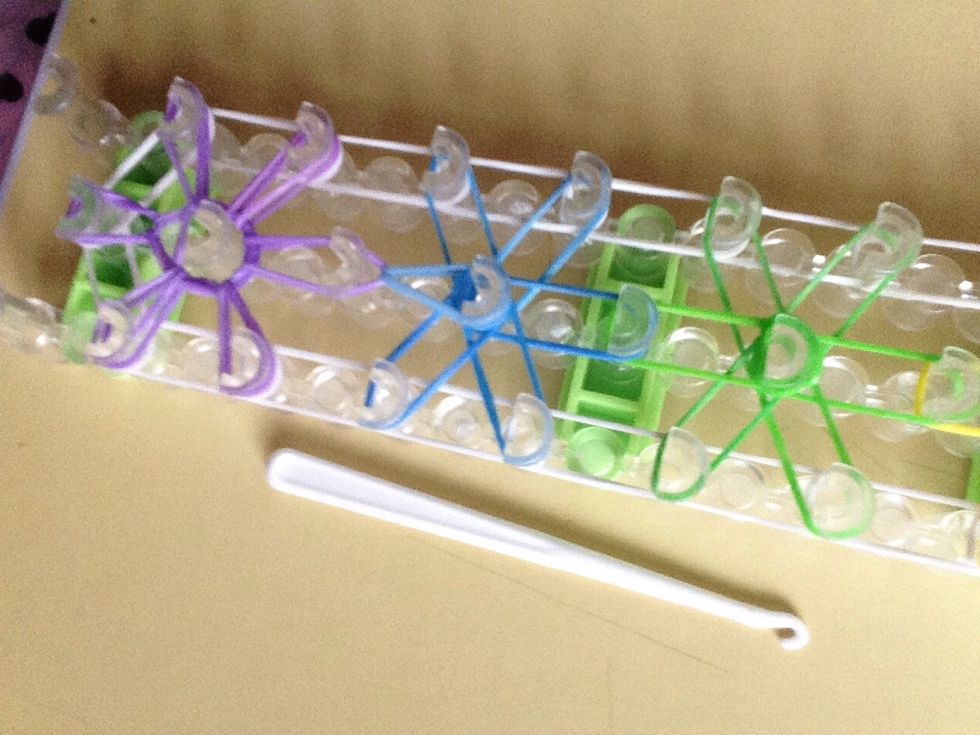
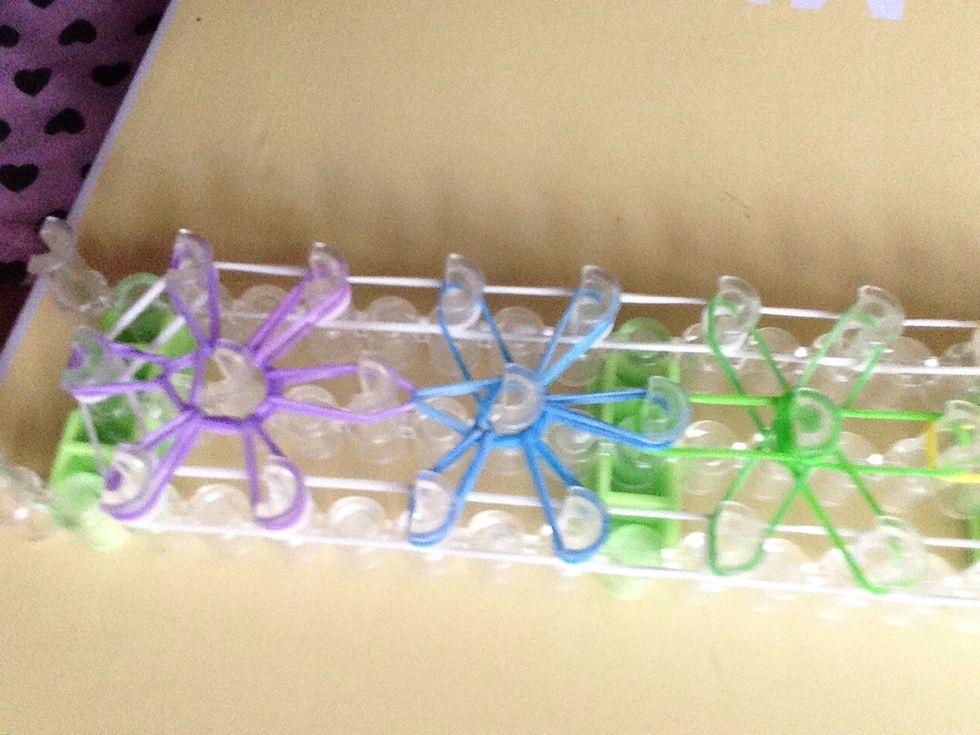
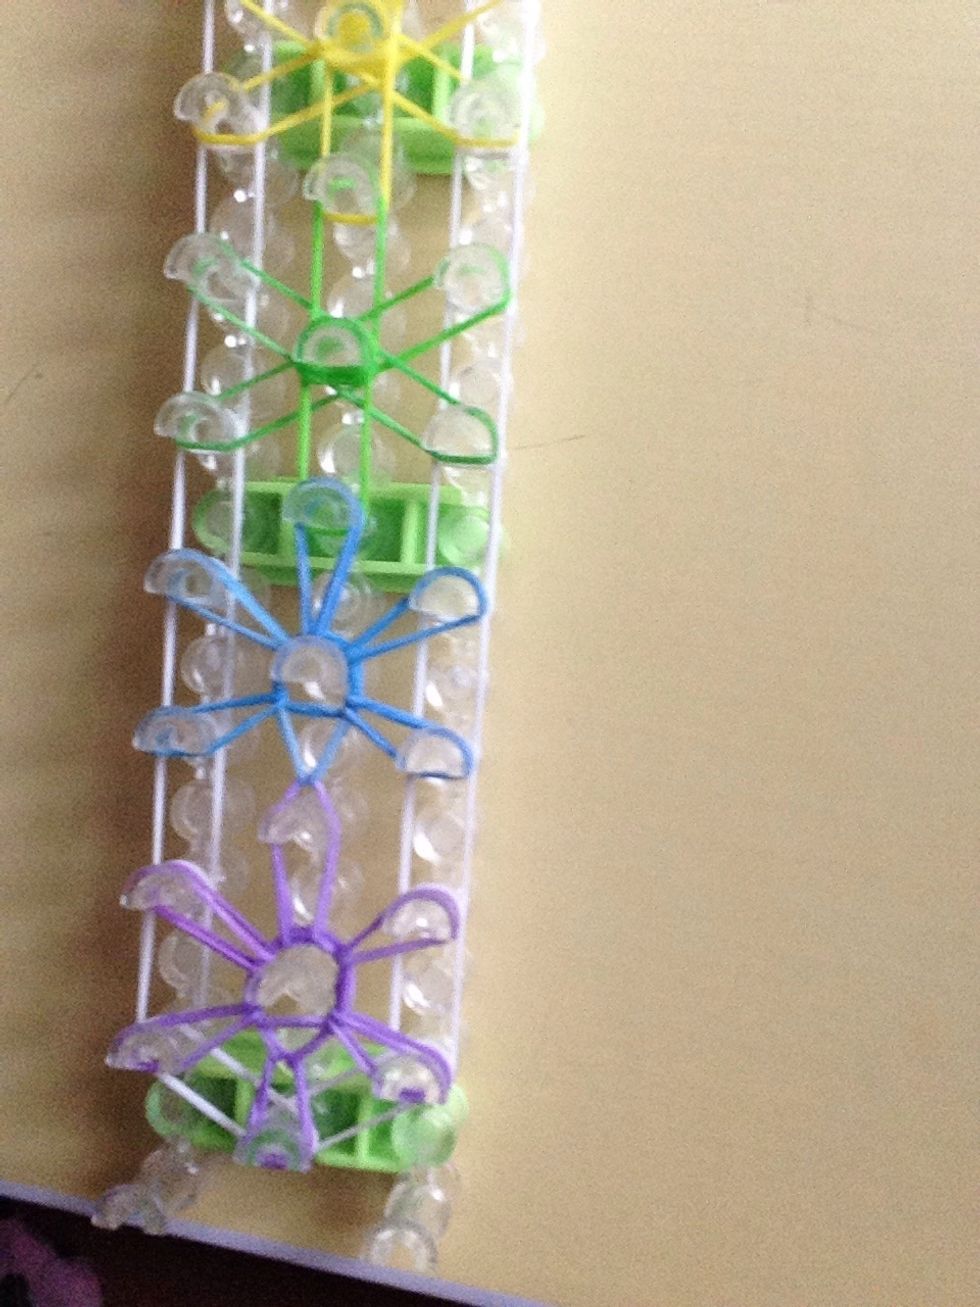
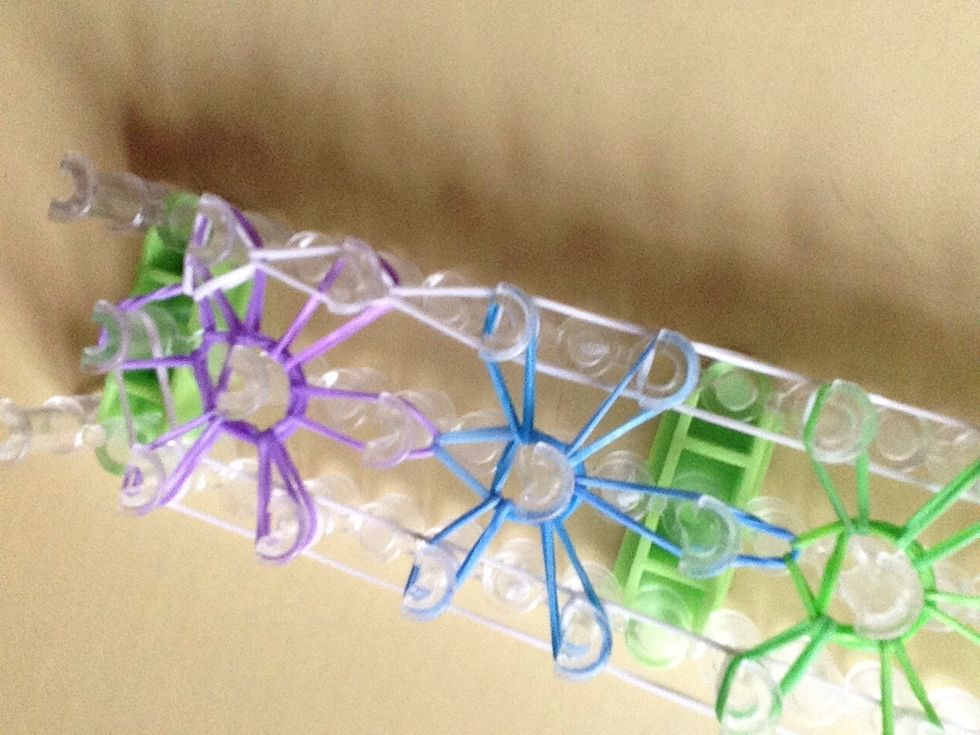
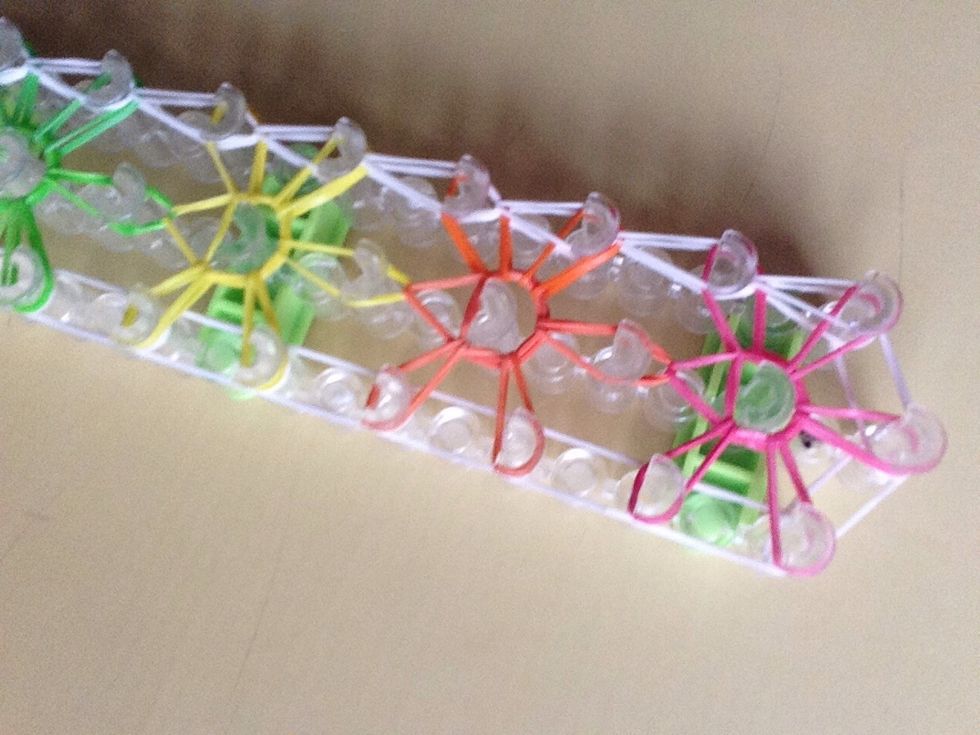
Put a captain band in the middle of each star.
This is how it should look like.
Make sure you a a captain band on the first peg too. But not to last one going down. Now we will start hooking. 😃
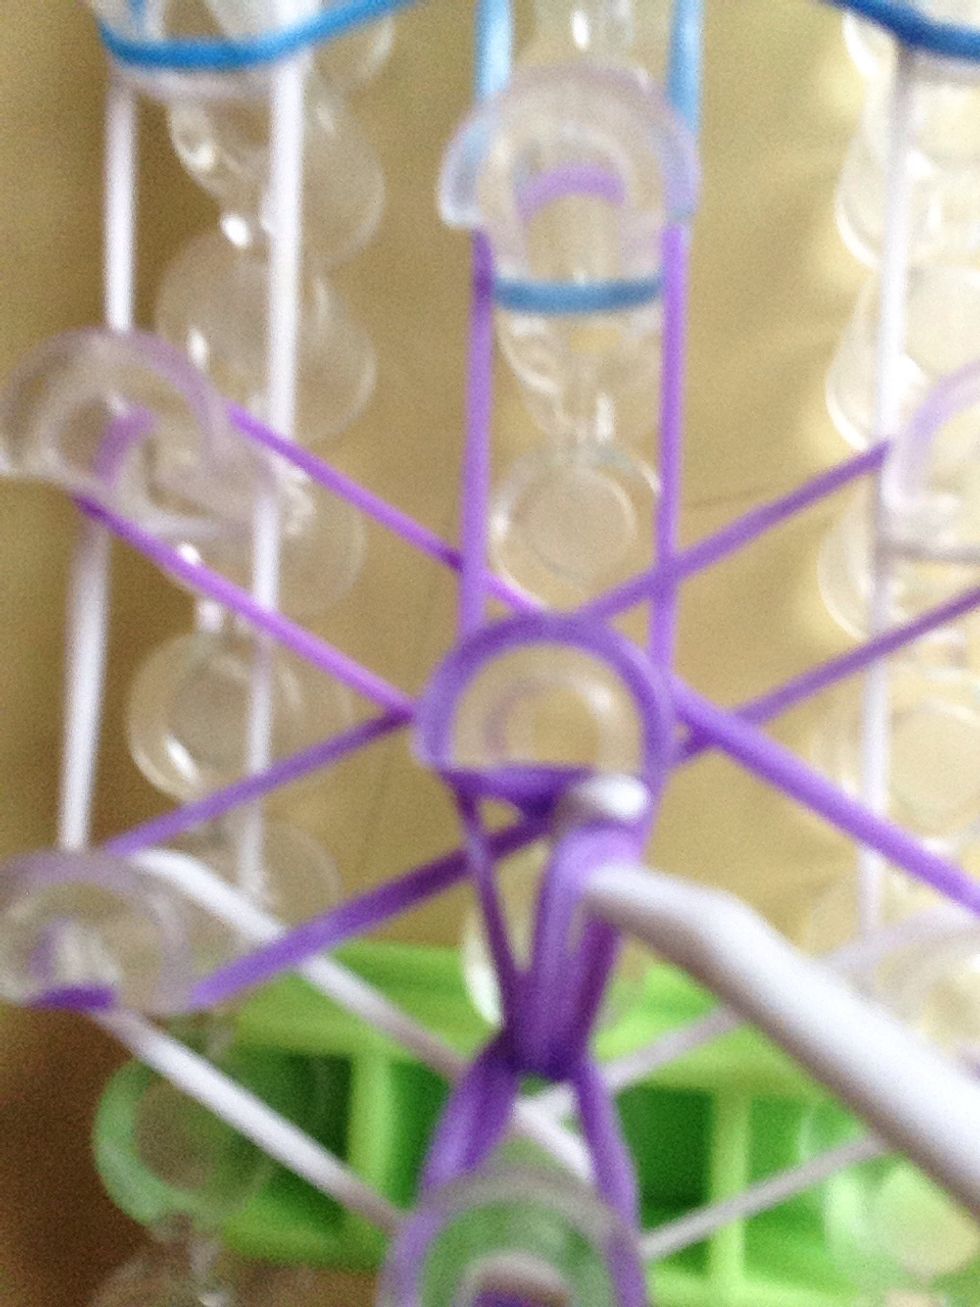
Go under the first peg grab the purple and pull it over to the middle peg.
Like so.

Go on the middle peg push under the captain band and pull the first one to the side.
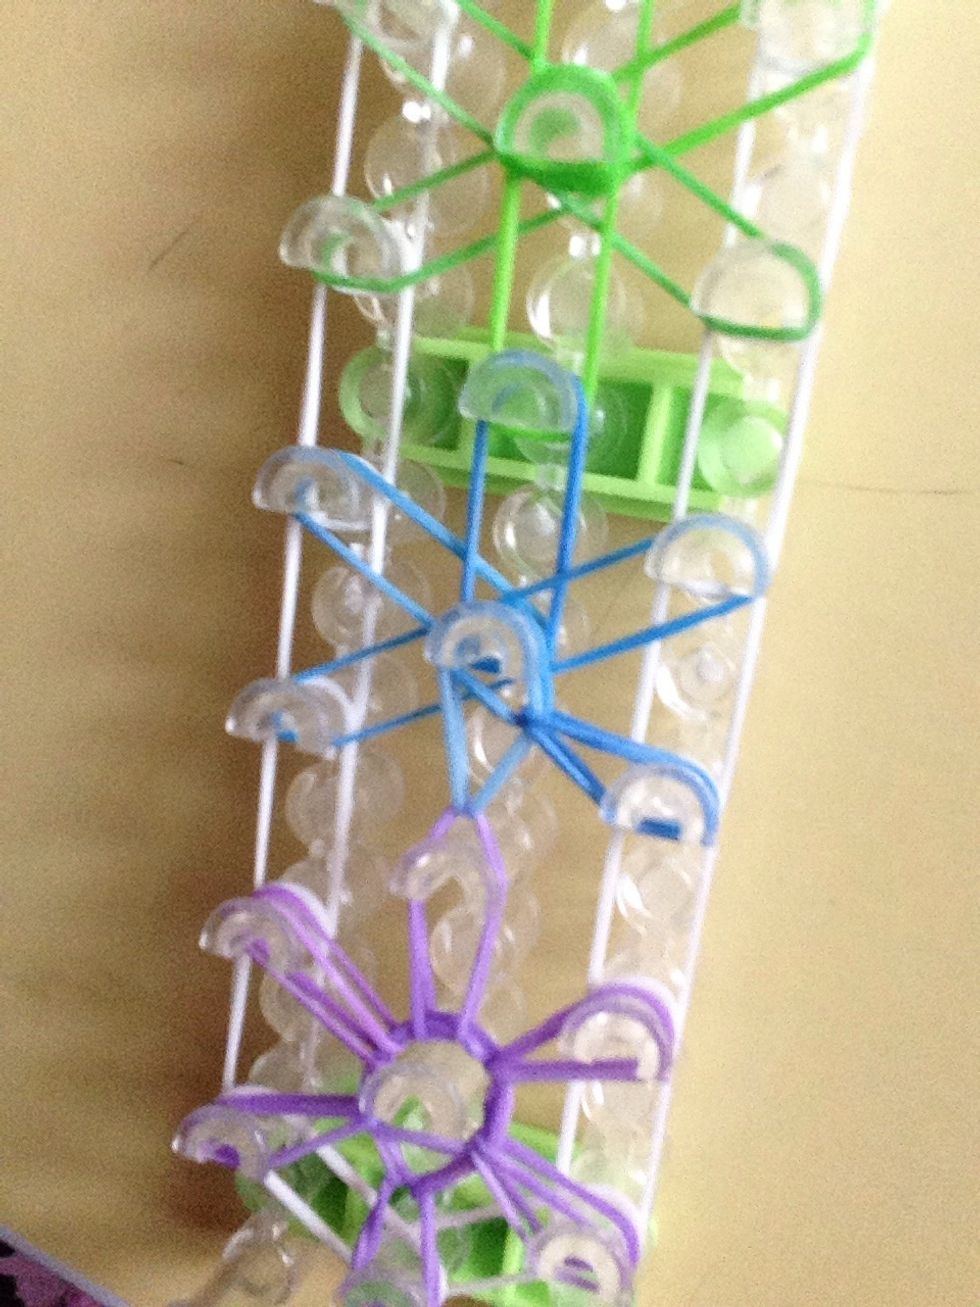
If you keep going in a circle it should look like this. I will show you one more time.
Pull under the purple and get the blue and pull that on towards the middle peg.
2 peg pulled over.
3rd peg.
4th peg.
5th peg.
6 peg. Continue doing this for each star.
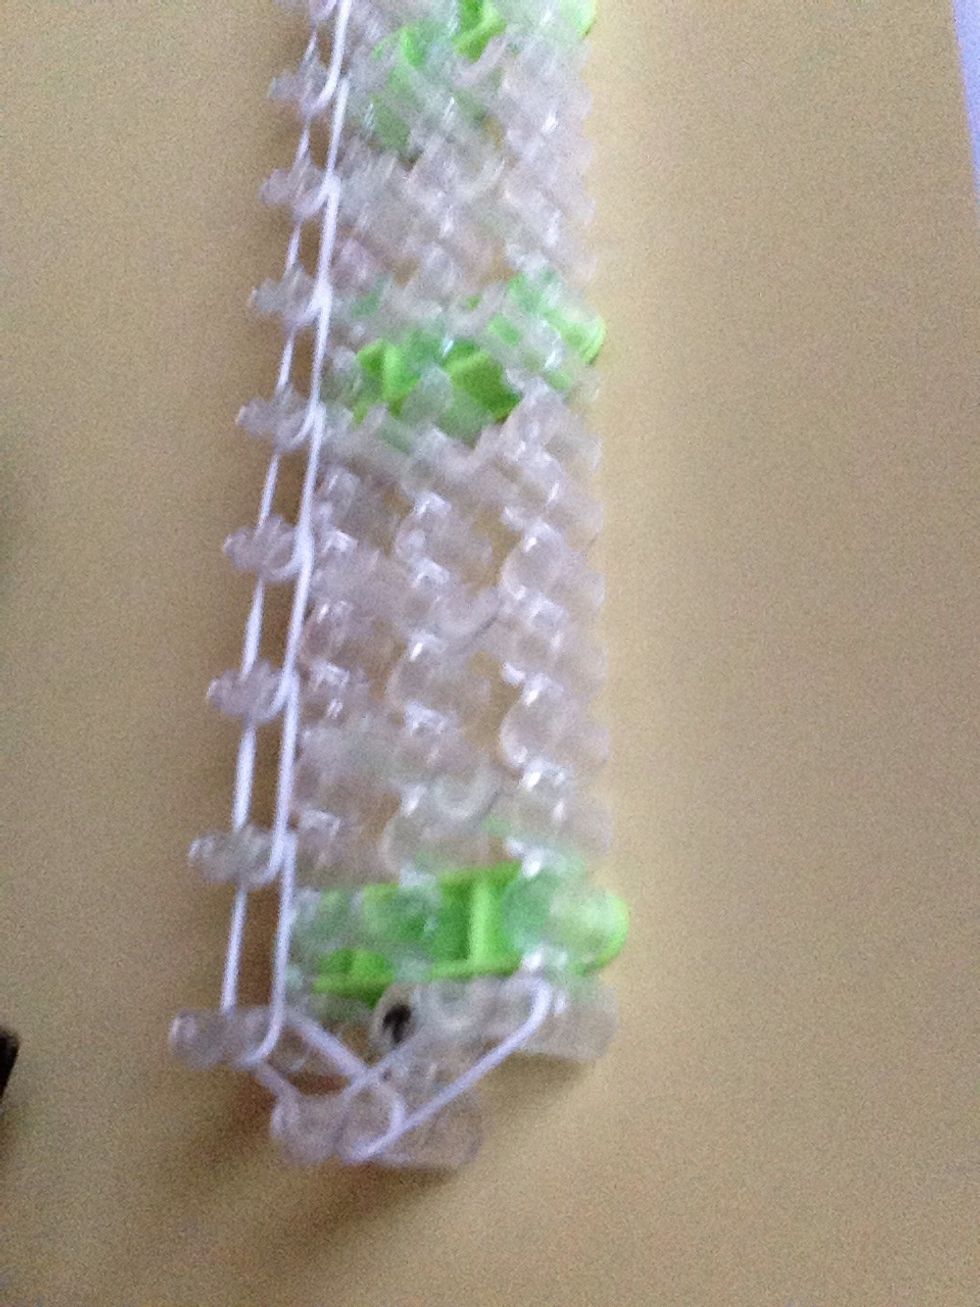
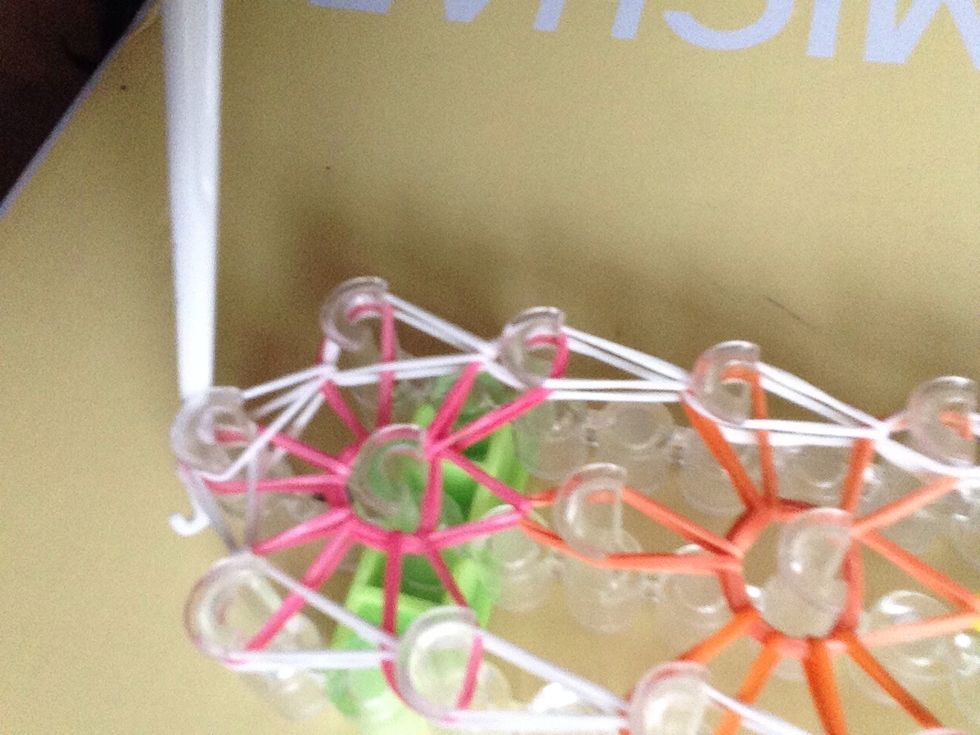
This is what it should look like. Now we are going to start looping the sides.

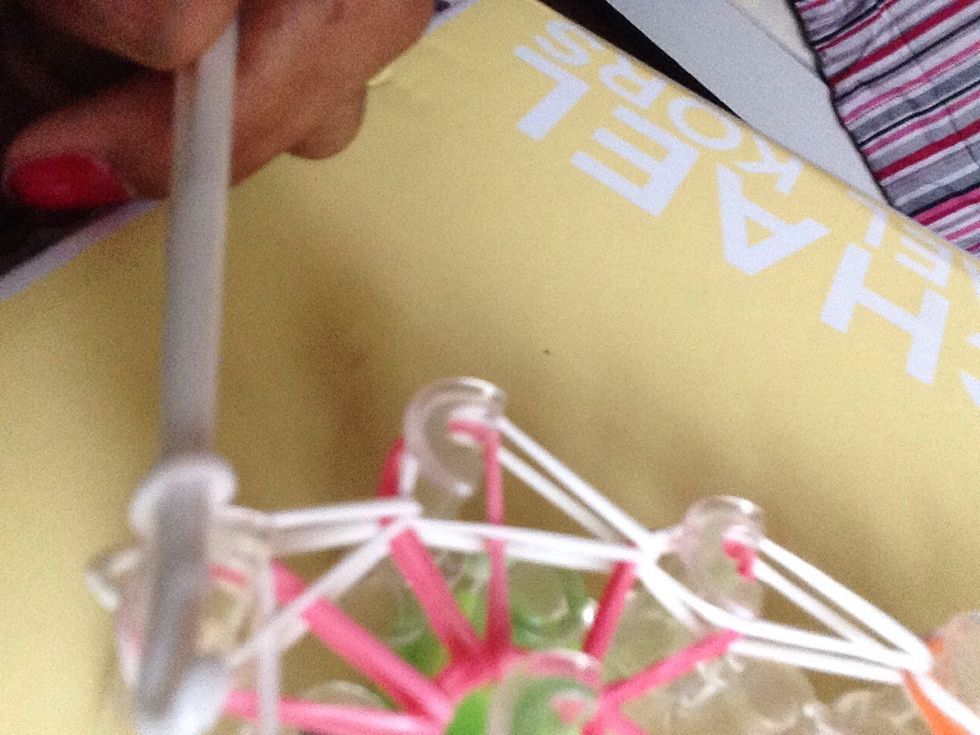
Go all the way back to the bottom and pull underneath the captain Band and then pull over the white one on top to the one on the side.
Like so.
Continue going all the way up until you reach the top.
It should look like this. At the top put the last base band to the side.
Like so. To finish the other side go back to the bottom and do the same thing.
It should look like this.
Push your hook through all of the bands at the top. Which would be color 1 the very first star you made.
Push a band through that and start pulling it off.
Tada! But now its time for extension.
So we are going to make a single pattern for the extension.
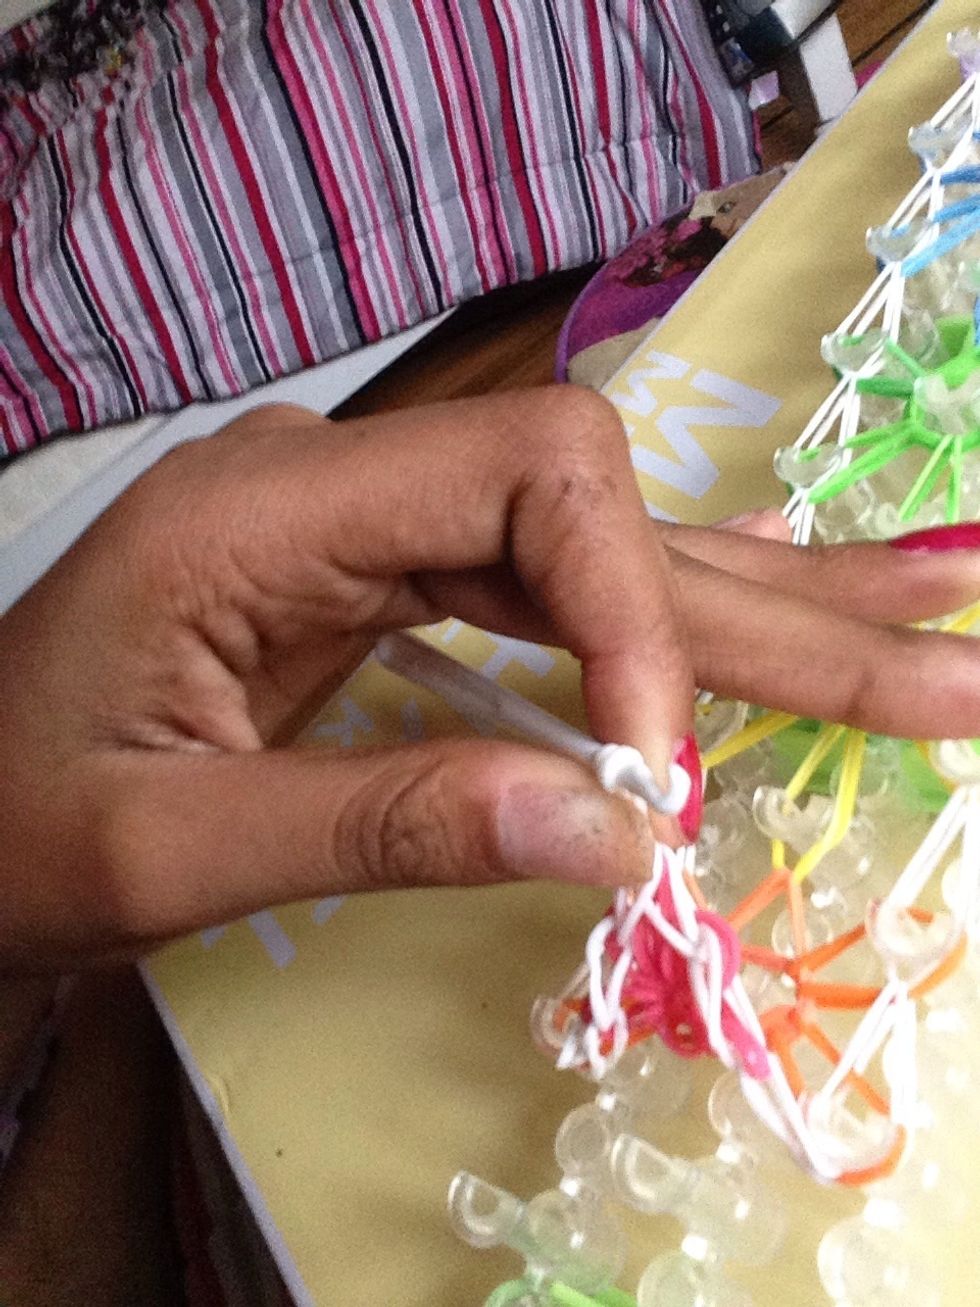
Push a band through the first ones.
Pull both of the ends and push it over your fingers.
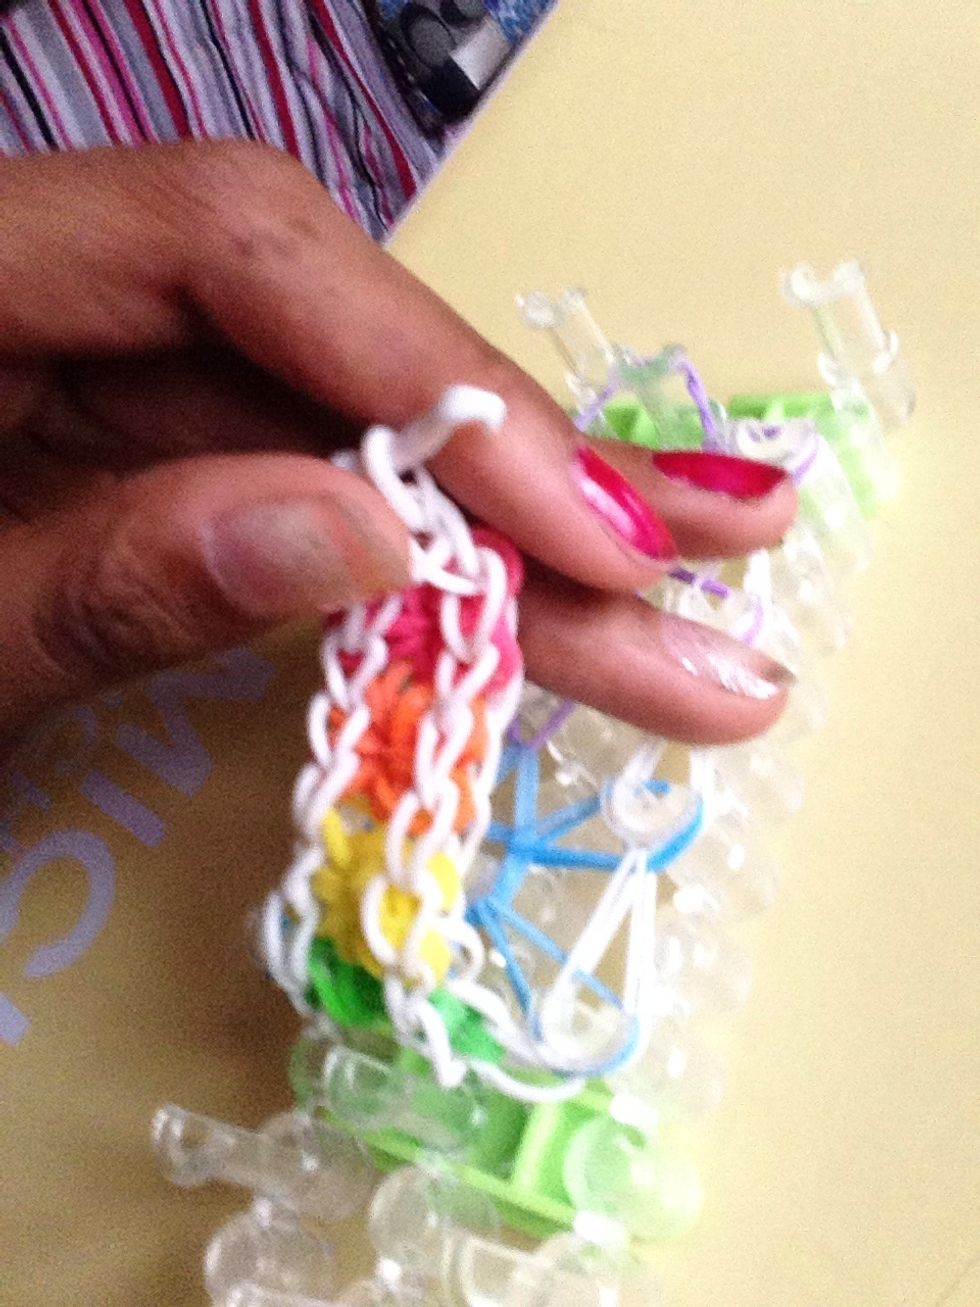
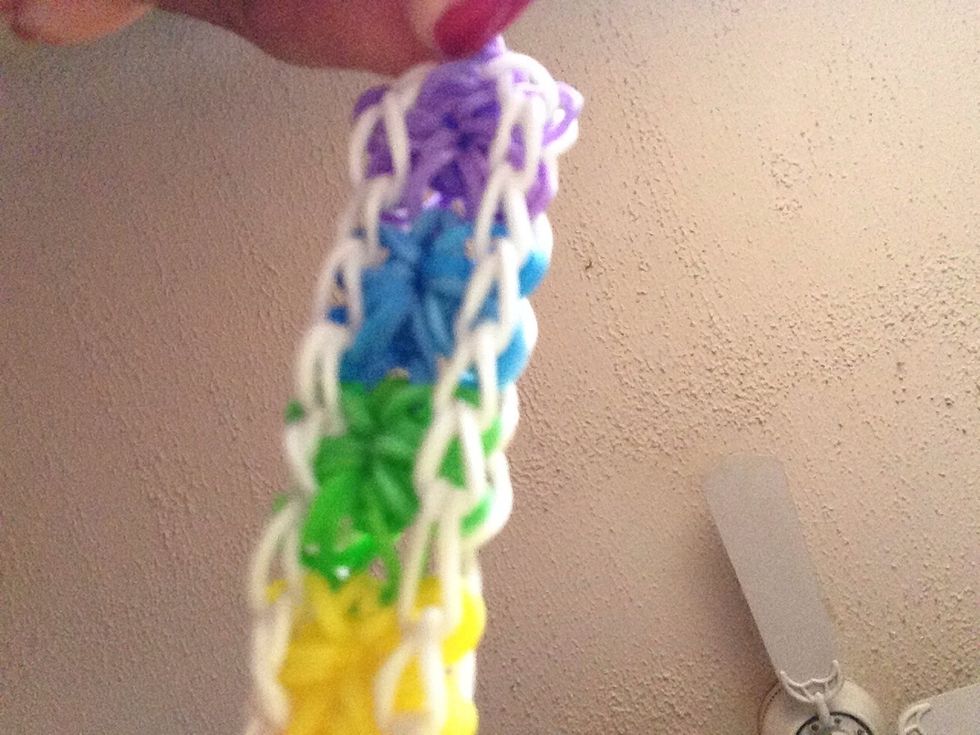
Repeat the steps again.
Until you reach how long you want it to be.
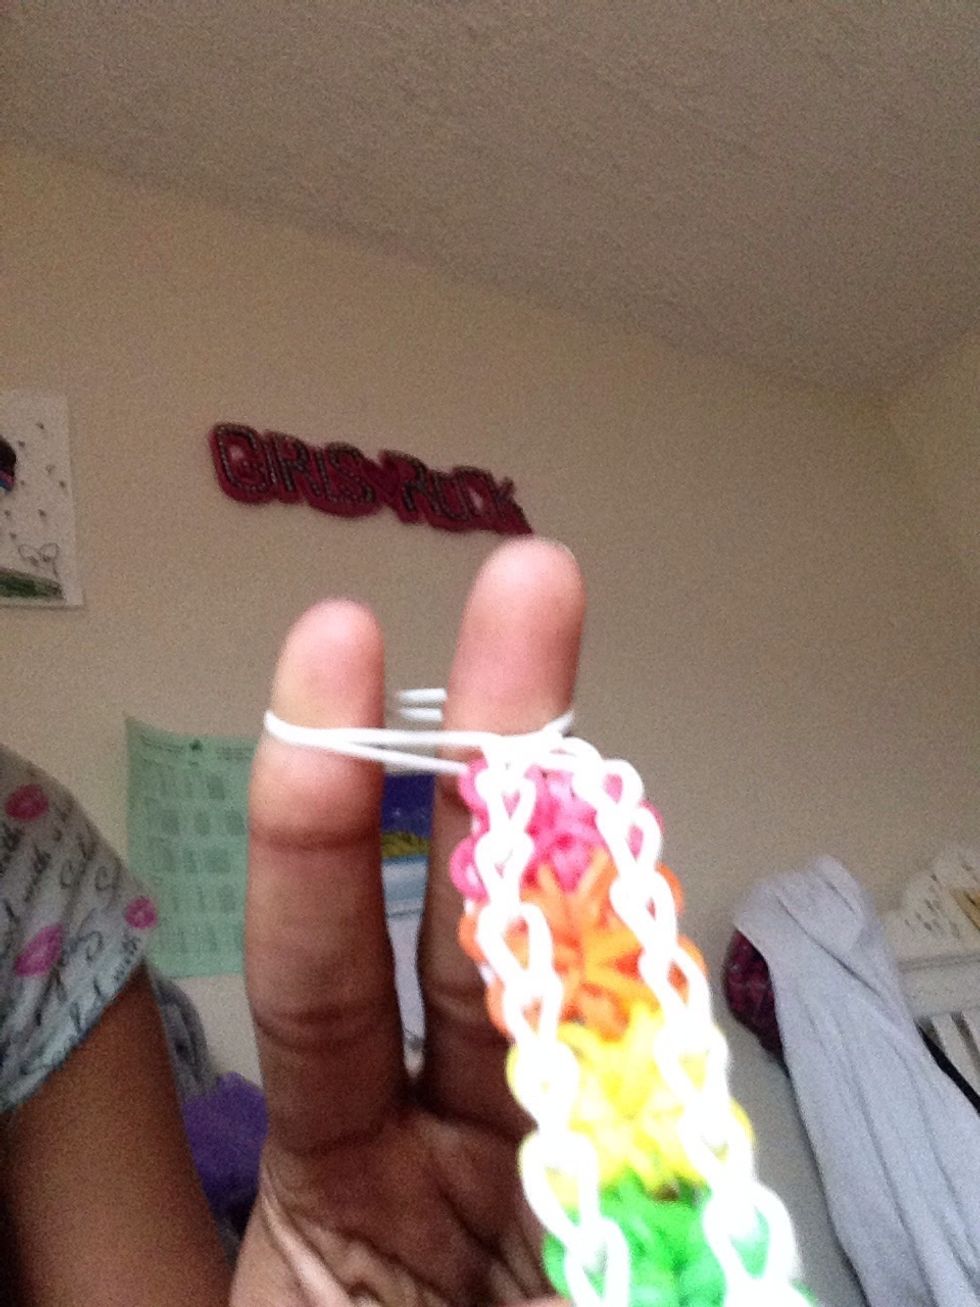
Put an S or C clip in the last single band.
Hook them together.
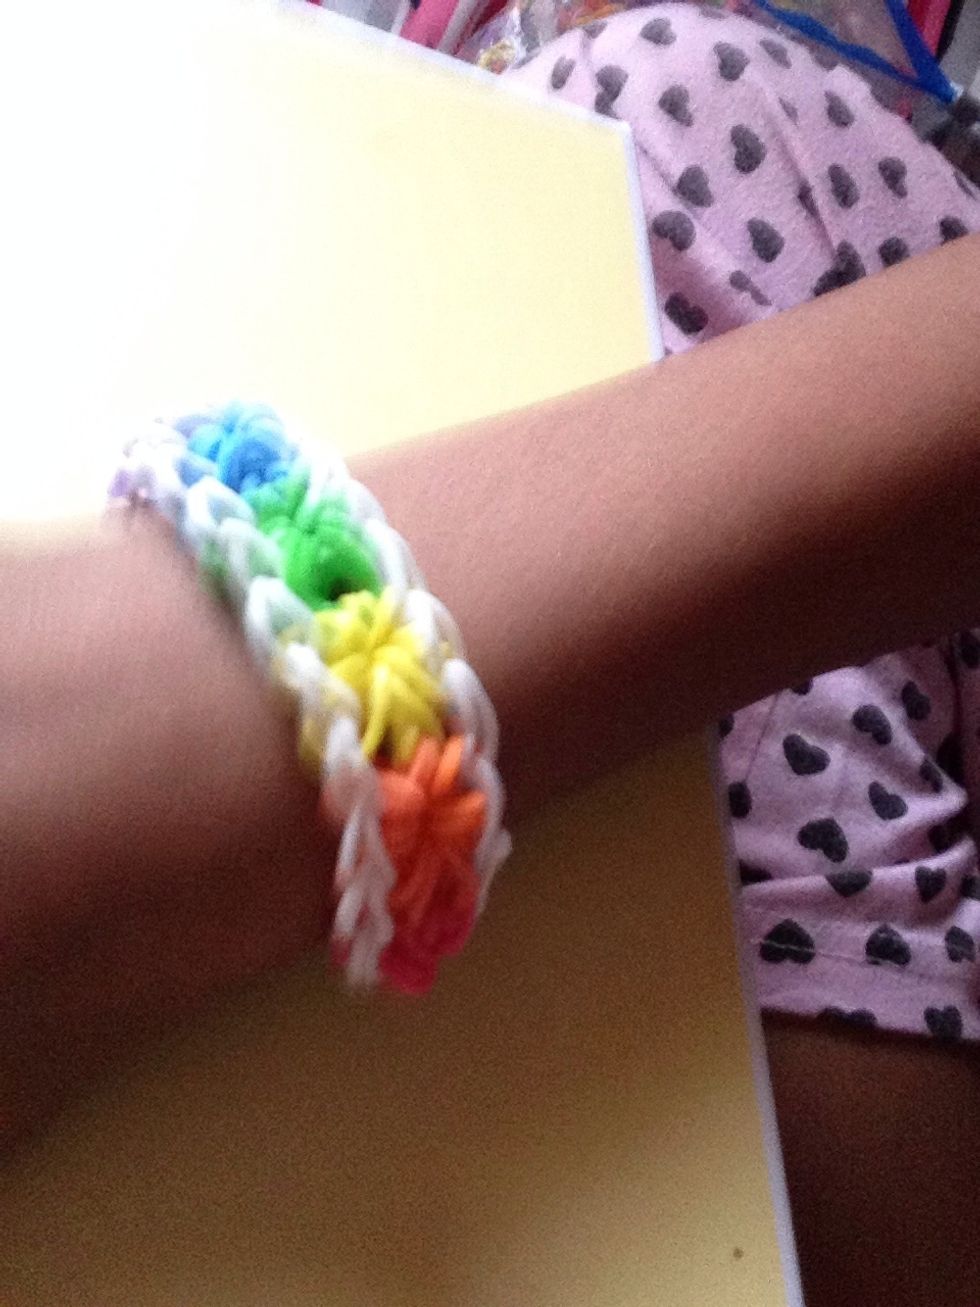
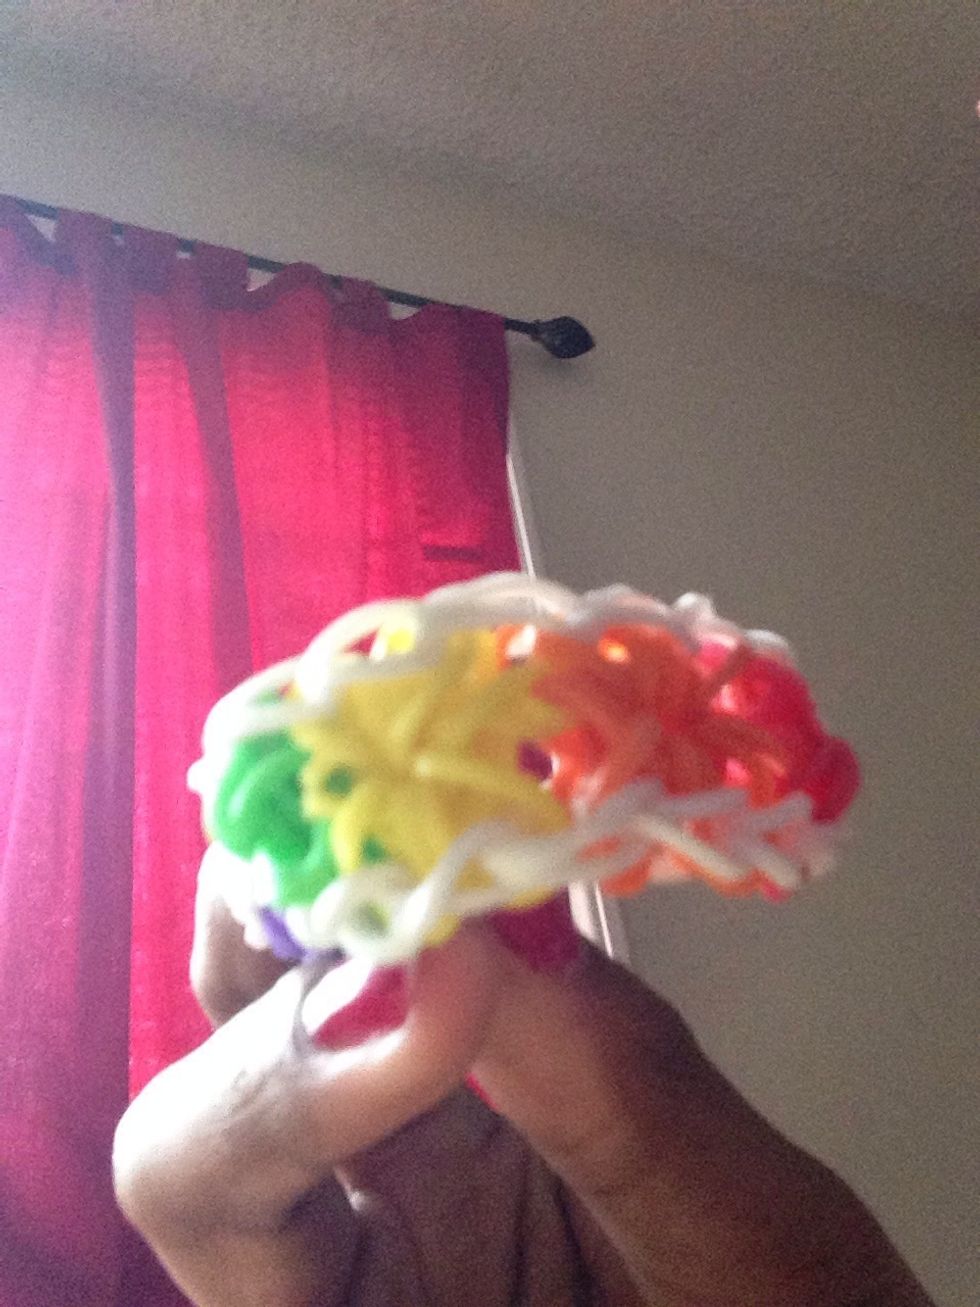
Tada! A starburst!!
Thank-you so much for reading!! This was my first snapguide so should I make more rainbow loom tutorials? I will be making nail tutorials too!! 😃😃😃