The Conversation (0)
Sign Up
What you will need~
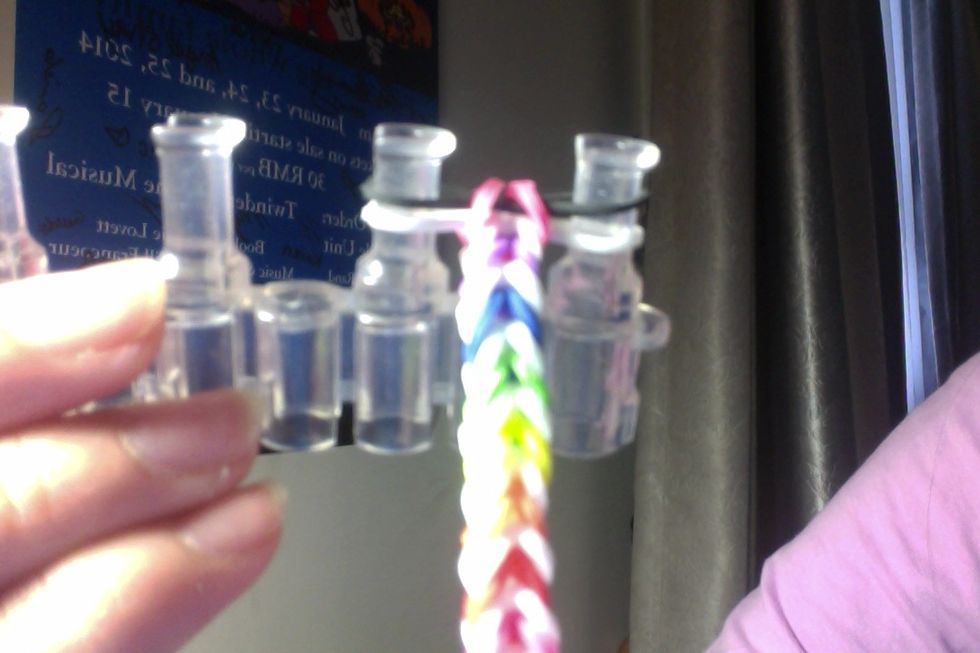
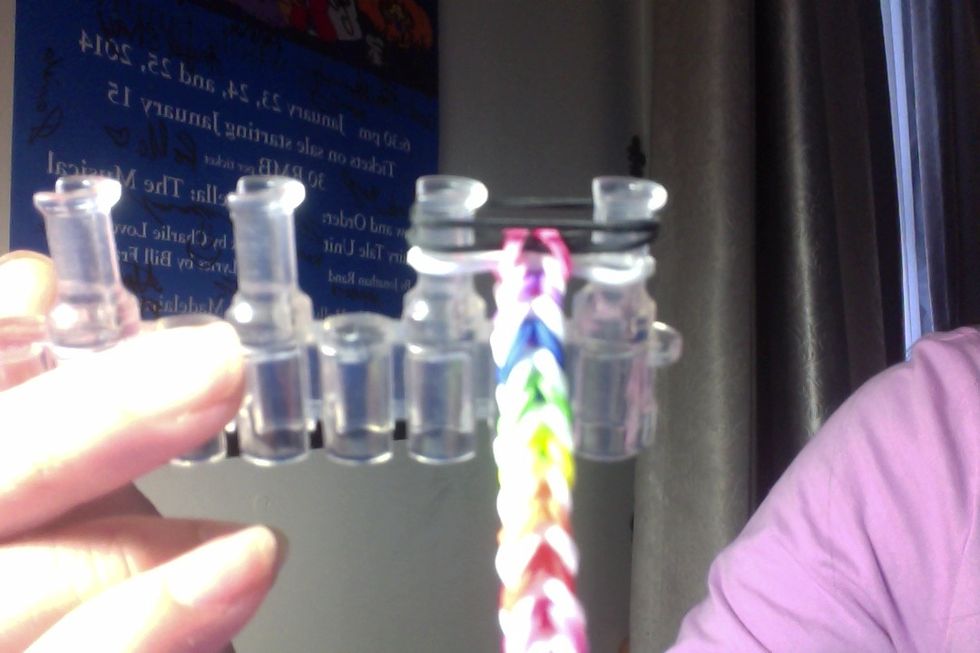
Your loom and hooker.
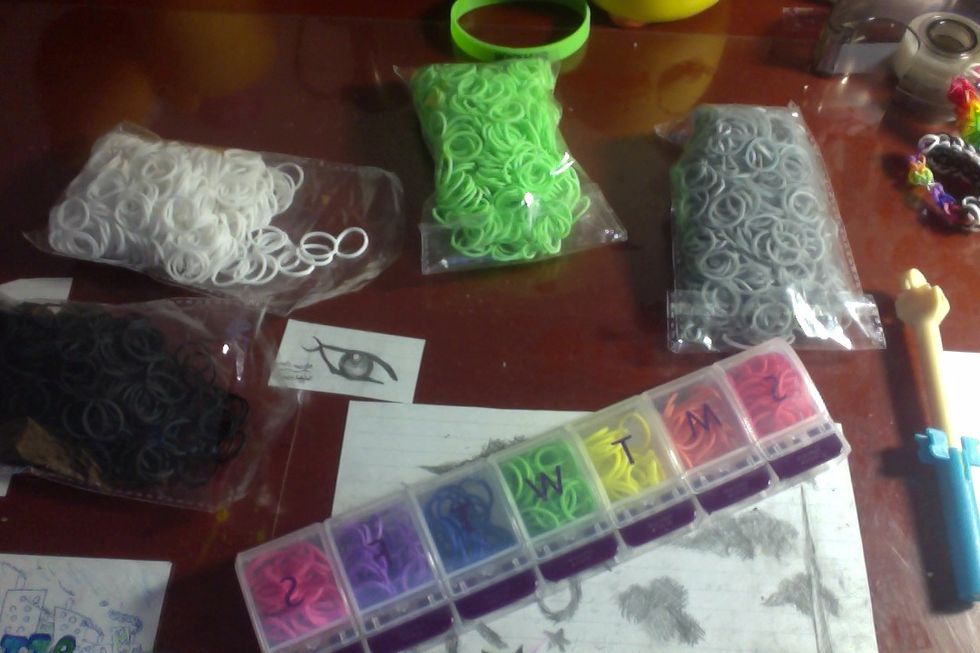
Your Rubber bands
and a 'C' or 'S' clip.
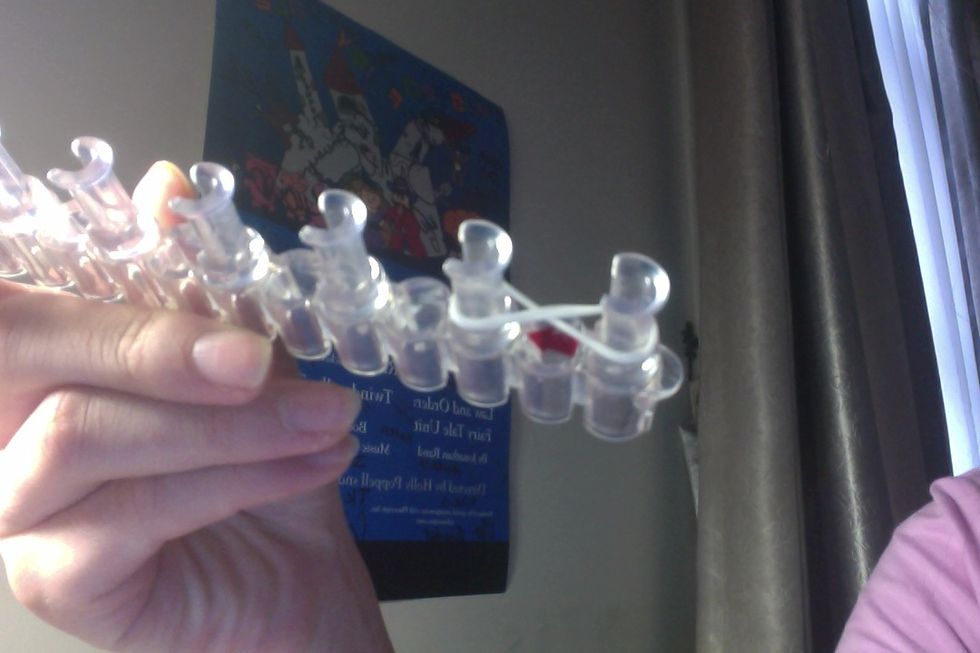
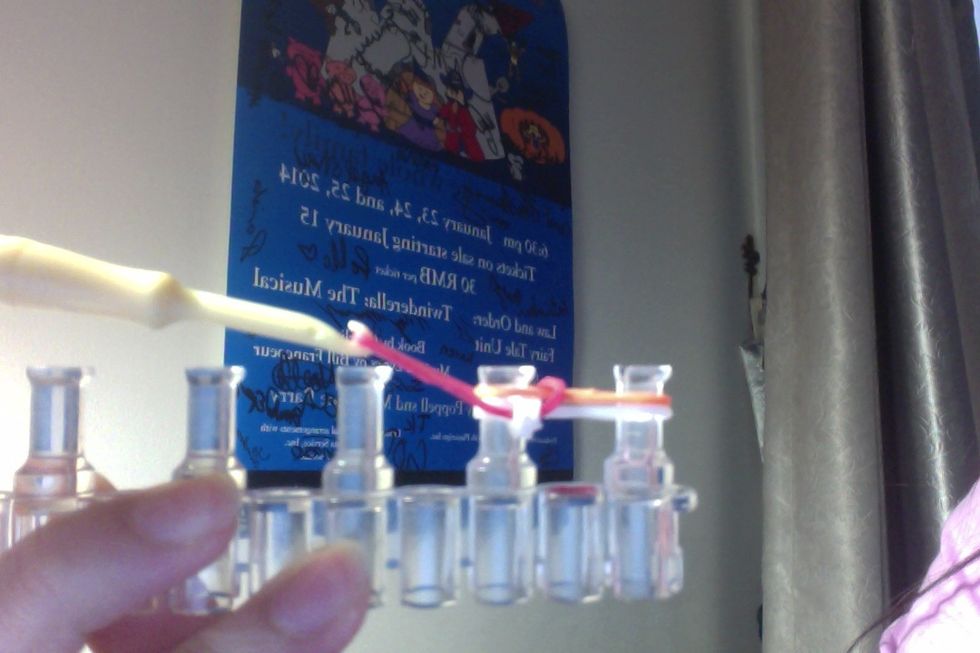
Placing Bands
Make sure the red arrow is pointing away from you.

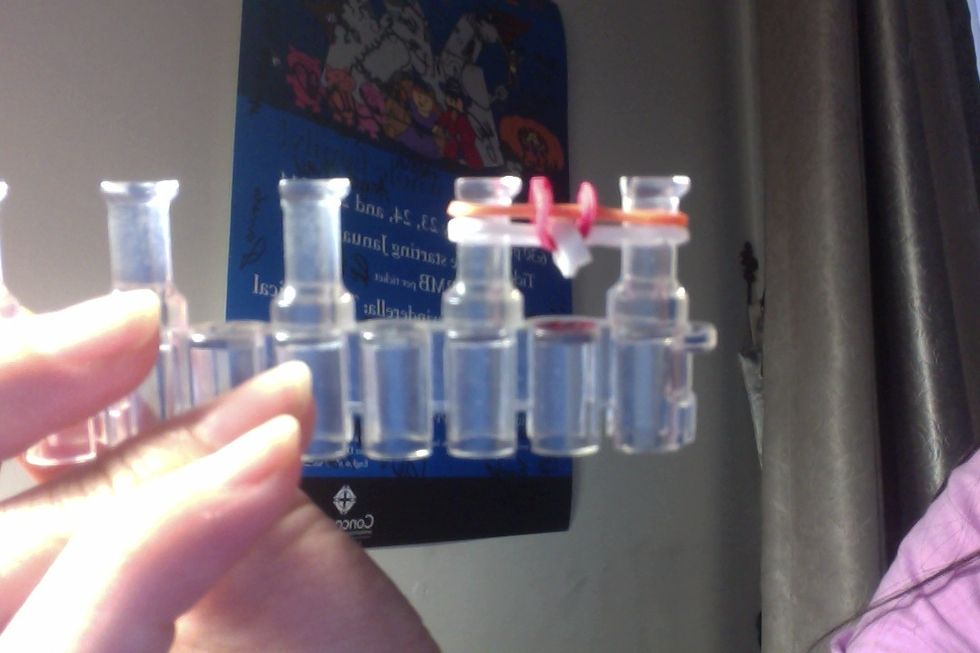
You really only need 1 stick and 2 pegs of the Rainbow Loom to make this bracelet.
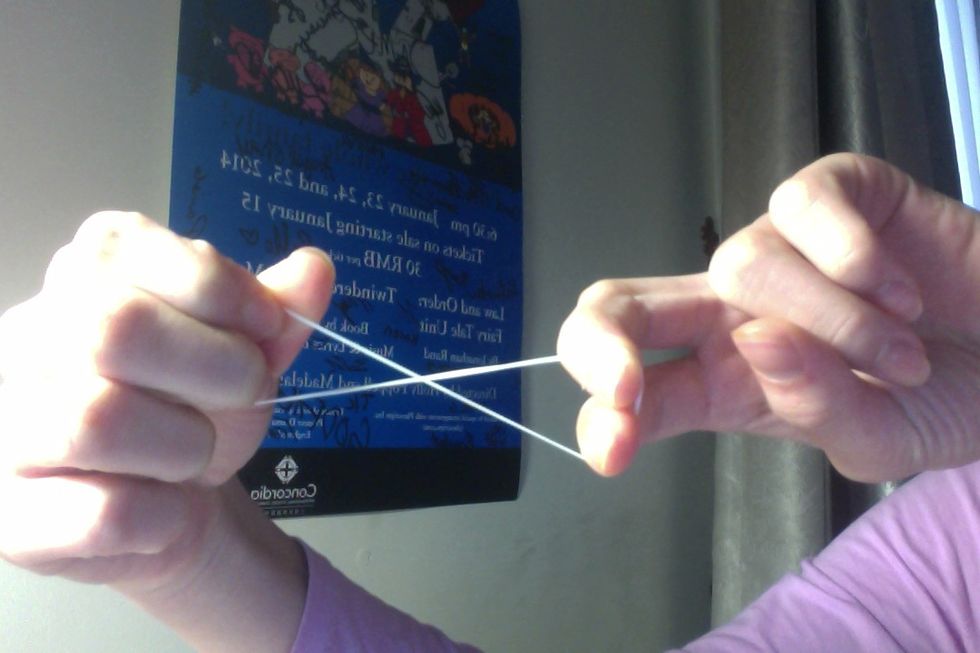
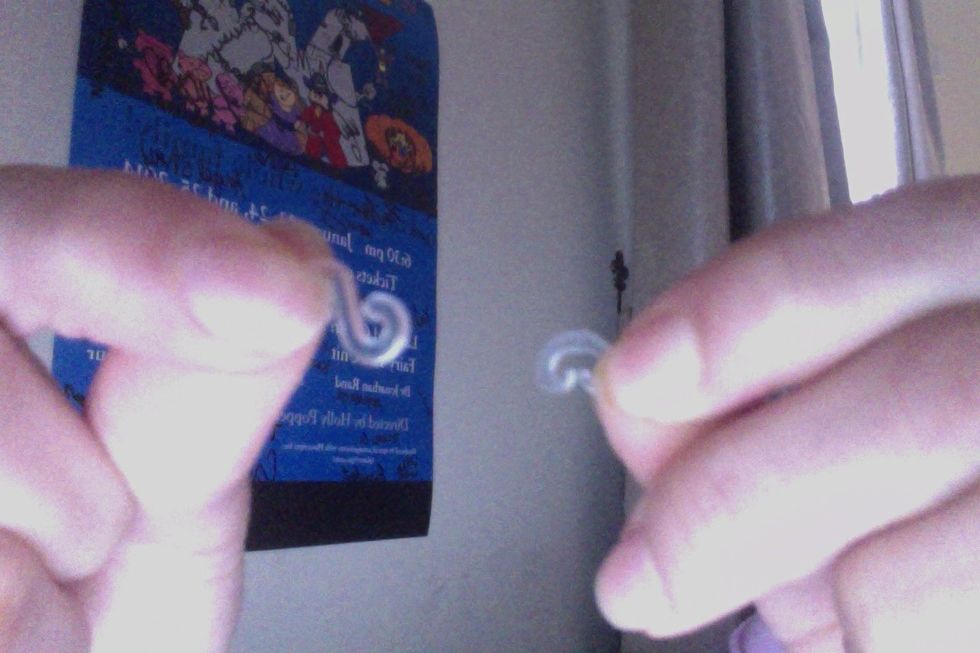
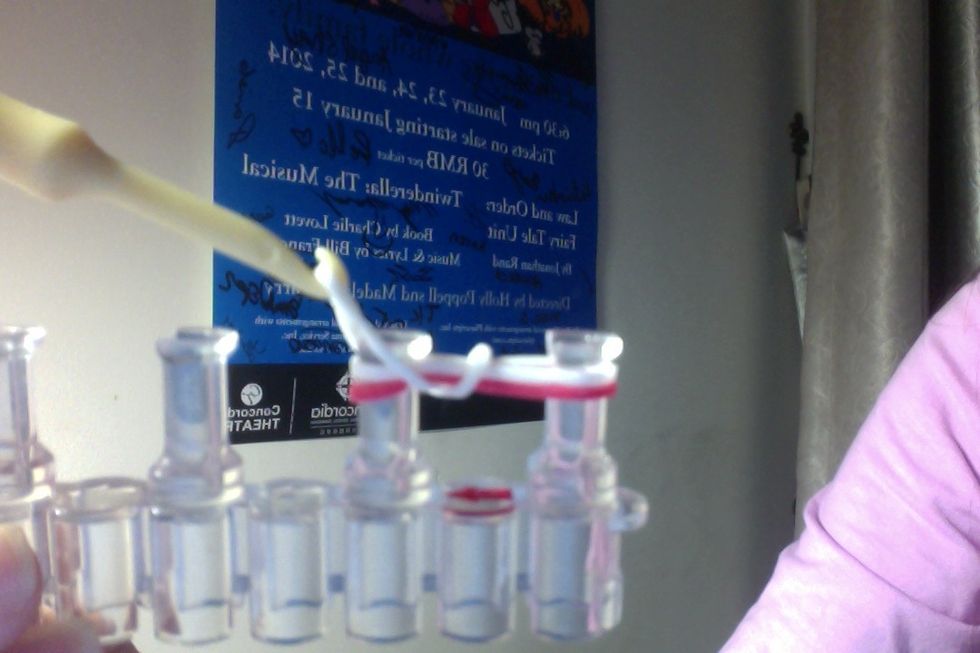
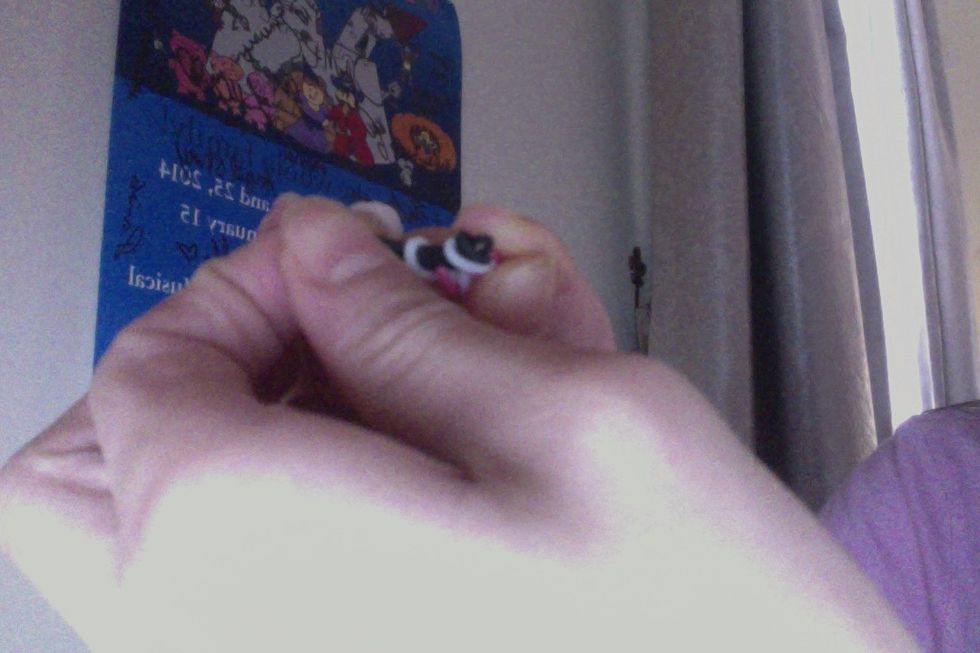
Take your first band, (mine is white), and turn it so it is in the shape of an '8' or a infinity sign.
Take the '8' rubber band and put it on your 2 pegs.
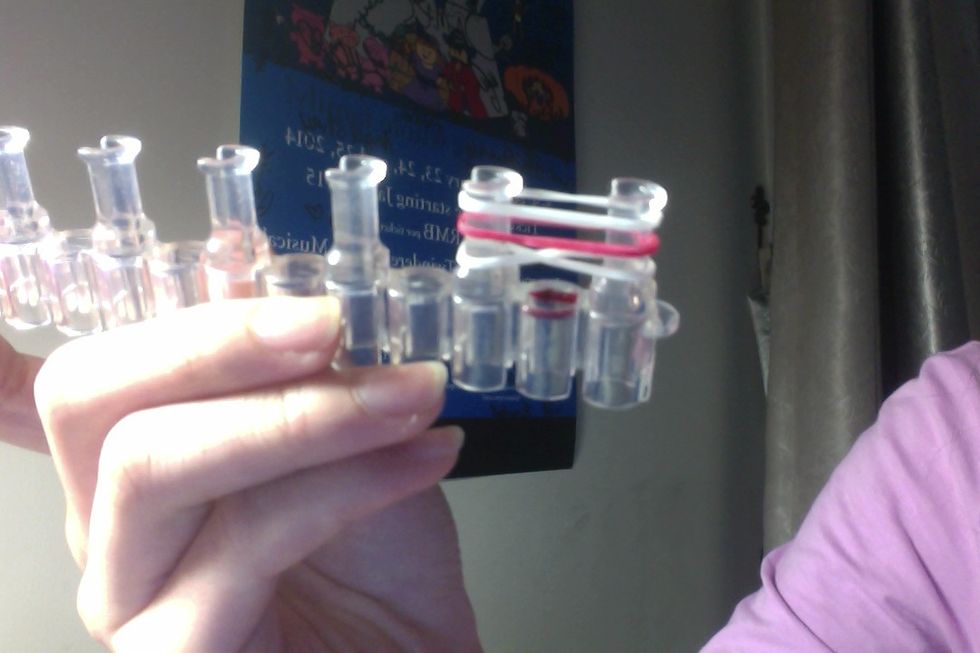
Place 2 more rubber bands on top of the '8' rubber band. Before you do anything, make sure there is always 3 rubber bands on the 2 pegs.
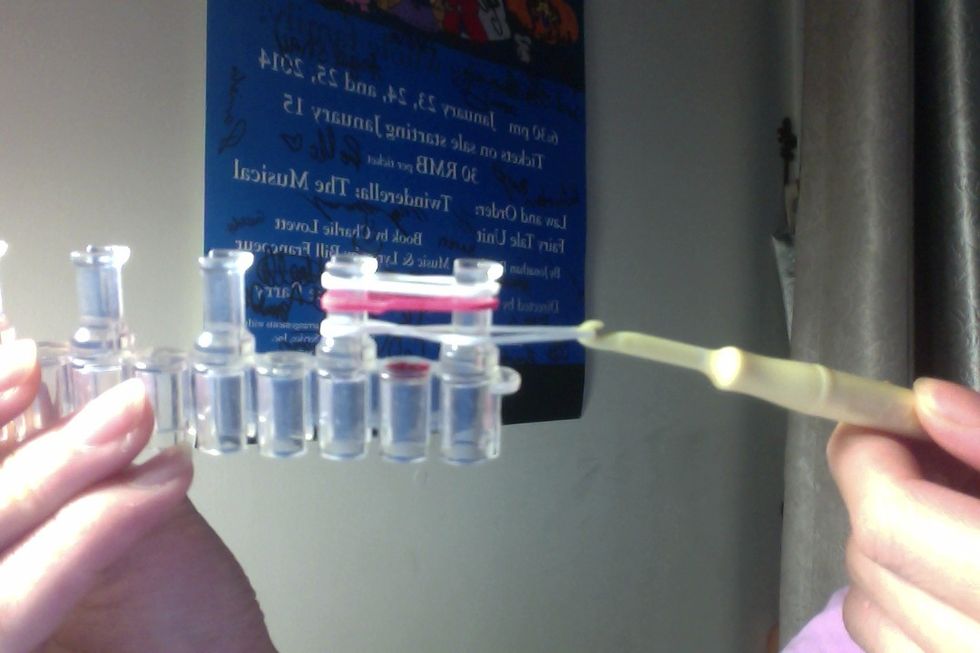
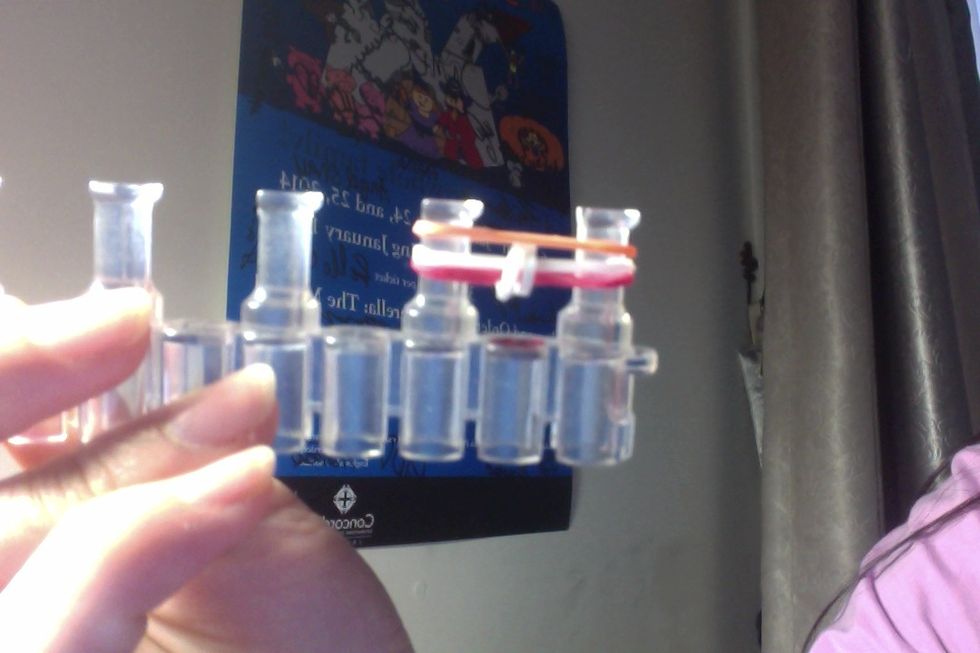
Take the bottom band.

Loop it over the 2 other bands.

So it looks like this.
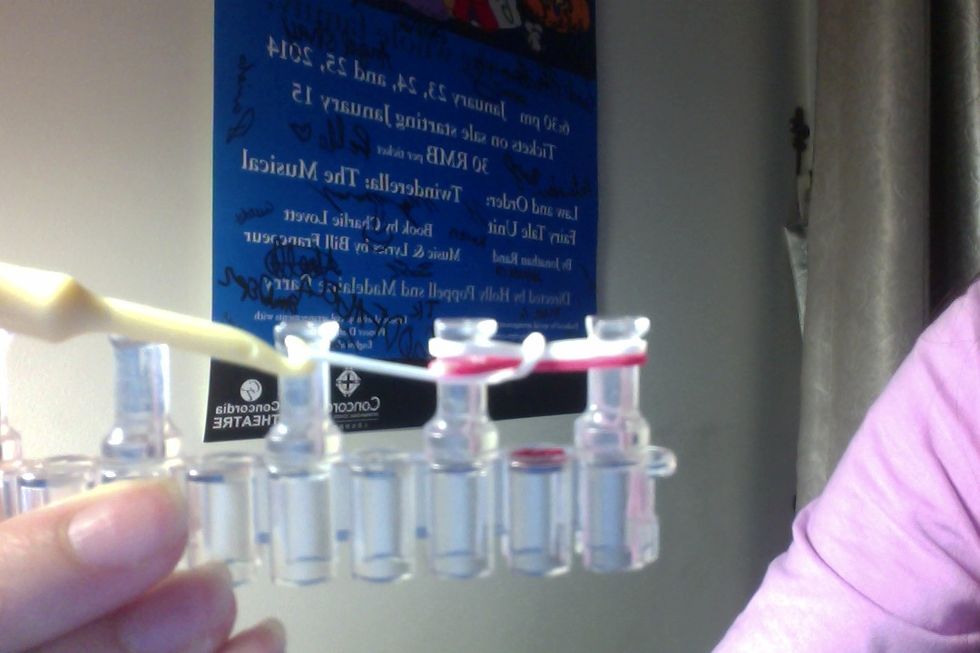
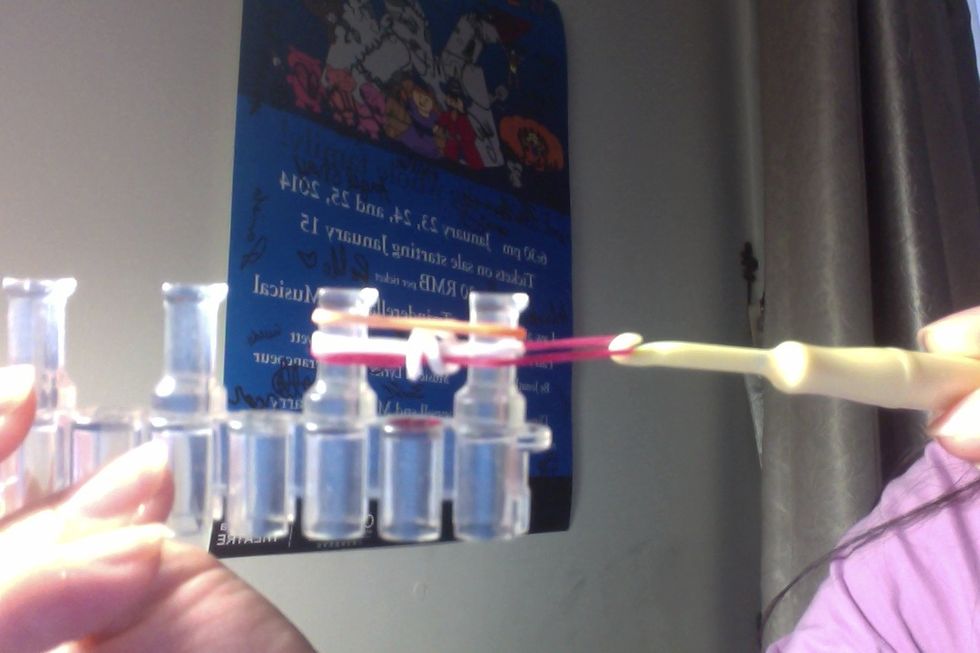
Then take the other bottom band.
Loop it over the 2 other bands.

So it looks like this.
Add another band.
Take the bottom band.
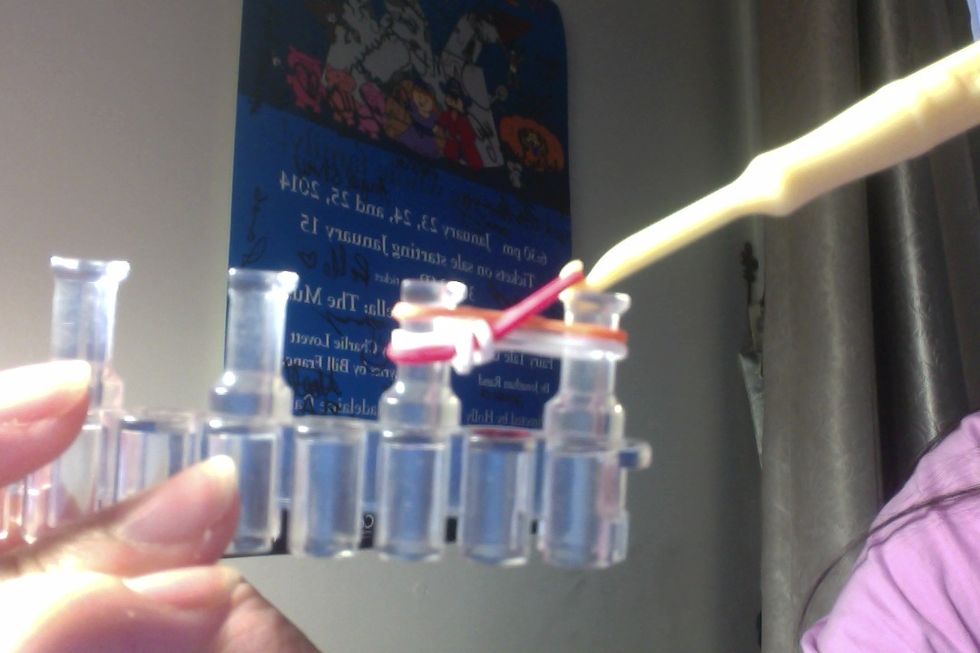
And loop it over.
Take the other bottom band and loop it over.
So it looks like this.
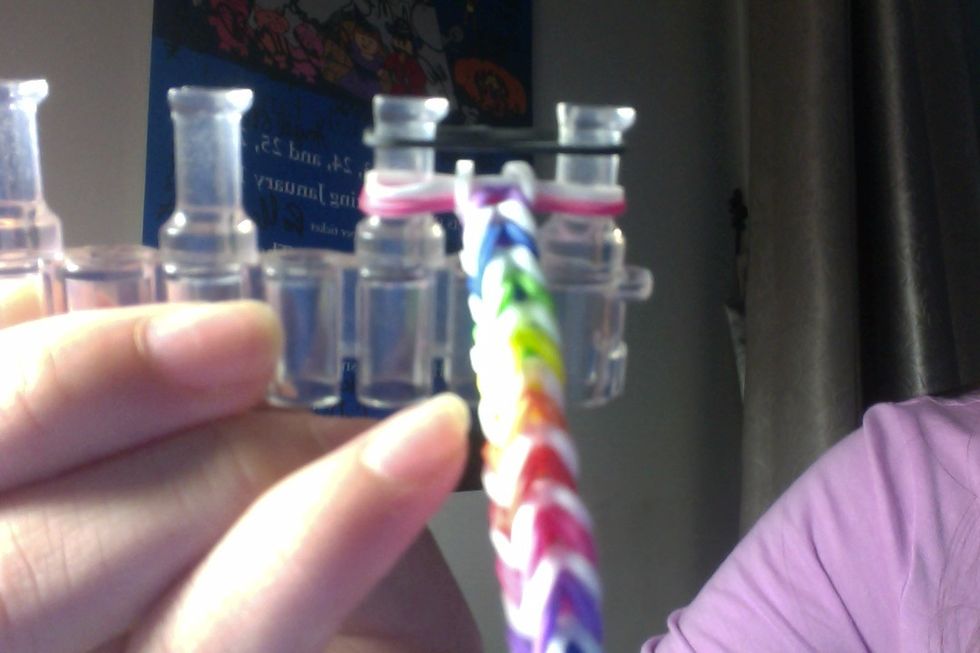
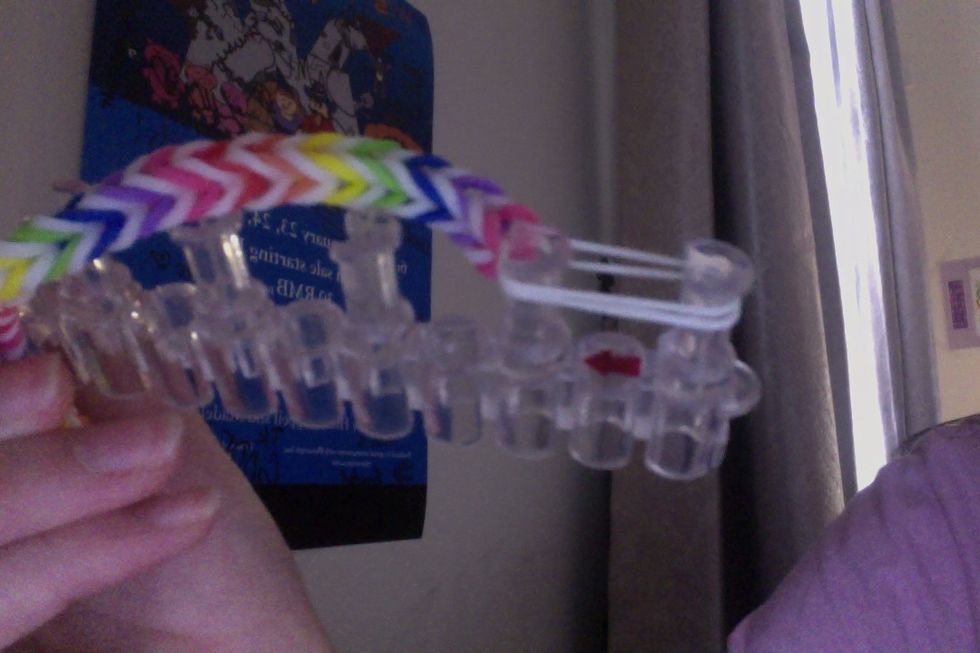
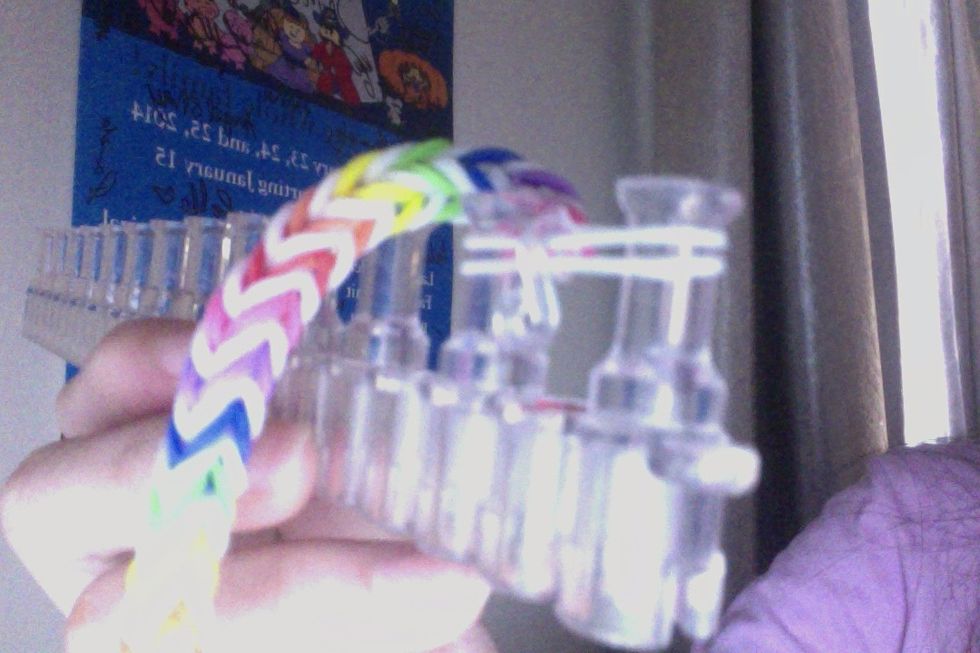
Keep on repeating steps 16-20 until the bracelet is long enough to go around your wrist.
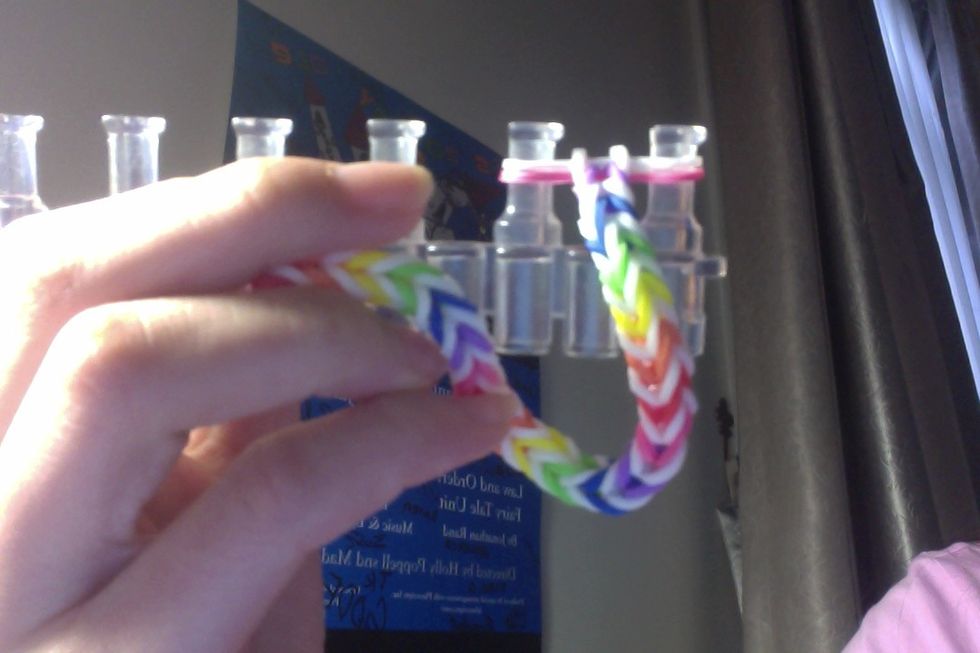
After some time, it will look like this.
Then add an band that is irrelevant to your bracelet's color or design.
And loop the bottom bands over.
Then add another irrelevant band.
And loop the bottom bands over, so it looks like this.
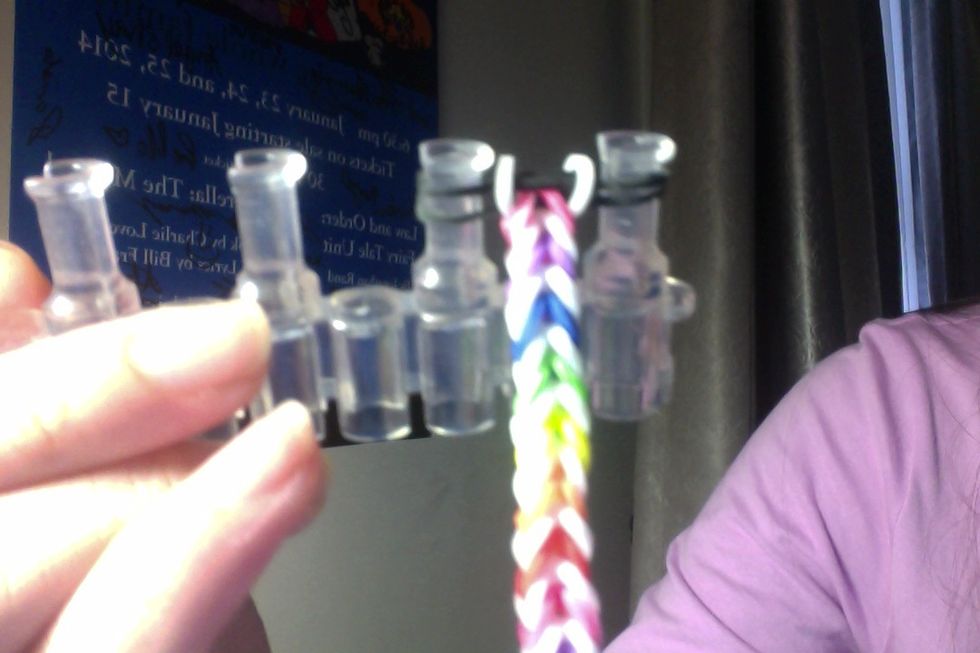
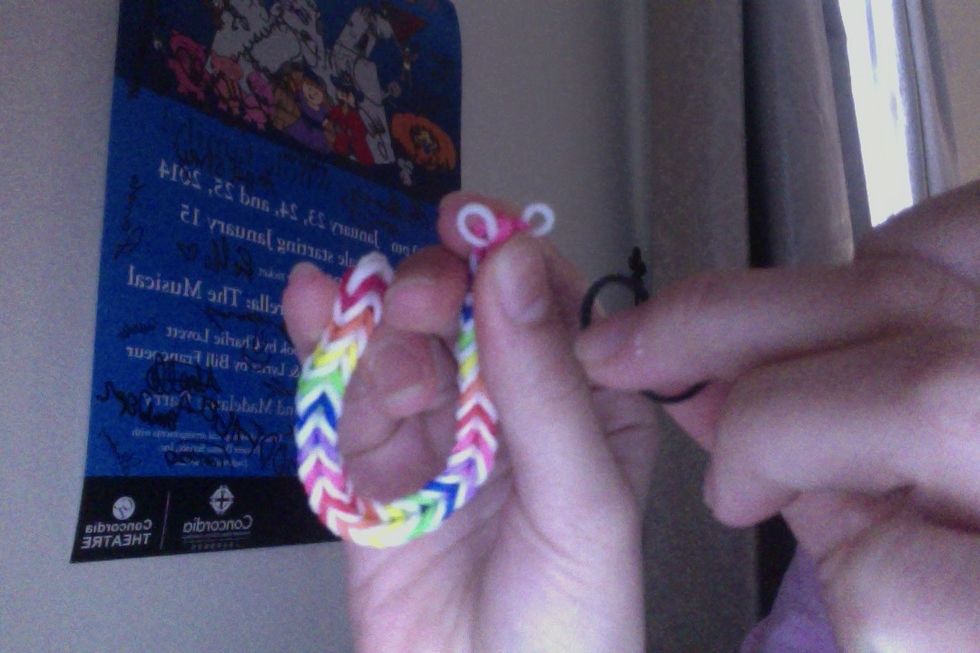
Now, you can take your bracelet off. Be sure to press the top bands down so your bracelet doesn't get undone.
Then you can take the top 2 bands off.
So it looks like this.

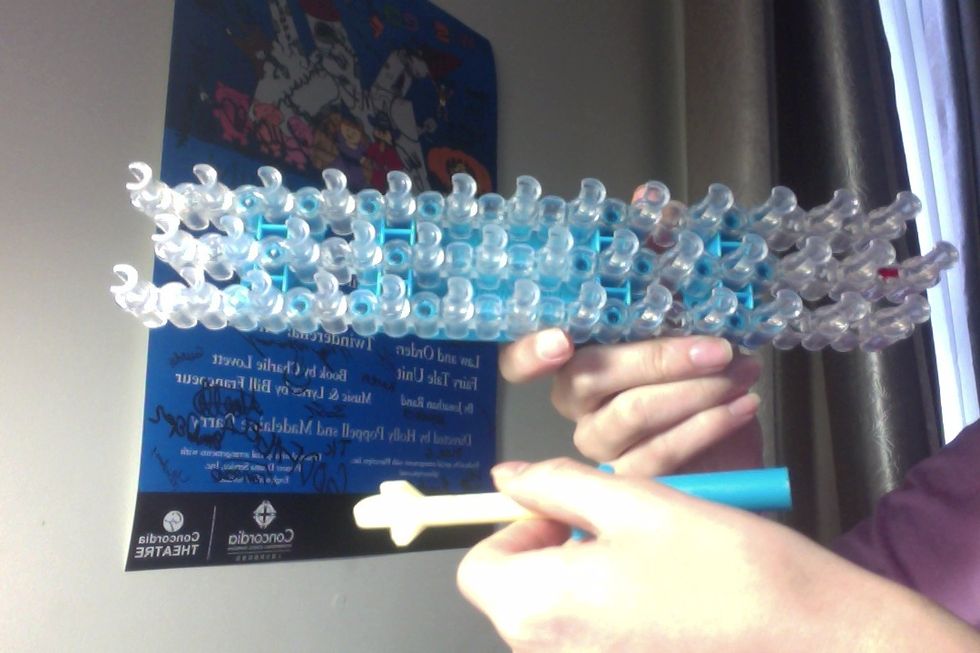
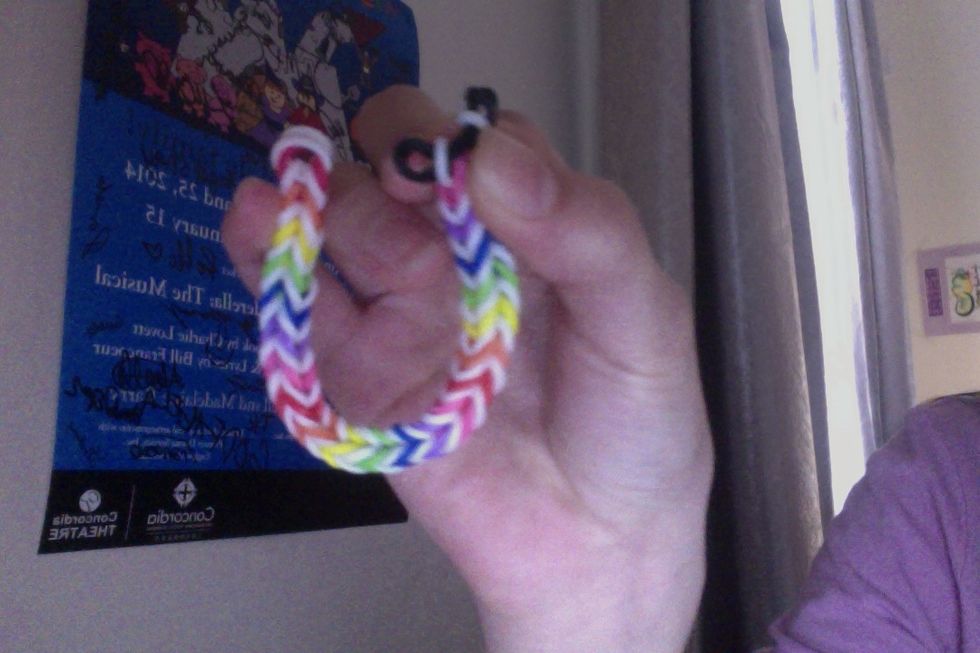
And this is what the bracelet should look like.
(optional) Then you can put it back on the two pegs.
Then you can put your 'C' or 'S' clip on and take you bracelet off.
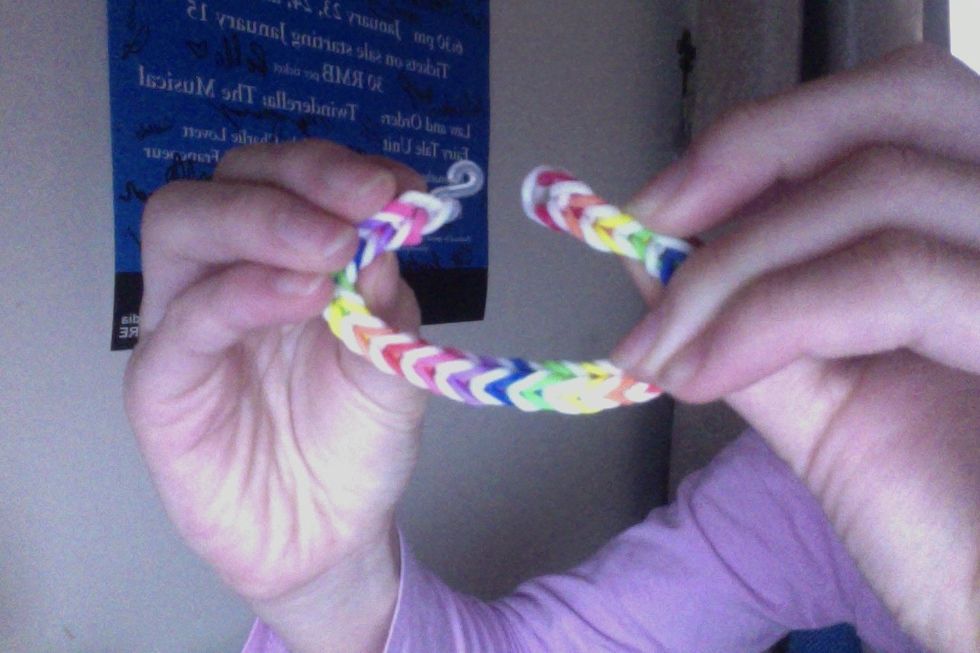
So it looks like this. Now you can connect the two ends together.
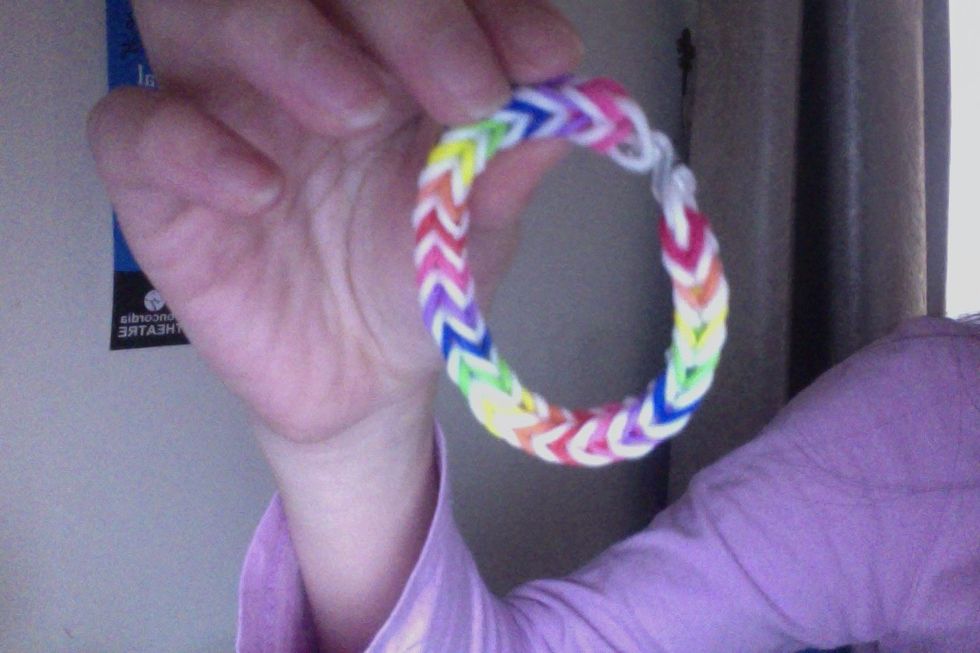
So it looks like this.
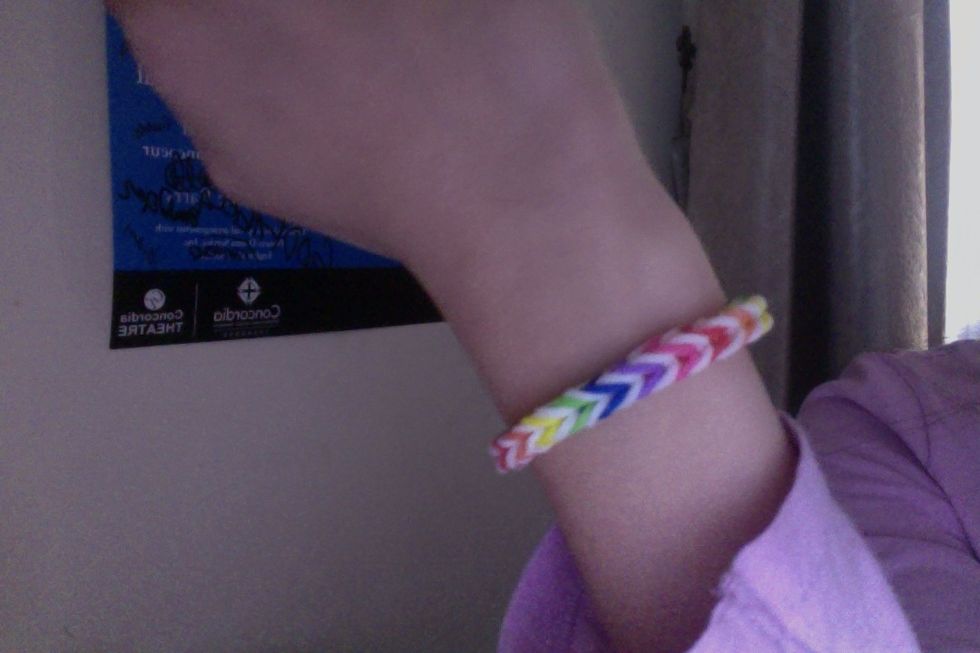
And you're done! Thank you for your time (: