The Conversation (0)
Sign Up

Download the template and print on A4 paper
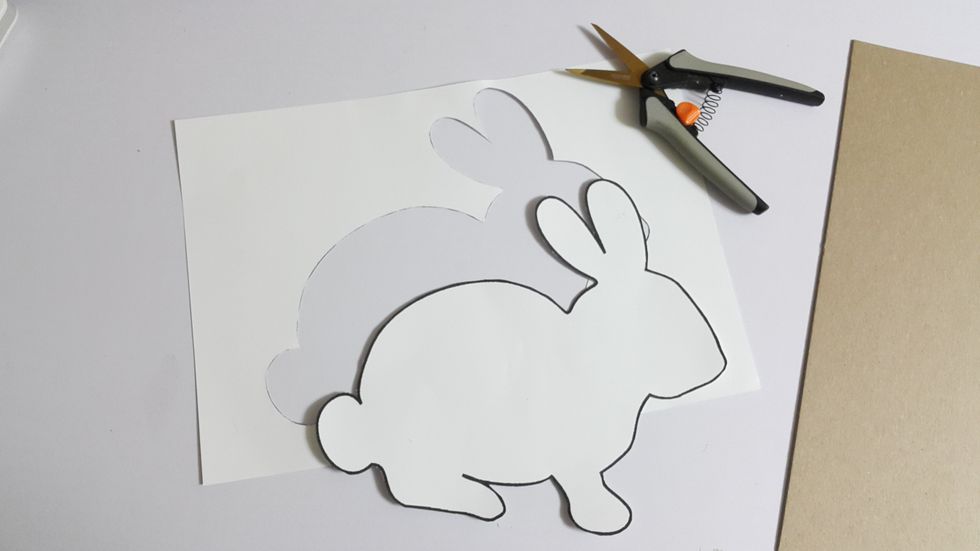
Cut the template out
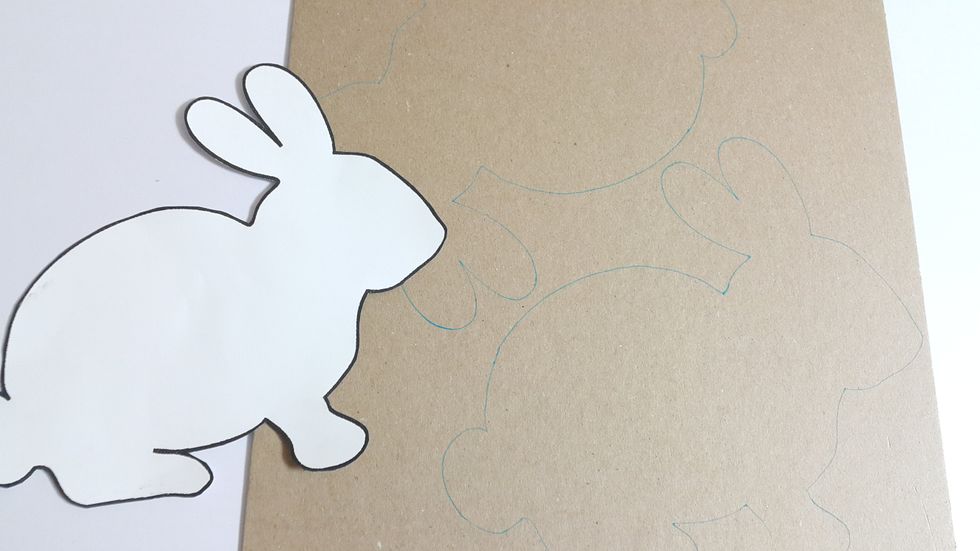
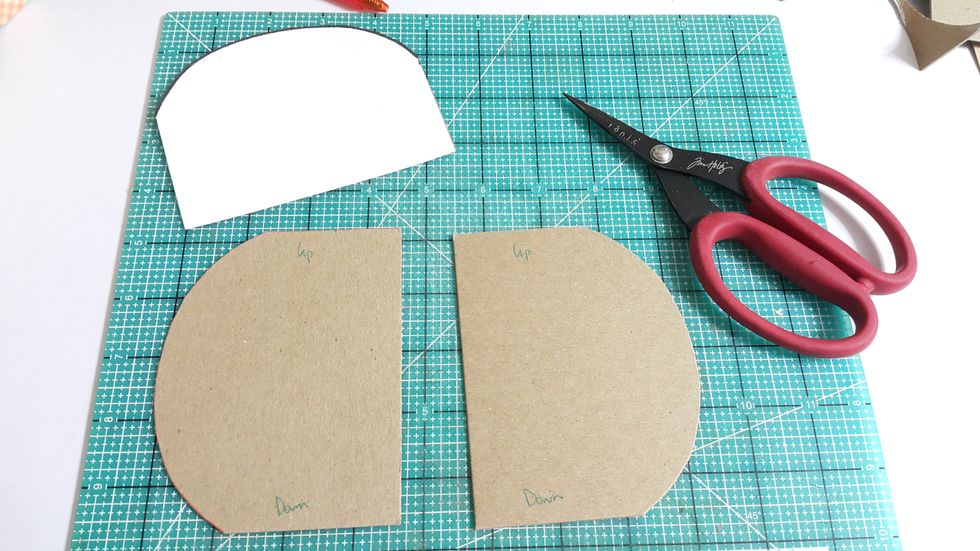
Trace twice the rabbit template on a piece of chipboard
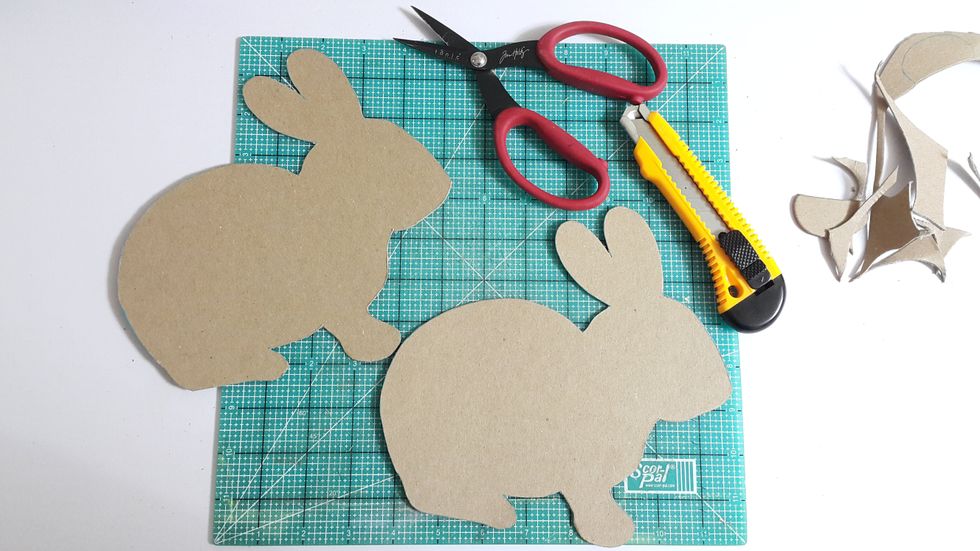
Cut the chipboard rabbit out
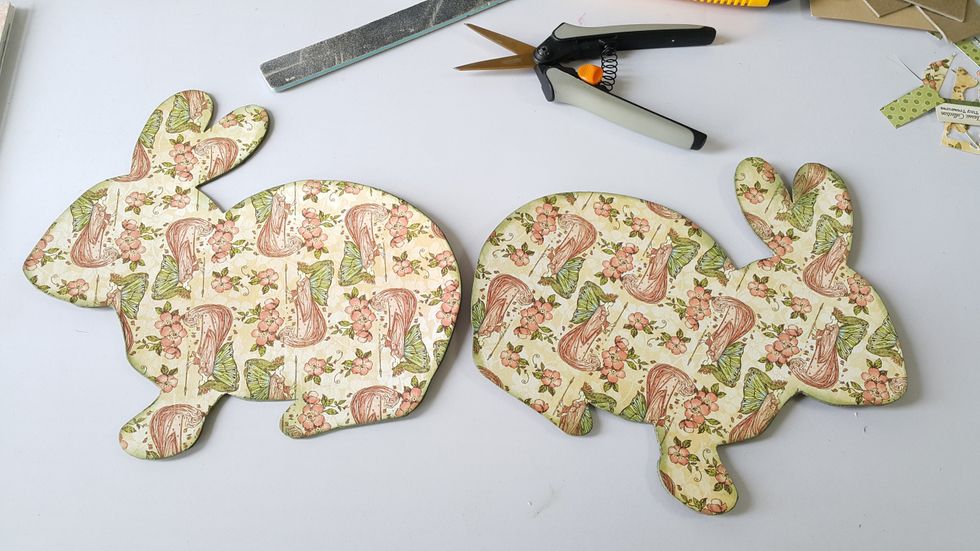
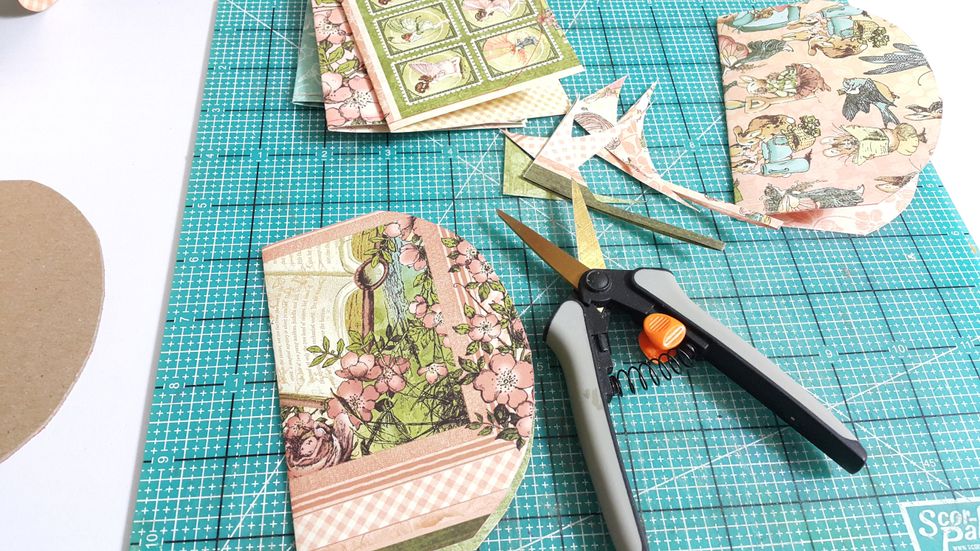
Cover both sides of the rabbit chipboard pieces with your favorite Graphic 45 papers
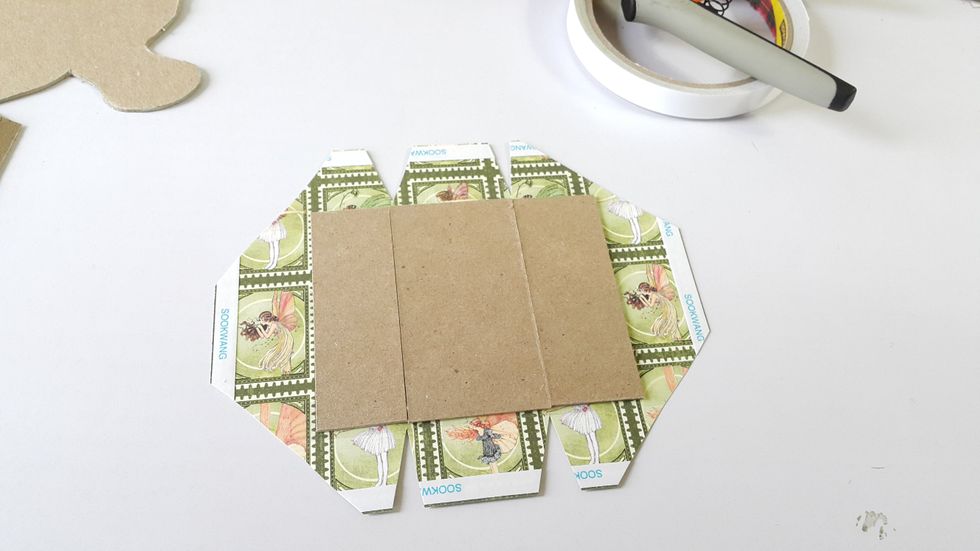
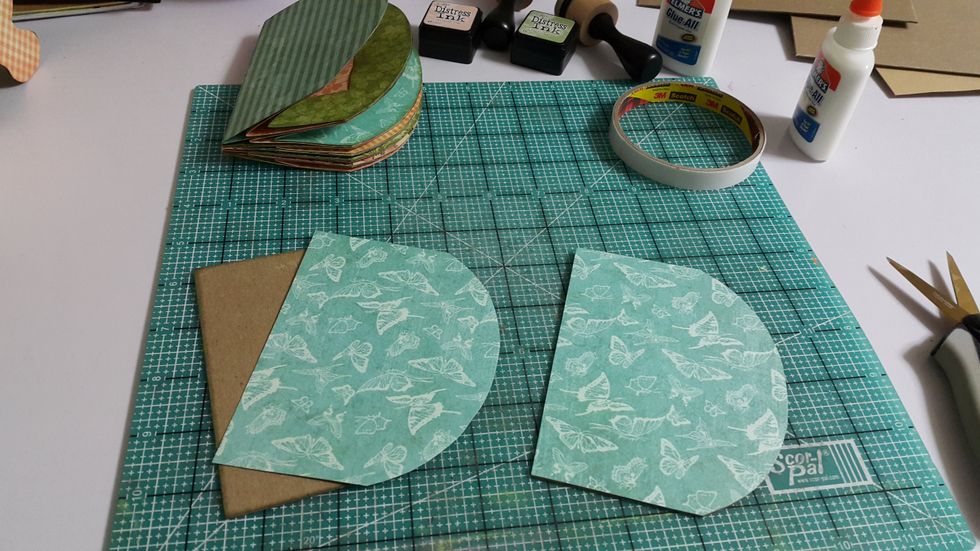
Cut chipboard to make the holder for candle according to the measurements on the template with 3" width, cover one side with paper
Ready another set for holding the mini album with 3" width as well
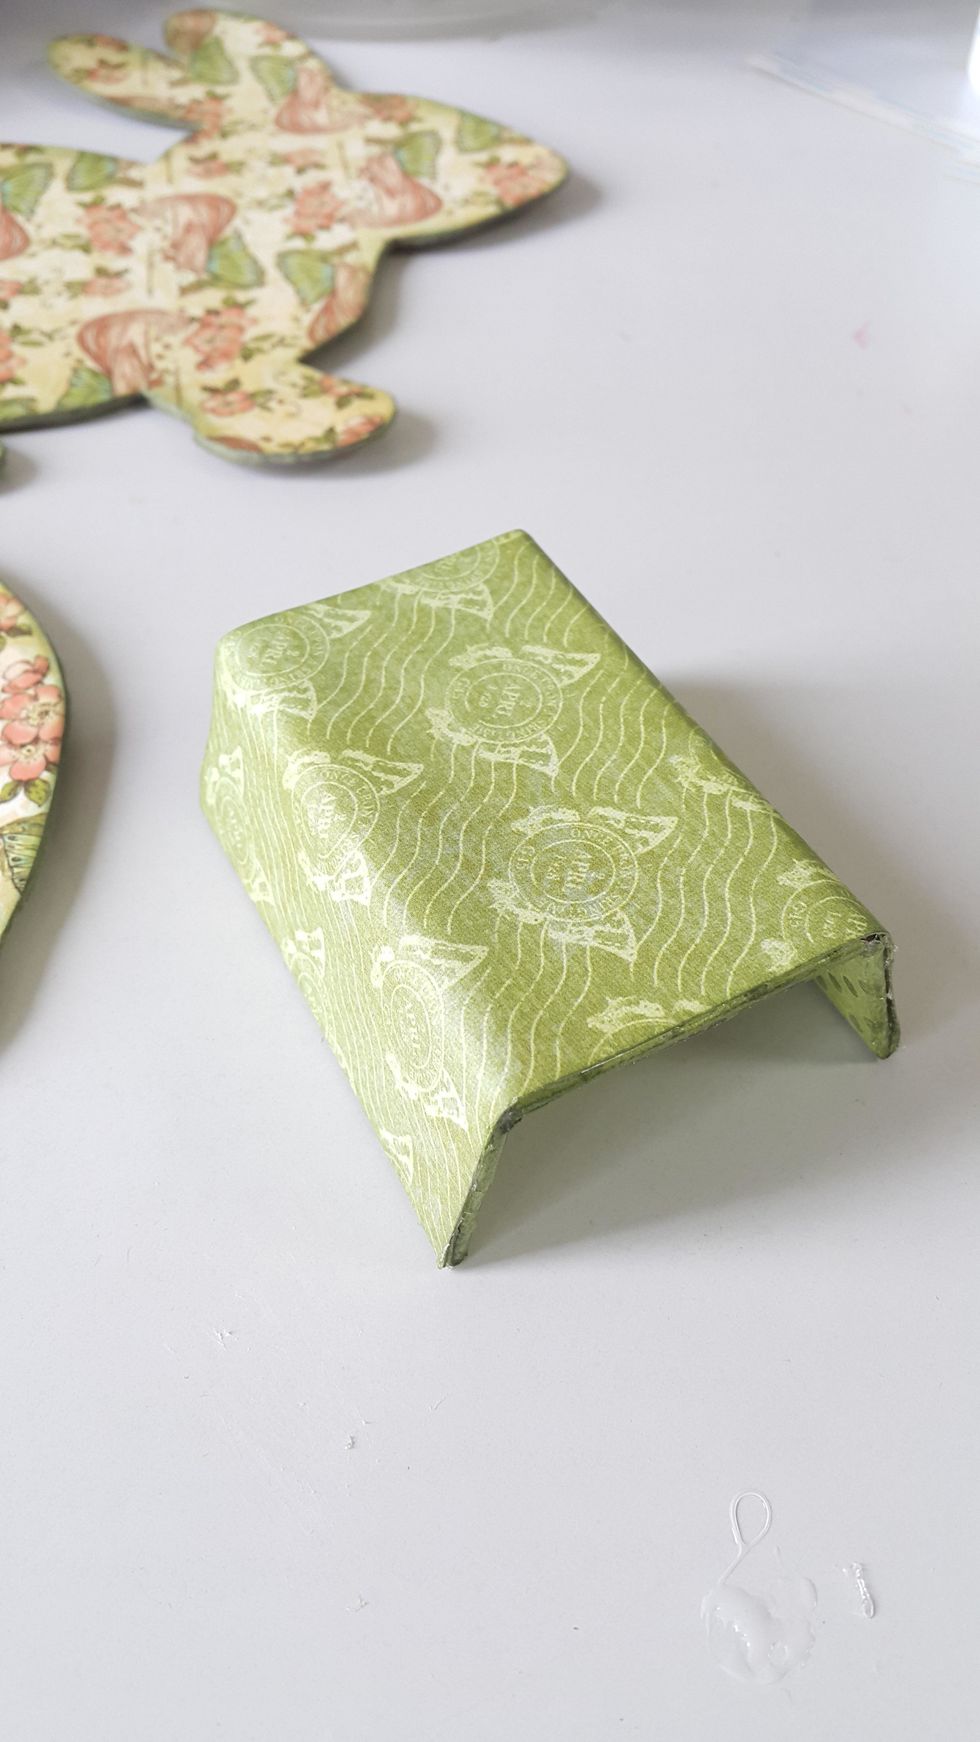
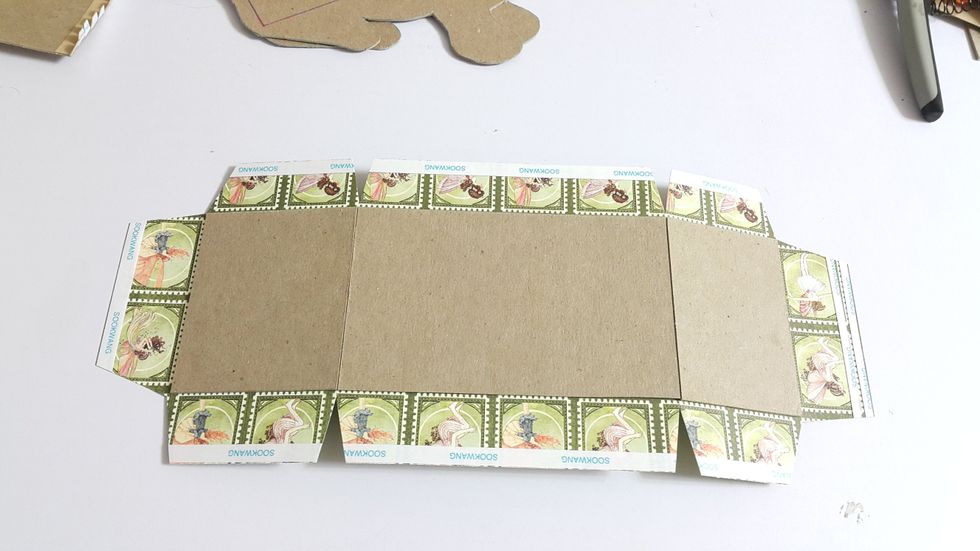
Cover the base of the holders with paper as well, and finally will be like this
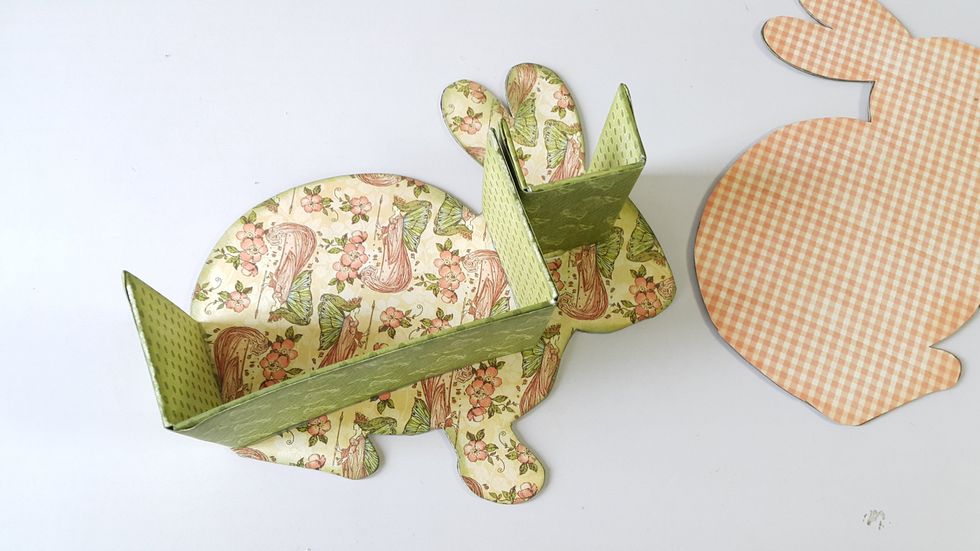
Use strong glue to hold the holders on one of the rabbit piece
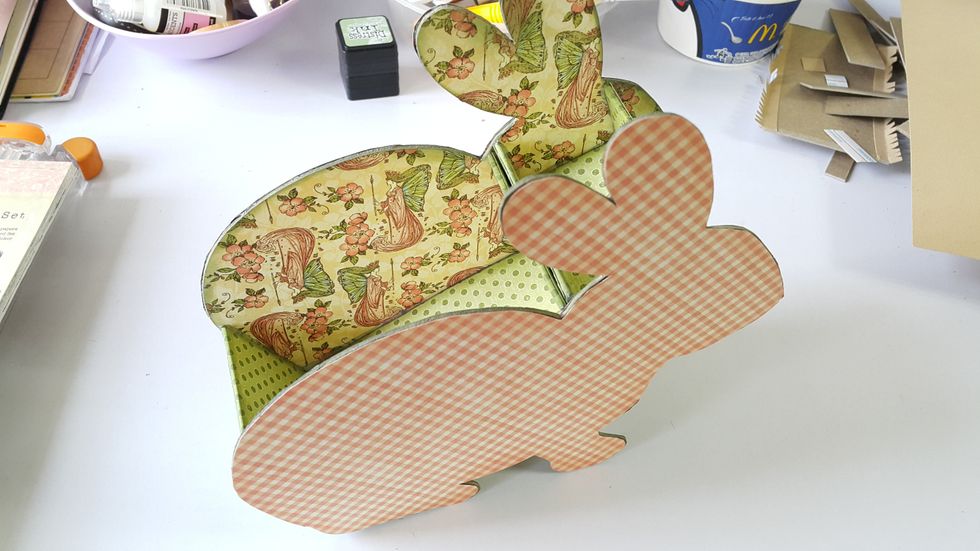
Use strong glue to finish the lantern base

Then cut out the template for mini album, remember to trim a bit smaller otherwise your album cannot be fit in the holder
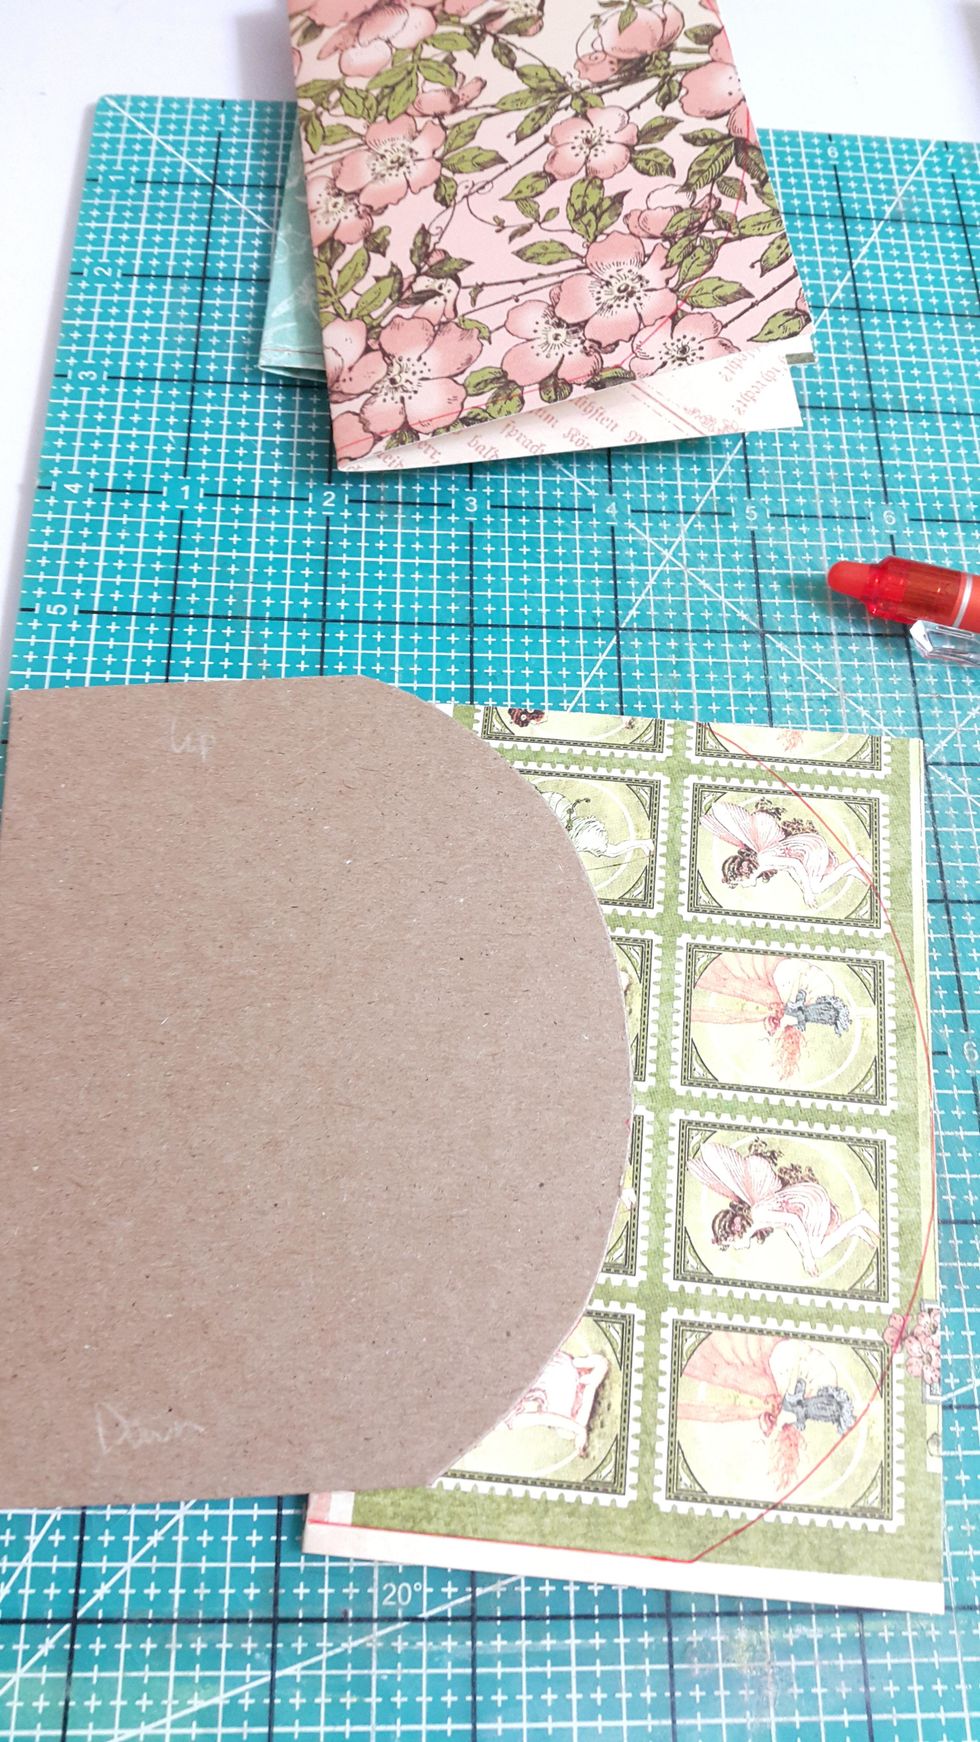
Trace and cut the chipboard pieces for album cover
Cover one side of the chipboard with paper and leave aside
Cut 6pcs paper with of 7-1/2" x 5" and folded in half, trace the album template on
Cut them with the guided lines
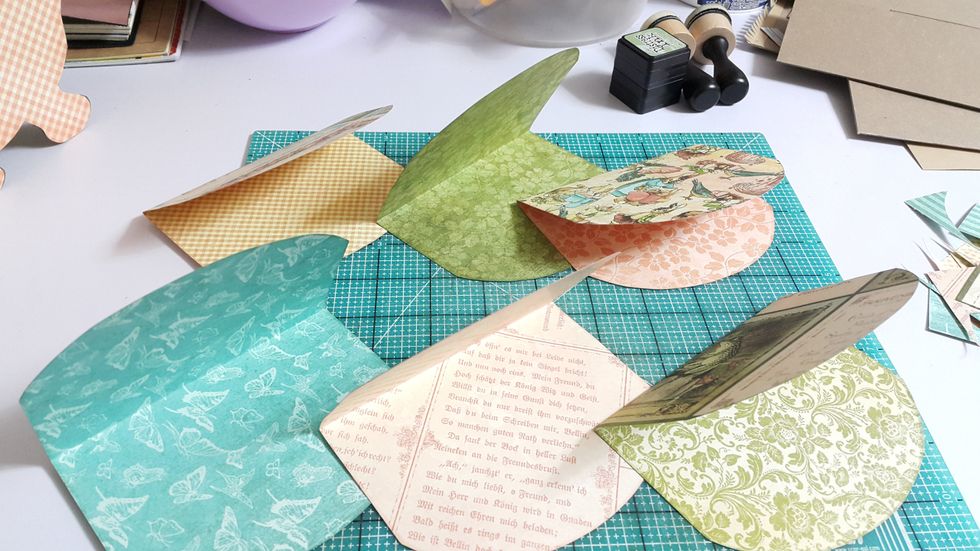
Here six pieces ready
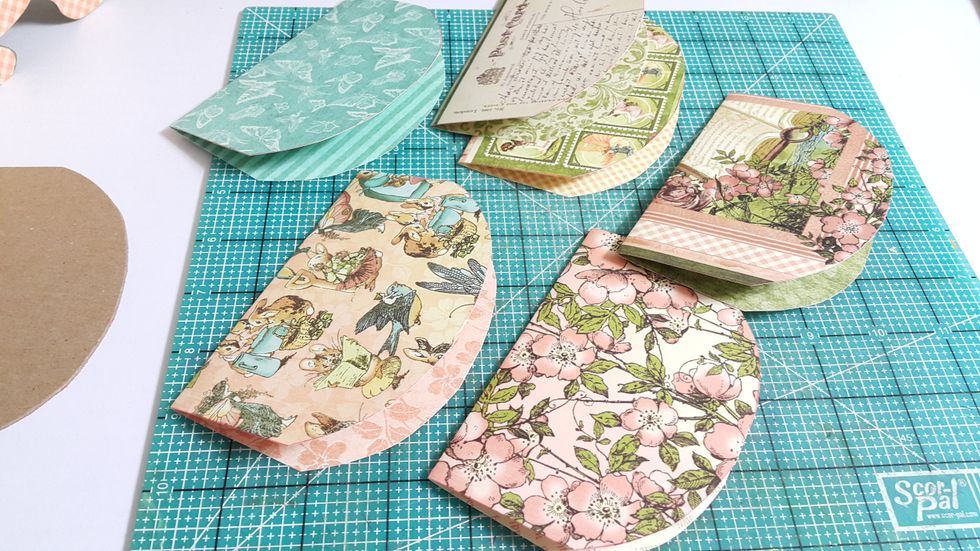
Cut another two sets of pages, one set using 6-1/2" x 5" papers, and one set using 4-1/2" x 5"
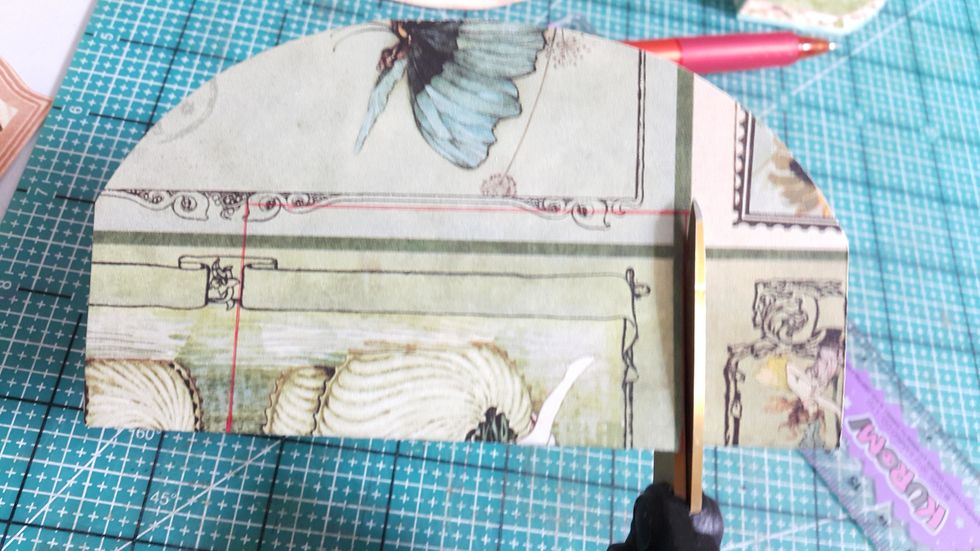
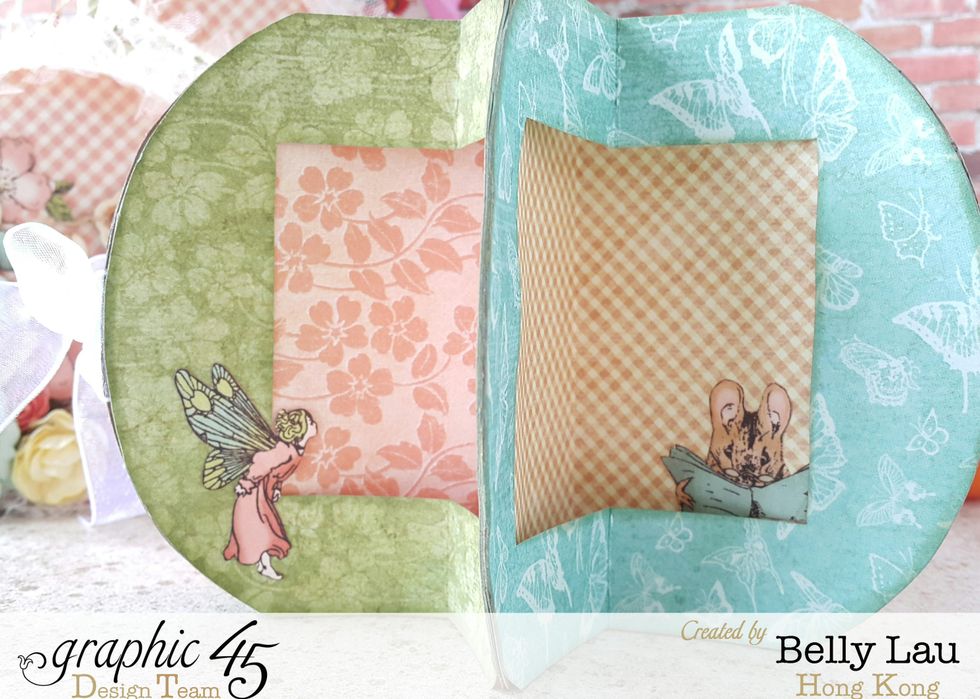
Use the smallest set of album pages, left one inch by the sides, draw a window and cut out
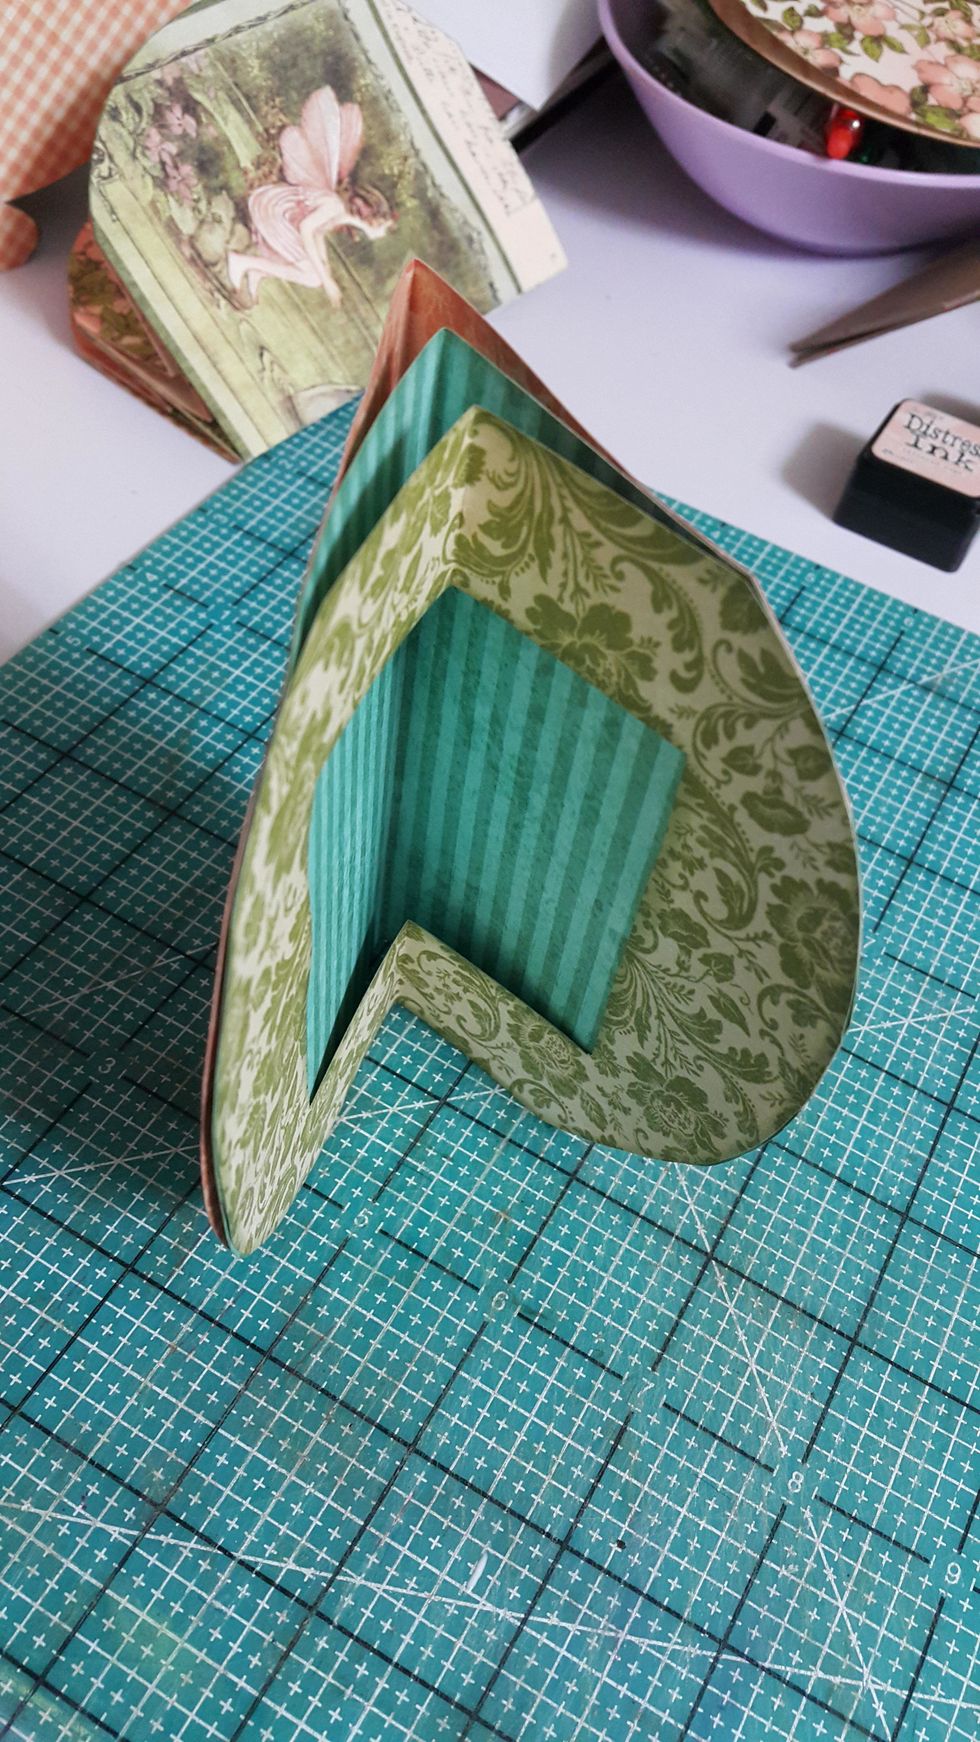
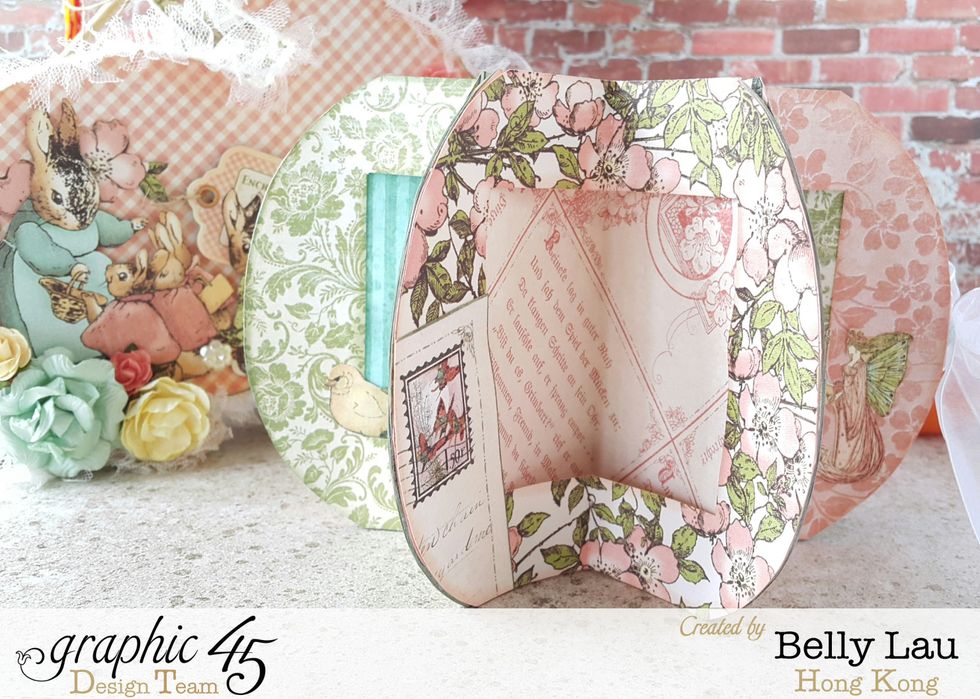
Here all the paper pieces ready, adhere them section by section, as shown
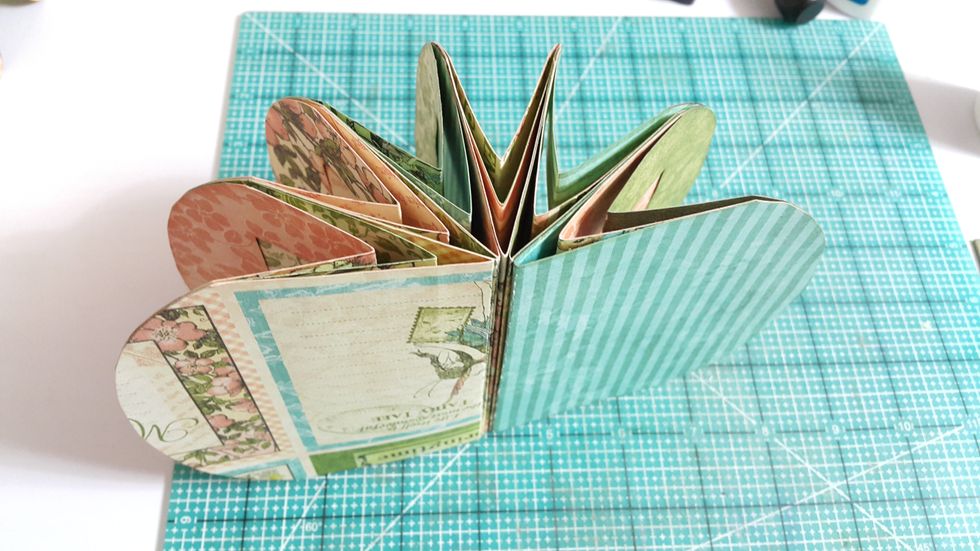
Adhere all the sections together

Adhere one ribbon across at the back
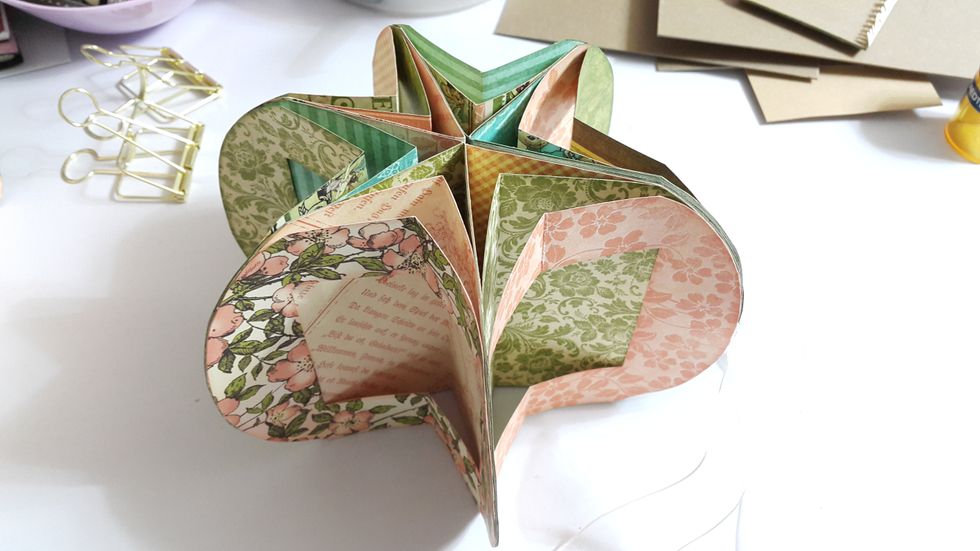
Adhere the chipboard cover and the star album done
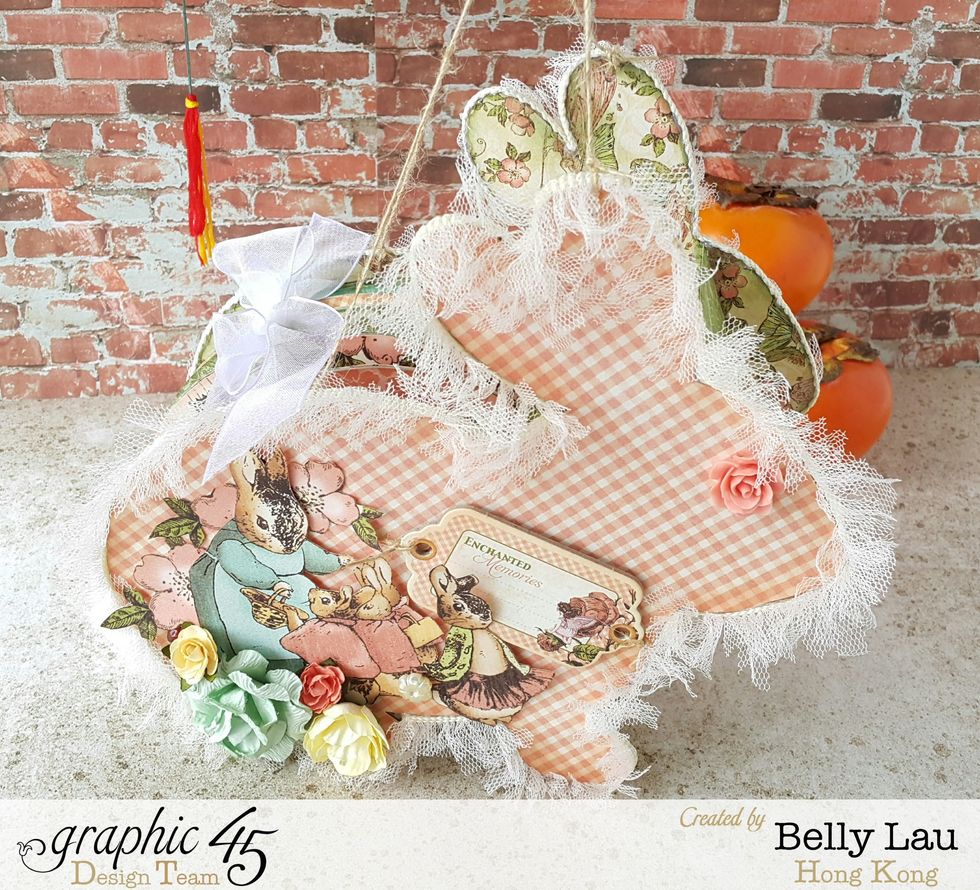
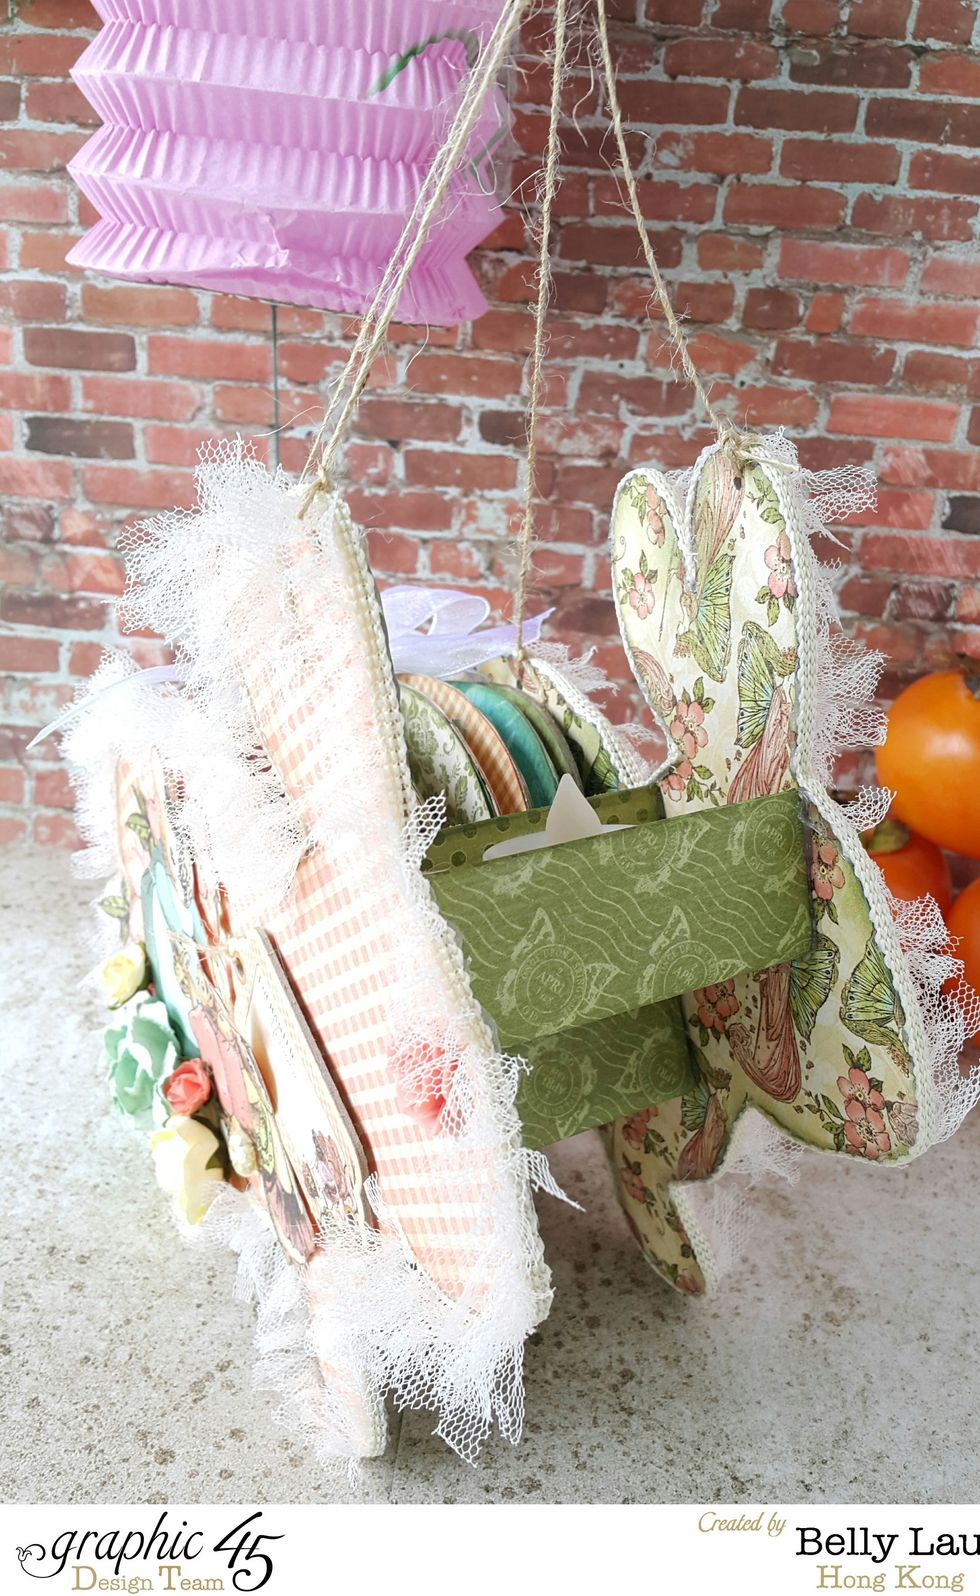
Start decorating your album, if you love to give it a string and wood stick like lantern, punch two holes on each side
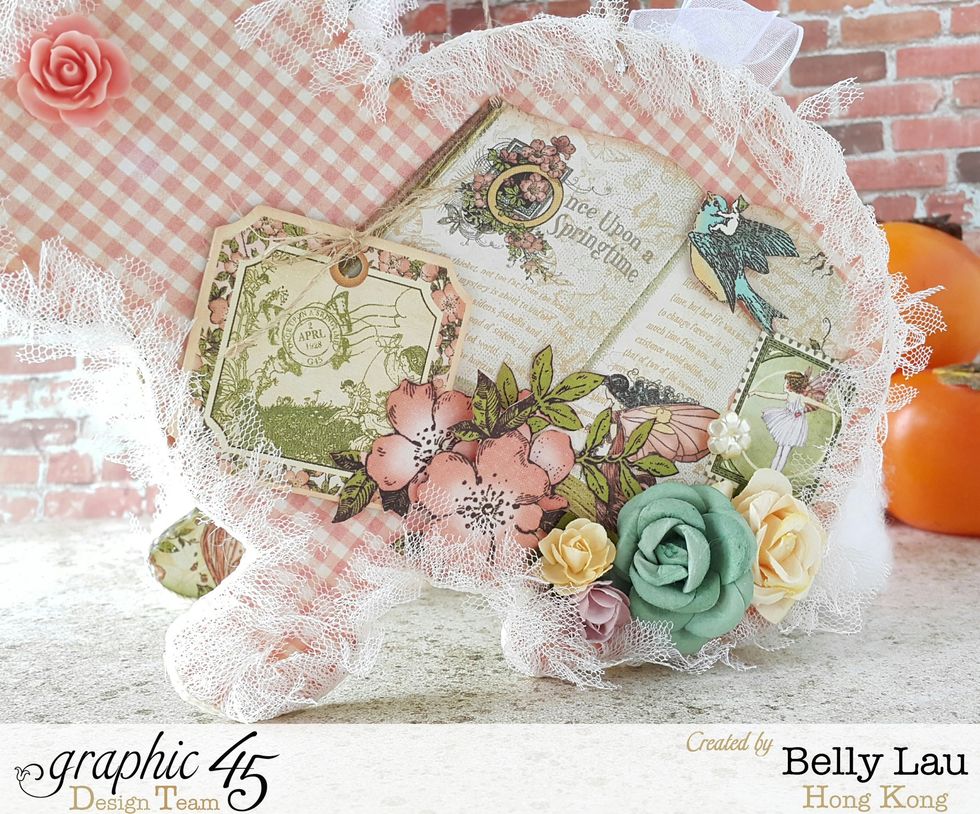
Remember to decorate both sides of your rabbit lantern
I use trim to hide the chipboard edges
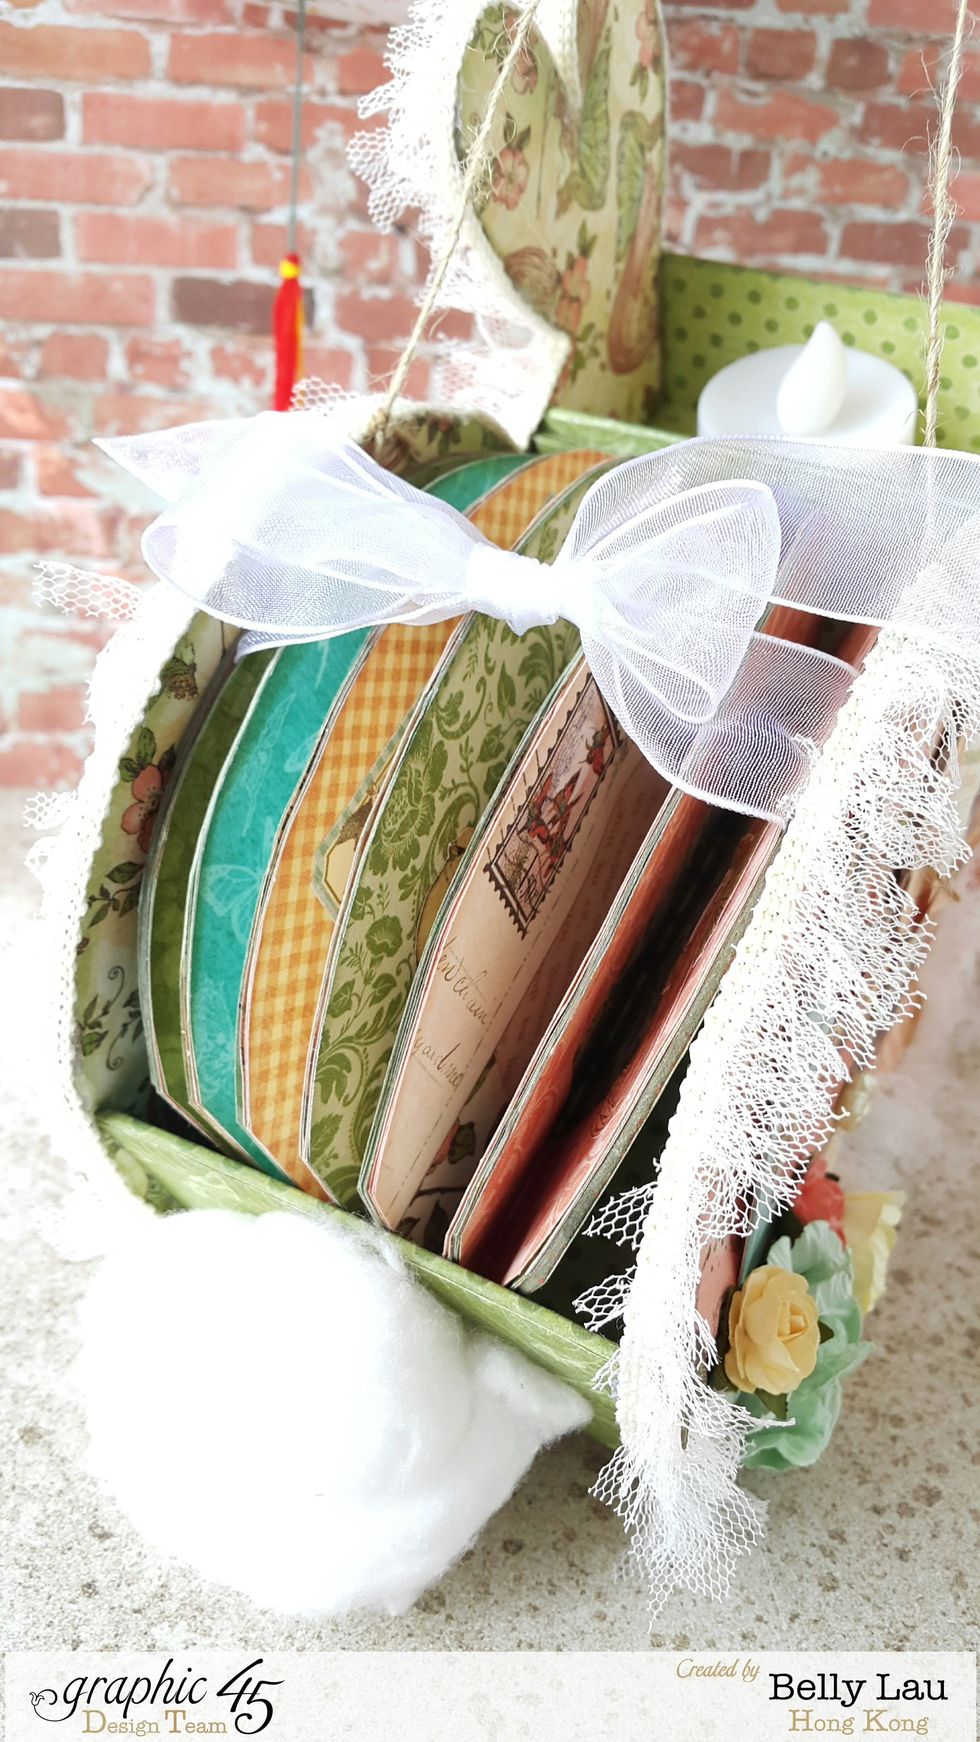
How the holder keep the album safe
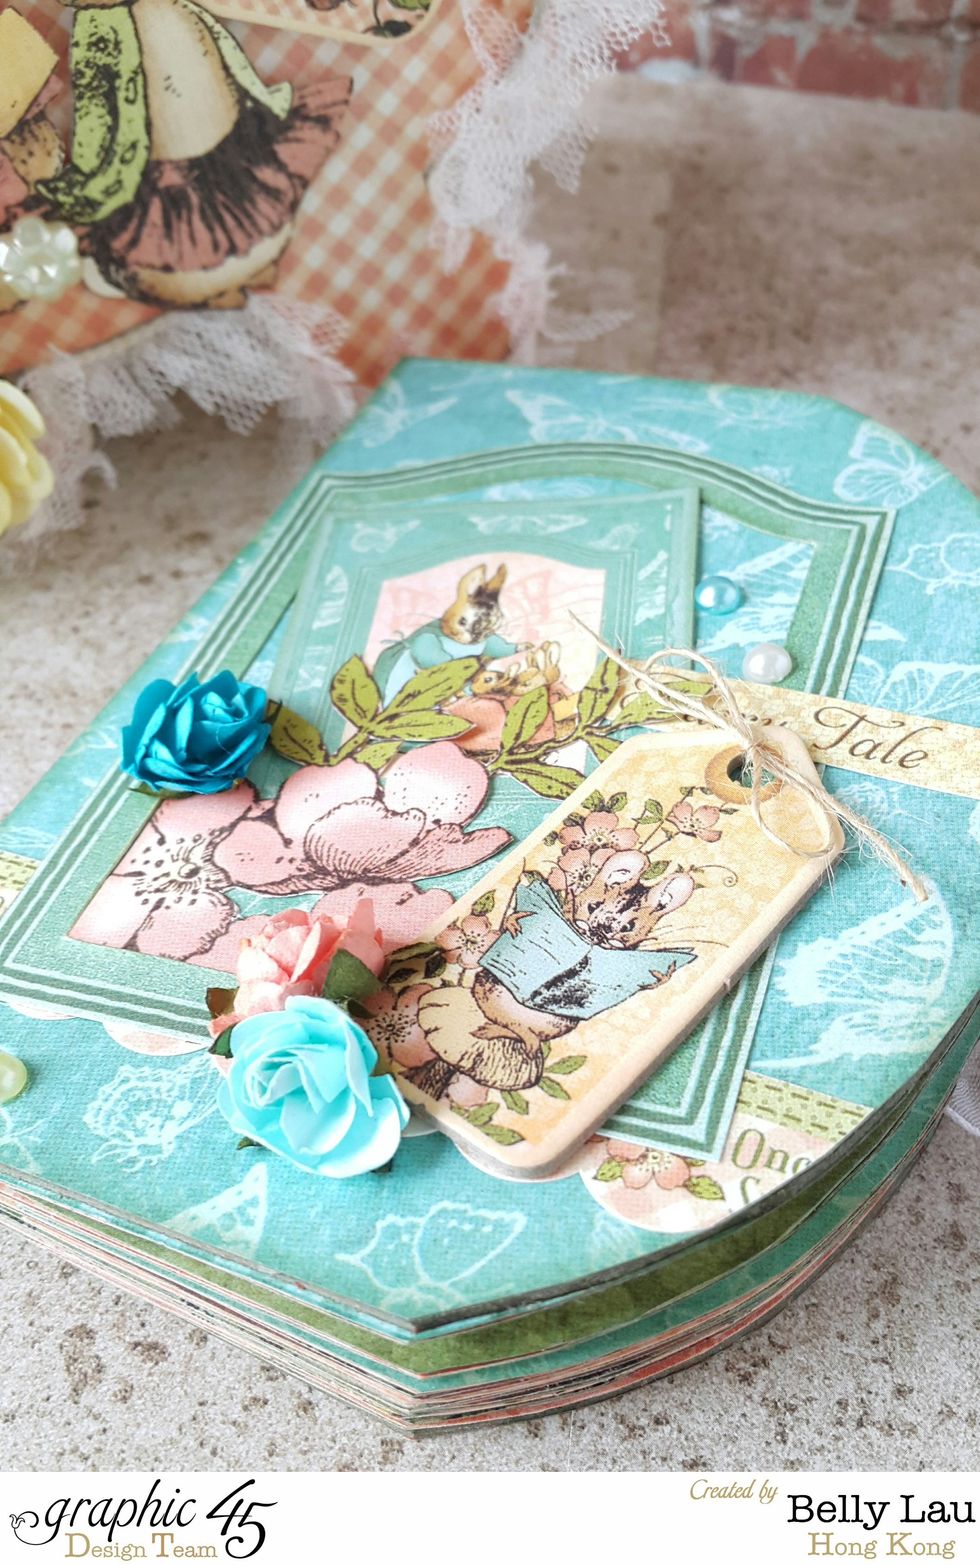
You have room to decorate the album with dimensional embellishments
Love the rabbits and fairies from the collection
You can even put more embellishments and stickers after having your photos in