The Conversation (0)
Sign Up
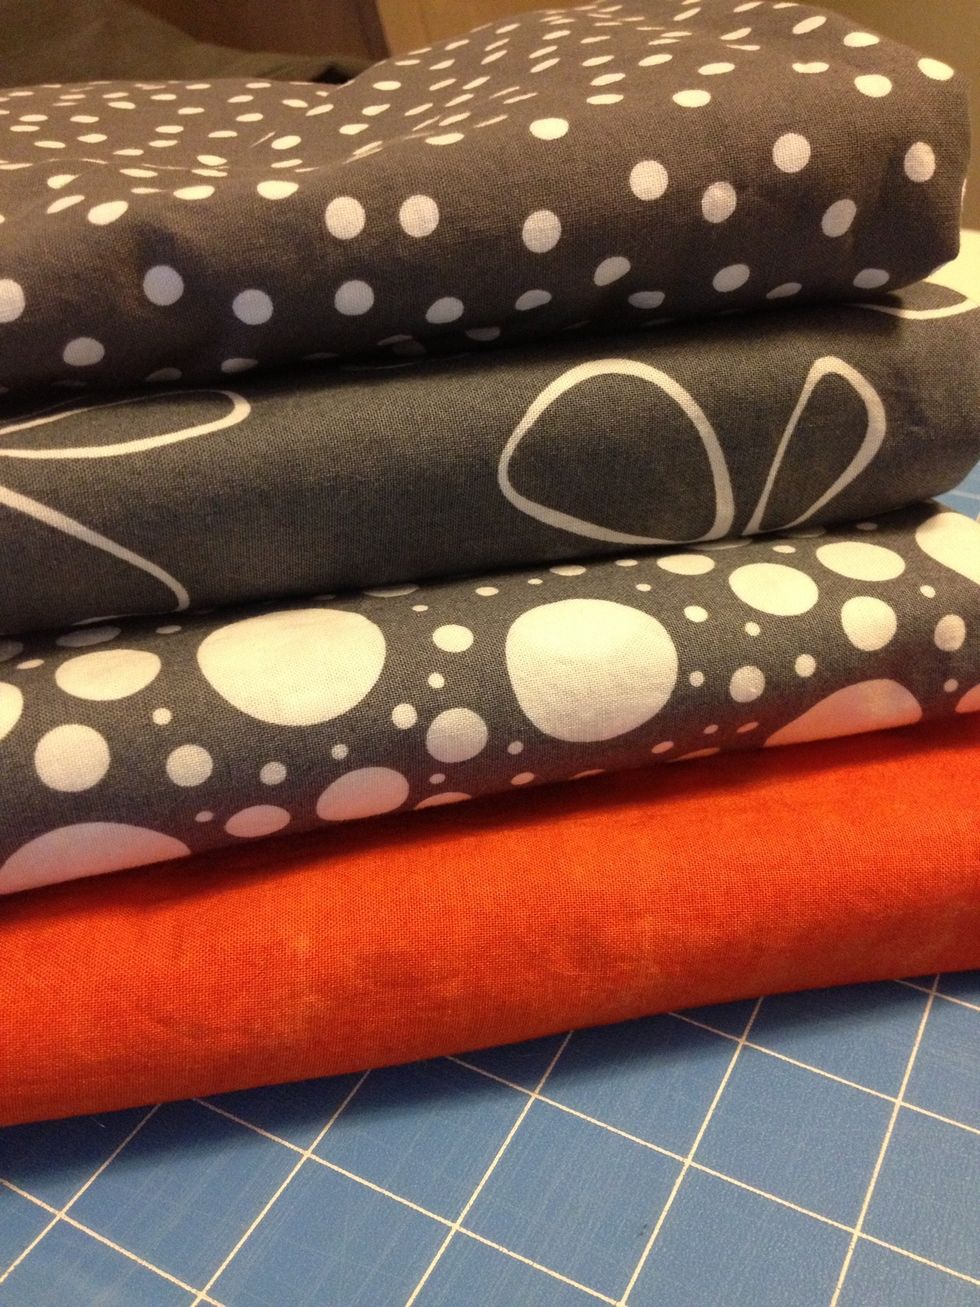
Select your fabric for the front. Select a towel for the back.
Always wash the materials! I hate this step, but it helps in the end. Wash it in whatever temp you will wash the final mat in (ie. warm/cold).
Size: you can start with the towel first or make the quilt top first. I like making the quilt top first, then size the bottom.
When deciding how big your squares, don't forget seam allowance!
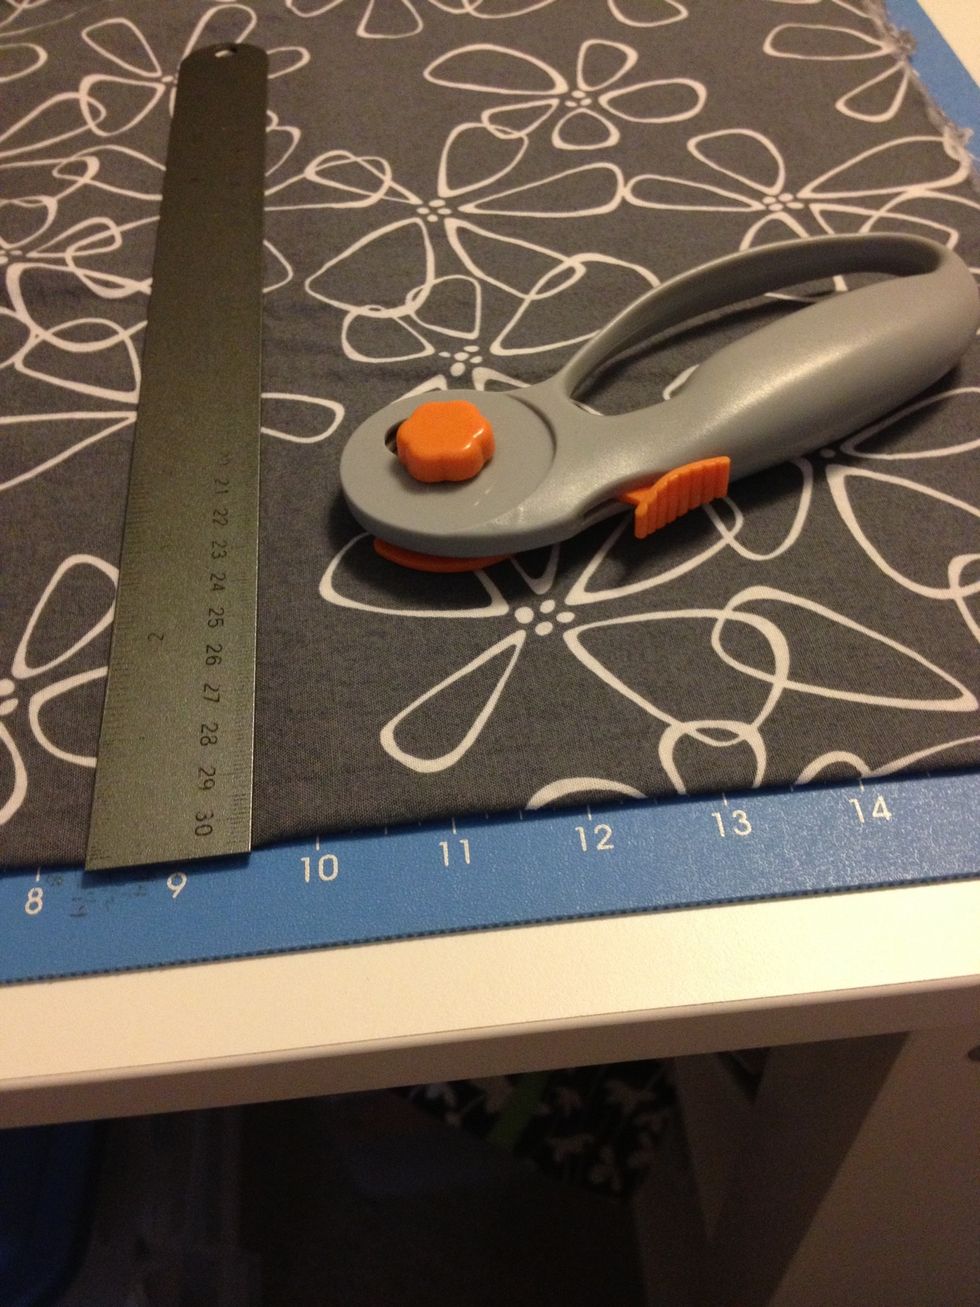
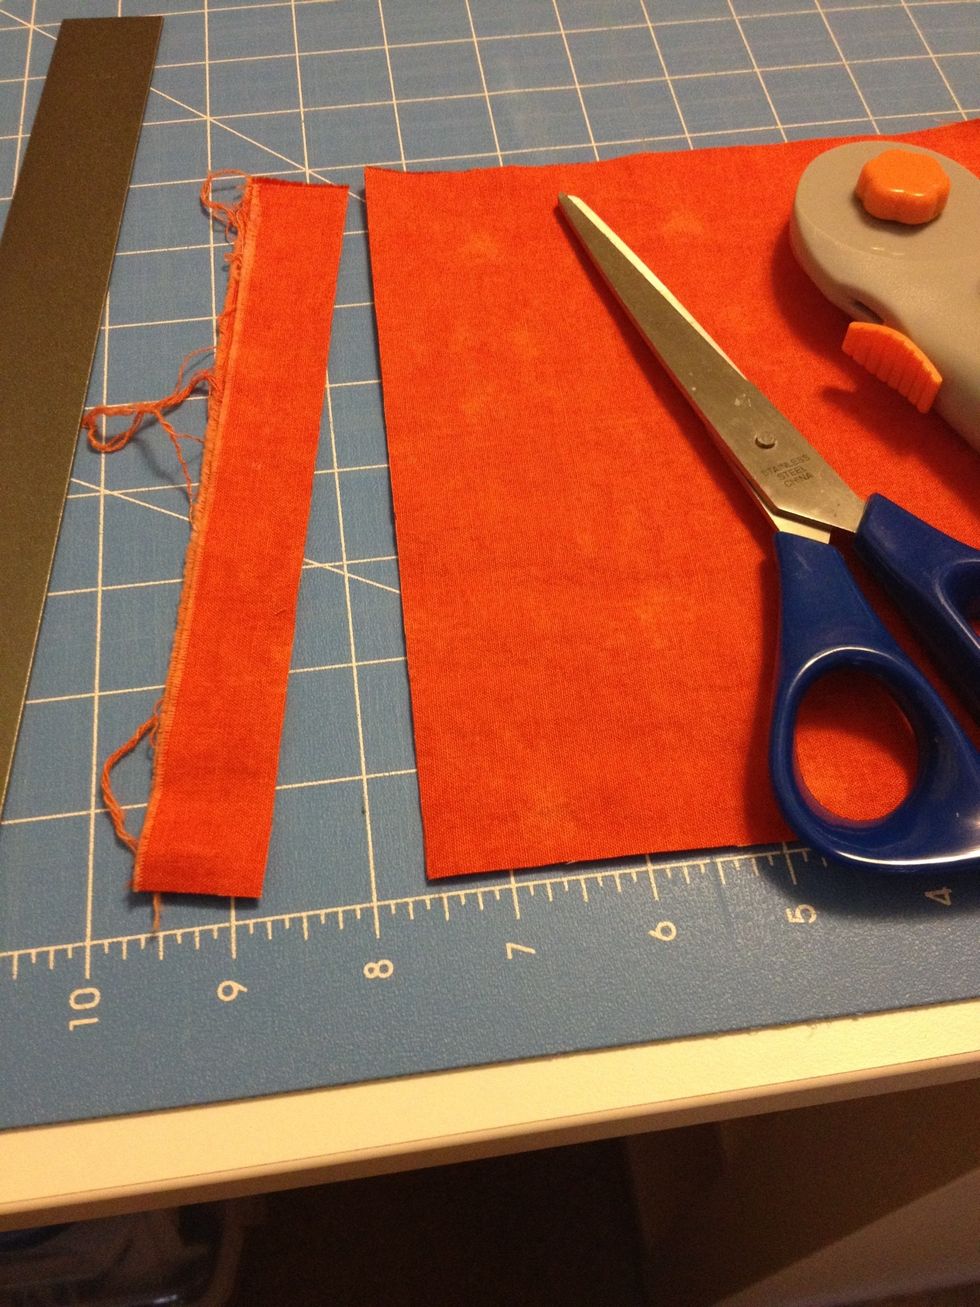
Decide how big you want your squares. If you have a big pattern, make the square larger, if solids, you can make them smaller. I'm cutting mine 7"x7". Some may turn into strips, others squares.
I cut only a few stripes at a time. This cuts down on over cutting, and accidental measuring. I can cut more when I need it, and have left over for the binding.
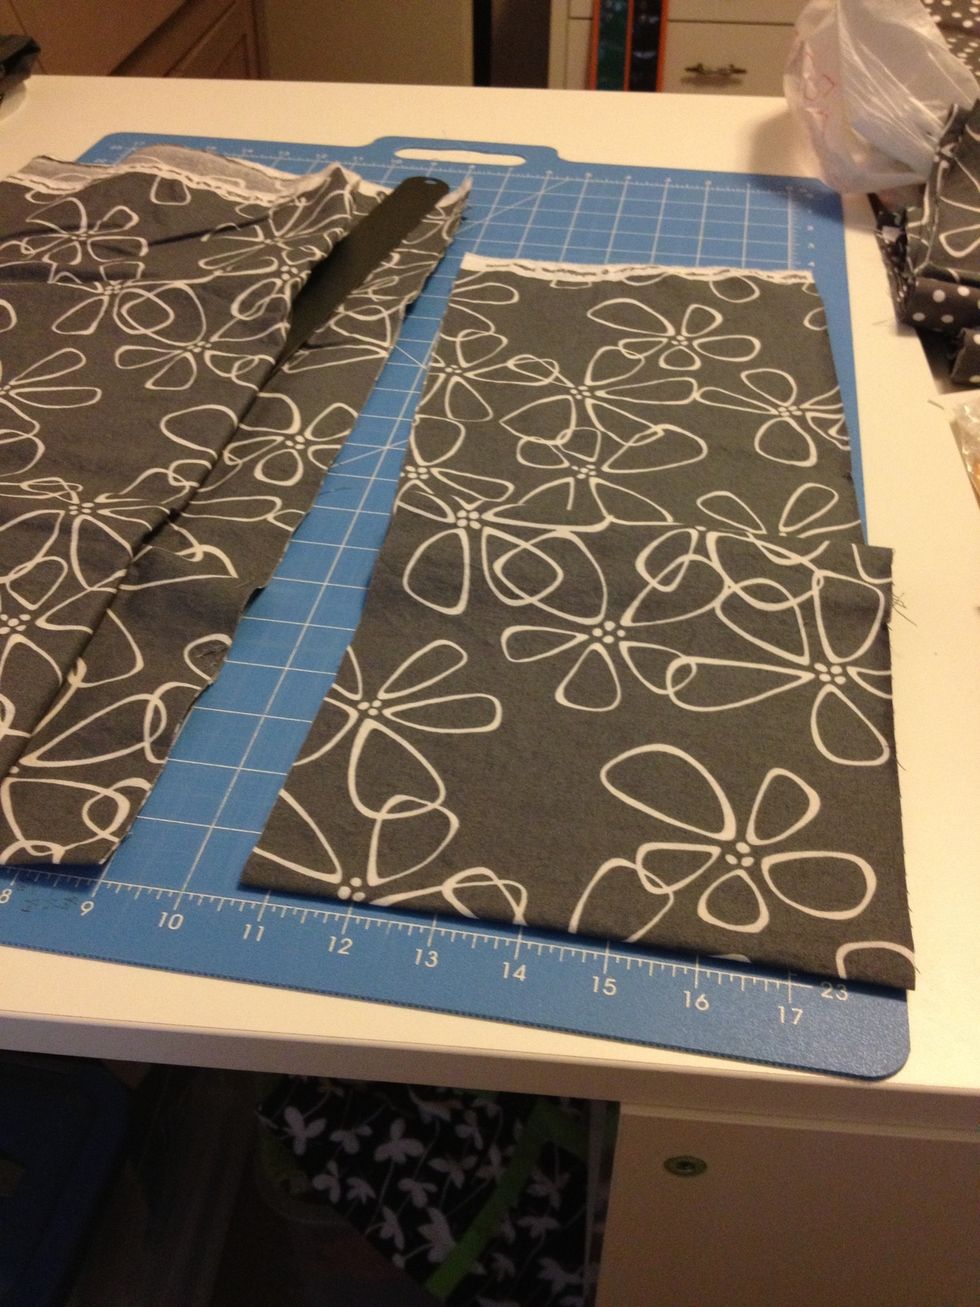
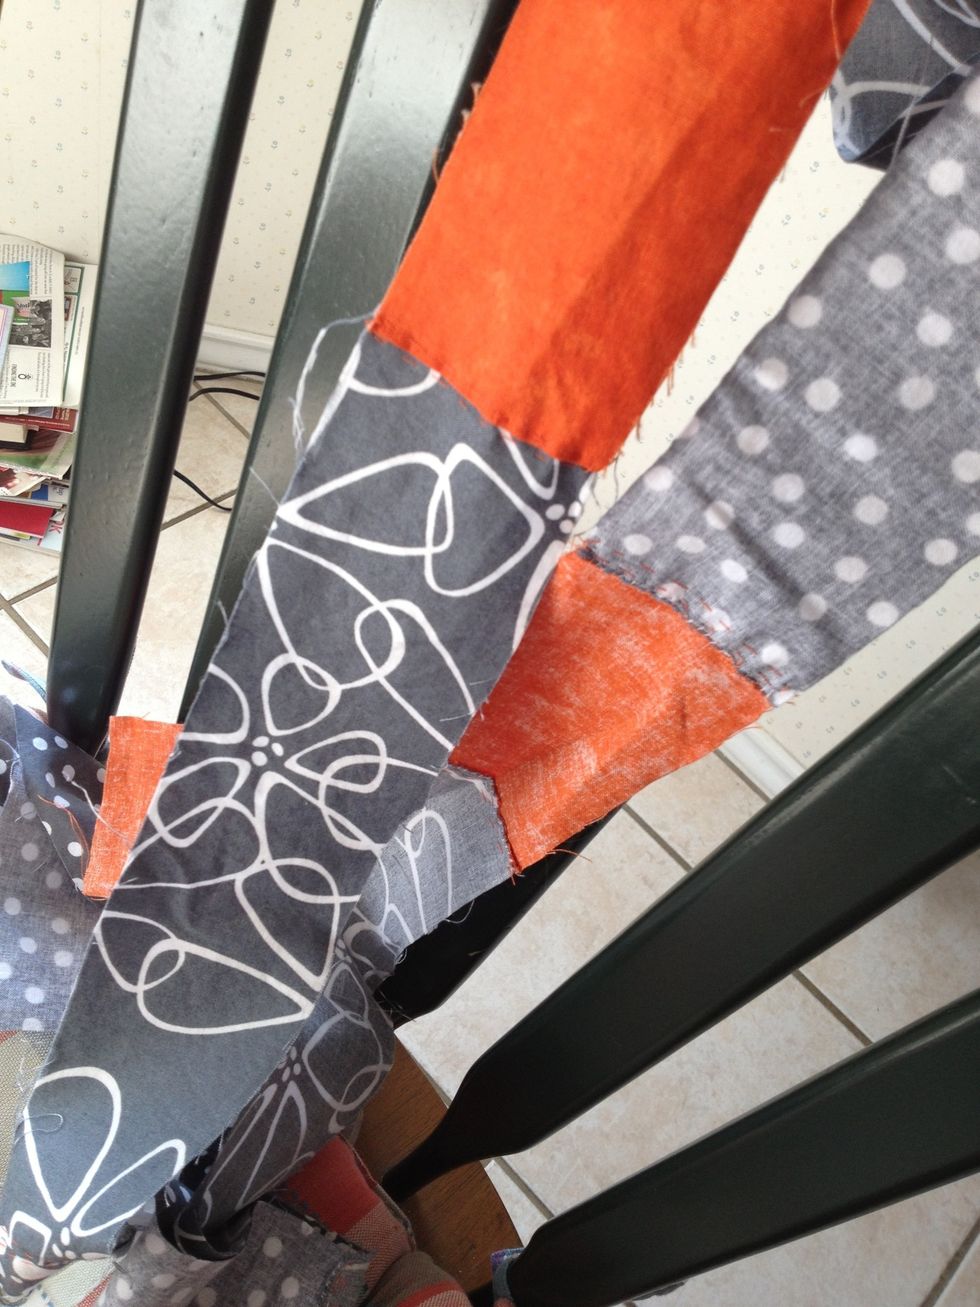
Now to cut squares! You can stack and wack, or cut one stripe at a time. Because I'm doing both squares and stripes, I'm doing it one at a time.
Trim all to same size! This will make quilting easier.
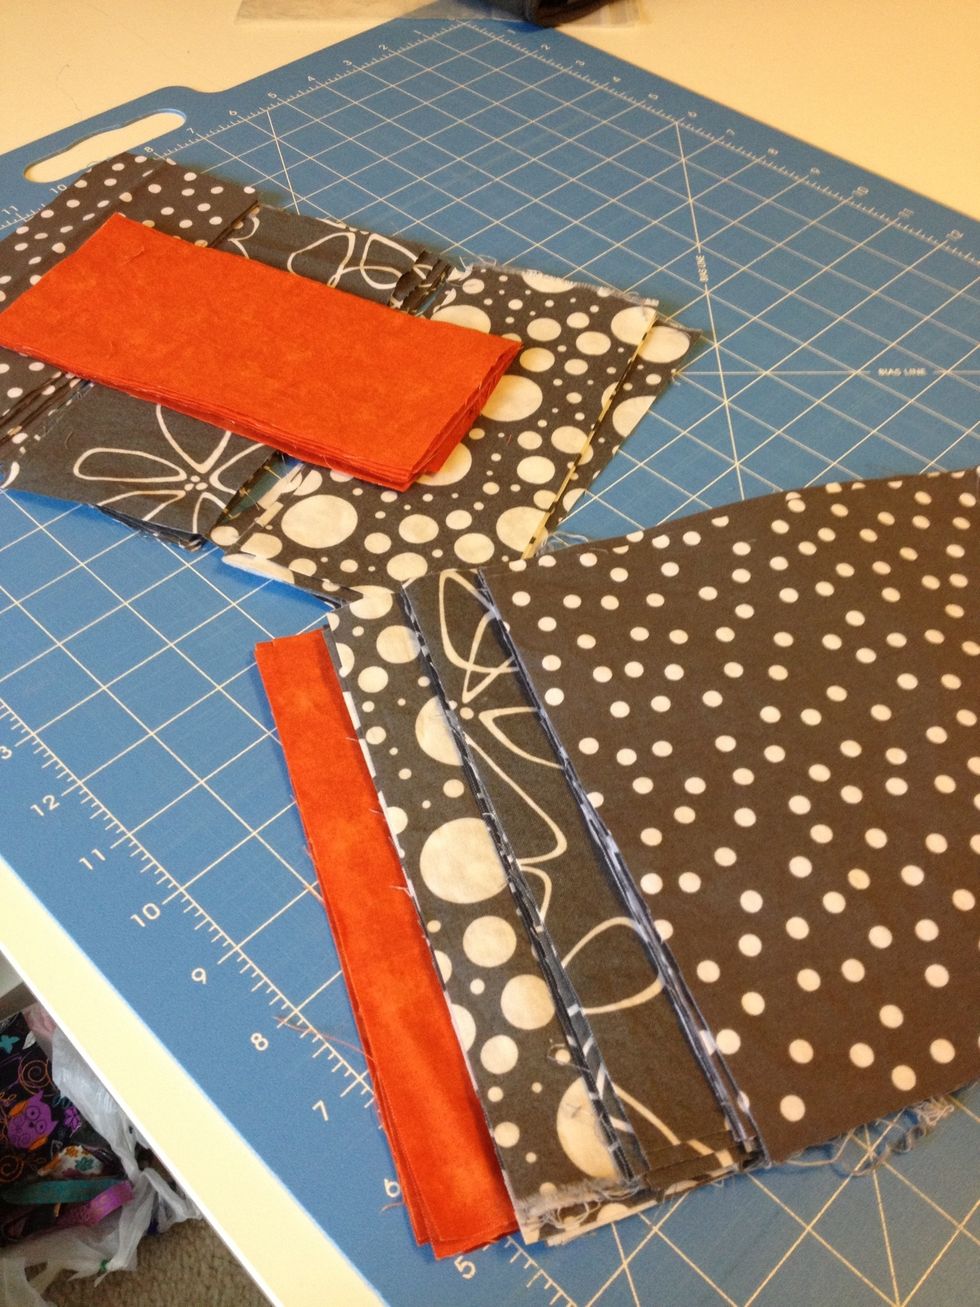
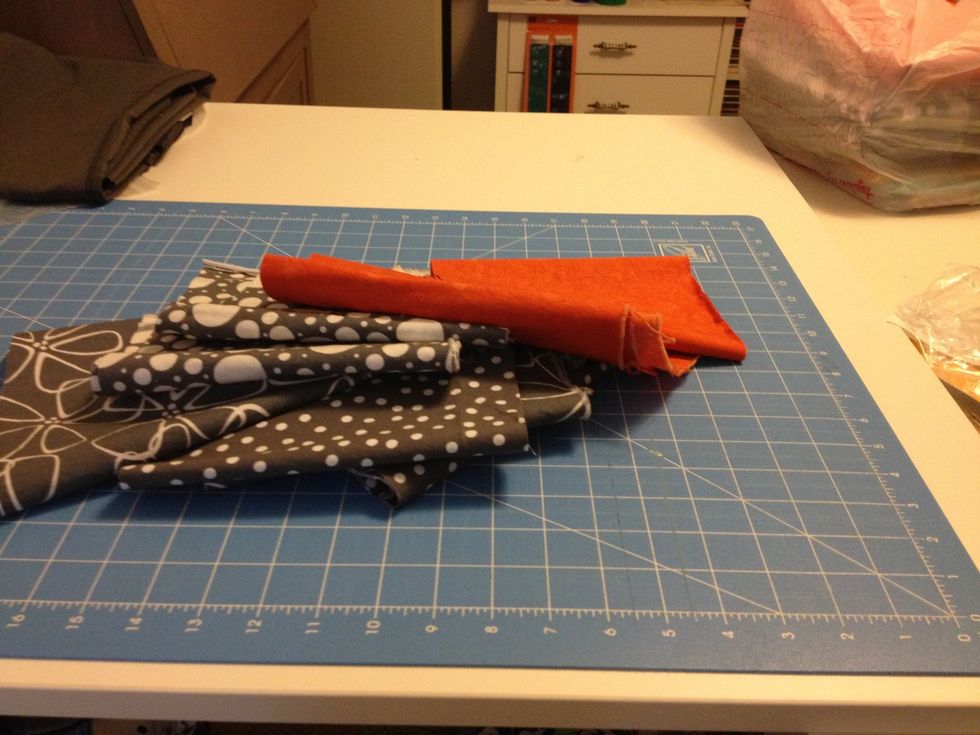
I like to have my stuff pretty before layout, easy to see... And now, design! This will depend on finished size, pattern, creative mind.
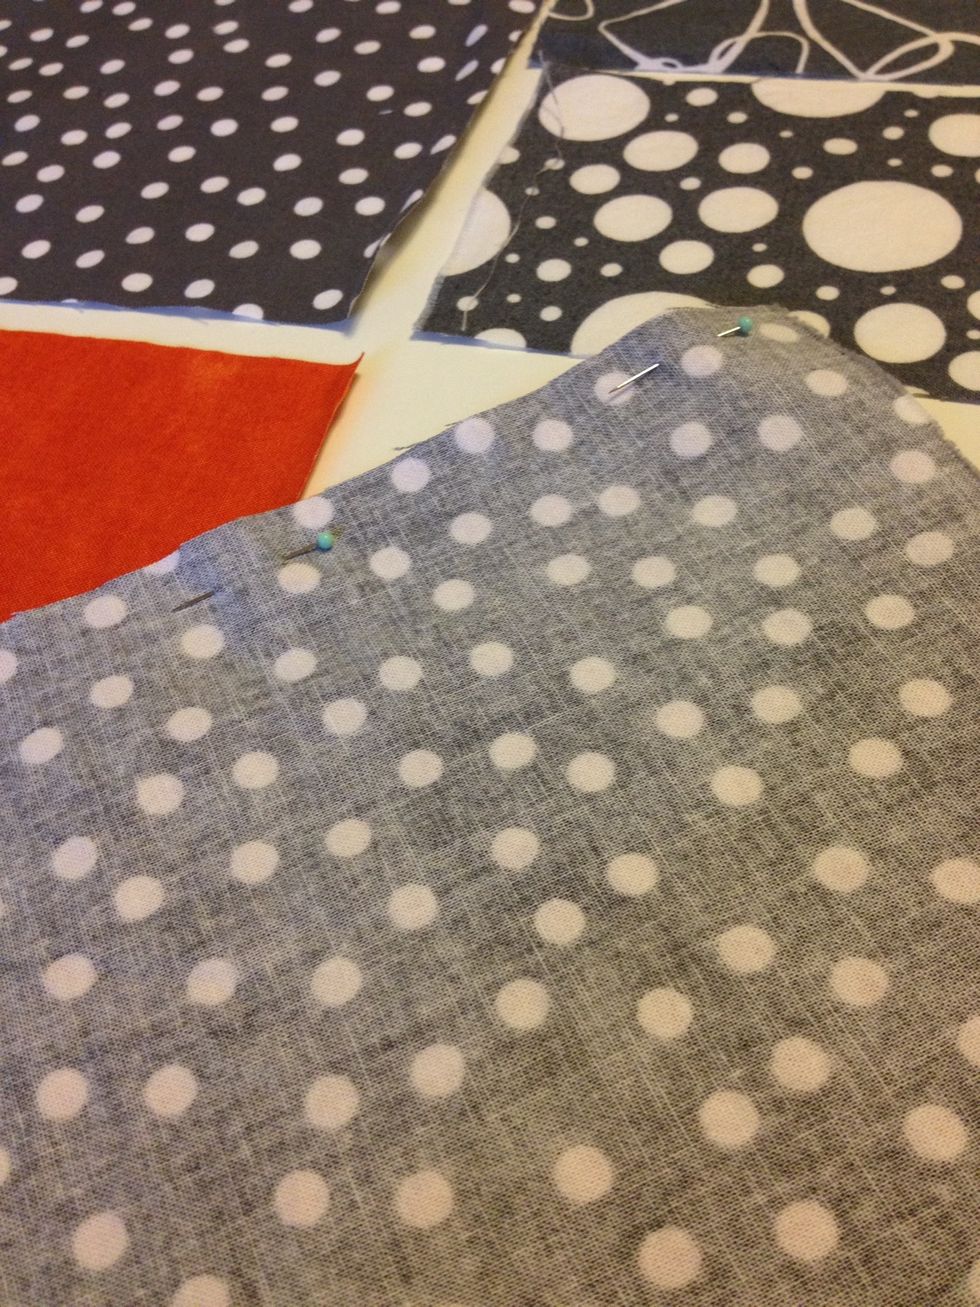
When ready, put a pin in it! Pin the squares, and sew until you have rows. Then the next row, and next. Since I hand sew, I'll show you how I do it. If you machine sew, whirr away!
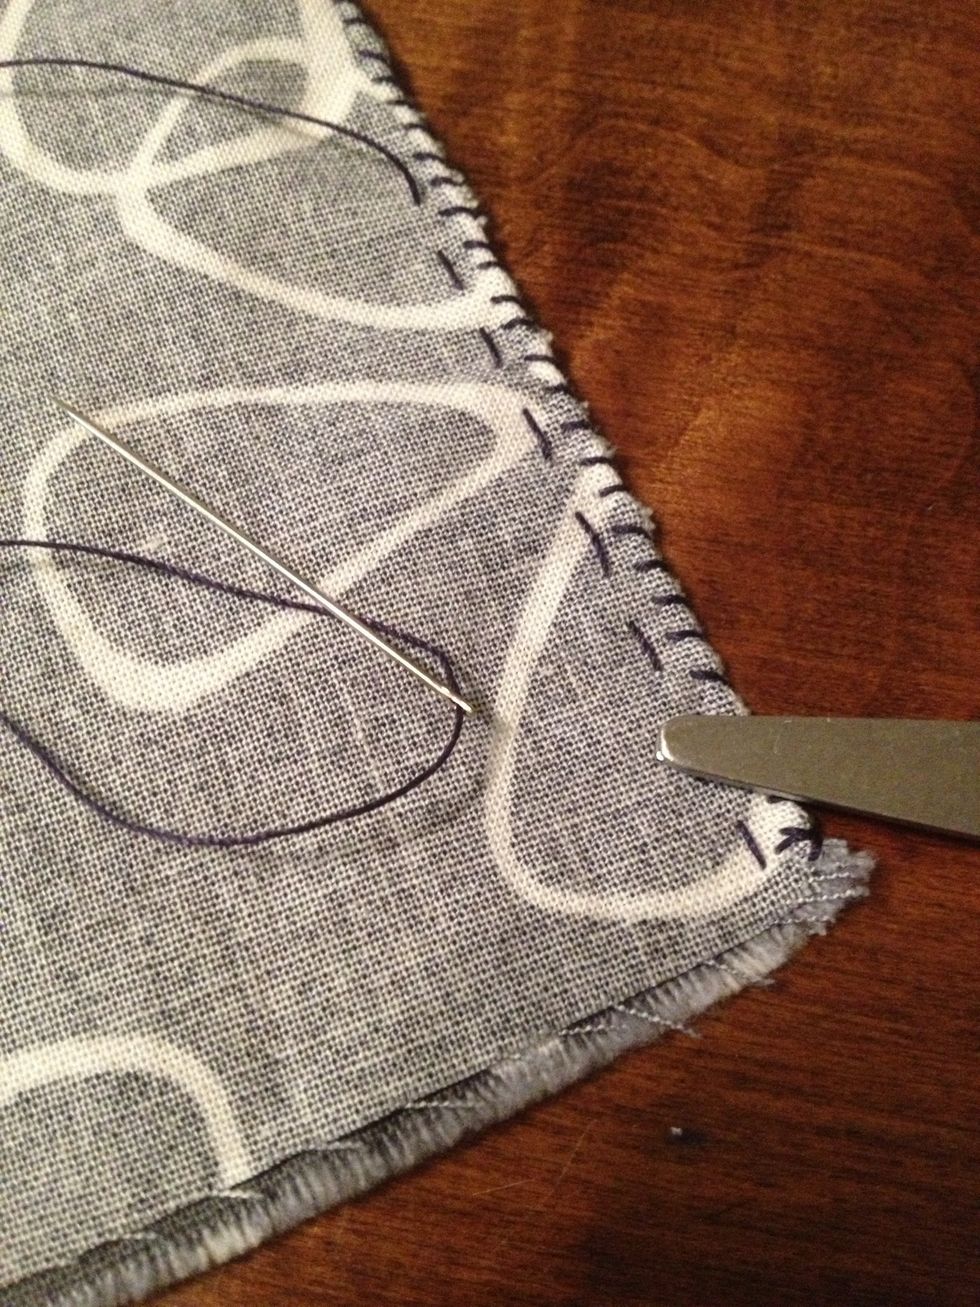
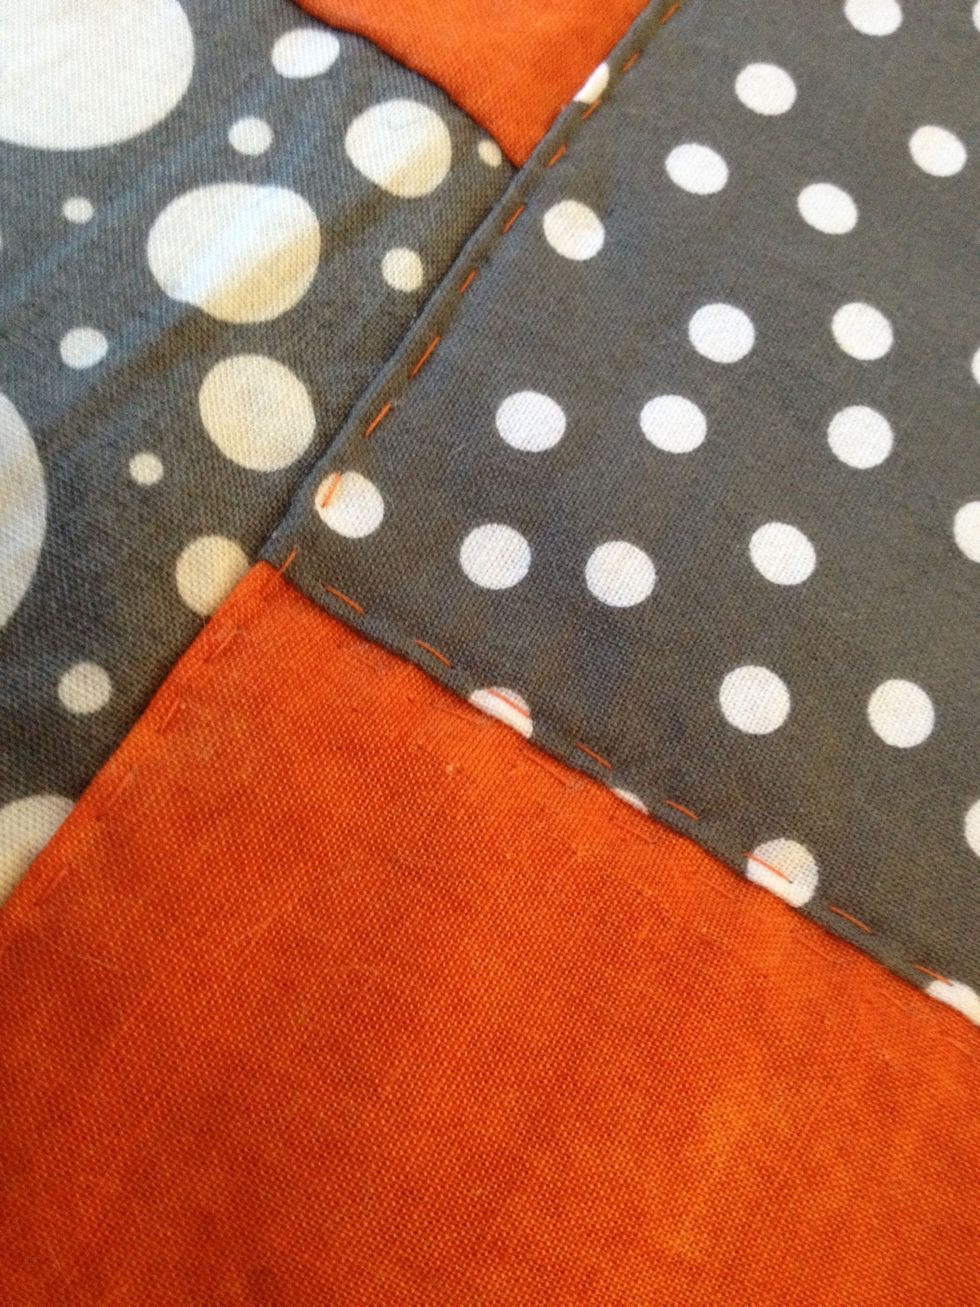
Slip stitch the edges, and then use a running stitch. This helps secure the pieces like a machine stitch. If you want, you can go over the running stitch to re-enforce.
Sew the strips together to make the top. Almost done!

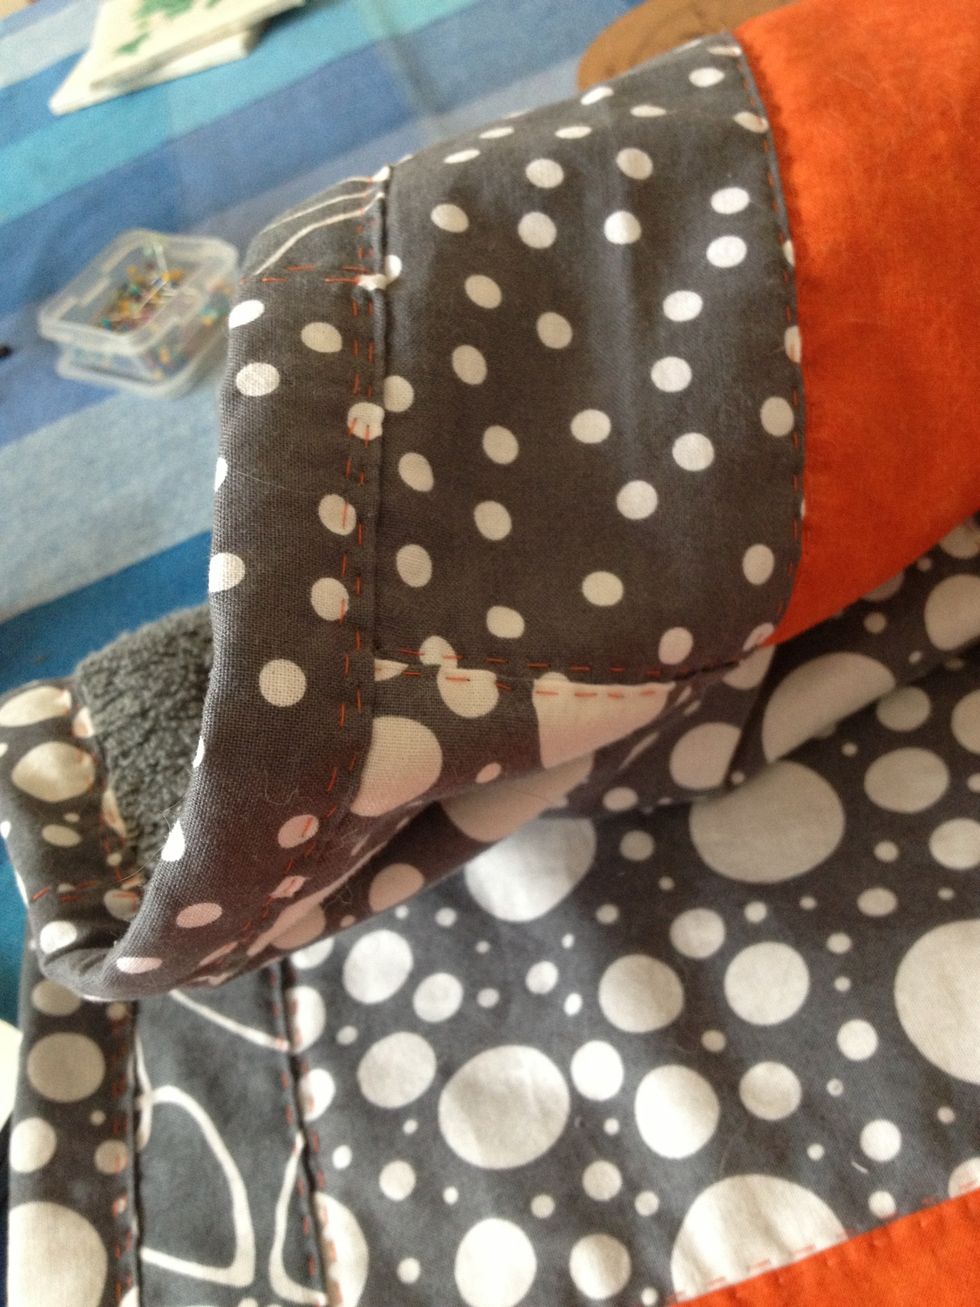
Place it on the towel, and pin.
Sew the top to the towel, not only is this decorative, but binds top to towel better.
Binding! Make or buy binding.
Cut the towel to the size of the quilted top. Don't worry about the sides fraying, you will cover them with binding.
Sew binding to mat, making sure raw edges are covered.
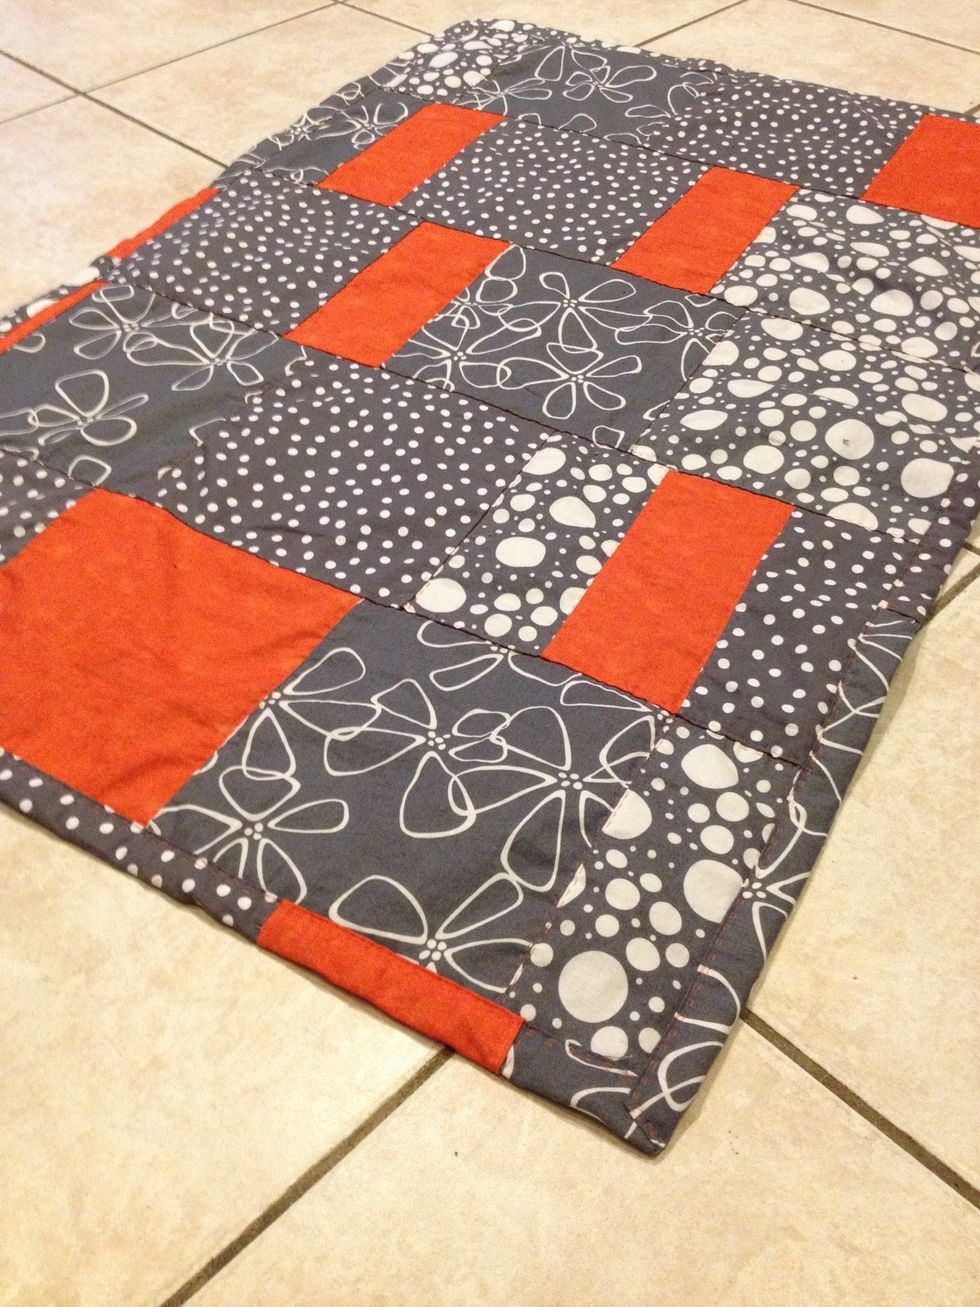
All done! Enjoy!