The Conversation (0)
Sign Up
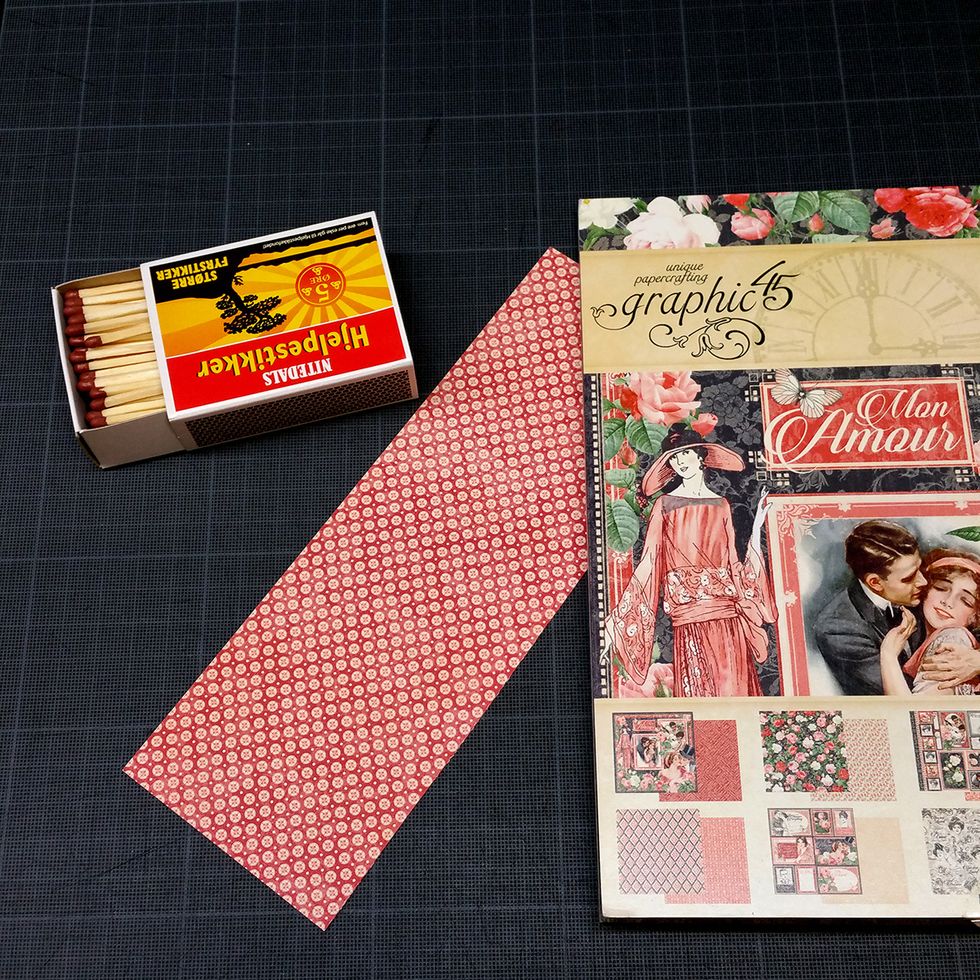
I have used an empty matchbox. You can buy them in bags with several boxes for a cheap price. First of all I measured the length of the match box, and cut a piece off from the 8x8 paper.
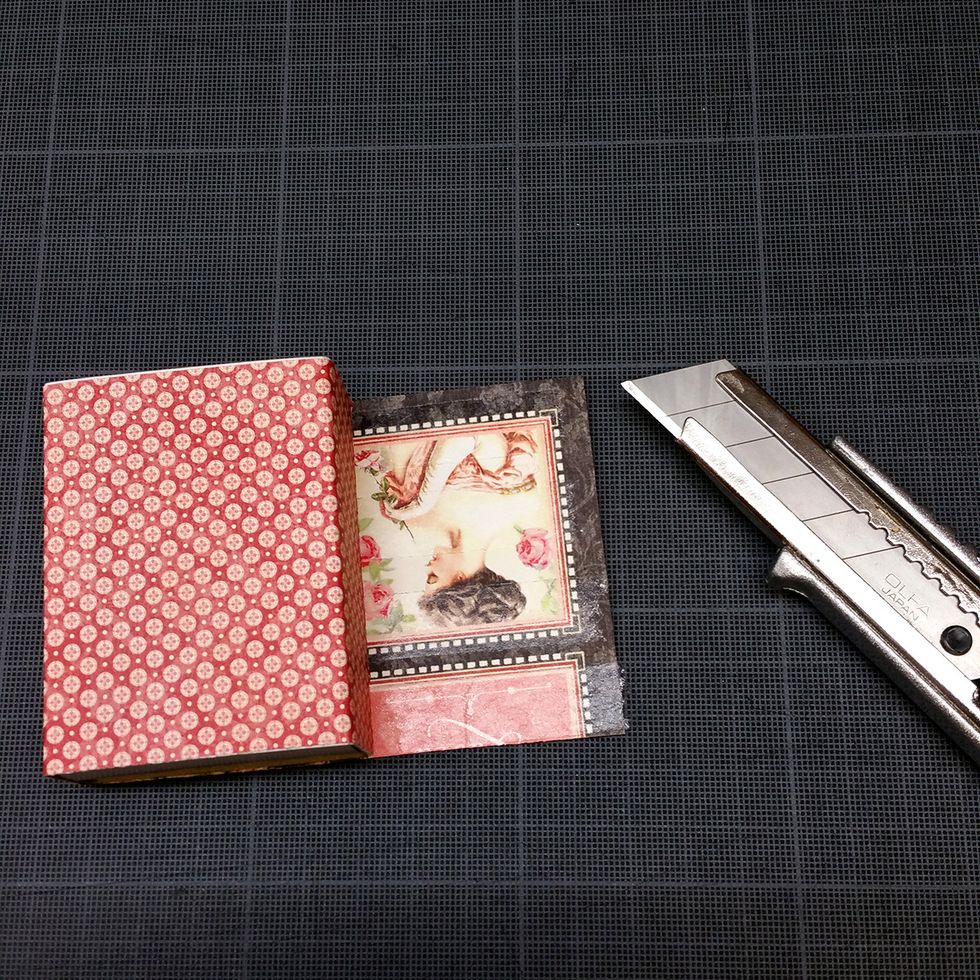
I used strong glue, and glued it to the box. Then I just cut of the piece of paper that was left over.
I then cut the same length, but only 1,5 cm wide, and glued this round the box.
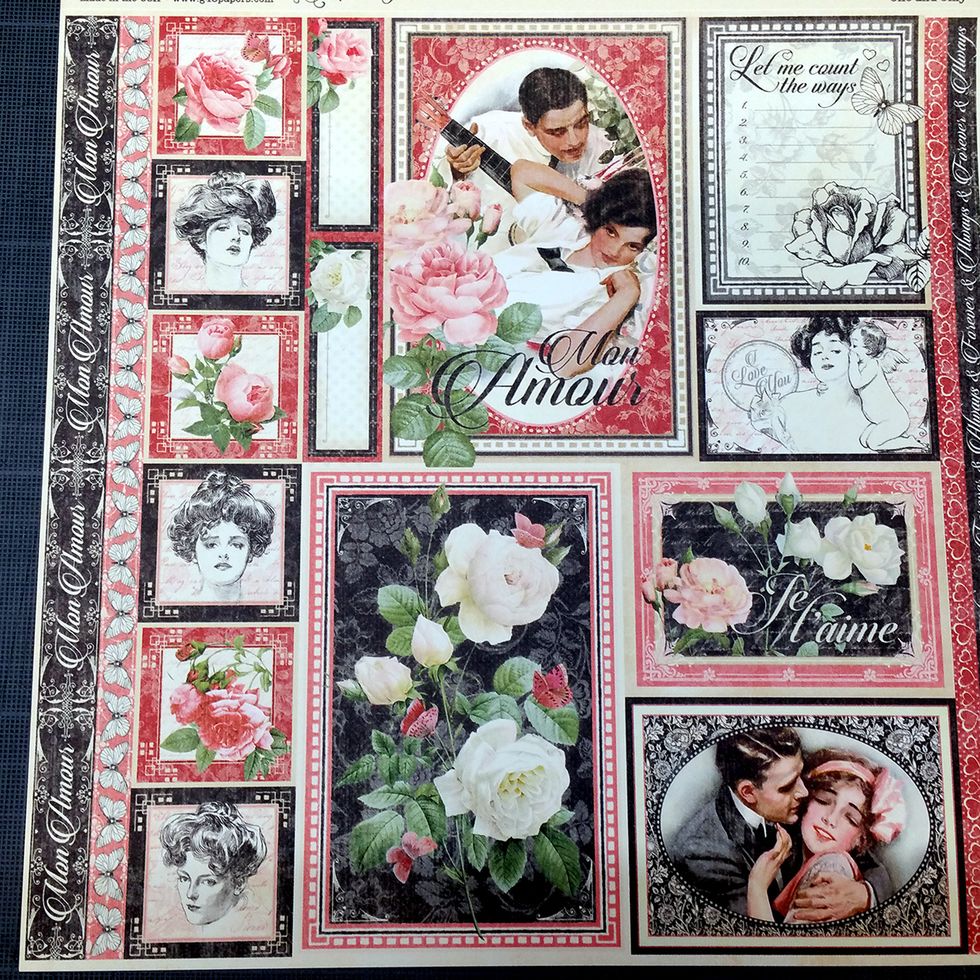
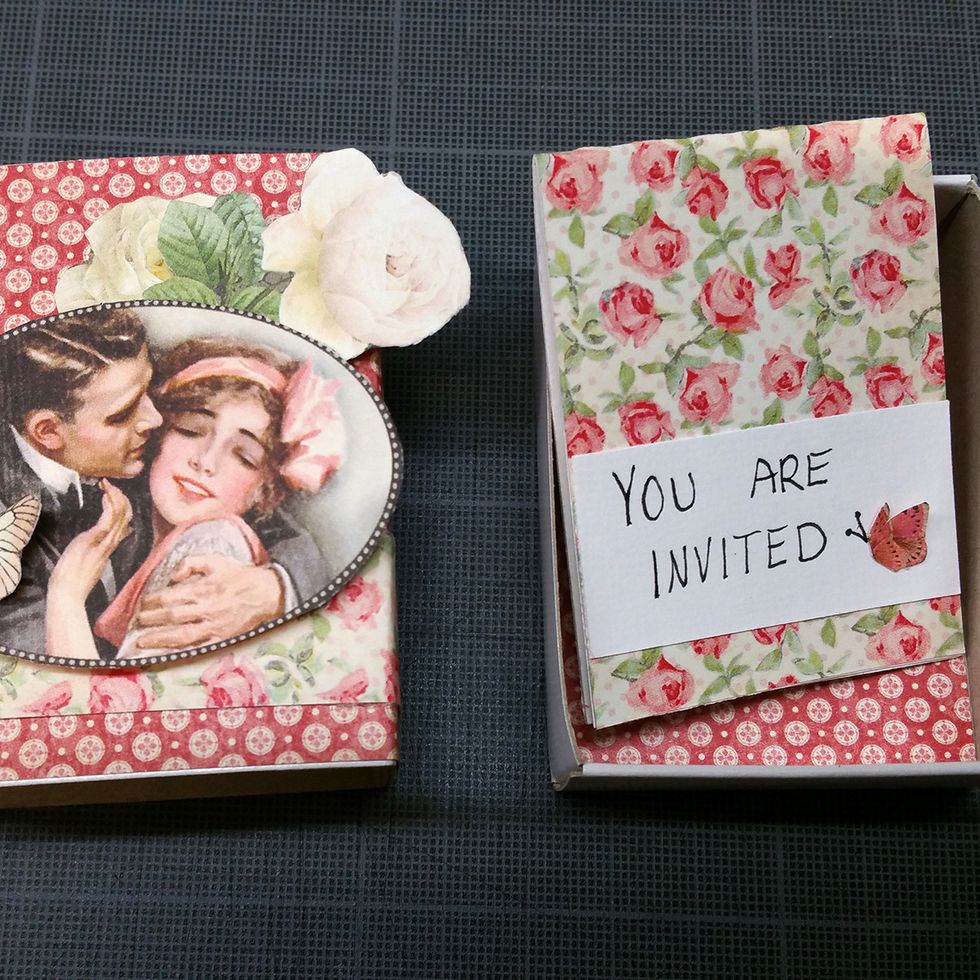
For this project I have used the Mon Amour 8x8 paper pad from Graphic45. When you buy a paper pad, you will save some money, because you can use so many different motifs from the pad.

Here I cut out a motif I liked, and added som 3D foam dots to it.
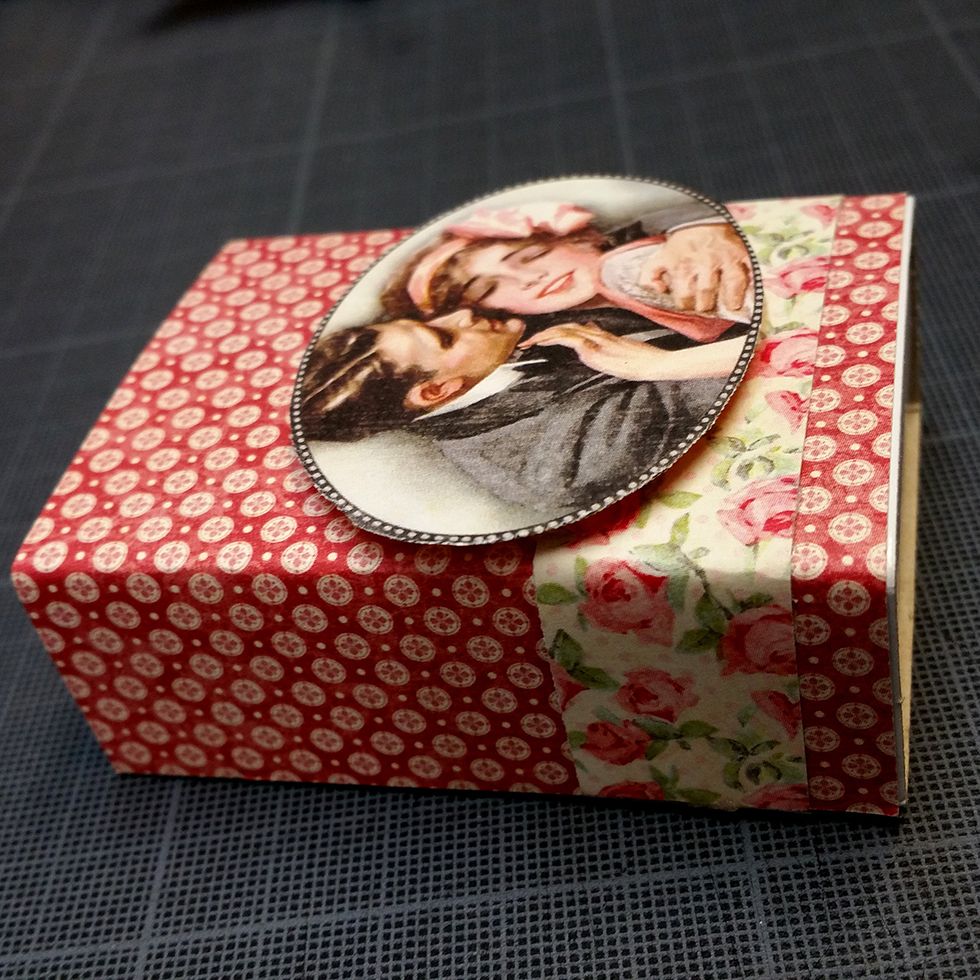
Then attached it to the box.
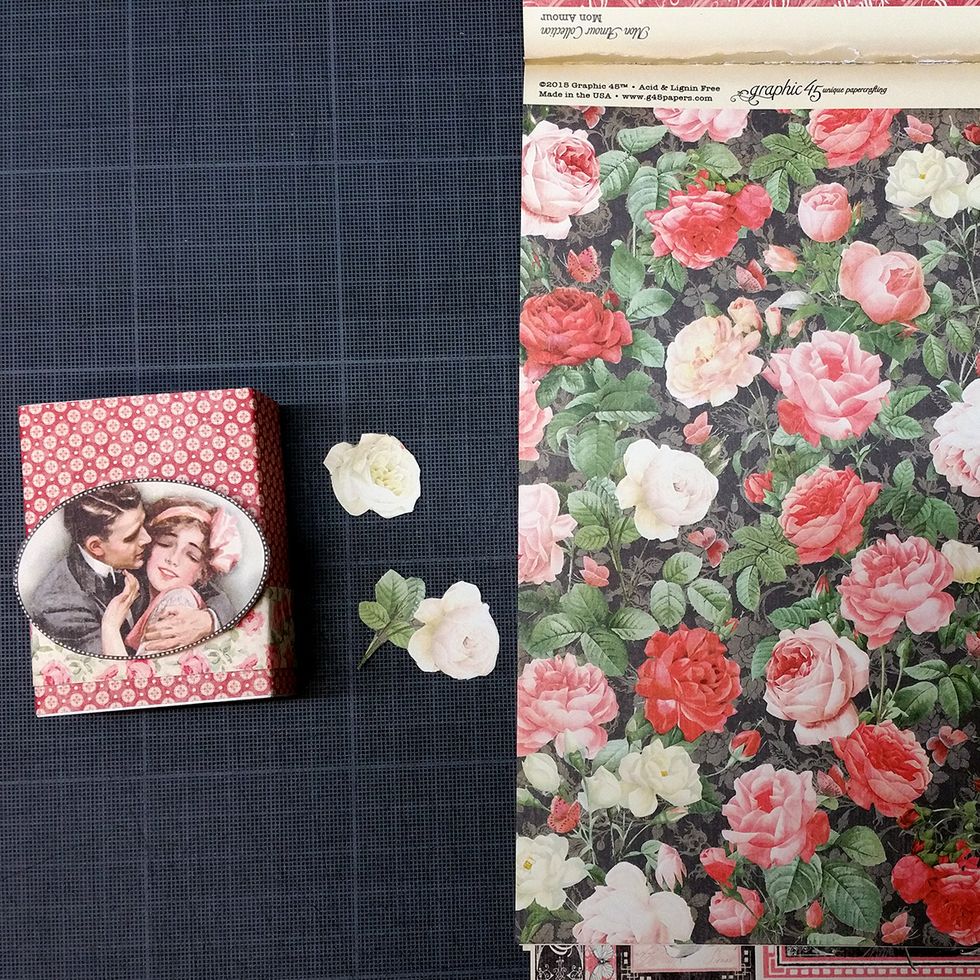
I also cut out a couple of flowers from the same paper pad.

I also found this little cute butterfly to use.
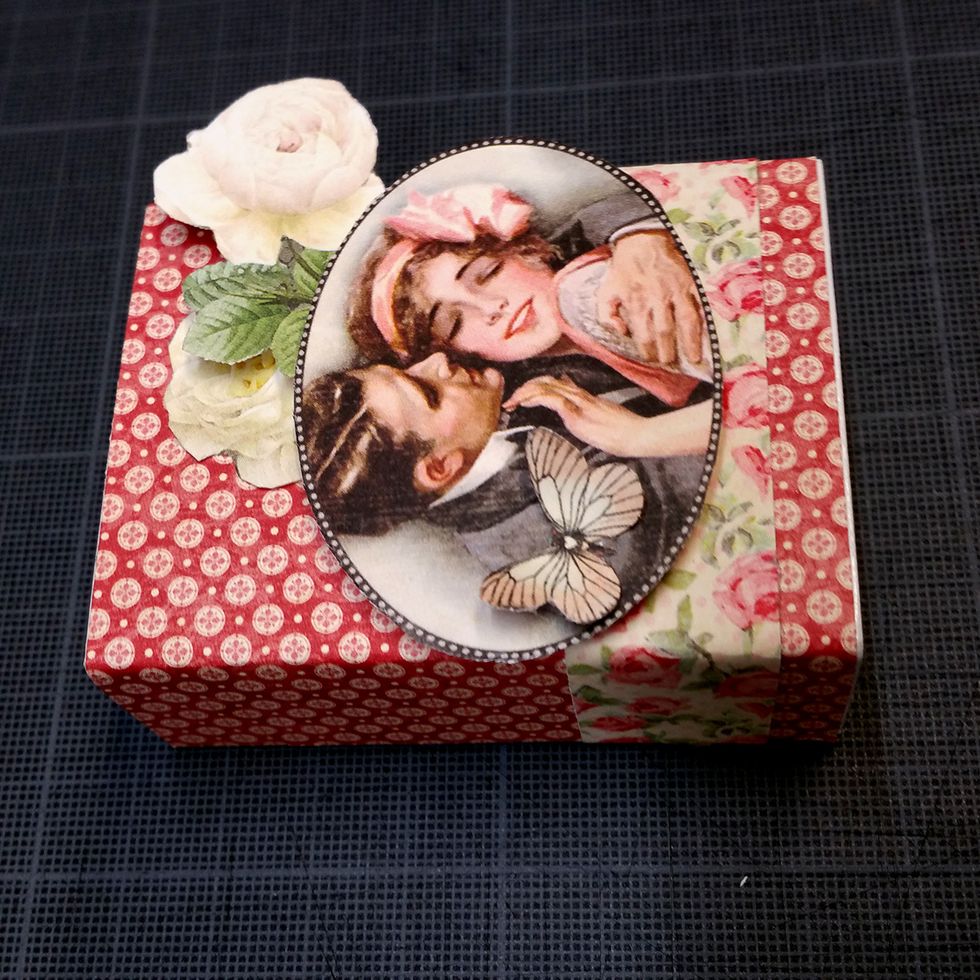
I glued one of the roses directly to the box, a bit under the oval picture. Then I used a foam dot under the other rose, to make some dimension The little butterfly was attached to the oval picture.

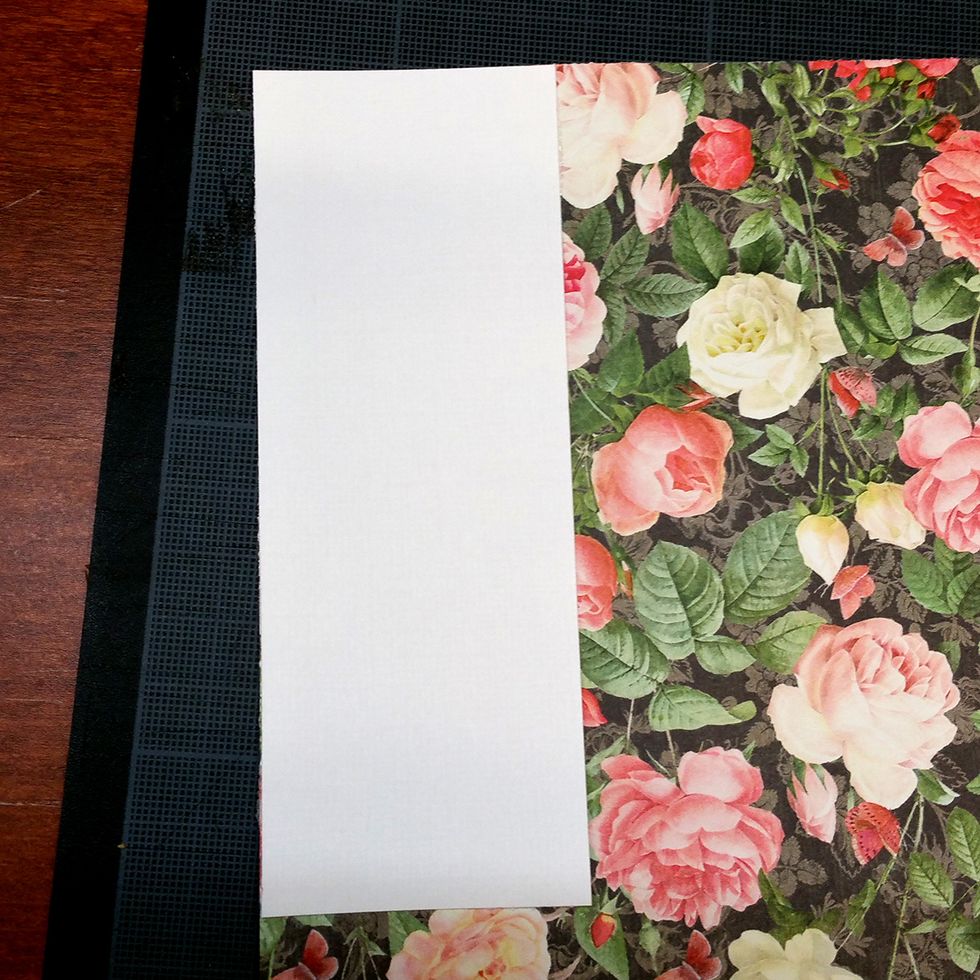
I measured the inside of the box. Then cut out a piece of white cardstock the correct width and twice the length. Then I glued some pattern paper to one of the sides of the white cardstock.
Here I have glued it to the back of the pattern paper that I wanted to use.
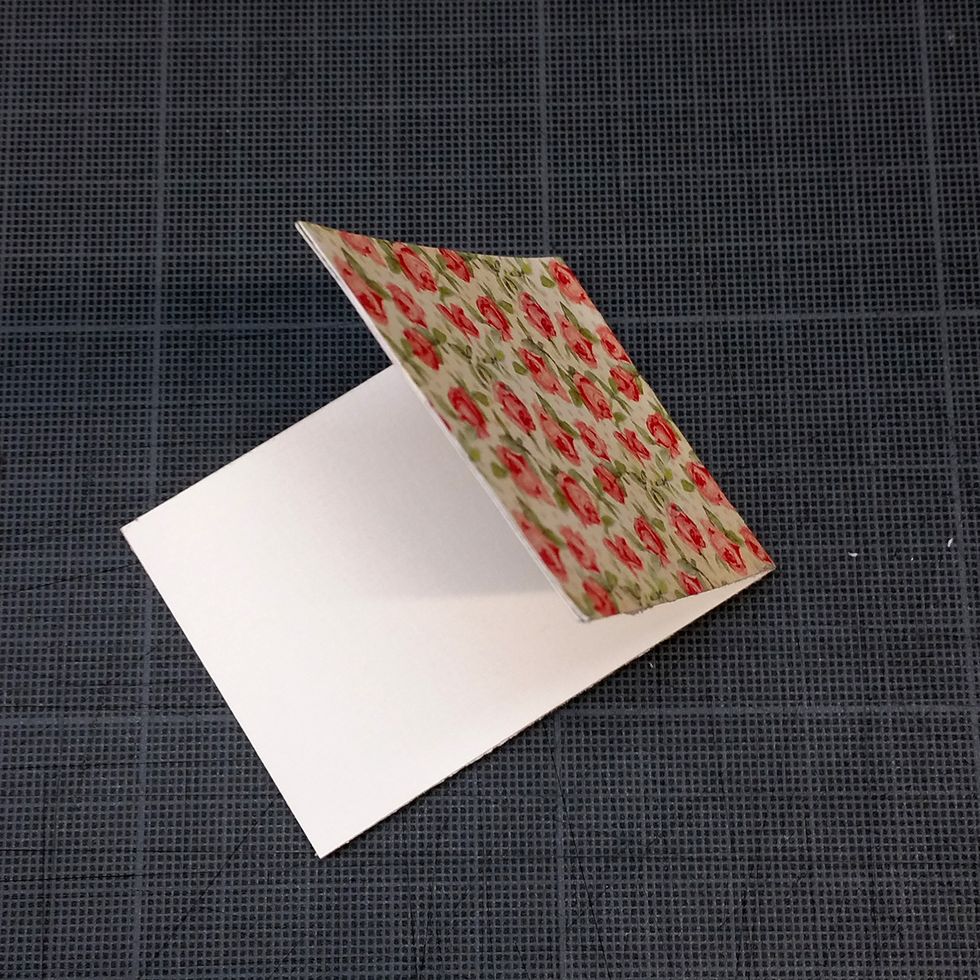
Fold the paper in the middle, so that you can open it and write inside.
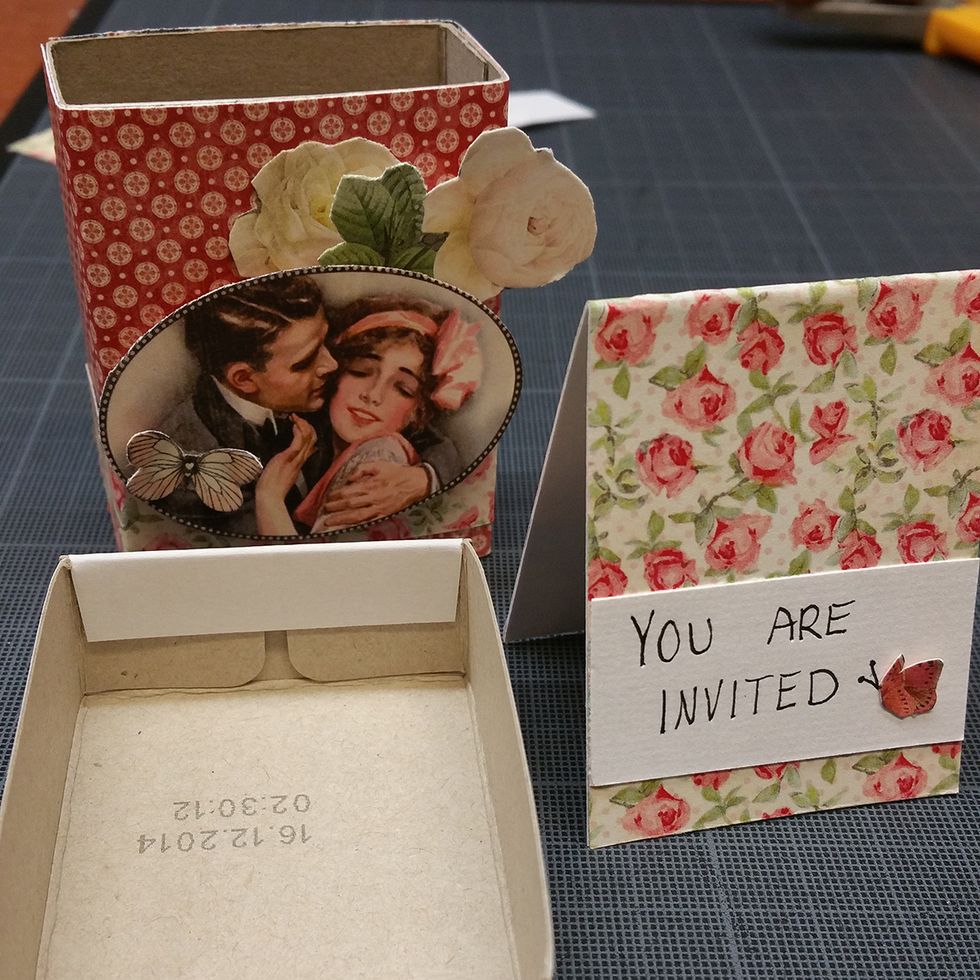
I also cut a small piece of white cardstock for the outside of the card, and wrote: you are invited.
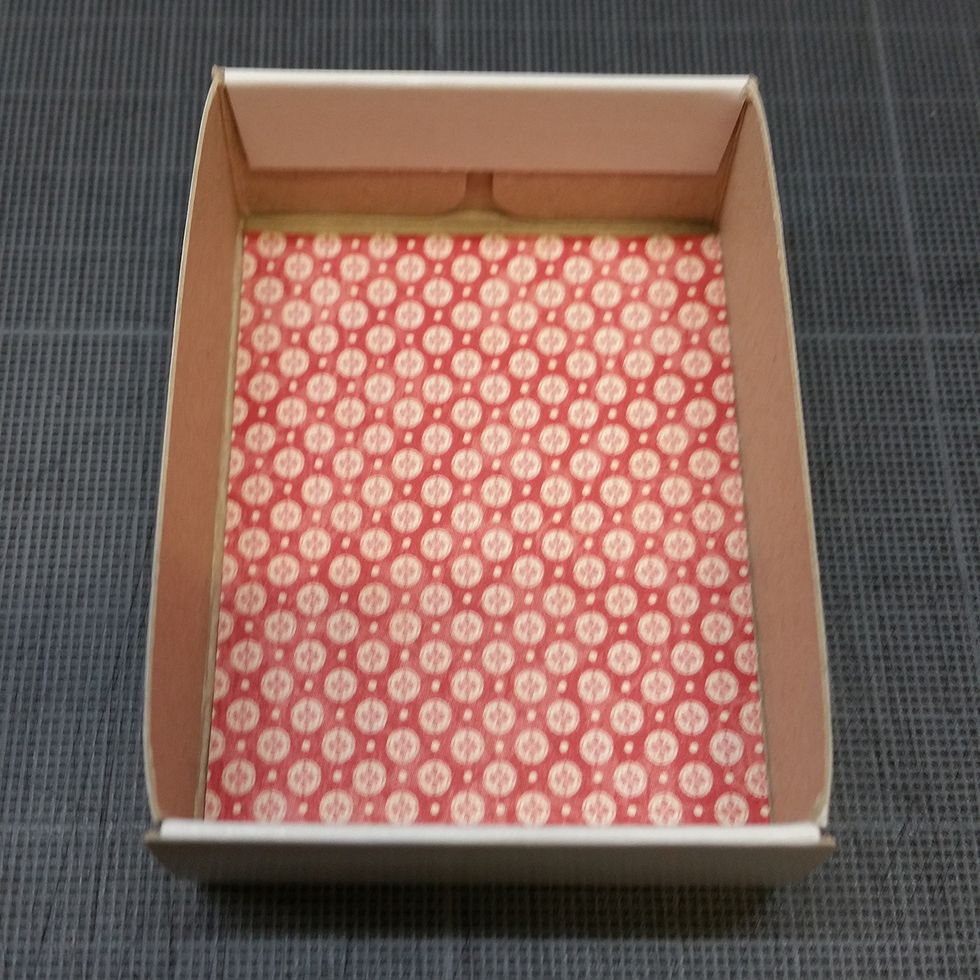
I measured the inside of the box and cut a piece of paper to use in the bottom of it.
Here you can see the box open, with the card inside.
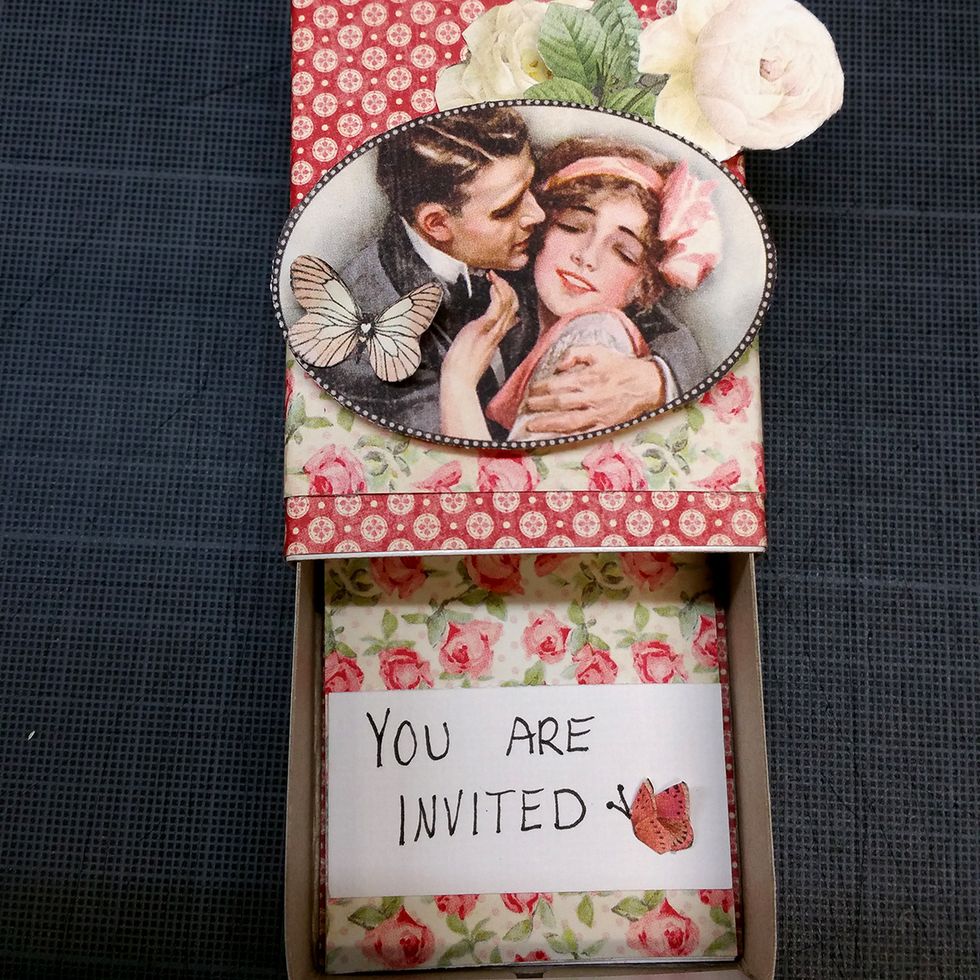
The finished project. Hope you enjoyed :)