The Conversation (0)
Sign Up
Start with 3 pieces of paper: 1 piece cut to 6in x 12in And 2 pieces cut to 3 7/8in x 12in
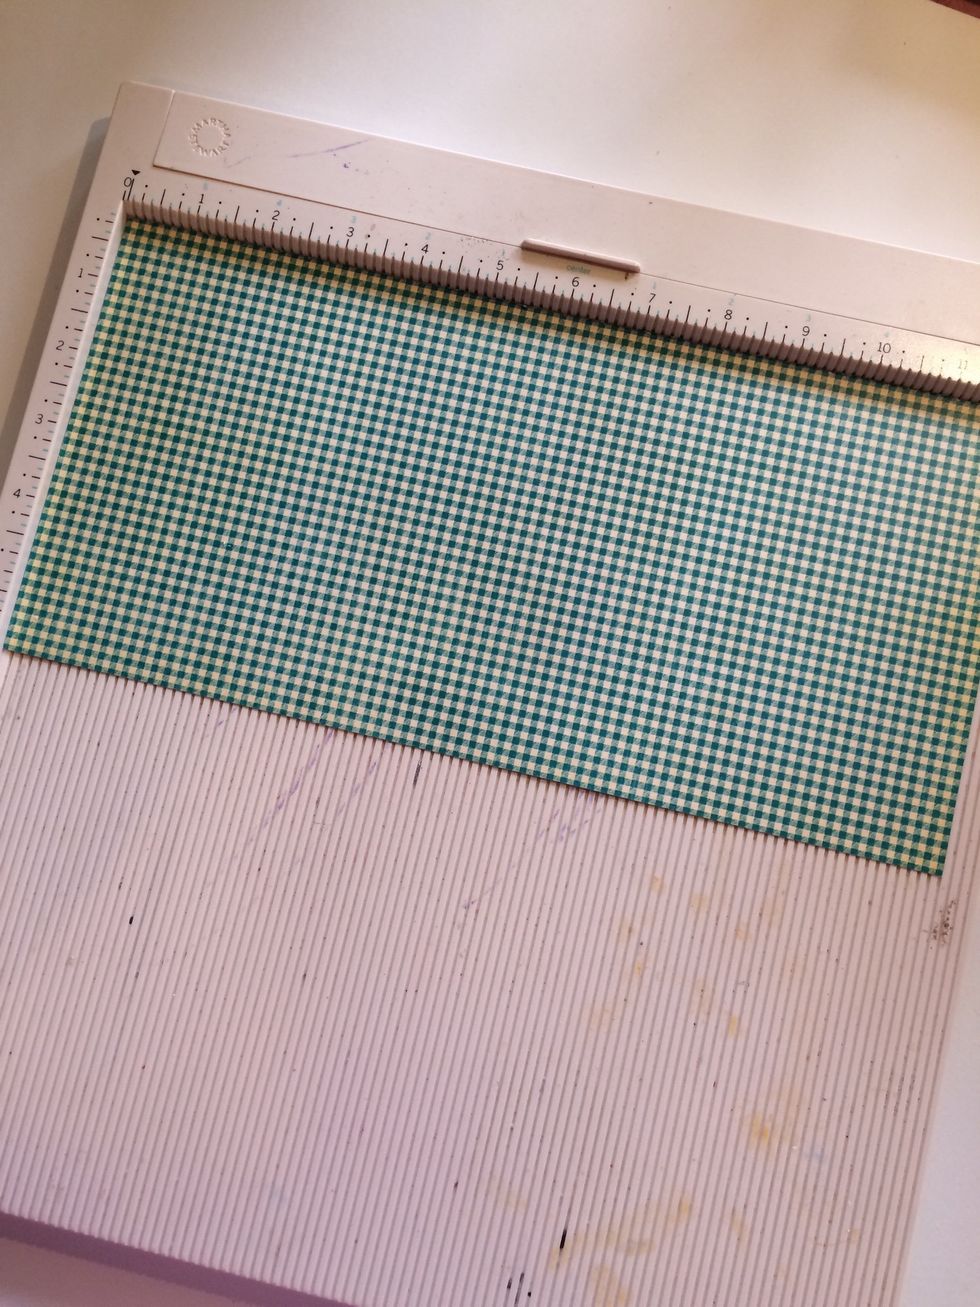
Start with your 6 x 12 piece Score it at 4 places: 3 3/4 in, 4in, 8in and 8 1/4in.
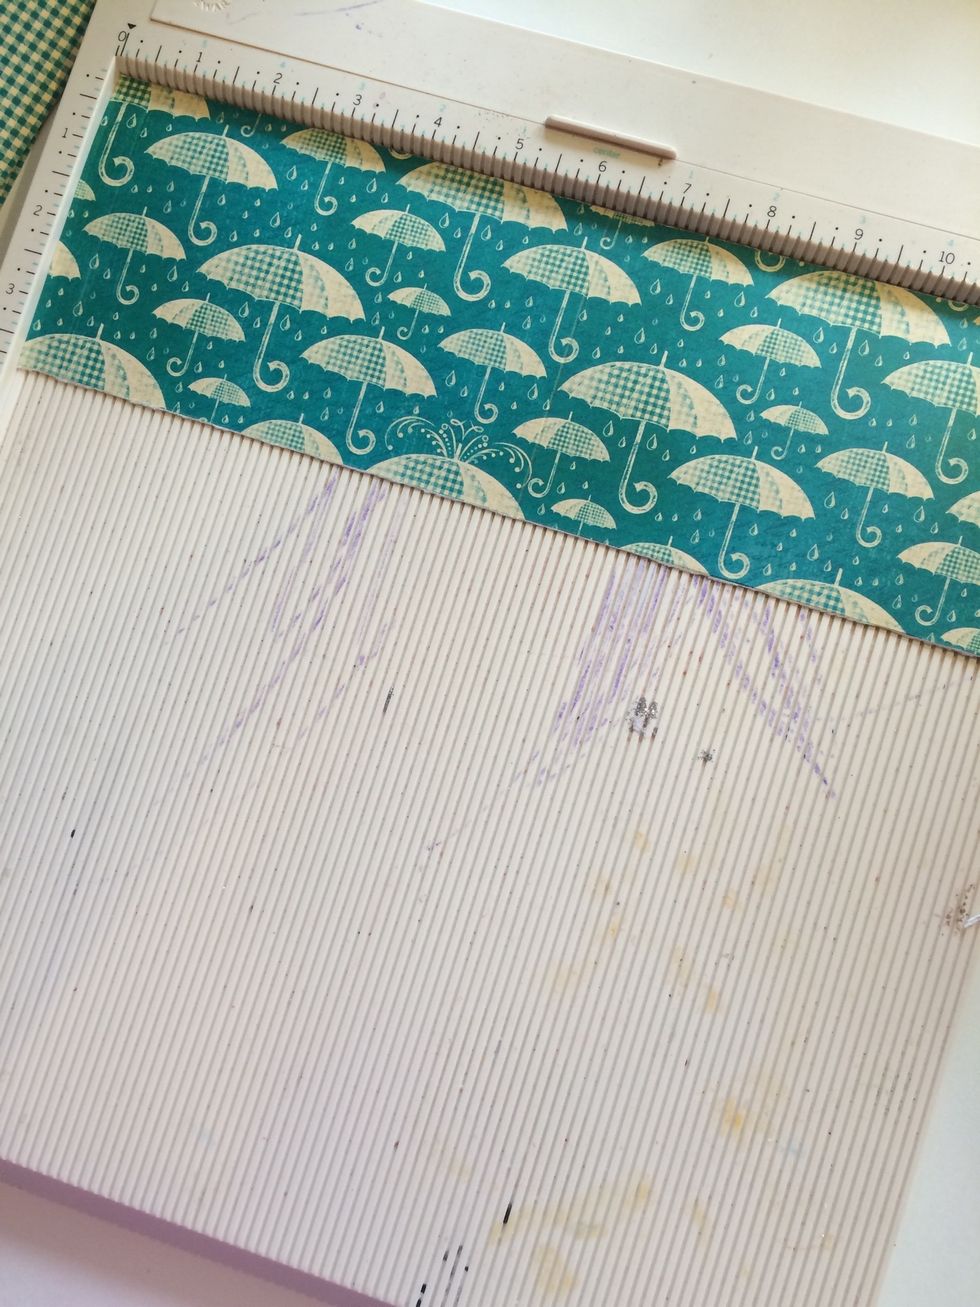
Next use your 2 smaller pieces. Score in 2 places: 1/2in and 6 1/4in.
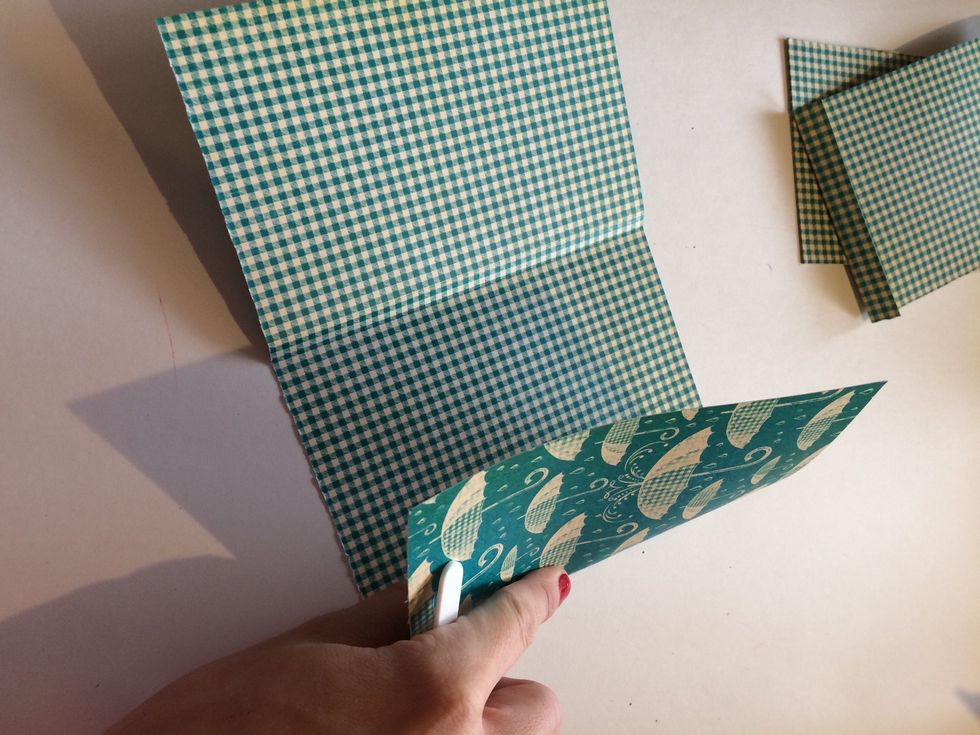
Fold your small pieces, starting with your score at 6 1/4 inches. Sometimes score marks can be a little off, so just make sure that your paper doesn't go past your other score mark.

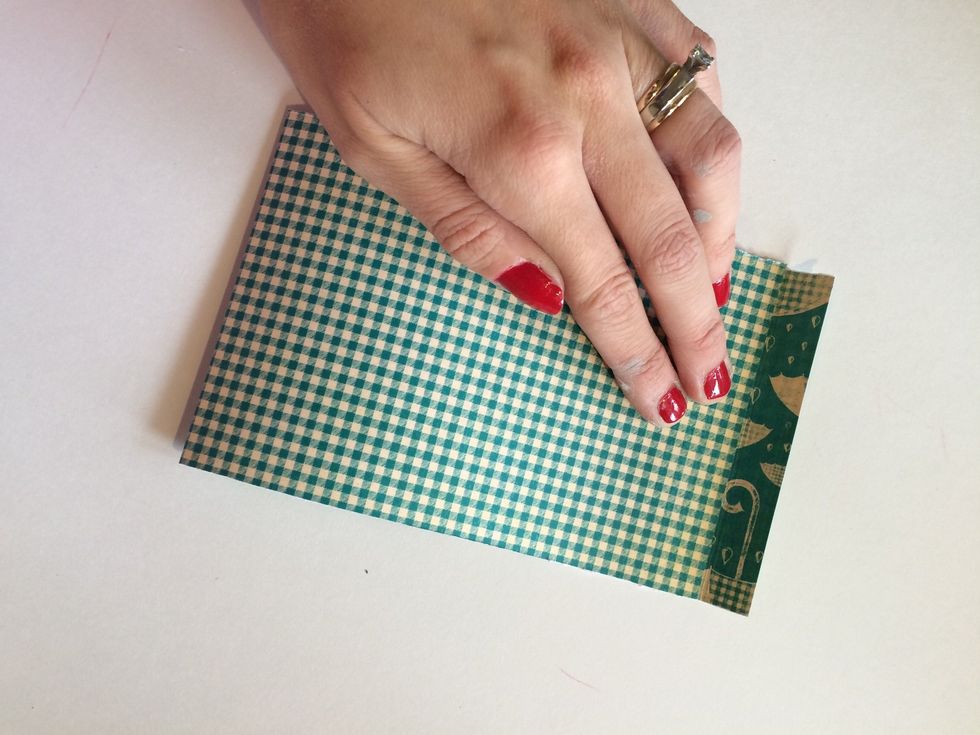
Next fold your smaller flap up.
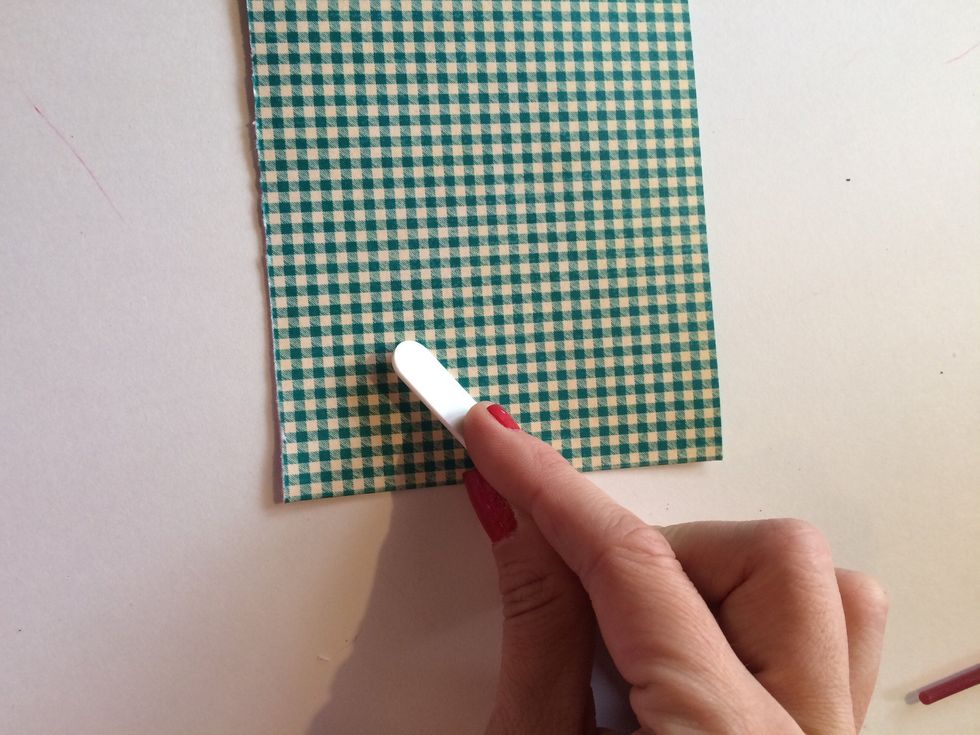
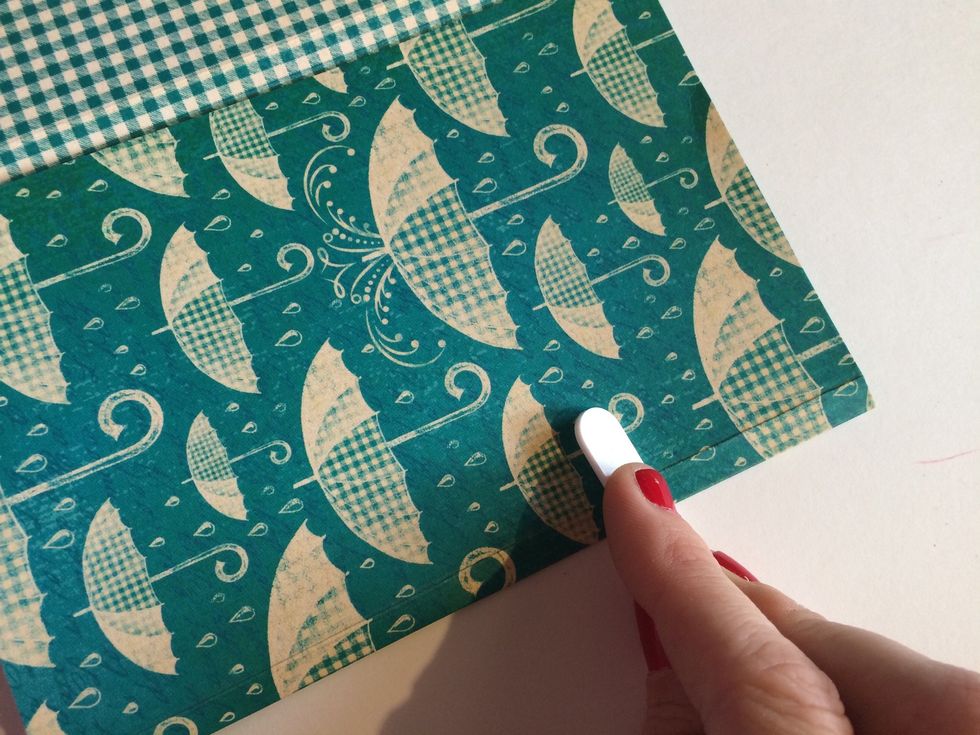
To make your wallet fold better, use a bone folder or Popsicle stick to get crisp edges.
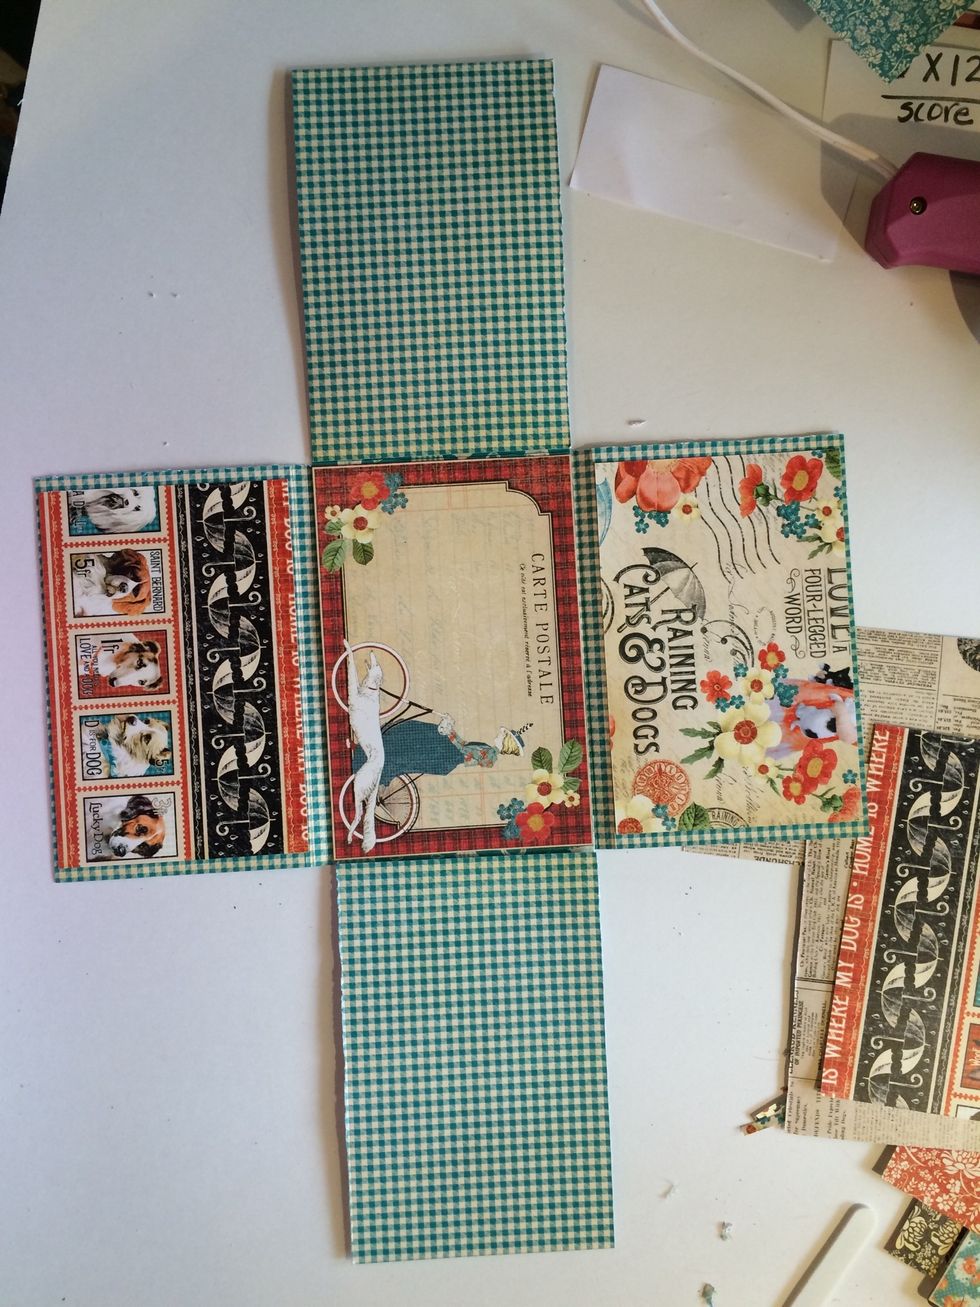
Now with your larger scored piece, fold all of your score marks toward the middle. Make sure that you are folding so that the pattern you want on the inside is facing up.
Again...a Popsicle stick or bone folder will give you nice crisp edges.

When it's folded, you will see your "wallet" shape.
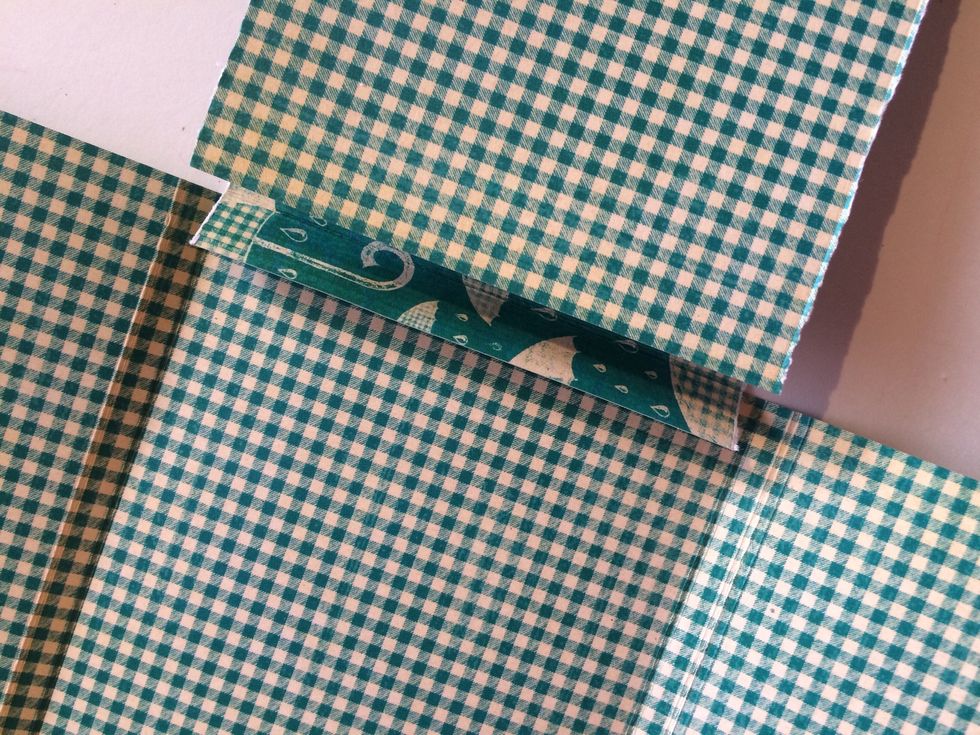
Open up your larger piece so that it is going vertical. Add adhesive to the smaller flaps of your small pieces and adhere one to each side of the middle section of your "wallet."
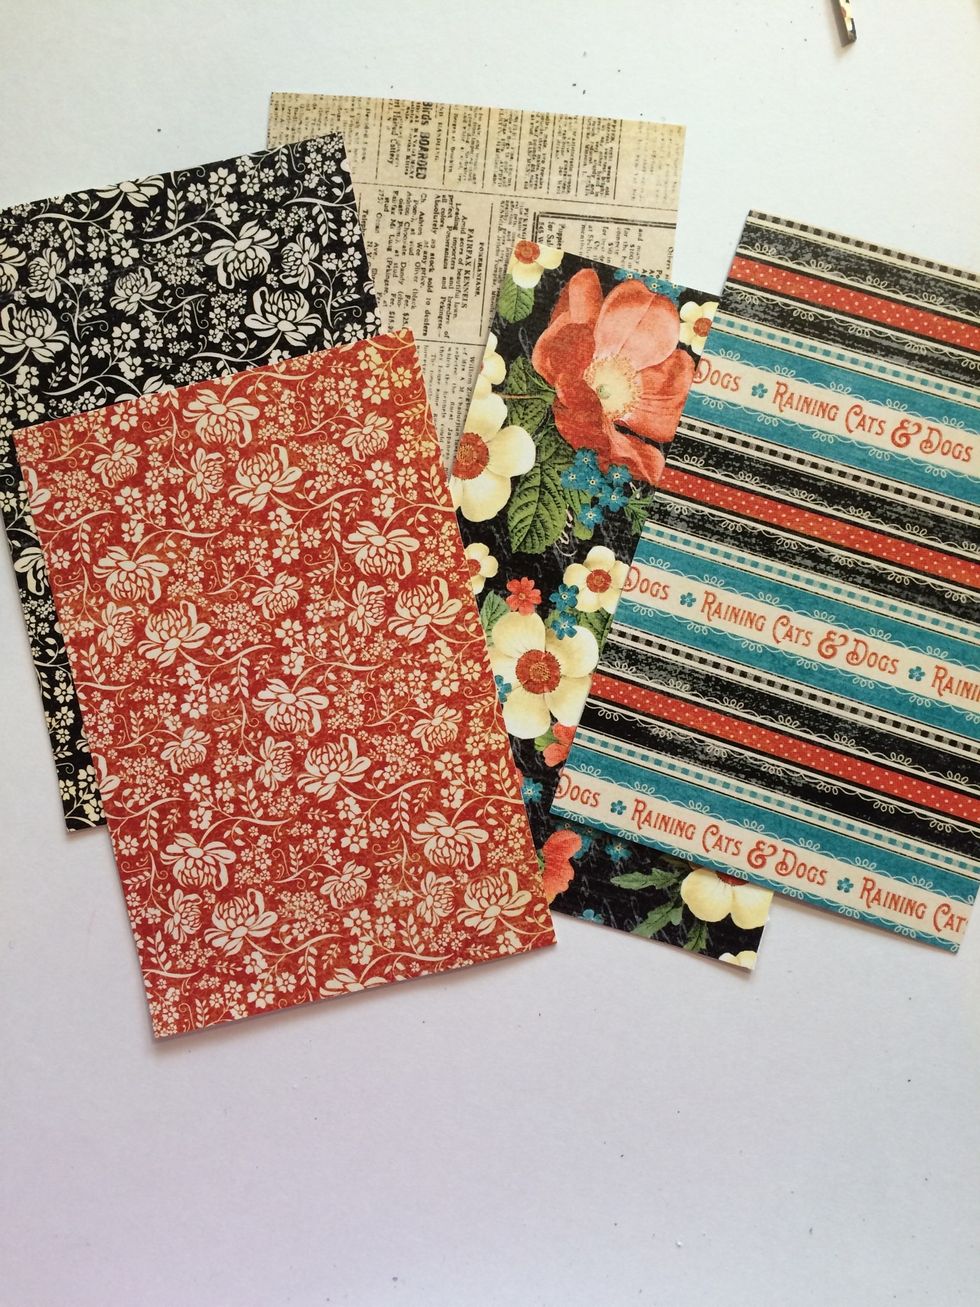
From your Graphic 45 "Raining Cats and Dogs", cut a nice variety of patterns to 5 1/2in x 3 5/8in pieces.
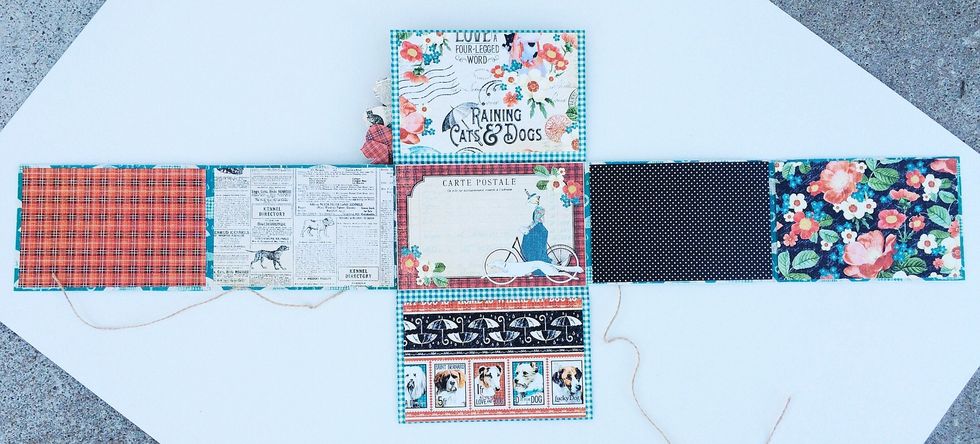
Start covering your "wallet" with your papers. Be conscious of how your "wallet" folds when choosing papers...you don't want your puppy or kitty upside down! Lol
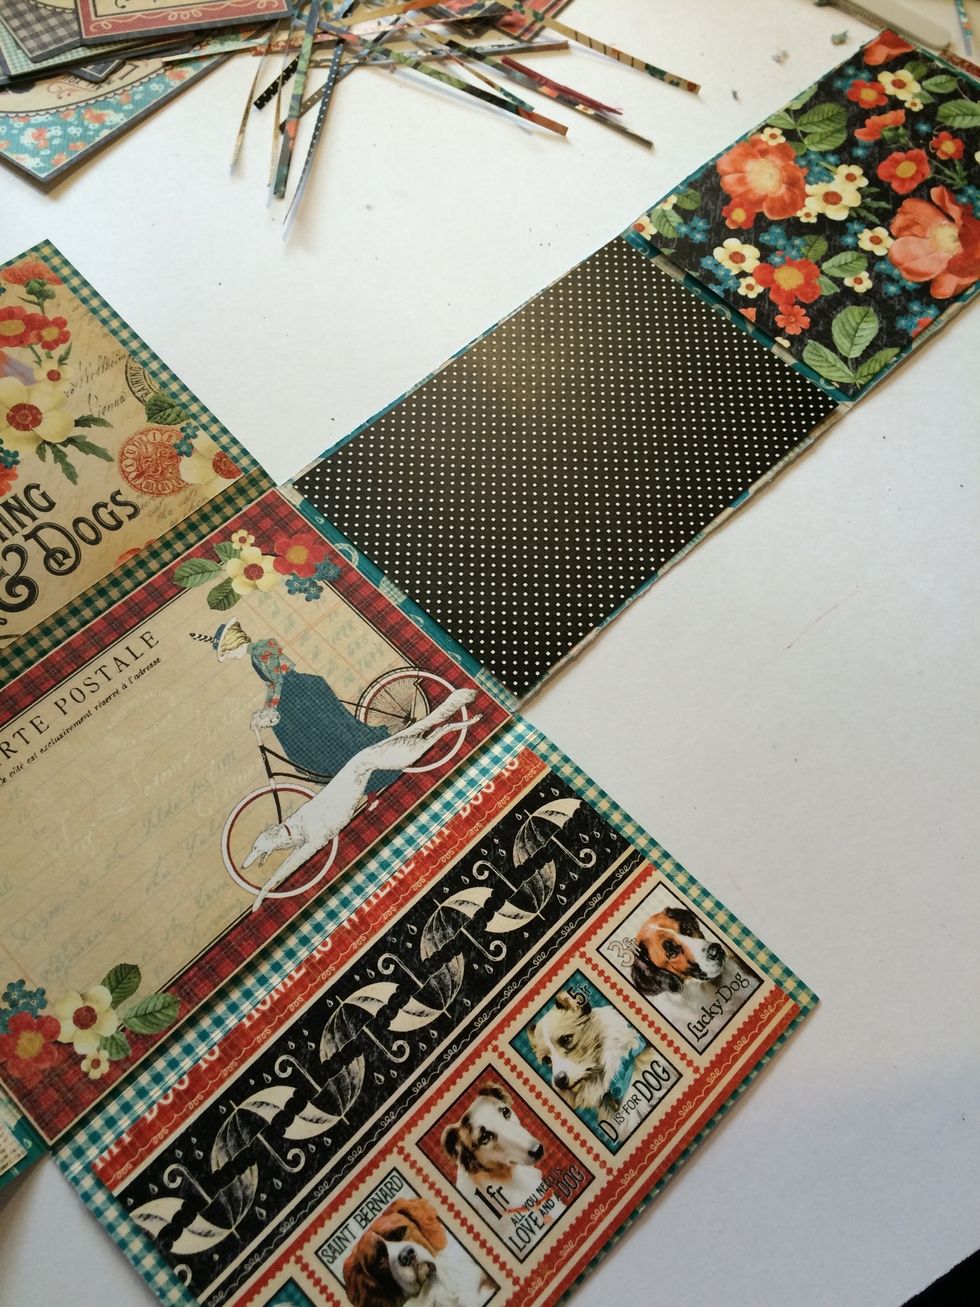
Continue to attach your papers until you have covered all of the "pages" you want covered.
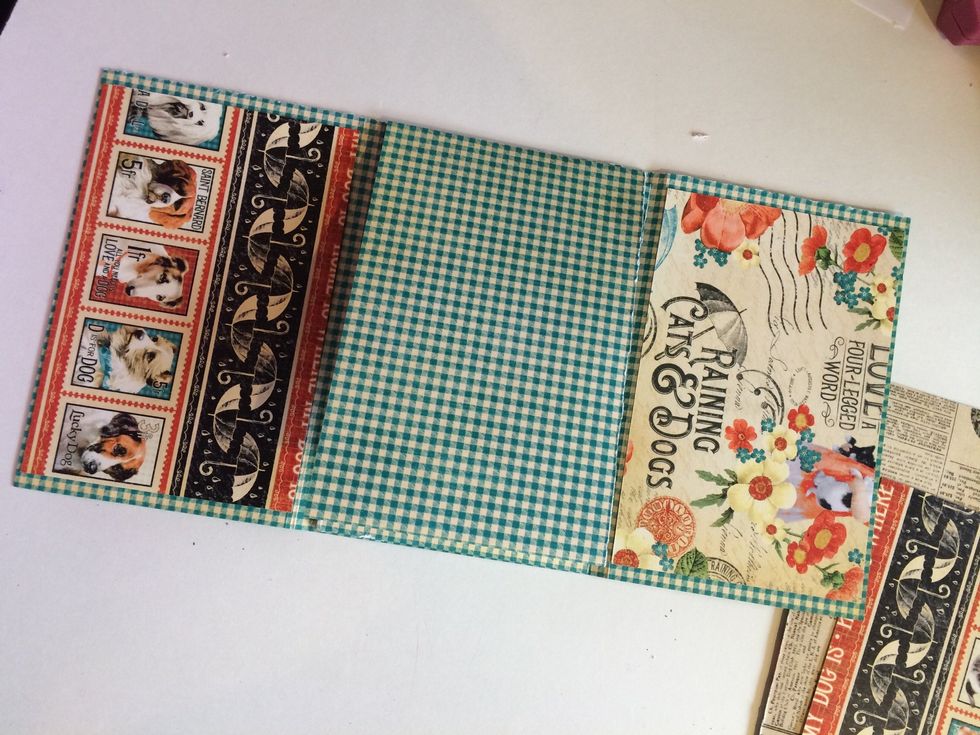
You can decide if you want all sides covered or just the inside!
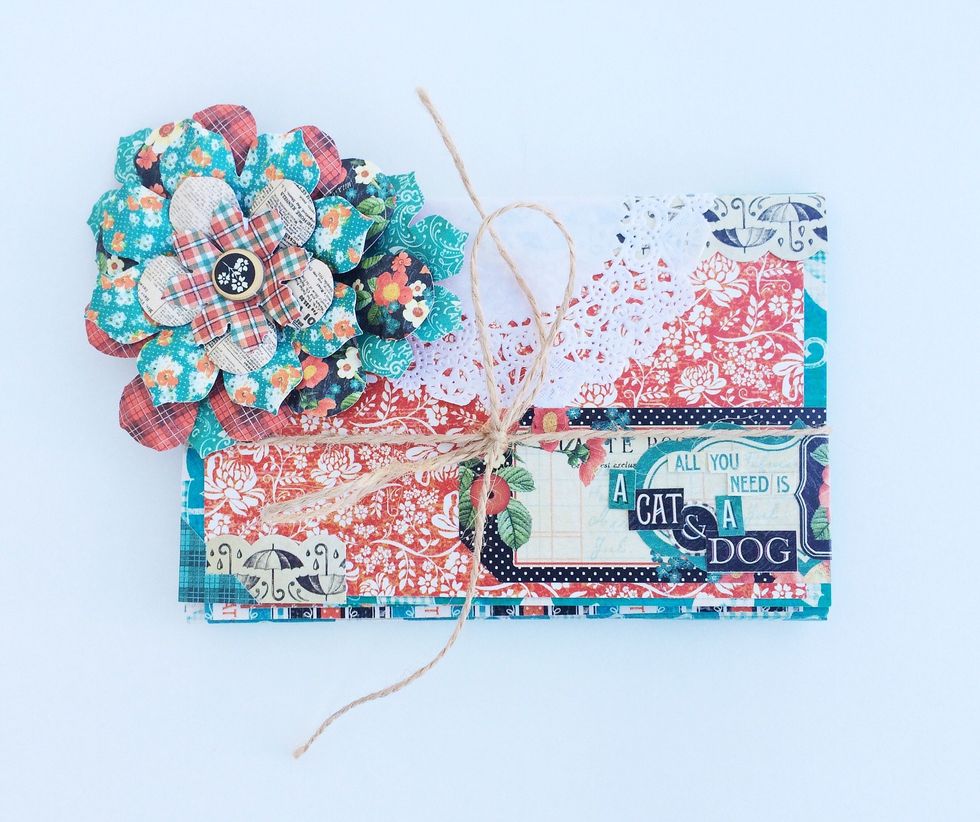
Her is my finished cover. I added a paper doily, coordinating "Raining Cats and Dogs" flowers and stickers and a little twine (attached to the back) to keep it closed.
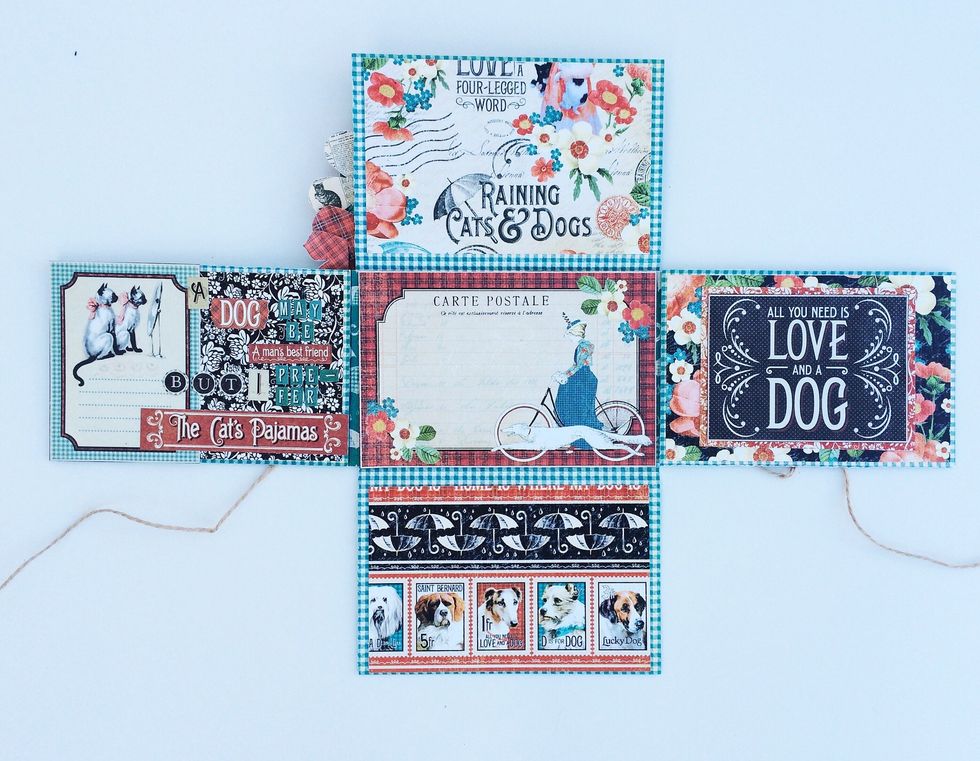
Some pages...I let the paper do all the talking...
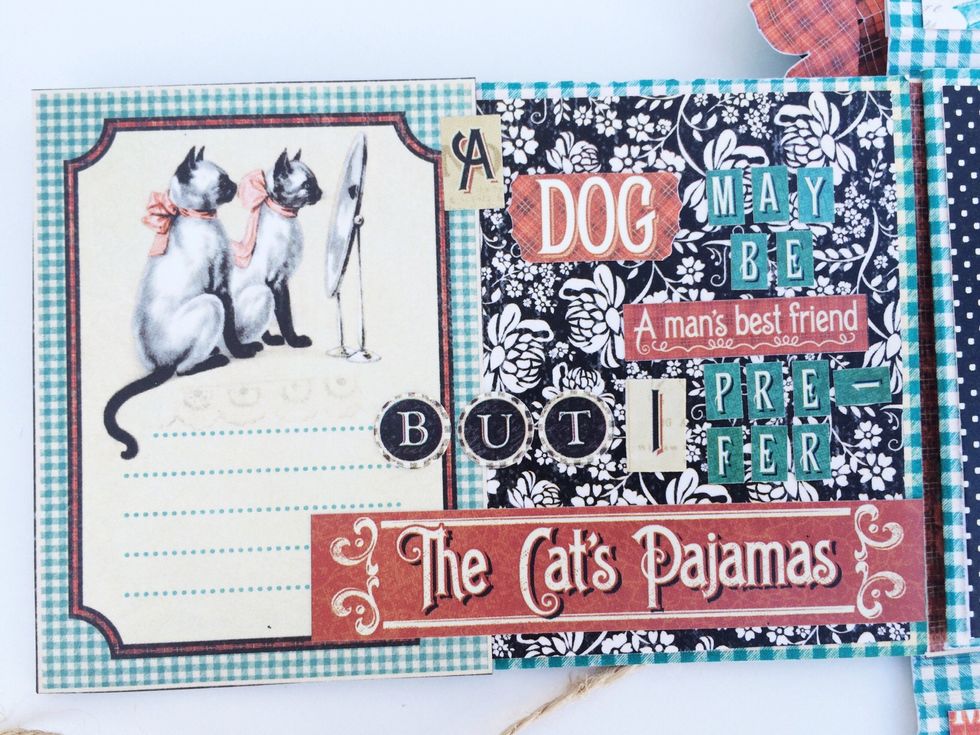
And others I had fun!

G45 tags and pockets are perfect for adding a little dimension and hidden journaling.
Completely open...there is TONS of pics!!
I hope your enjoyed this little project! You can find all of the "Raining Cats and Dogs" collection at www.g46papers.com.