The Conversation (0)
Sign Up
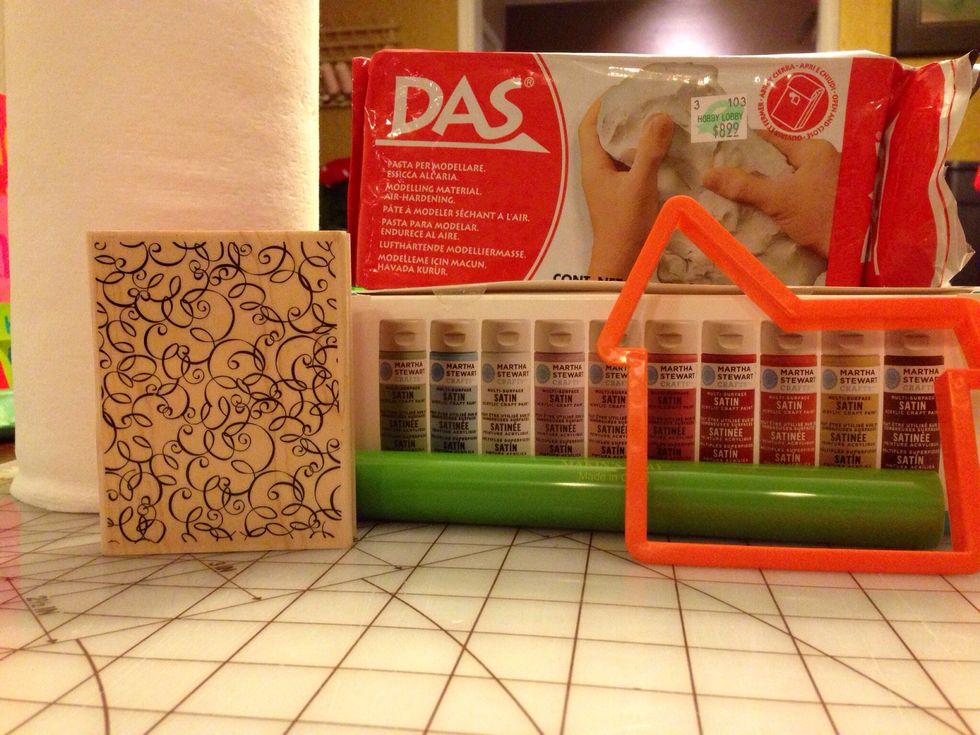
Supply list attached
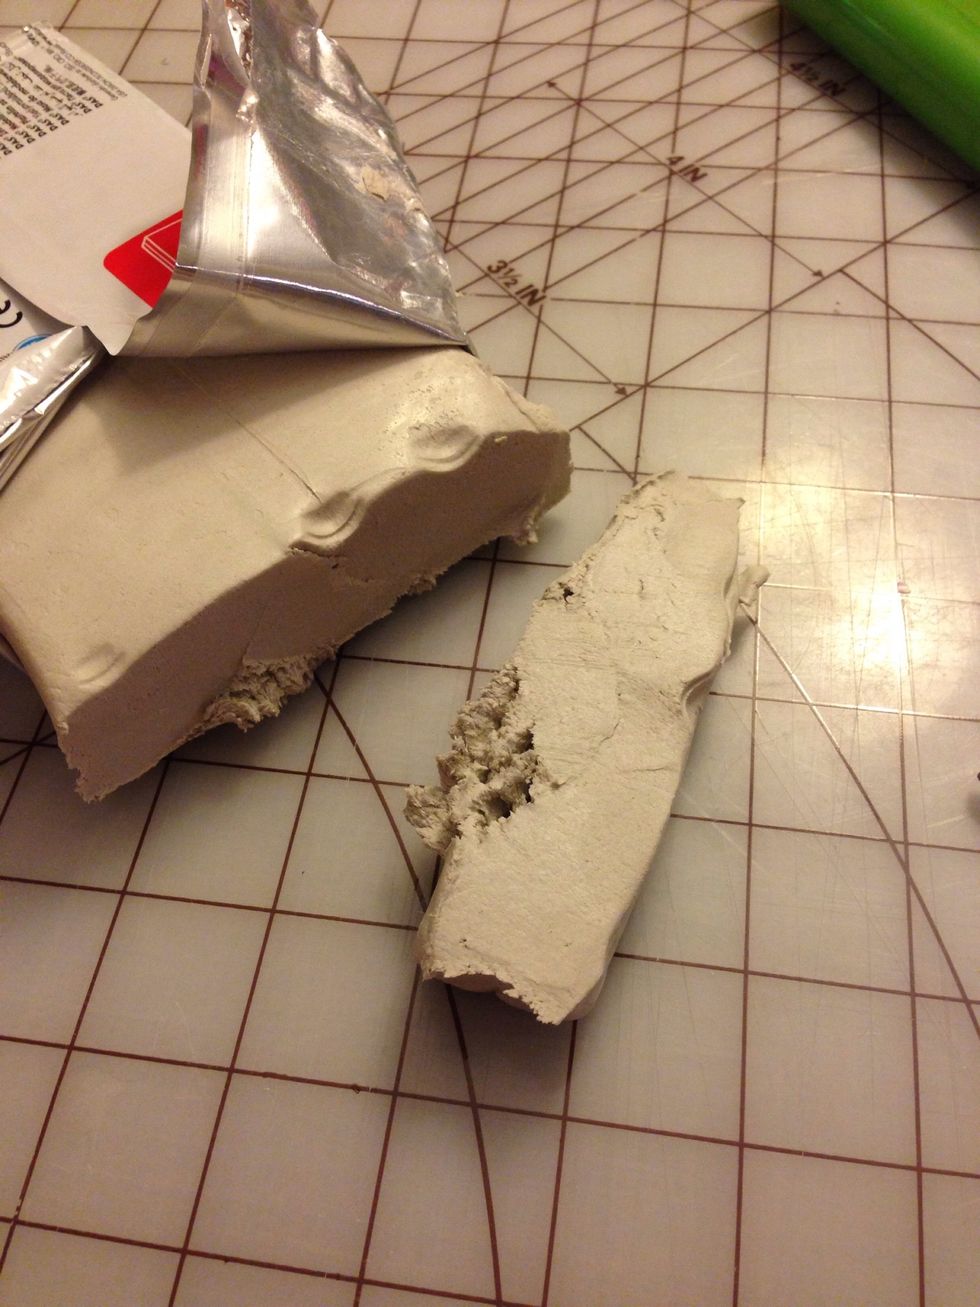
Cut enough clay to roll out in an even thickness that will allow you to cut your shape. In this guide, we used a large house.
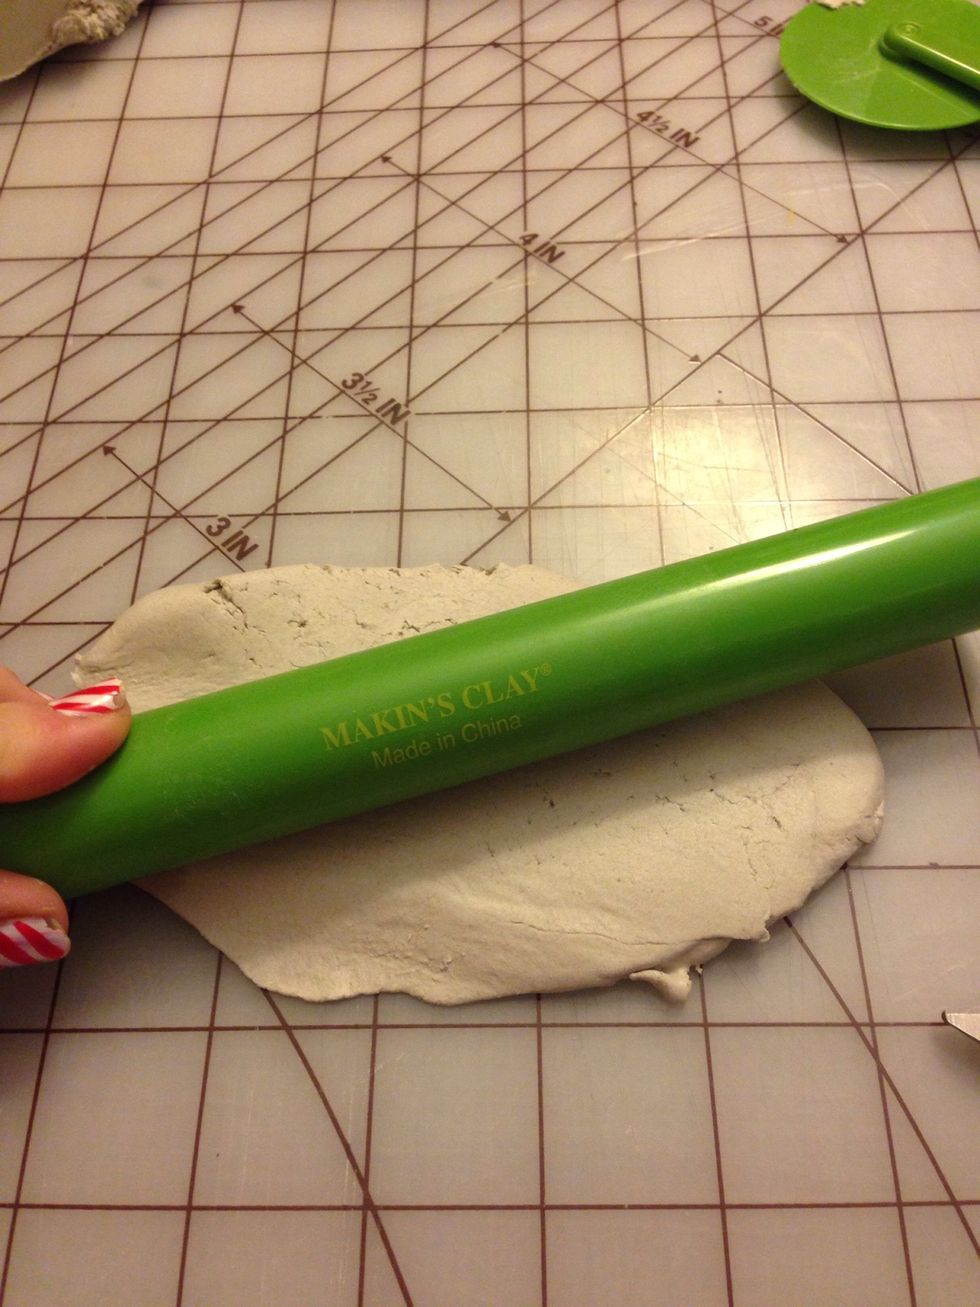
This is a clay roller but you can use a standard rolling pin as well. The important part is to get the clay thin and even.
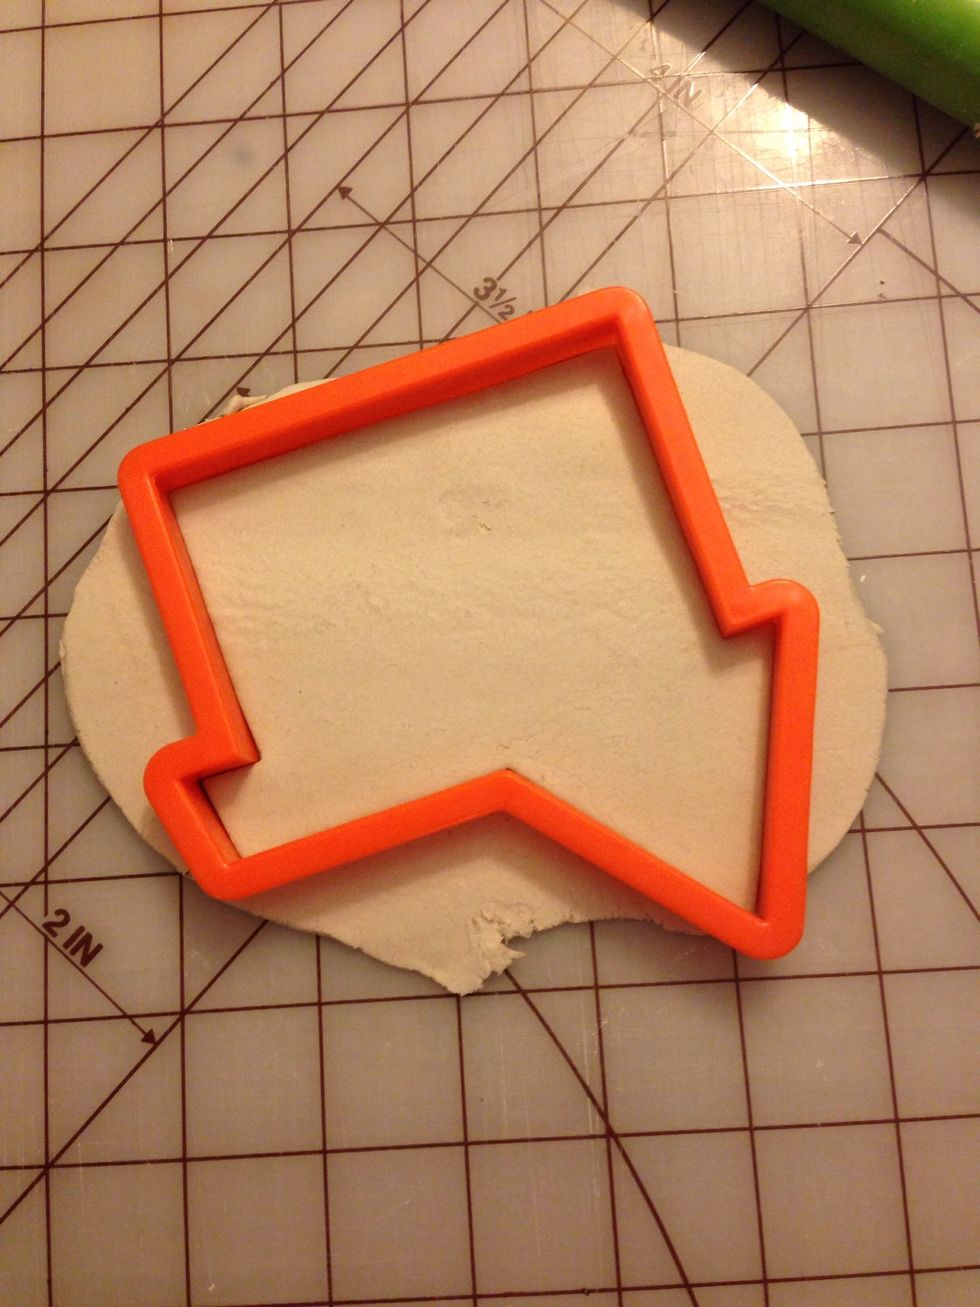
Once your clay is rolled to an even thickness, place your cookie cutter as such and press down. It's often best to remove the excess while the cutter is down to give a clean edge.
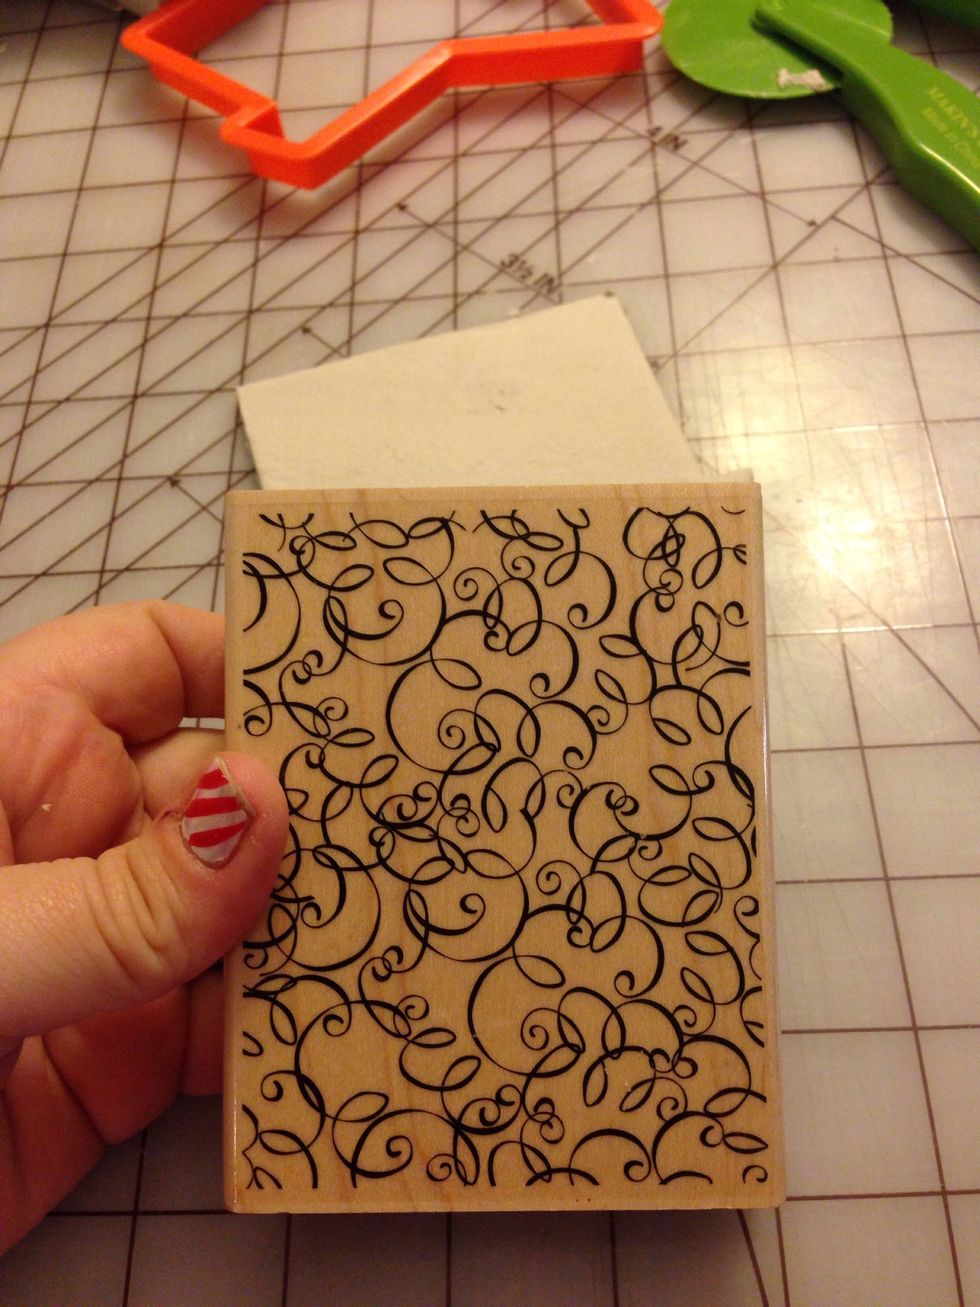
For this house, we used a lovely scroll stamp which left a good groove impression on the surface.
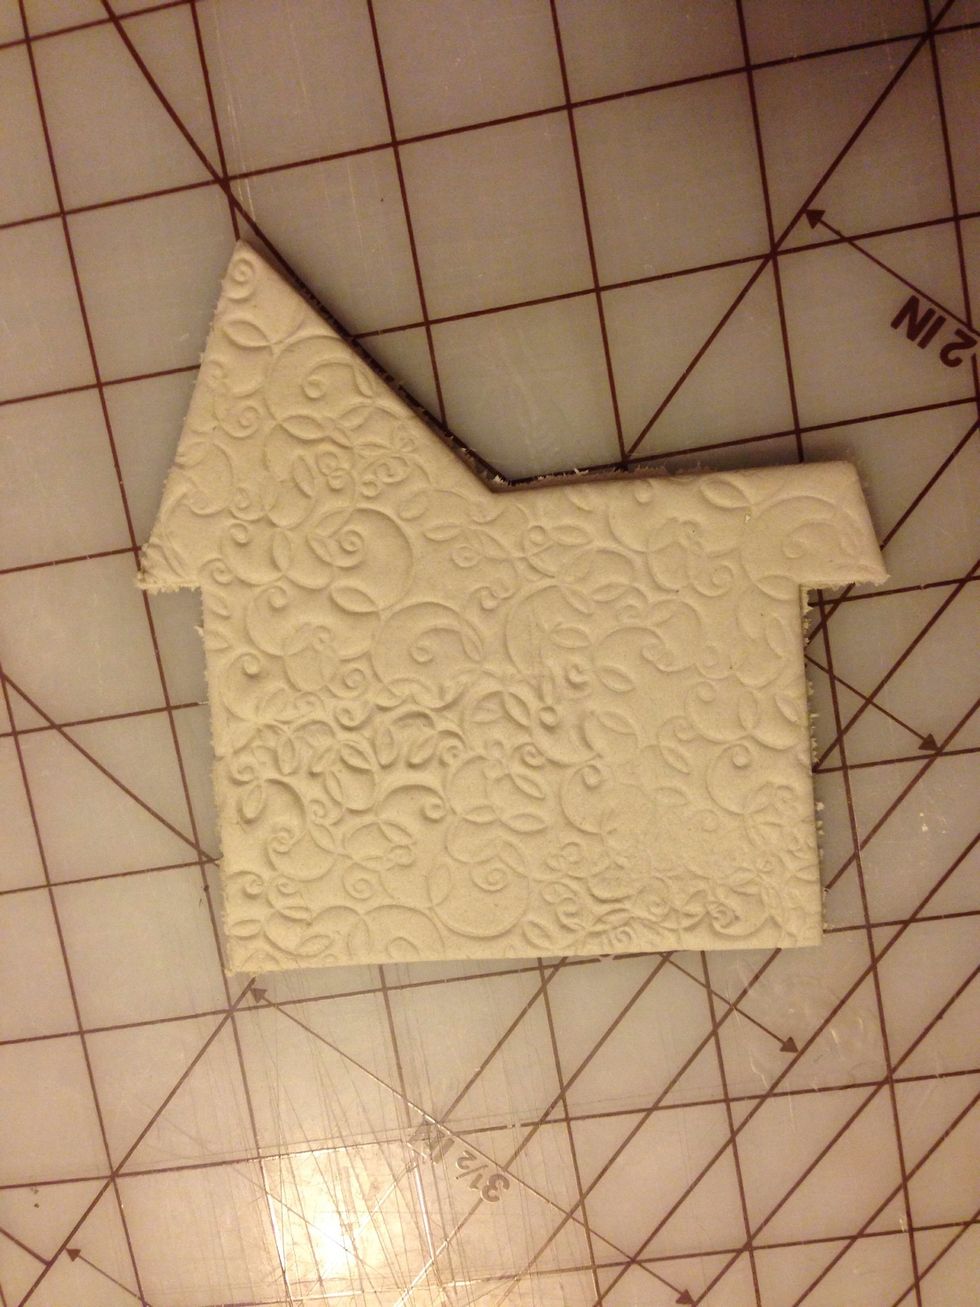
Those grooves are important as they will be the source of color when complete.
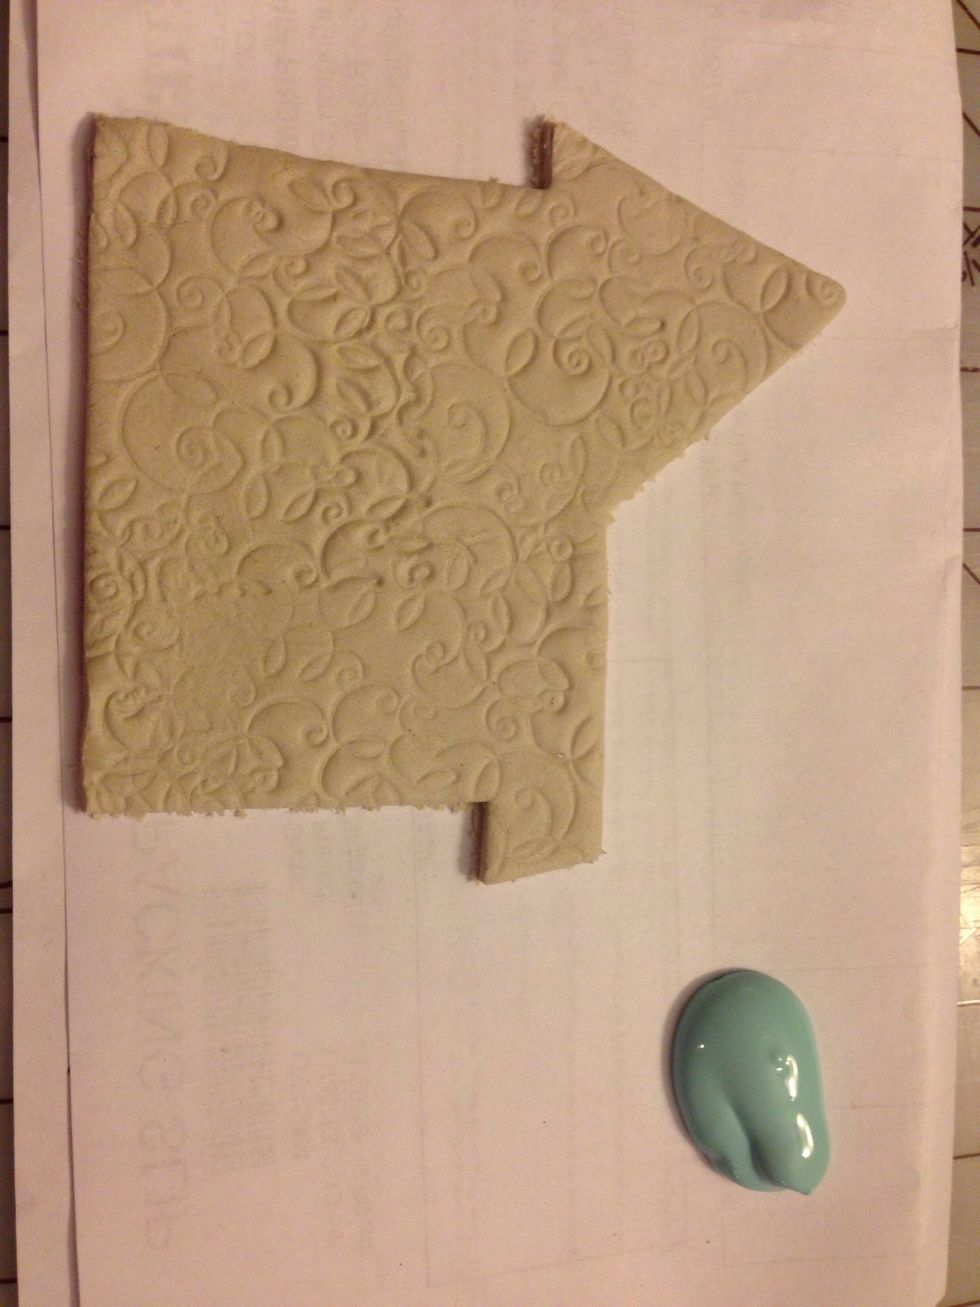
Select your paint color and begin applying it liberally to the ornament.
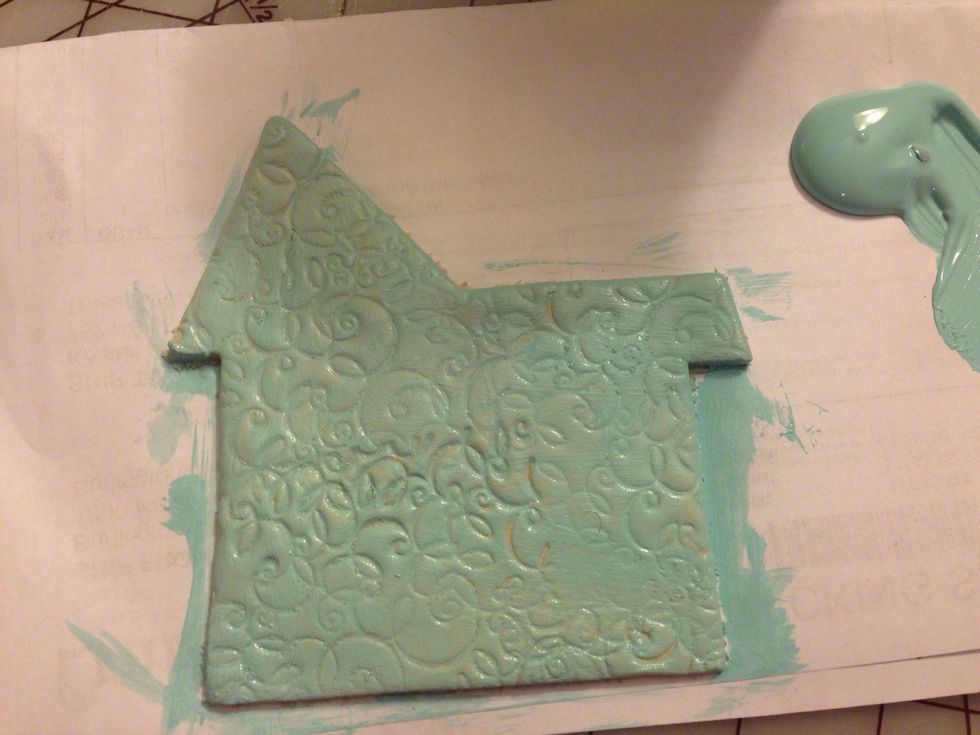
Once it is covered, wash your brush and leave some water in the bristles.
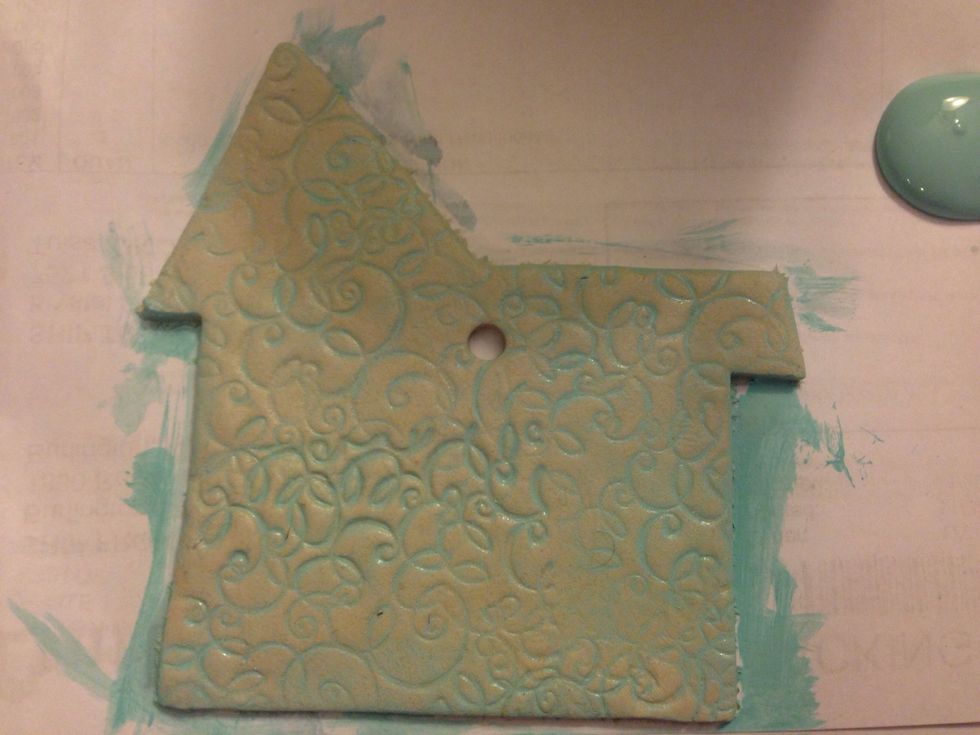
Go back over the painted surface with the water heavy brush a few times and then gently wipe off excess paint/water with a paper towel, leaving the surface a gentle blue with darker grooves.

Before you let the piece begin drying, poke a hole in the center for hanging. We used a straw. Once dry, you can hang with hemp, raffia, ribbon, etc.
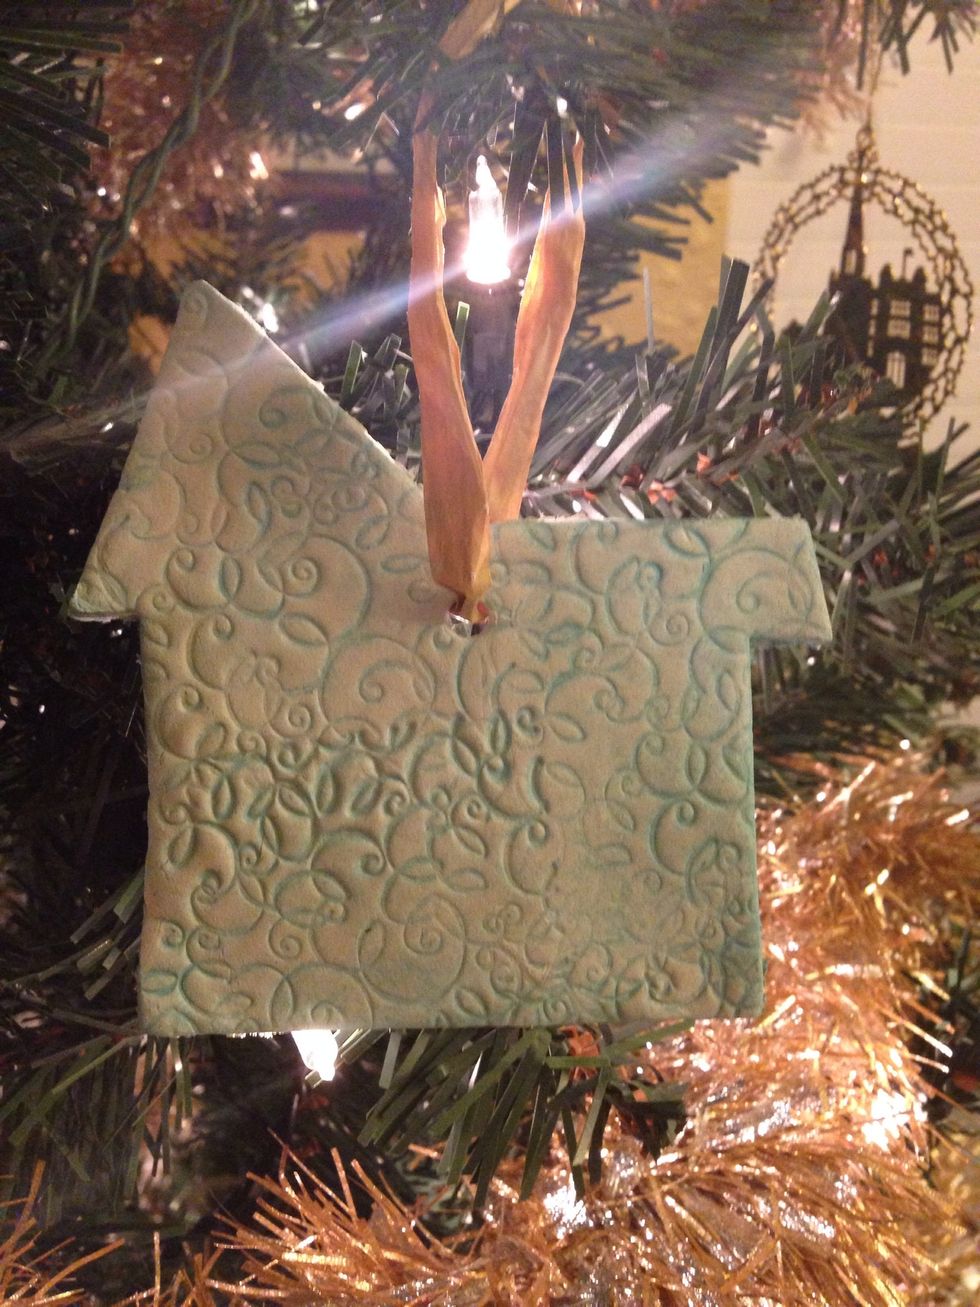
Hang and enjoy!