The Conversation (0)
Sign Up
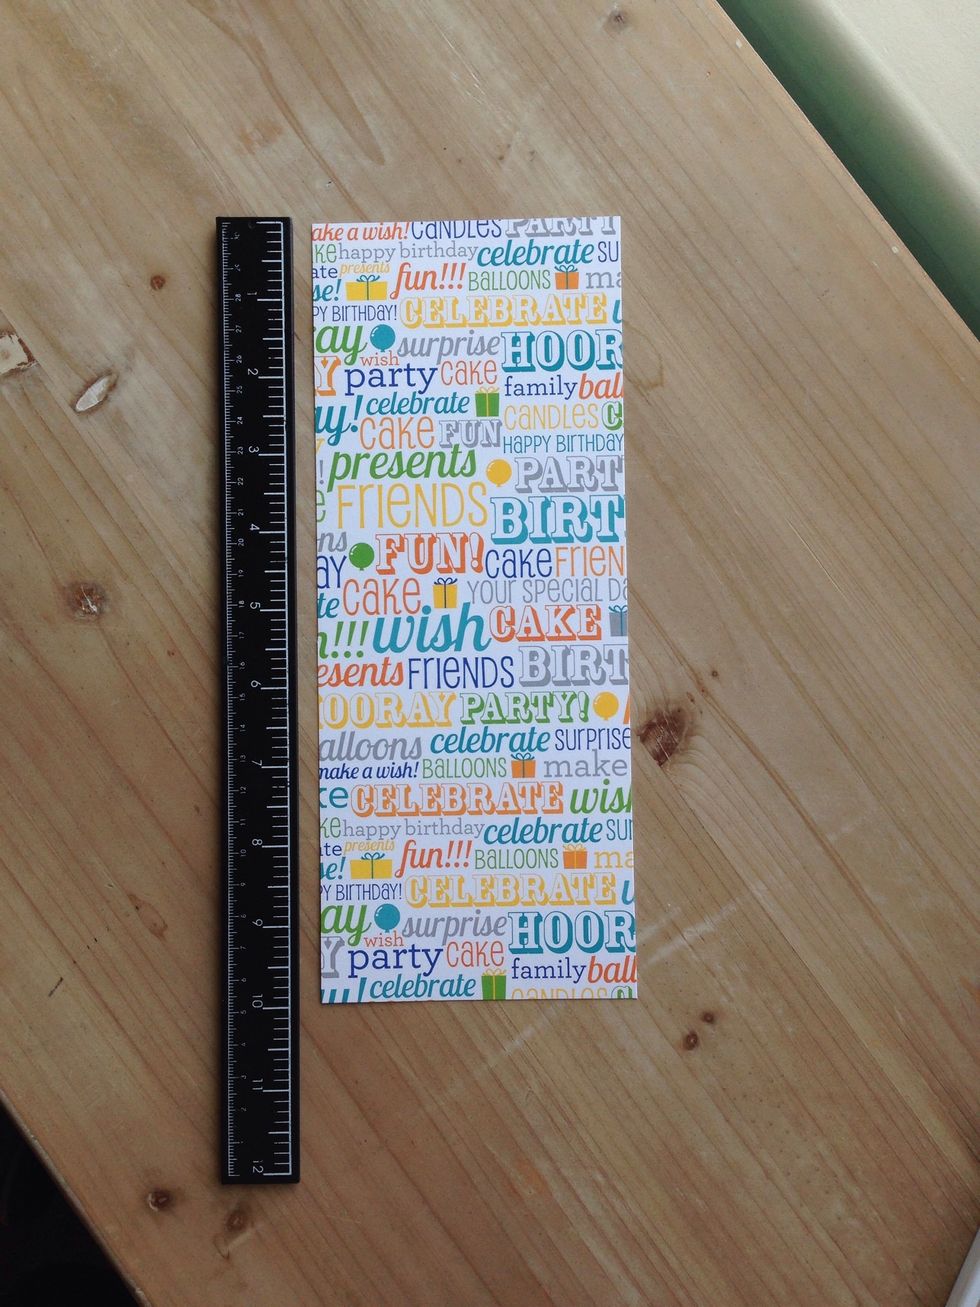
First cut a 4" x 10" strip of double-sided patterned cardstock.
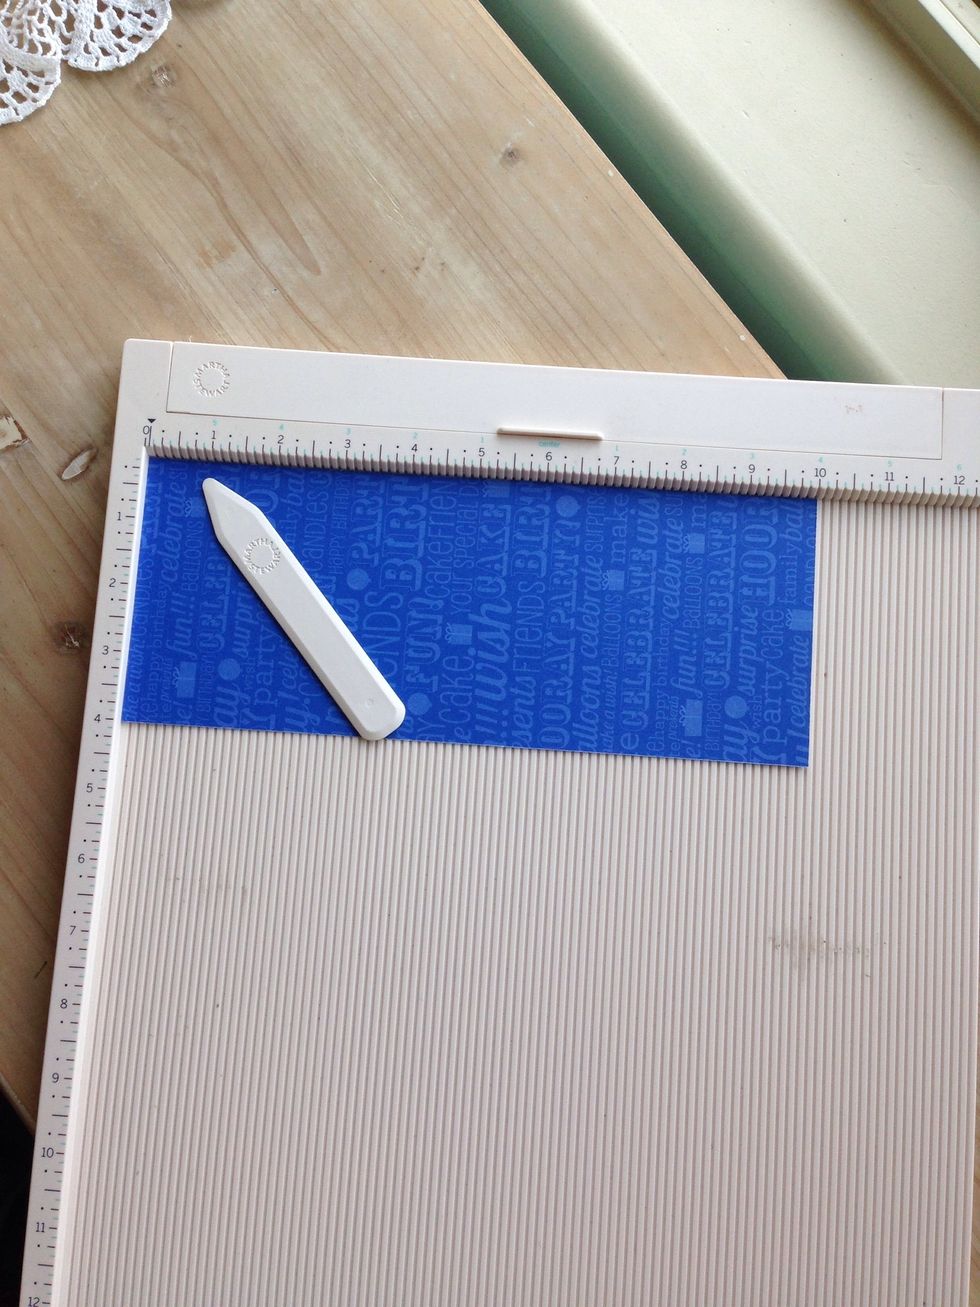
Then score your strip at 1 7/8", 5" and 8". I used a score board, but you can use a ruler as a straight edge.

At the 8" fold, add adhesive just along the outer two edges...not the bottom.
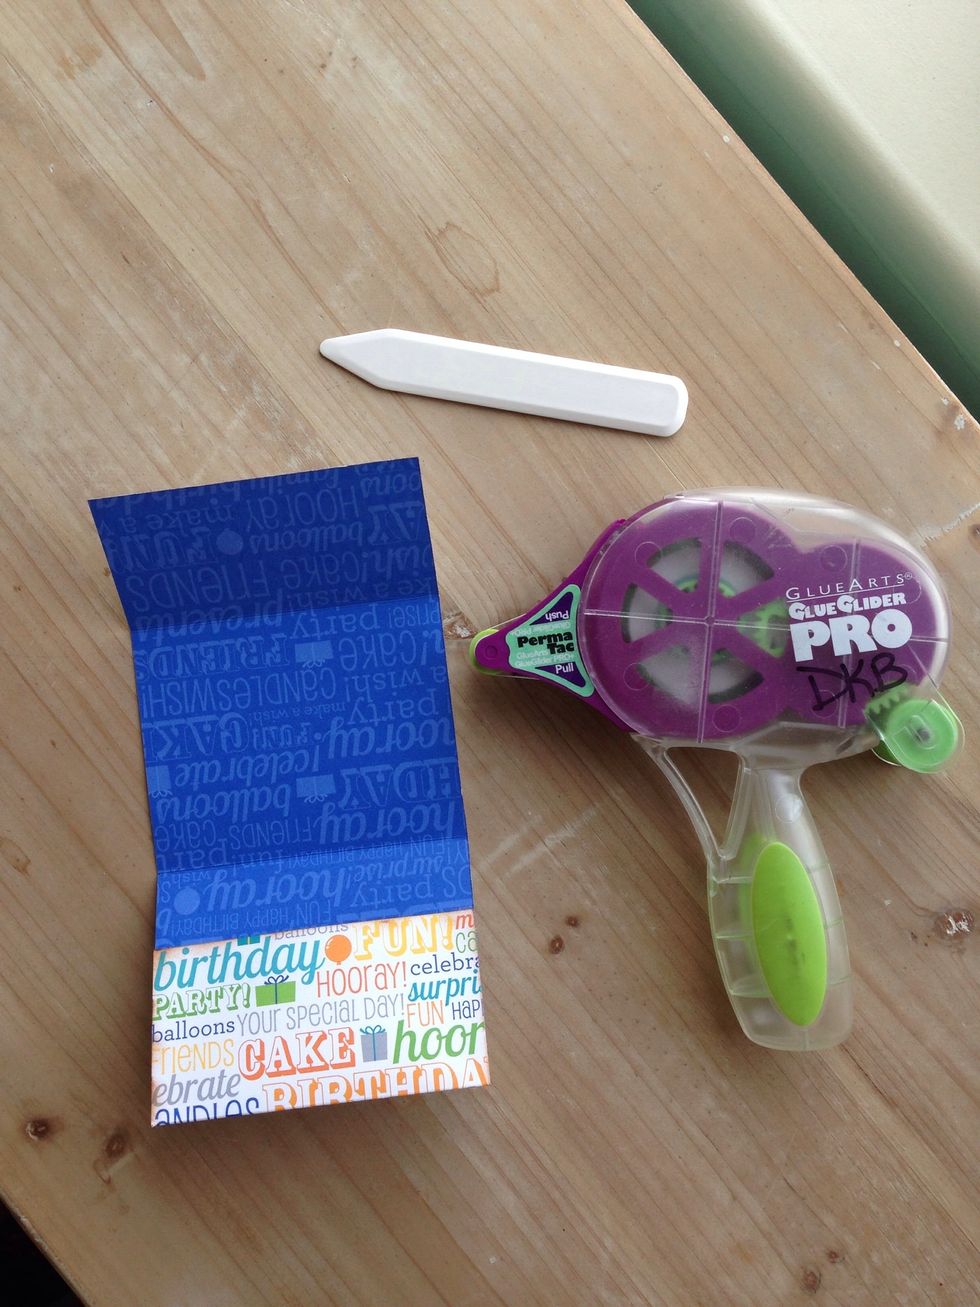
Fold up and press the edges down to stick, and you have made a pocket for your gift card.
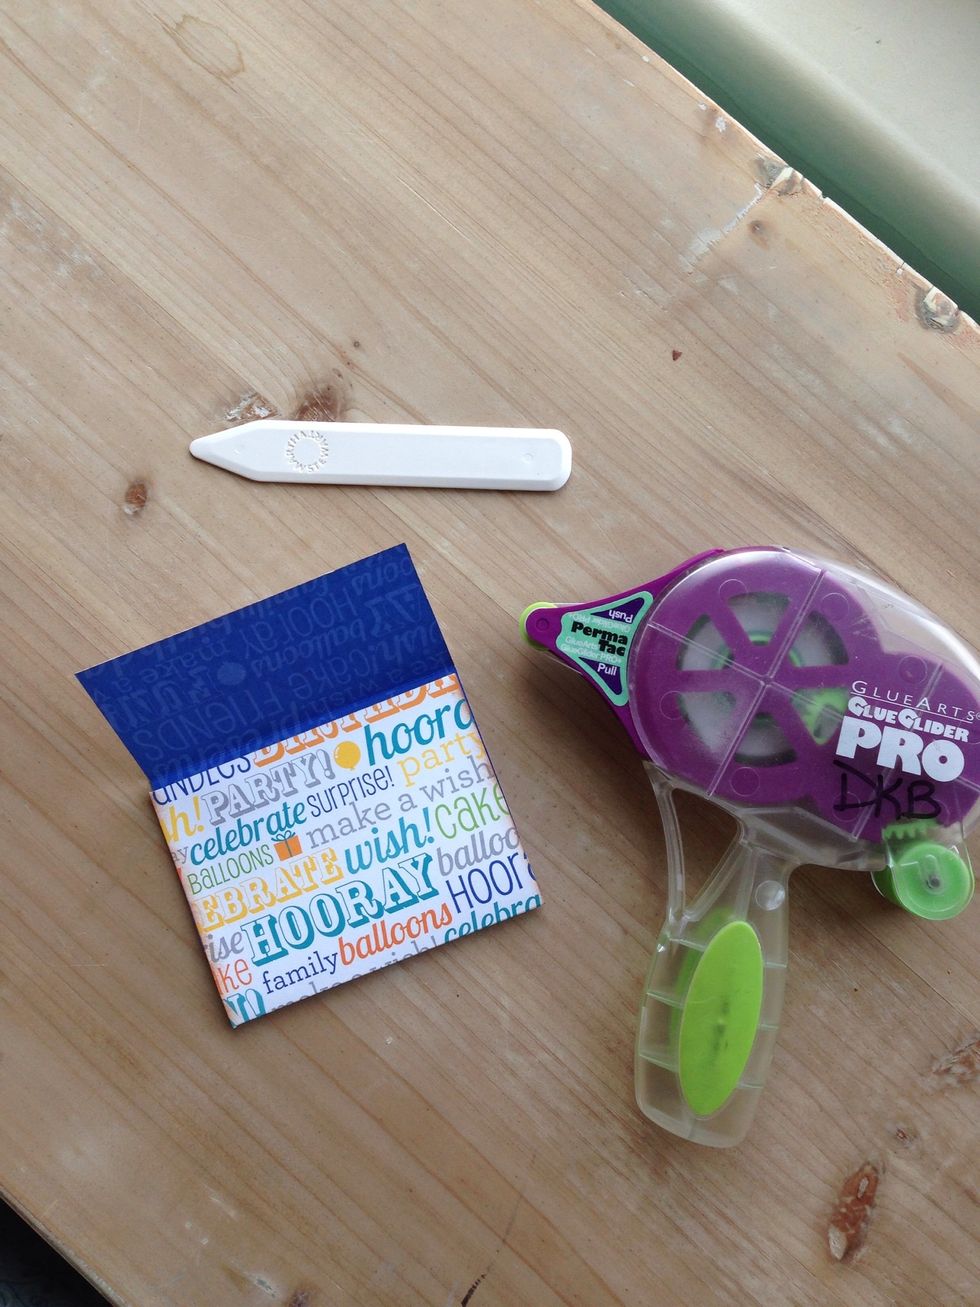
You can then fold it up again (don't add anymore adhesive) and the top makes a flap to keep it closed.
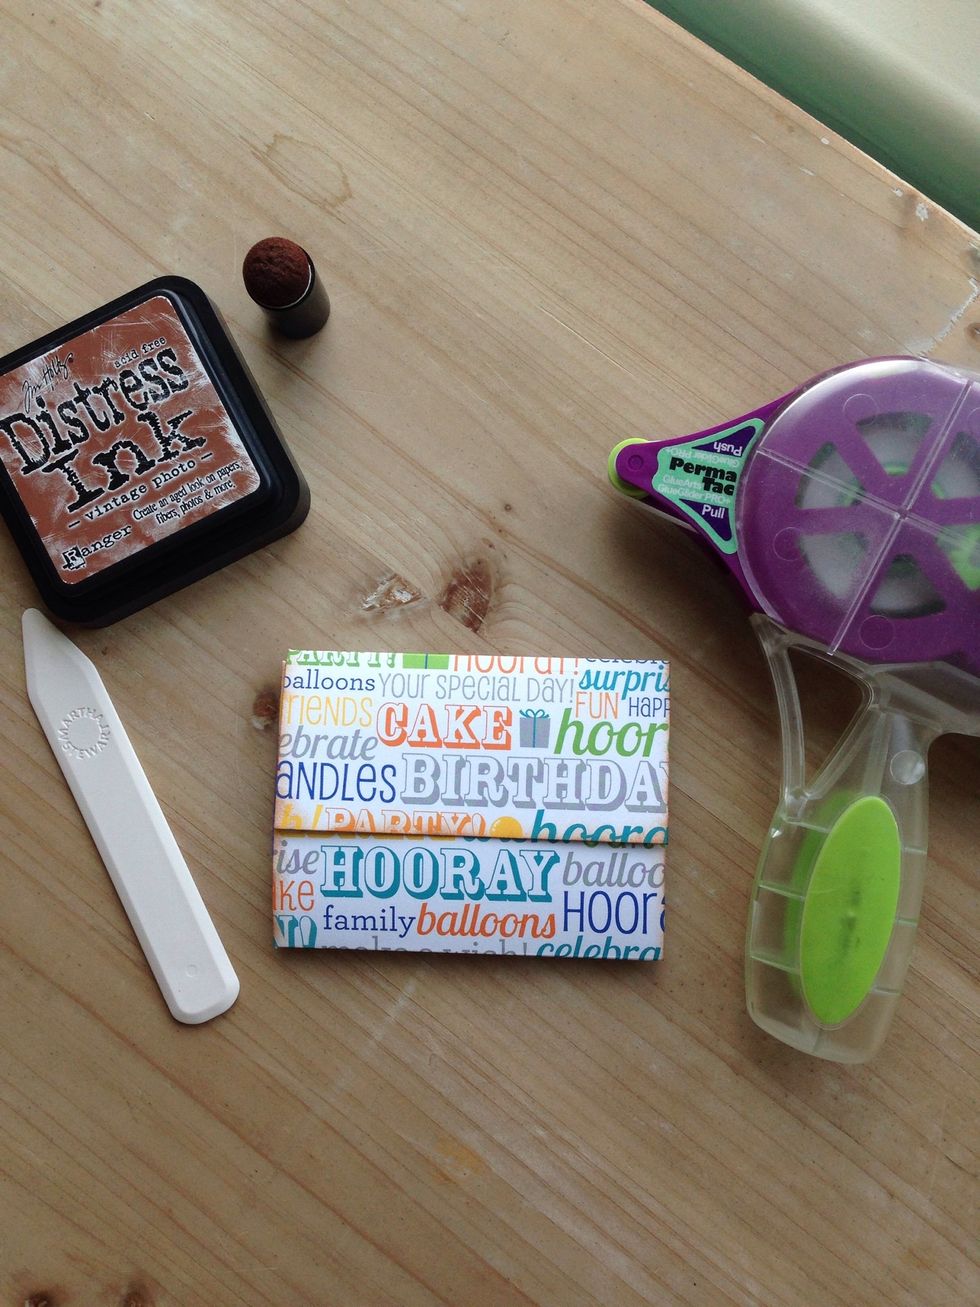
I like to ink the edges of my project to give it a finished look. You can use a small piece of sticky-backed Velcro to keep it closed. Or, you can just tape it closed.
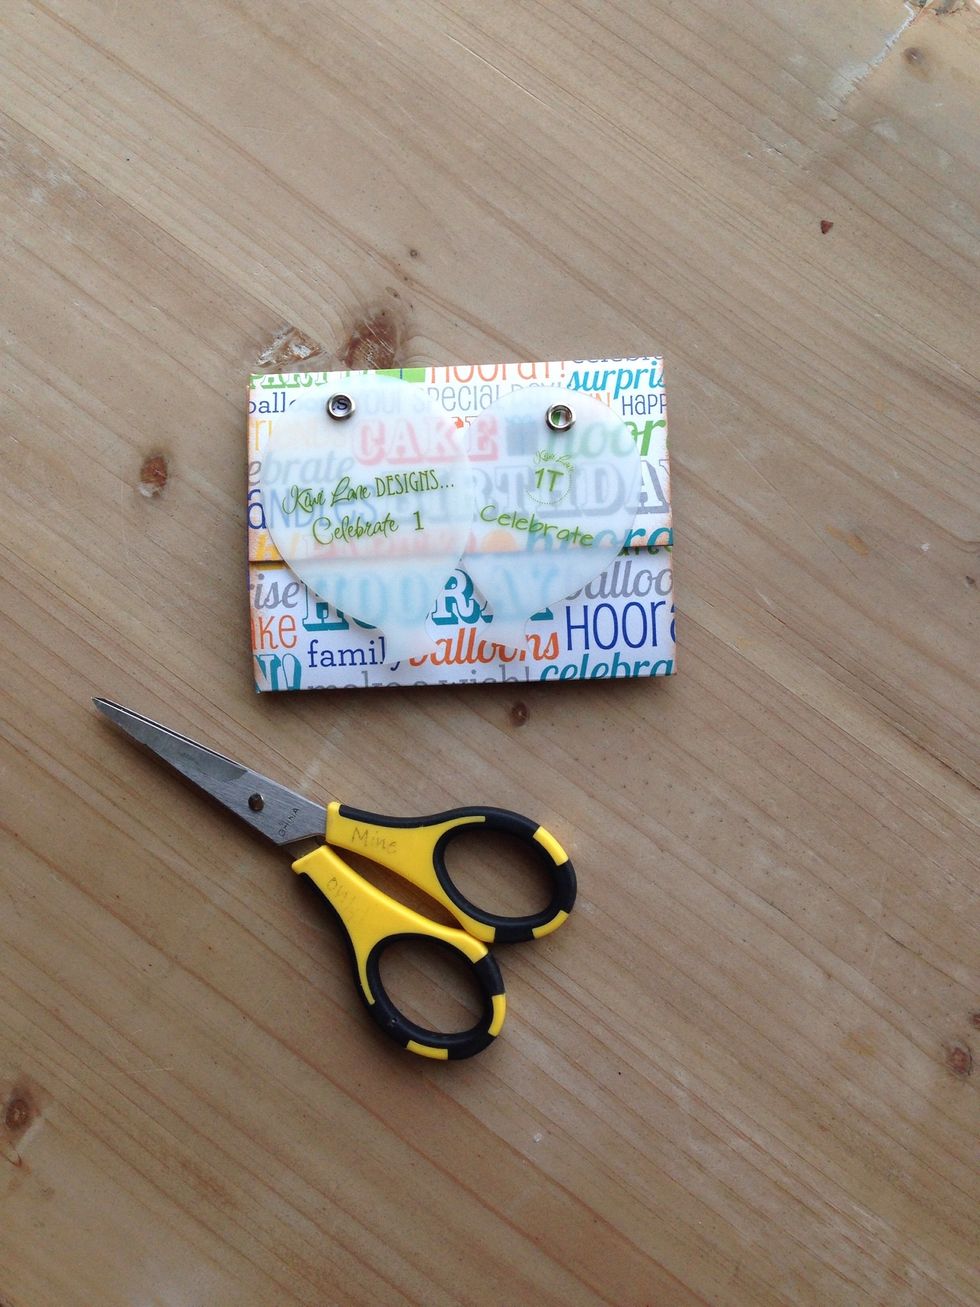
It fun to dress up the flap with fun shapes made with Kiwi Lane Designs templates! I used balloons from the Celebrate and Tiny Celebrate sets.

I traced the two balloons onto some fun paper, then just cut them out and adhered them to the flap only.
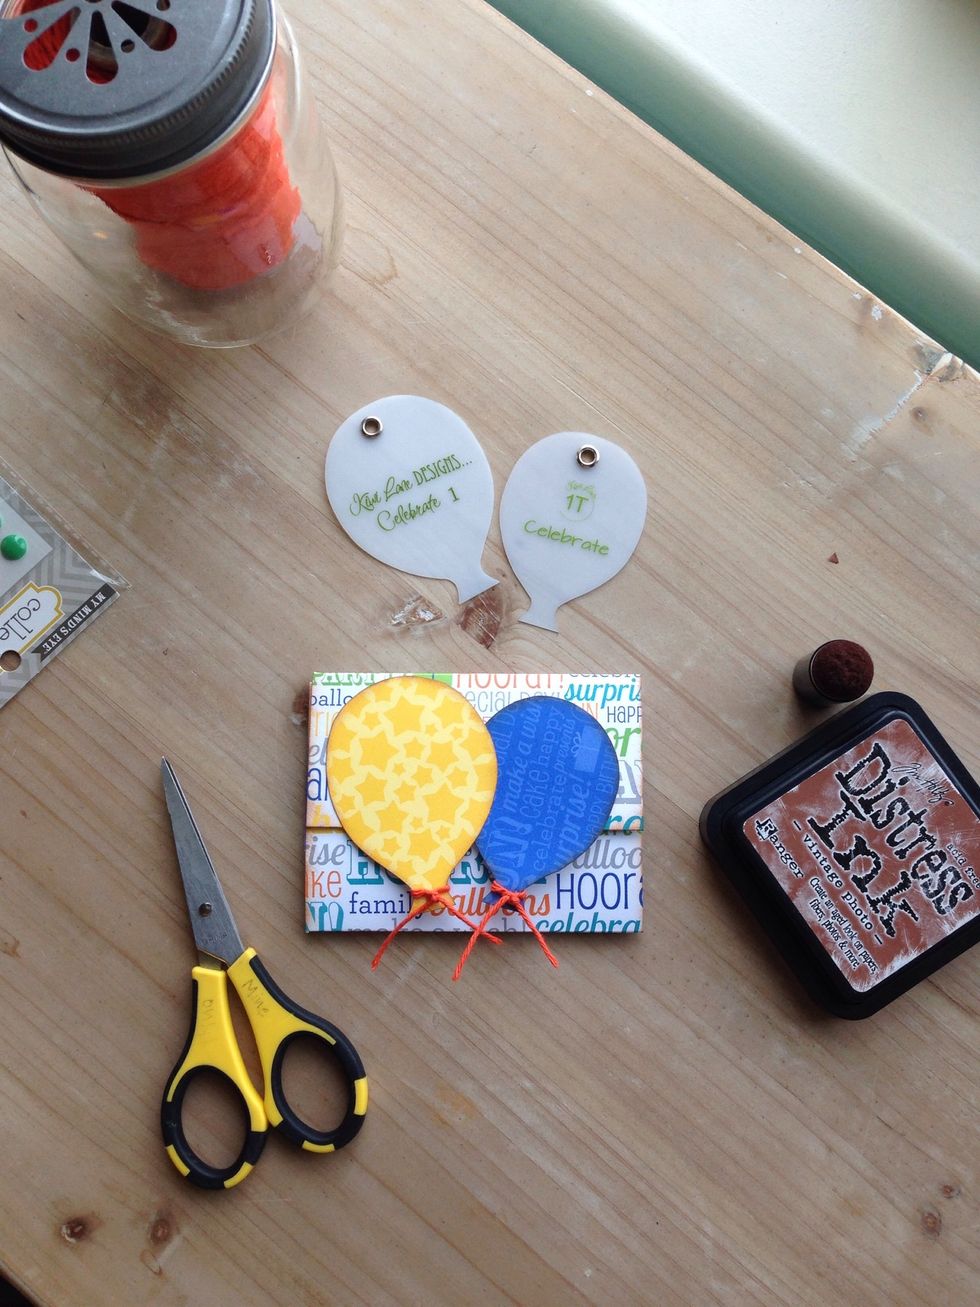
Then I tied some orange twine to the bottoms of the two balloons.
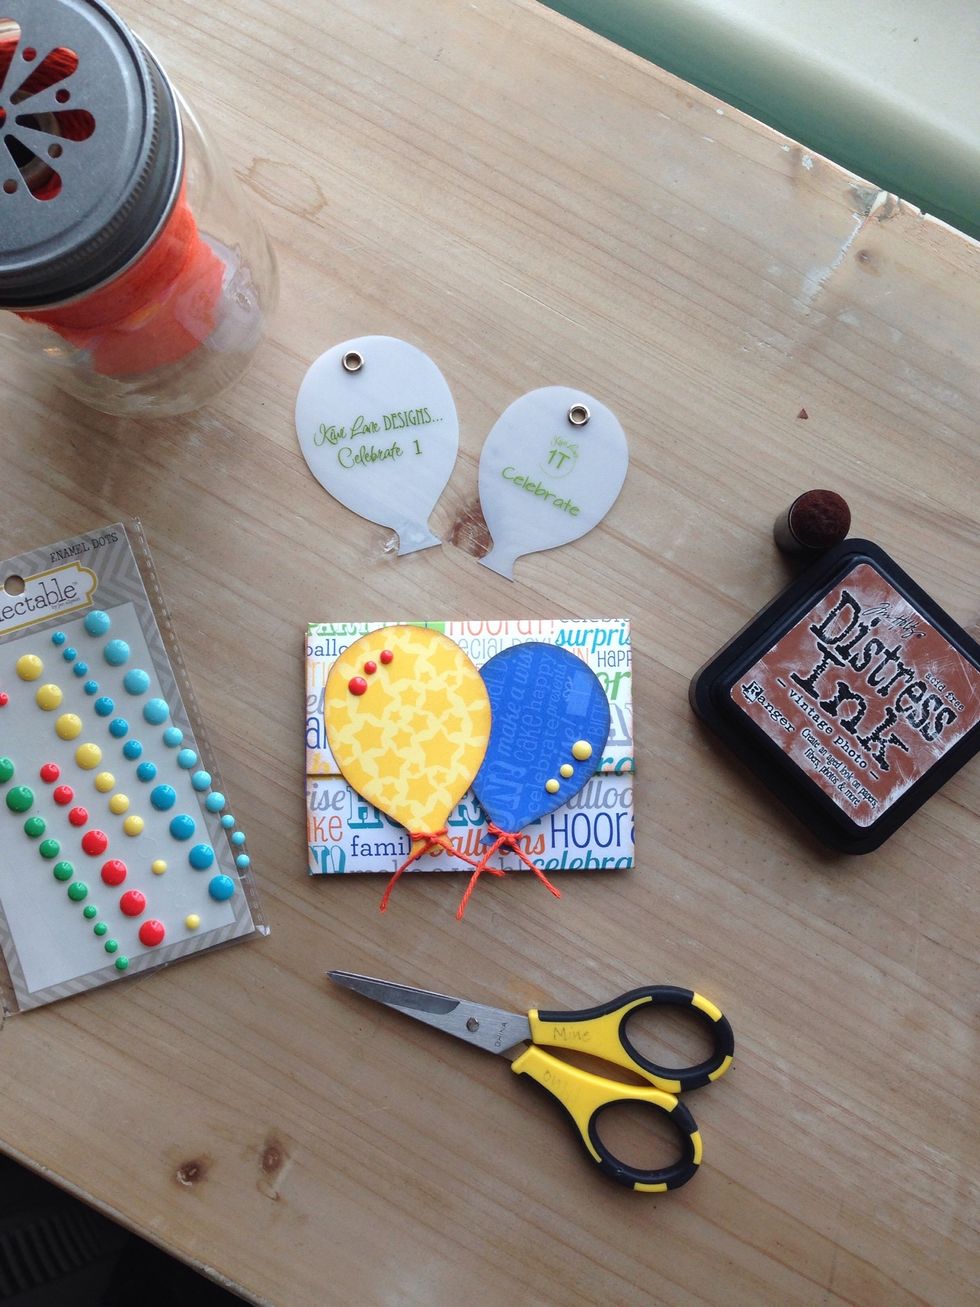
For extra fun, I added some sticky dots to each balloon.
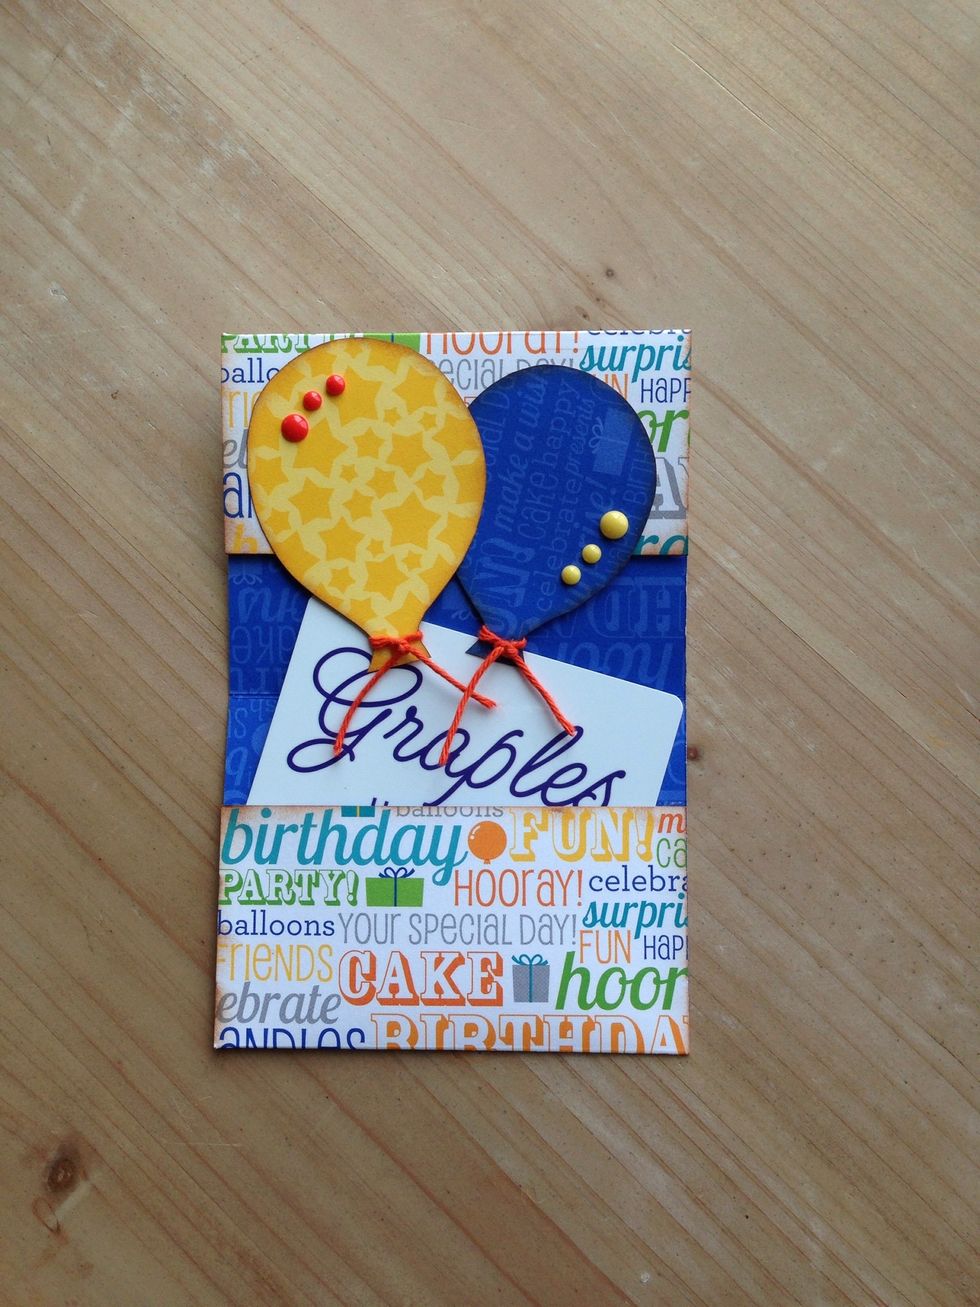
And in just a few minutes, I had a super cute gift card holder!!

Gift cards look so much better in a cute holder like this!

The bright colors and patterns bring a smile to anyone's face.

You can dress up your gift card holder anyway you like. I love this pinwheel template from the Tiny Celebrate set.

I love how this one turned out! I used my Tiny Celebrate banner and my Tiny Accents star and adhered them to the flap.
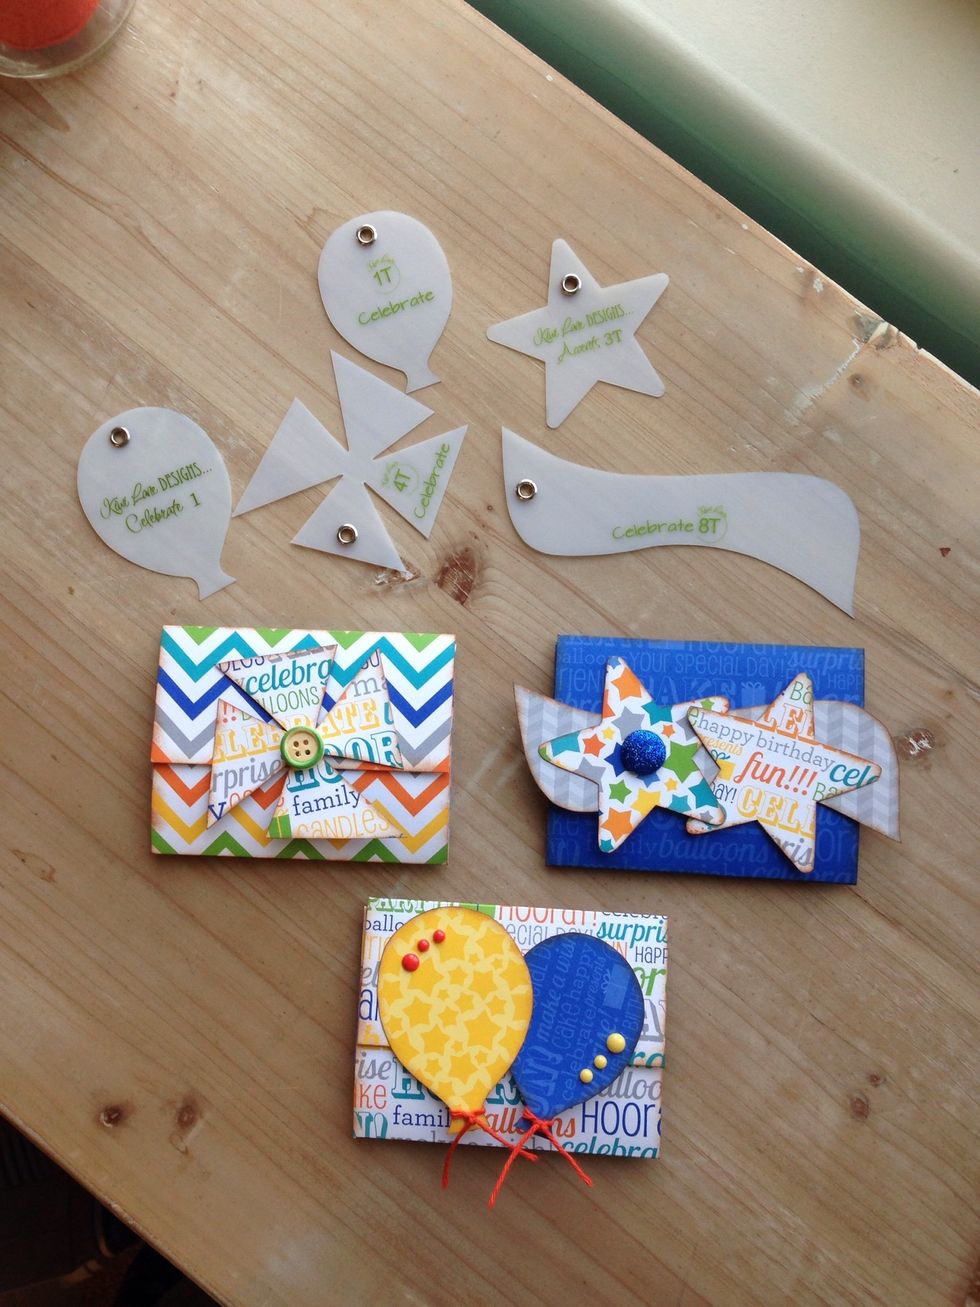
Gift card holders are quick and simple to make and my Kiwi Lane templates made them super cute !

Thank you for taking a look at this step guide !