The Conversation (0)
Sign Up
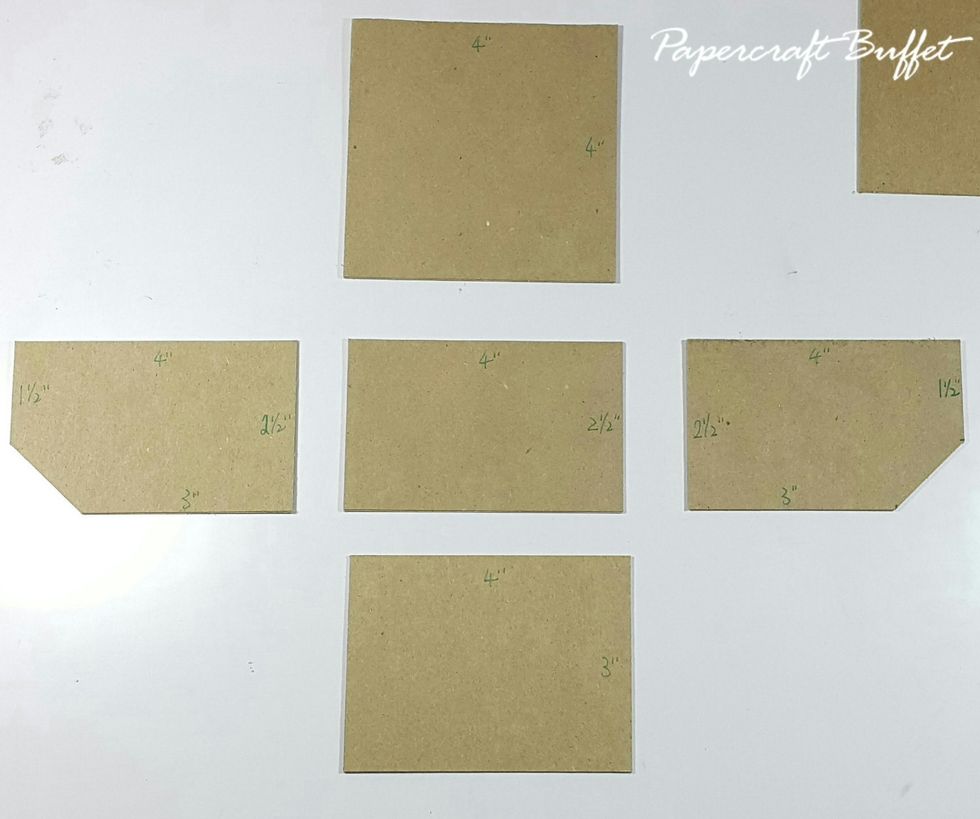
Cut chipboard 1pc 4"x4" (back), 1pc 4"x2-1/2" (base), 1pc 4"x3" (front) and 4"x2-1/2" (sides), chop the corner of the sides pieces in order to fit the box of 1-1/2" and 3" by the sides as shown.
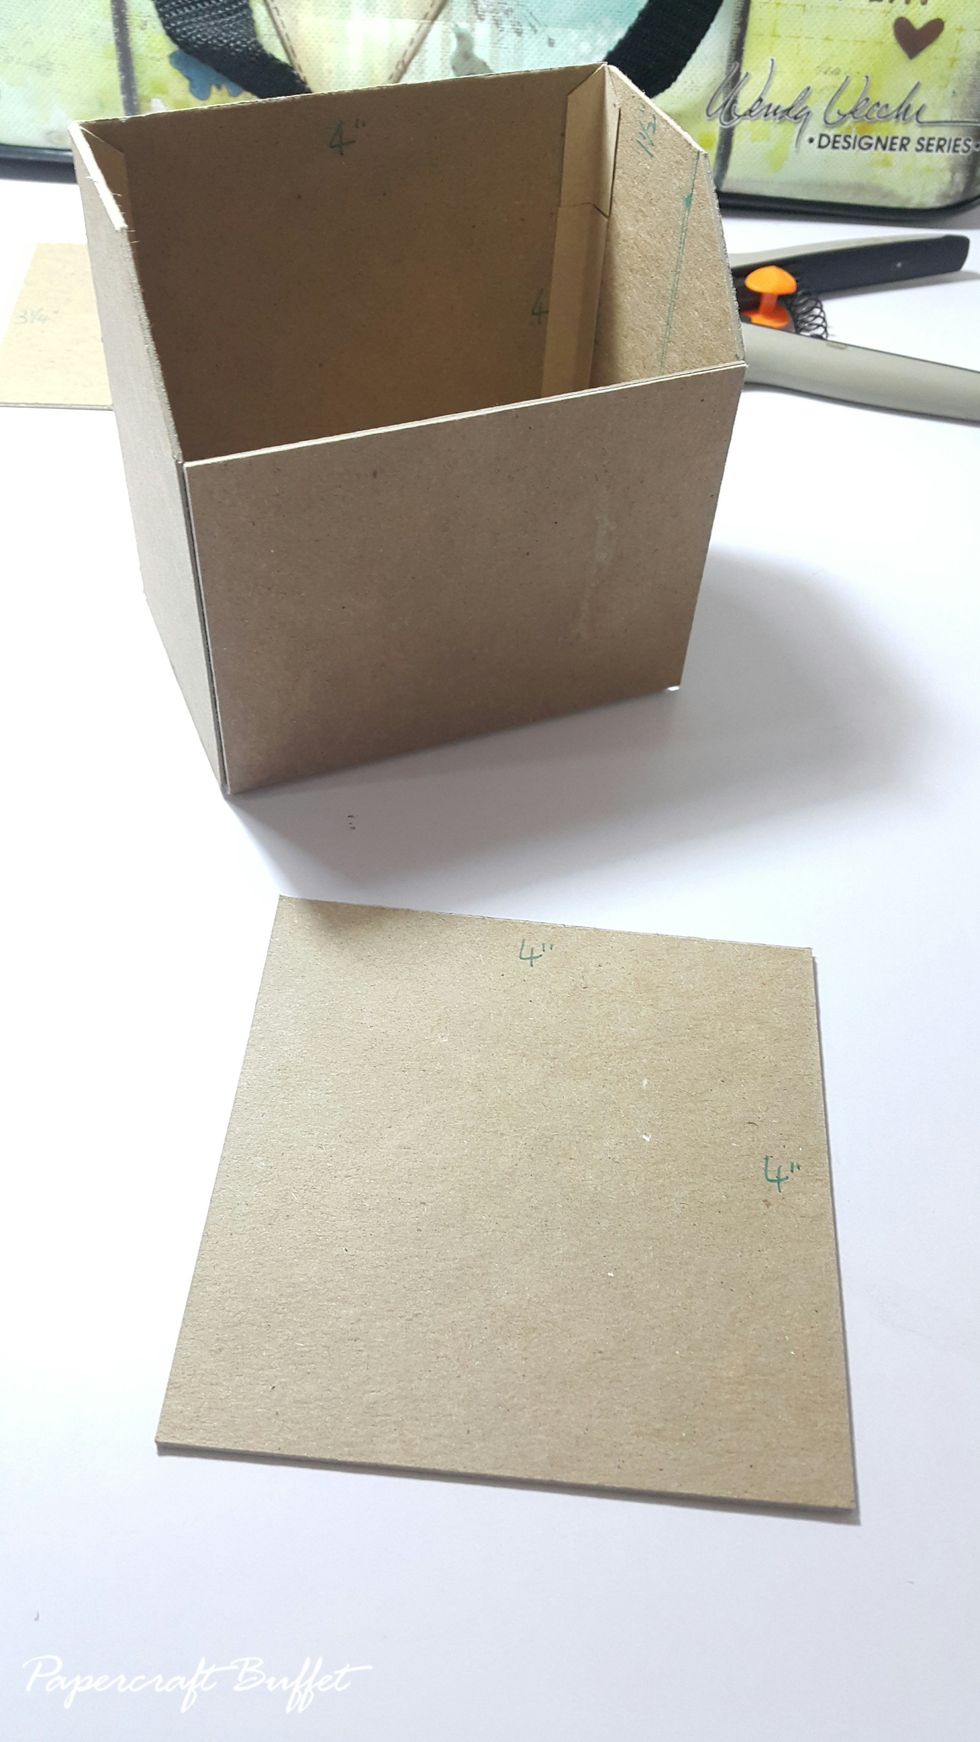
Use connecting strips to form into shape, cut another 4"x4" as divider, adhere in place with connecting strips or glue.
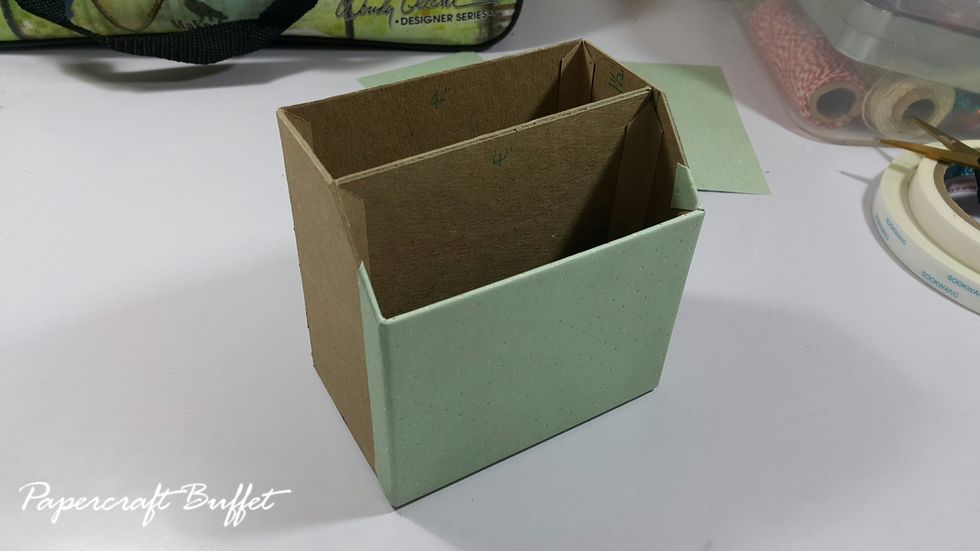
Cover the front with paper.
Cover the back with paper.
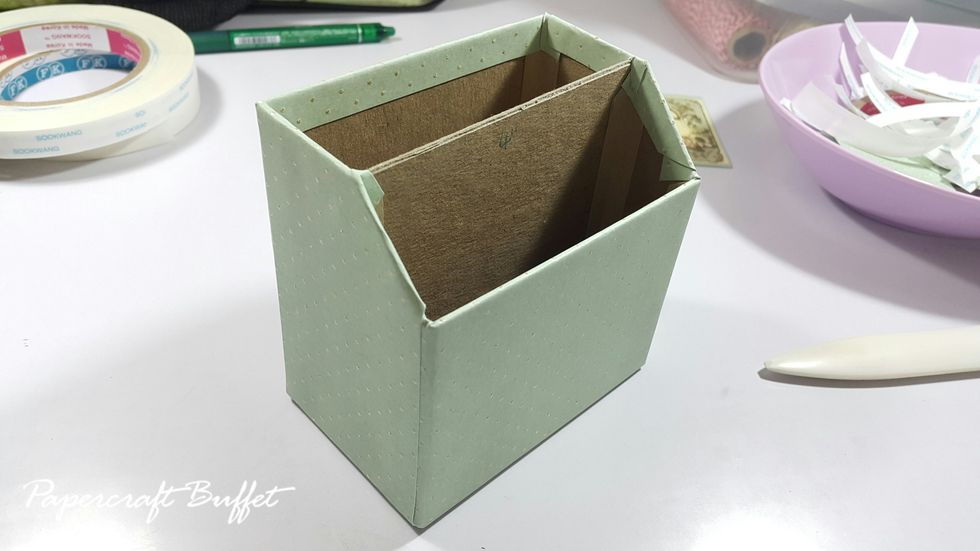
Cover the two sides with papers.

Cover the top of the divider with 1" scraps.
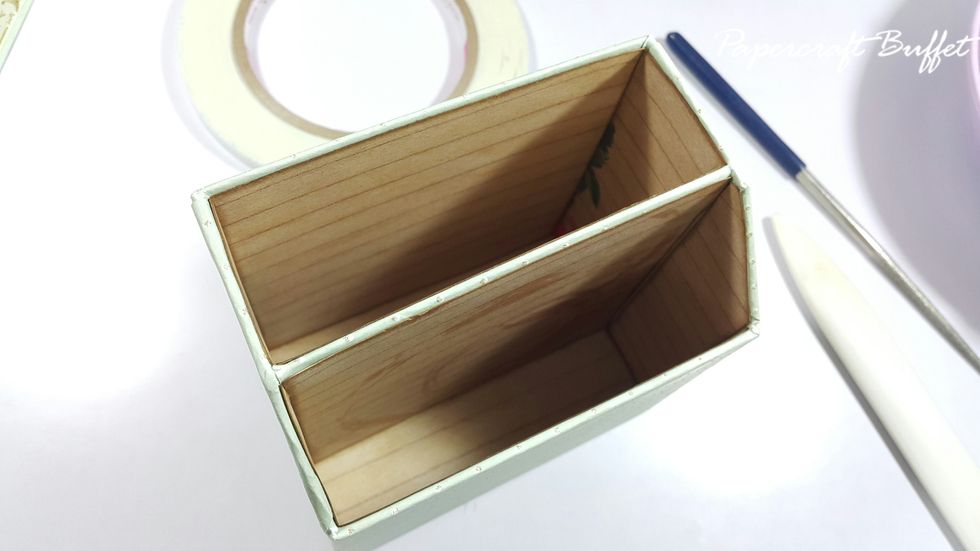
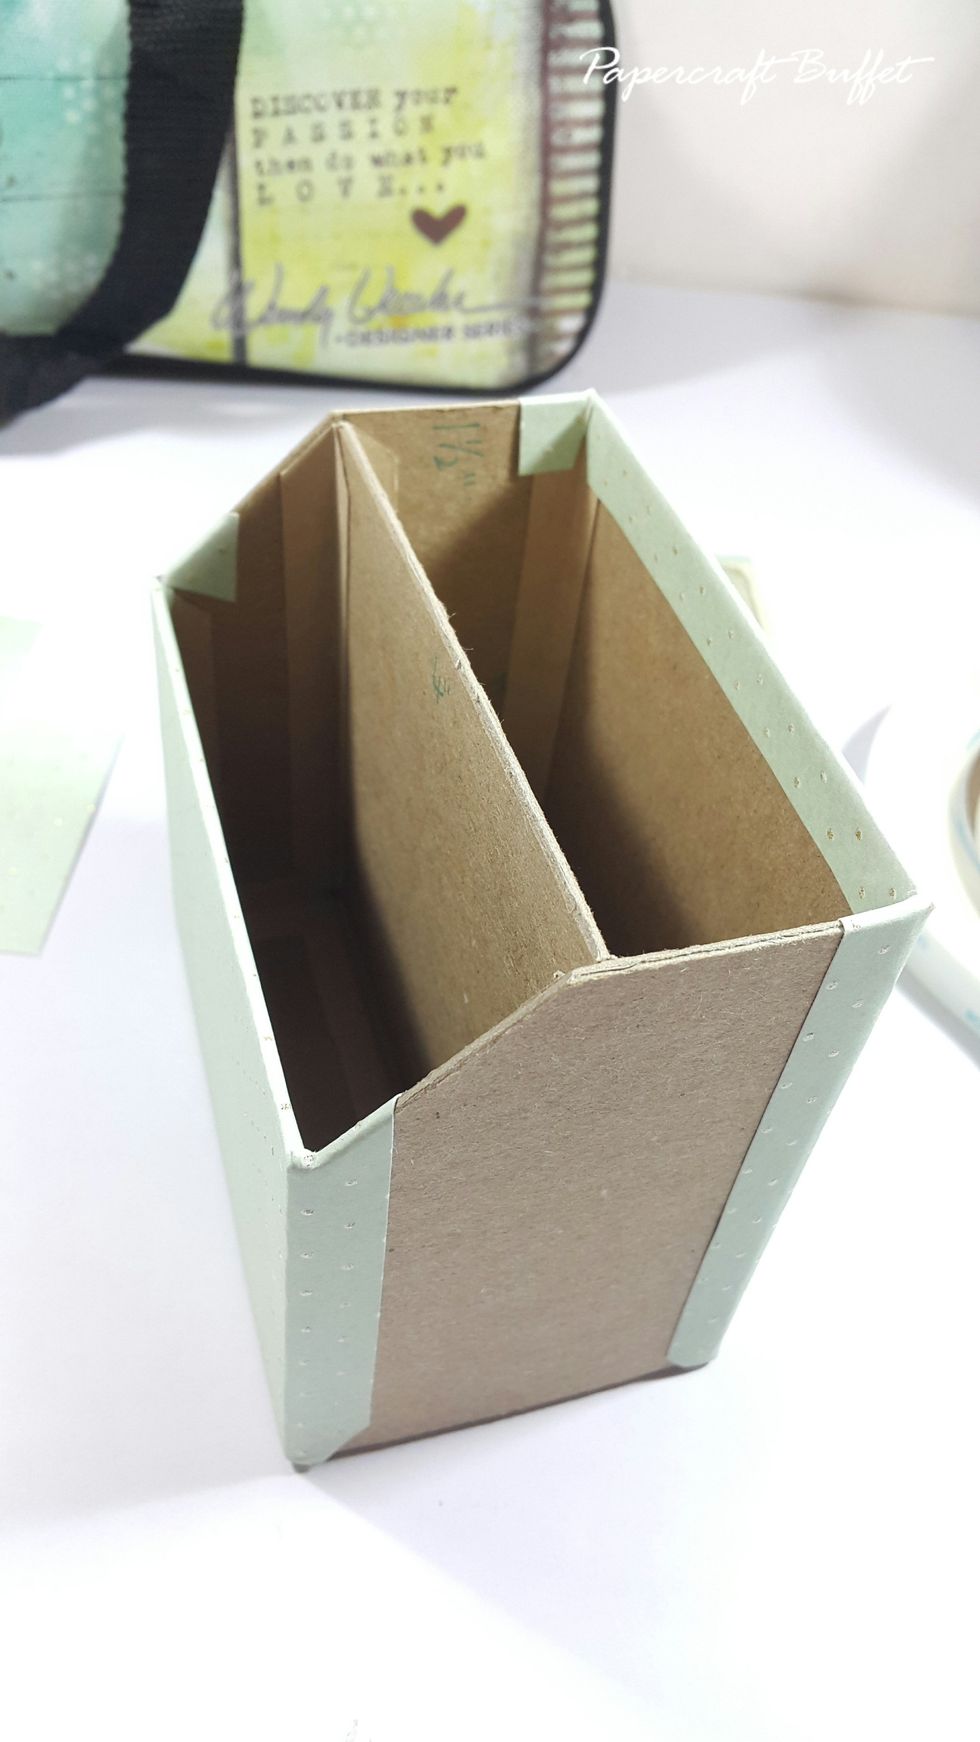
Cover the insides with selected papers.
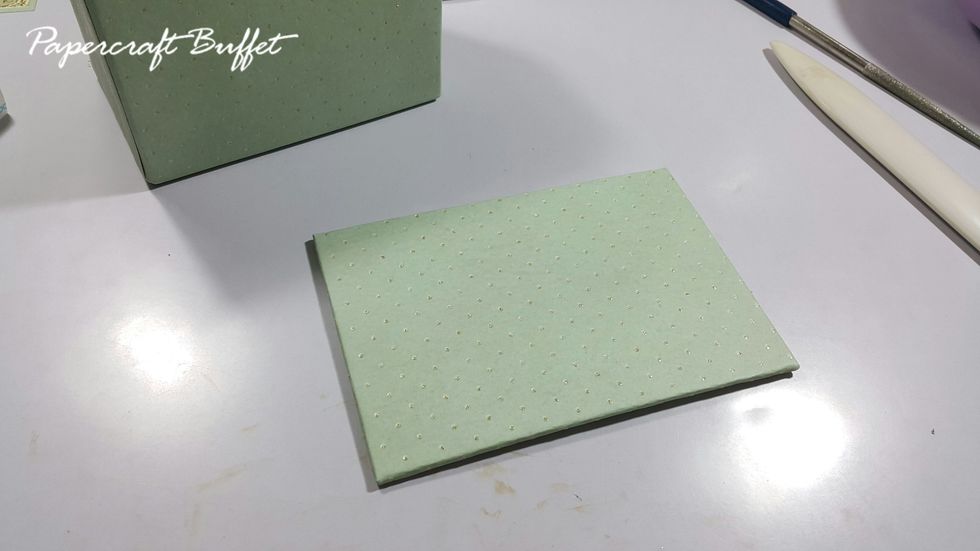
Wrap a piece of chipboard of 4-3/4"x3-1/4" with paper, adhere as the base platform. The basic shape of the stand is finished, you can start decorating with your favorite Maya Road goodies.
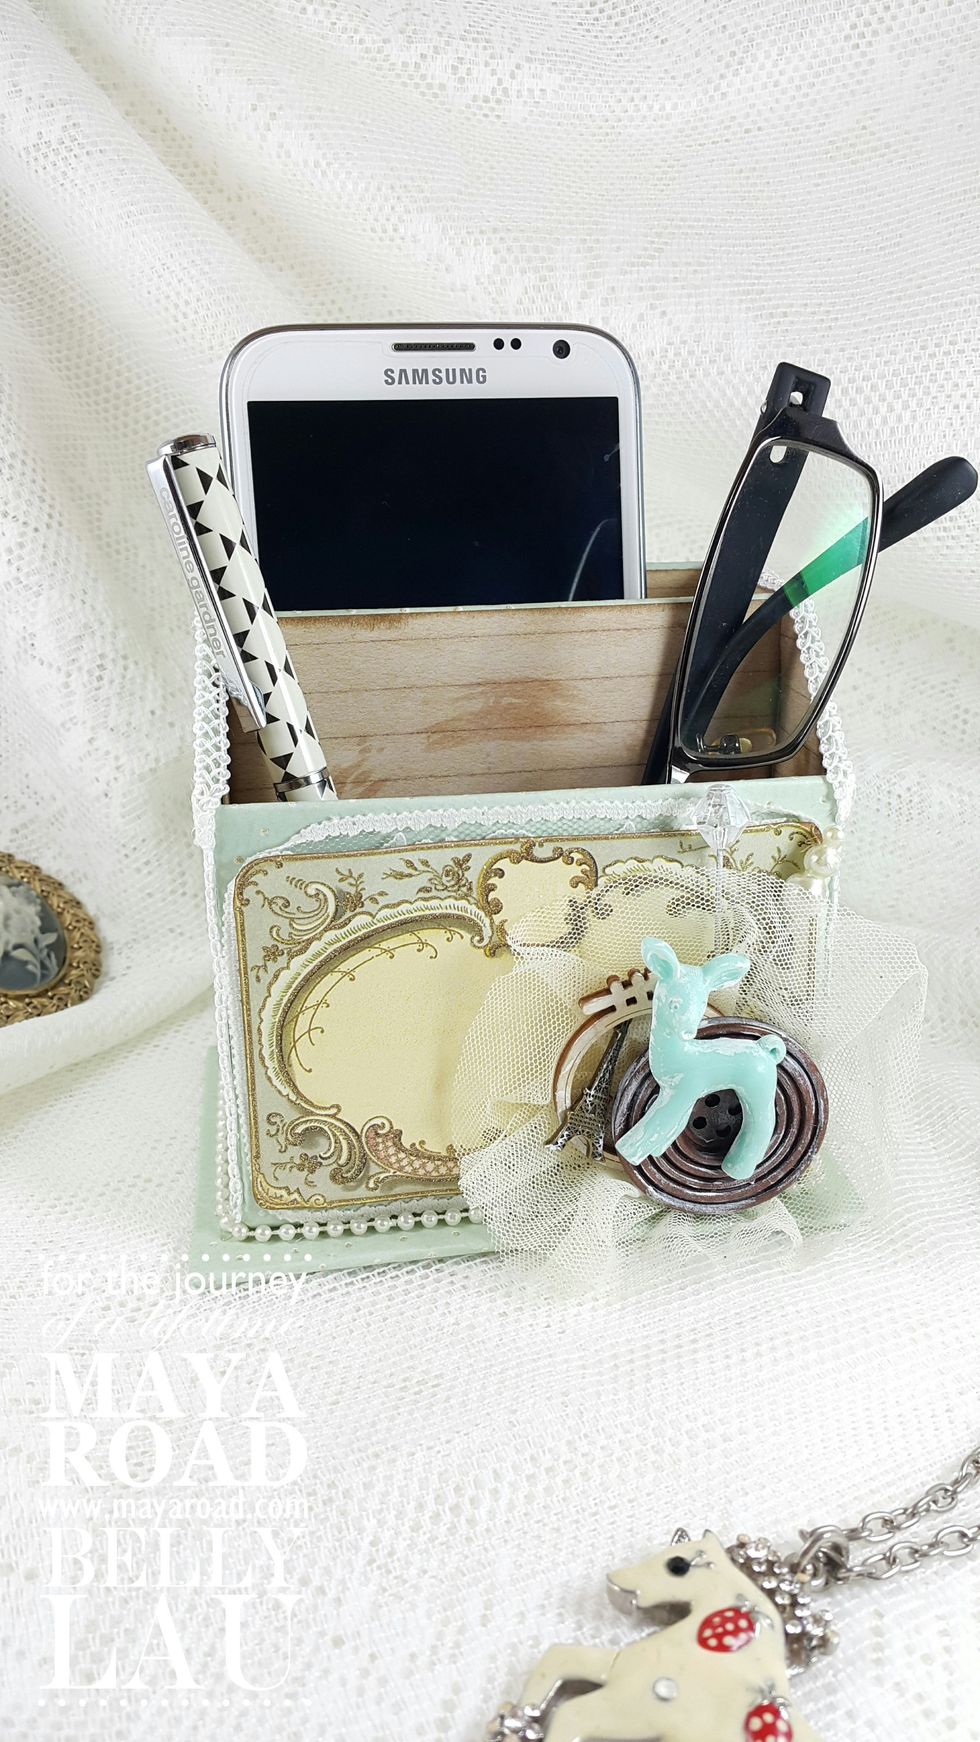
You can have your own measurements in order to fit your stuff, it would be fun to make a few on your door side table.
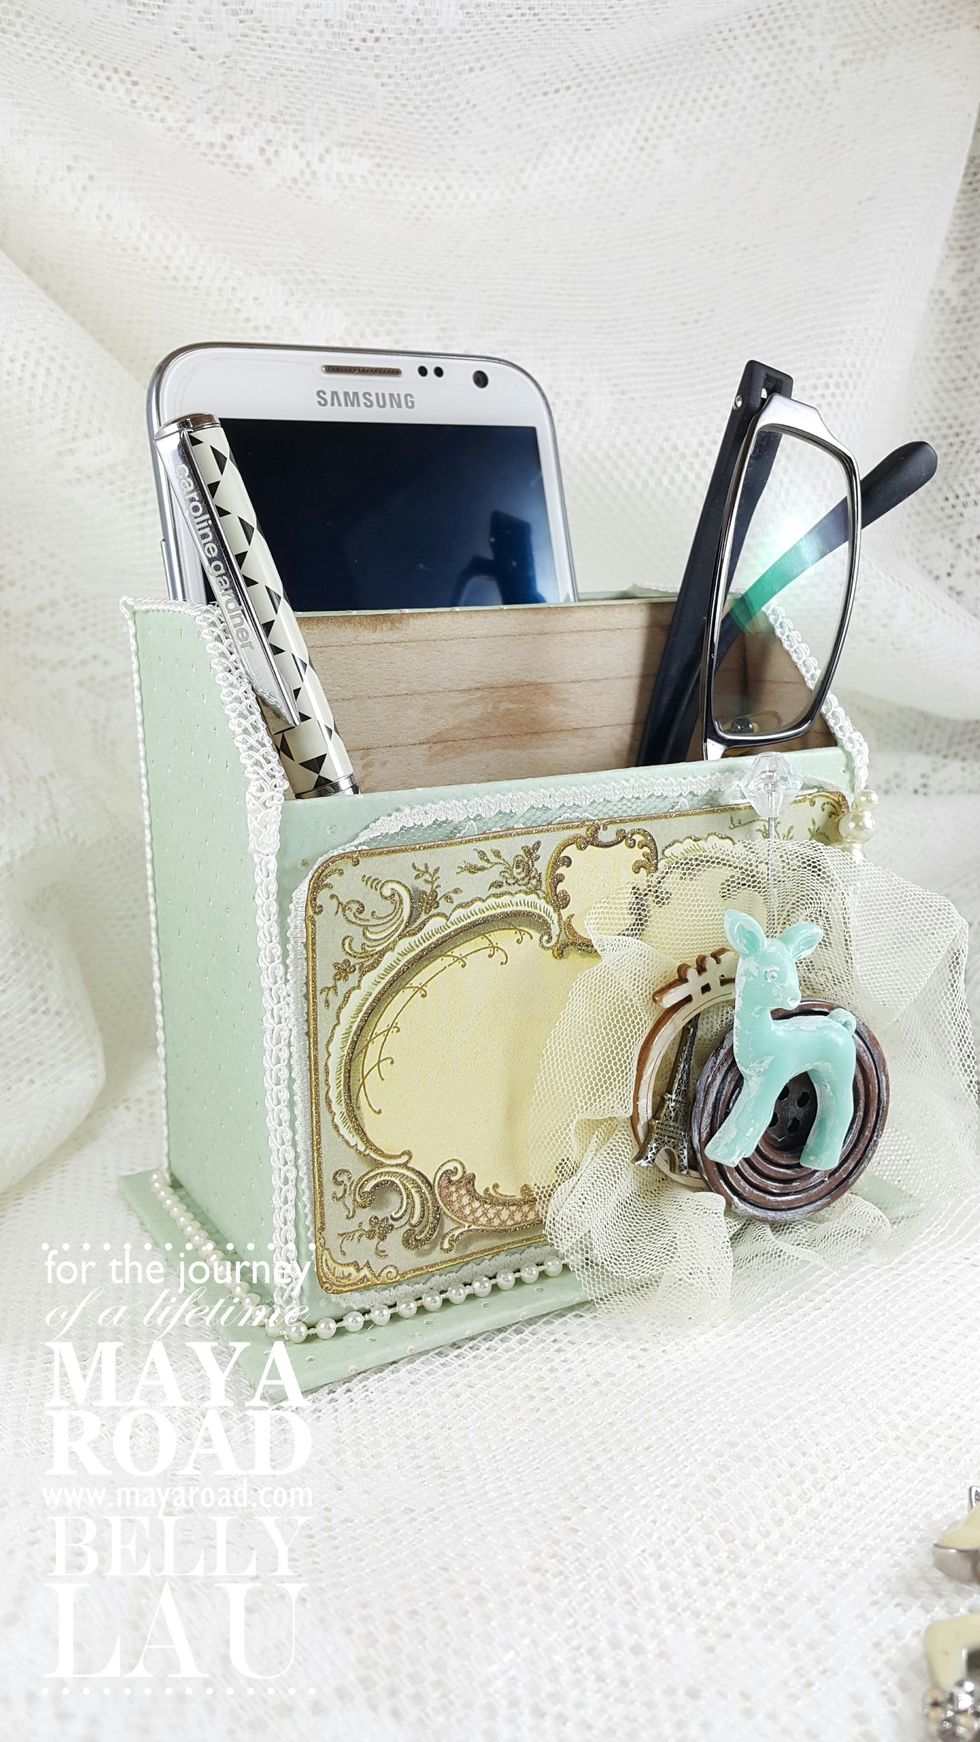
I added extra lace trim and pearl trim on the sides of the stand, they can give a more shabby look, and also hiding some of the paper edges.
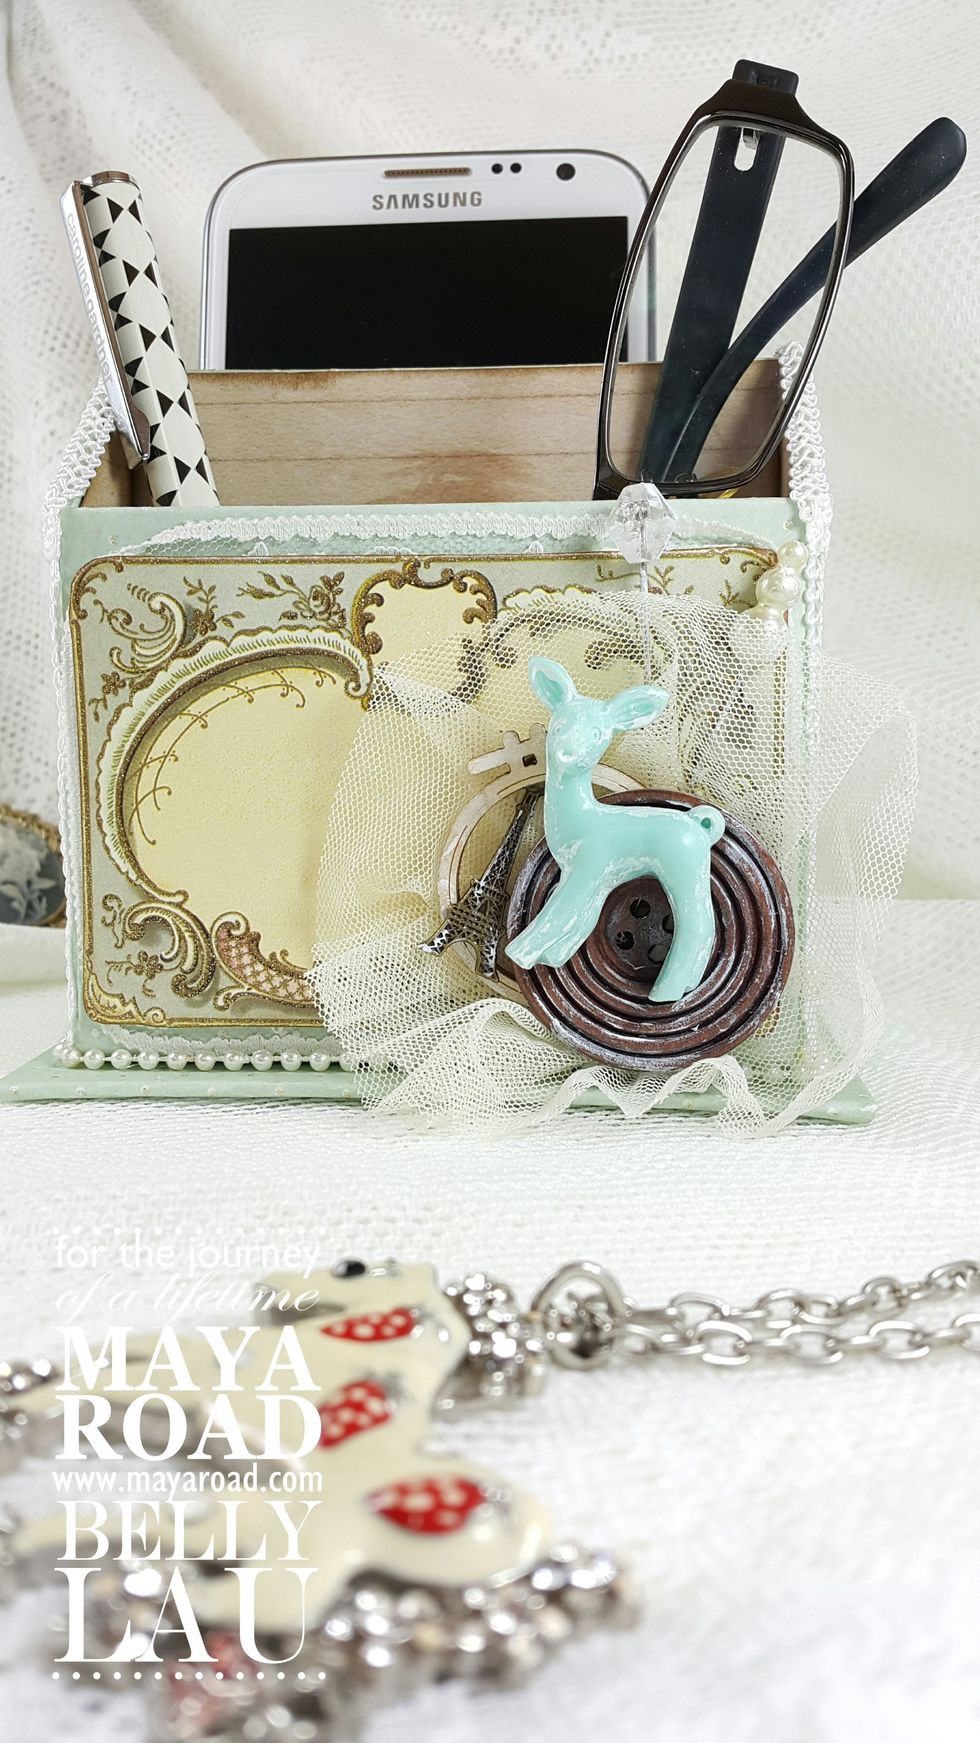
Other than the embellishments, you can also add sentiments or words on the front.
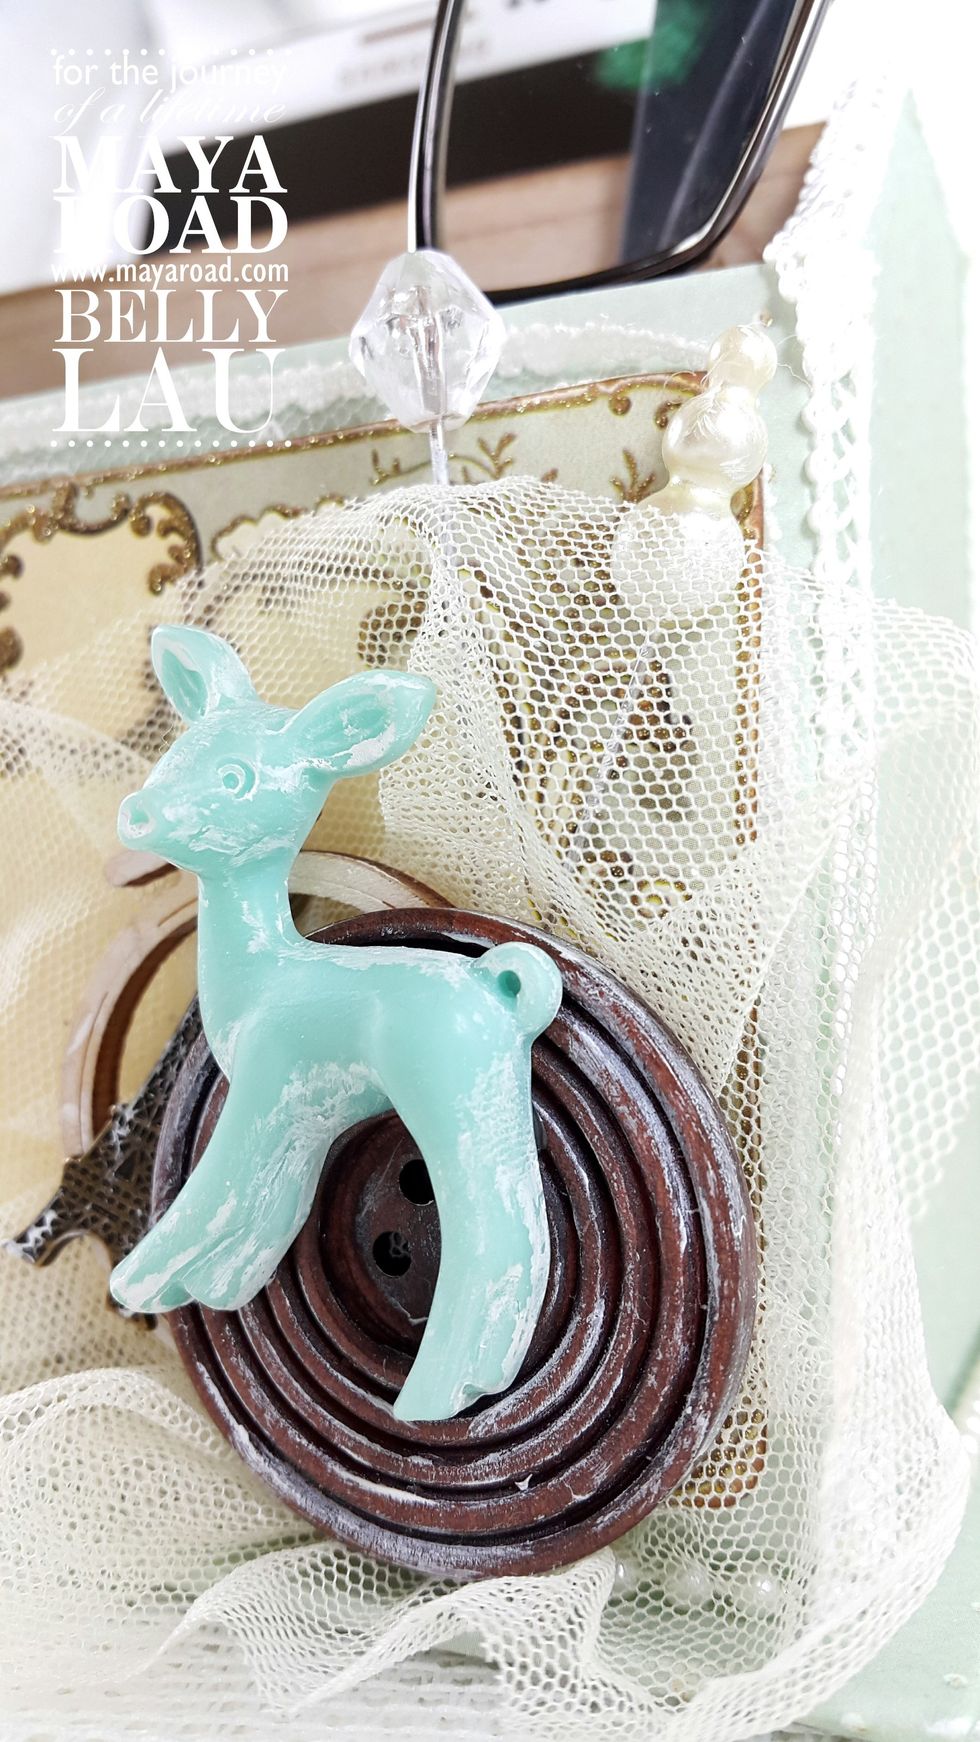
Gesso on the embellishments can turn down a bit the bright colors and enhance the shabby feel as well.
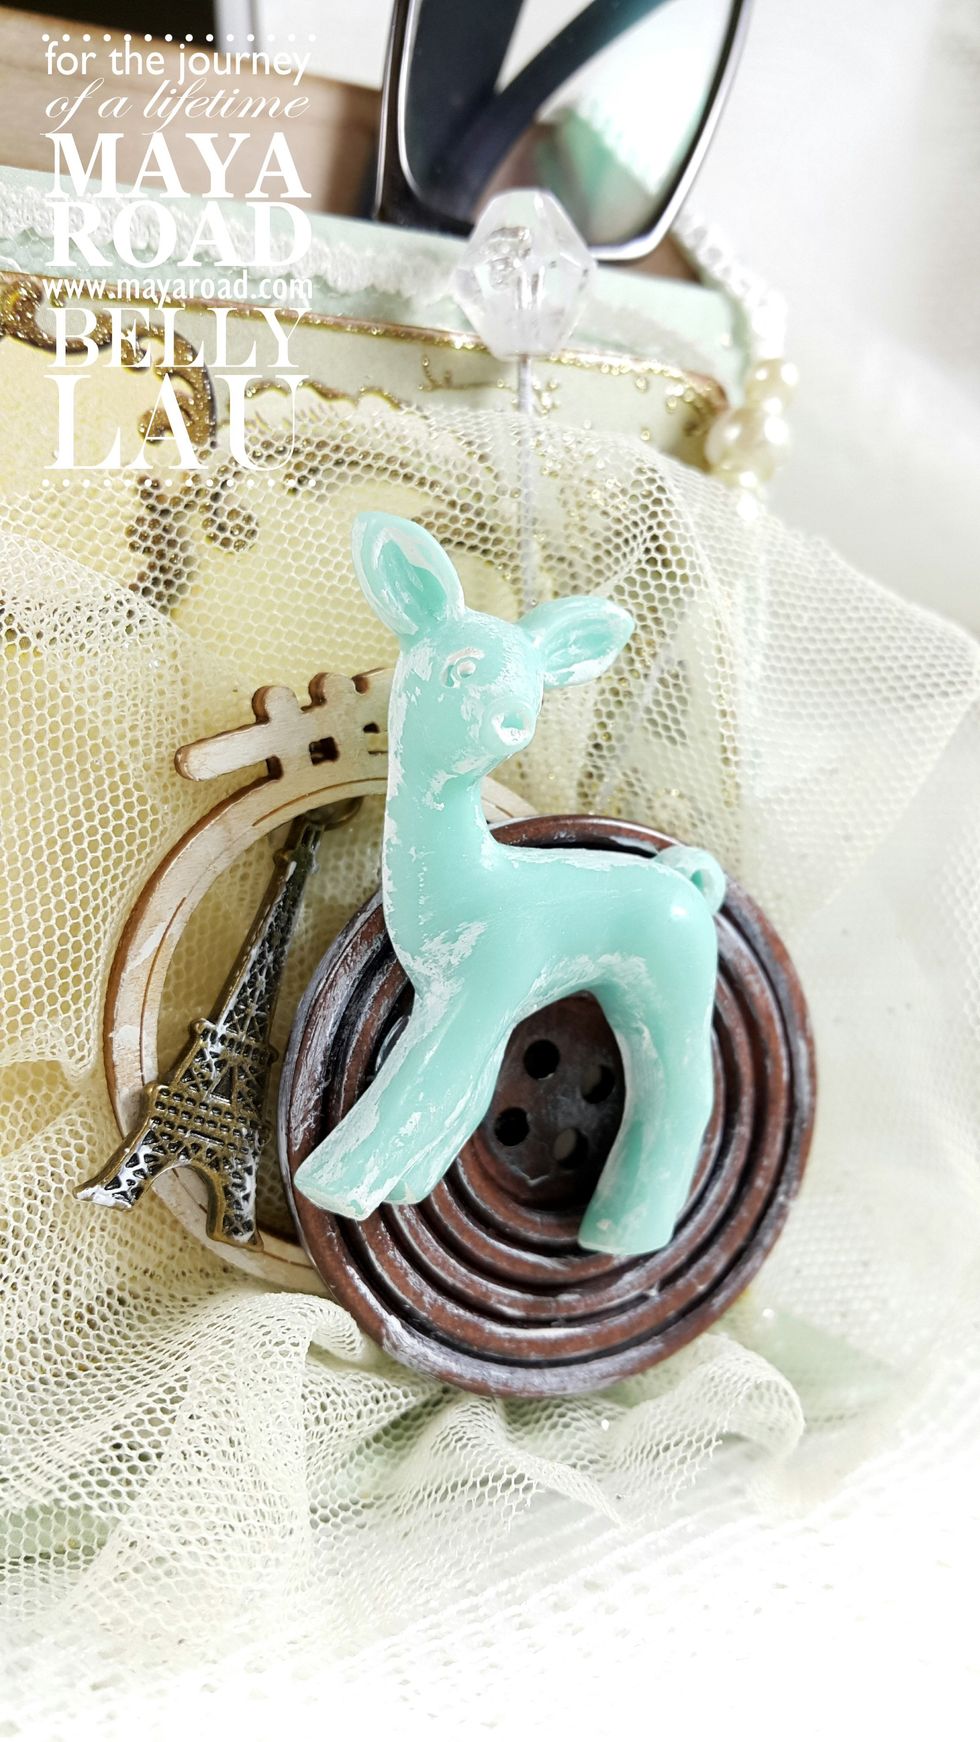
Other than layer the embellishments like mine, you can simply put a big flowers on the front to finish.