The Conversation (0)
Sign Up
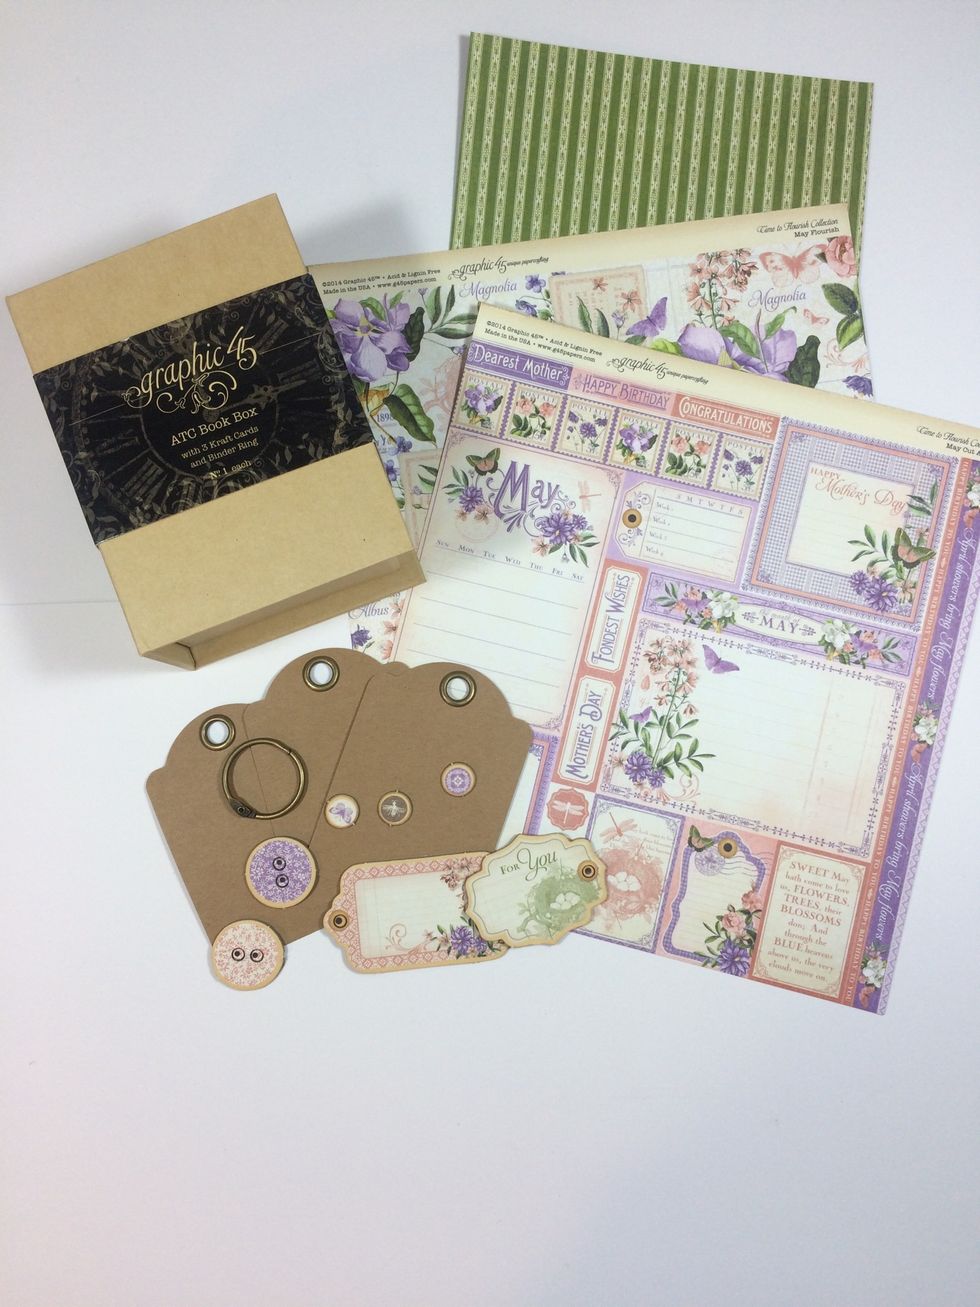
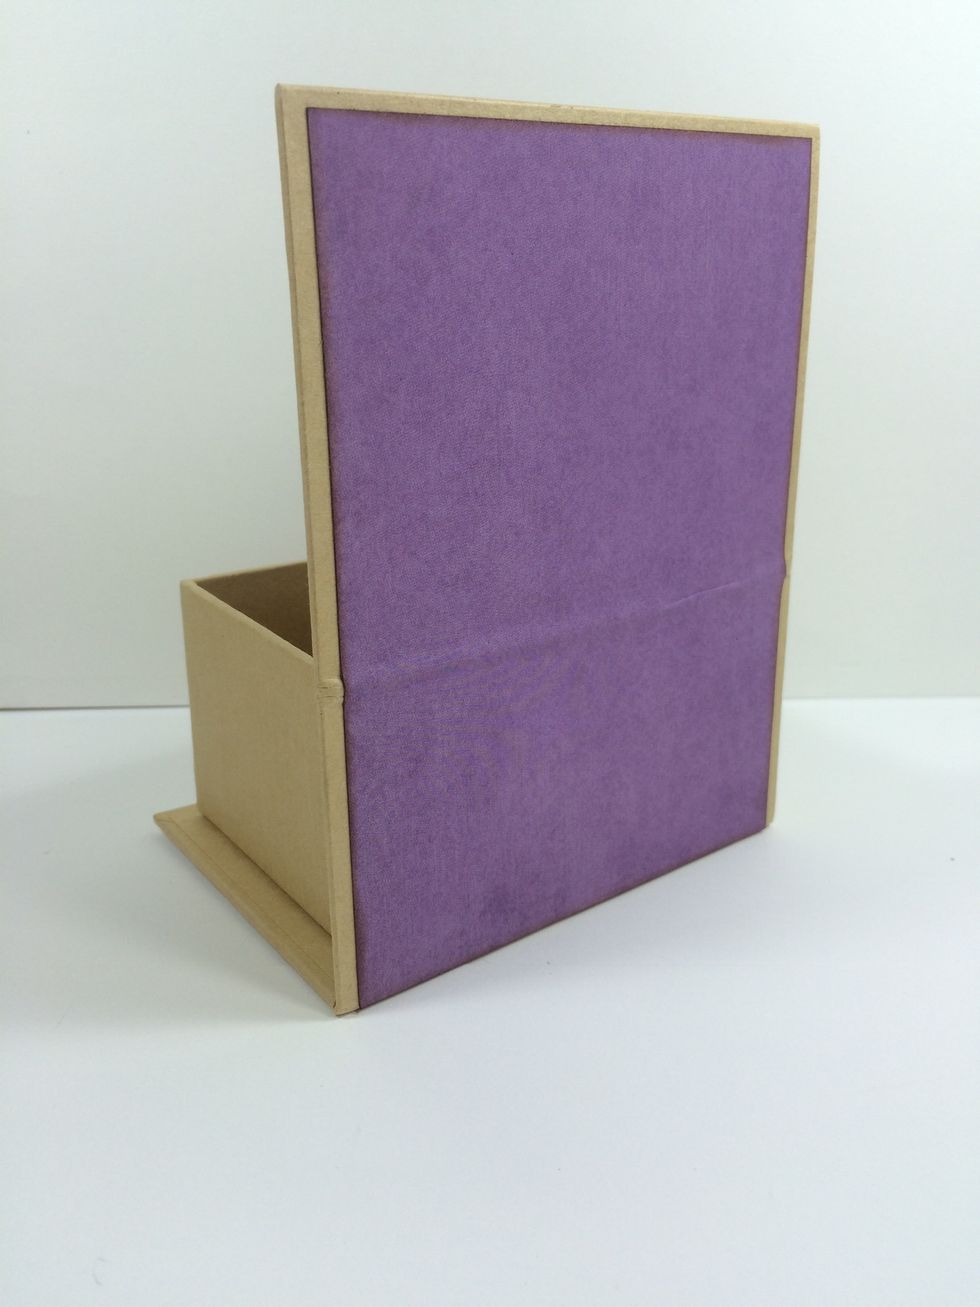
Gather your supplies from the Supply List. The 3 little tags come with the Graphic 45 ATC Book Box.
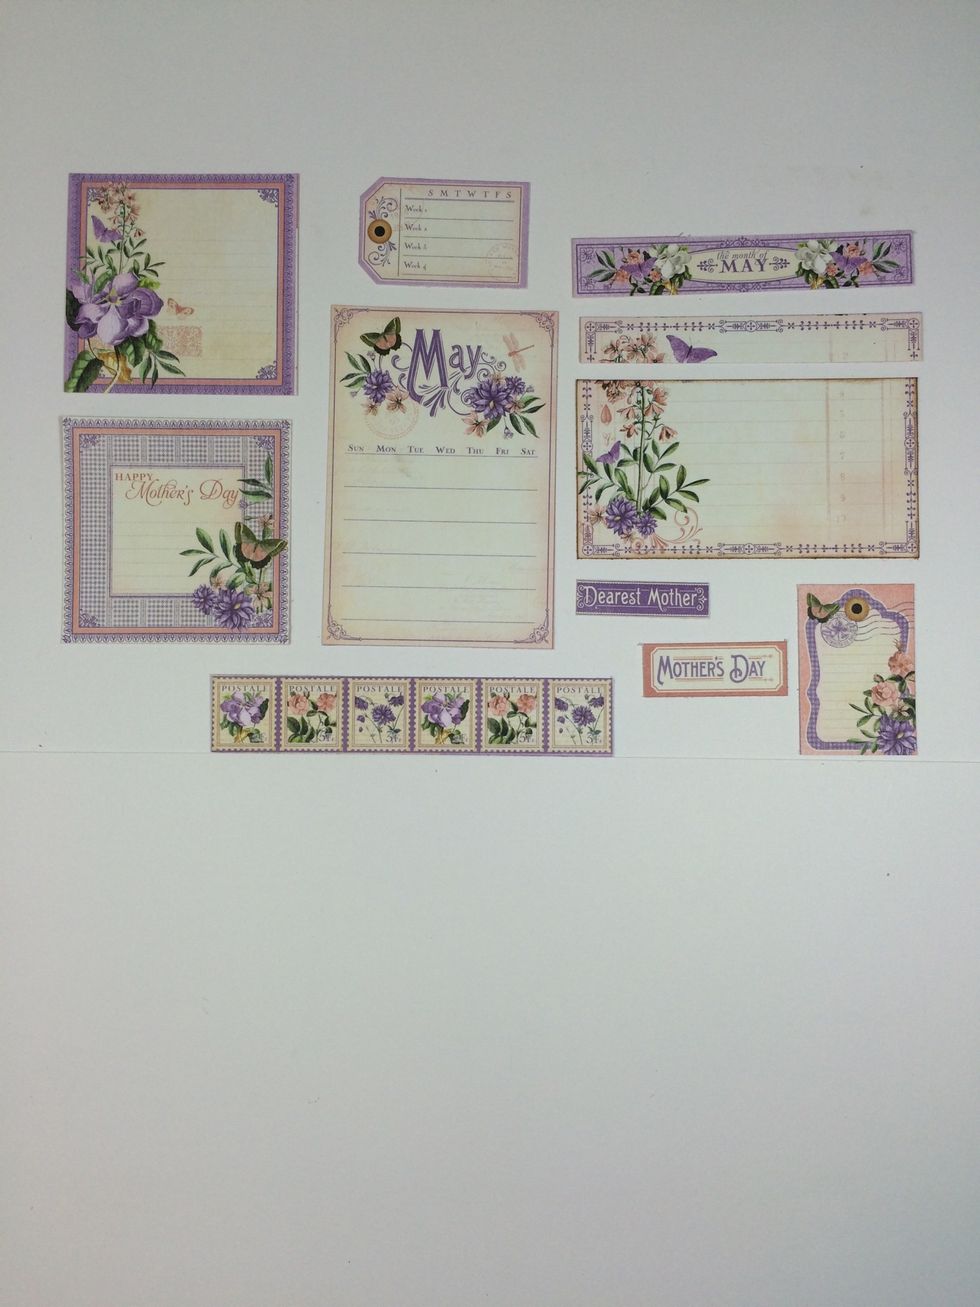
Cut apart all the items from the May Cut-Aparts page in the Time To Flourish 8 x 8 collection. You have the option to ink edges of papers (as I did) or just leave them plain. I used a light brown ink.
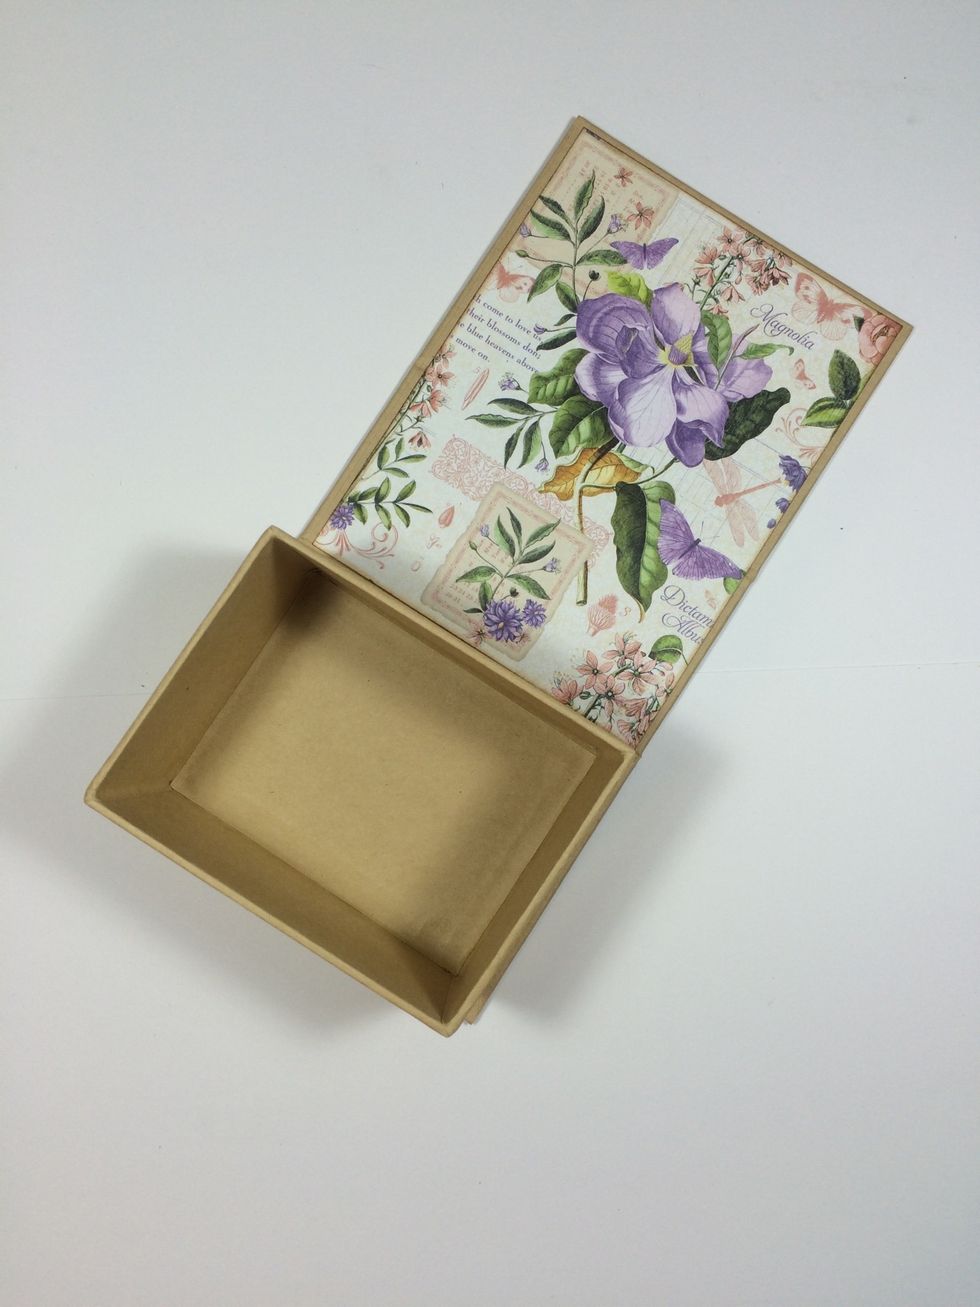
From the May Flourish page, cut a 4 1/2" x 6" piece and adhere to the back wall of the opened box like this.
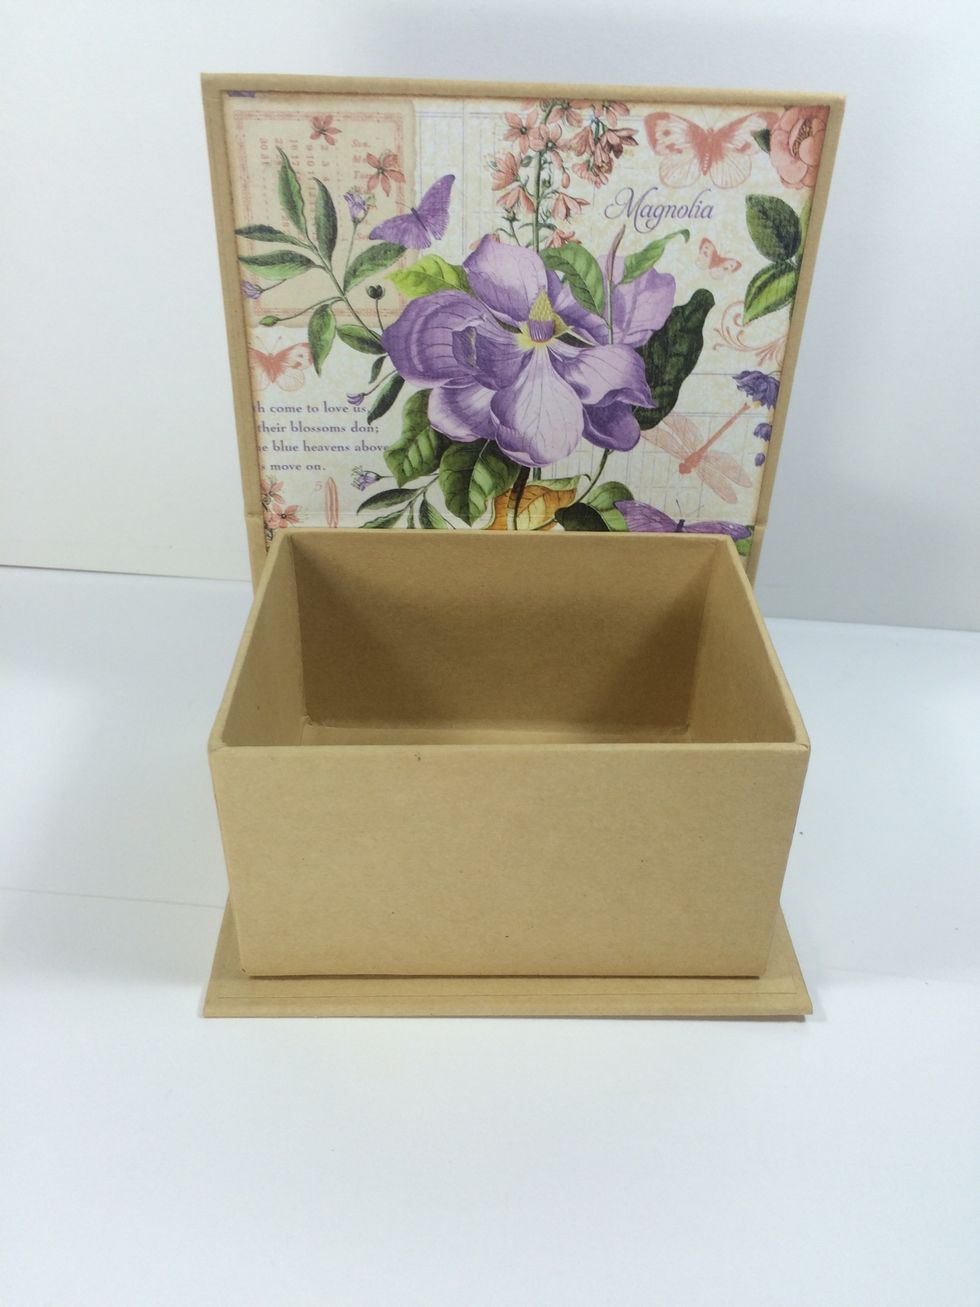
Put glue on the back portion of the box and bring up the back wall to adhere them together. Press and hold until set.
From some extra paper in the 6 x 6 pad, cut a 4 1/2" x 6" piece and adhere to the back side for a clean finish.
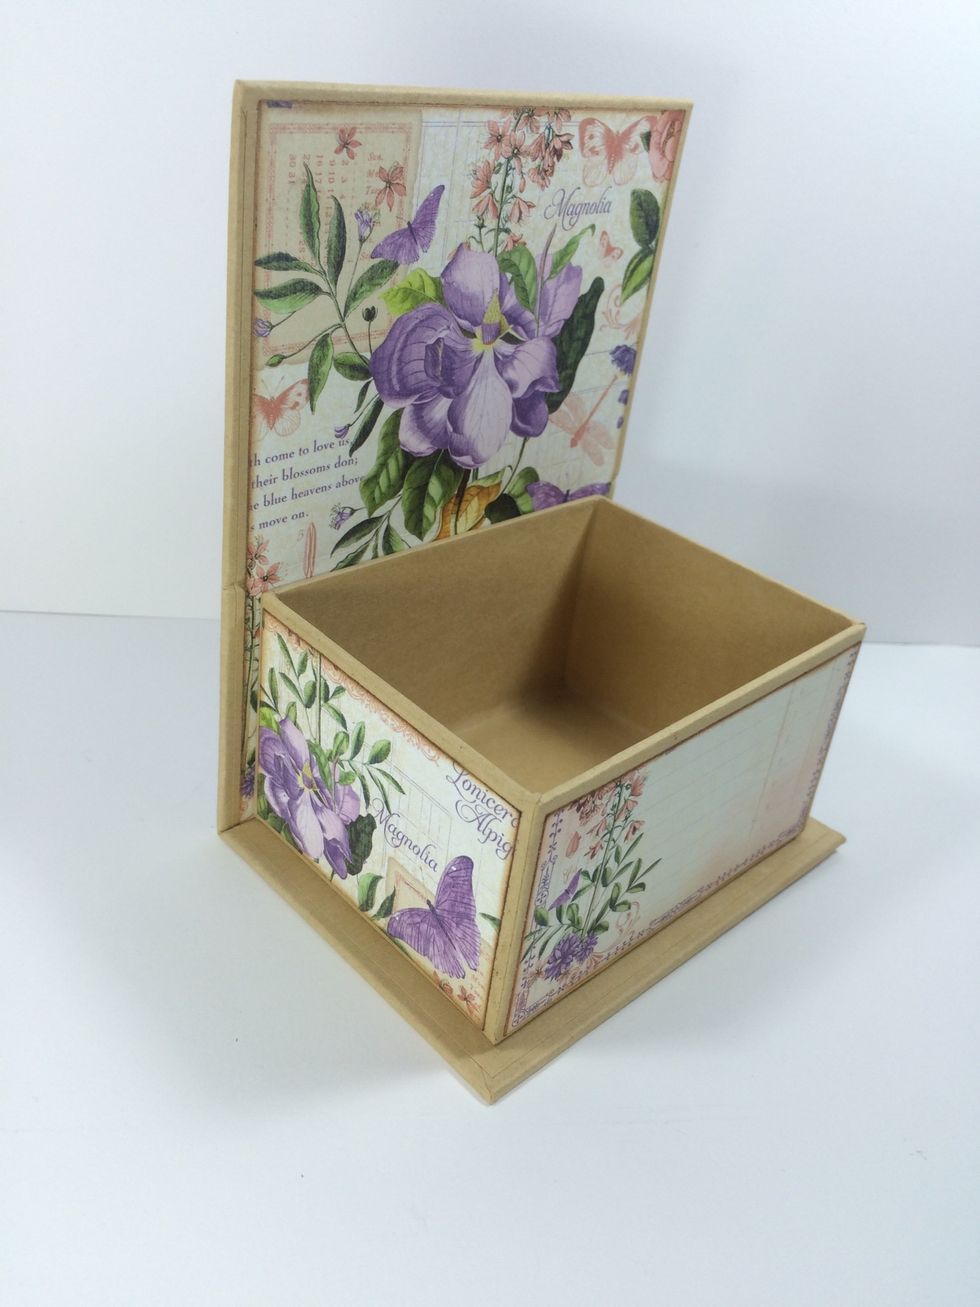
From the May Flourish page, cut two 3" x 2 1/8" pieces for the box's sides. Adhere. From the Cut-Aparts, cut a 4" x 2 1/8" piece (see Step 2) and adhere to box's front.
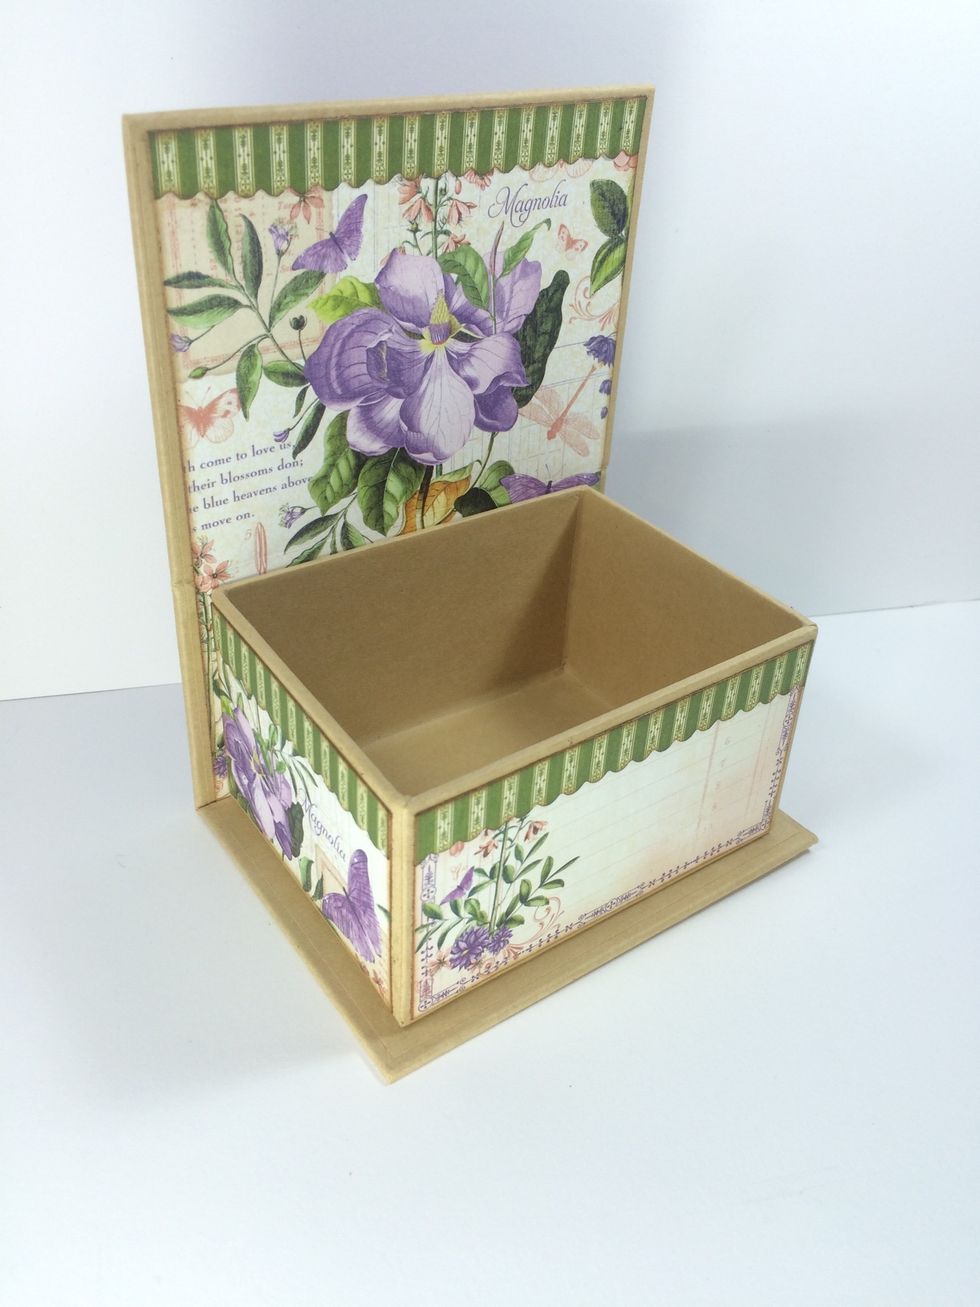
From the green stripe paper in the 6 x 6 pad, cut some 1/2" strips for your box. I used a small scallop scissor for a fancy edge. Adhere.
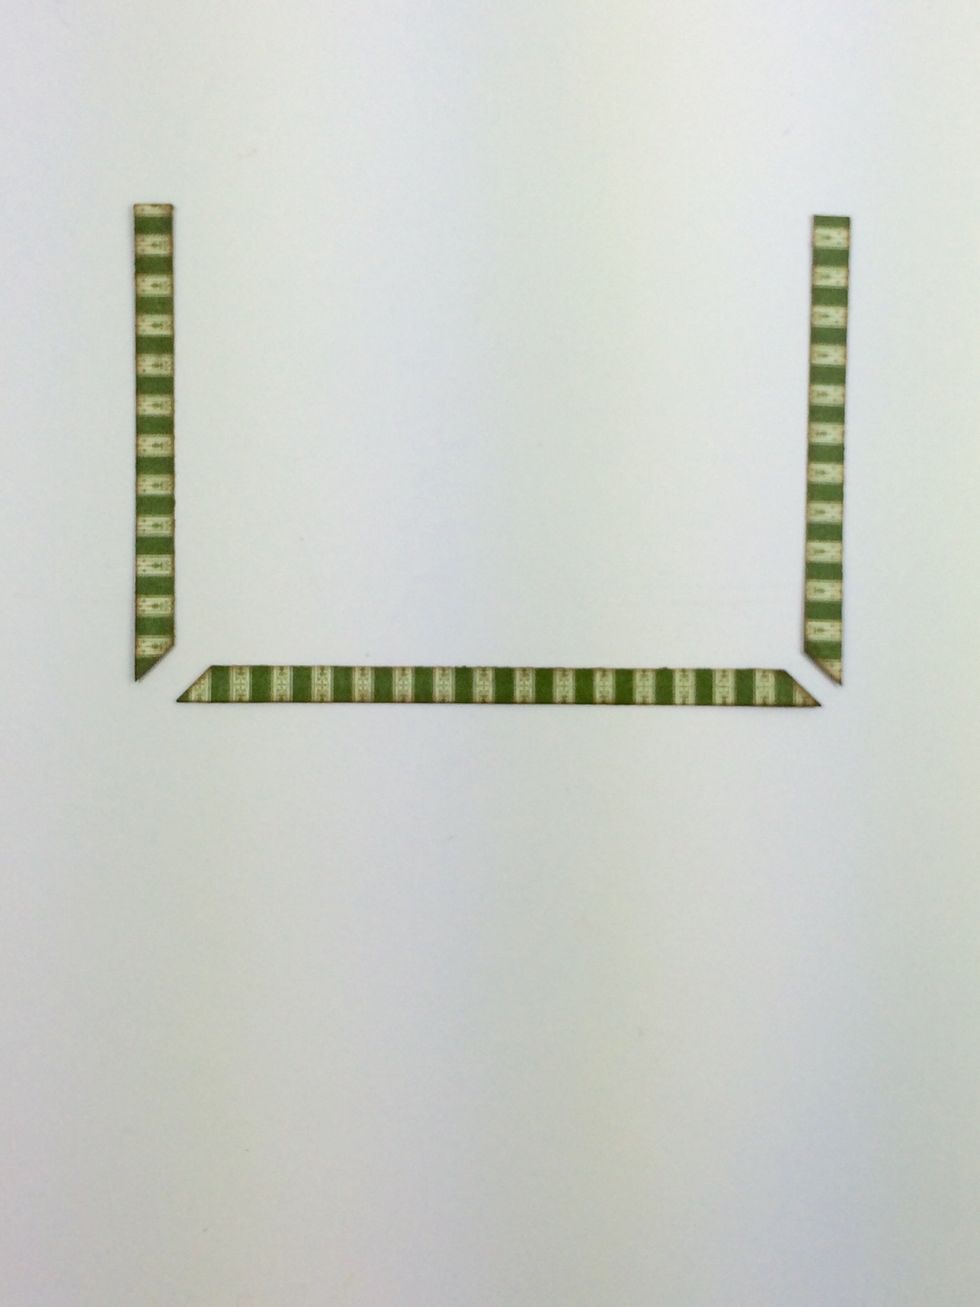
From the same stripe paper, cut two 1/4" x 3 3/8" strips and one 1/4" x 4 5/8" strip. These will go on the base of your box. Snip the corners (mitered) as shown.

Adhere to the box's base, butting the strips like this.
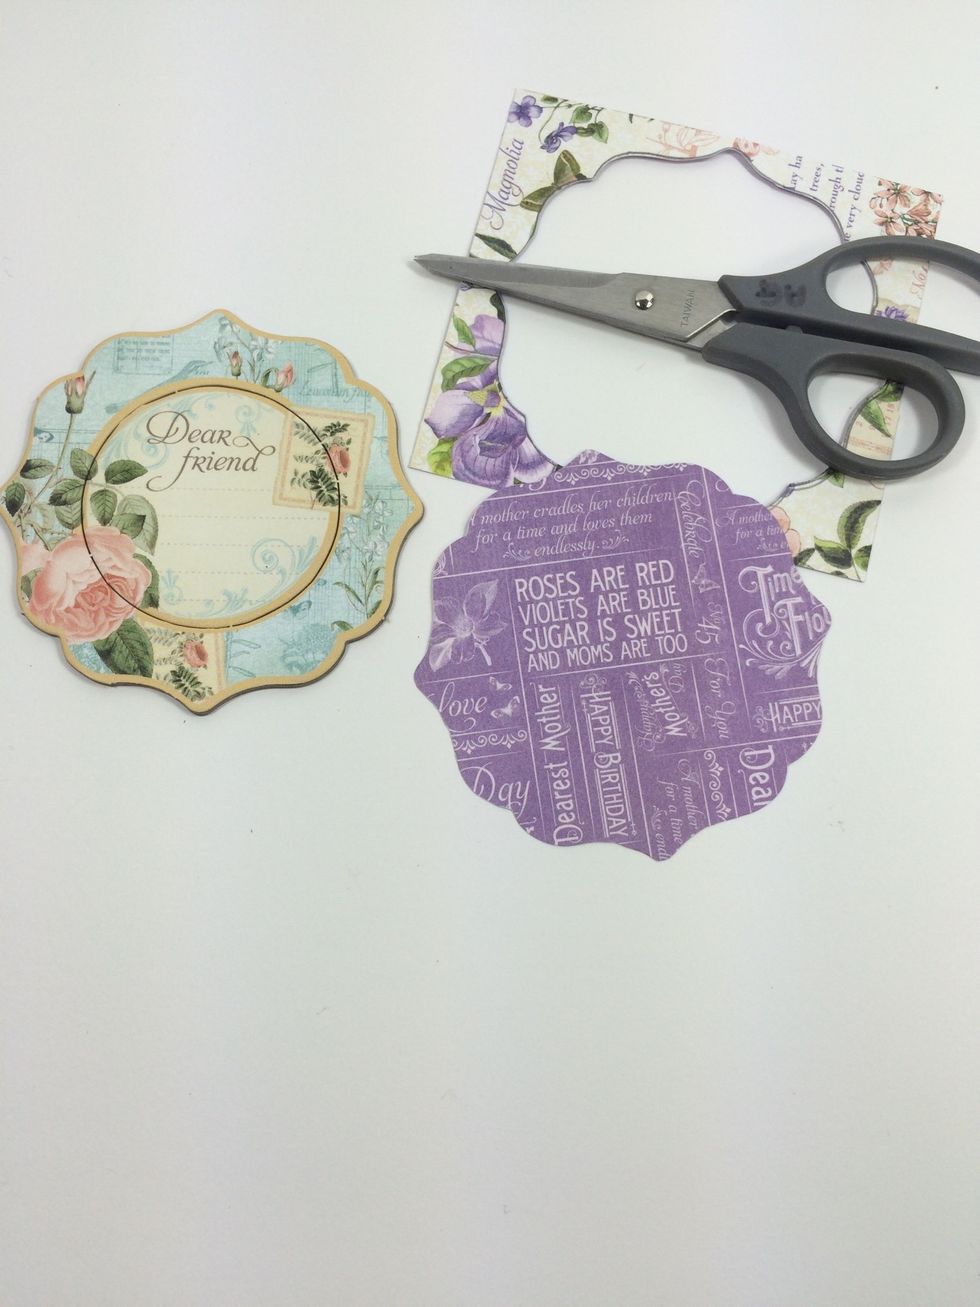
Trace the large chipboard piece onto the May Flourish Page. Cut out.
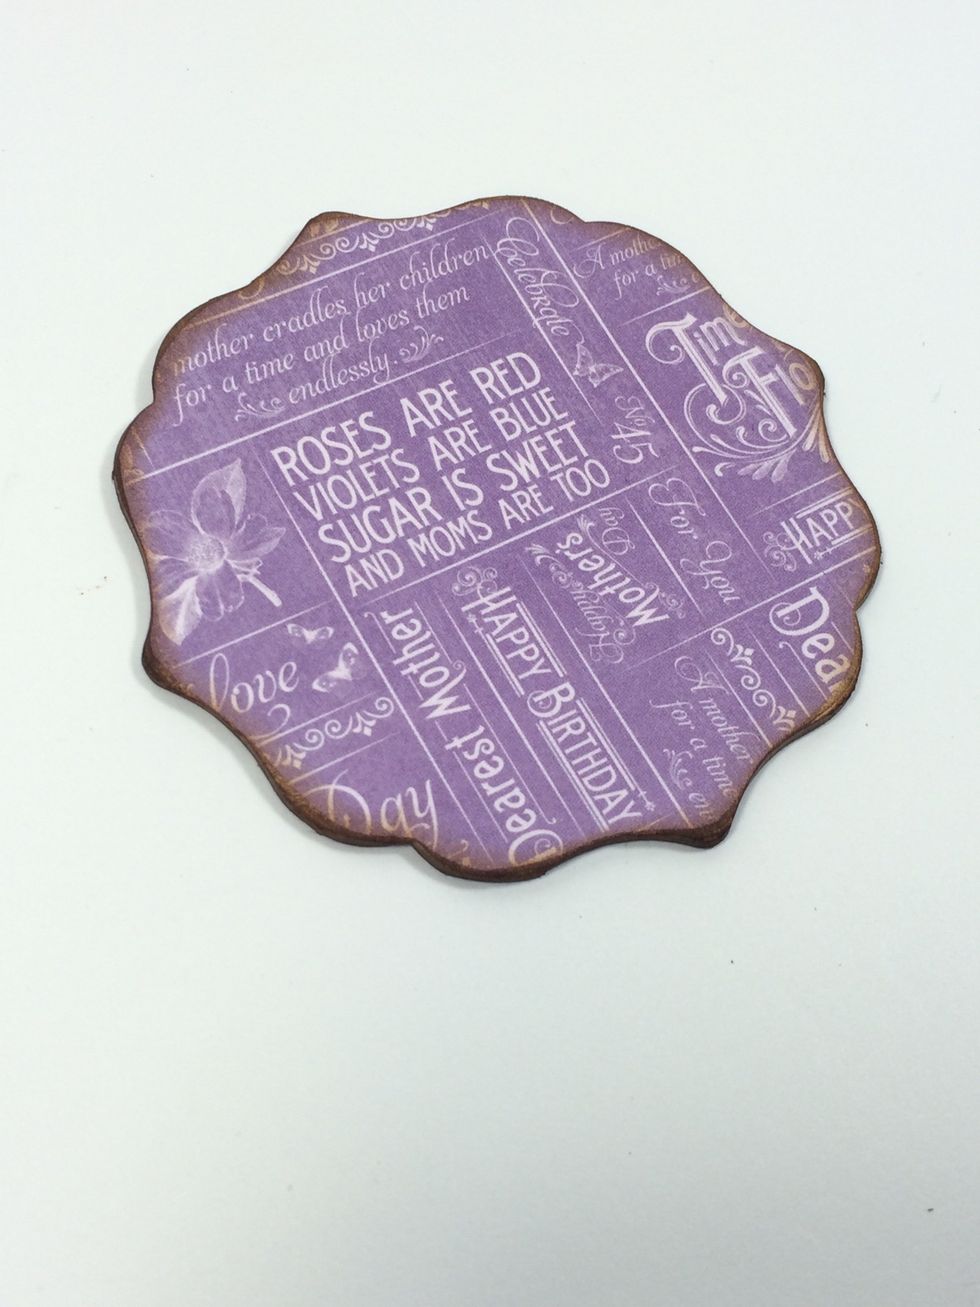
Adhere the paper to the chipboard piece. Sand edges smooth.
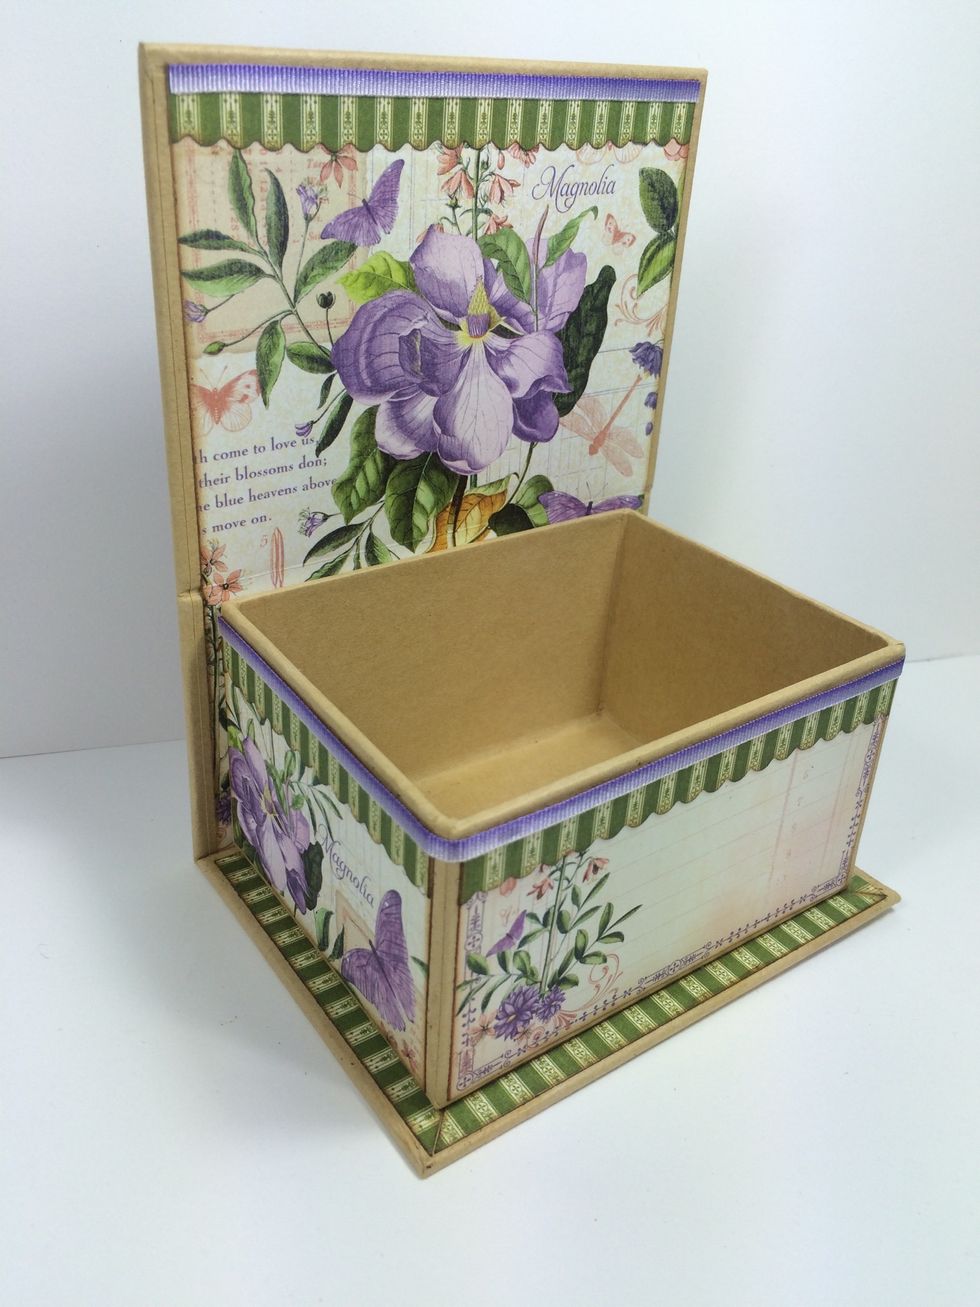
Cut lengths of thin ribbon to match your box's front and sides, and across the top. I used 1/8" lavender from May Arts. Adhere with fabric glue (like Fabri-Tac).
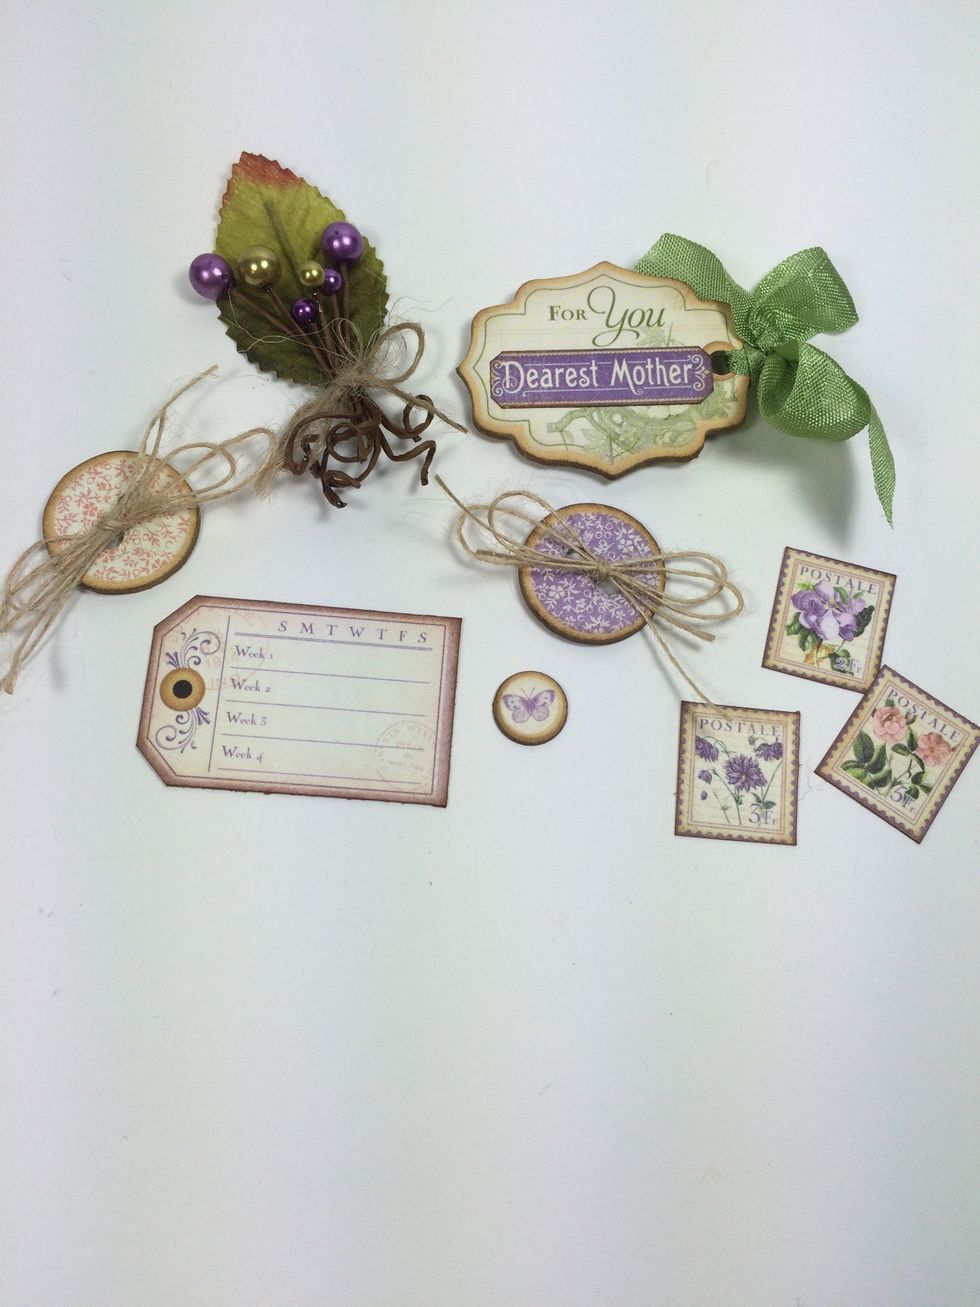
Select some chipboard pieces, cut-aparts and flower stem. I used Petaloo Spring Berry Clusters. I added thin natural twine to the chipboard buttons and May Arts Olive wrinkled ribbon for the tag.

Use a strong glue to adhere the large chipboard piece to the back of the wall as shown. Add the chipboard tag and three postage stamp cut-aparts to the box's front.
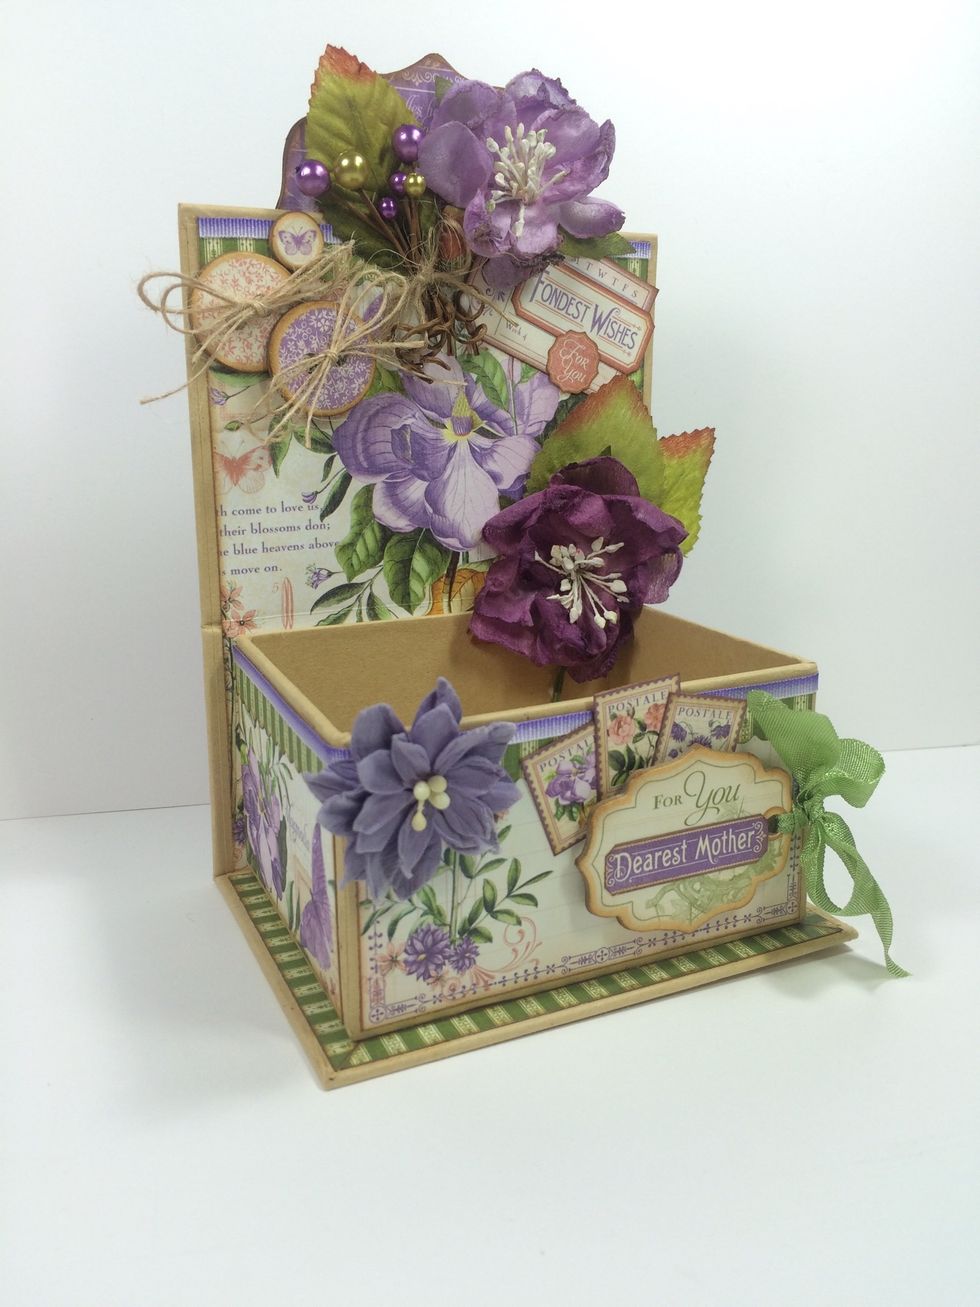
Add chipboard buttons and more purple flowers. I used Petaloo Botanica Blooms and Dahlias - Tea-Stained Purples.
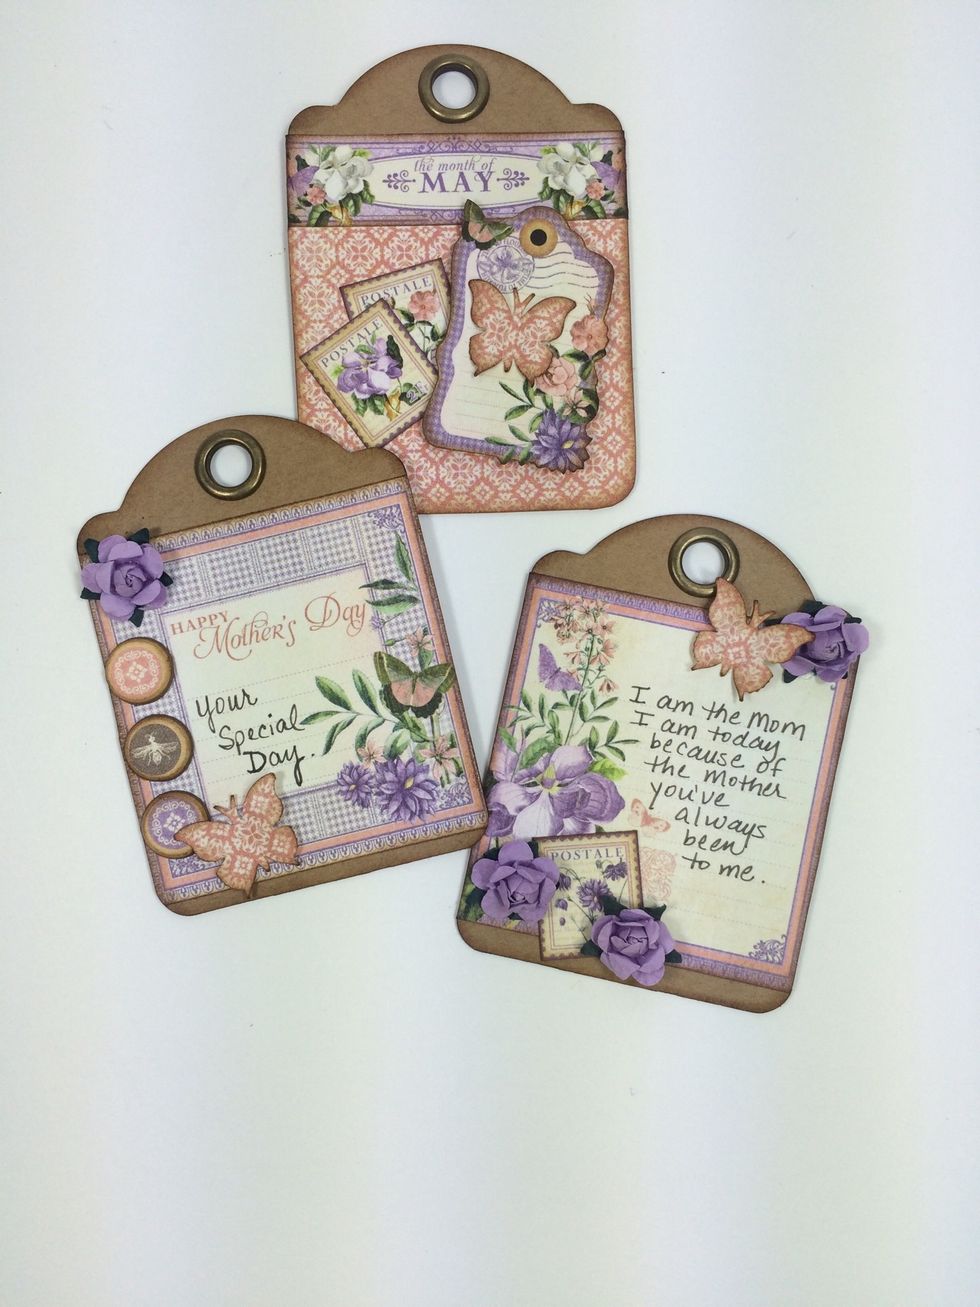
Dress up the three ATC tags with cut-aparts, flowers, and chipboard pieces as desired. I used a small butterfly punch too.
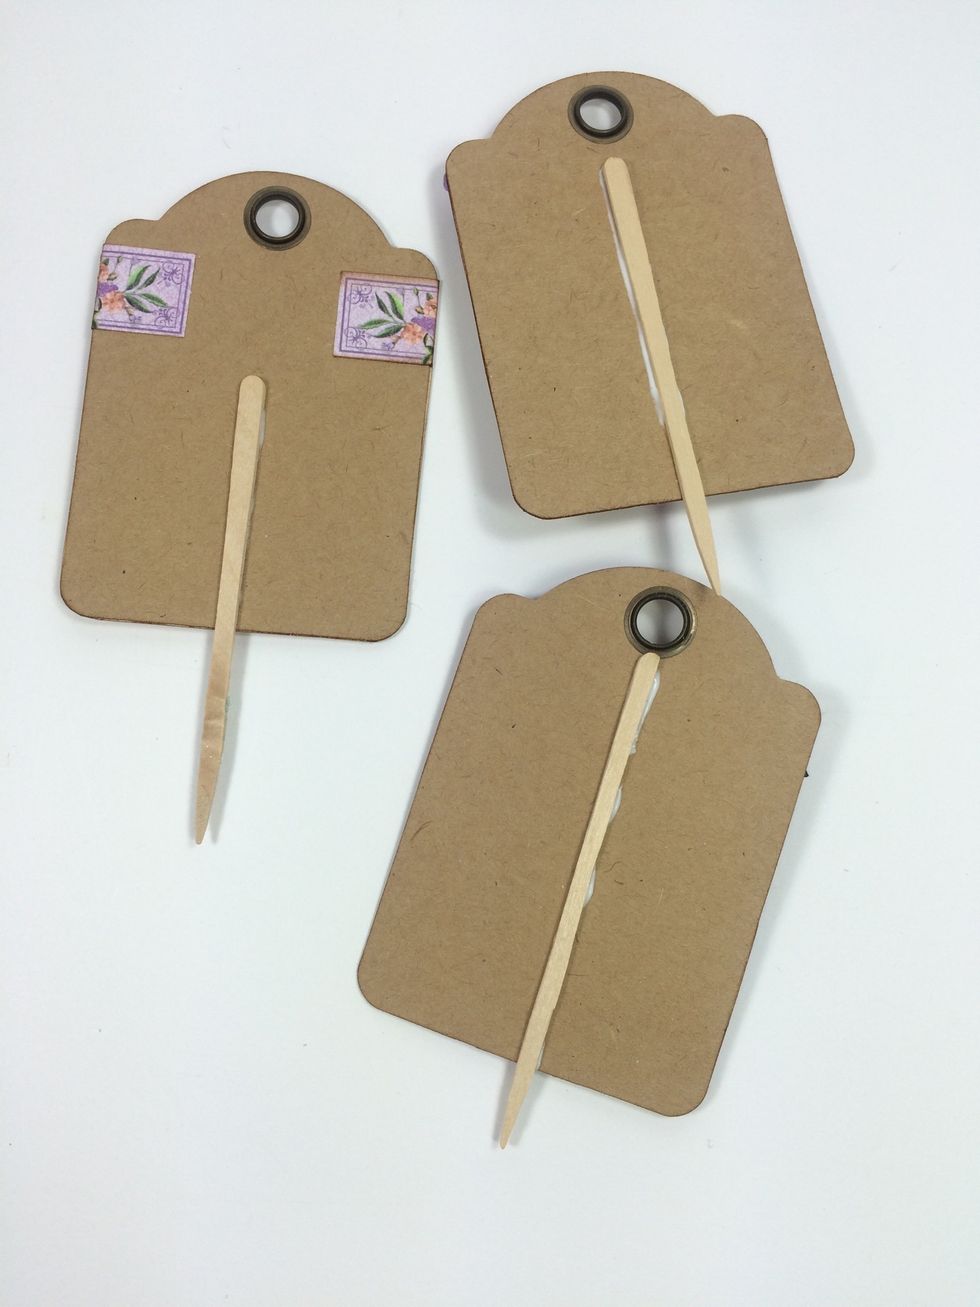
Glue some appetizer skewers to the backs with thick glue.
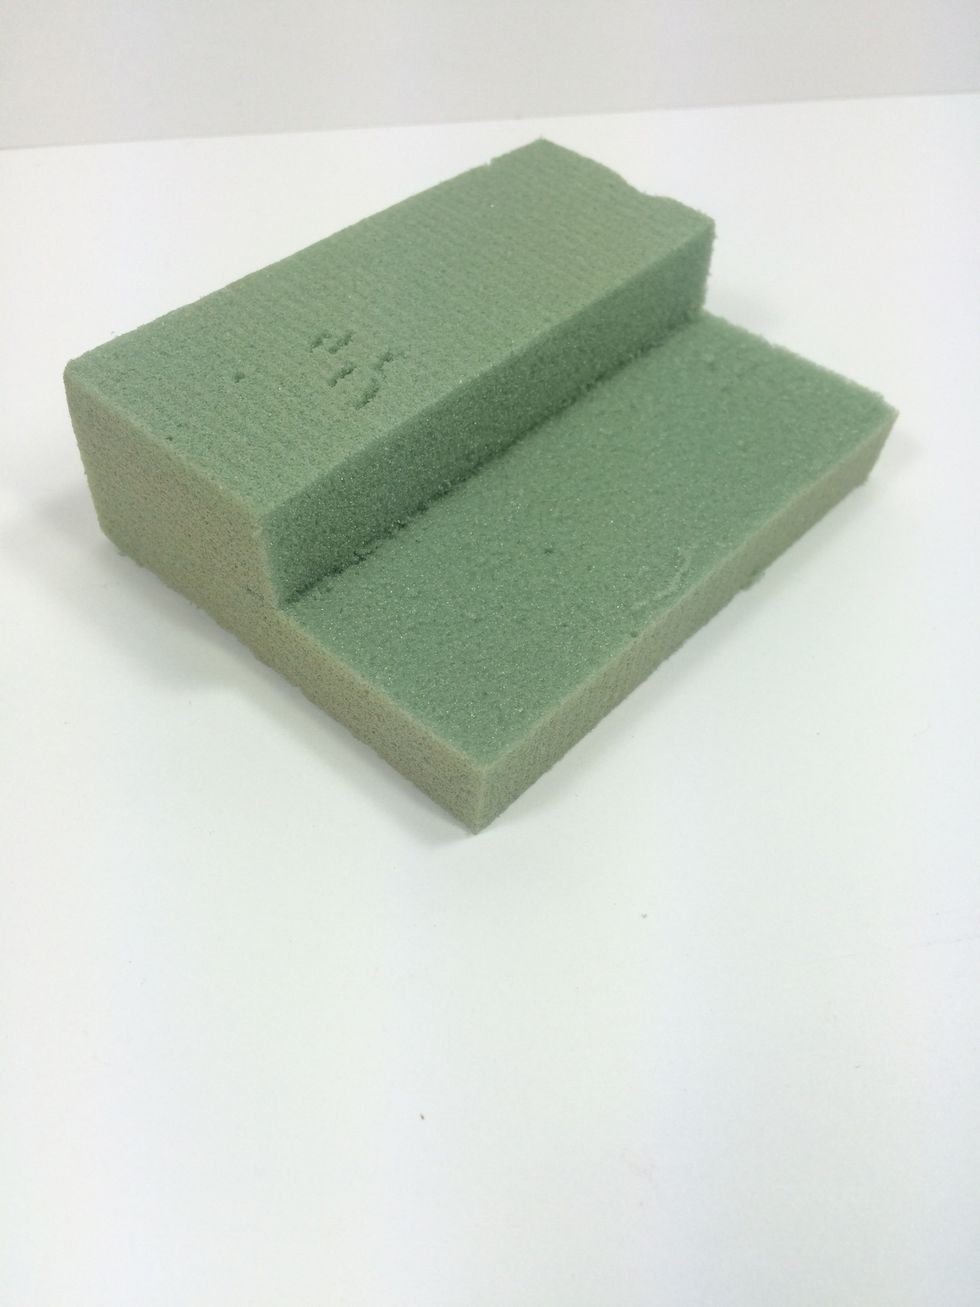
Cut some floral foam to fit in the box. I stair-stepped mine for different heights and dimension.
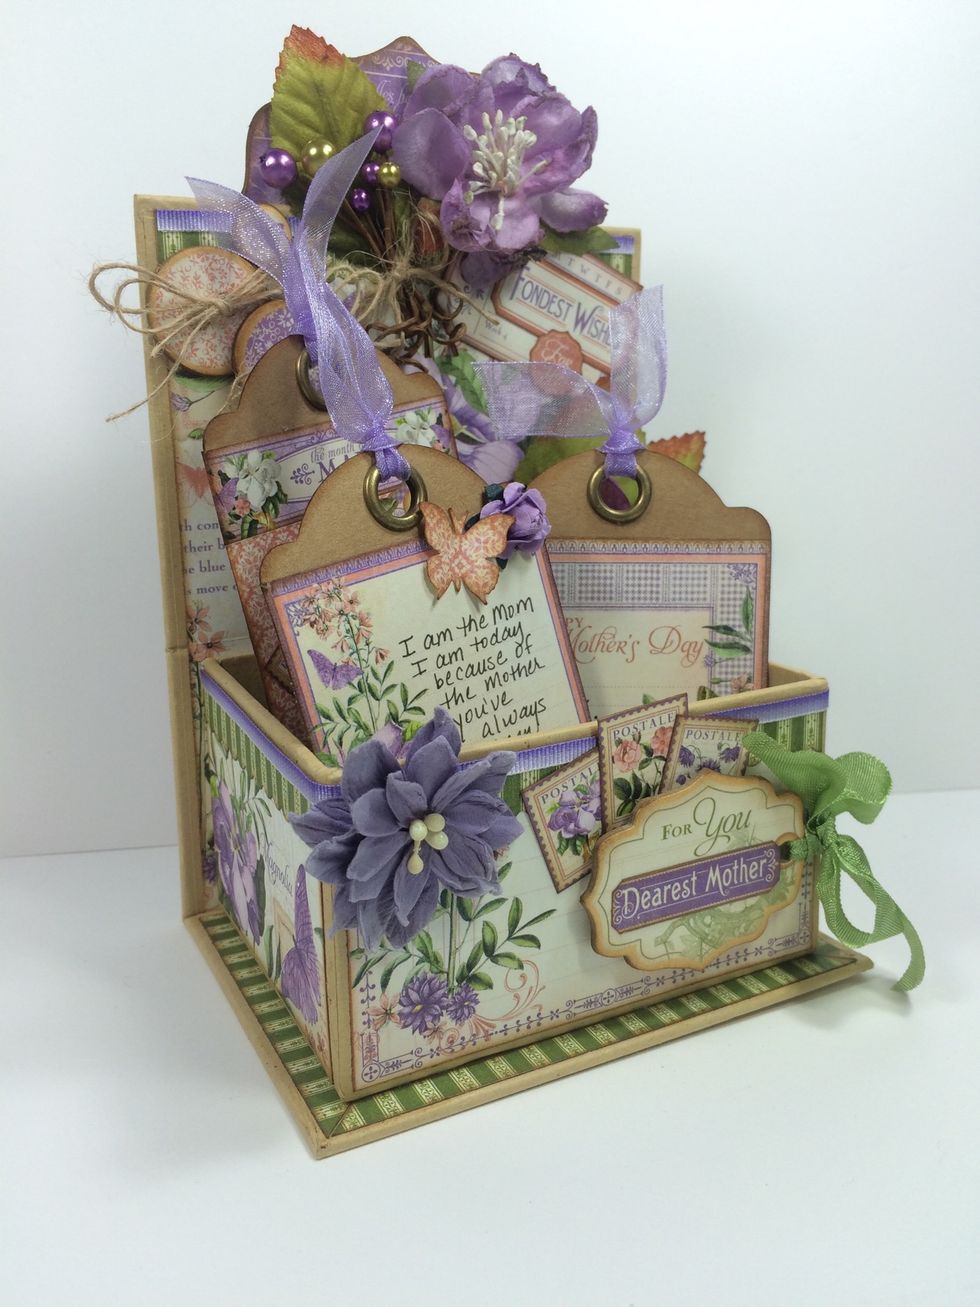
Glue the foam into the box and place the tags inside, poking into the foam at different heights and angles.
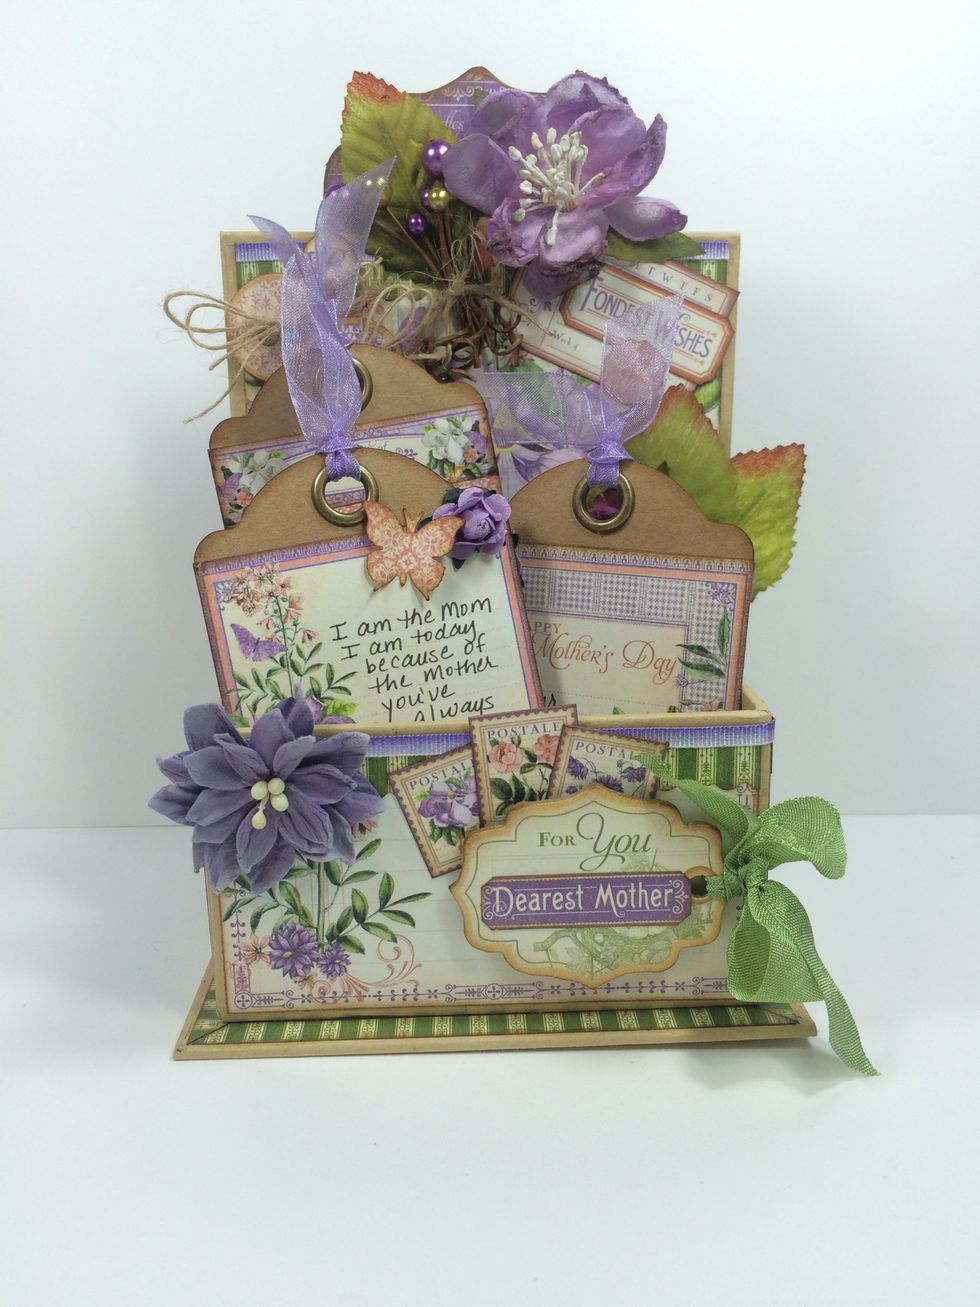
I wrote sweet little notes to my mom on the tags before I placed them inside.
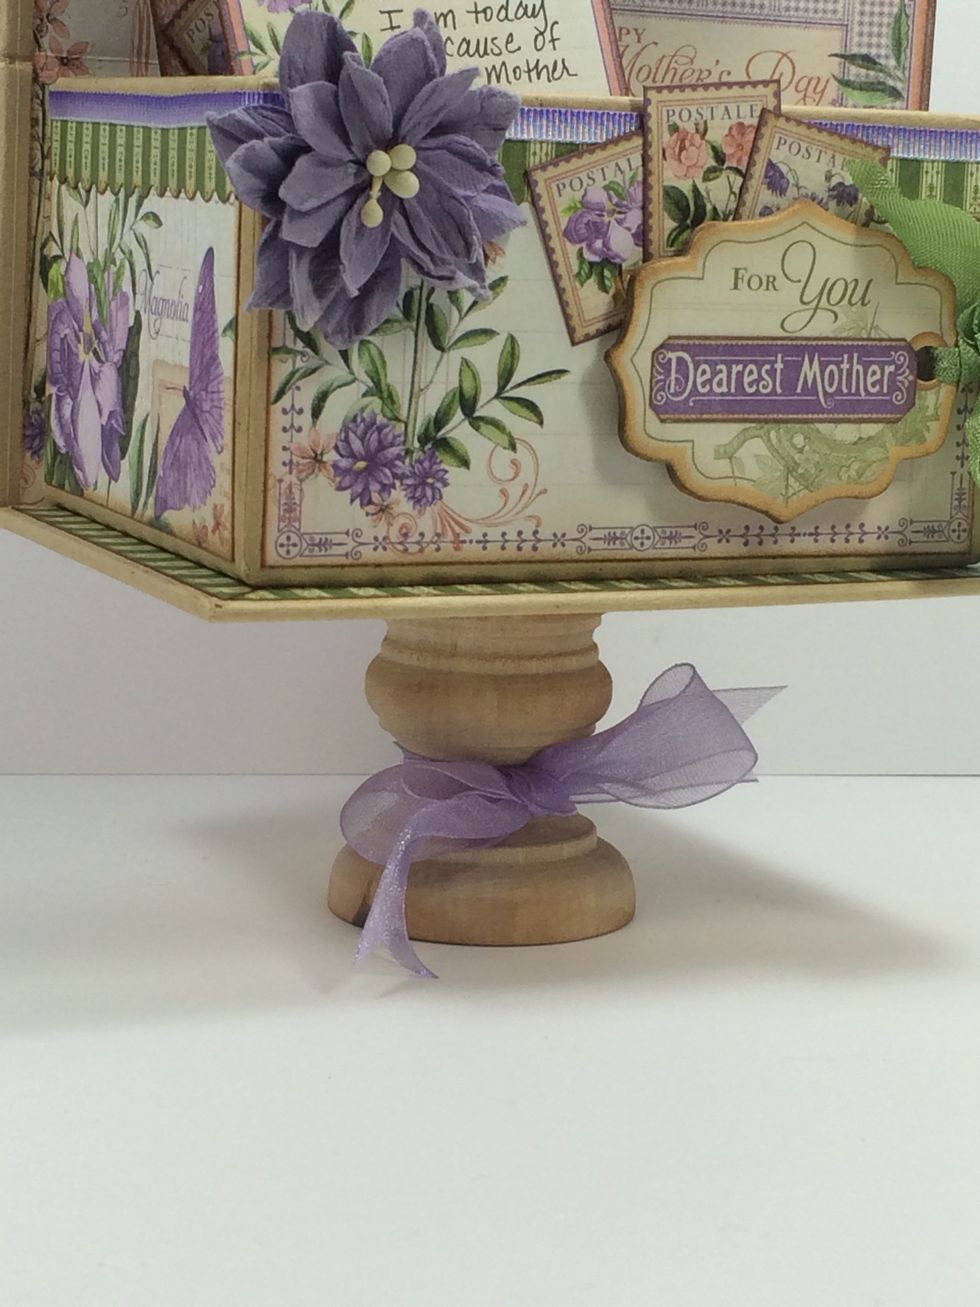
To finish off the display box, you can hot glue a wooden base to the bottom. (I got one at my local craft store). Tie a pretty ribbon around it to dress it up. I used May Arts sheer lavender ribbon.
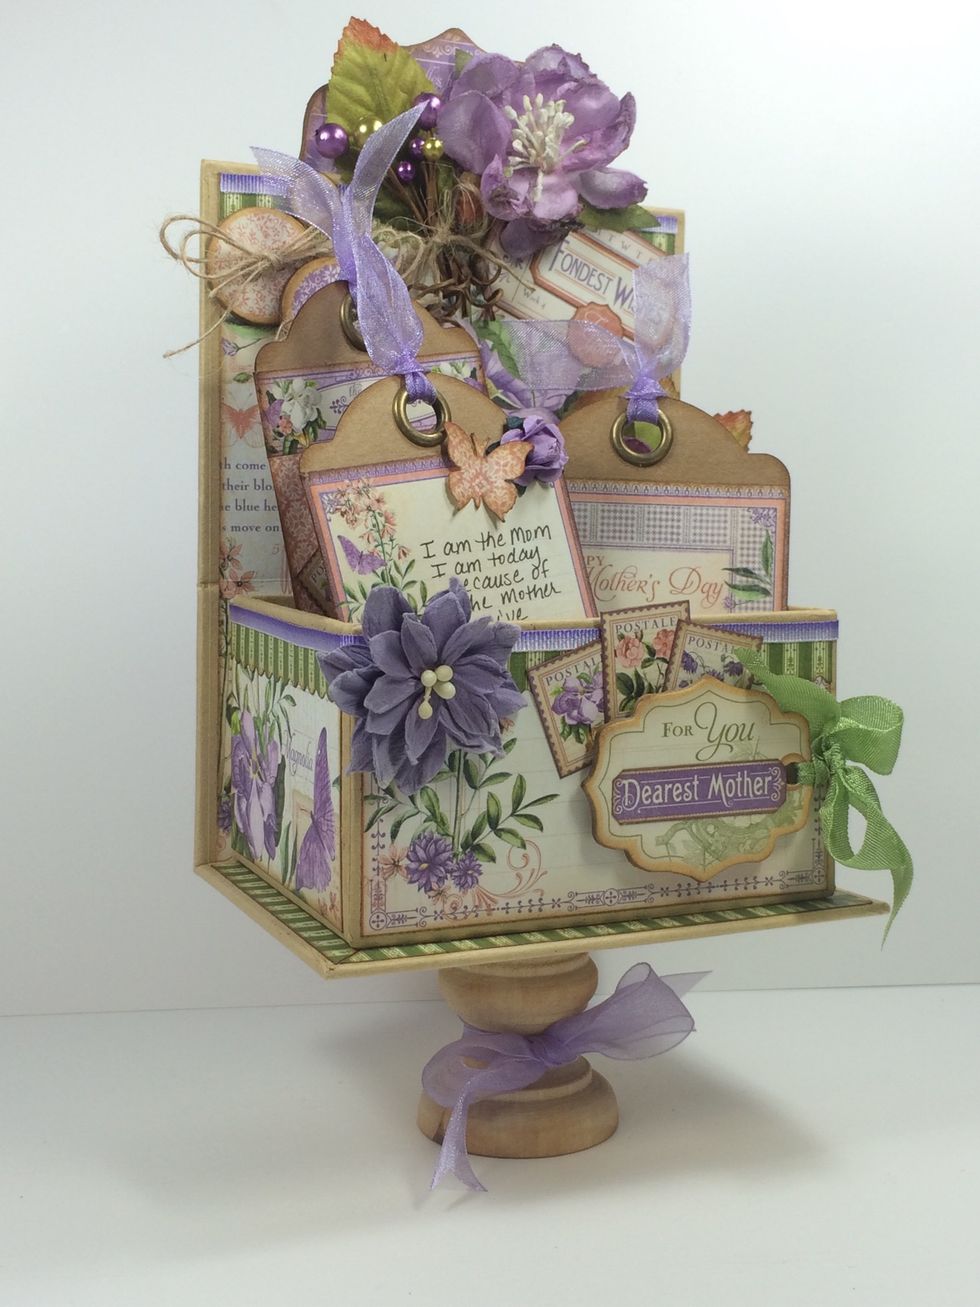
Almost done... Seems a bit top heavy, right?
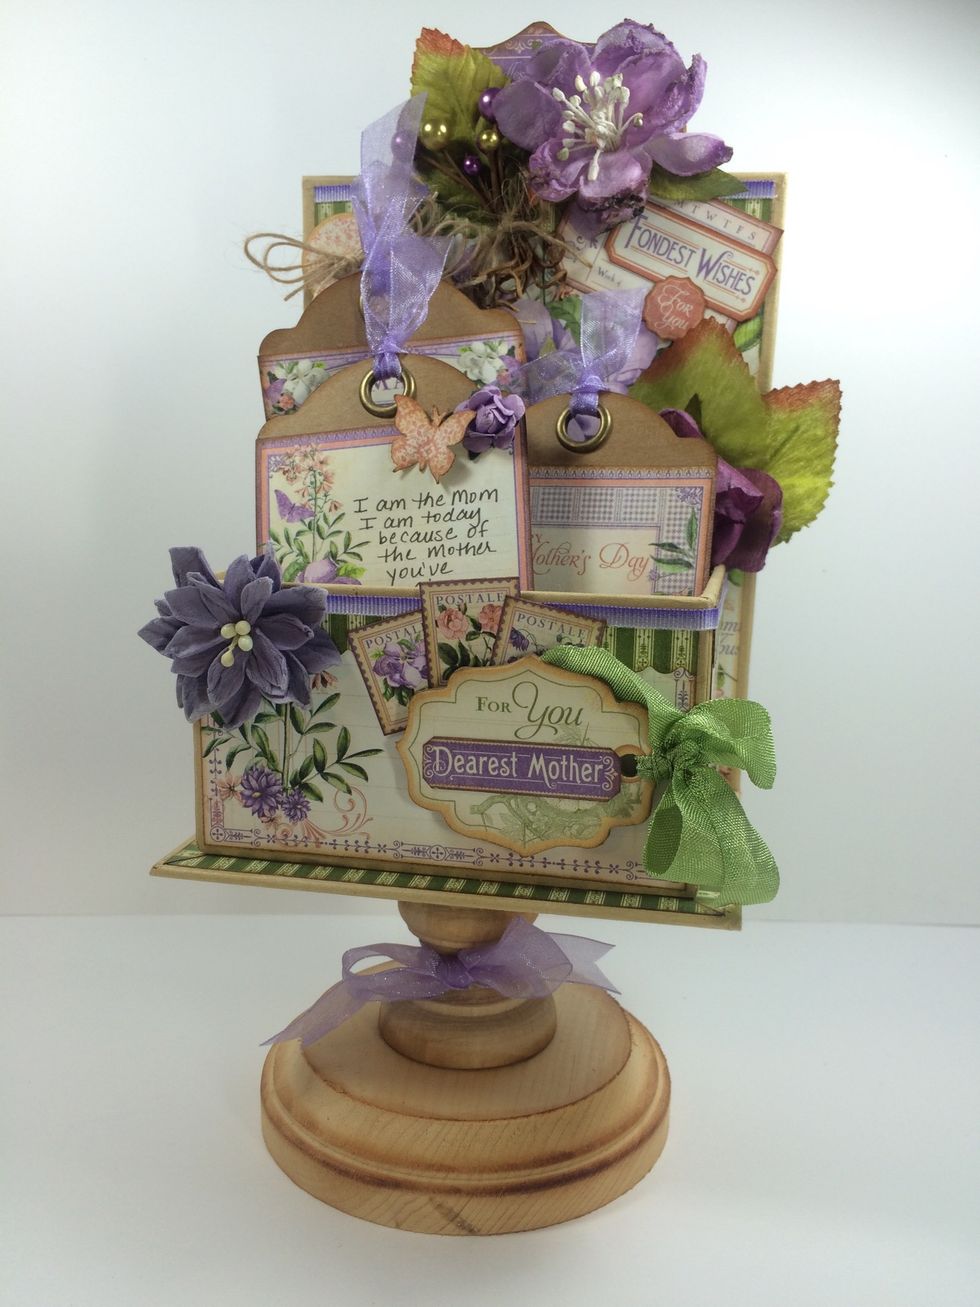
To make it more solid and balanced, add a round wooden base to the bottom. NOW it's done!
Thanks for watching my guide! For more ideas and inspiration, please visit my blog at AnnettesCreativeJourney.blogspot.com