The Conversation (0)
Sign Up
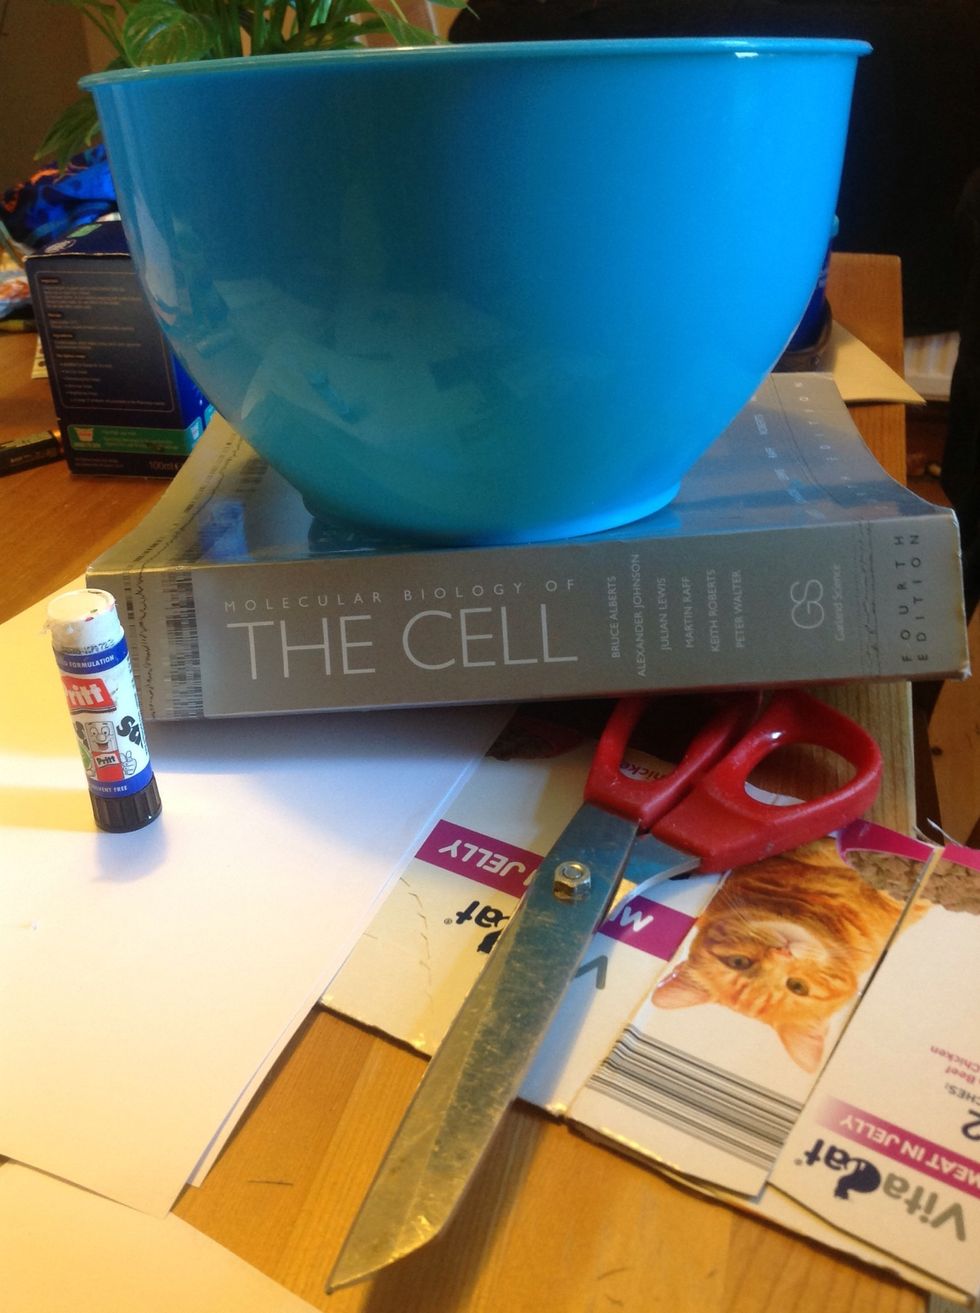
Here are the supplies you need....
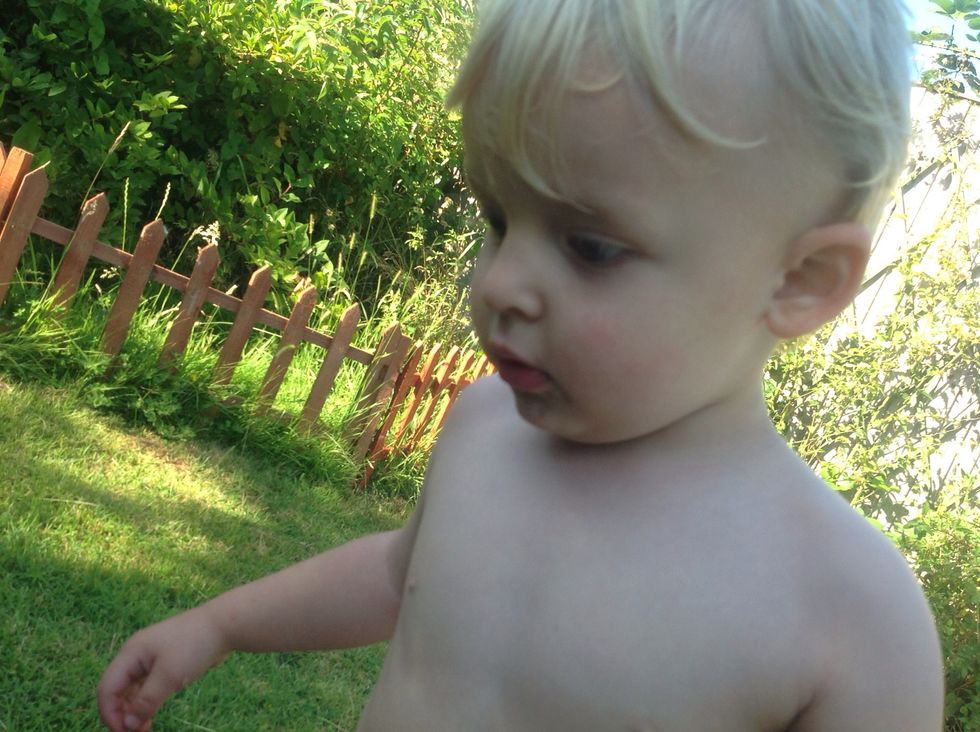
And the gorgeous assistant!
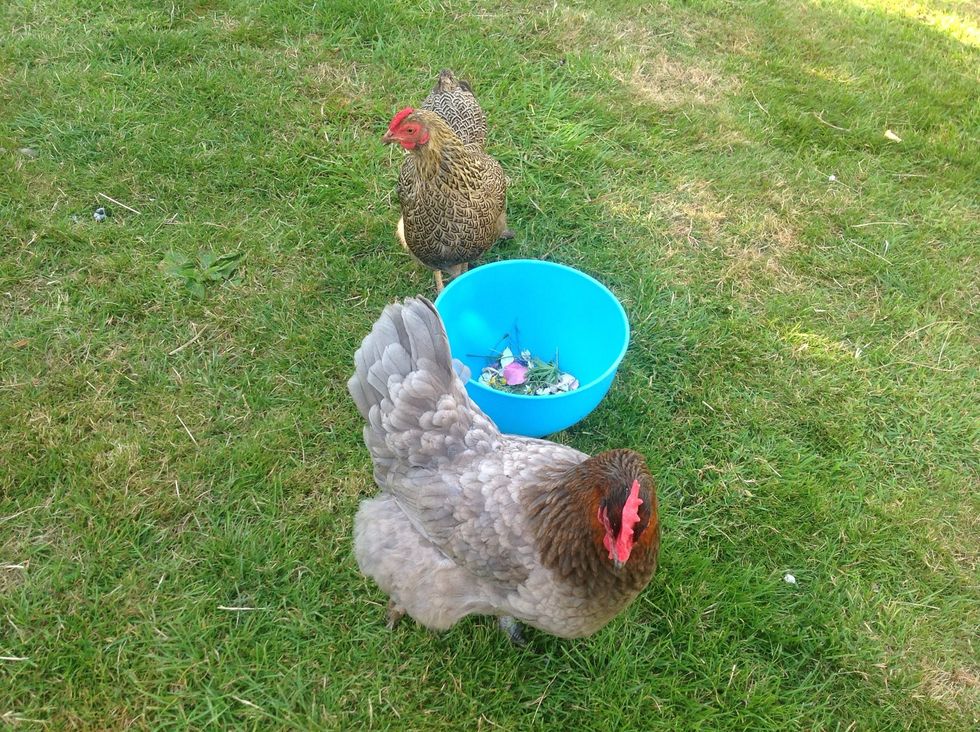
Actually we had extra help as well!
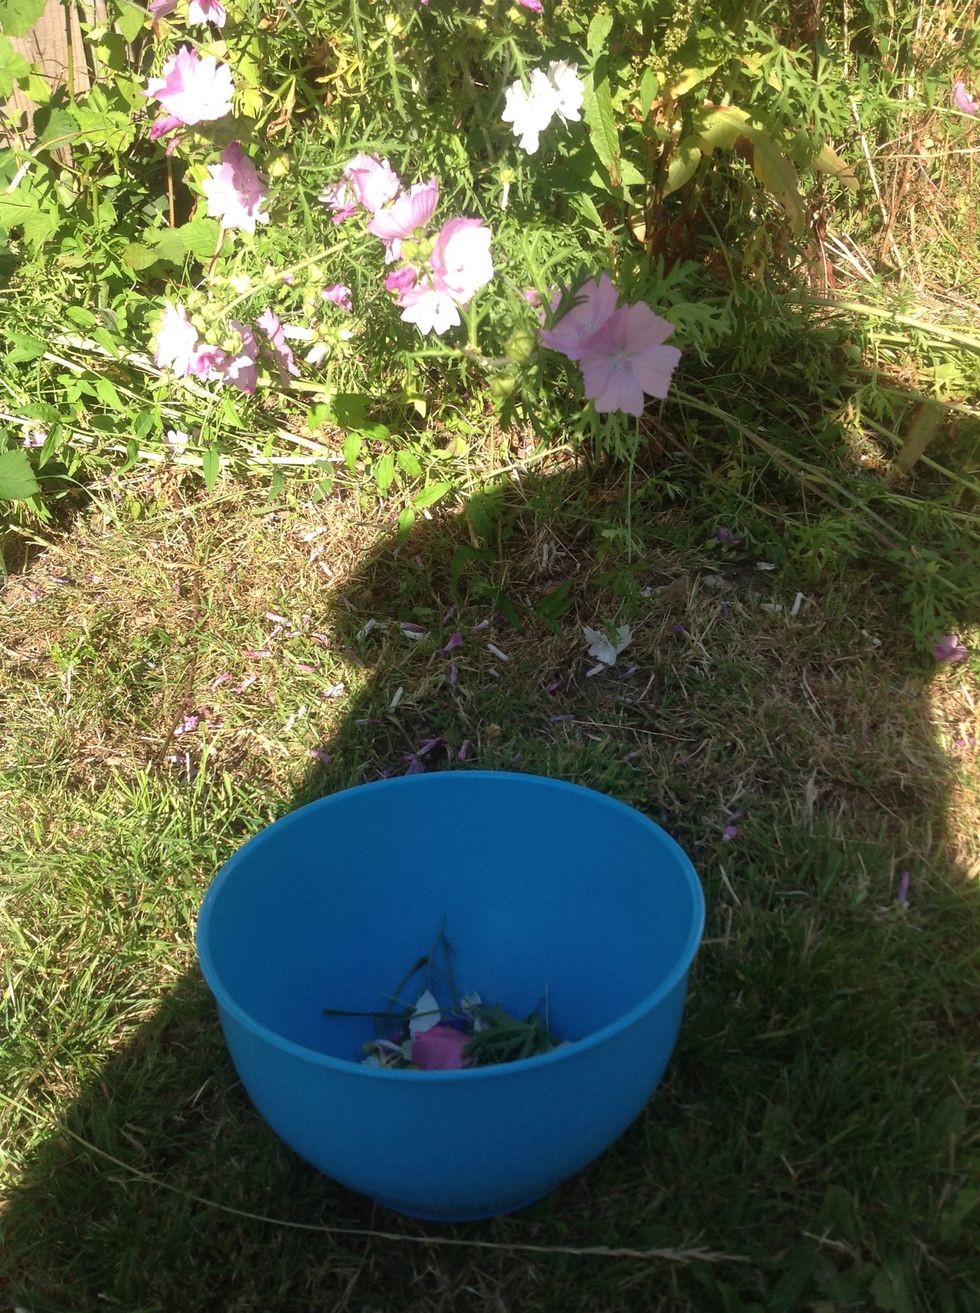
Take a walk and gather flowers, petals, grasses and leaves. If you're out in the countryside remember to leave some of the flowers for the bees to enjoy. Scissors are helpful.
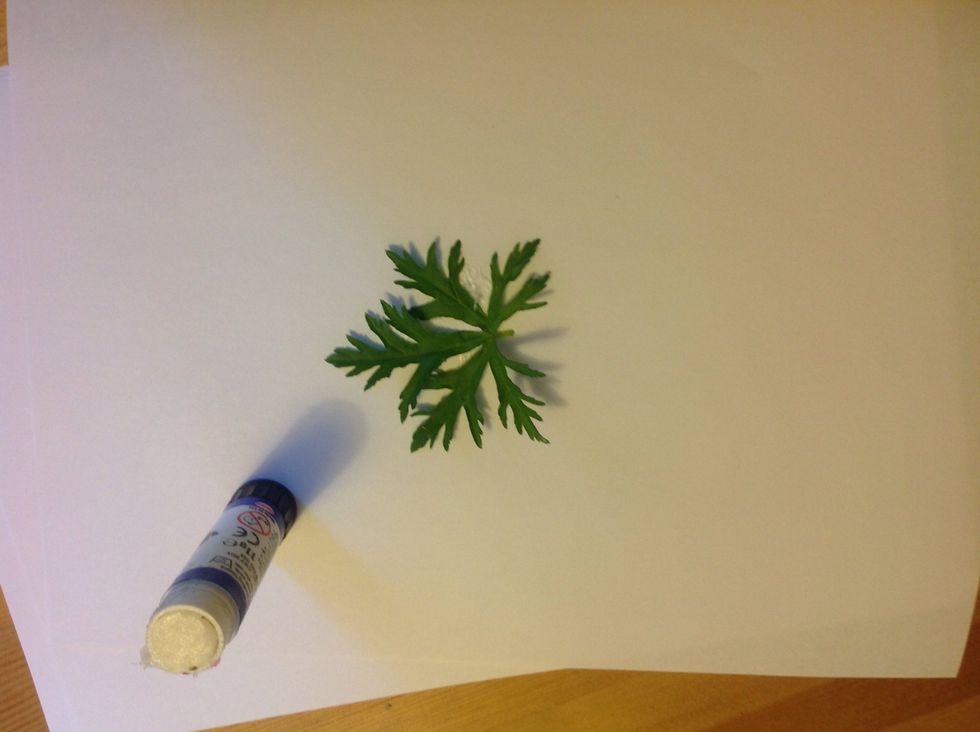
When you get home cover a piece of paper with glue and start sticking your treasures to it in a pattern you like.
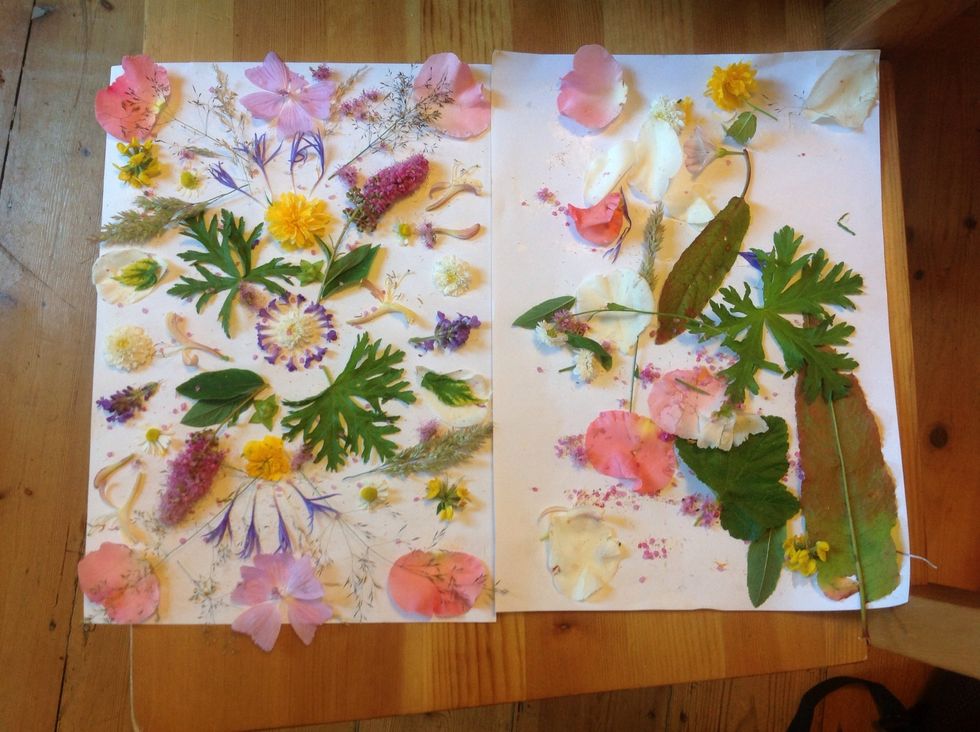
Here's our finished pictures. Take a photo as they won't look as vibrant after pressing.
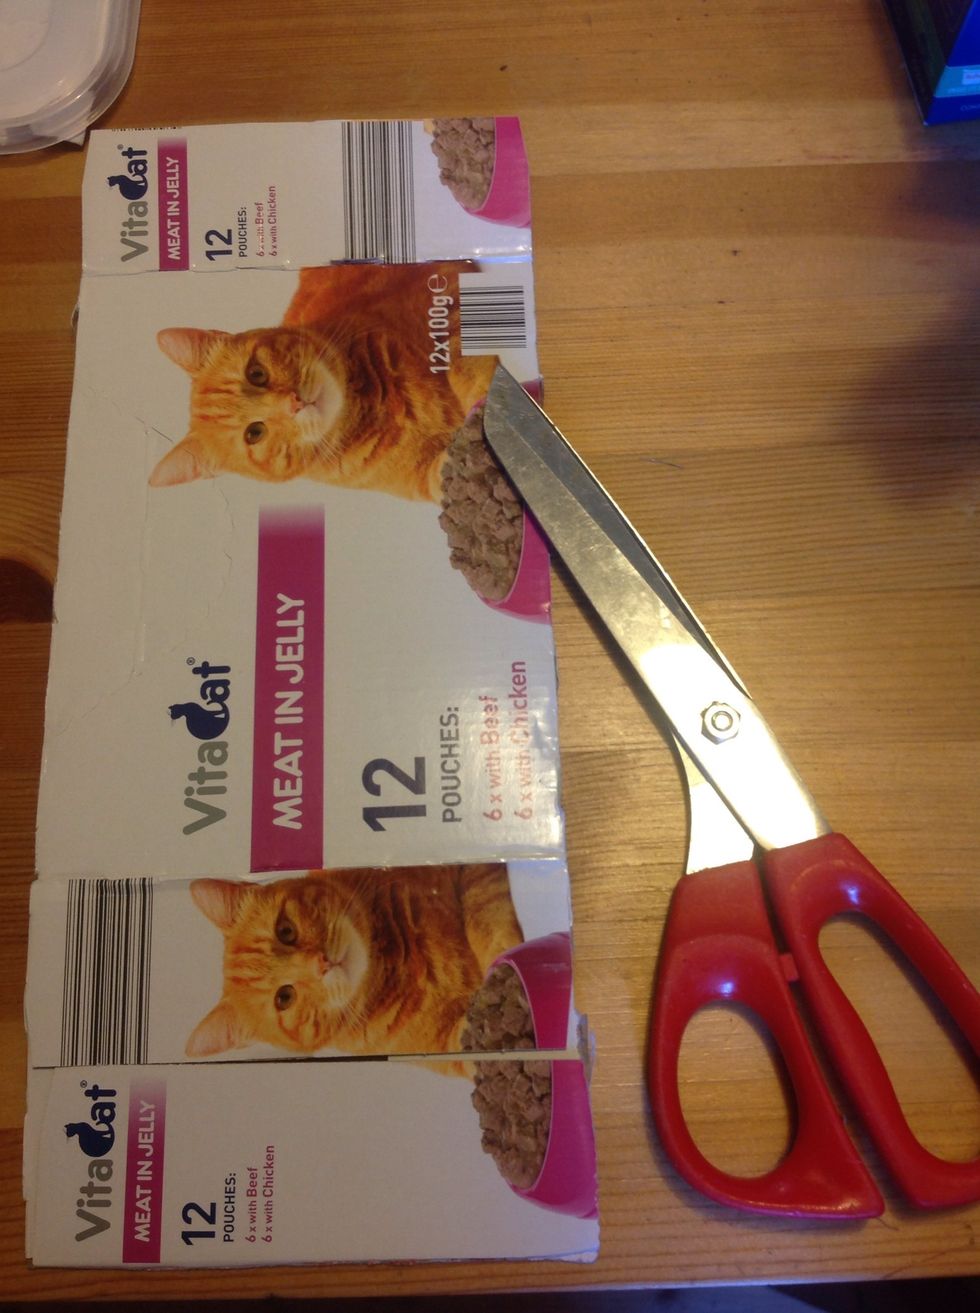
Cut some card to a size that will cover your picture.
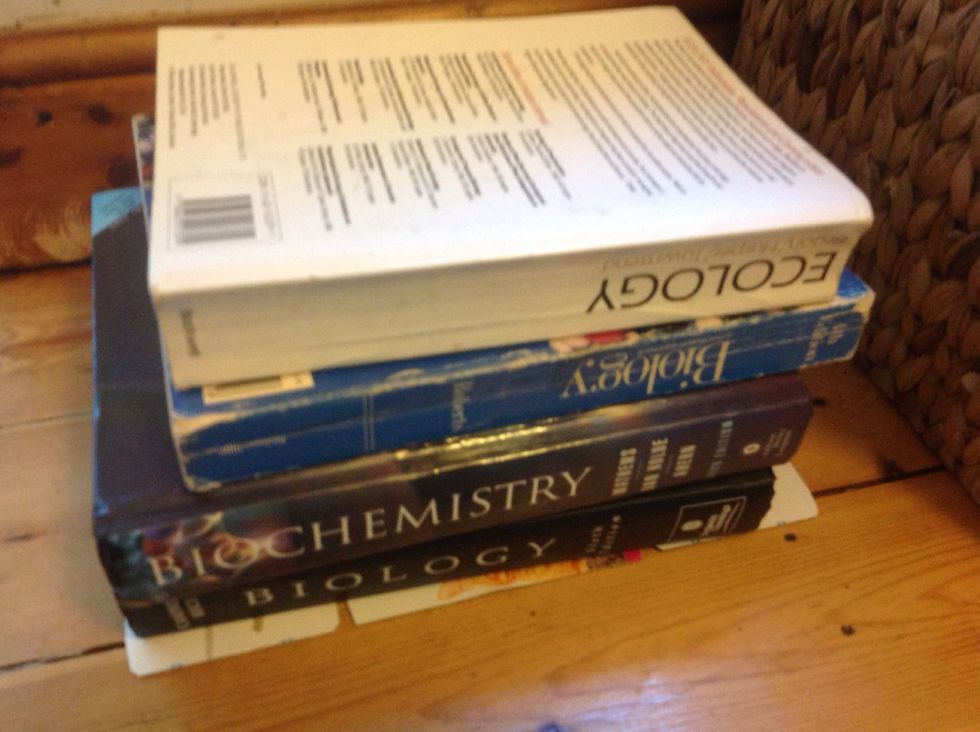
Put the card on top of your picture (let the glue dry a bit first). Then pile on the text books, you knew you'd find a use for them one day!
Leave for a couple of days until the flowers are dry and pressed. Ours are still pressing but I will try and put a finished photo on when they are ready! Stick on your fridge/ give to grandma!