The Conversation (0)
Sign Up
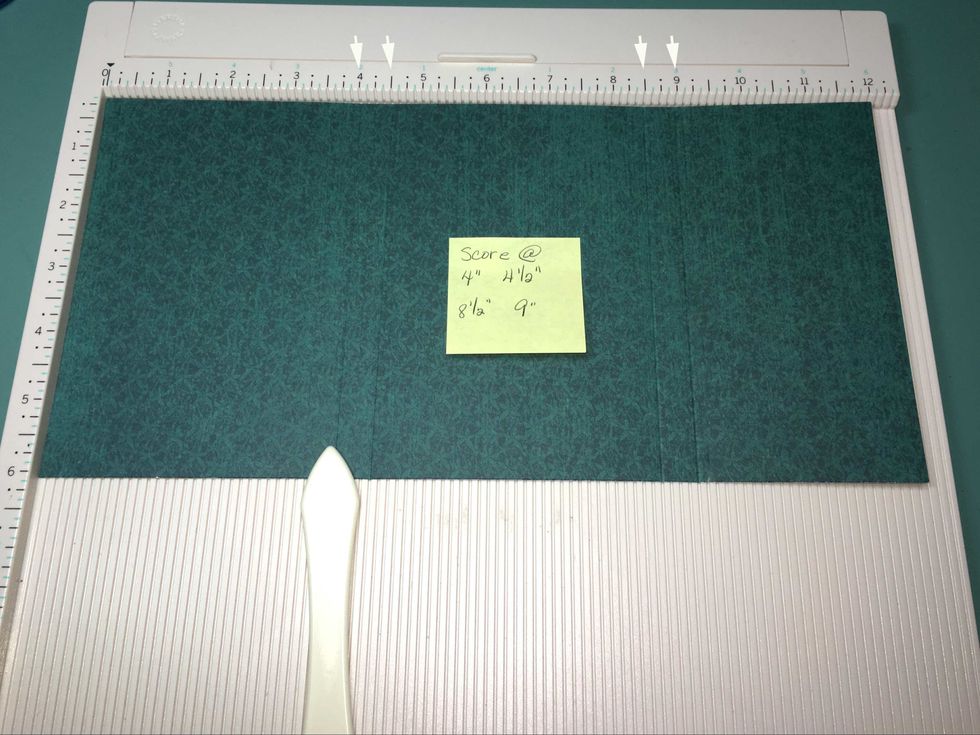
Cut a rectangle 12" x 6" from any of the papers that you like in the collection. I've use sheets from the 12 x 12" patterns and solids. Score at 4", 4 1/2", 8 1/2" and 9" as shown above.
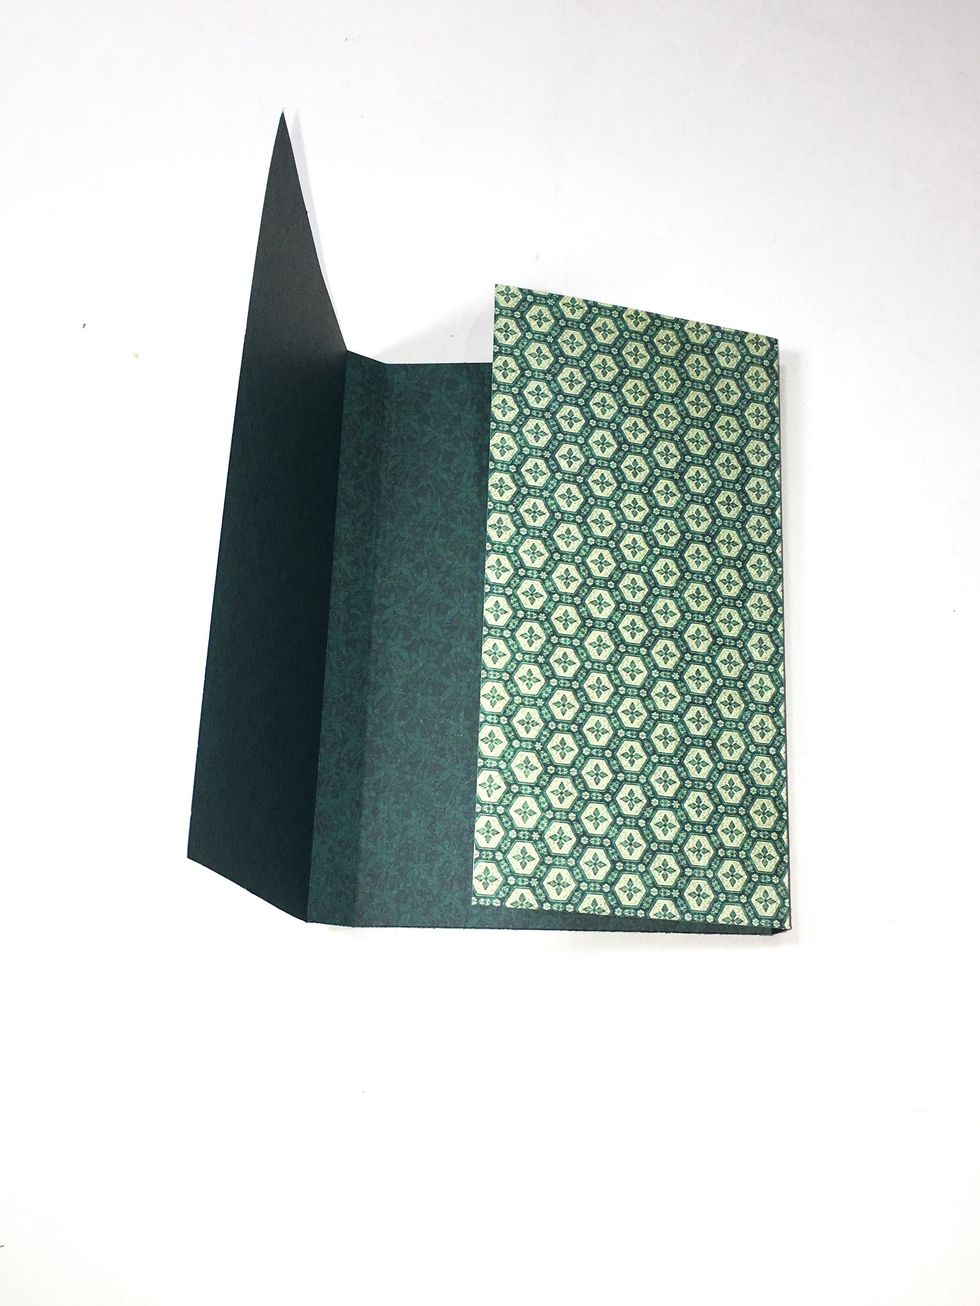
Fold on the score lines, folding the wider left flap over the right flap.
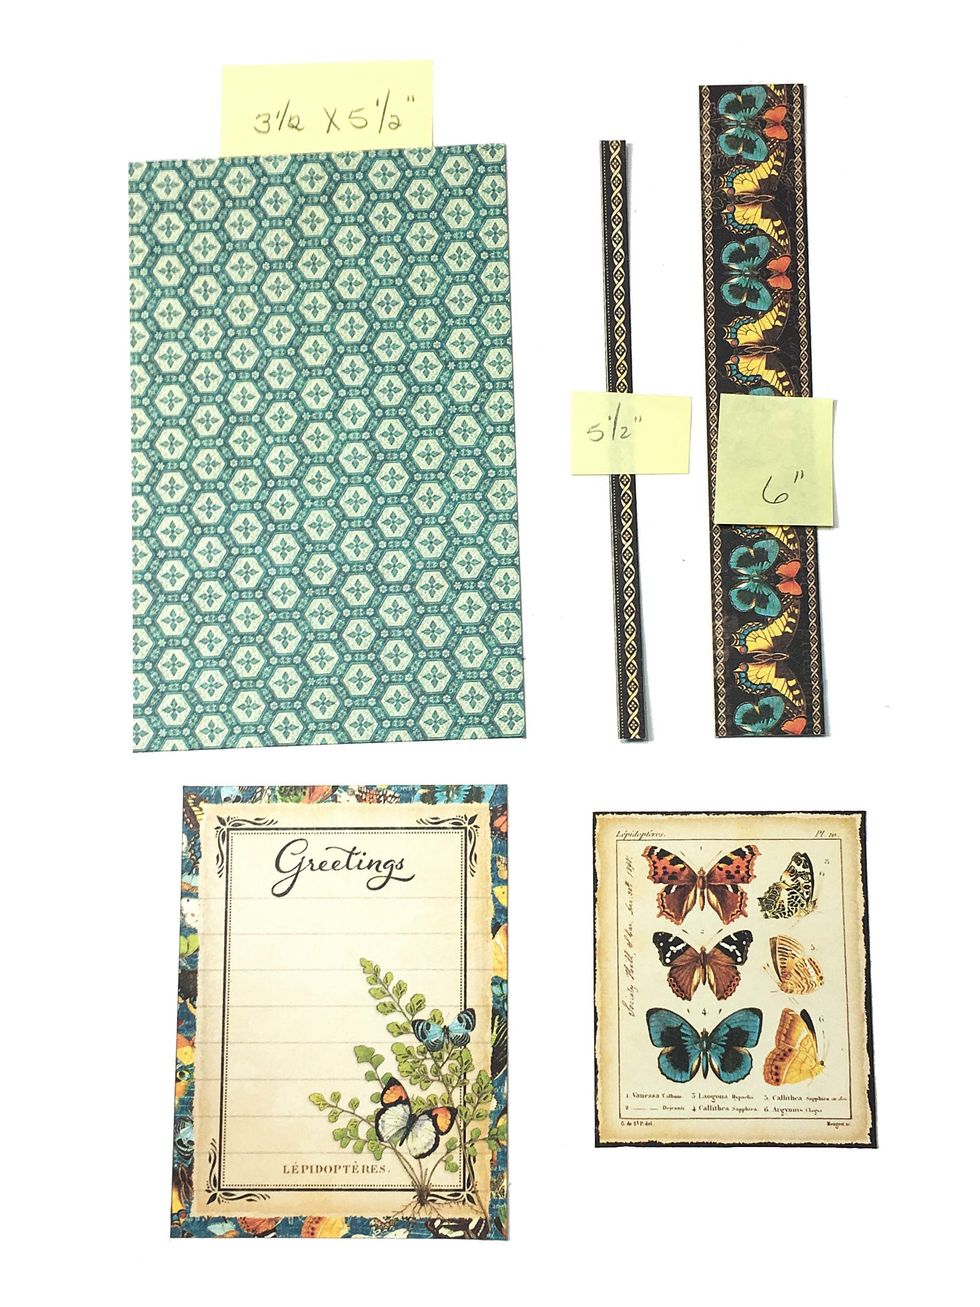
Cut a rectangle 3 1/2"x5 1/2". Cut a narrow 5 1/2" & a wider 6" border from design paper. Select a 3"x4" ephemera card or cut apart. Cut an image from Diary of a Botanist pp or use a small cutapart.
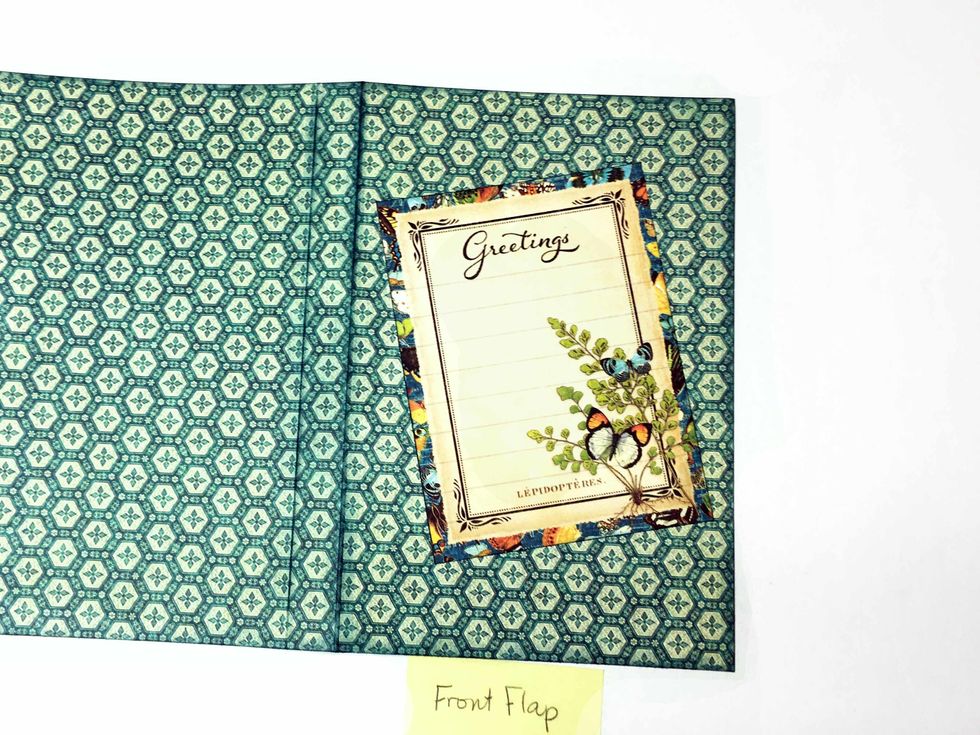
On the outside flap (cover of the folio) adhere a cut-apart at an angle as shown.
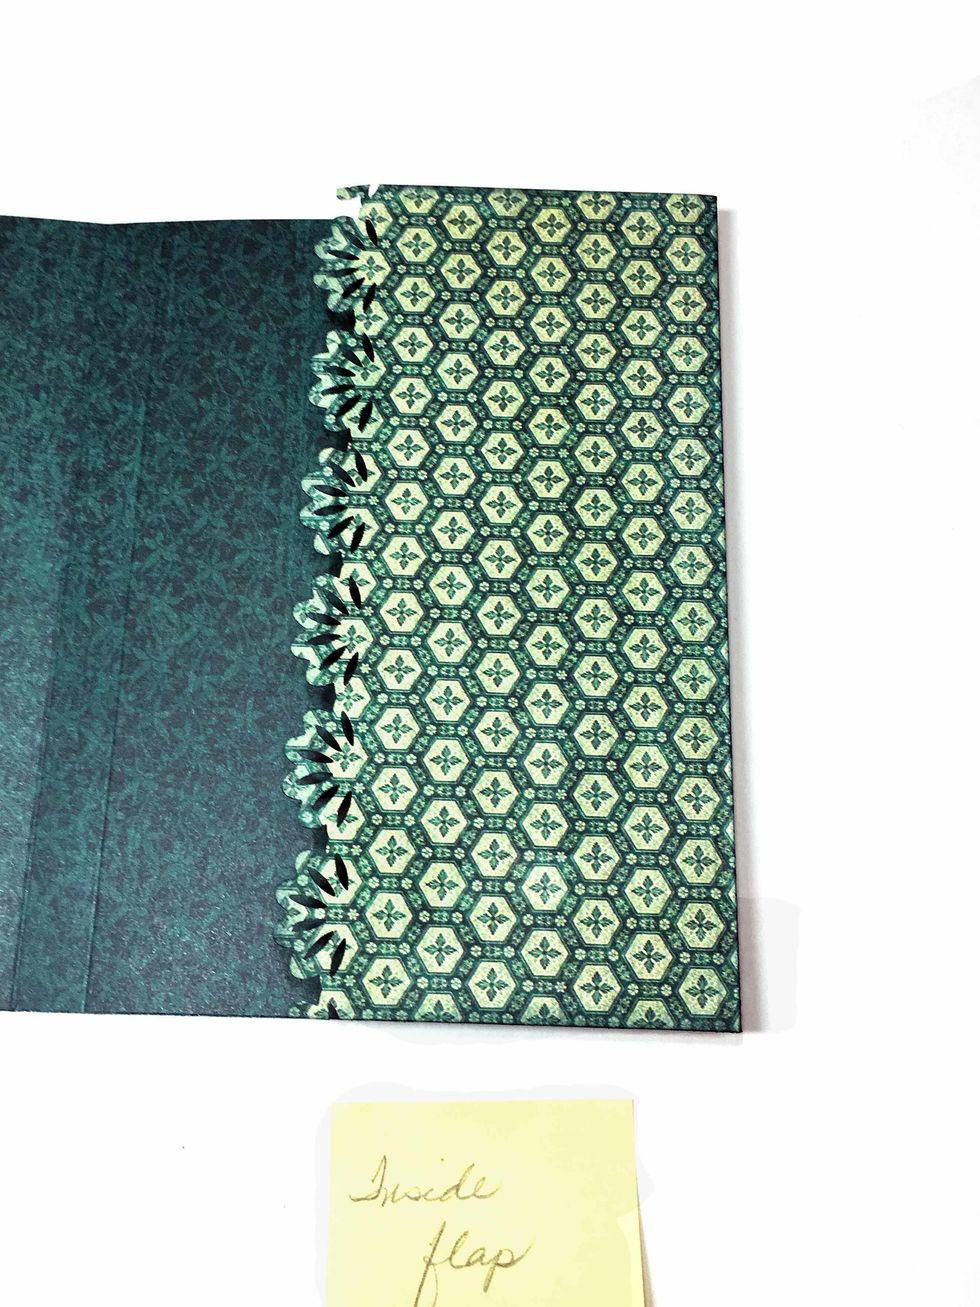
Punch a decorative border on the narrower right side flap. Ink all the papers as desired.

Take a strip of paper slightly narrower than your selected letters, and form the word "notes" by adhering the letters to the strip. Trim the ends of the strip so that only the letters show.

On the inside, adhere the narrow strip on the left flap and then layer on a cut-apart as shown. Add the "notes" word to the bottom as shown. Add a border on the right flap as shown.

Aplly scortape to the back of the Post-it note pad.

Peel back some of the scortape film from the back of the post-it notepad & adhere to the center inside the folio. When it is perfectly aligned, peel all the film & firmly press the pad into place.
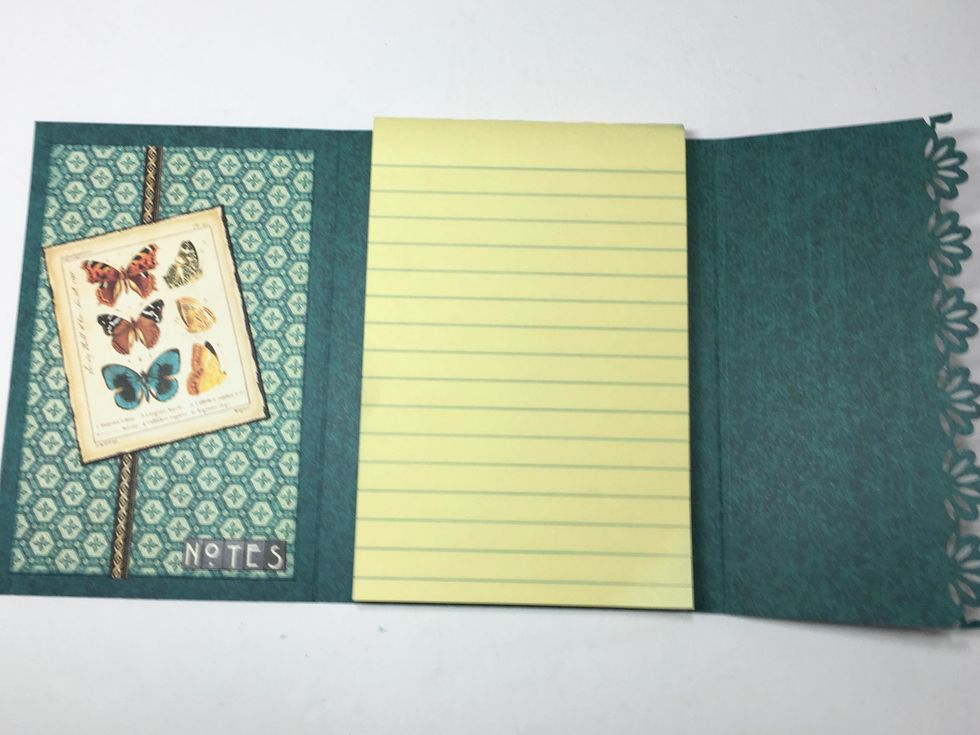
Perfectly placed Post-it Note Pad!
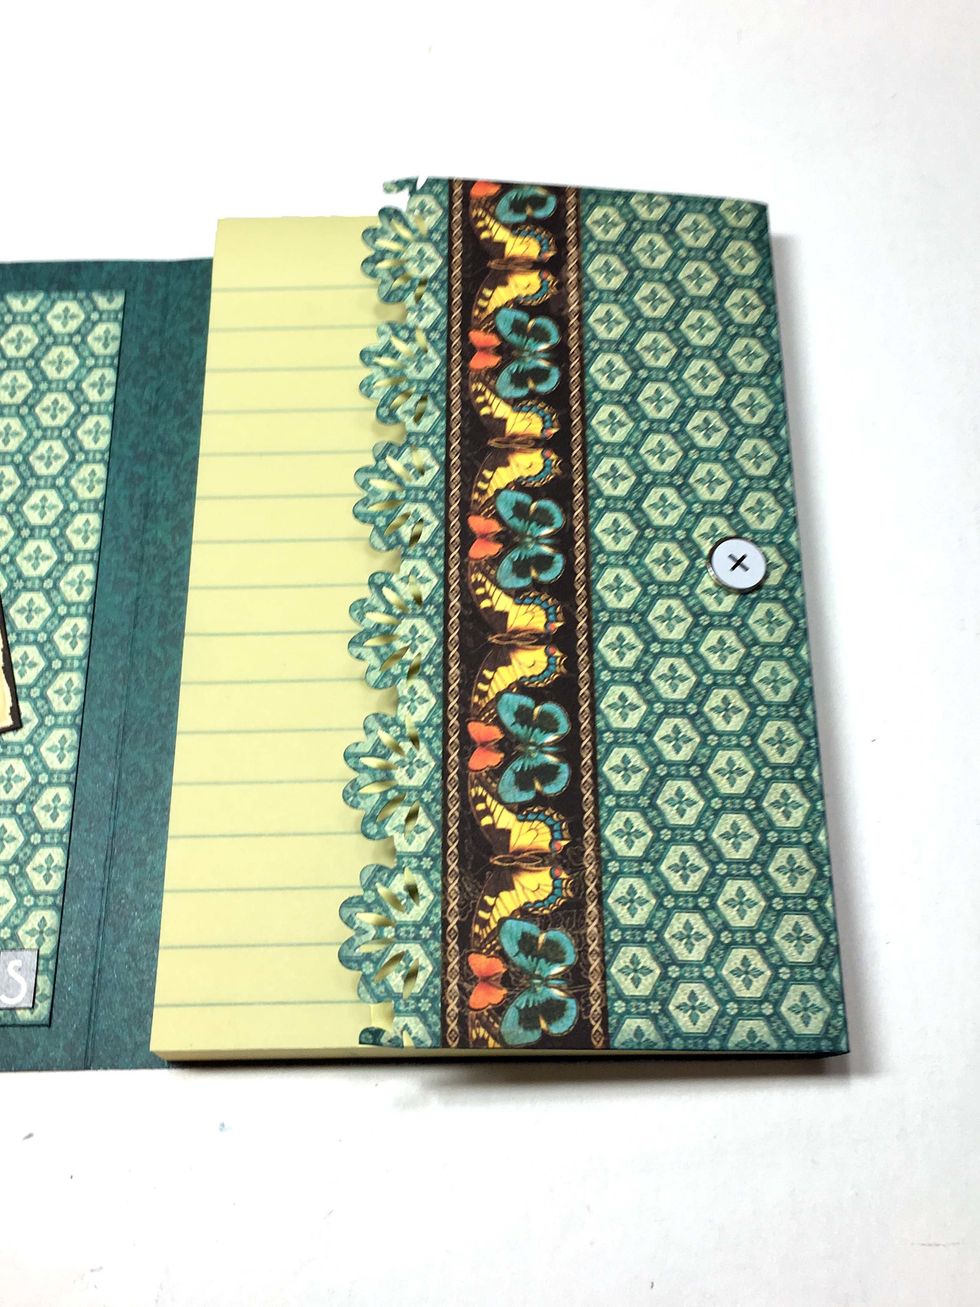
Fold right side over and attach a small two part magnet closure. Peel the adhesive film off the top magnet and fold the left side over perfectly aligning the two flaps and press down on the magnets.
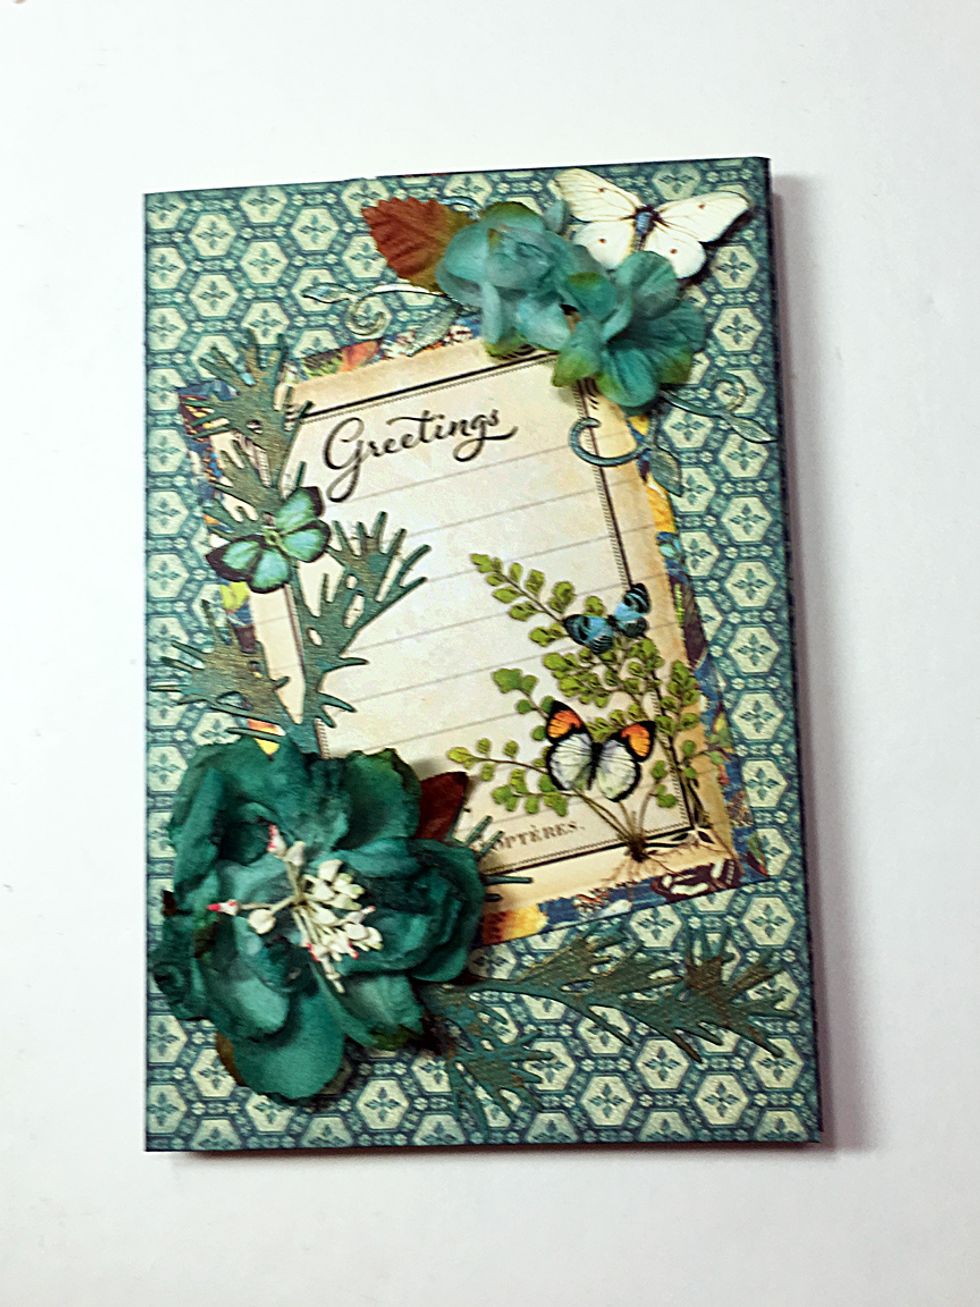
Now you can embellish the outside as you please. I fussy cut a couple of small butterflies, added some green sprigs and flowers to finish my folio.
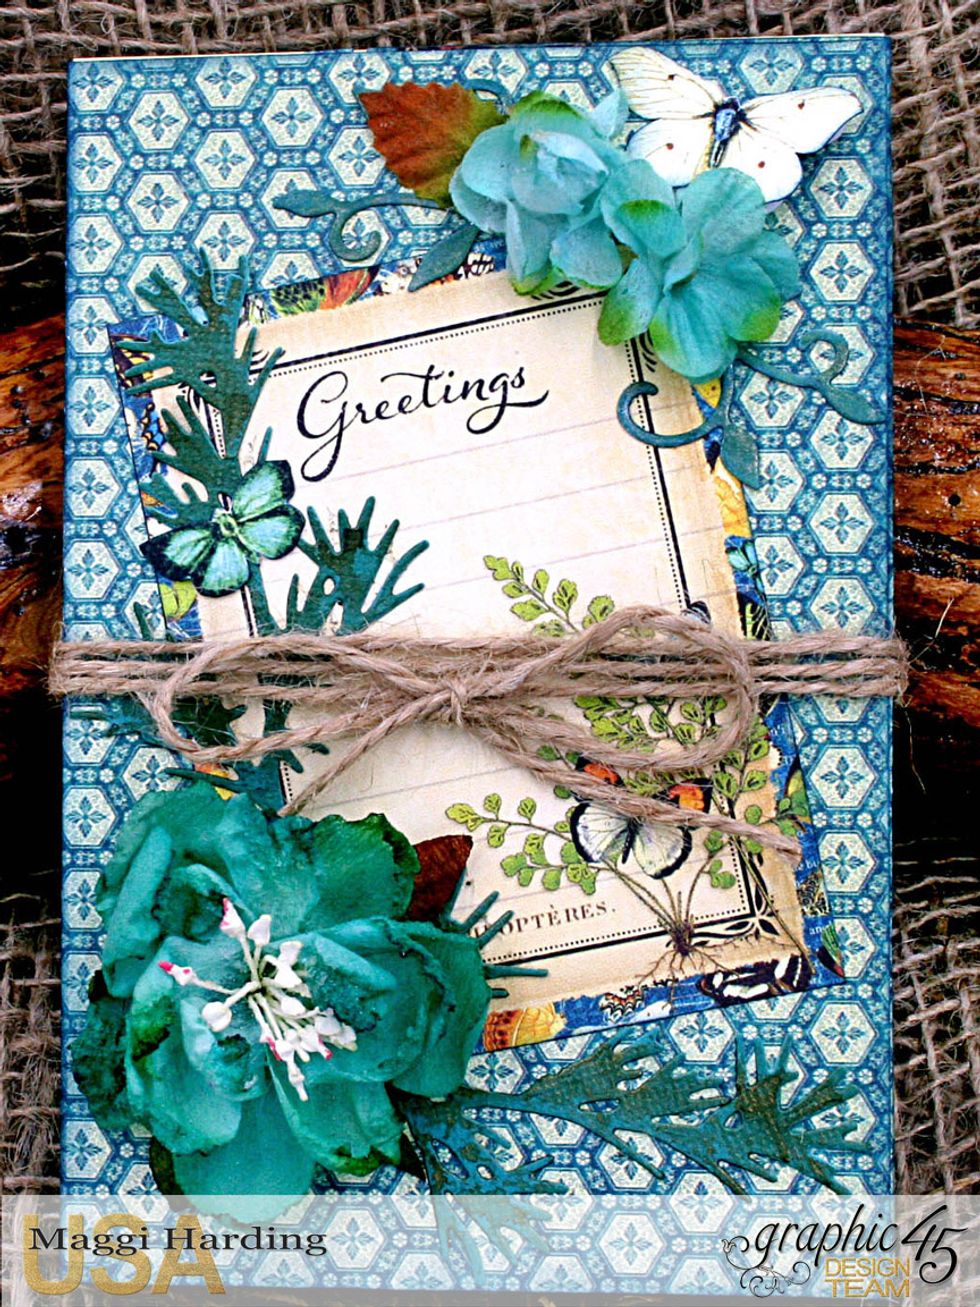
All finished, tie some ribbon or jute twine around the folios to enhance the presentation .
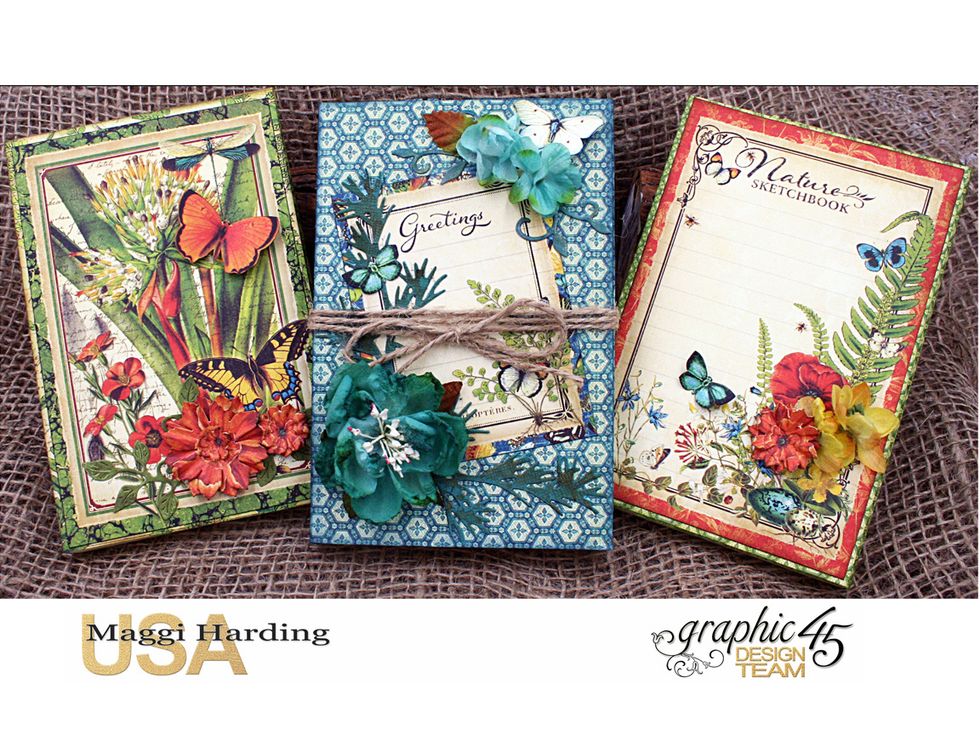
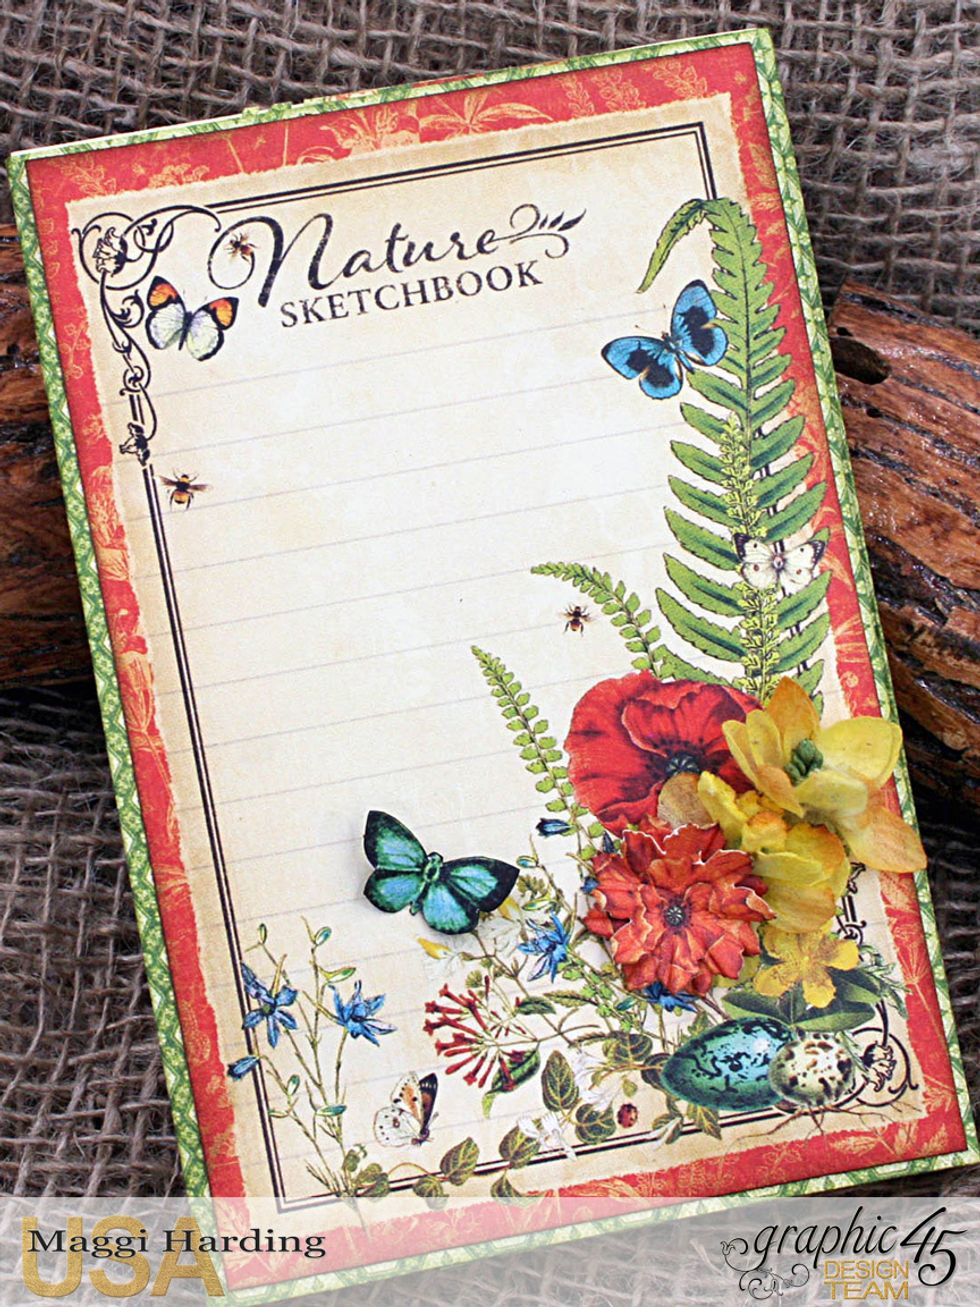
The outer two folios I made using 4 x 6" cut-aparts for the covers while the center one was made with the smaller sized cut-aparts.
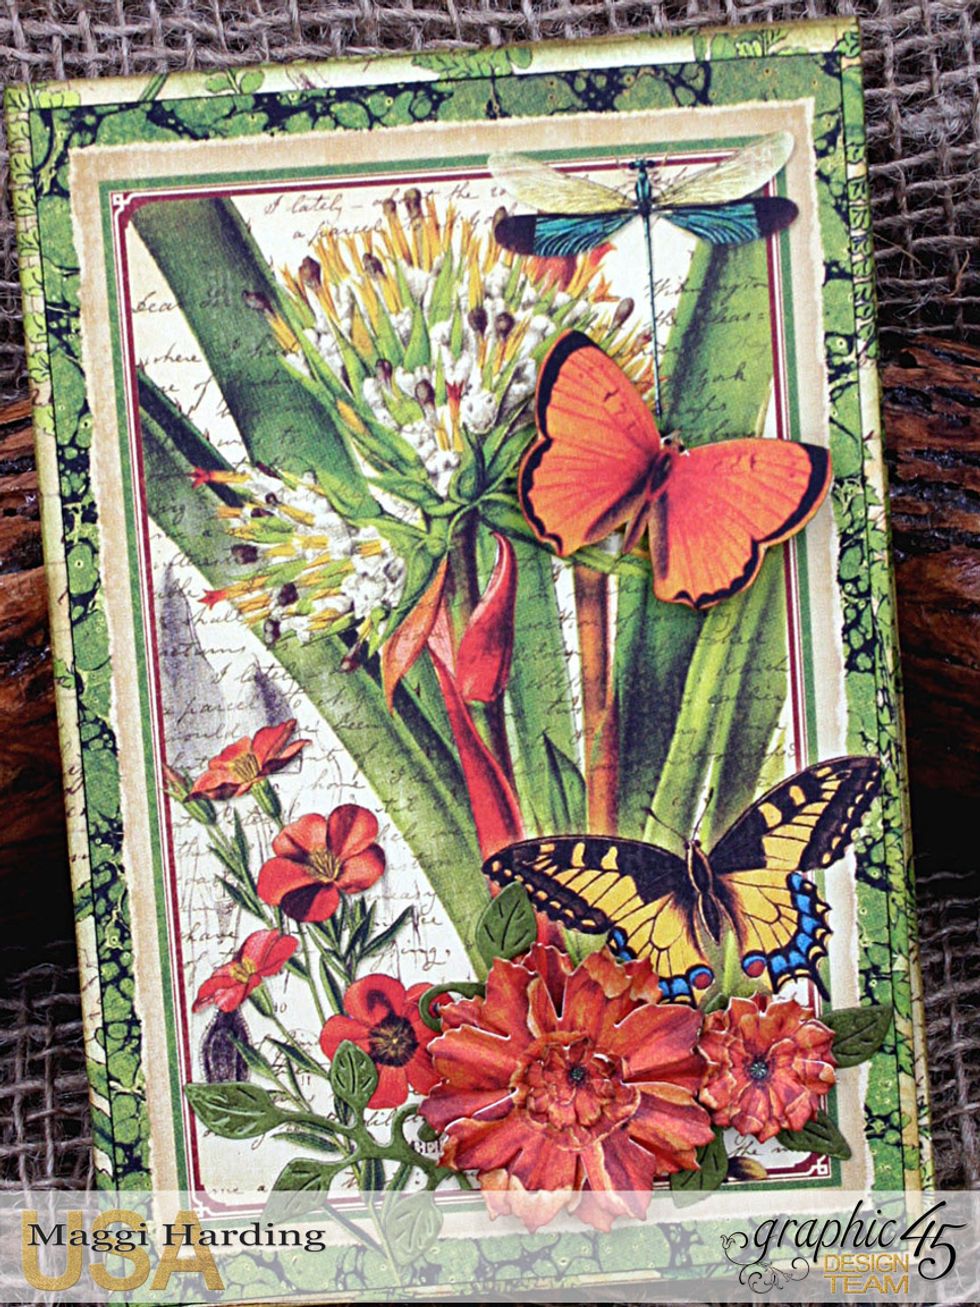
Another made with a 4" 6" cut-apart.

I design for Graphic 45, Creative Embellishments, Petaloo, & Cheery Lynn Designs. Tutorials on my blog:bit.ly/1Sem2J0. Pinterest:bit.ly/1HhWvOx Thanks so much! If you enjoyed this guide, please like.