The Conversation (0)
Sign Up
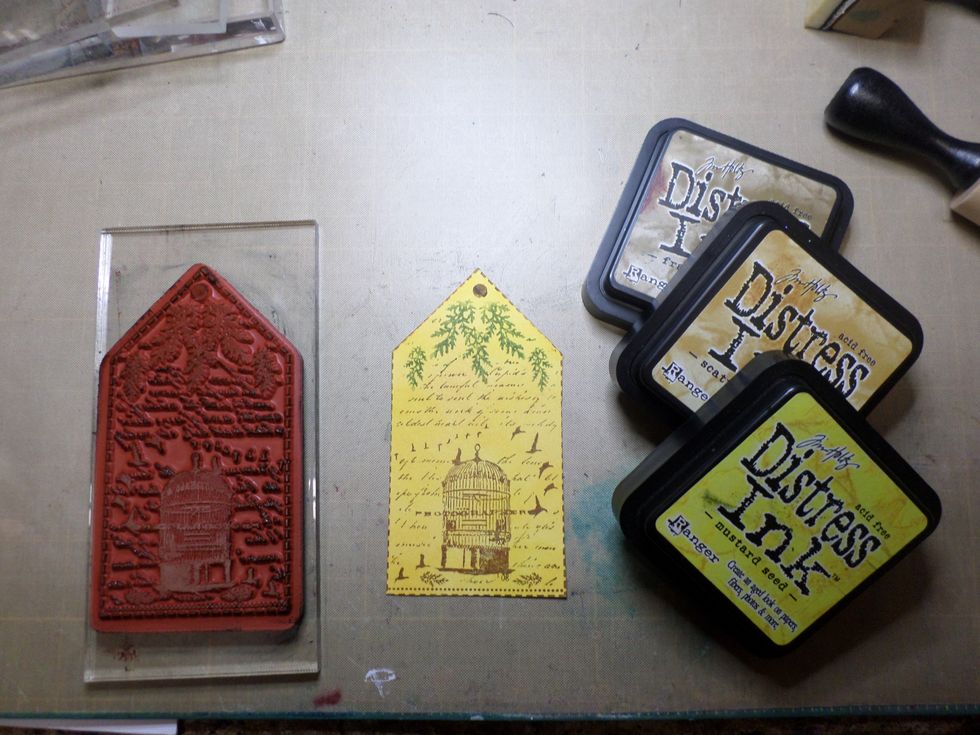
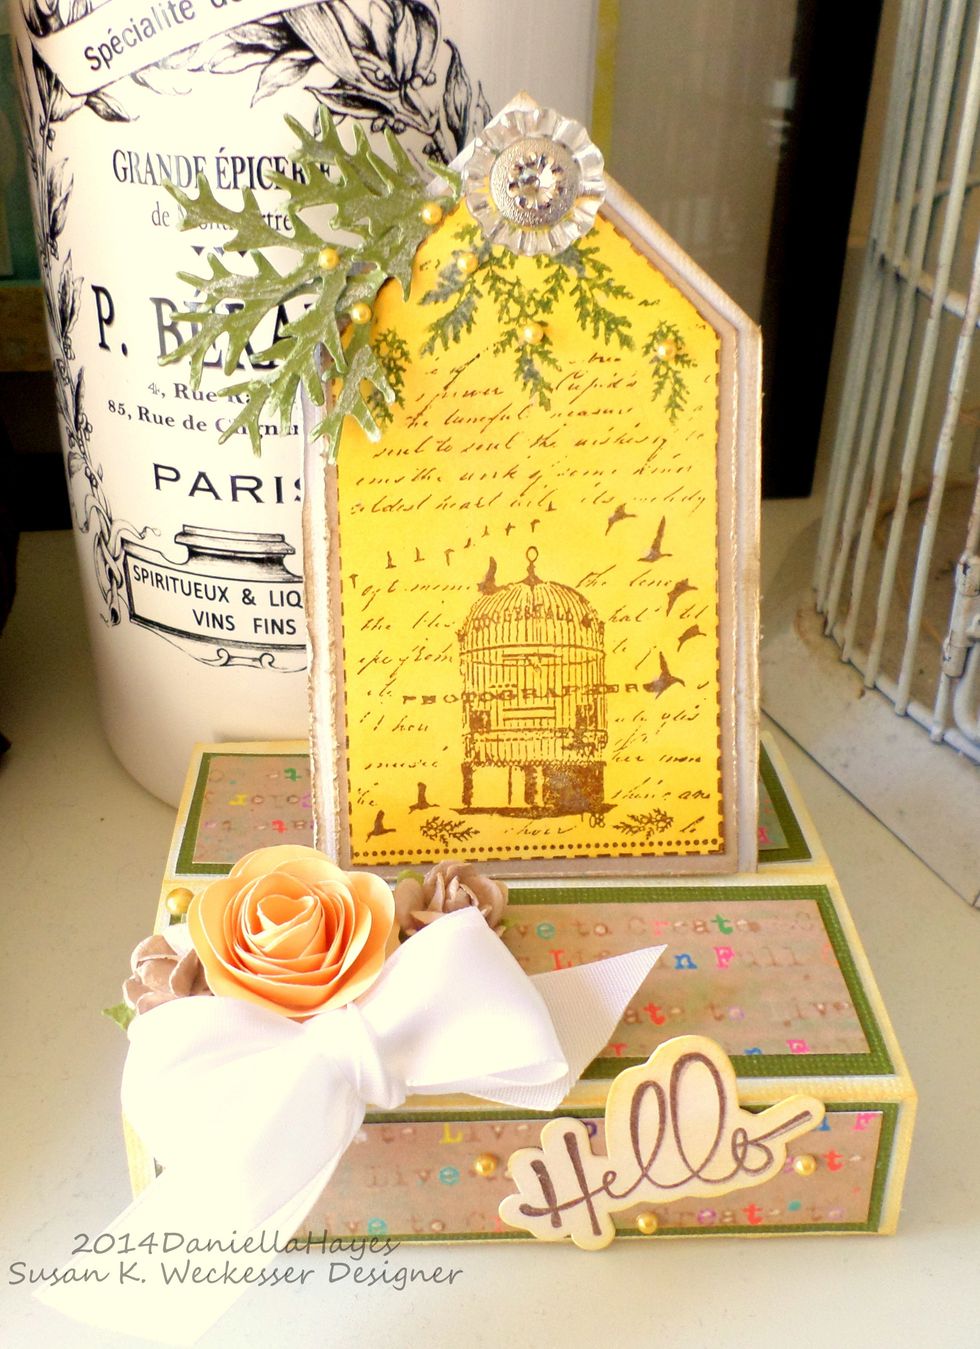
Start by making your tag. I colored the background with the yellow inks. Then I inked my stamp with brown ink, except for the branches, which I colored directly to the stamp with green marker.
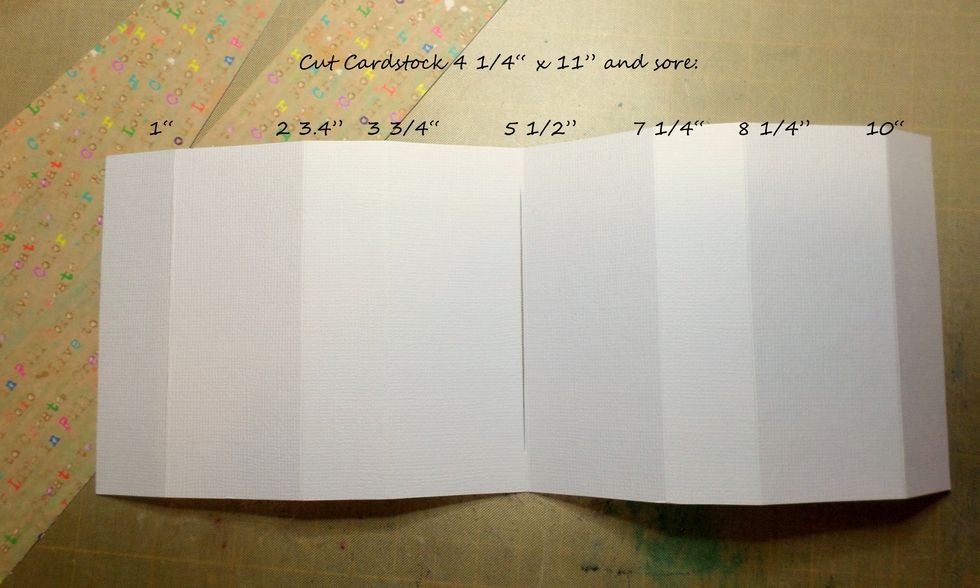
Cut cardstock 4 1/4" x 11". Score the paper as shown in the picture.
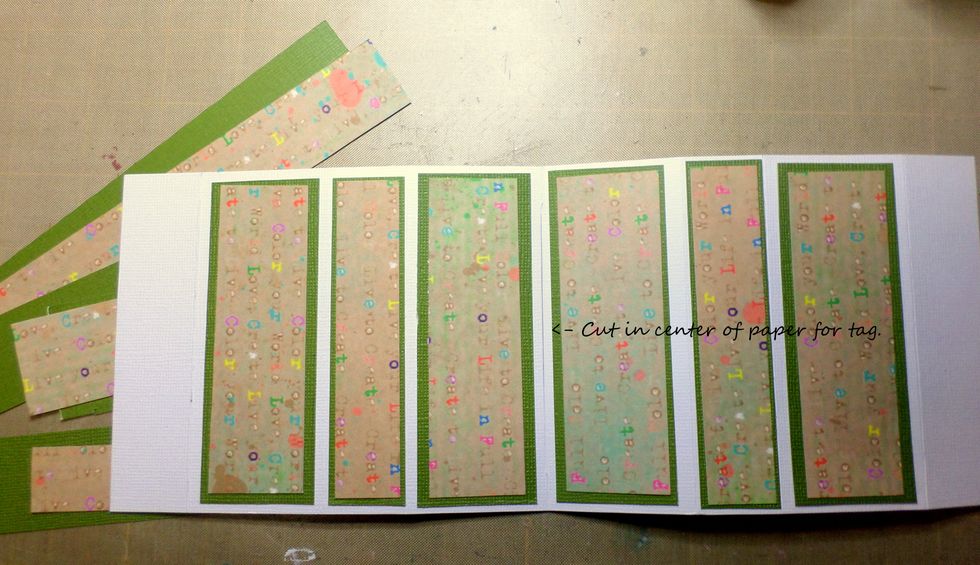
Cut a slit in the center of the cardstock for the tag to fit through. Decorate your strips as you wish. I cut green cardstock and patterned paper from Susan K. Weckesser.

I inked around the white cardstock with yellow ink. I also double matted my tag and added some diecut branches and glitter. See how it slips into the center?

Flip the cardstock with the tag inserted over. Add double sided tape to the inner and outter edges of the last sections of cardstock on both ends.
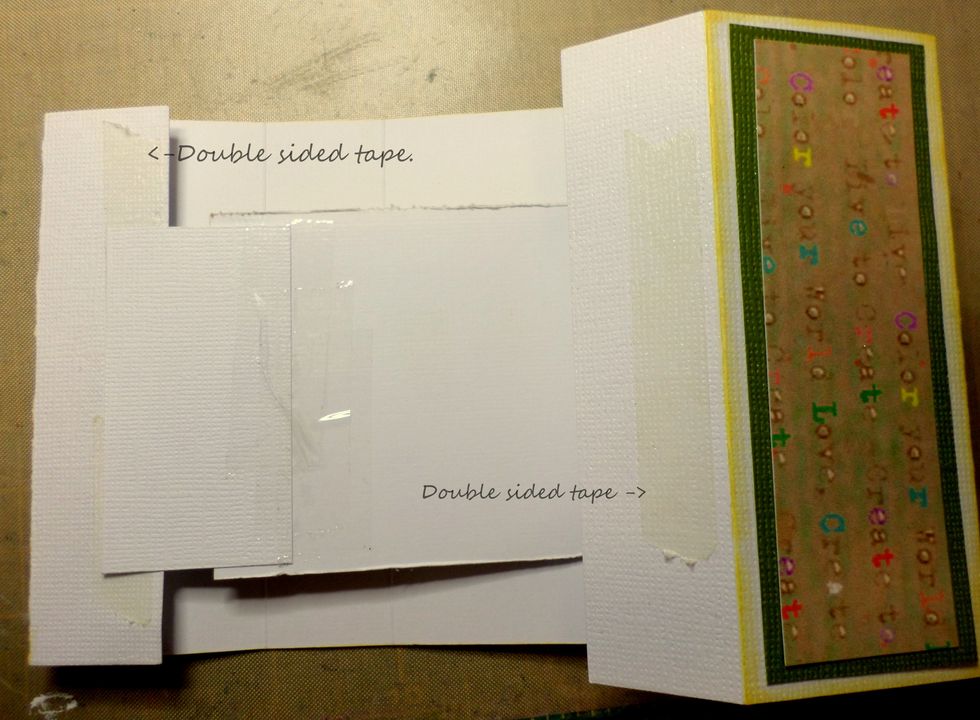
Attach your tag to the tape on the edge, as shown in the picture. Make sure your tag is able to move smoothly through the opening. Take both ends of the cardstock and stick them to each other.
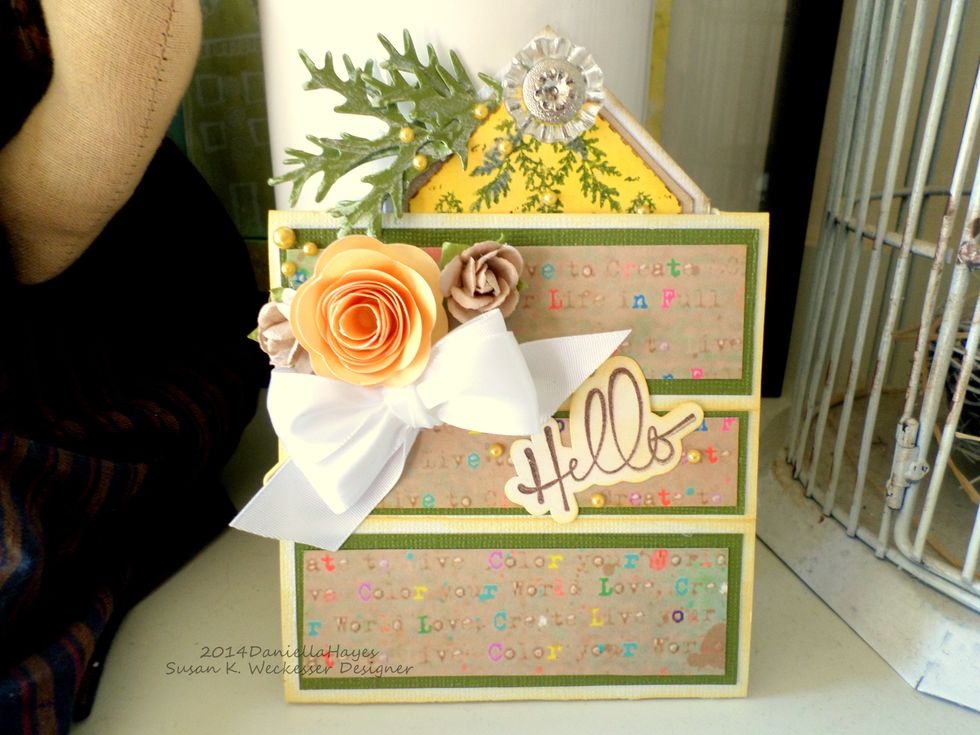
When you stick the ends together you should have a card like this. It is the same on the back. Embellish and decorate however you like.
When you push the folded cardstock down, the tag pops up! You have a card and a tag with a stand!