The Conversation (0)
Sign Up
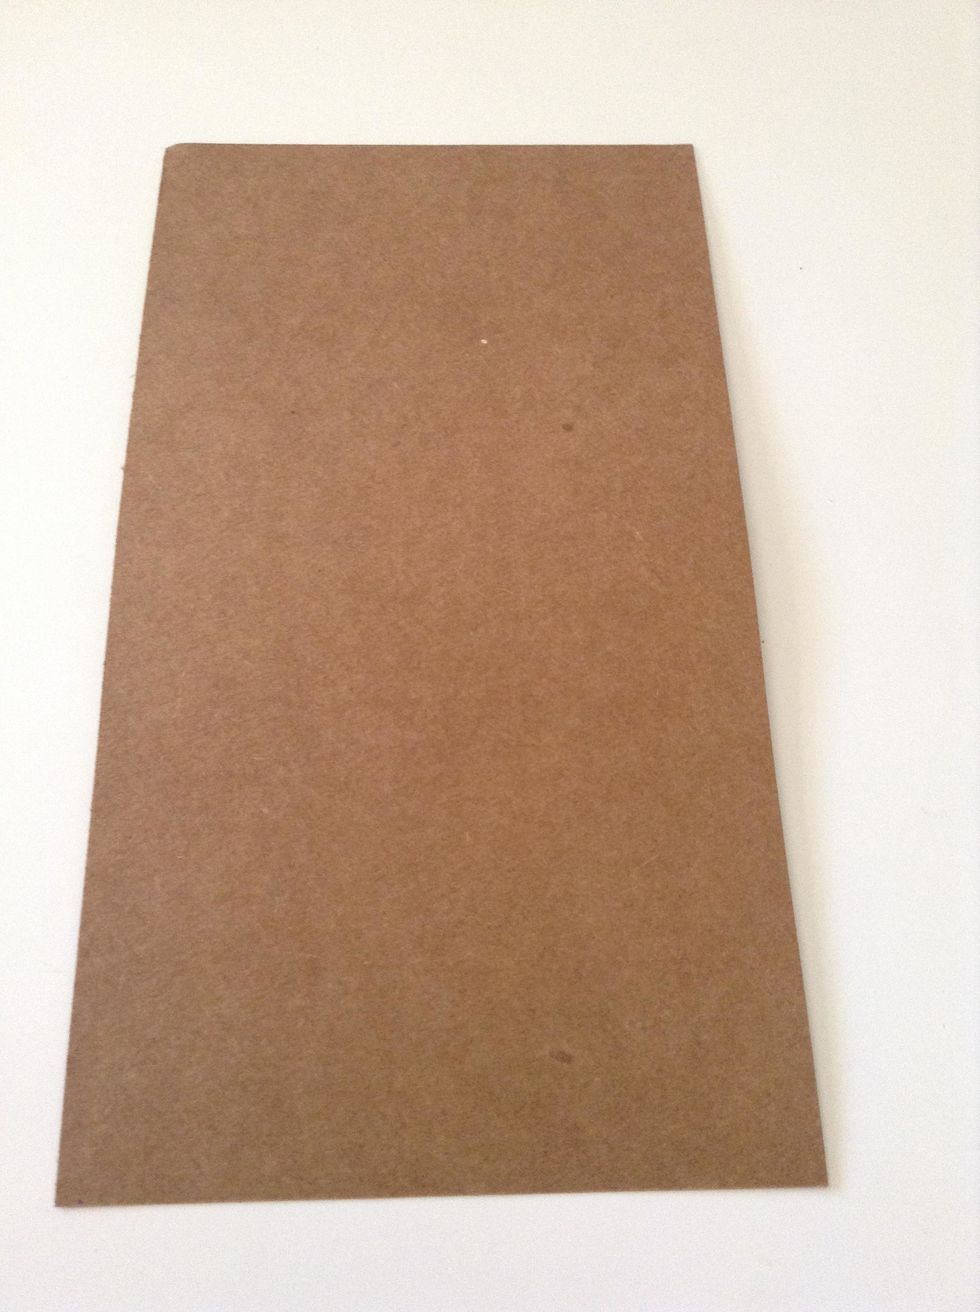
You'll need one piece of kraft cardstock. This piece is 7x 3 1/4 inches.
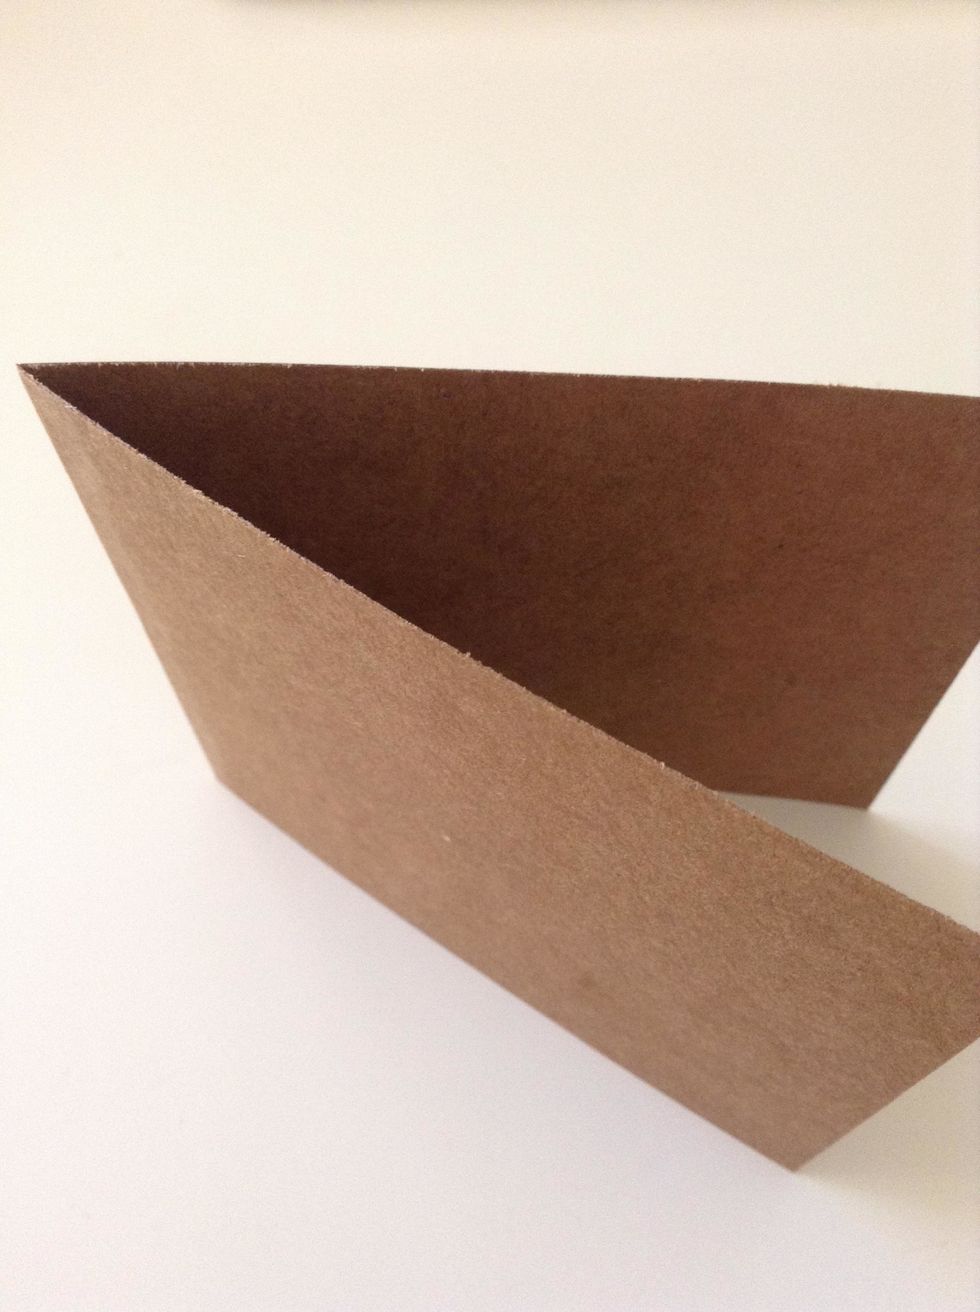
It is important that the card have a horizontal aspect to make the most effective use of the pop-up. Now you fold de card by the middle.
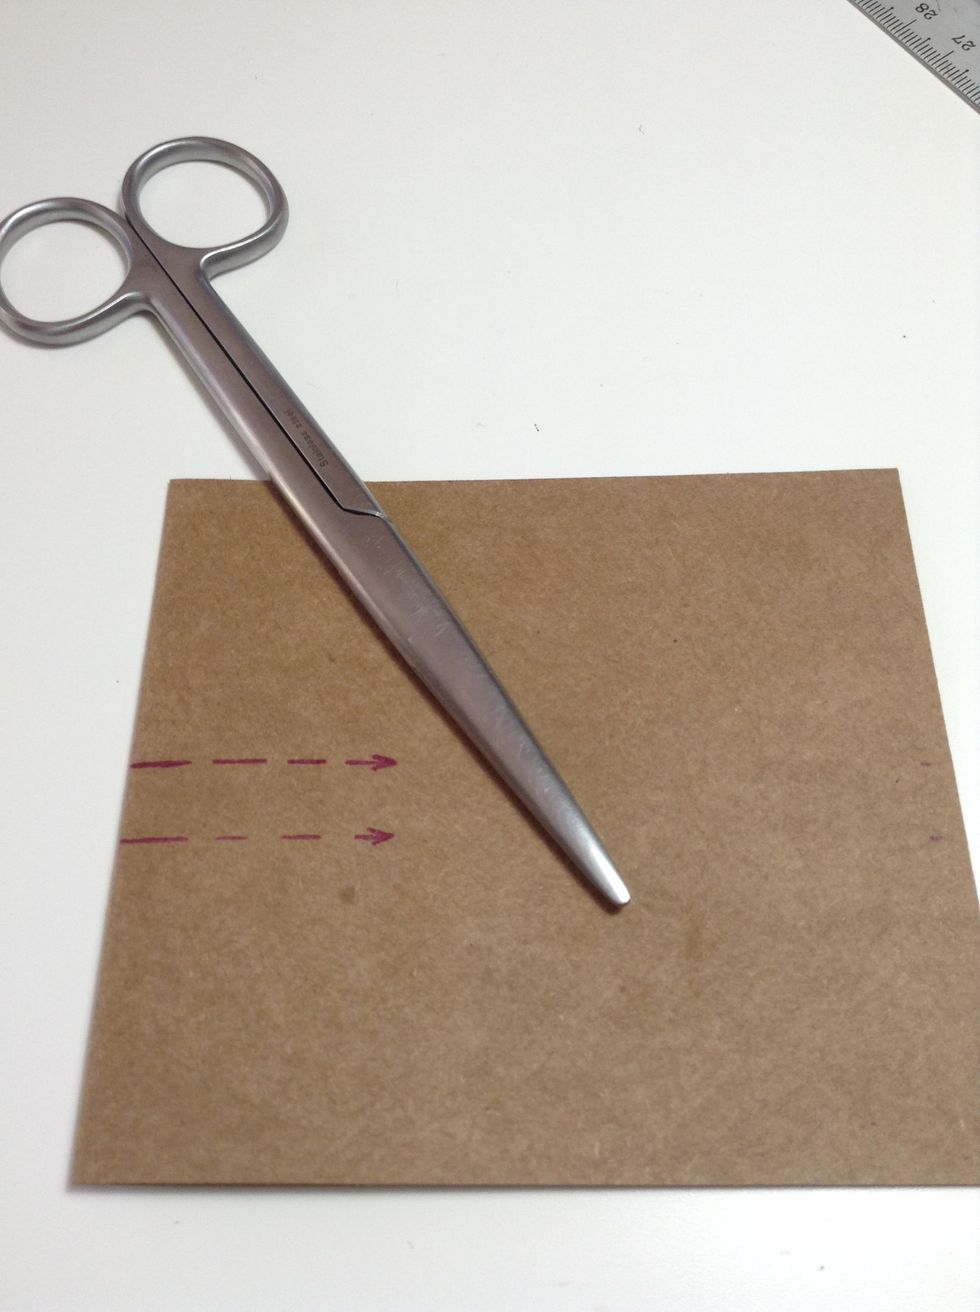
To form the pop-up steps/platforms, you will cut parallel slits from the folded edge of the card kraft.
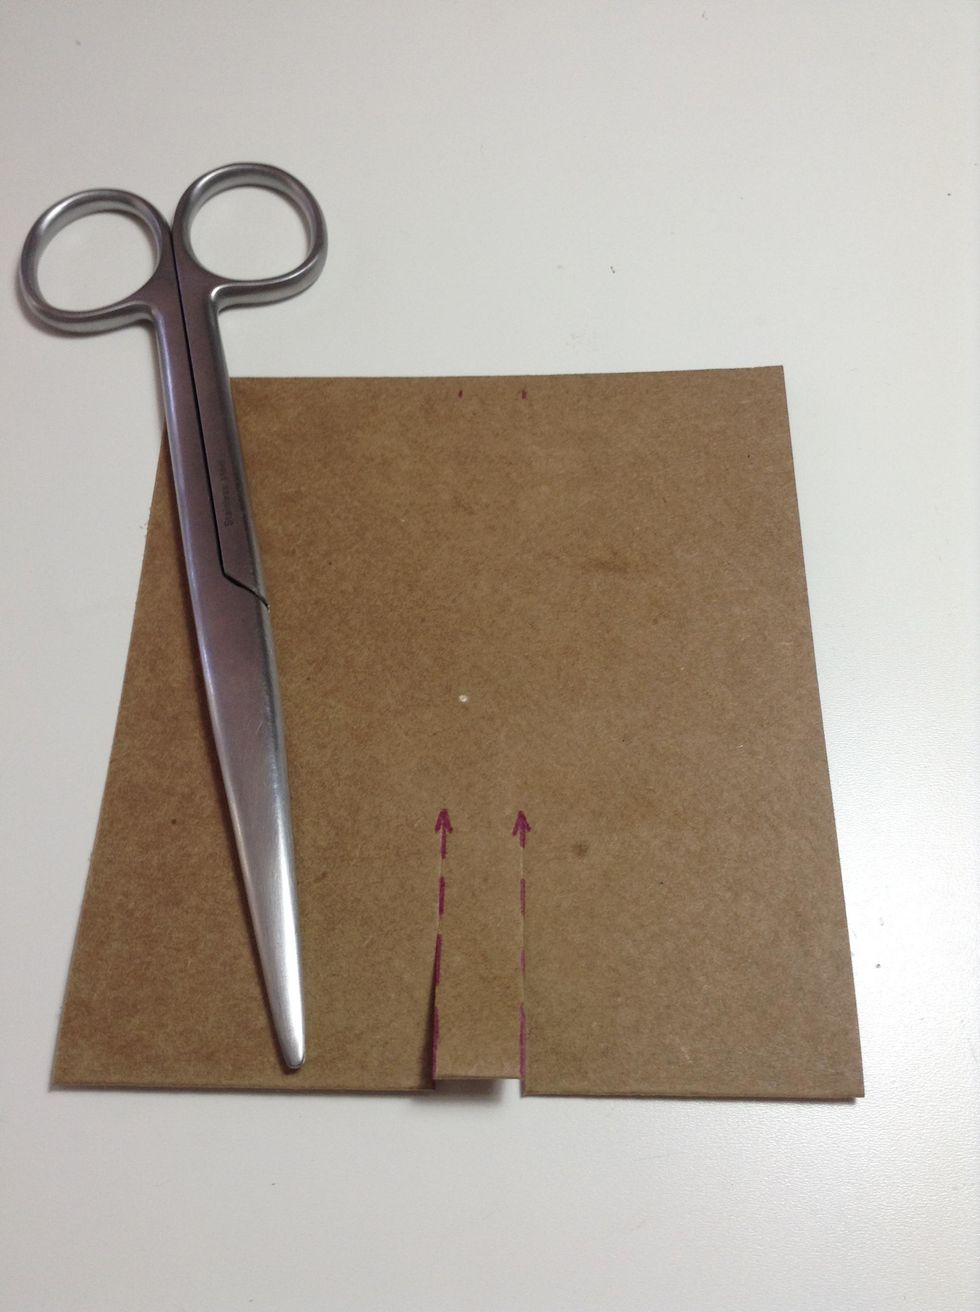
Cut on the vertical lines from the folded edge to the drawn horizontal line like the photo.
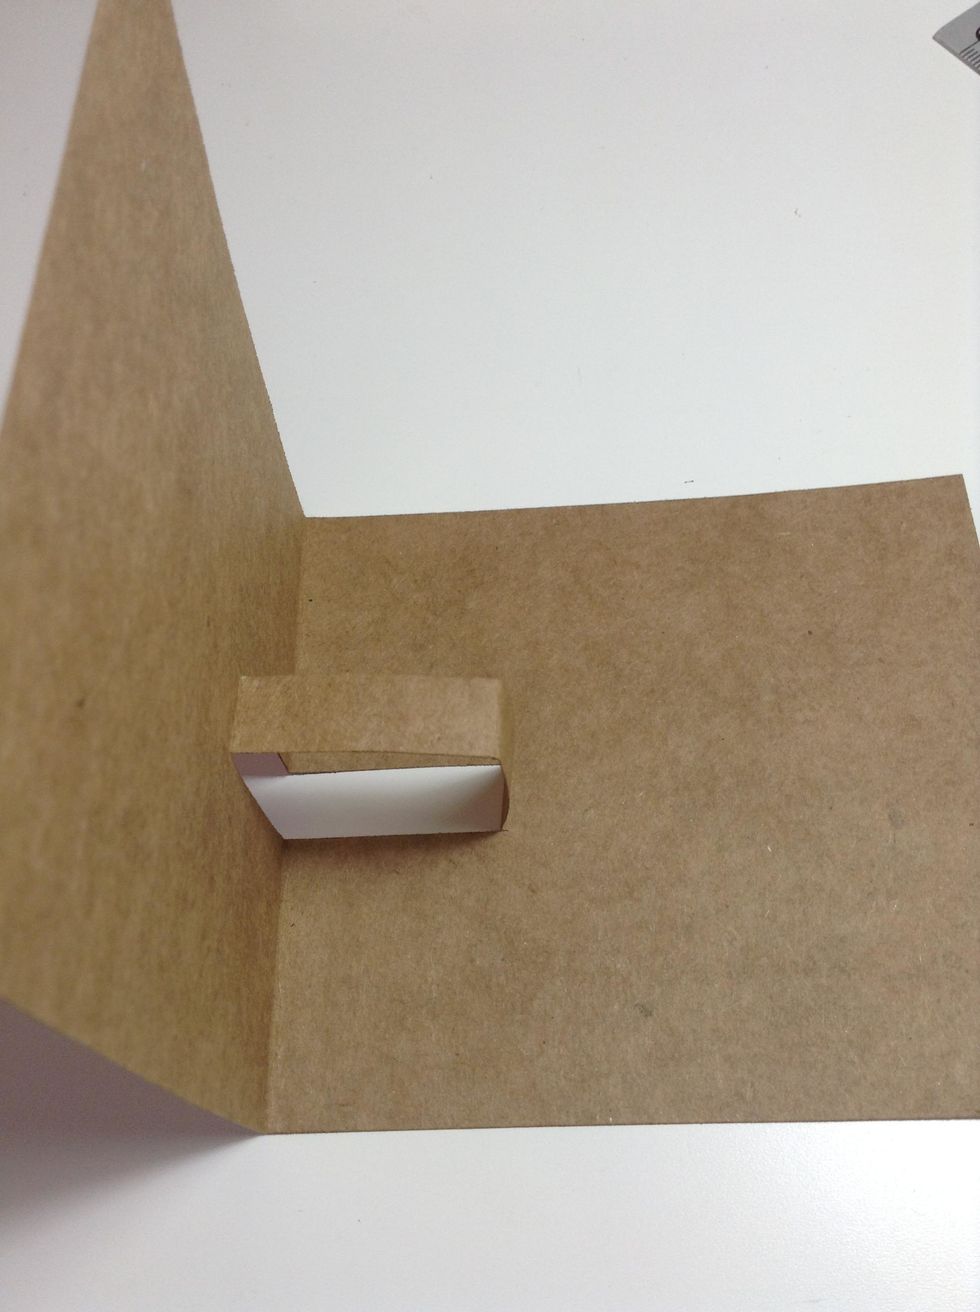
Fold the cut steps on the horizontal line between the cut lines. Unfold.

Open the card and push the steps through to the other side ( at a 90° angle ).
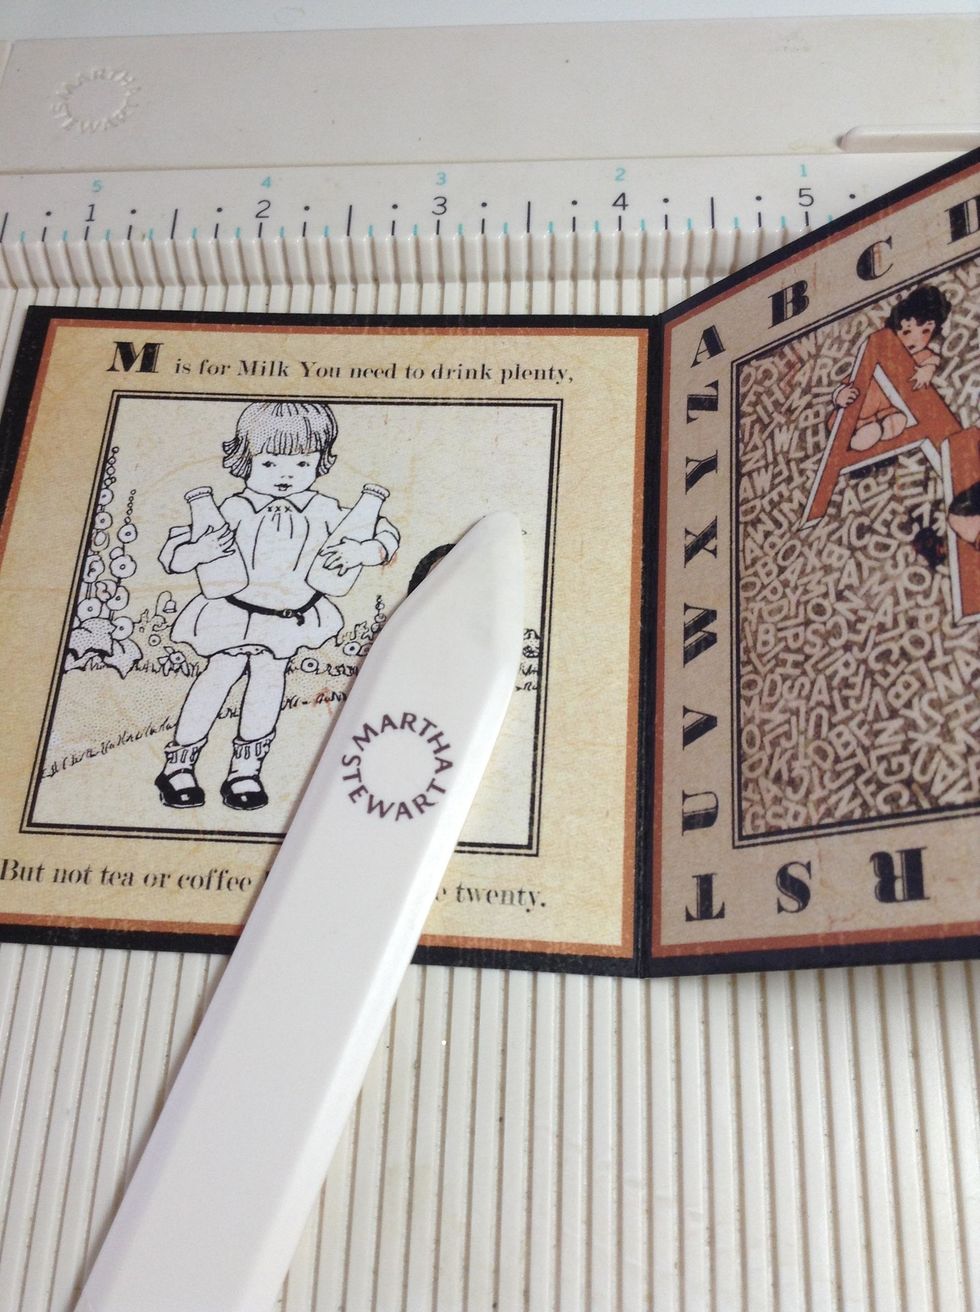
Choose a piece of decorated piece of paper, of the same size for the kraft cardstock face...and make the same steps...
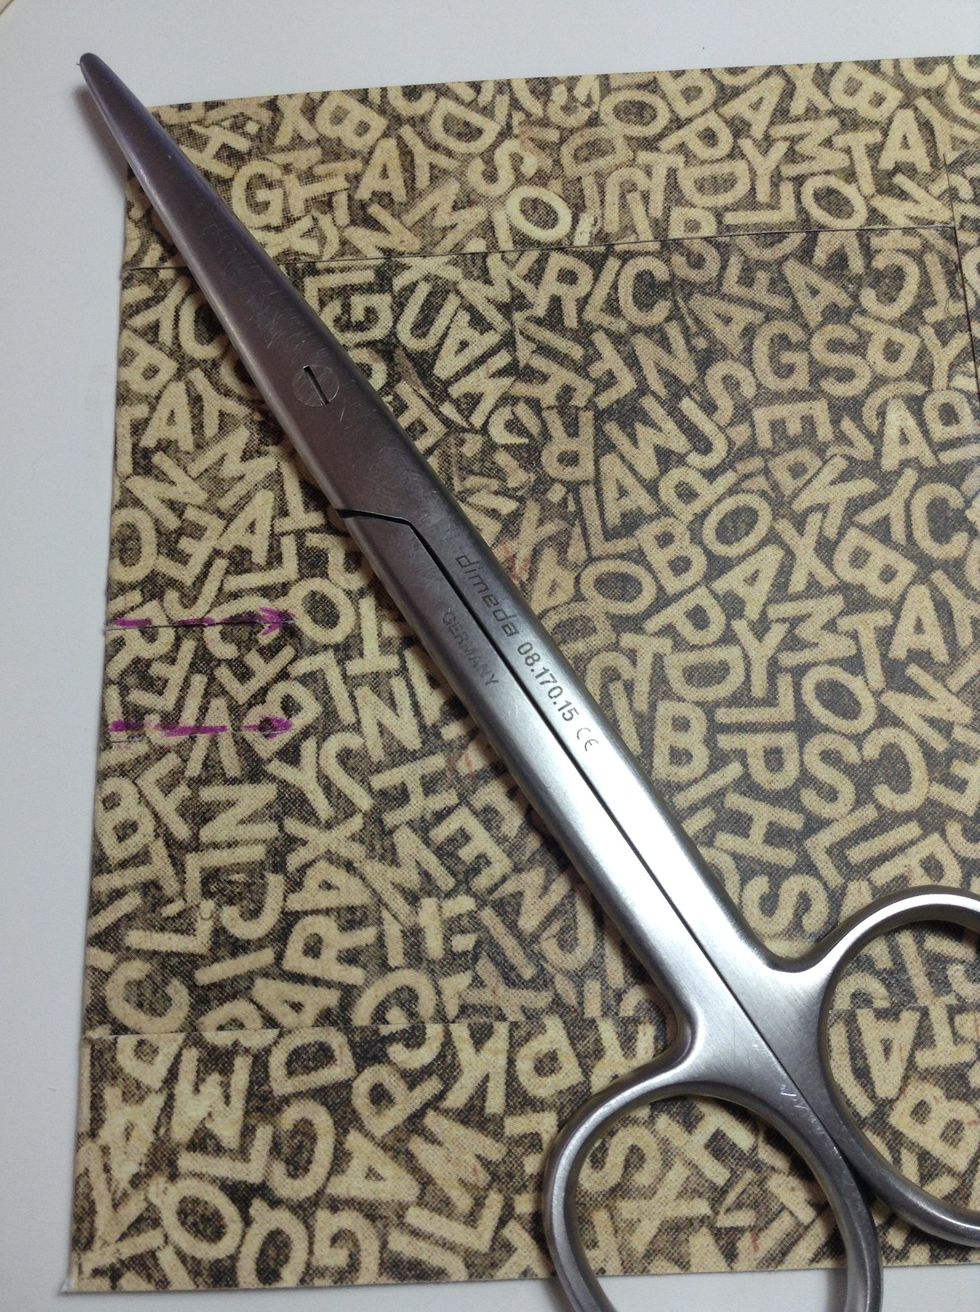
...cut parallel slits from the folded edge, by the back of decorated paper...
...Unfold.

Glue together the Kraft card and the Decorated card being sure to align the edges. Apply glue to one side of the pop-up. Open the card and allow the glue to dry.
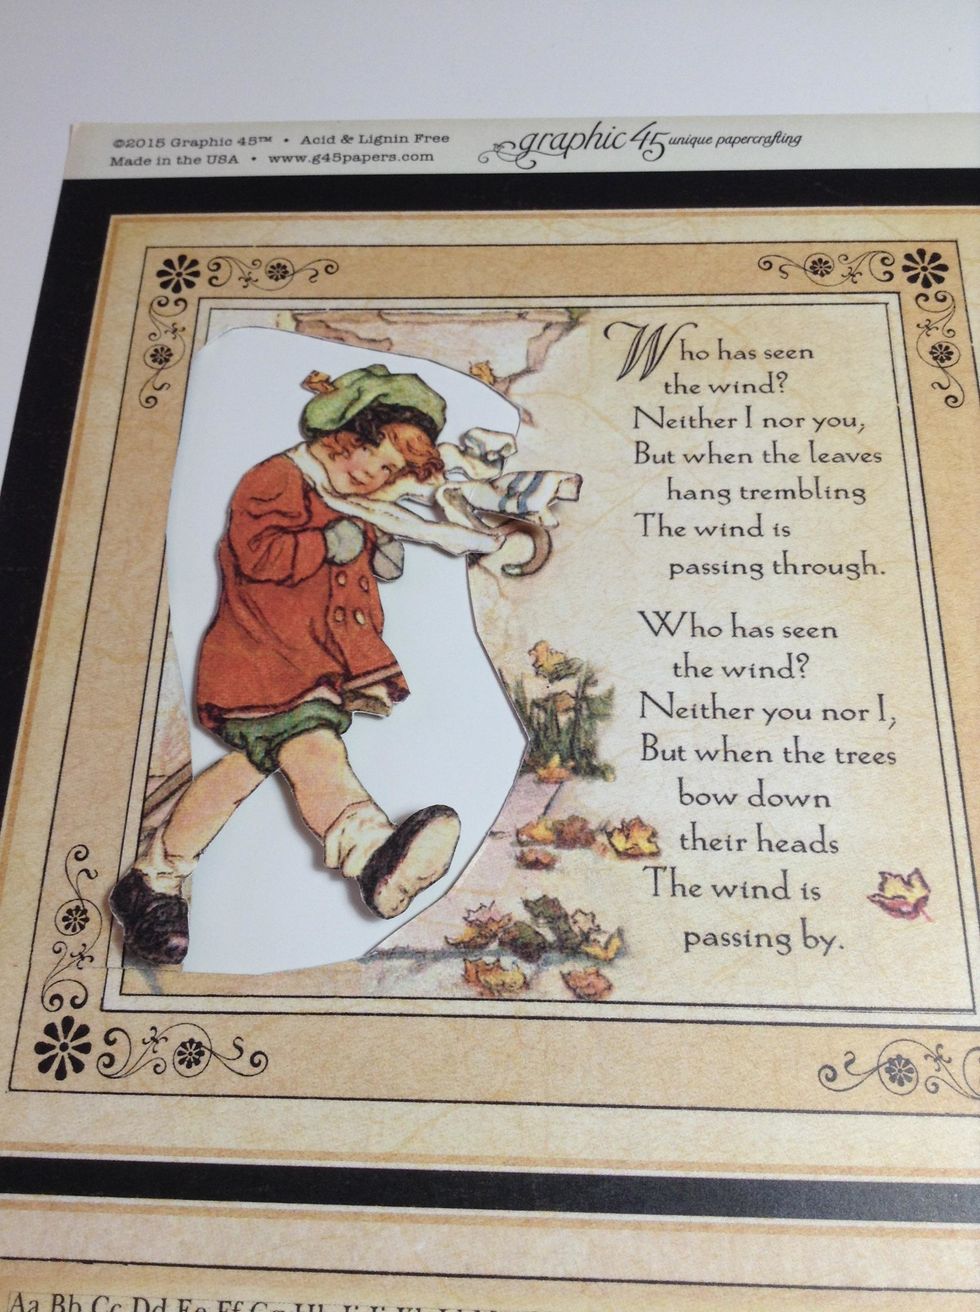
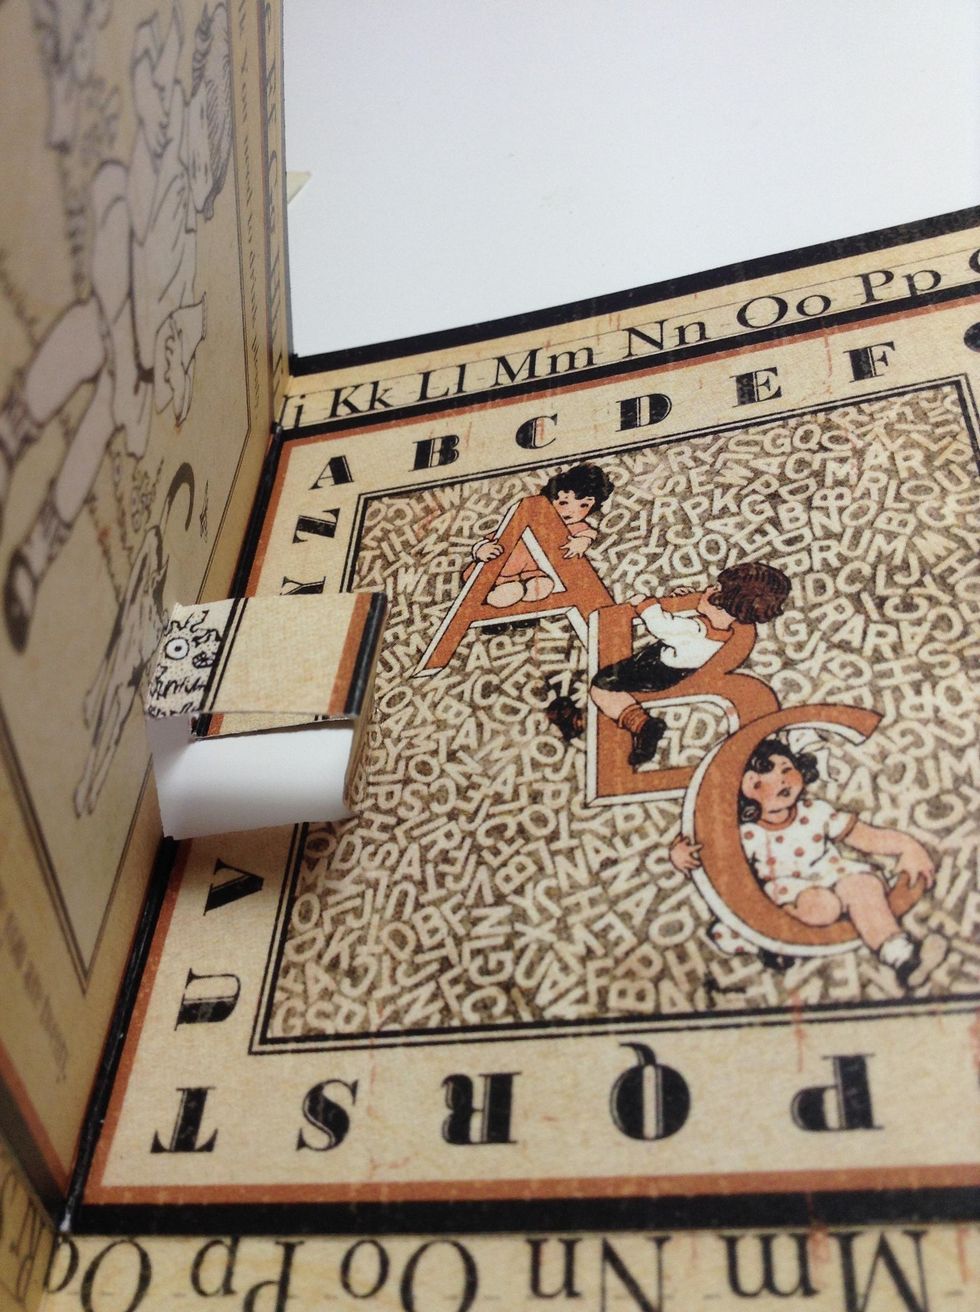
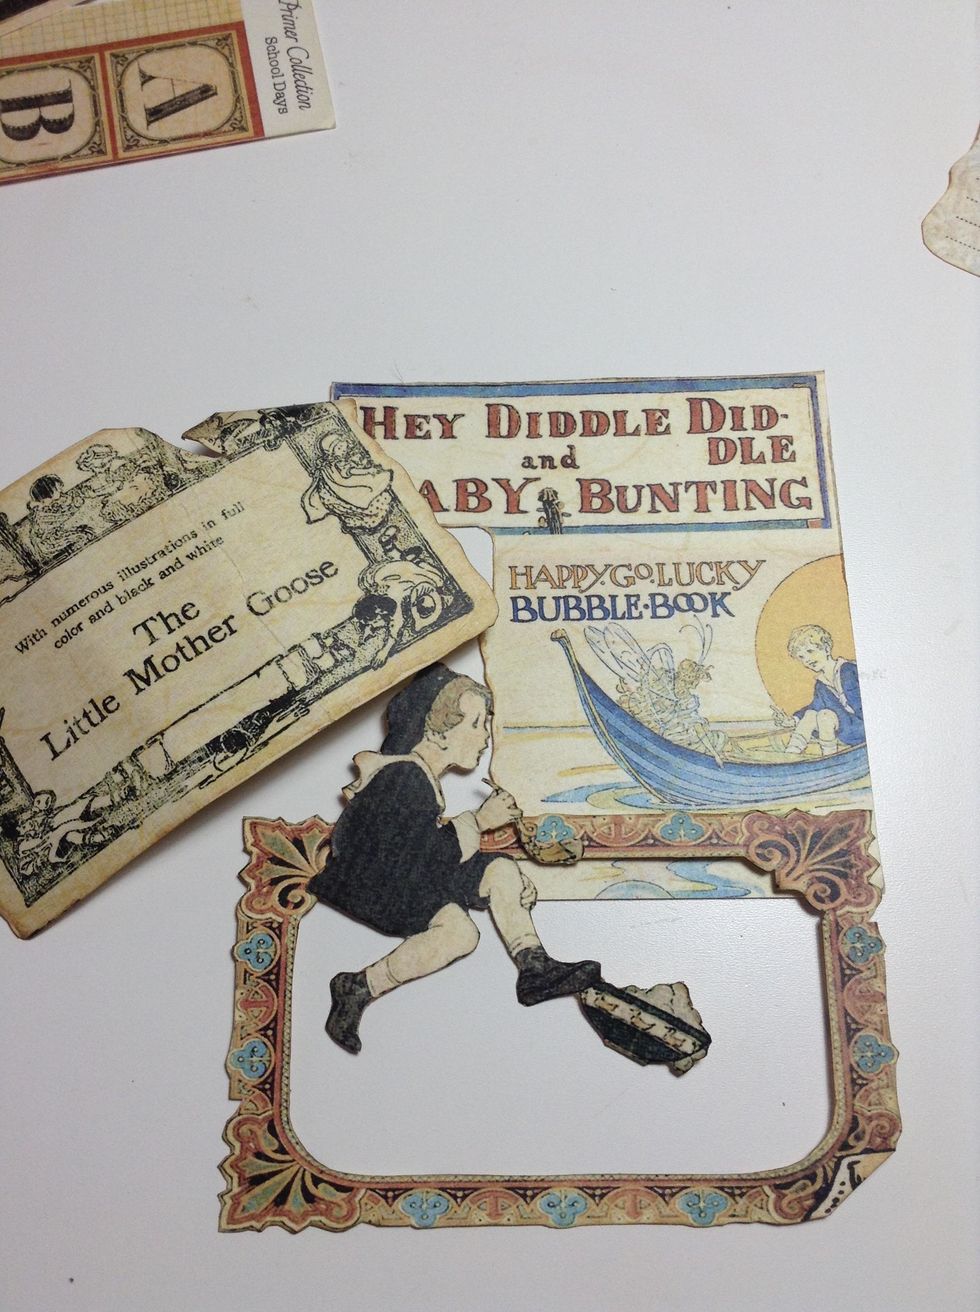
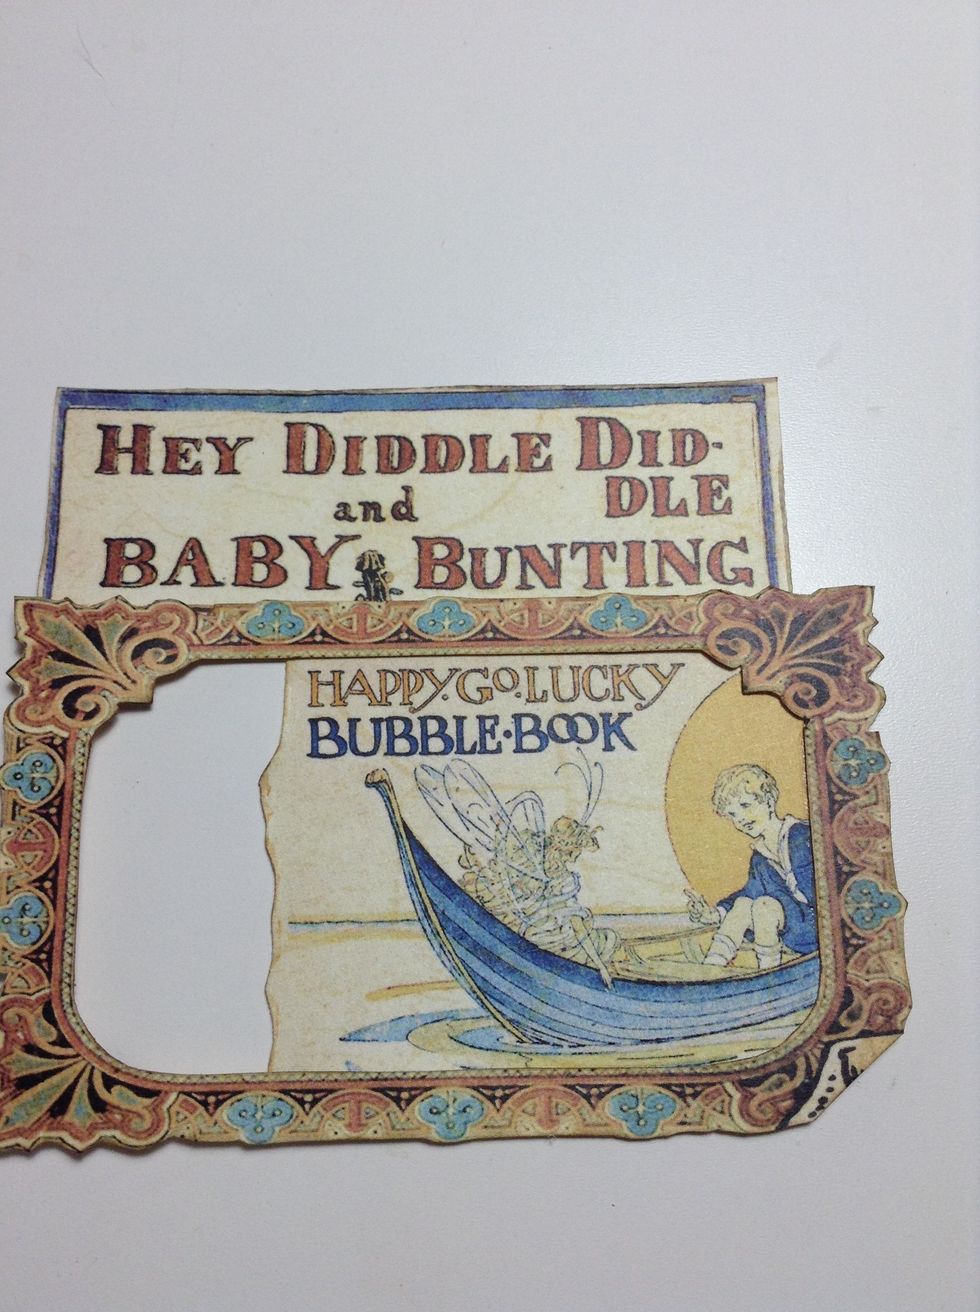
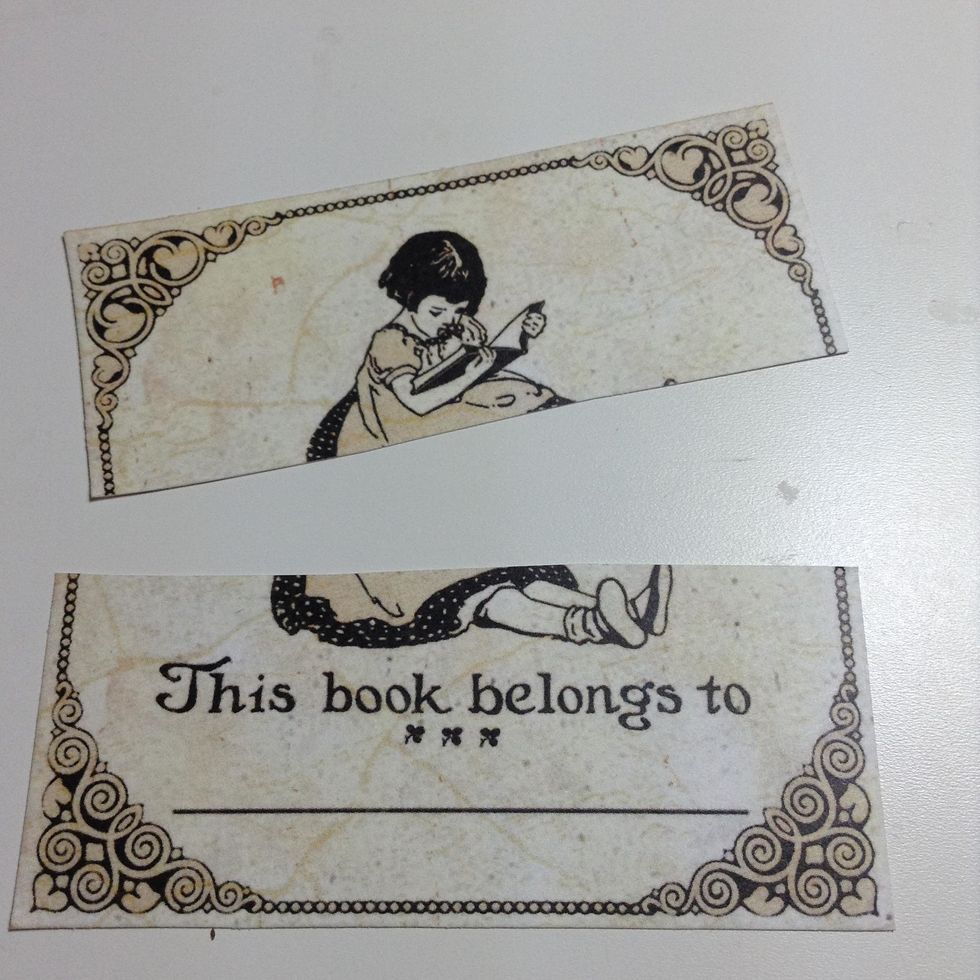
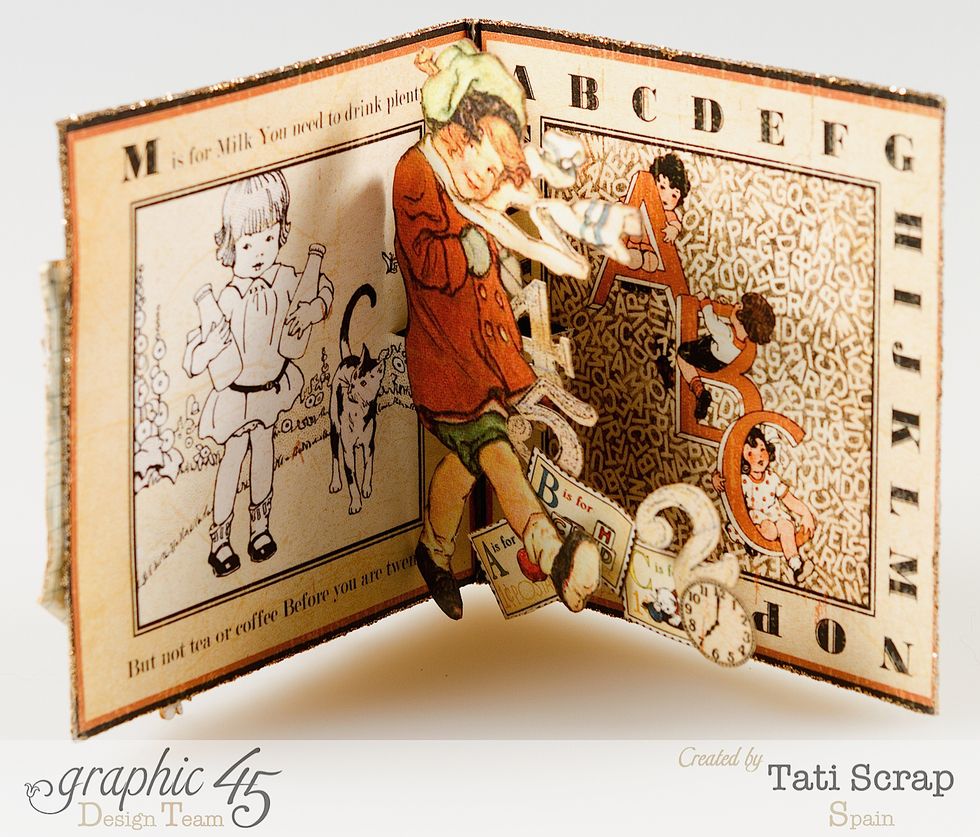
Now...the pop-up elements. I have chosen these images..Love fussy cutting!!!!
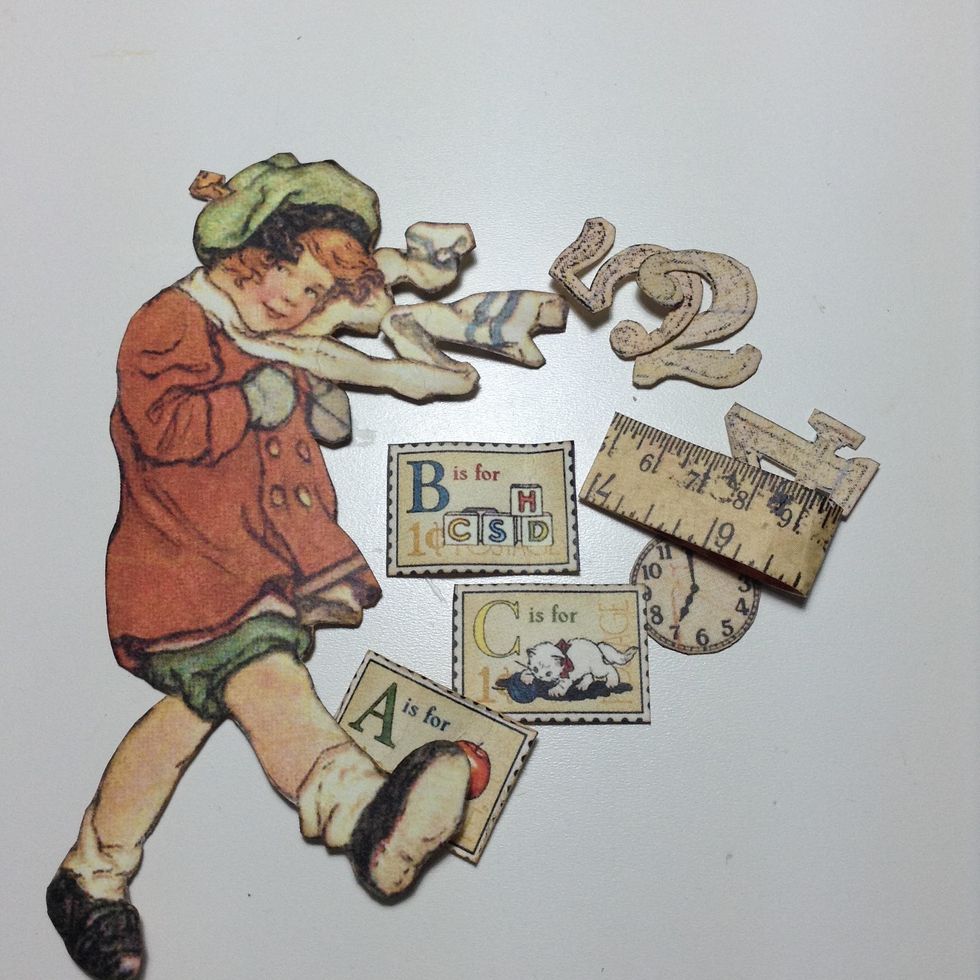
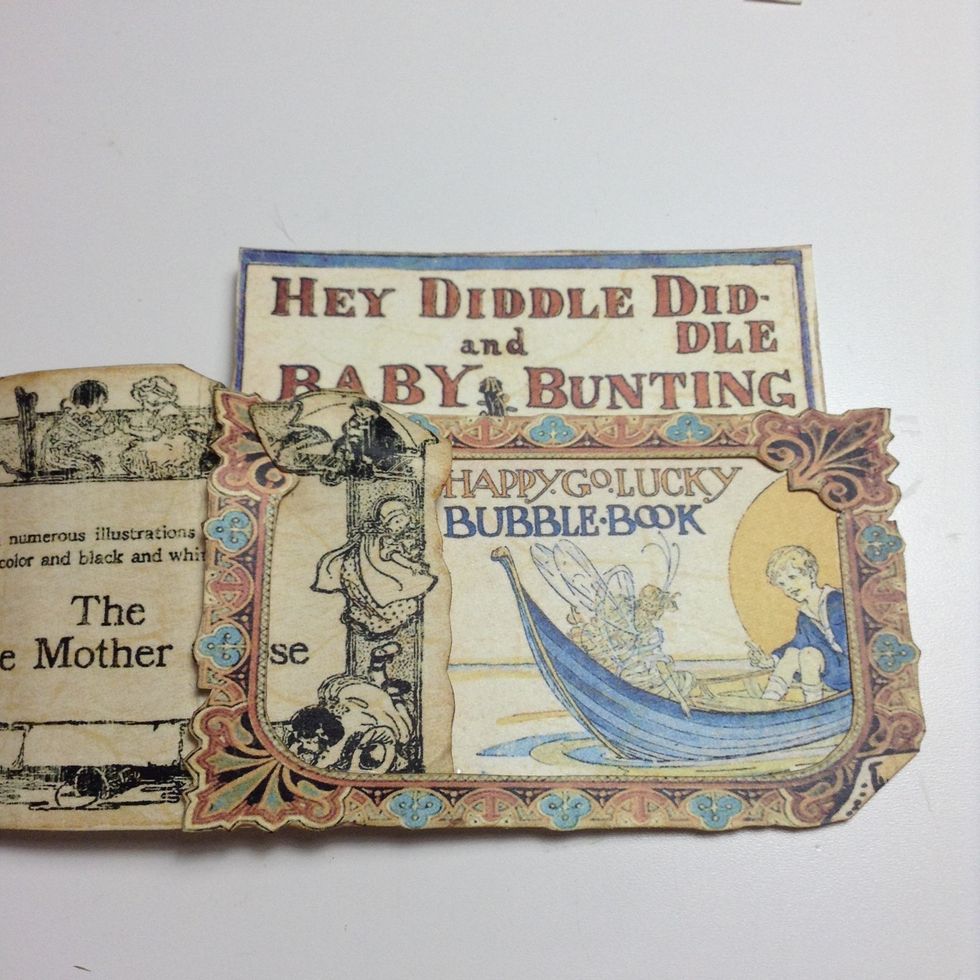
More Pop-Up elements...to the pop-up step.
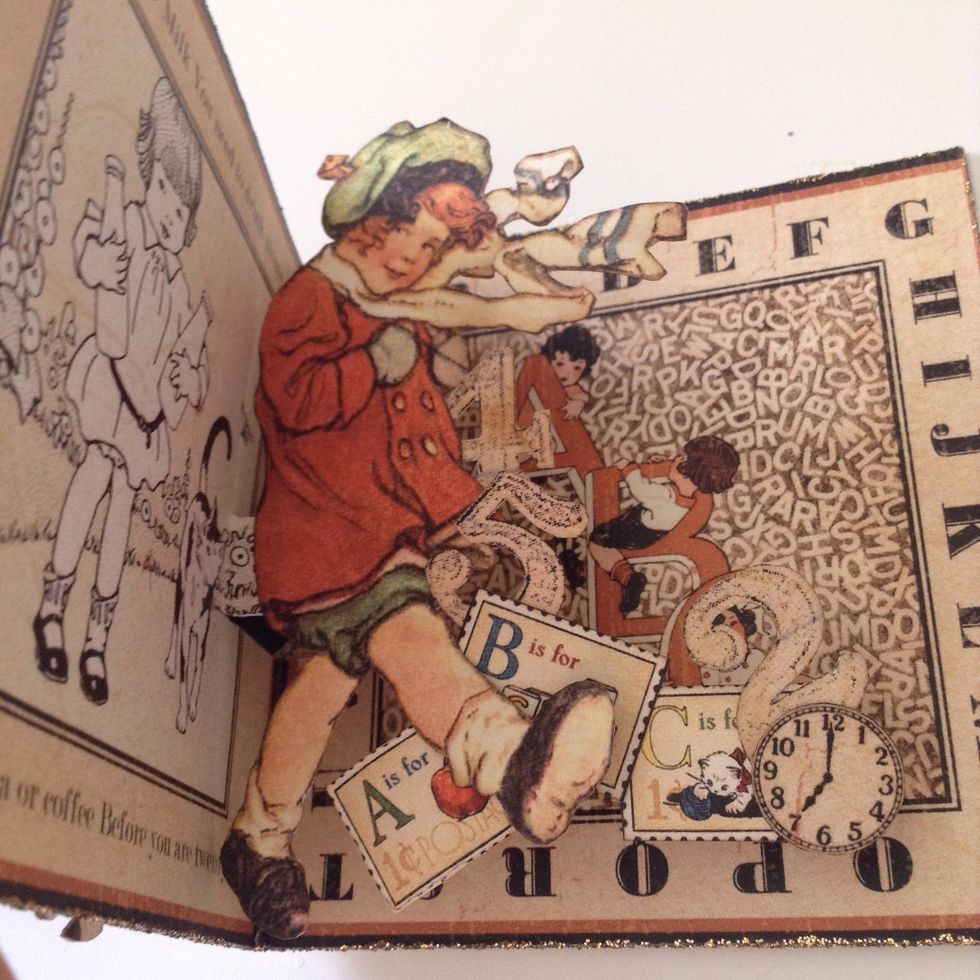
Glue the pop-up elements to the step. Fold the pop-up flat and make sure the pop-up elements do not extend beyond the edges of the folded card. Make any adjustments needed before glue them!
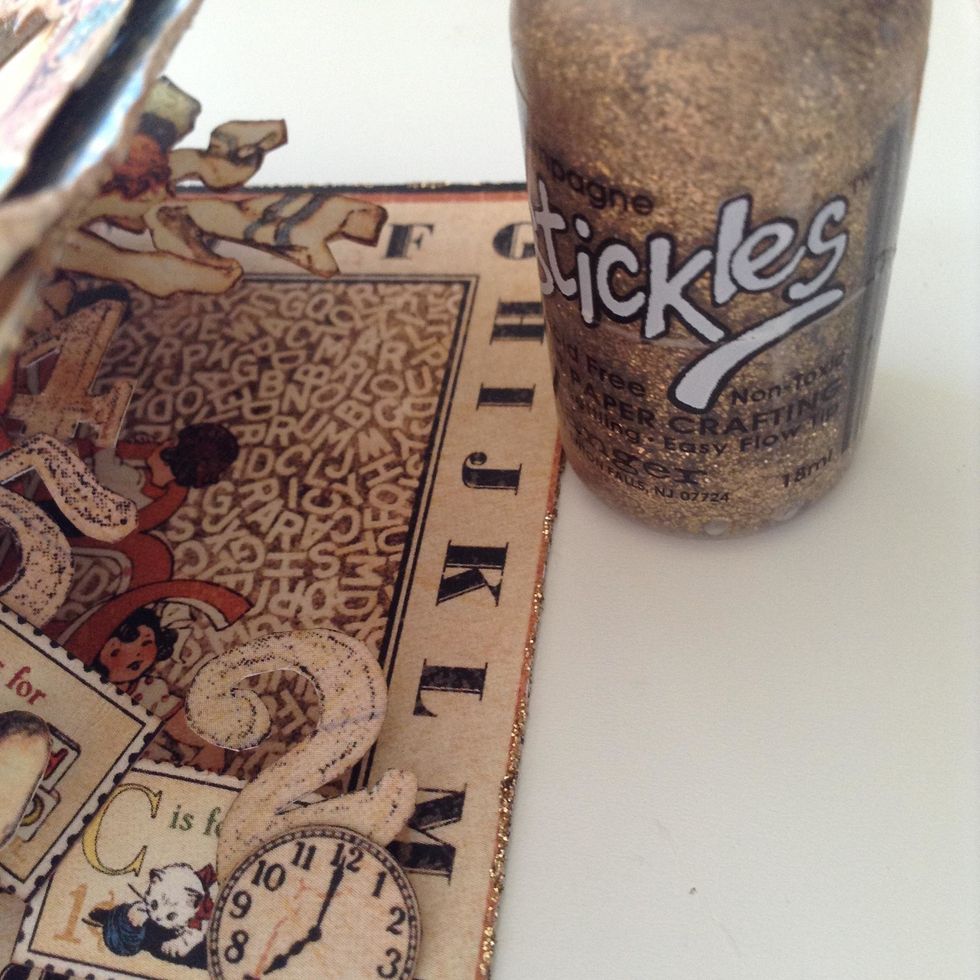
Tips: Use Stickles to get a fashion touch !!
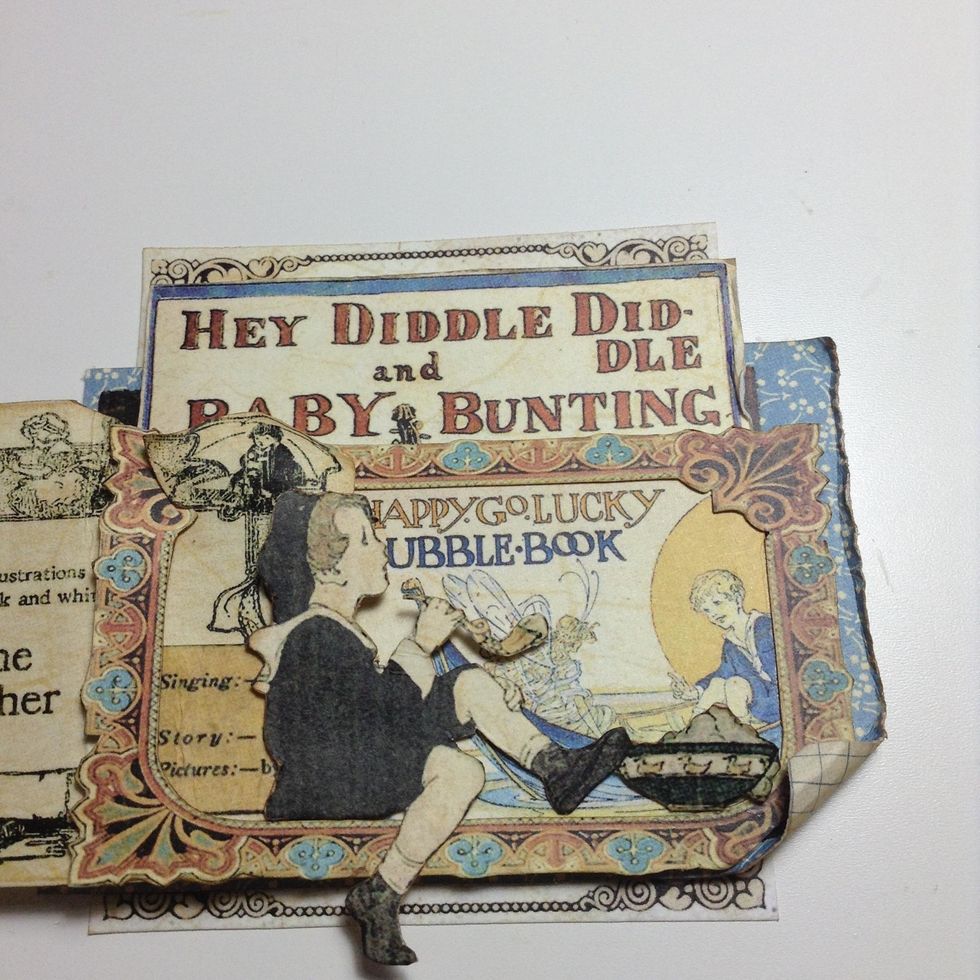
Cut more ABC Primer images to decorate the cover ( the kraft side)...
Glue them...
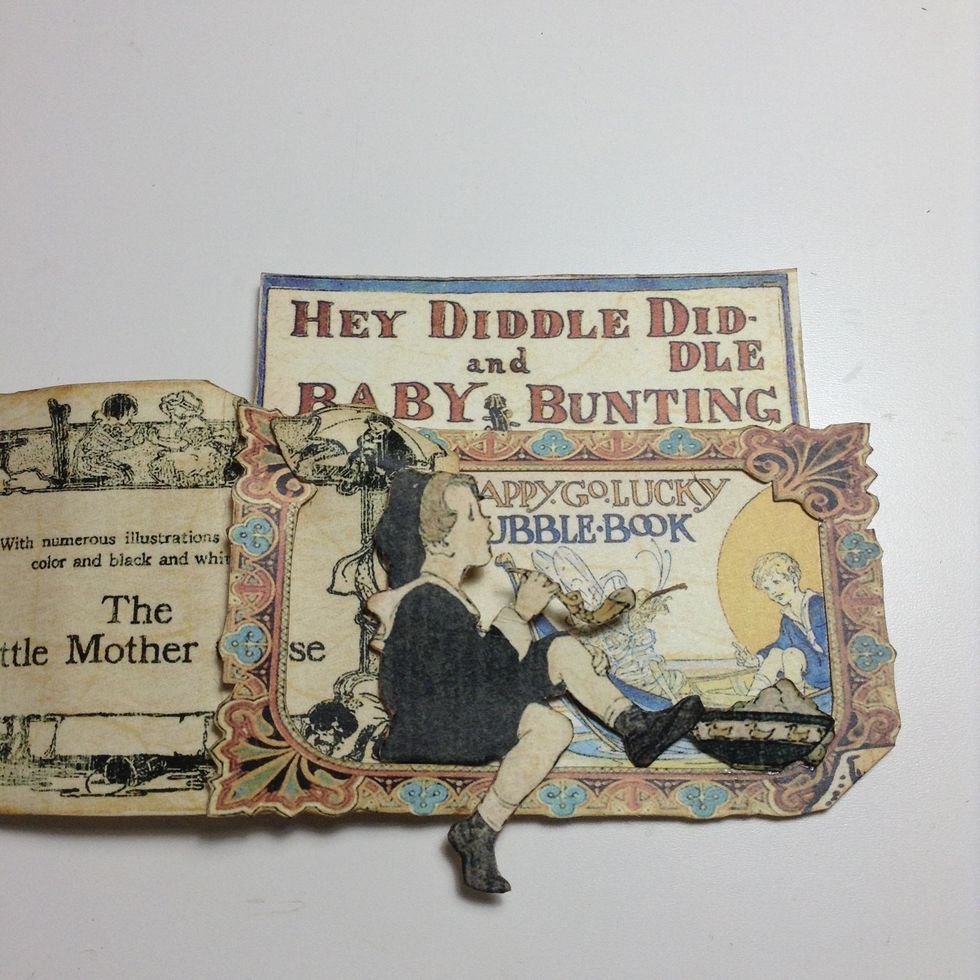
Love this boy....
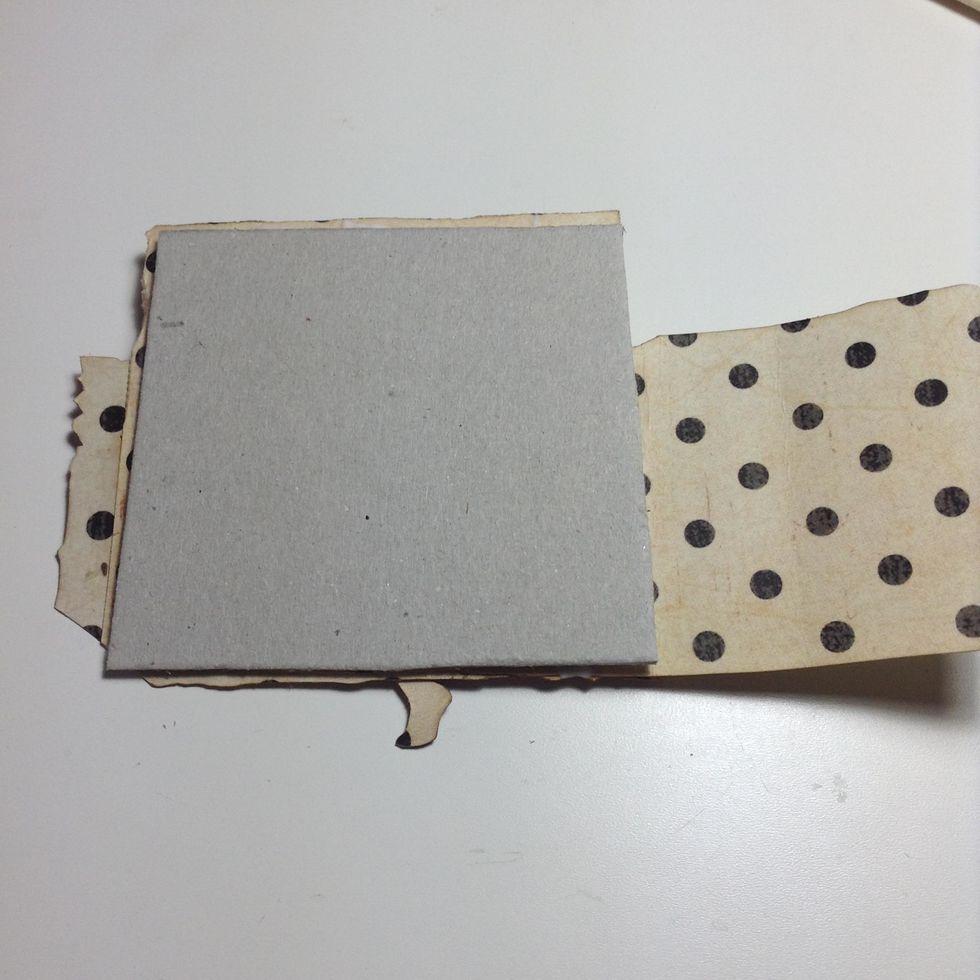
Tips: I have glue a piece of chipboard to the back to give volume to the cover!
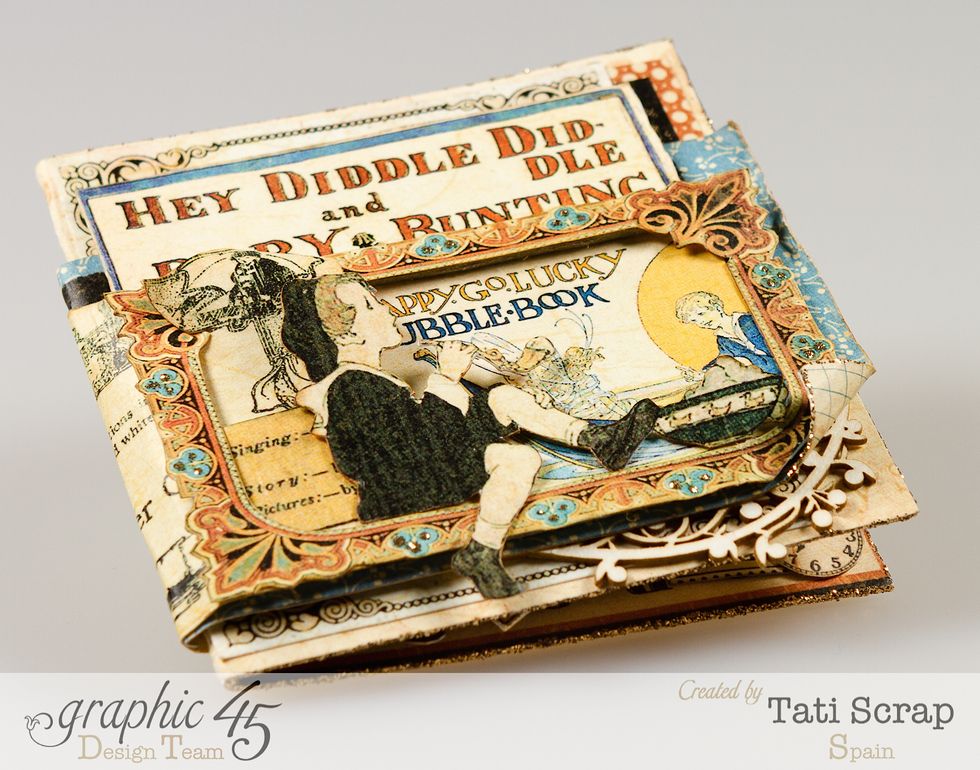
Cut this piece of paper and glue it....
...in this way...and That's it! Your pop-up card is done!
Thank you!!!! I hope you like this guide....hugs!