The Conversation (0)
Sign Up
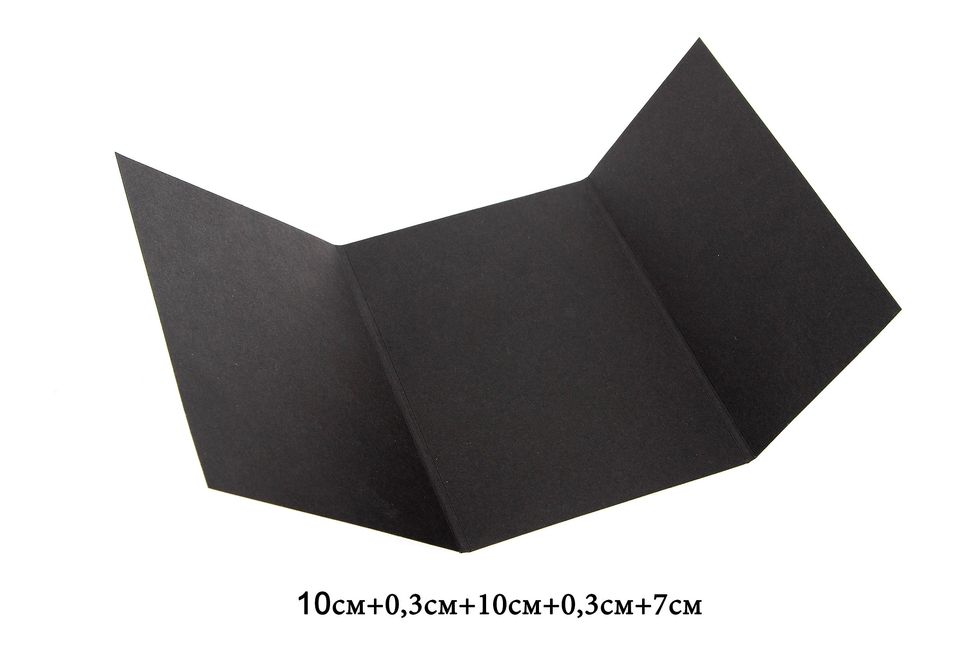
The size of a folded postcard is 10х15. We take black carton as a base and score it to the following sizes: 10см+0,3см+10см+0,3см+7см

We leave 3mm for bends for pop-up elements inside. If the folding has a lot of chipboard, leave more space for the postcard not to bend while you fasten the ribbons.
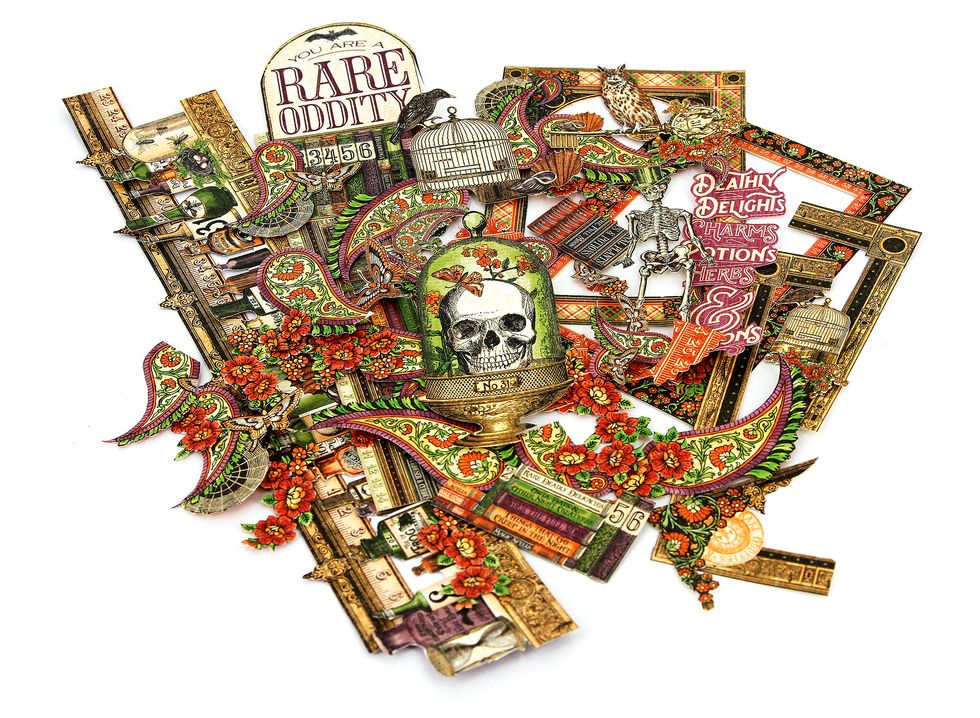
Then we cut out the needed motives. Scissor more to have some choice when you start to compose everything.
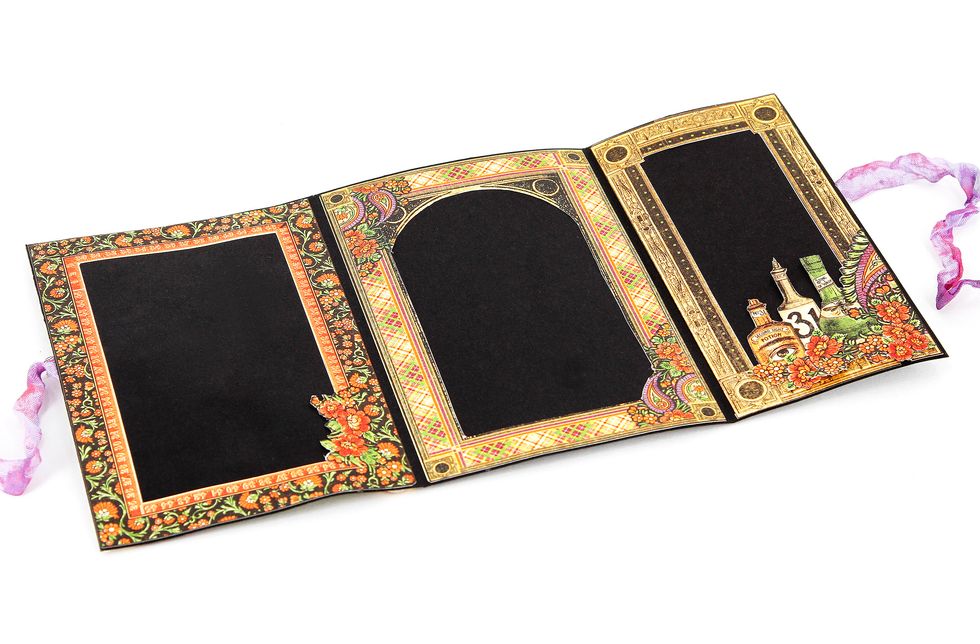
We pick suitable by their design frames for our spreads. You can always correct the sizes by cutting the frames in the corners or straight sides and covering the cuts afterwards.
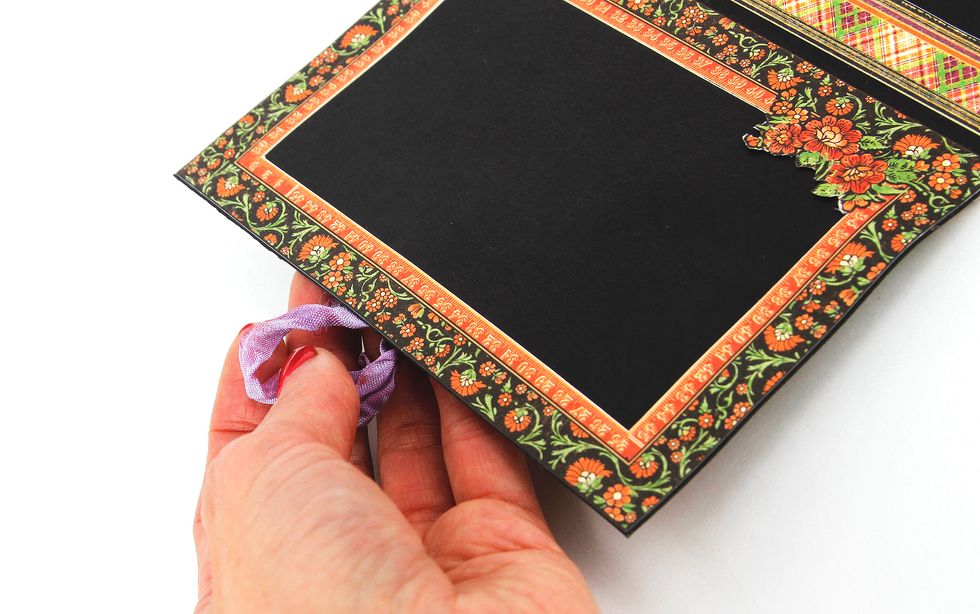
At the same time we glue the fastening bands, locating them between the frame and the carton.

Pay attention to the location of the second band.

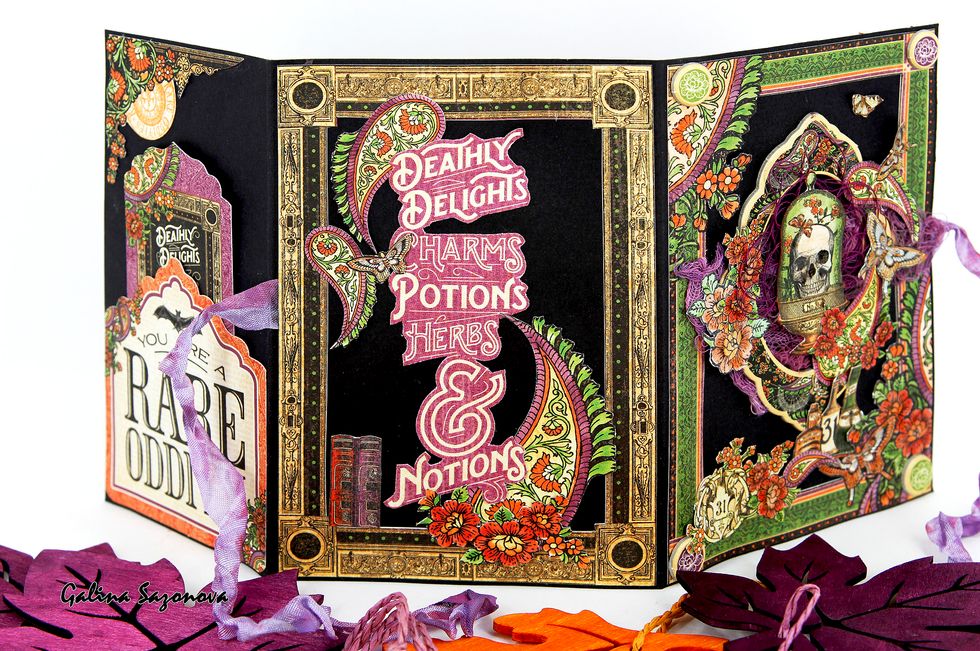
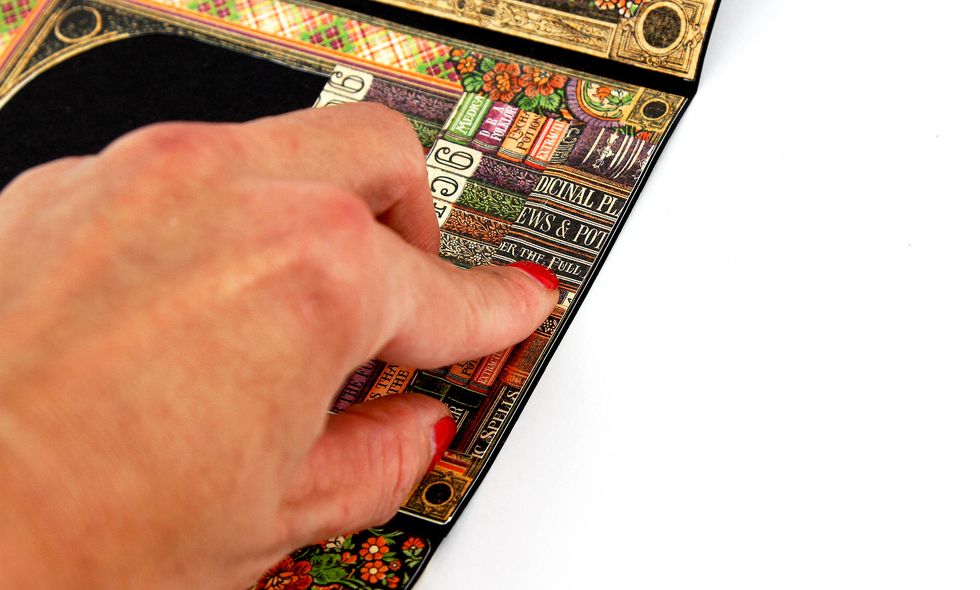
The next step is the folding modeling. We choose the matching picture, I have books. That’s why the sizes of my folding match the book picture.
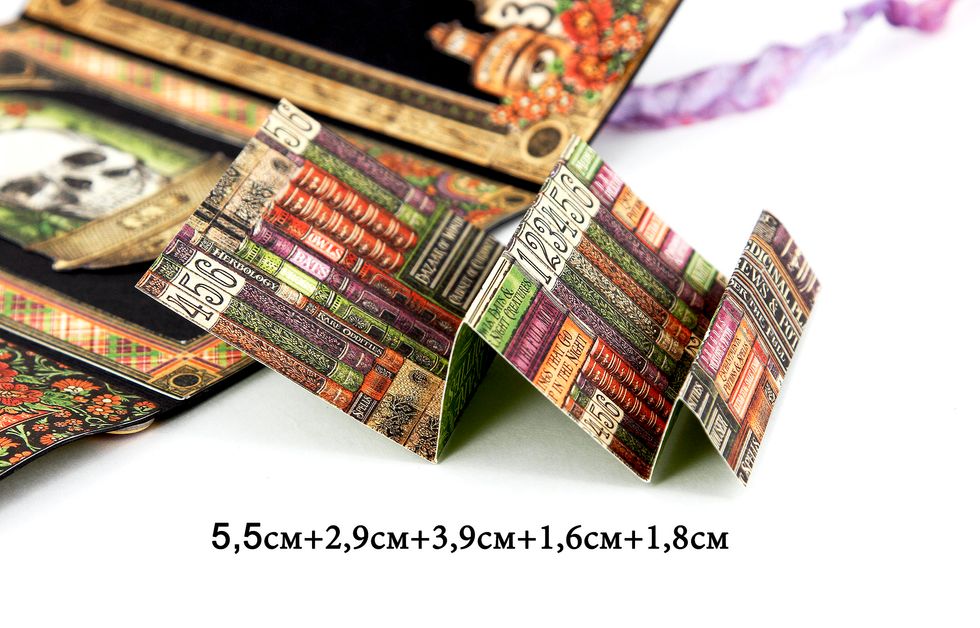
And the width of the folding is set by the width of my frame. 5,5см + 2,9см + 3,9см + 1,6см + 1,8см
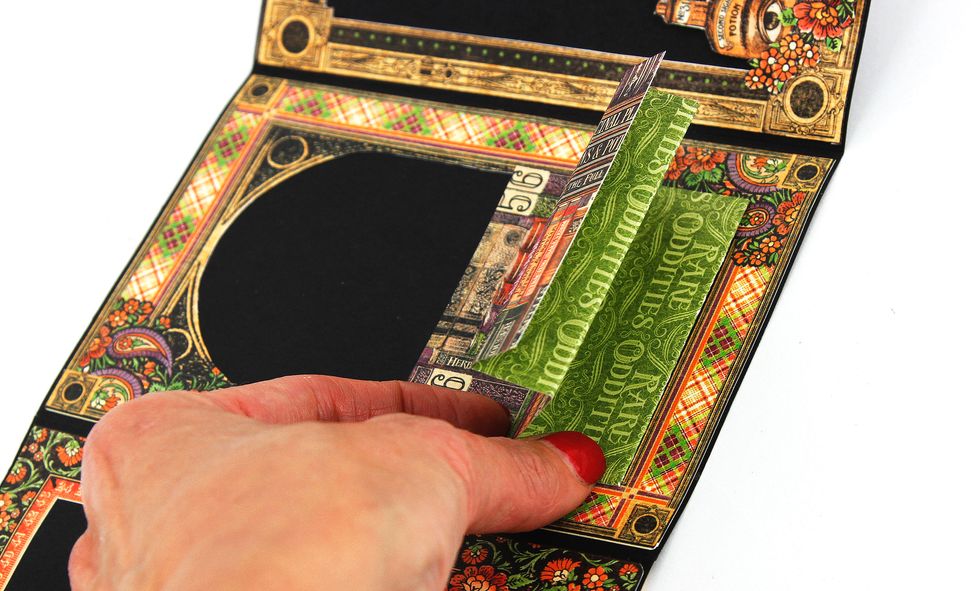
Beside the size of the picture, we look out for the location of the folding. Thus we combine the first bend with the upper line of our decorative frame….
the second bend we combine with the lower frame line…
and we make sure that the lower cut of our folding is parallel to the edge of the postcard and doesn’t go out of its borders.
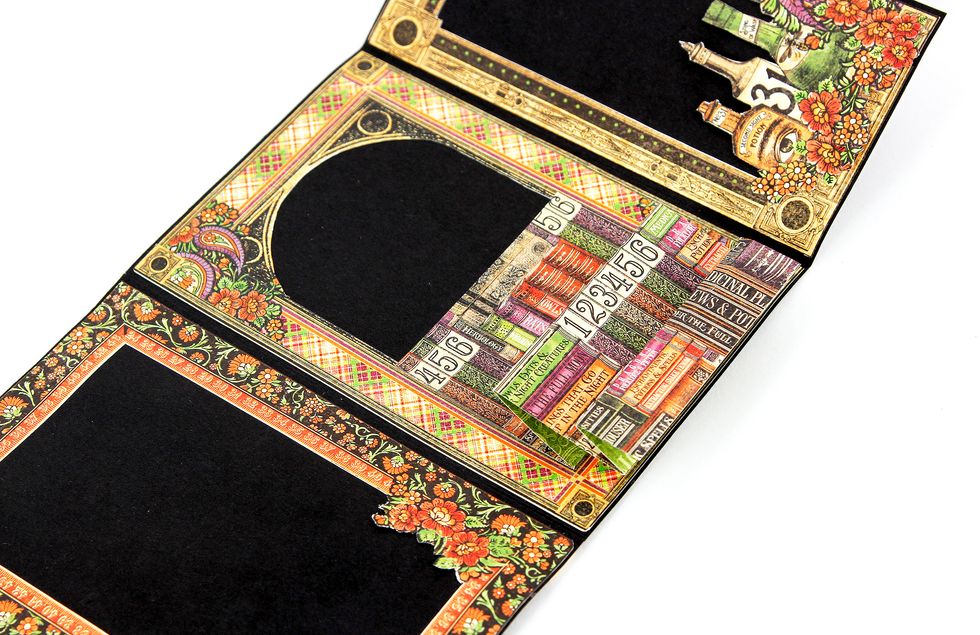
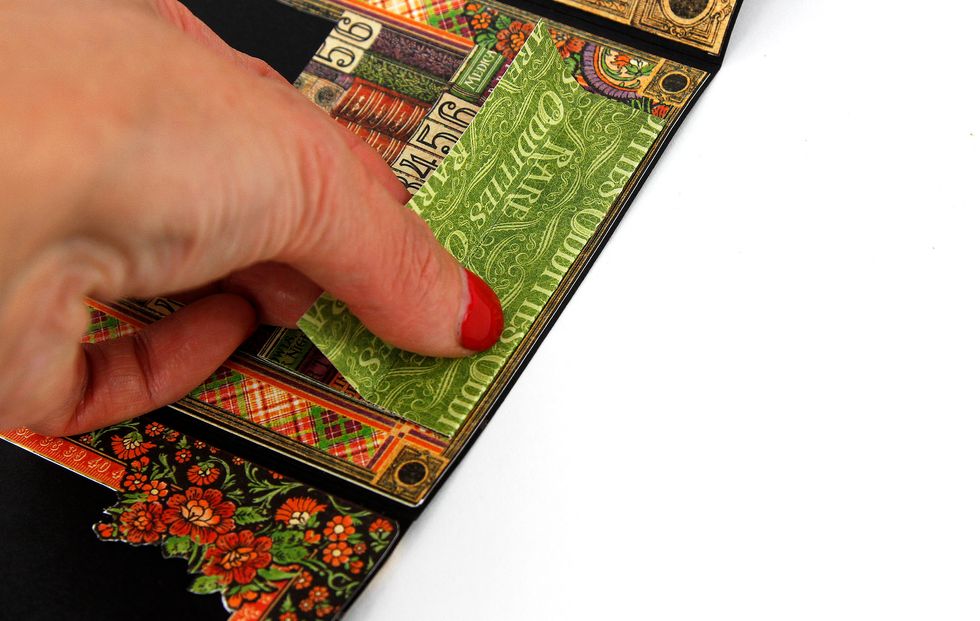
After the fitting, we glue the upper part of the folding (pay attention to the conjunction of bends and cuts!)
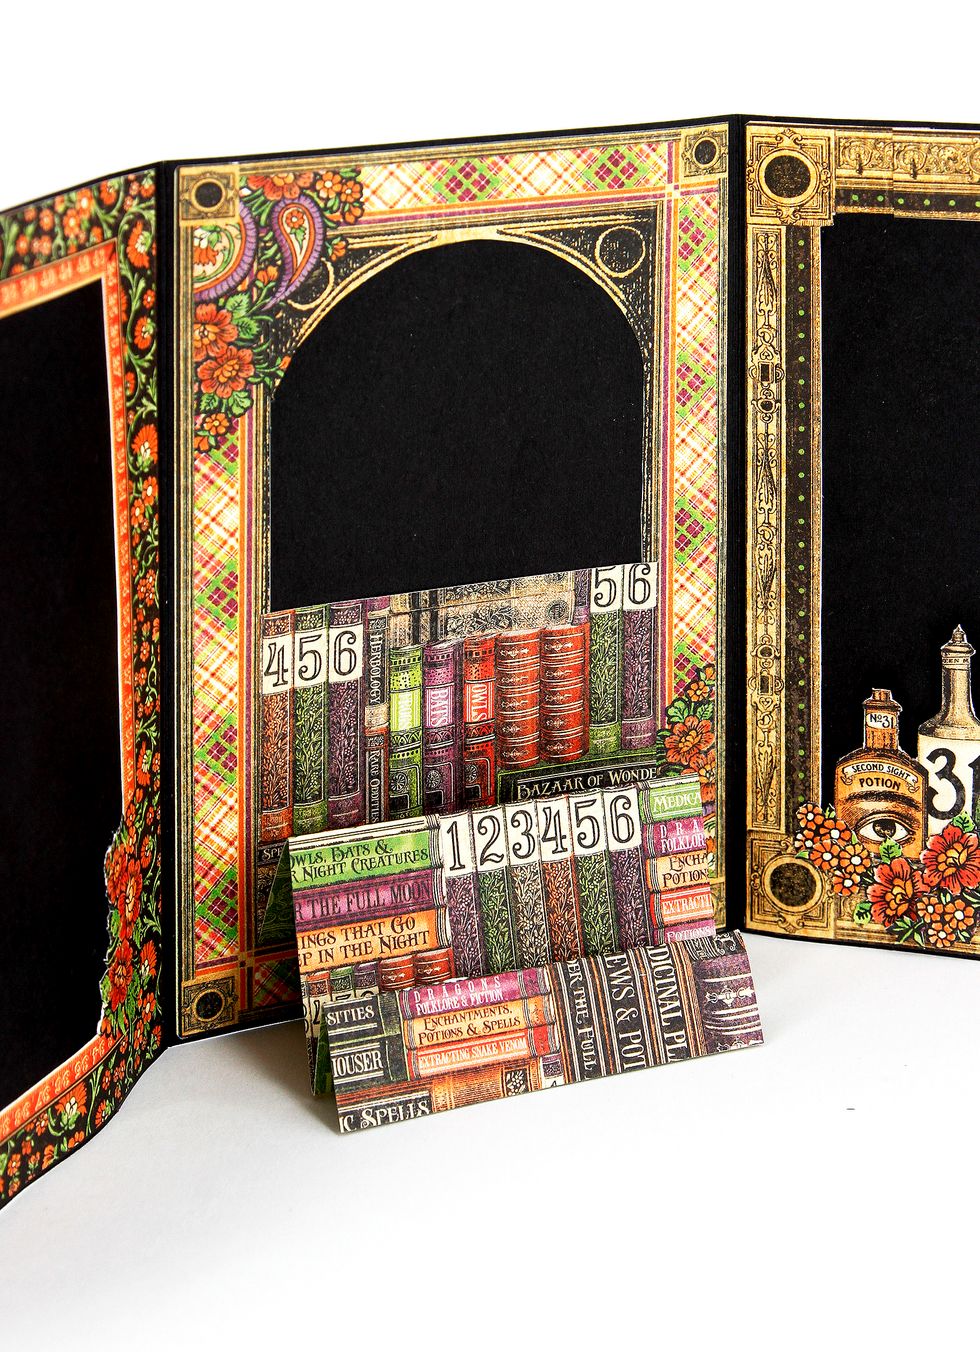
And we get such bookshelves))
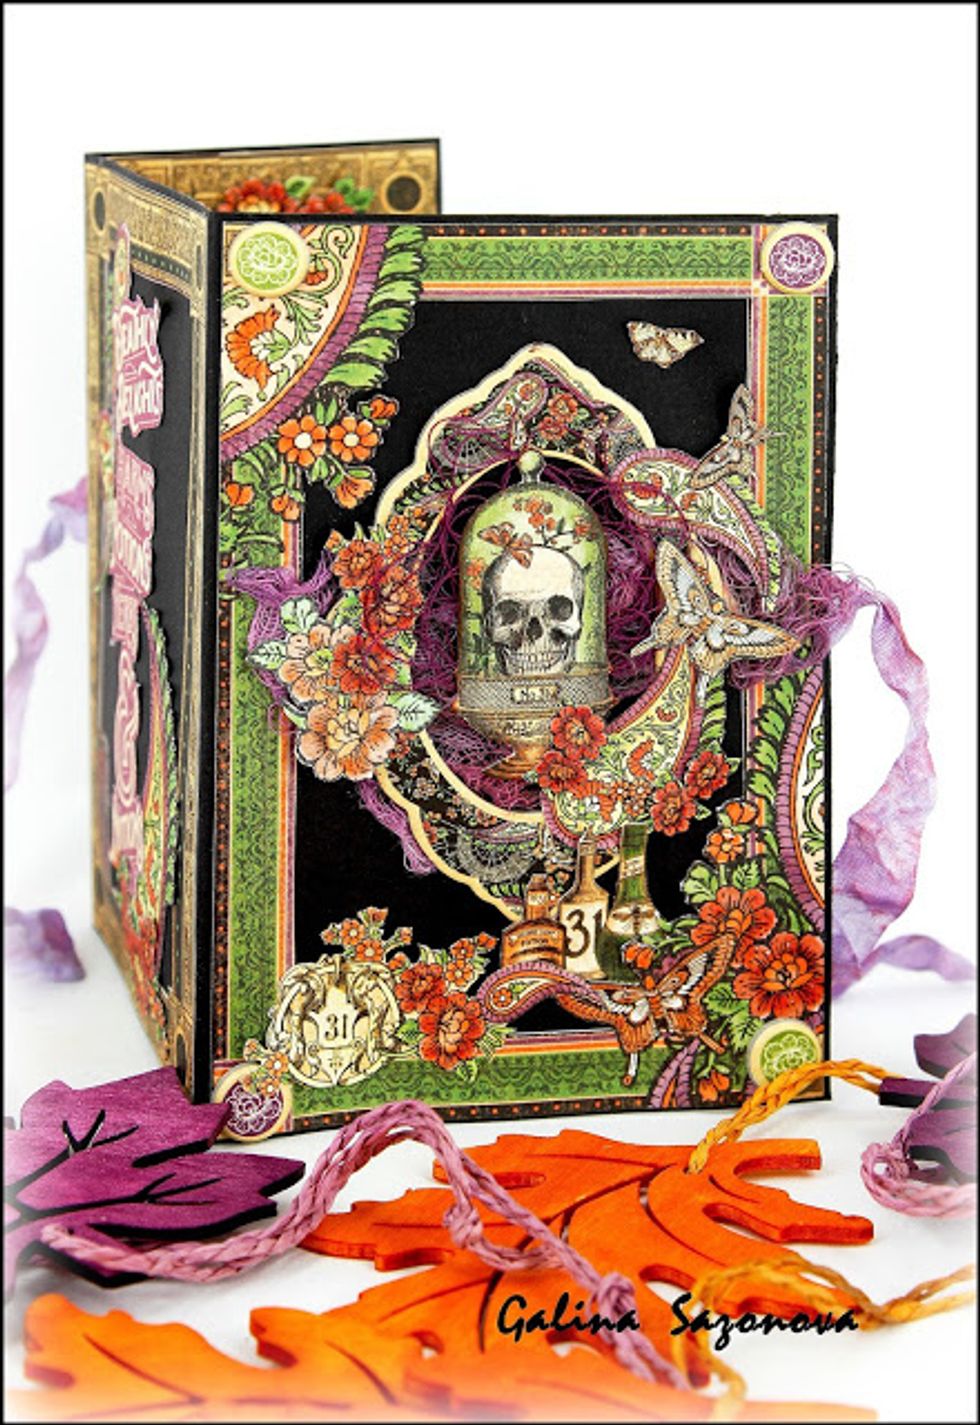
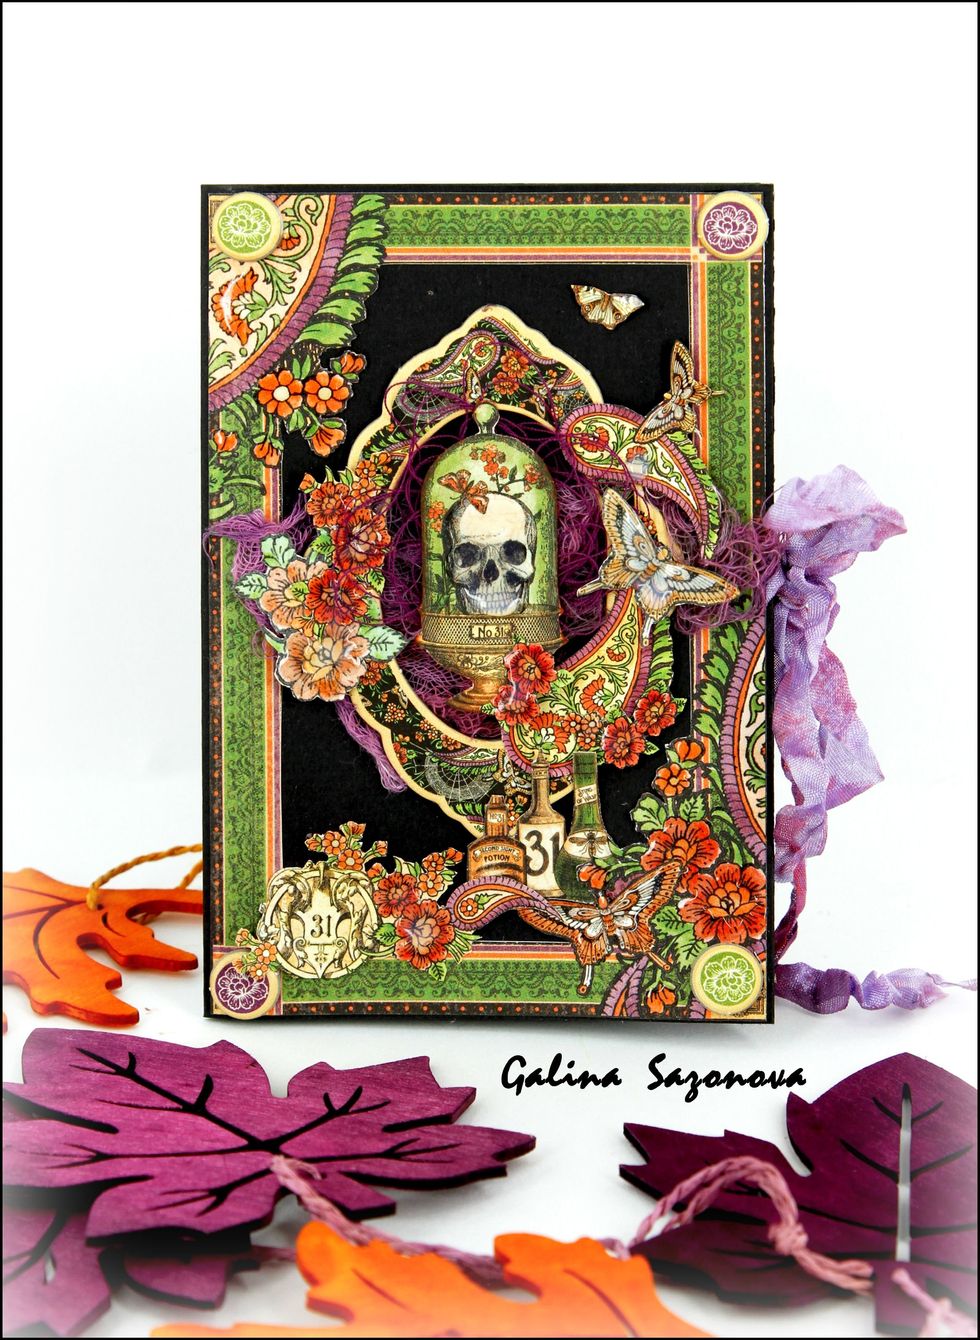
Then we glue the central element. I used one carton layer. If you want to have more volume, you can use several layers. But it should be taken into account when you choose sizes for bends!
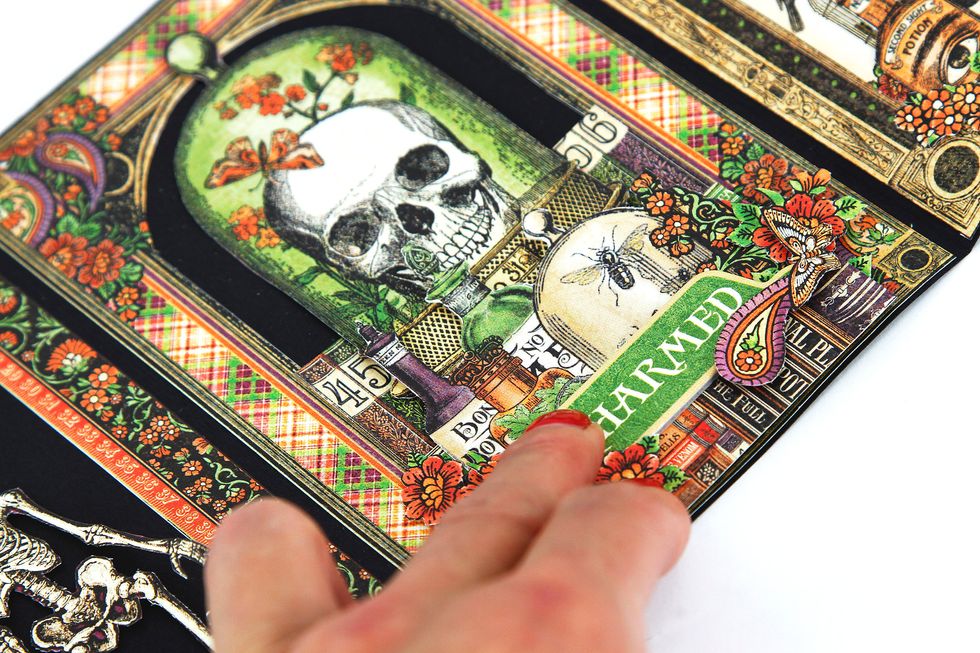
We garnish bookshelves) Give way to your imagination, but attend the decorative elements not to cover the main element.

At the same time we set up the composition of the adjacent spreads and add small decorative components.
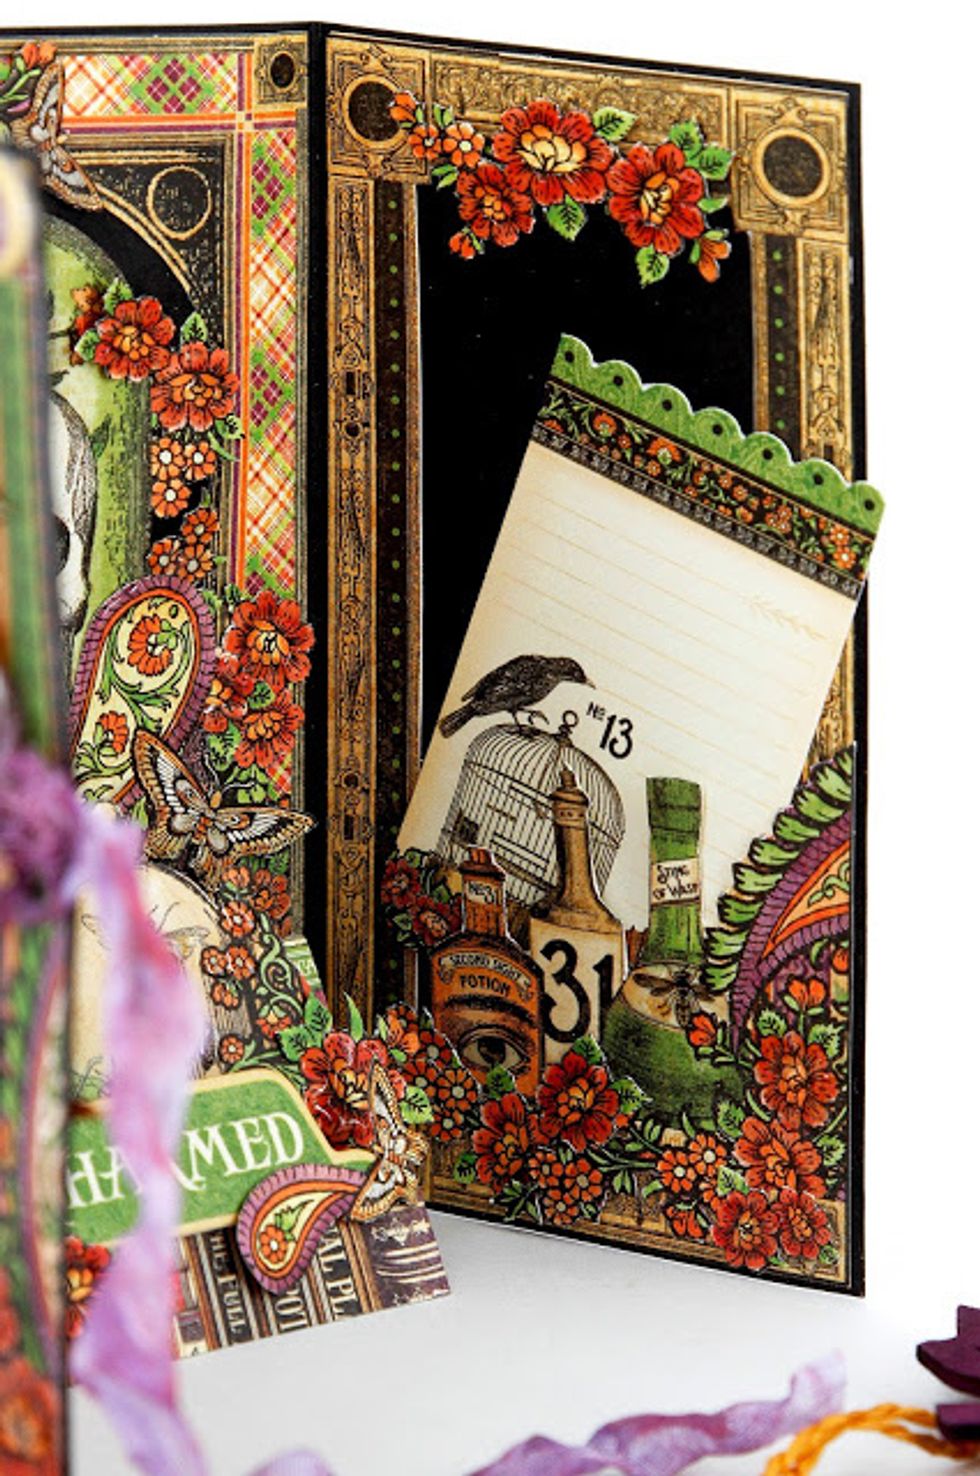
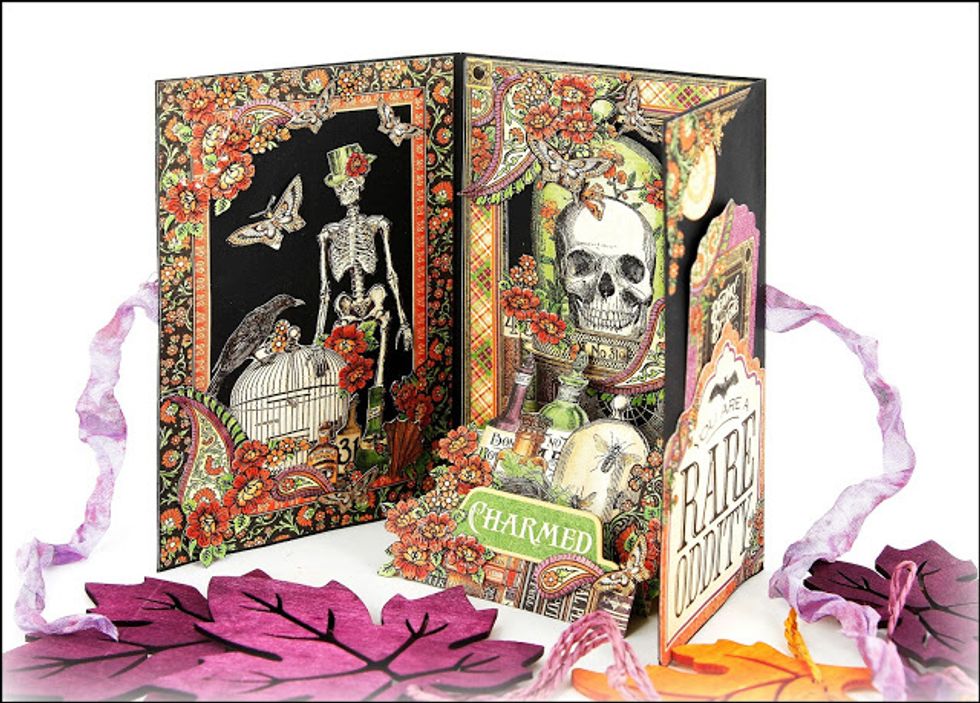
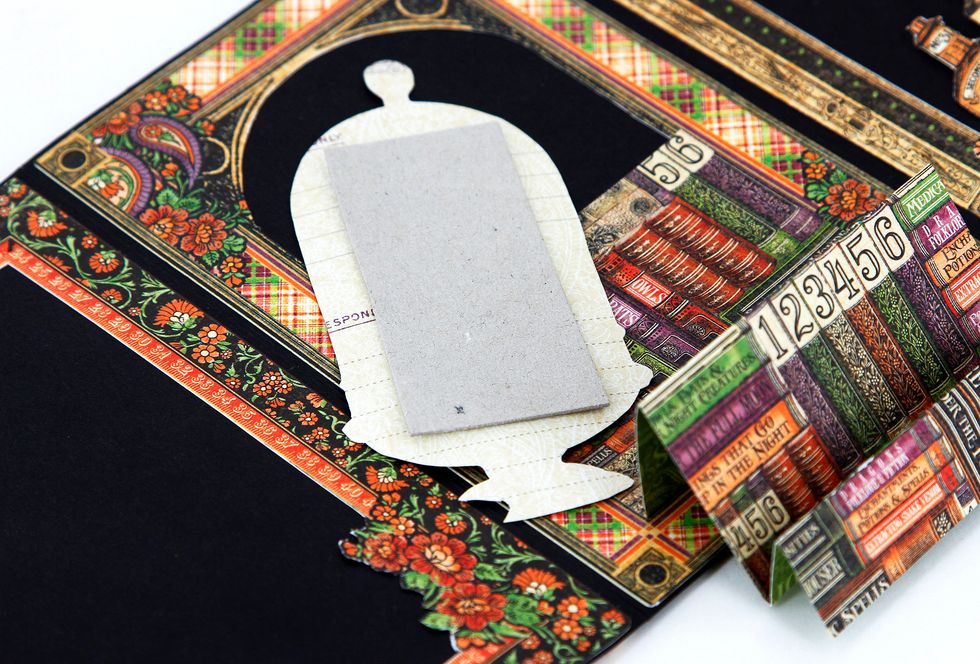
We make pockets for tags and photos on the narrow spread on both sides.
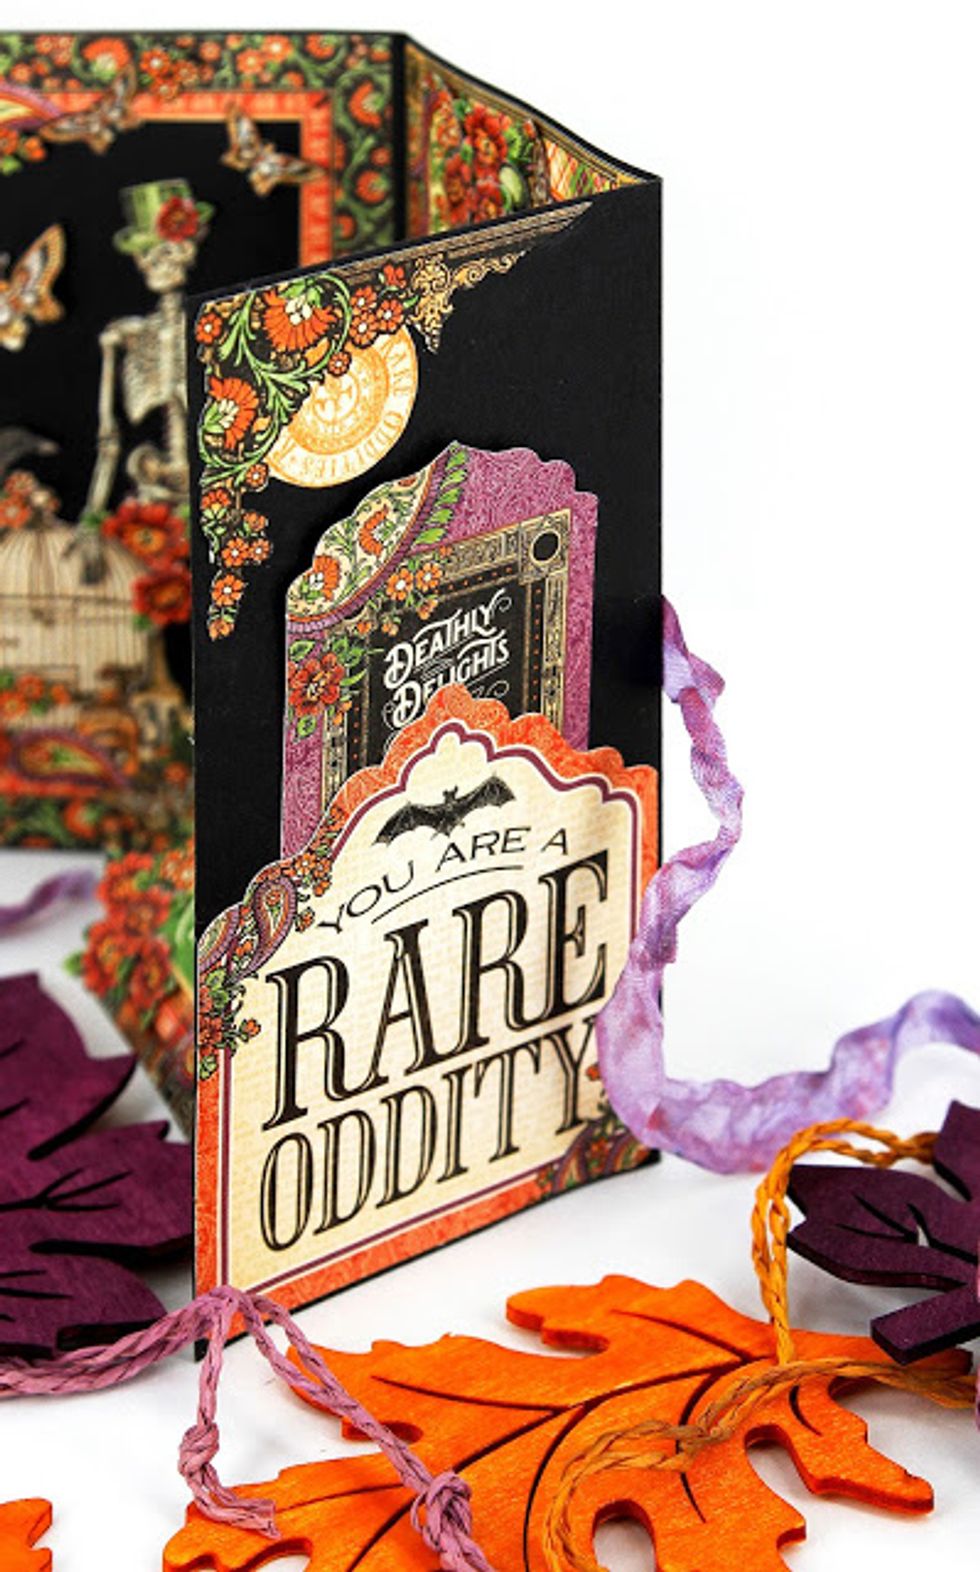

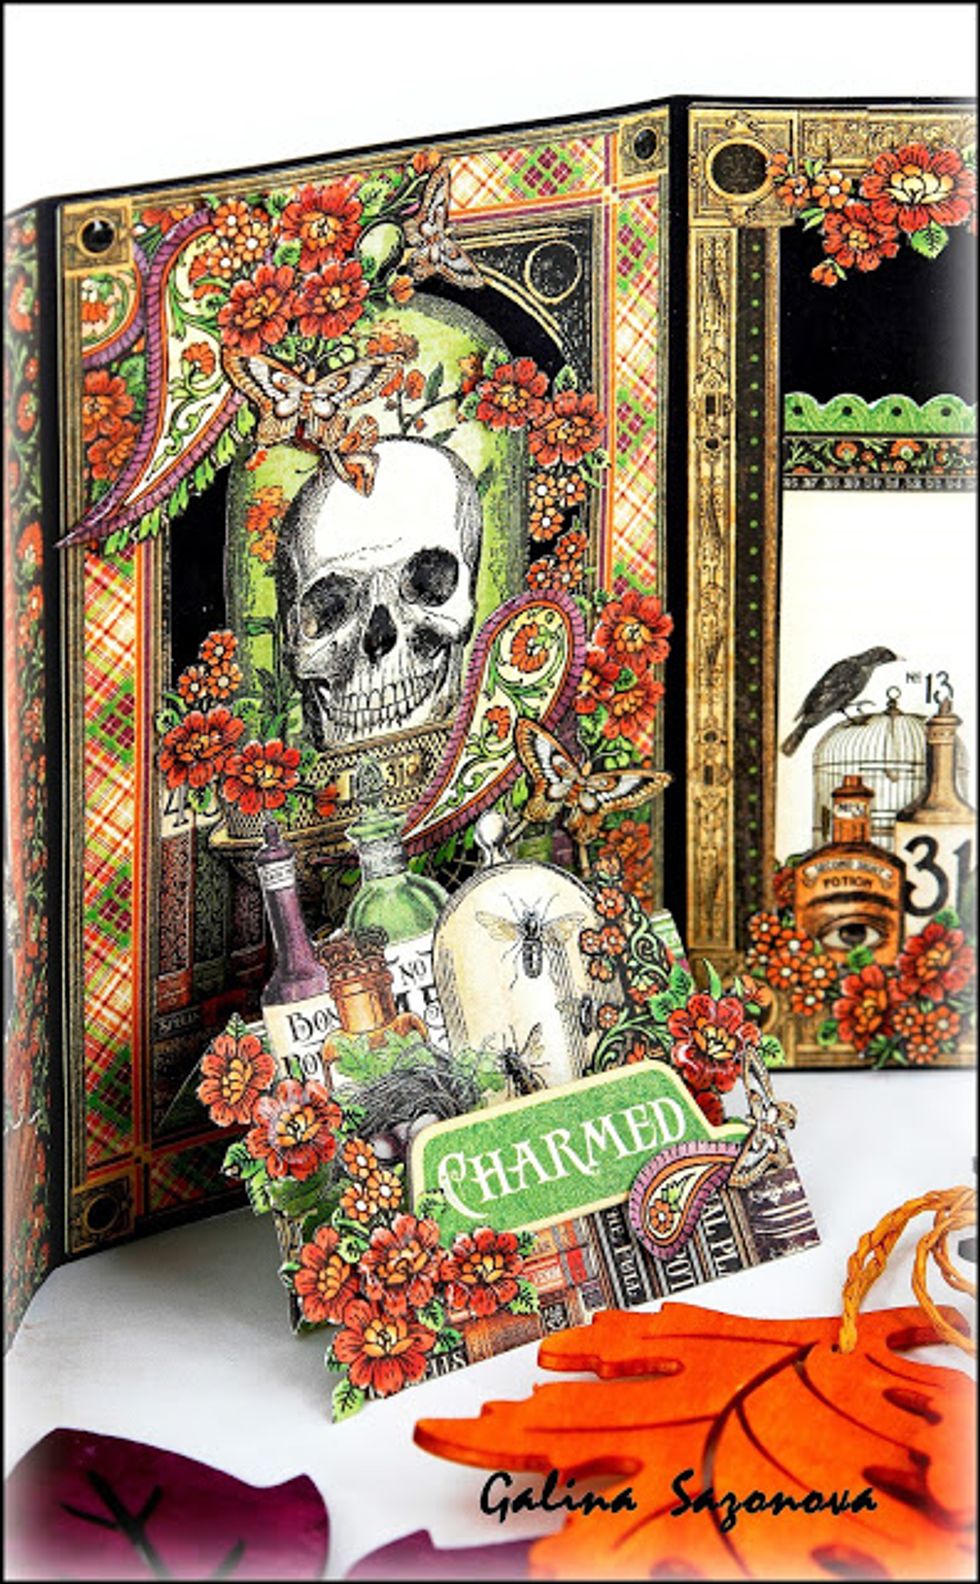
Our «frightfully beautiful» halloween postcard is ready!))