The Conversation (0)
Sign Up
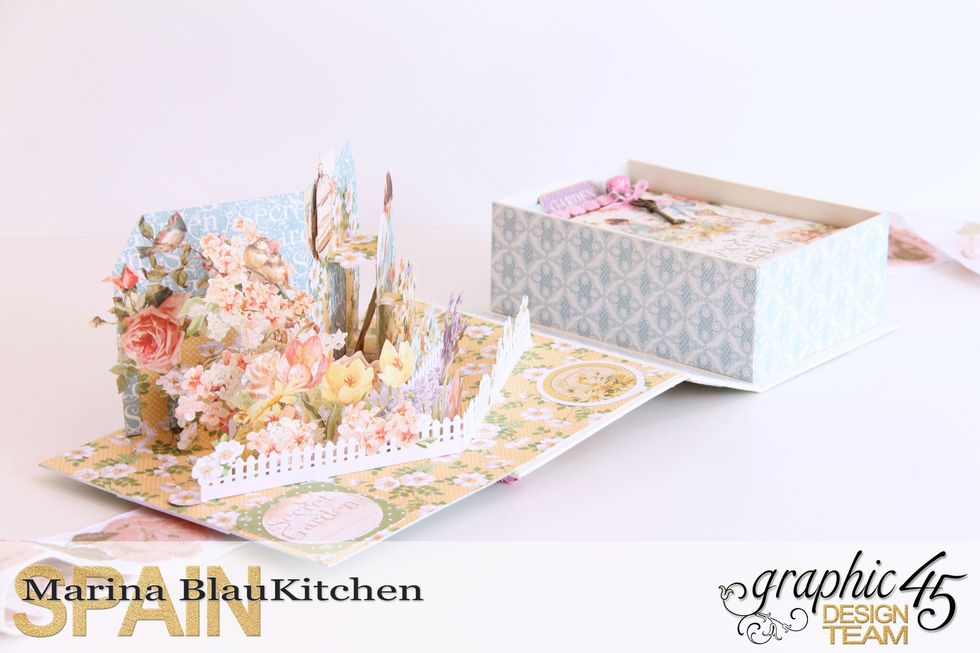
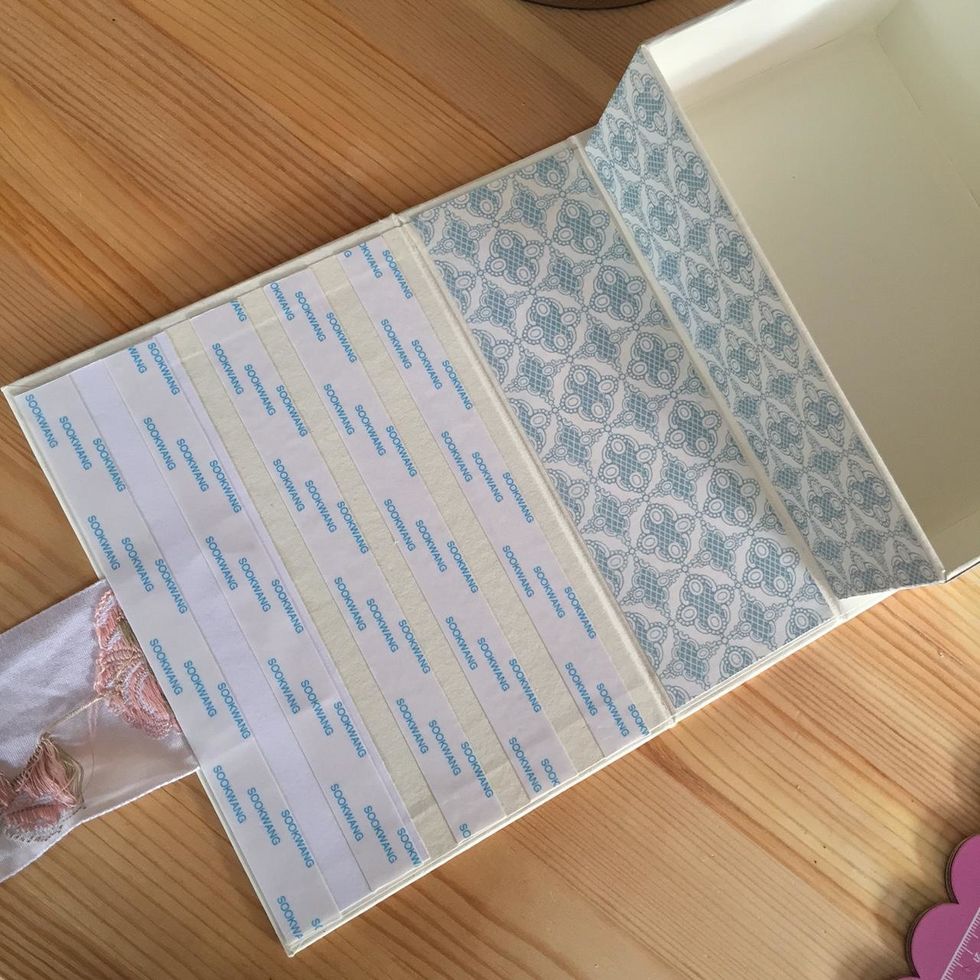
This pop-up is on the back cover of a Graphic 45 Book Box. You can see it in the next photos. Cover the box with decorated paper.
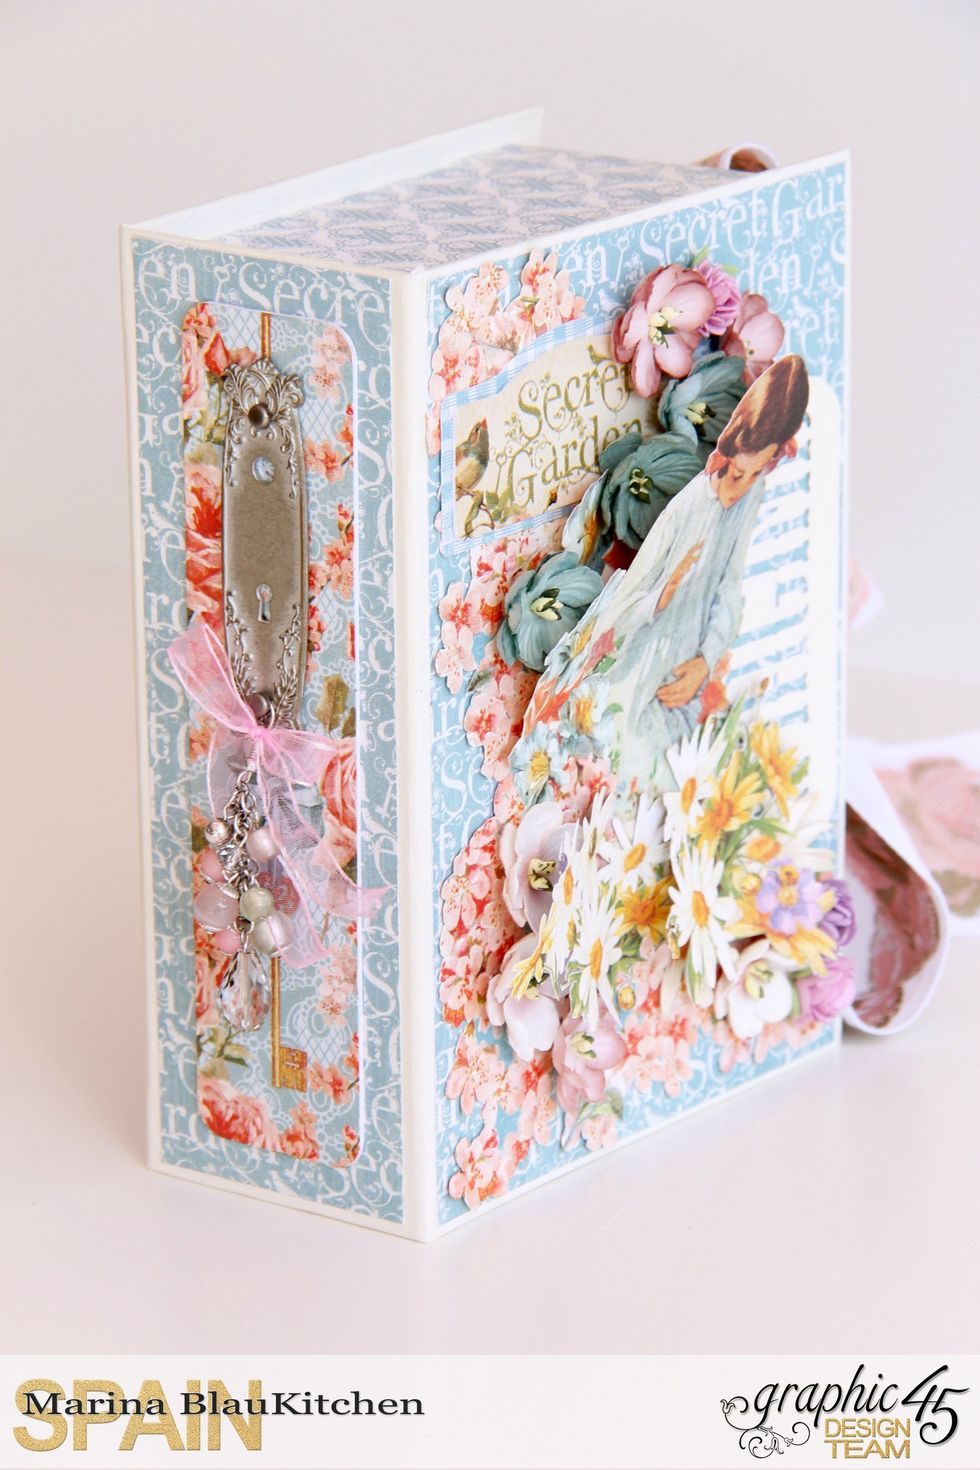
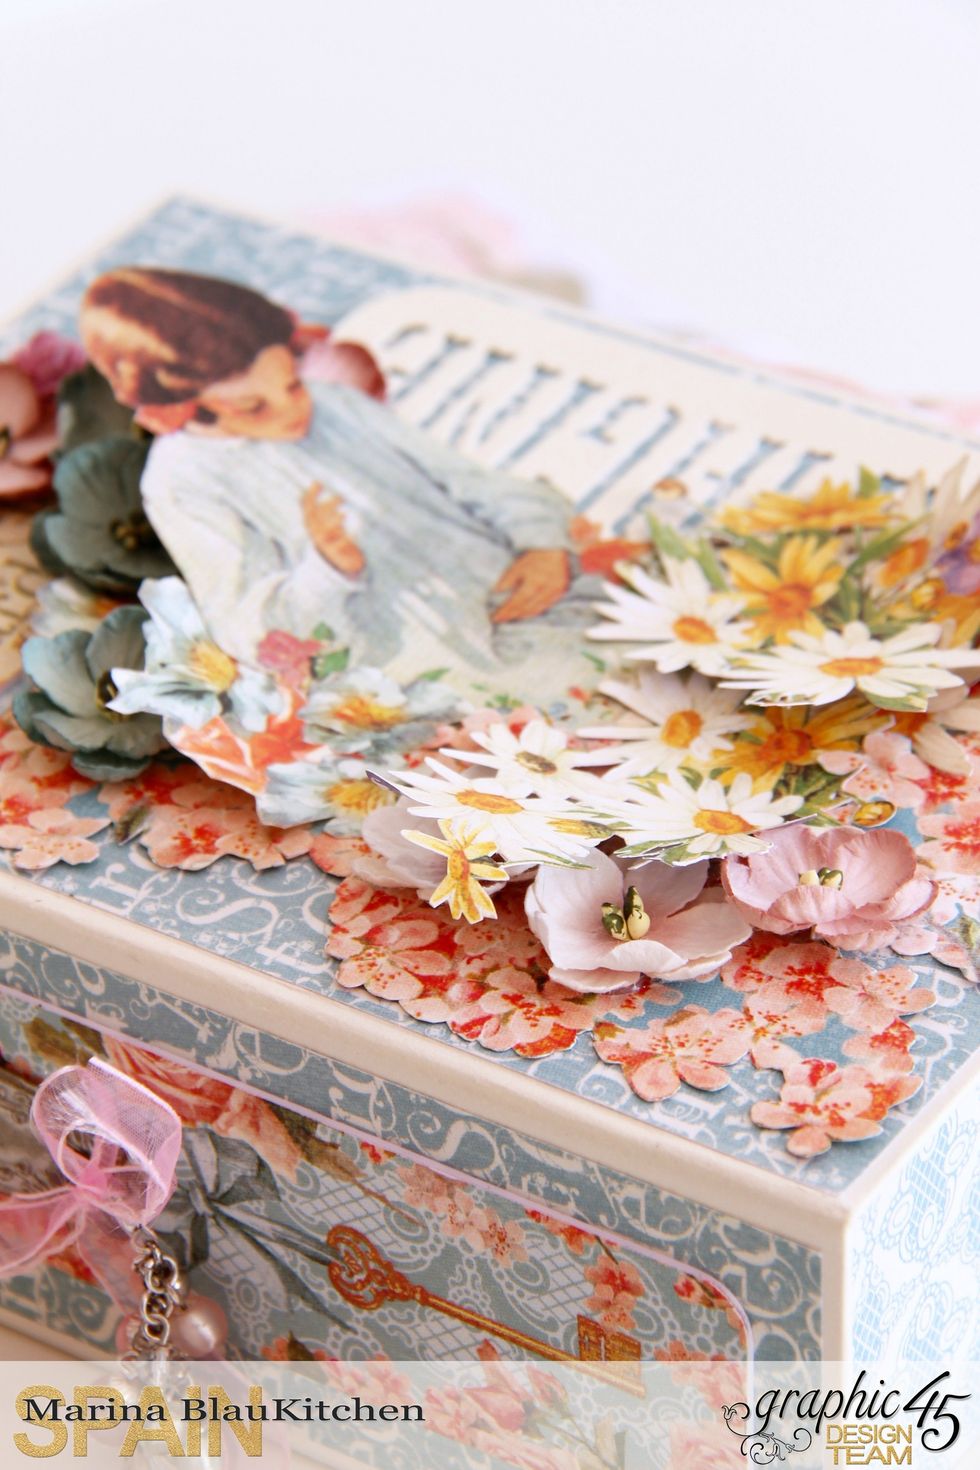
The Book Box decorated with Graphic 45 Secret Garden Deluxe Collector's Edition.
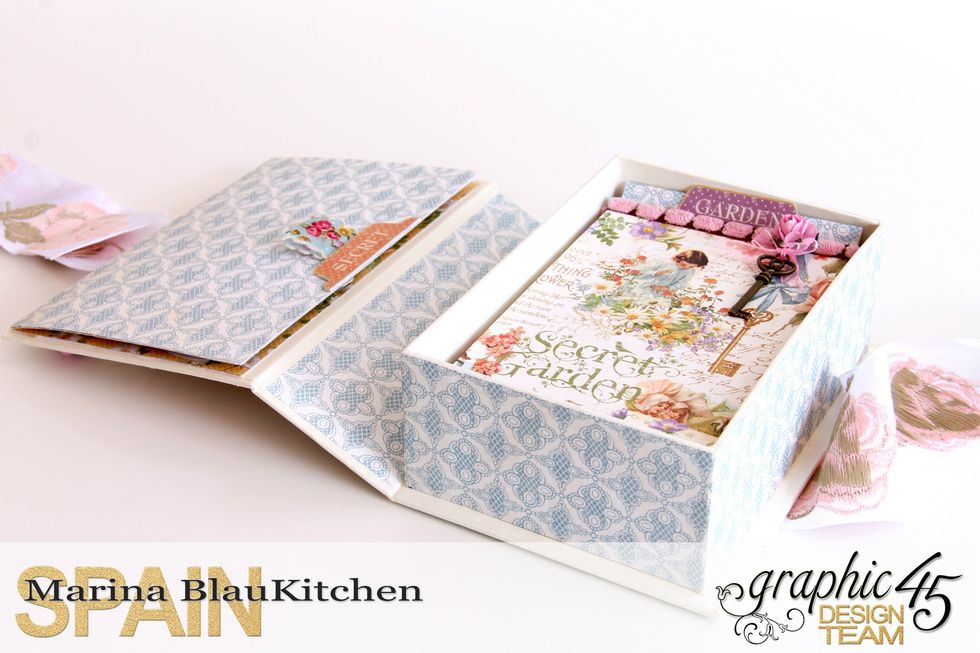
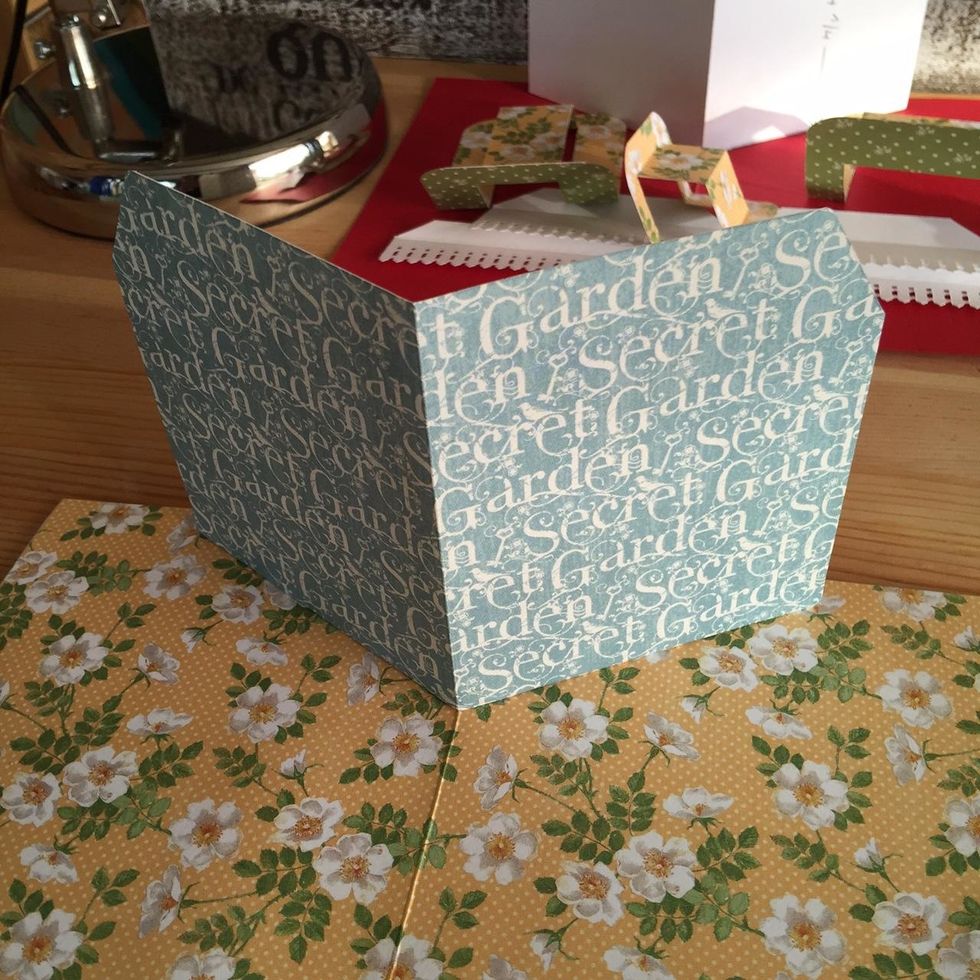
Open the book box ...
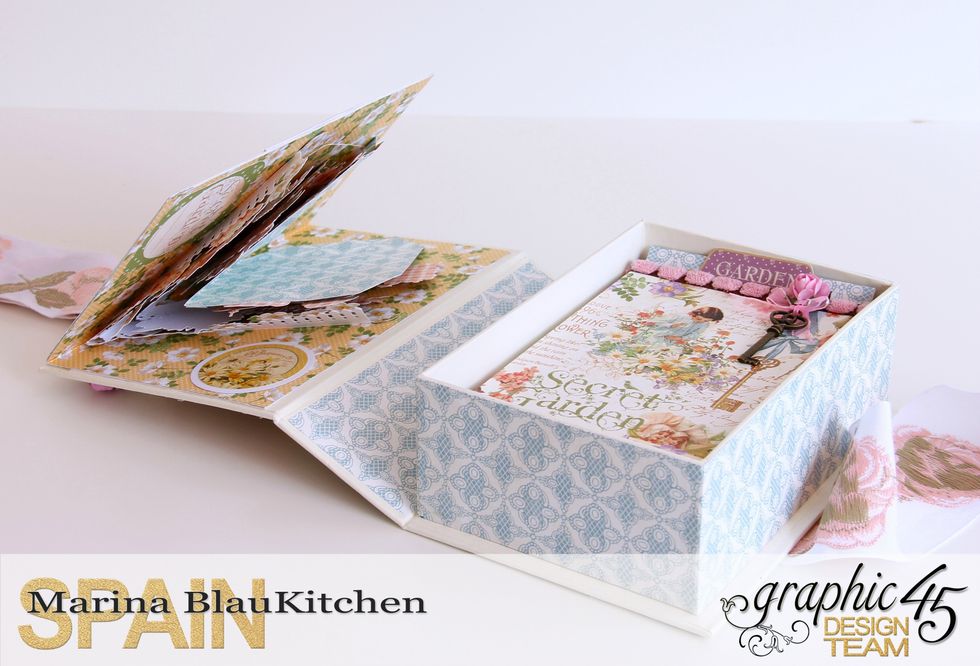
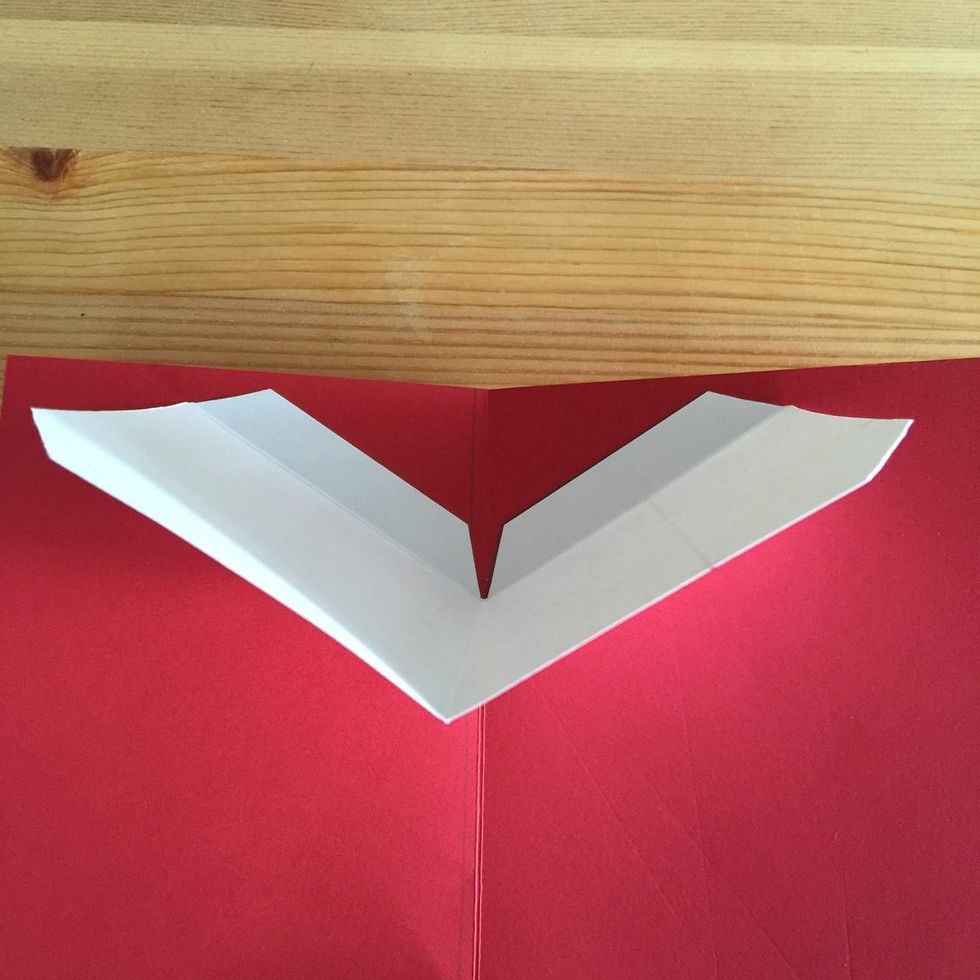
Open pop-up card on the left ...
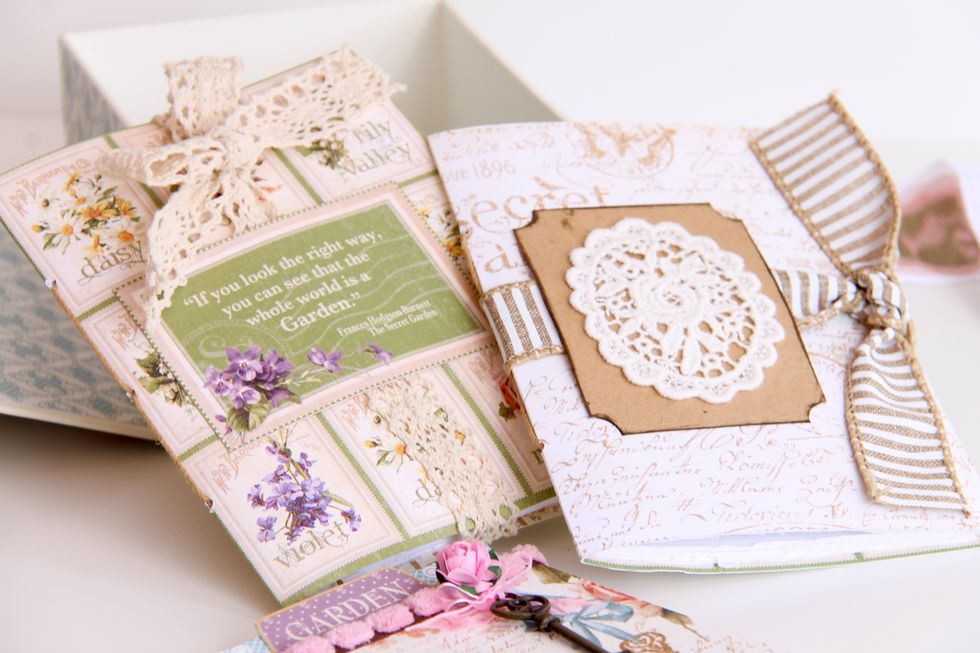
Pop-up opened. Inside the box there is a mini album and two notebooks.
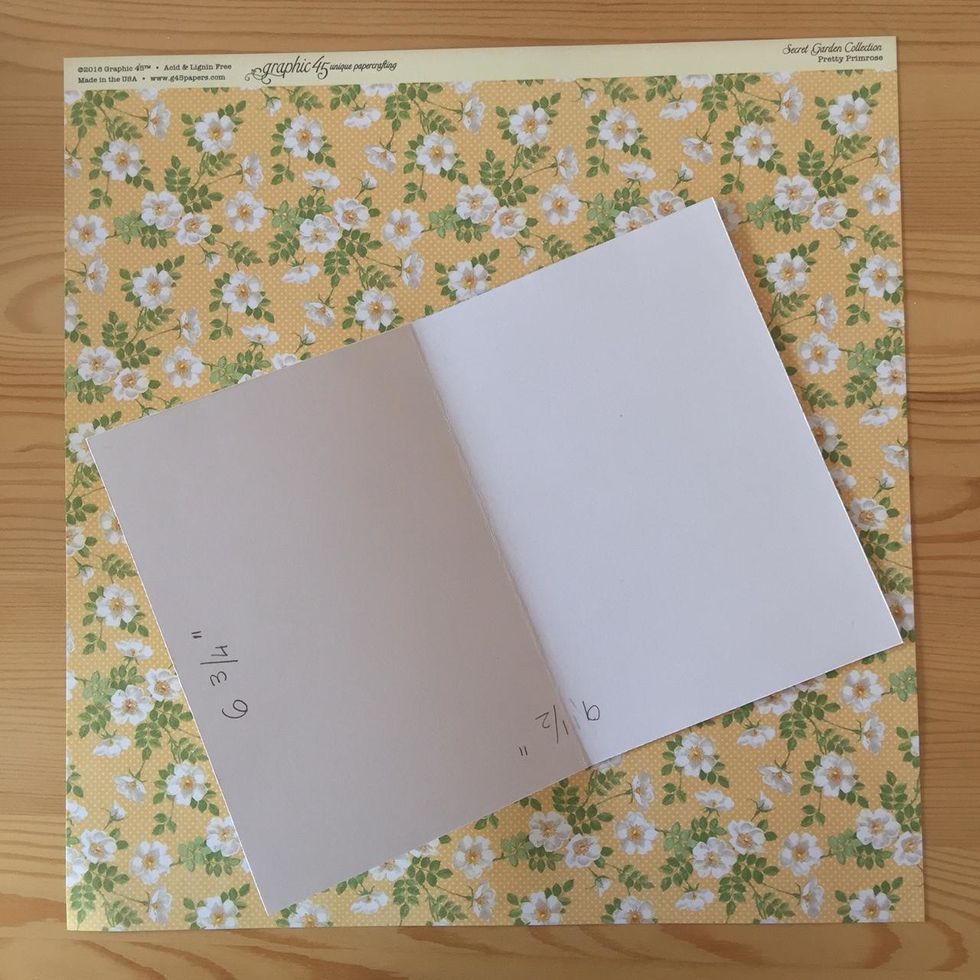
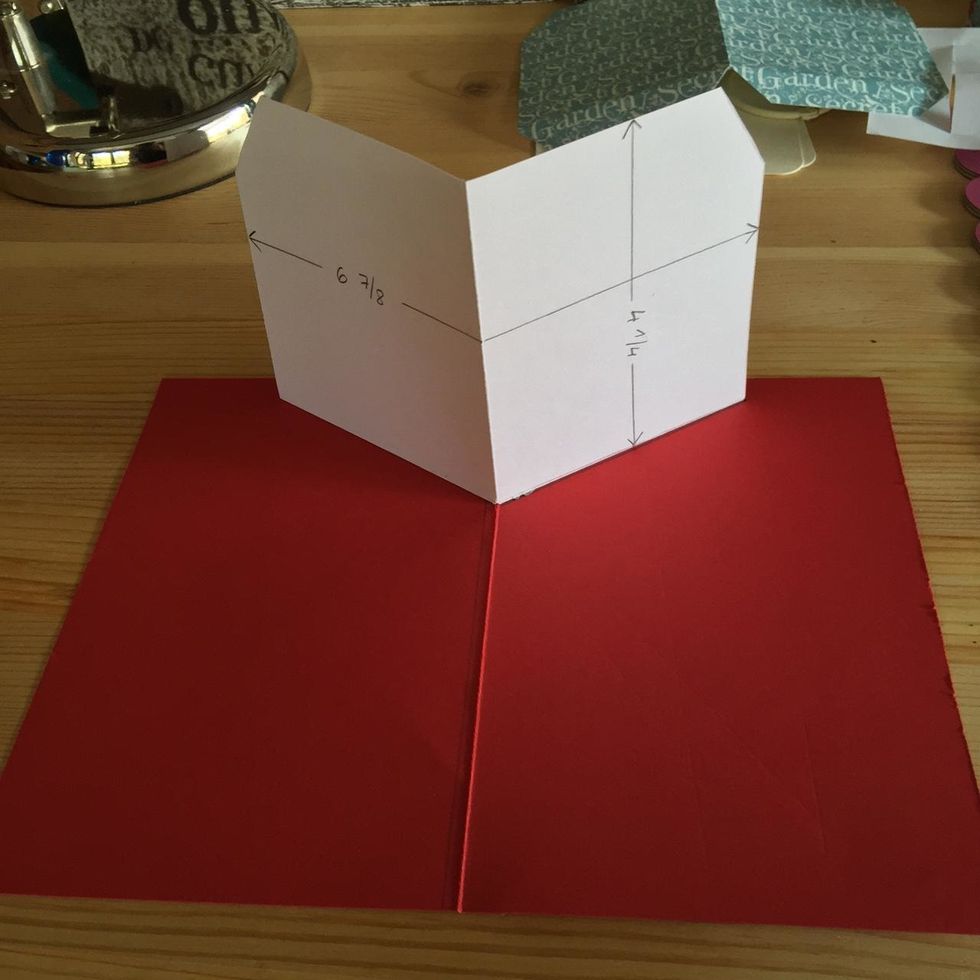
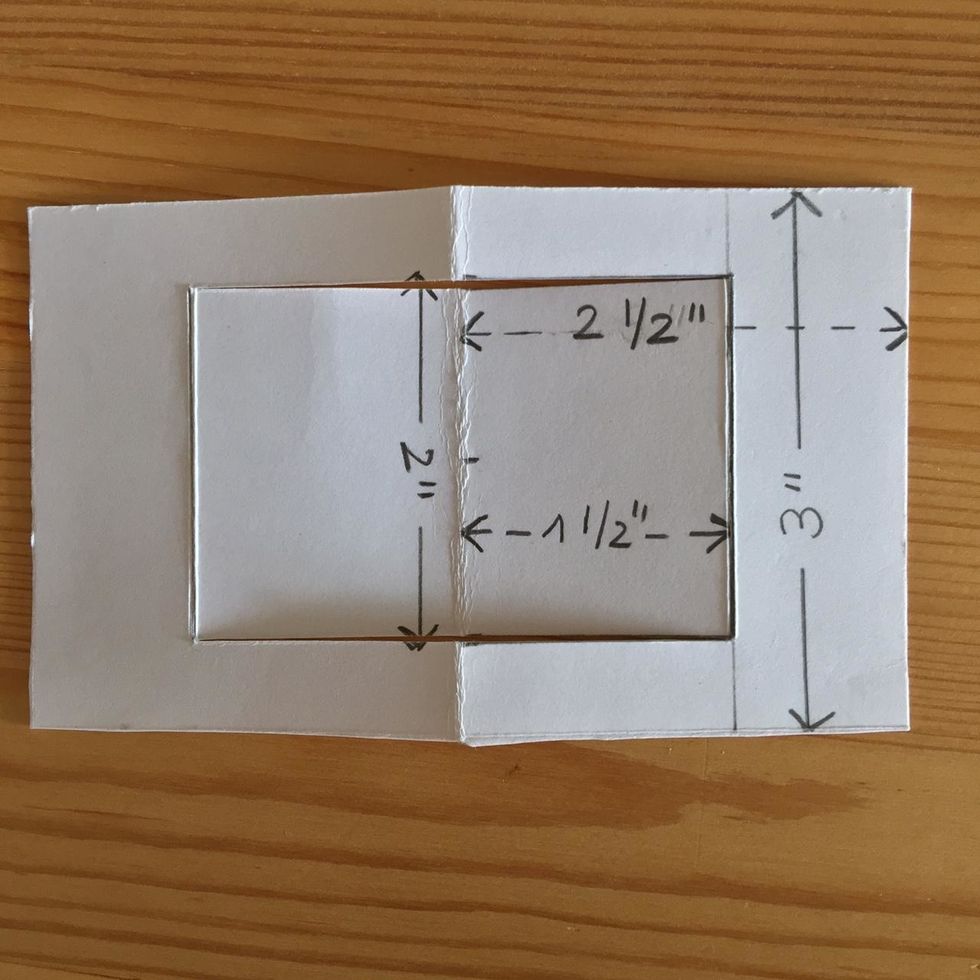
Cut a piece of white cardstock. Fold in half.
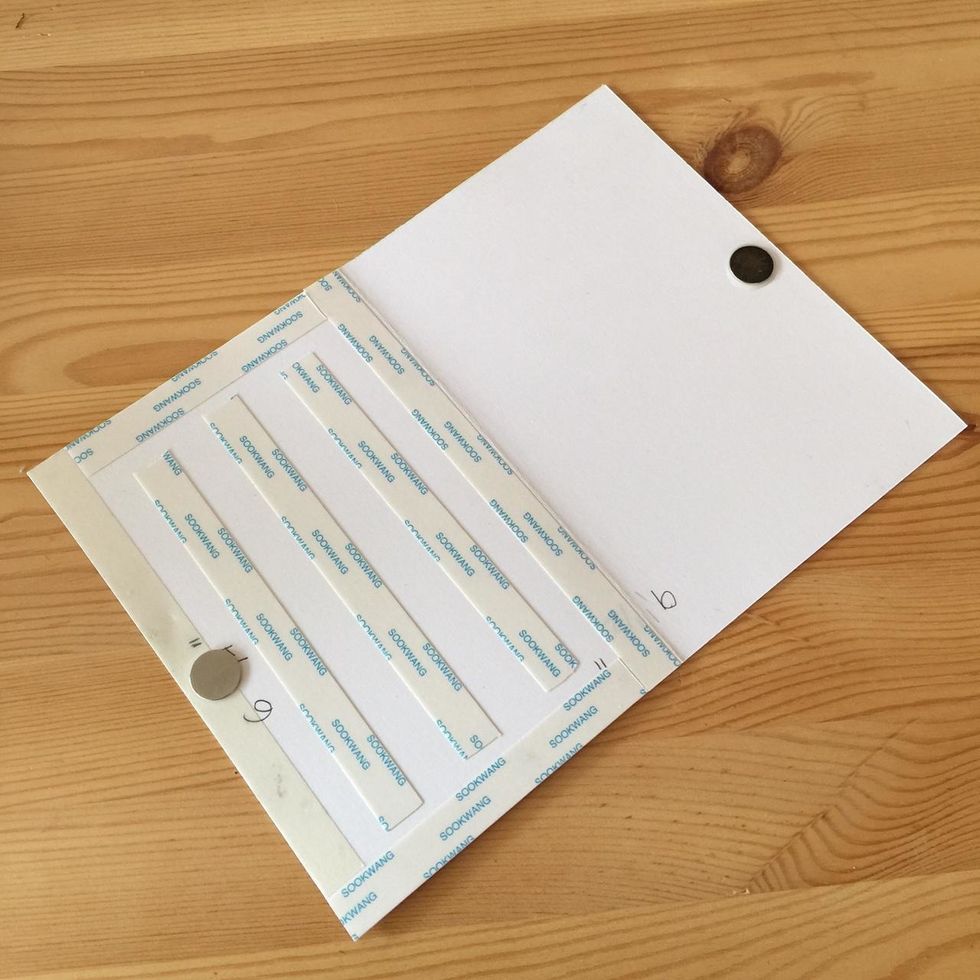
Put double-sided tape (on both parts) and glue two magnets.
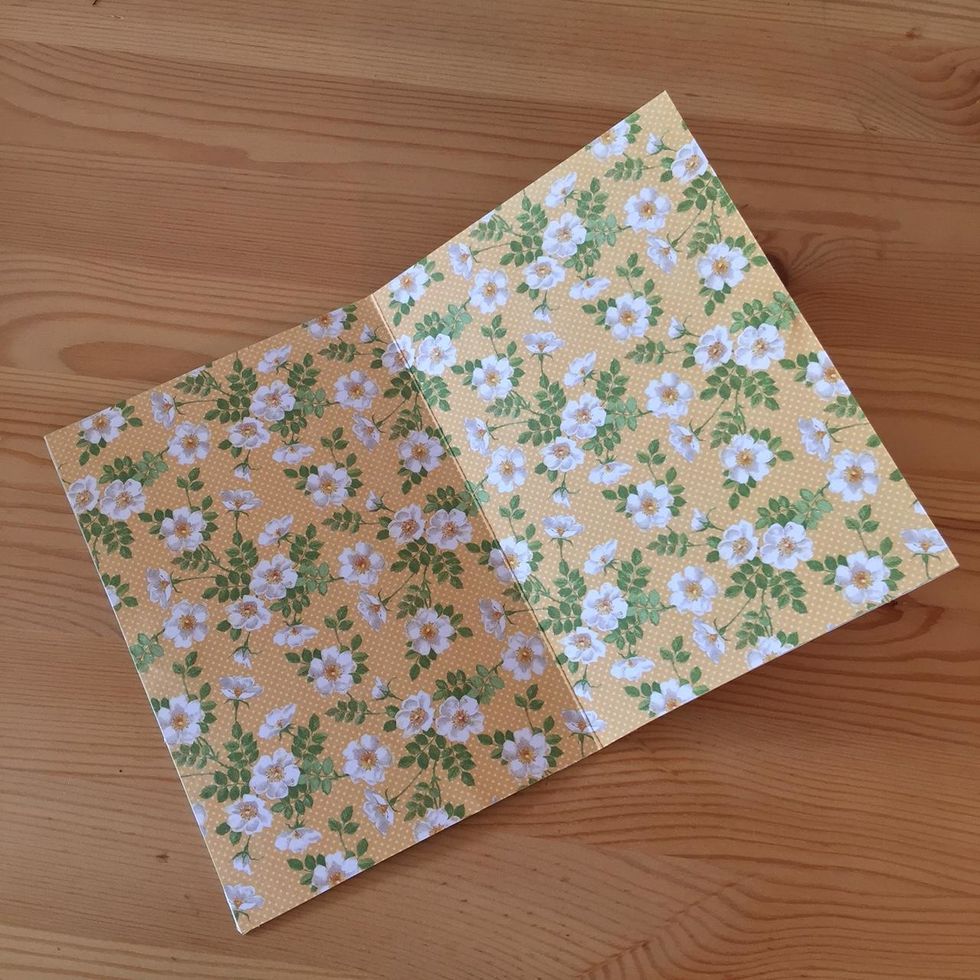
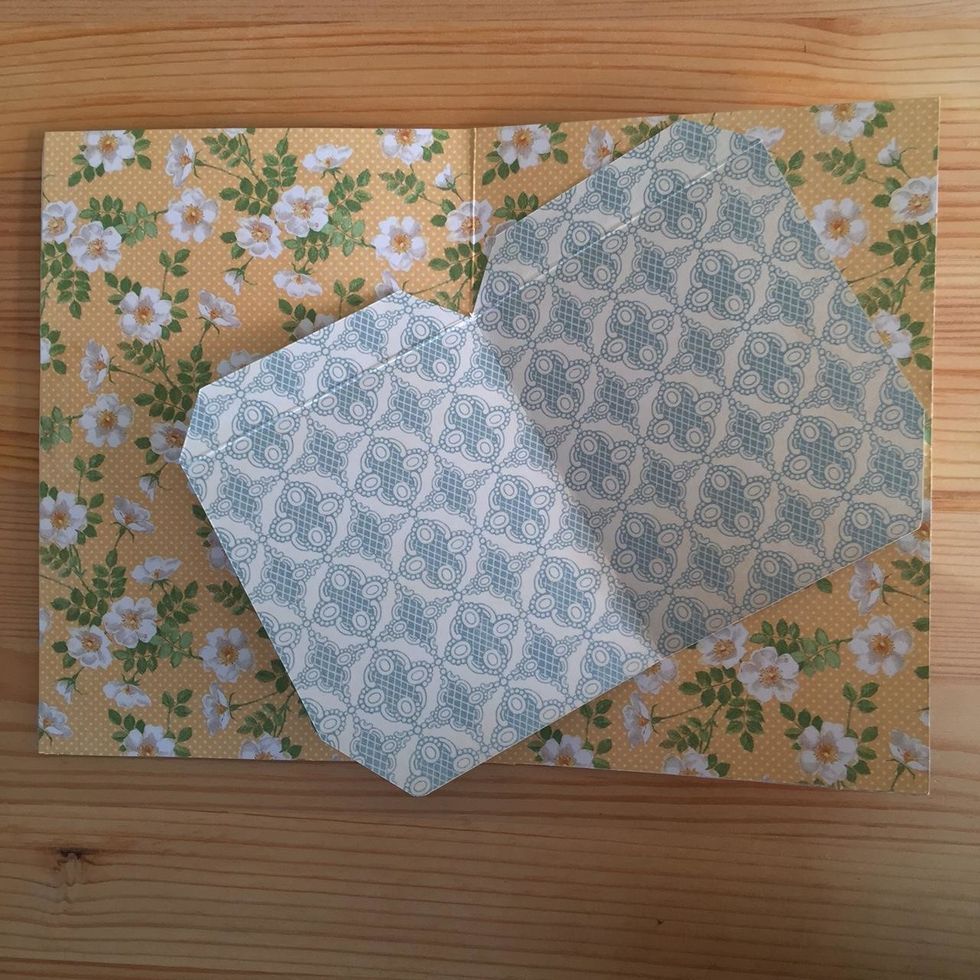
Cover only a half on the other side.
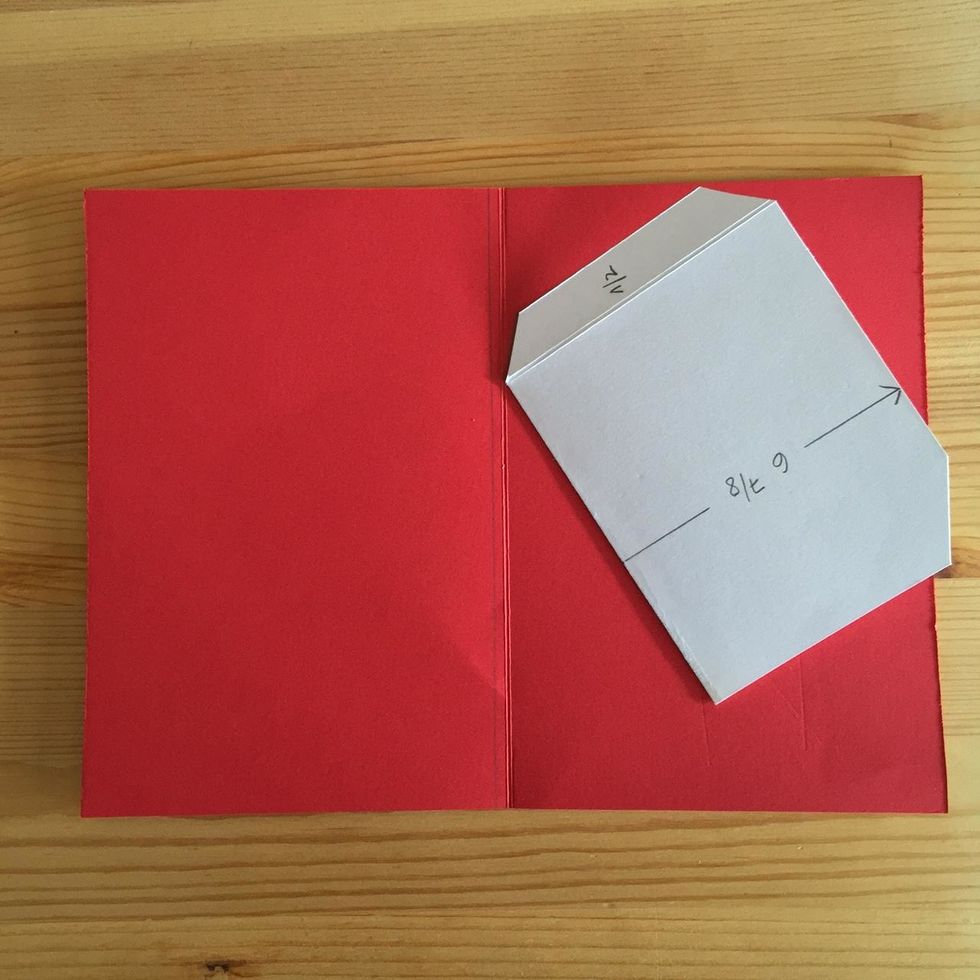
This is an example so you can see how to. Make a piece like the white one.
To adhere it to the base put the piece this way. Glue only the tab.
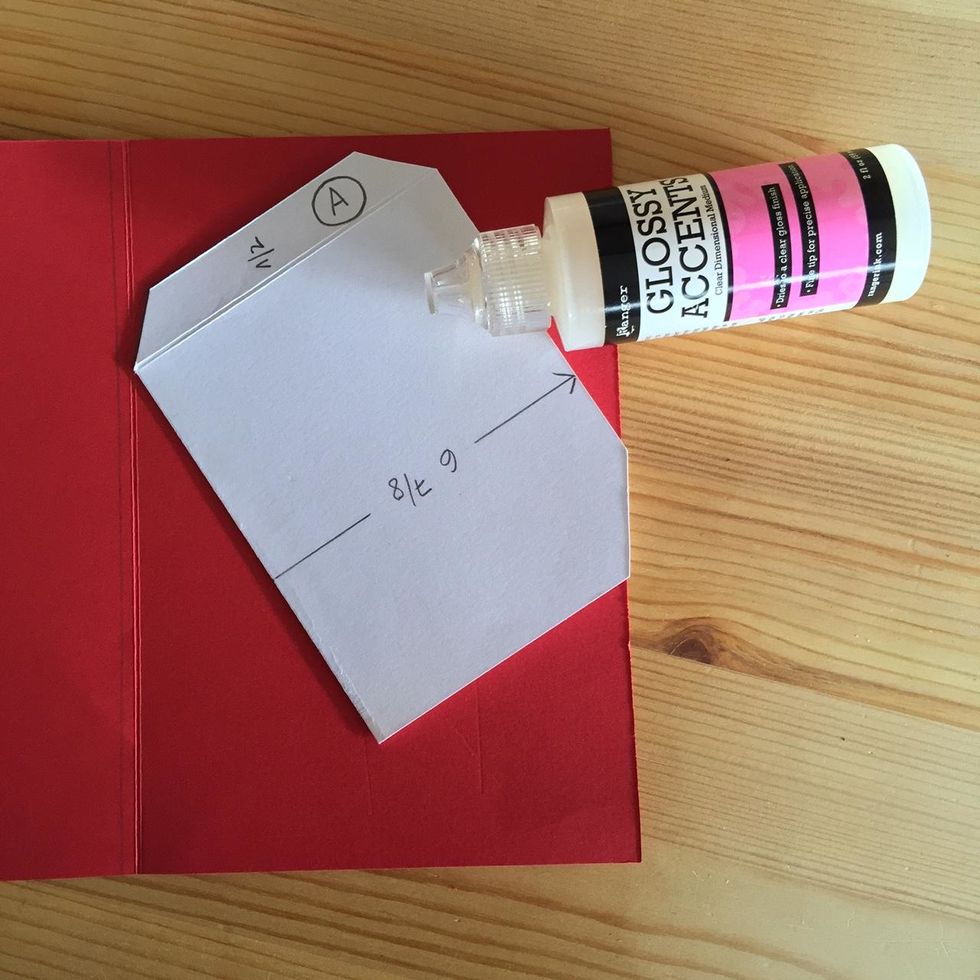
Then put glue on the other tap (A).
Close the cardstock and the piece with glue on the right place.
When you open the card it will look as shown. Test to verify that the pieces do no protrude from the edges when you close the card.
Pieces like this are useful to add more pop-up elements.
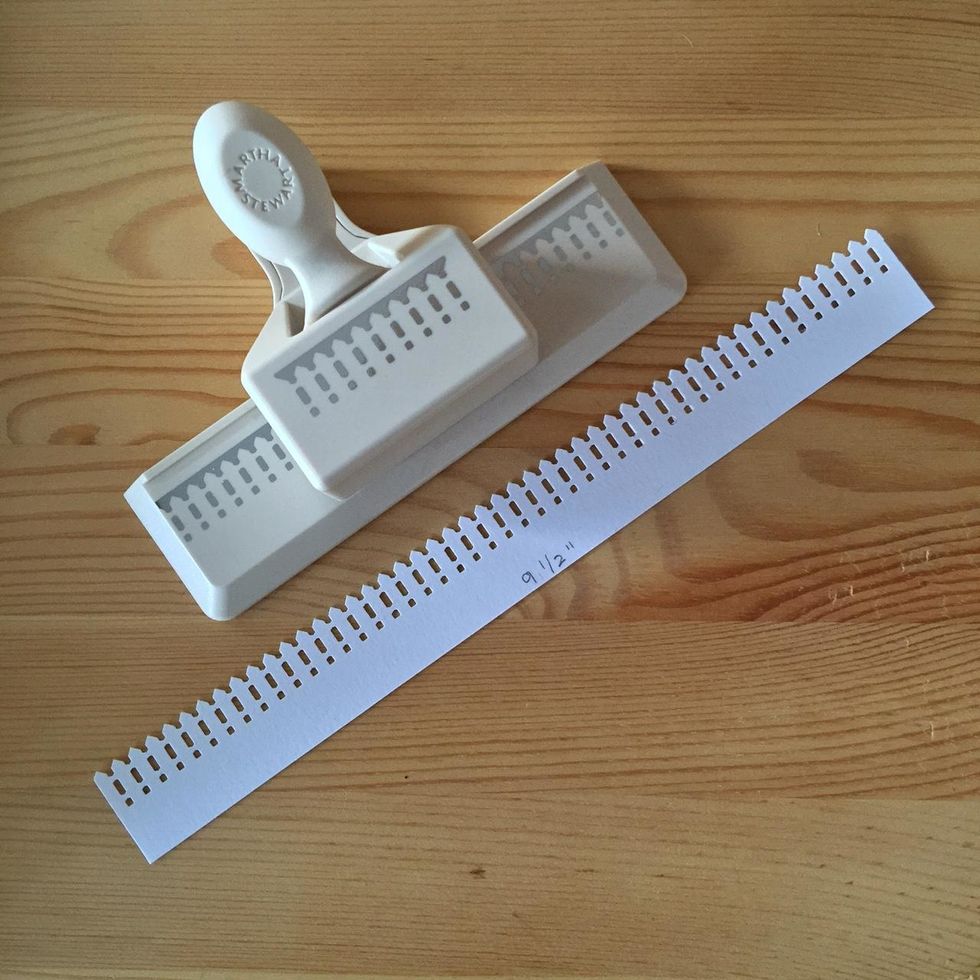
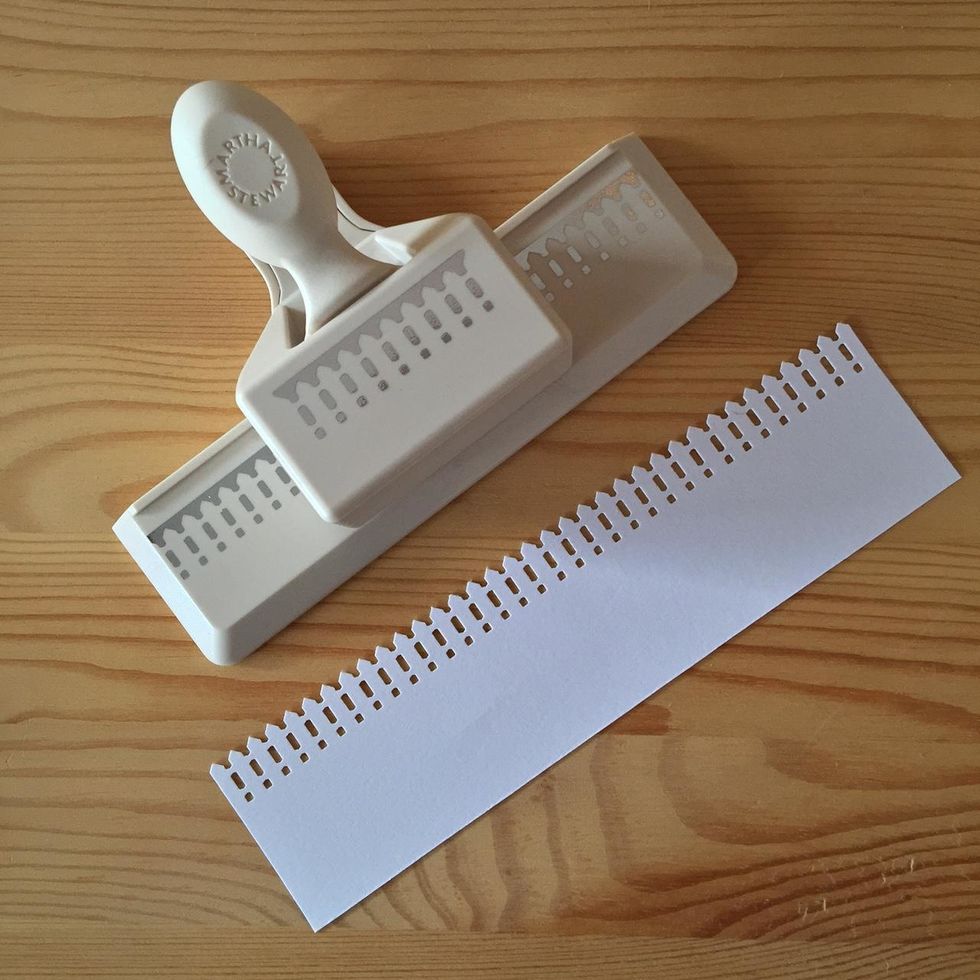
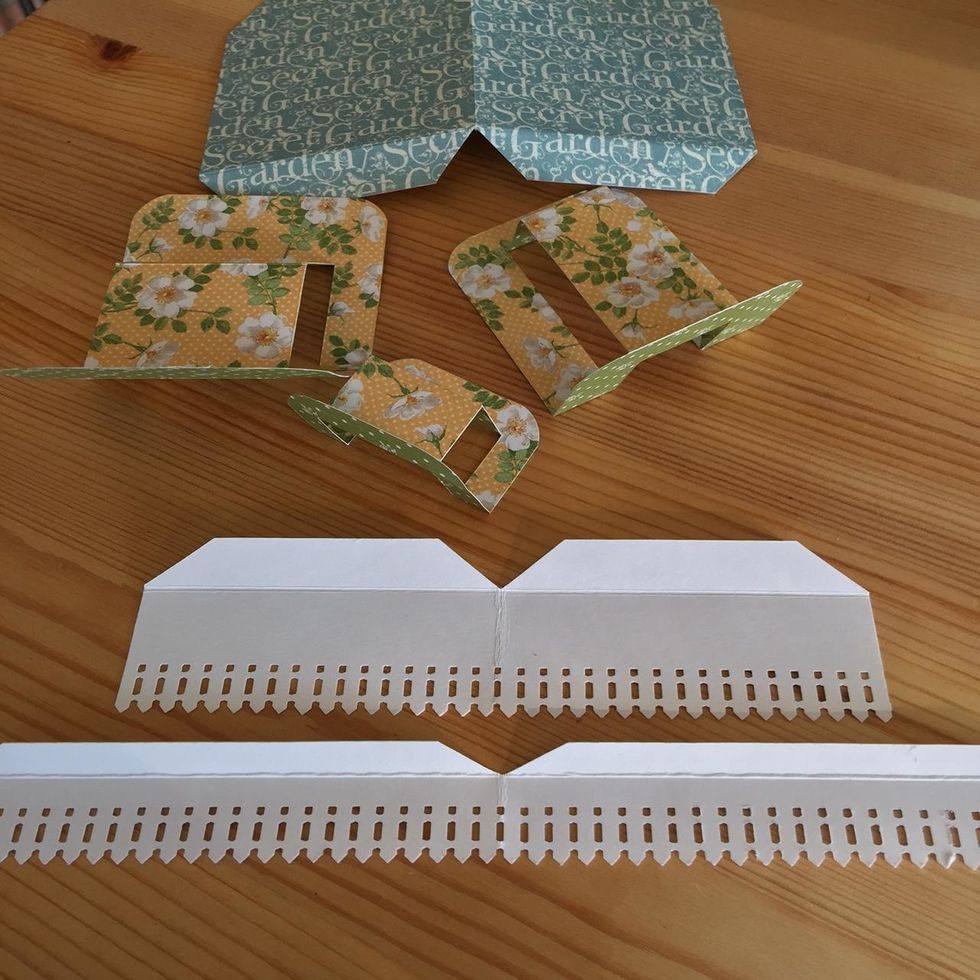
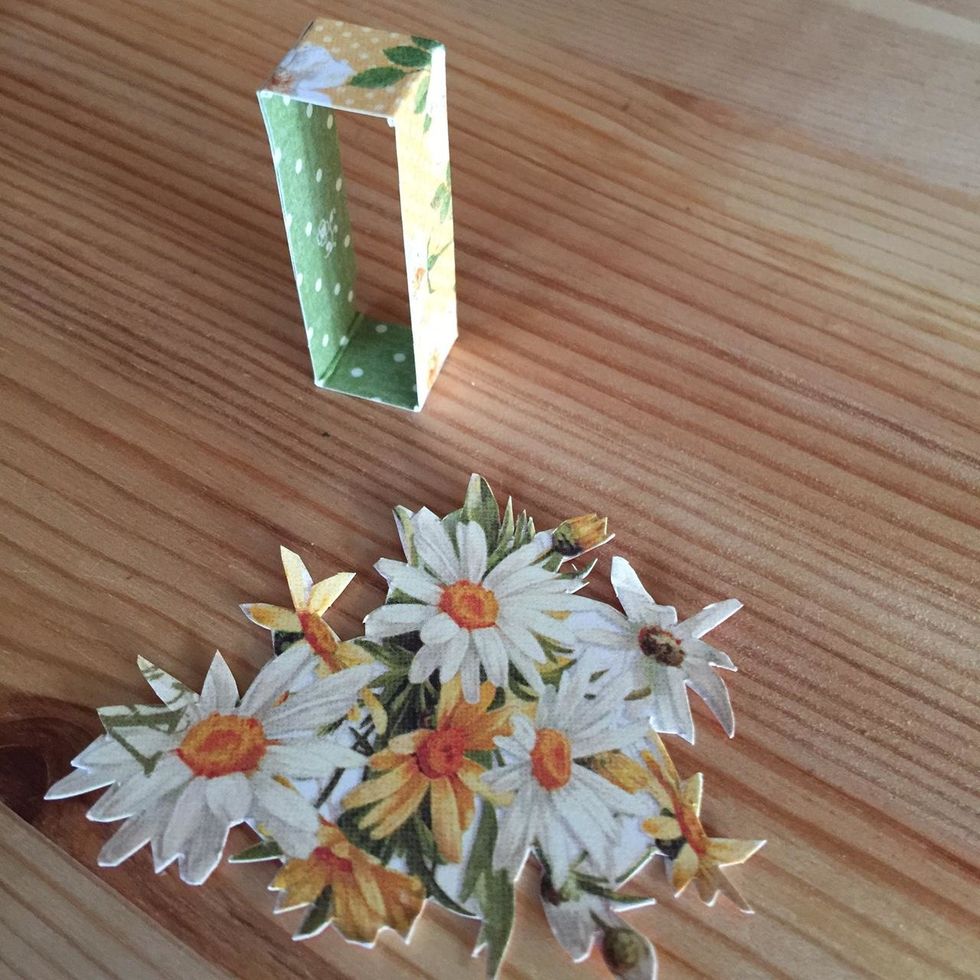
Punch two pieces. One like this and another a little taller and shorter.
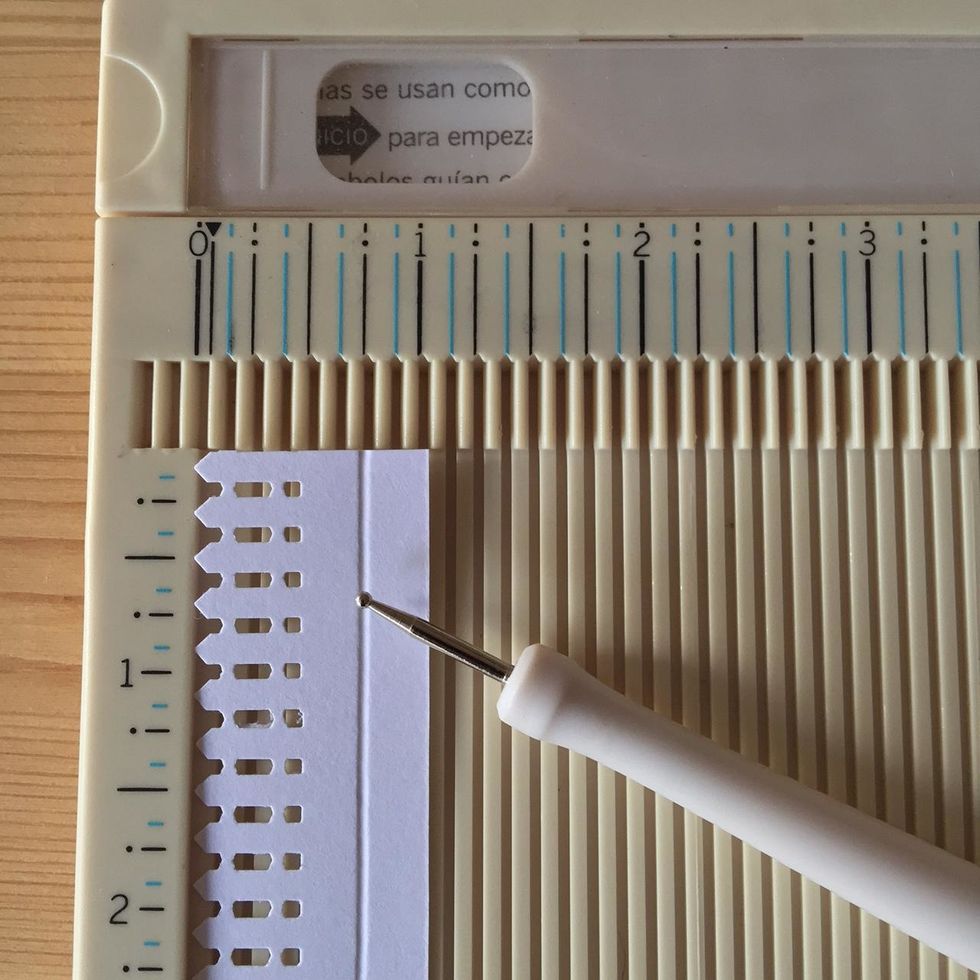
Score to make a tab.
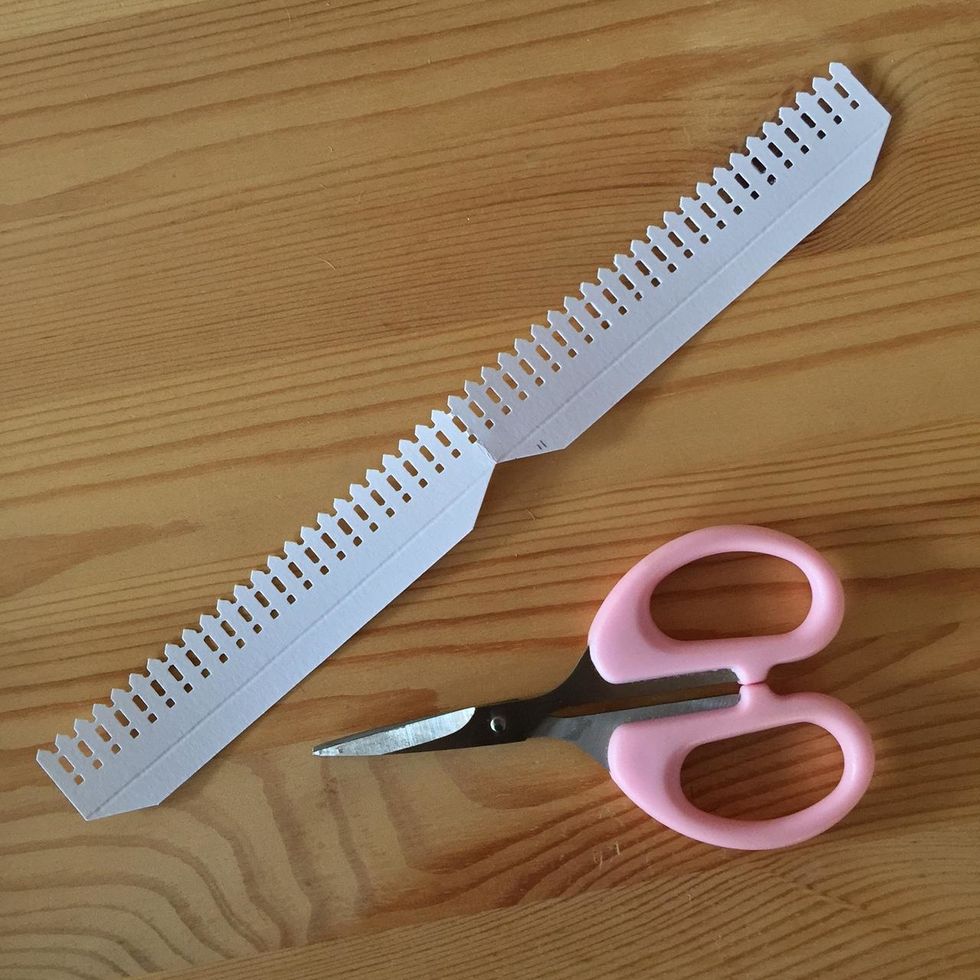
Bend in half and cut tabs as shown.
You can make a test by adhering pop-up pieces using washi tape, so you can verify the card can be closed and fits perfectly.
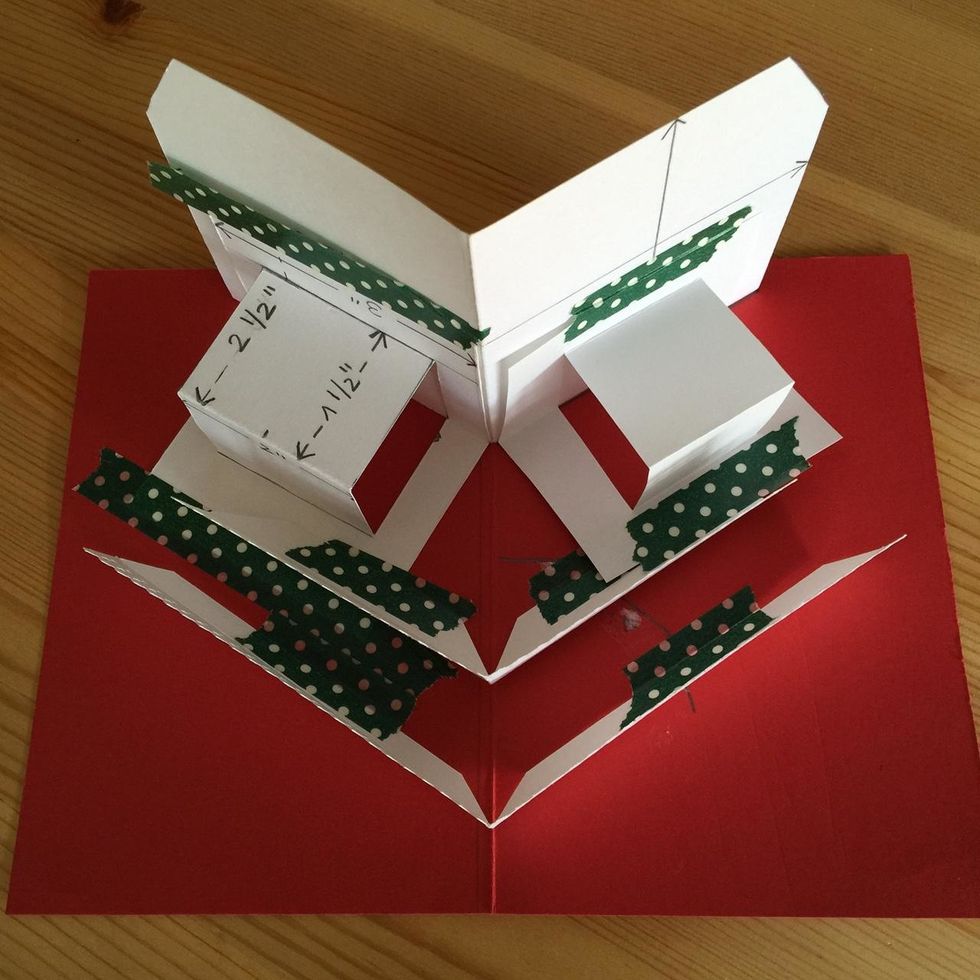
Each pop-up piece must be placed as shown, that way pieces spines matches with main spine on the card.
After the test we can make the card. Cut the pieces using tests ones as pattern.
Glue one tab.
And the other tab.

Glue pieces to make the pop-up elements.
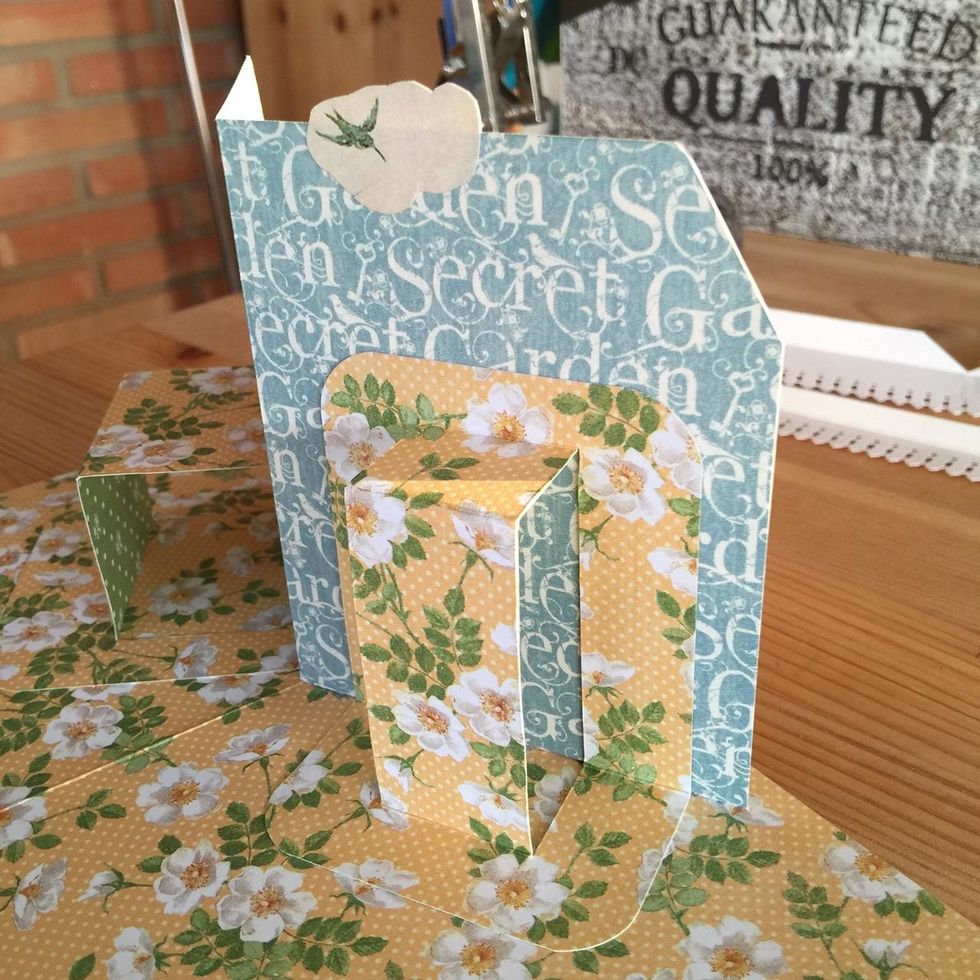
You can change the height, width and depth of the pieces to suit your own design.
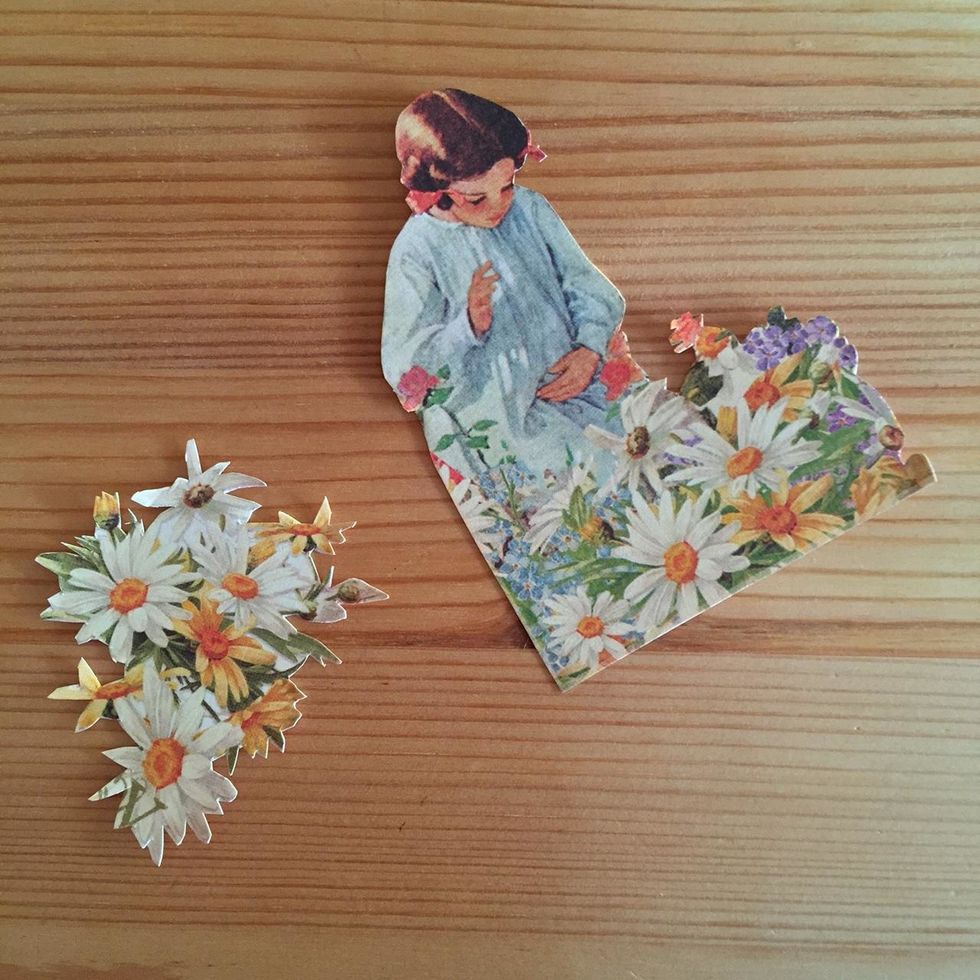
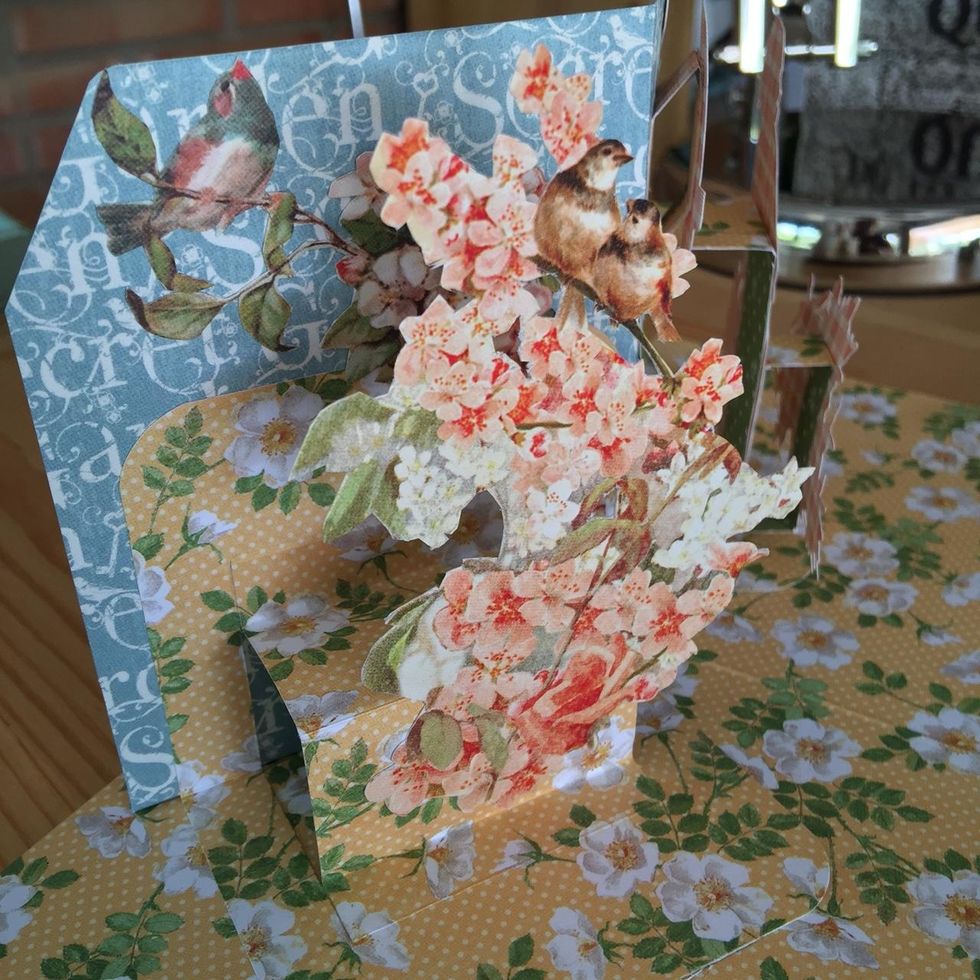
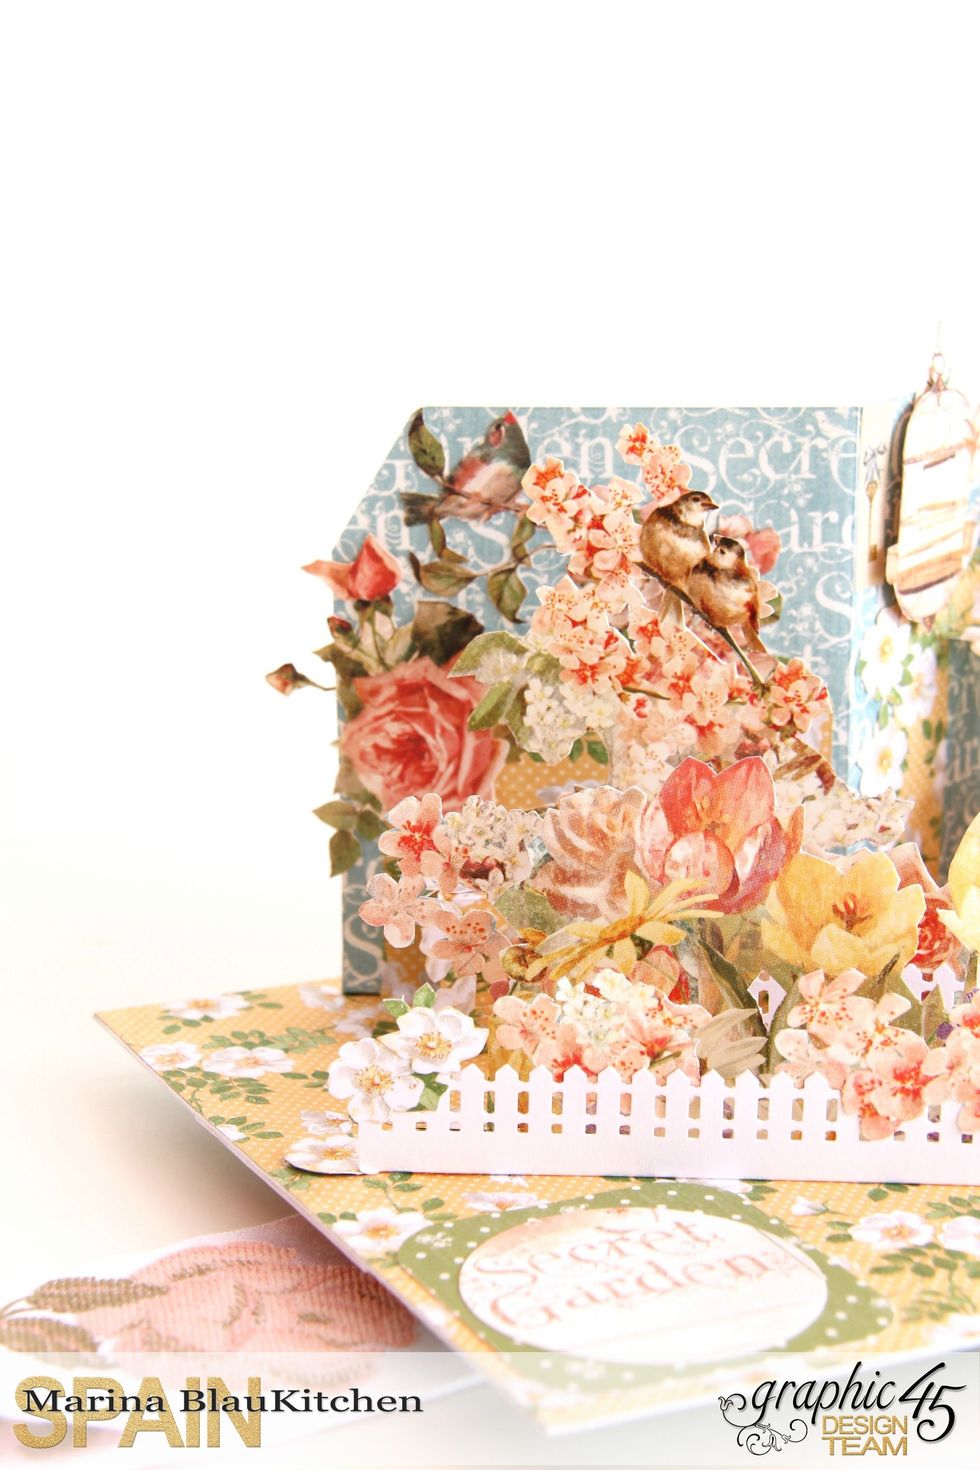
Fussy cut some pieces to glue them on the pop-up bases.
You can also make pieces like this one to glue to the pop-up structure.

This is the way you can glue it to add more pop-up layers.

Glue fussy cut piece.
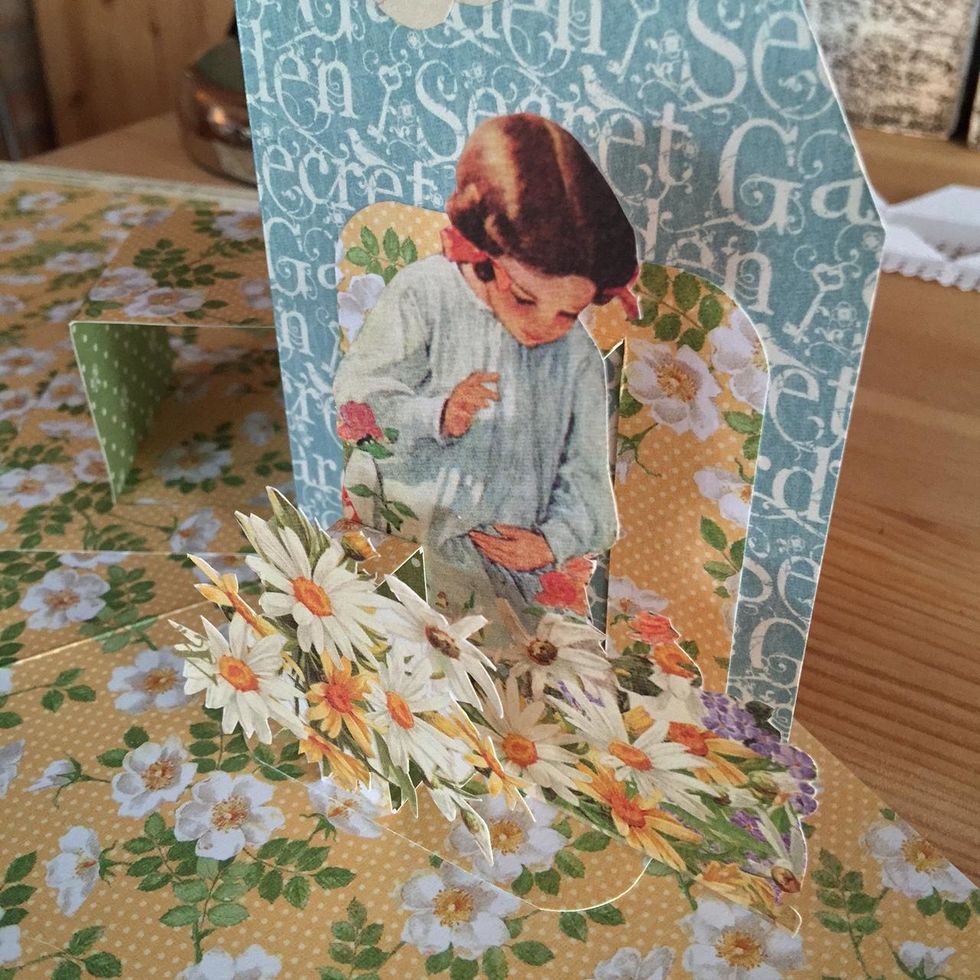
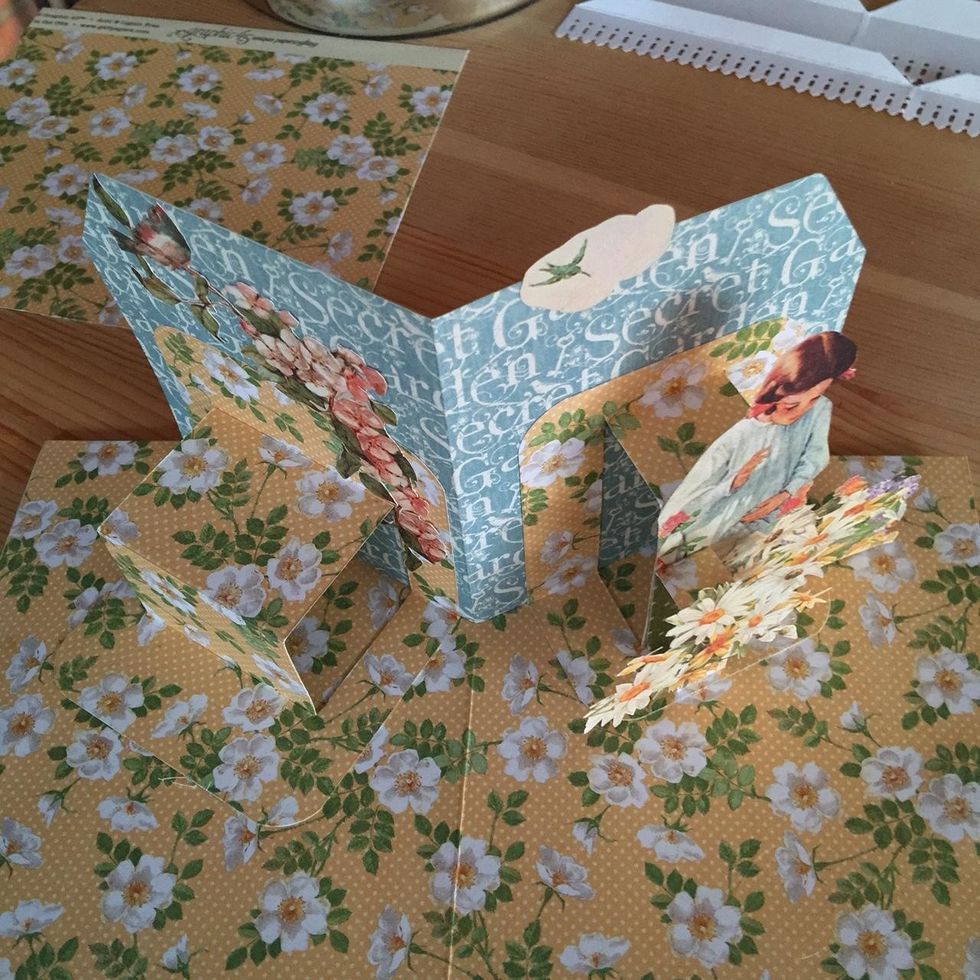
Glue as fussy cut pieces as you like. This is the left side of the card.
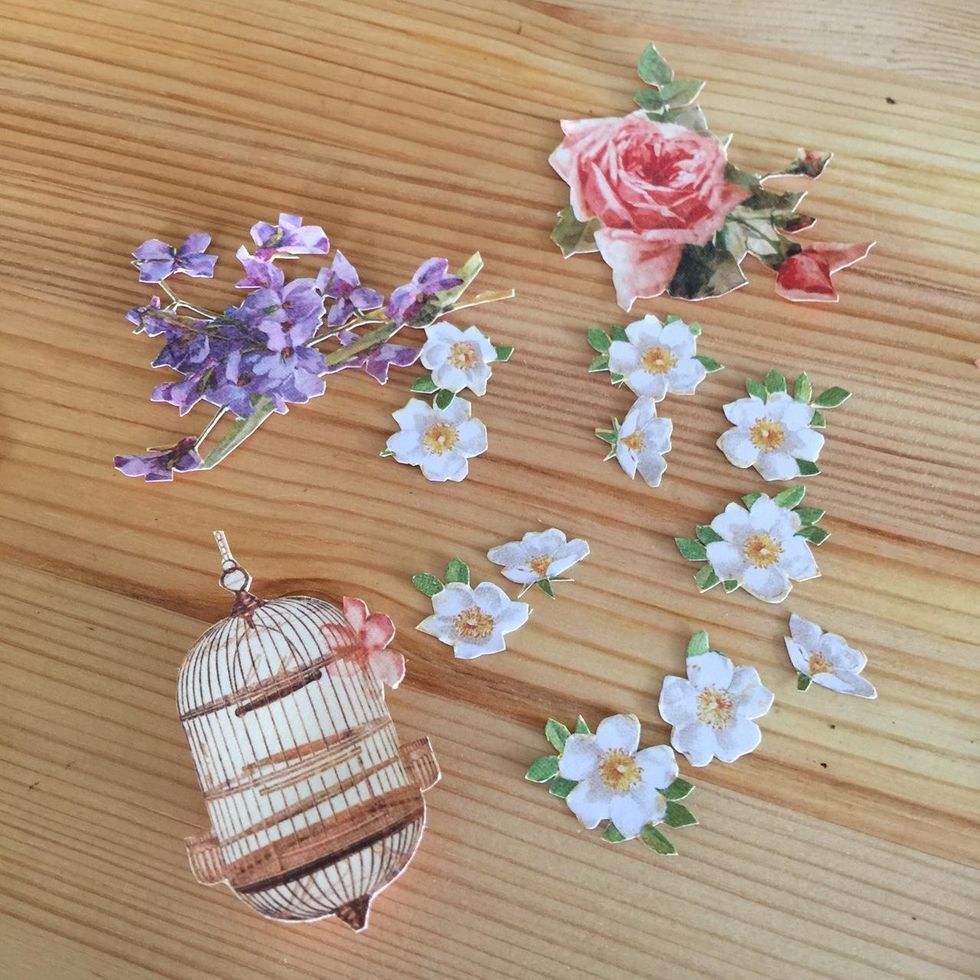
Fussy cut more pieces.

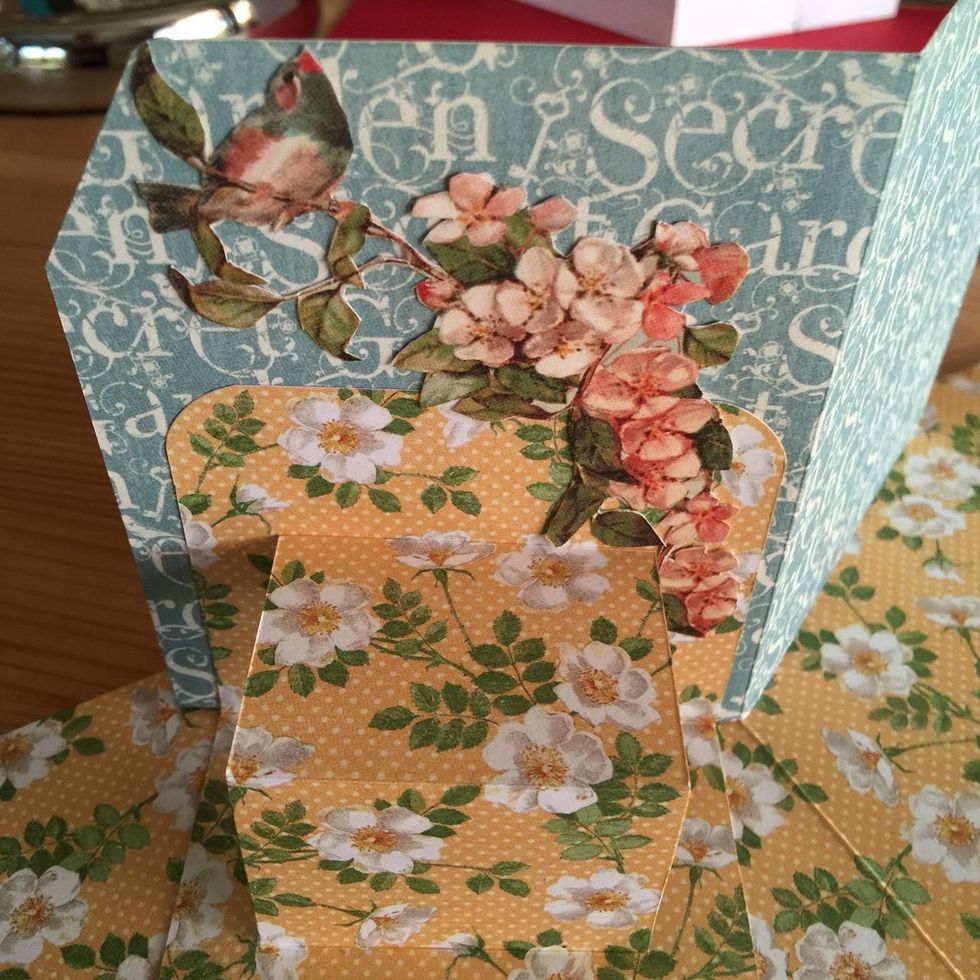
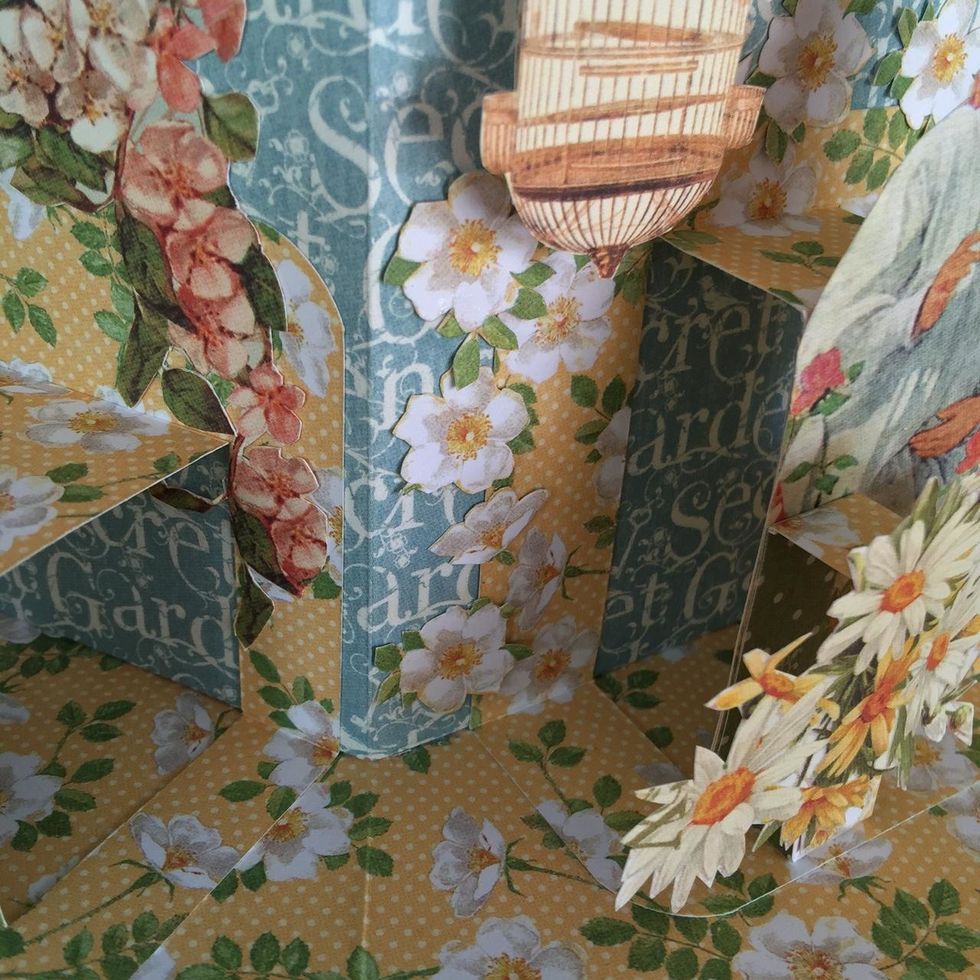
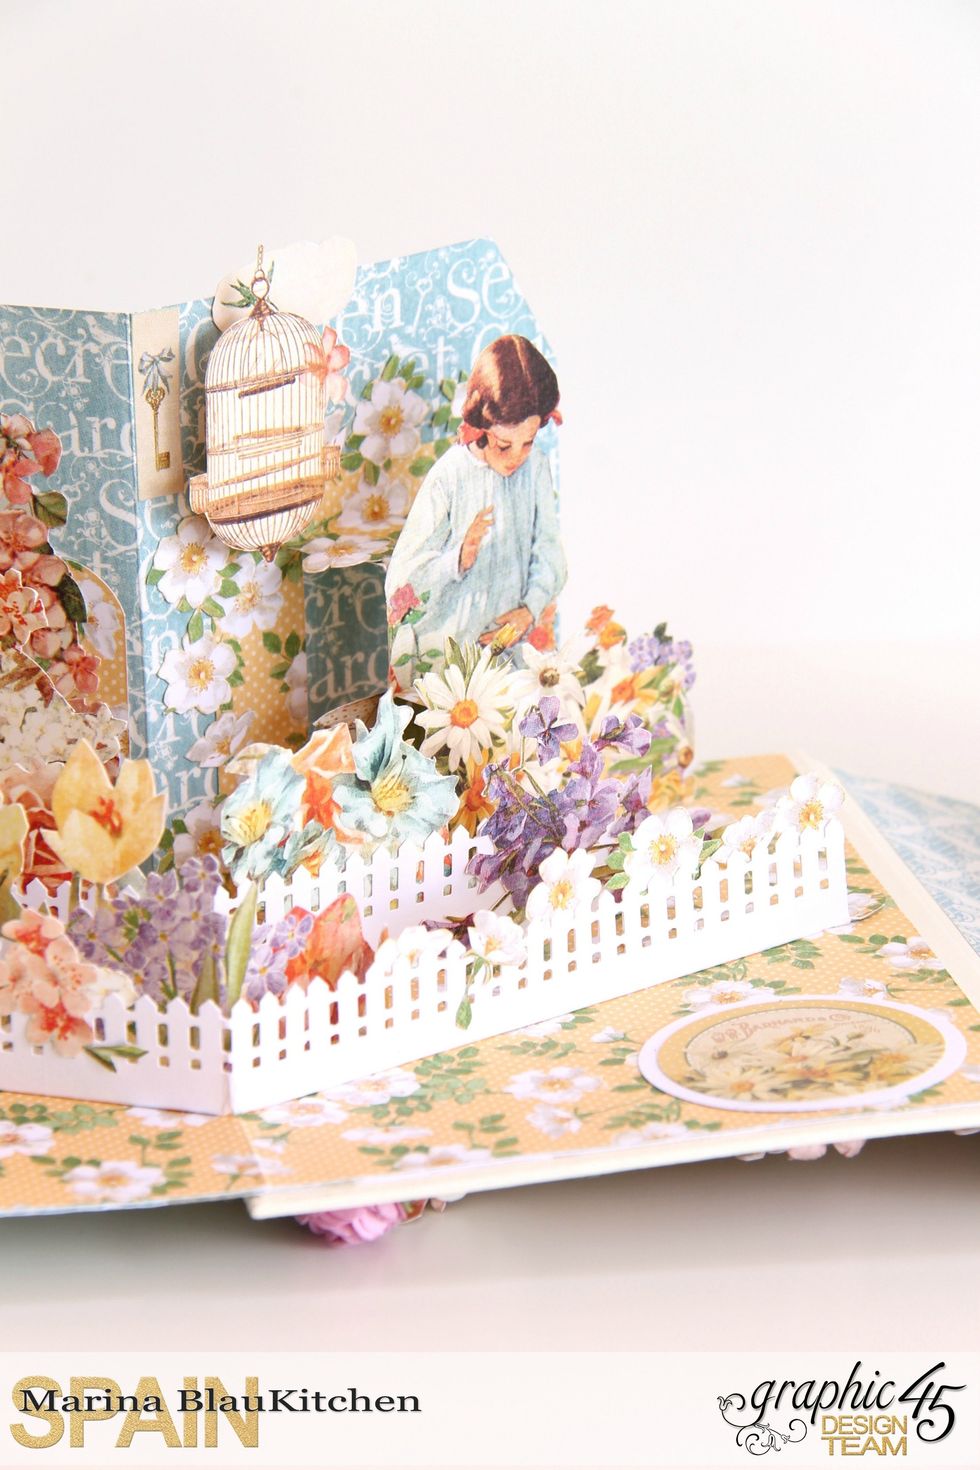
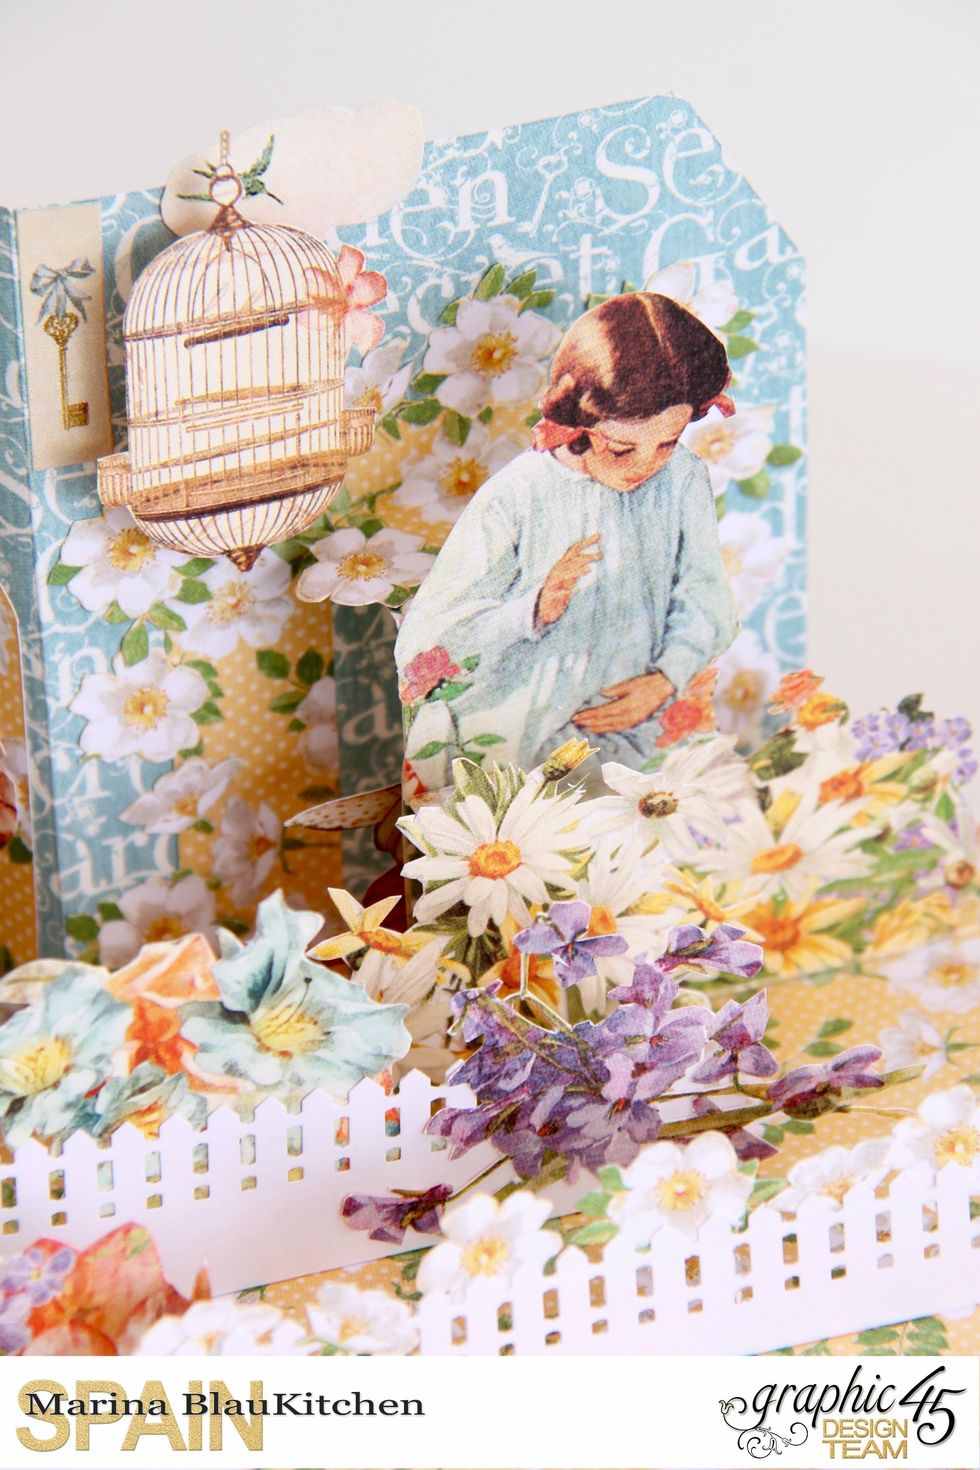
To glue the birdcage glue a piece of paper as shown.
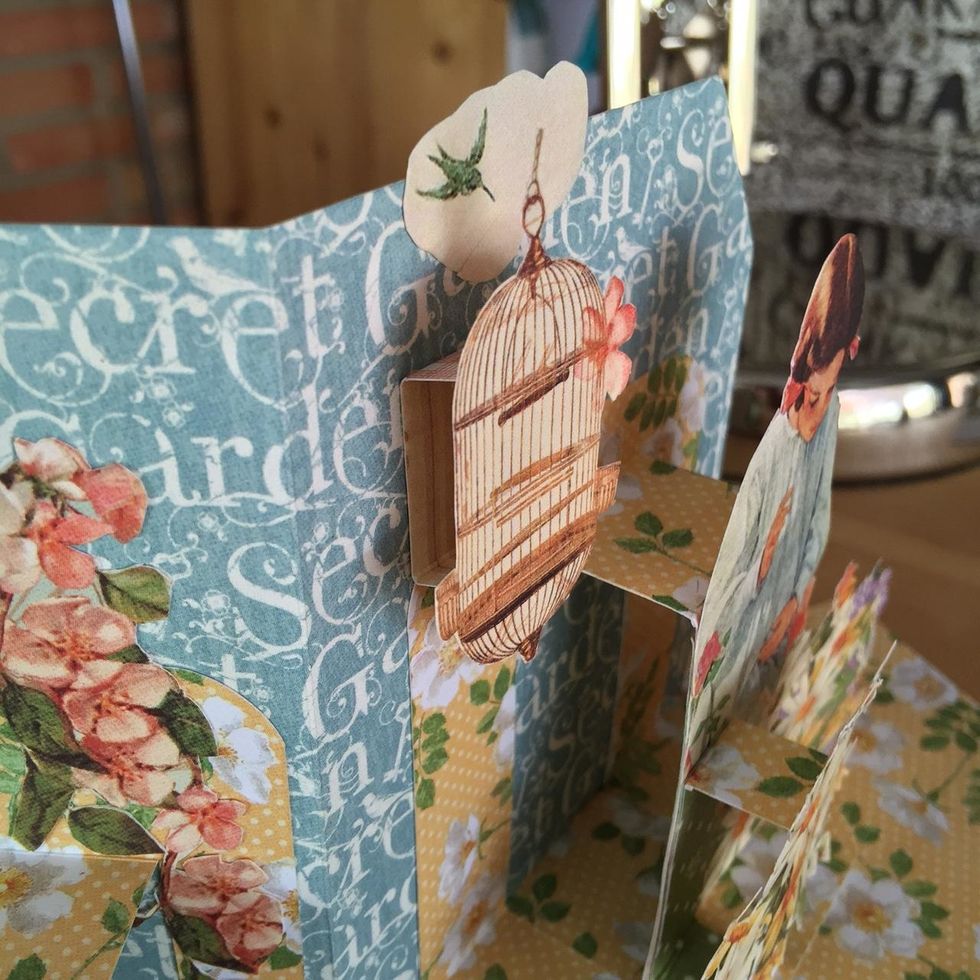
And glue it on the structure.
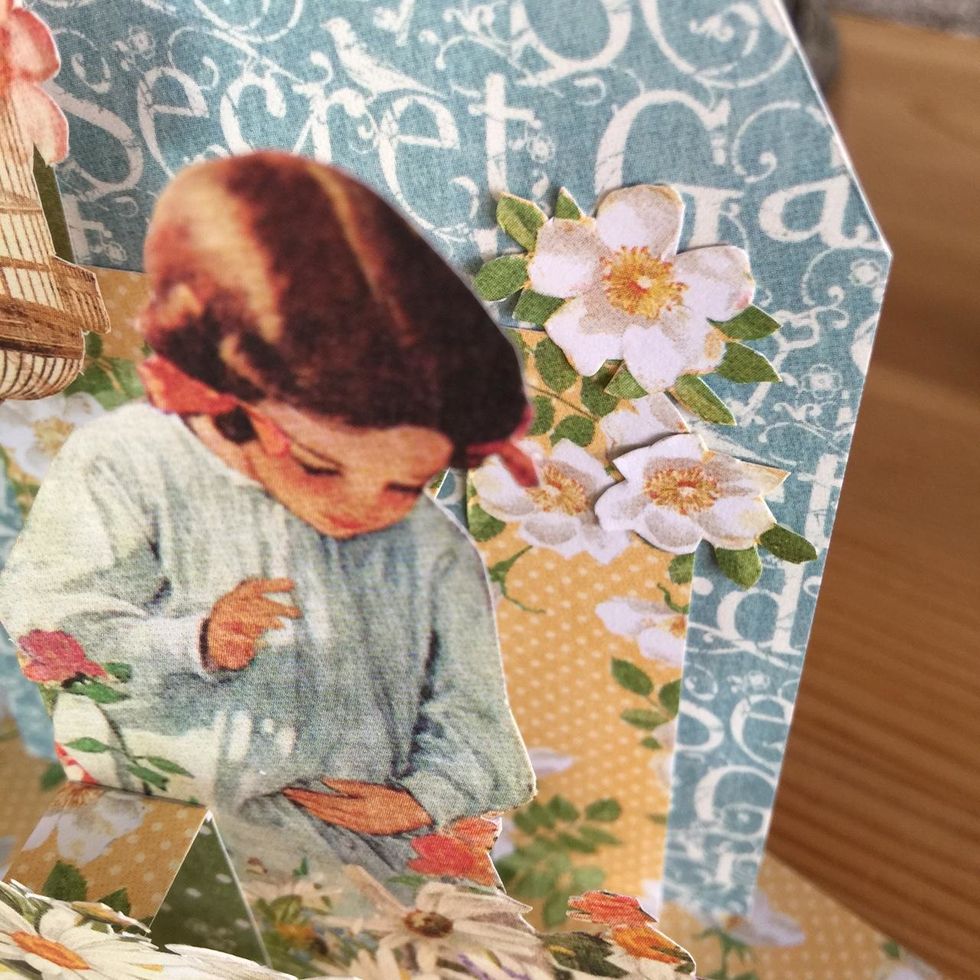
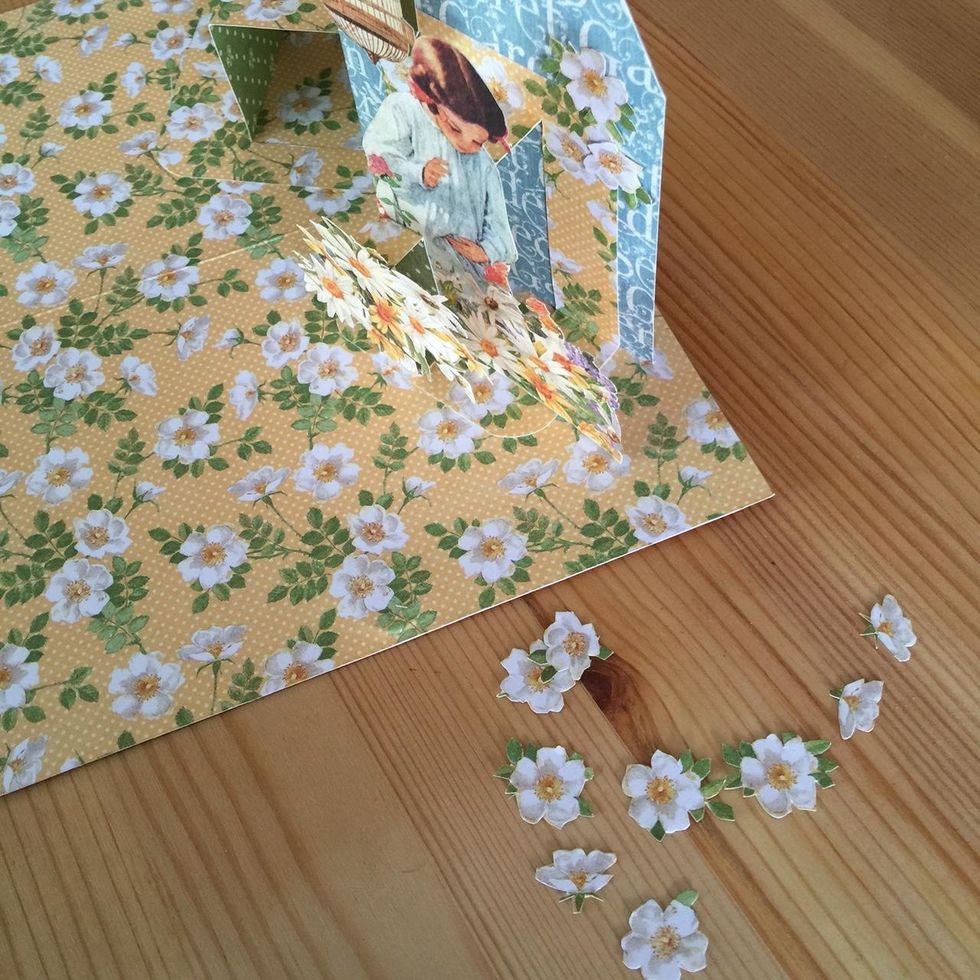
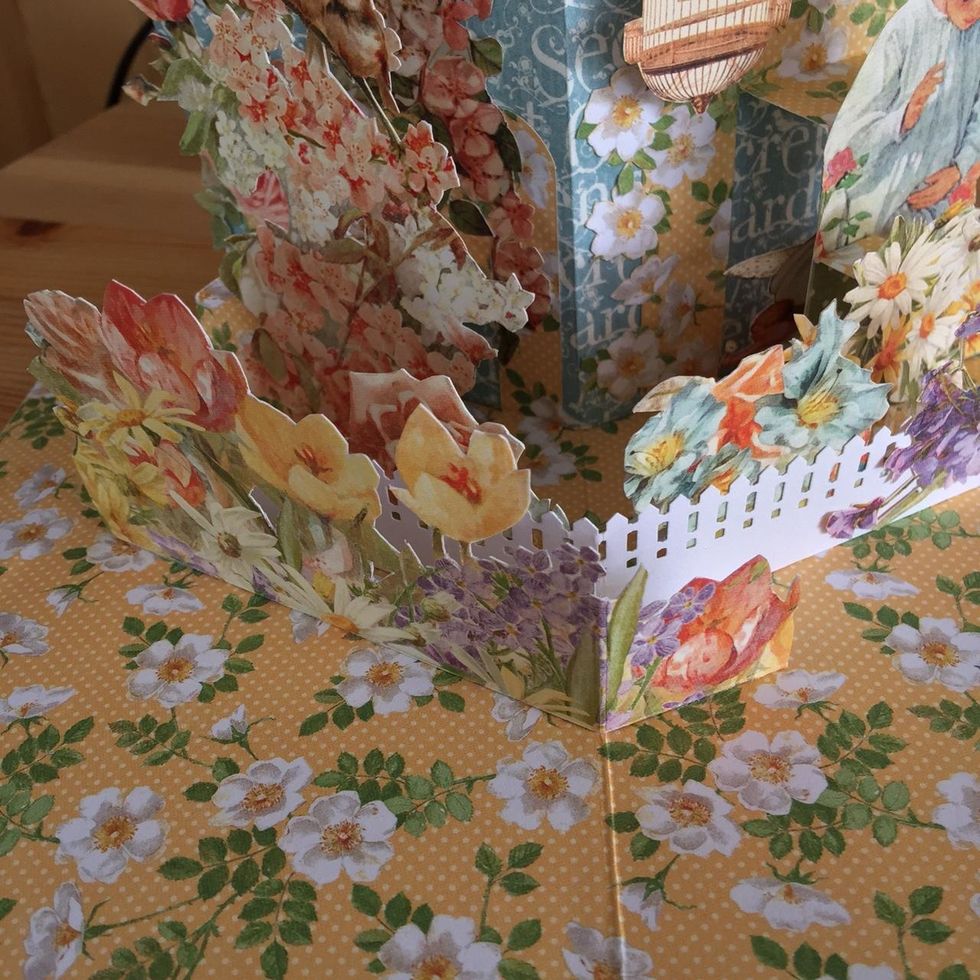
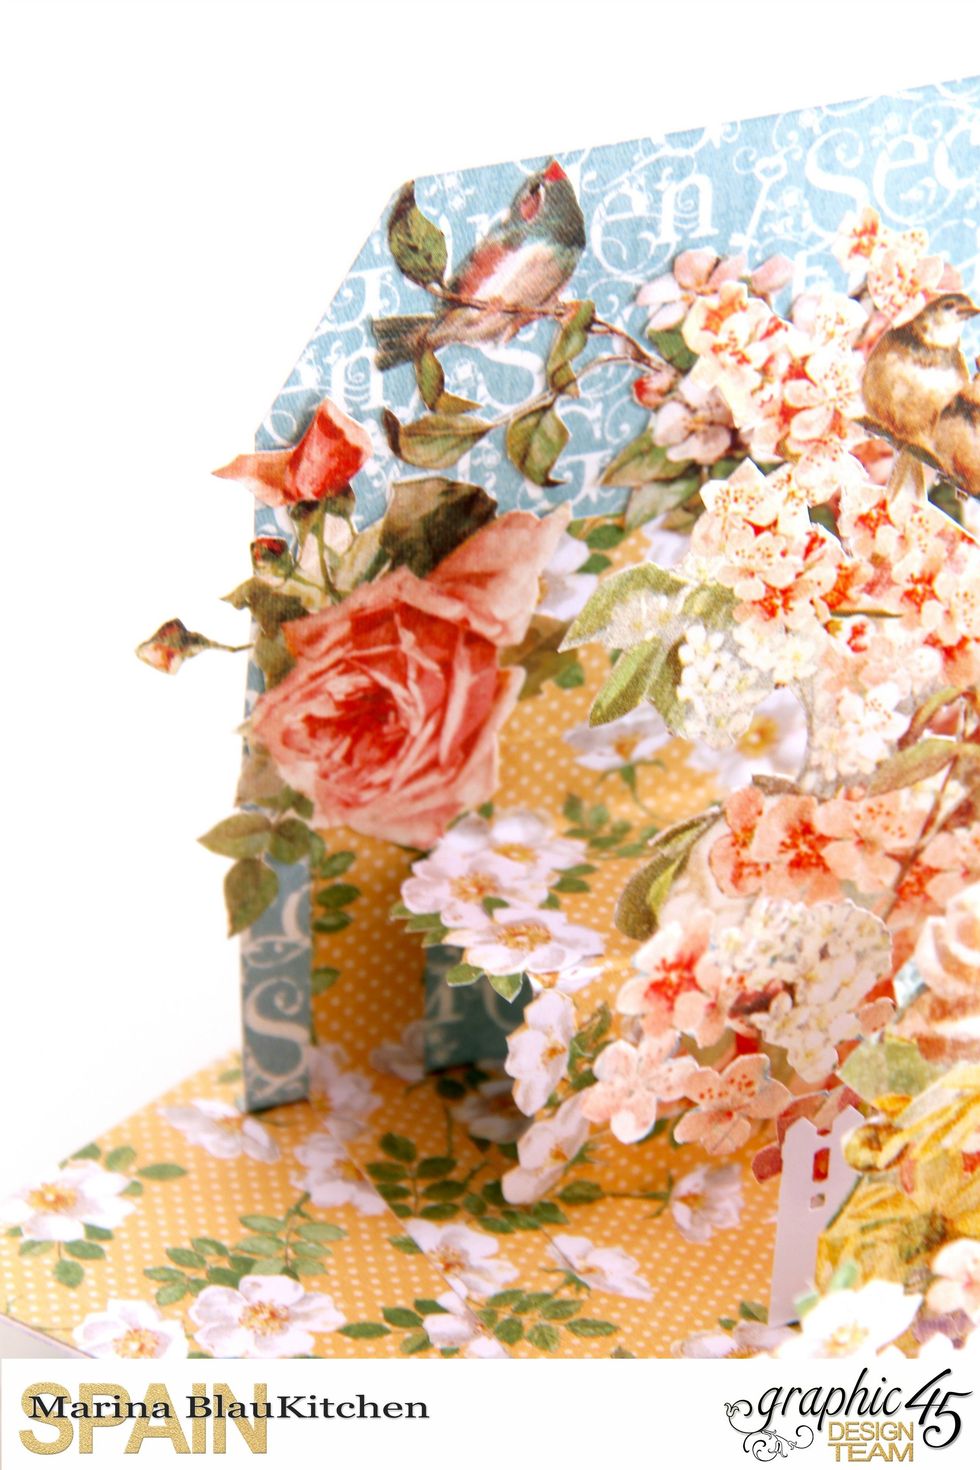
Glue flowers on the edge between the two different designe papers to unify.
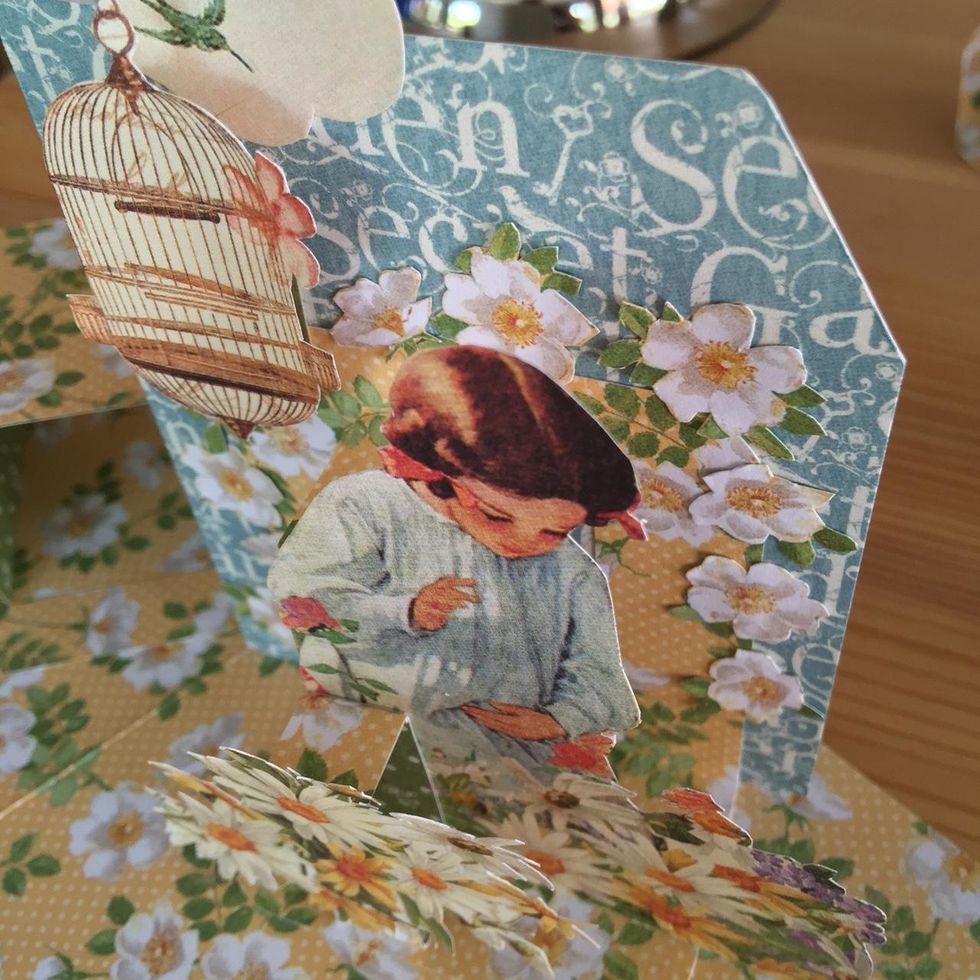
Glue more fussy cut pieces on the left side.

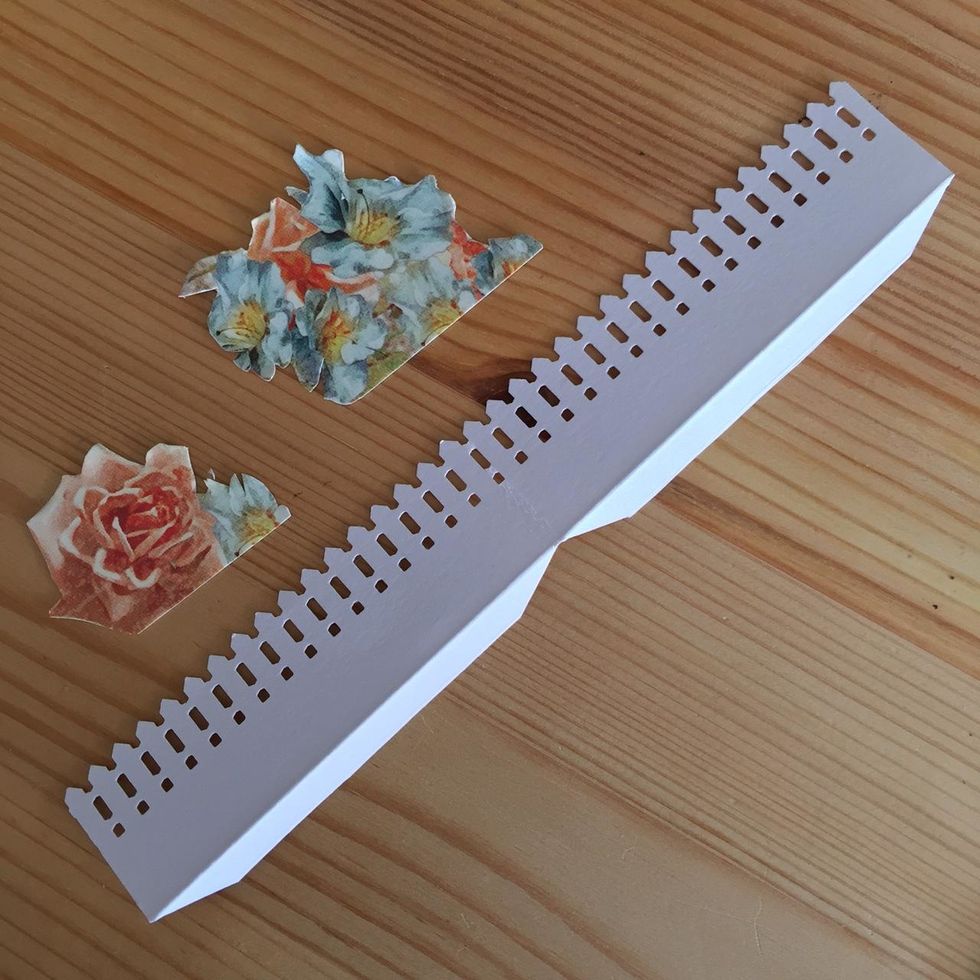
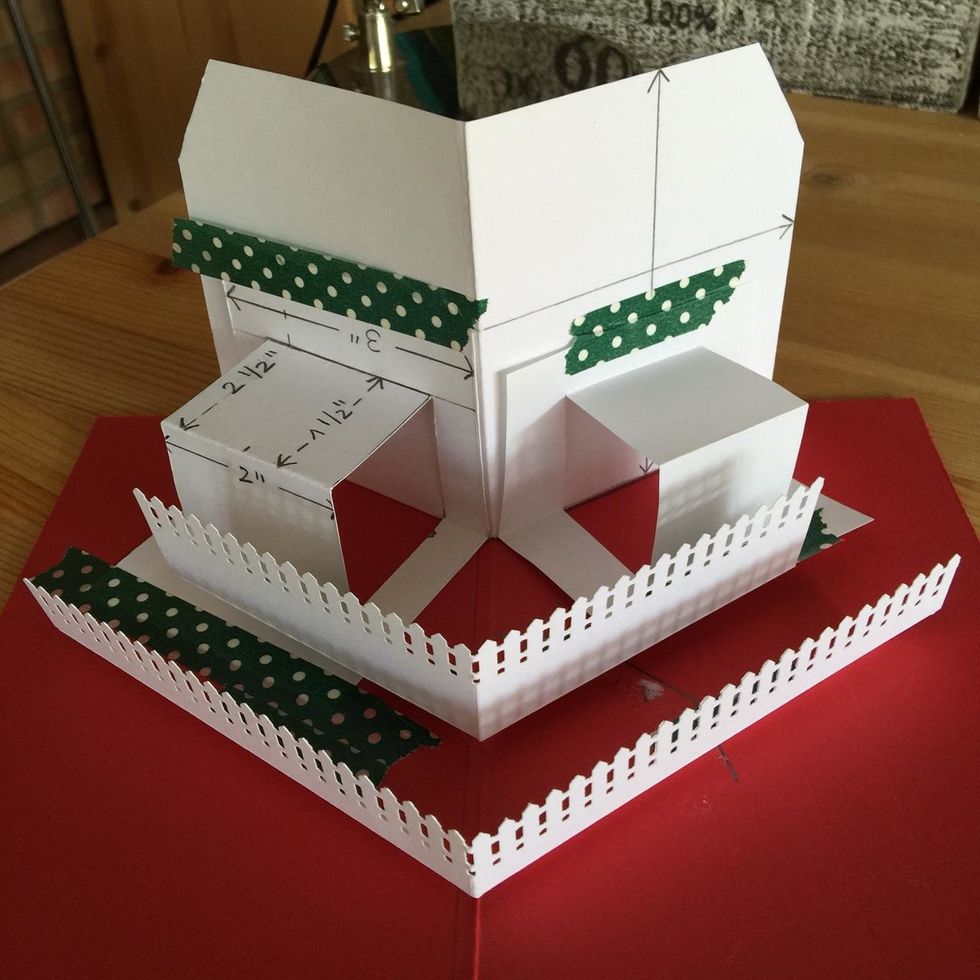
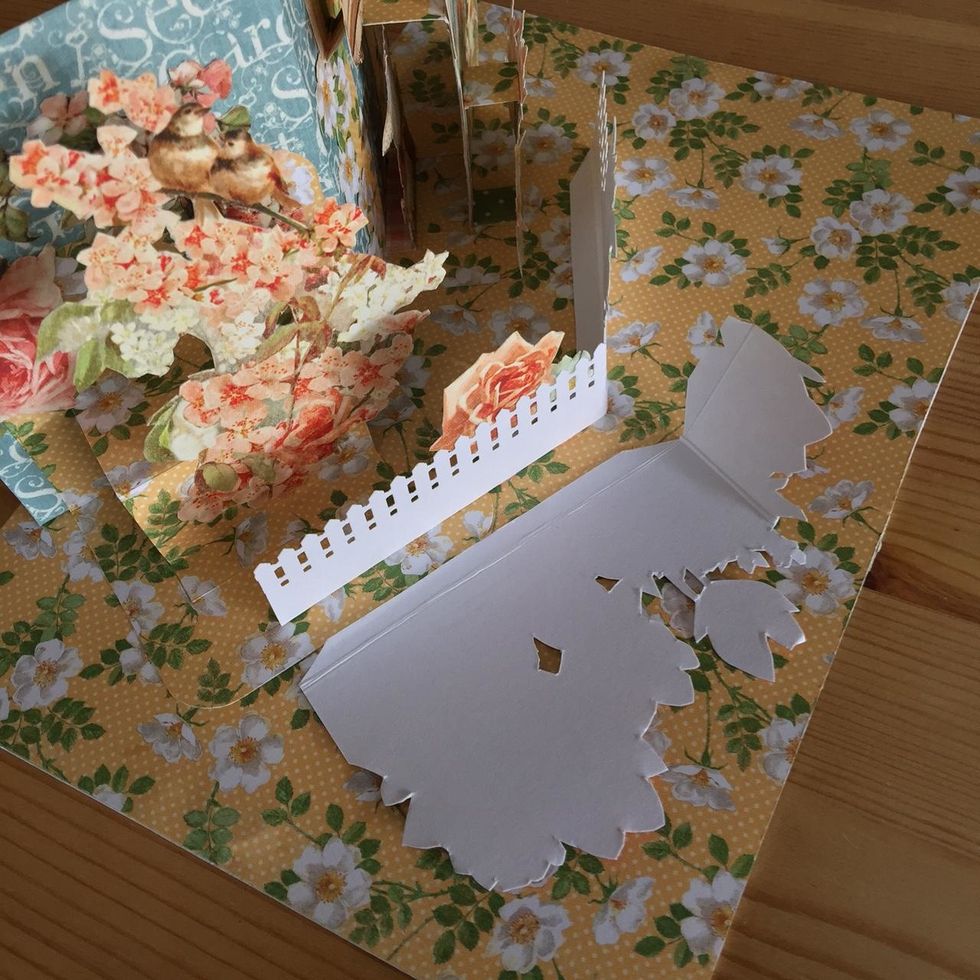
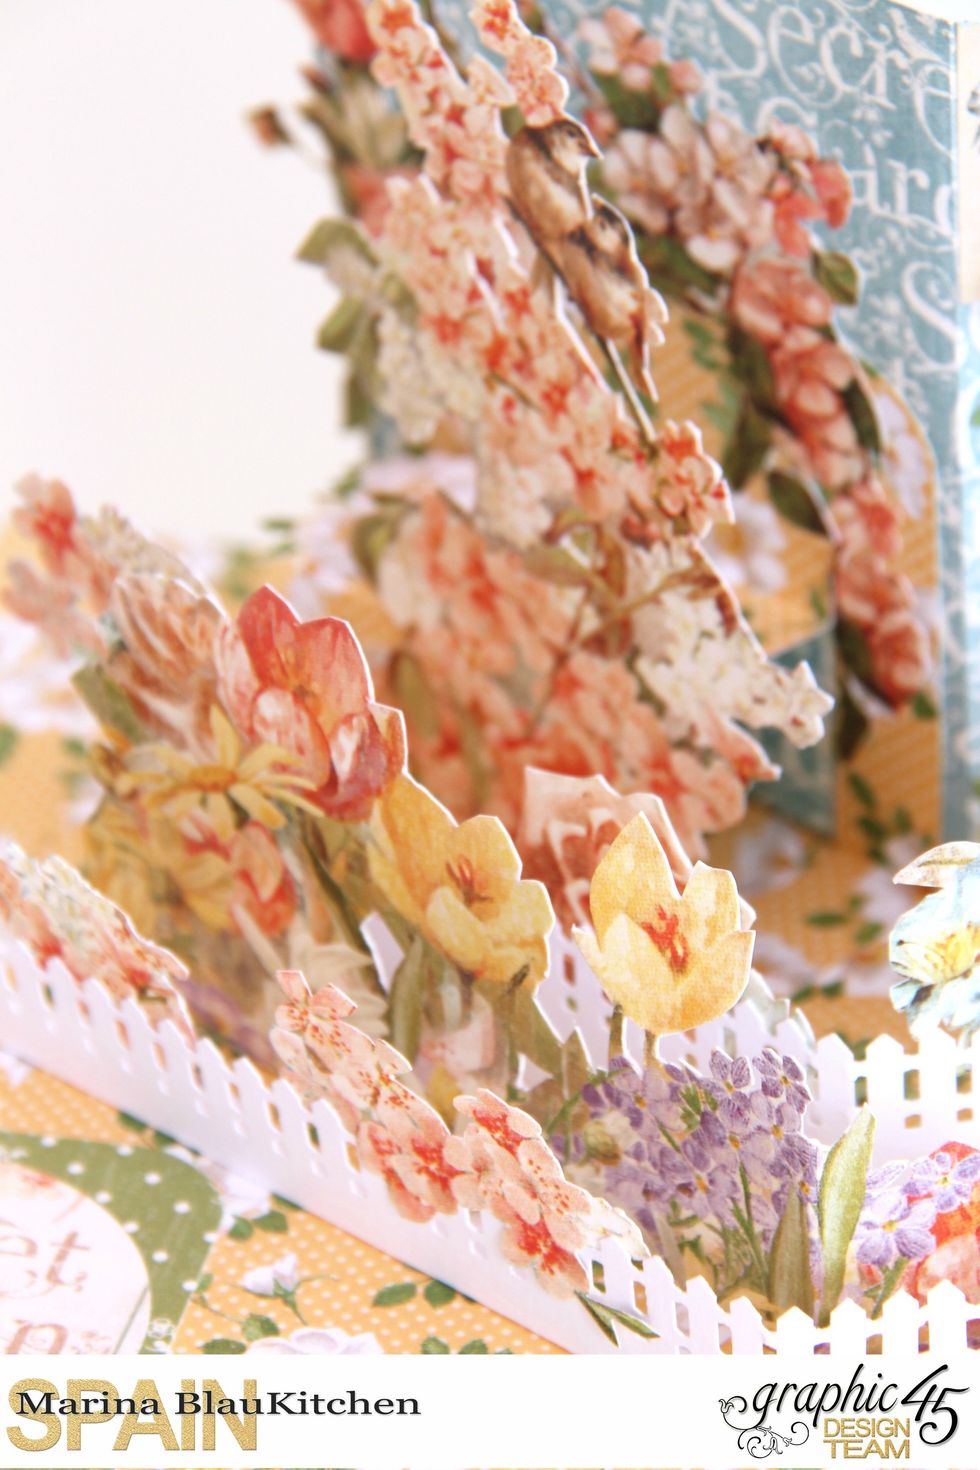
Decorate the fence with flowers.
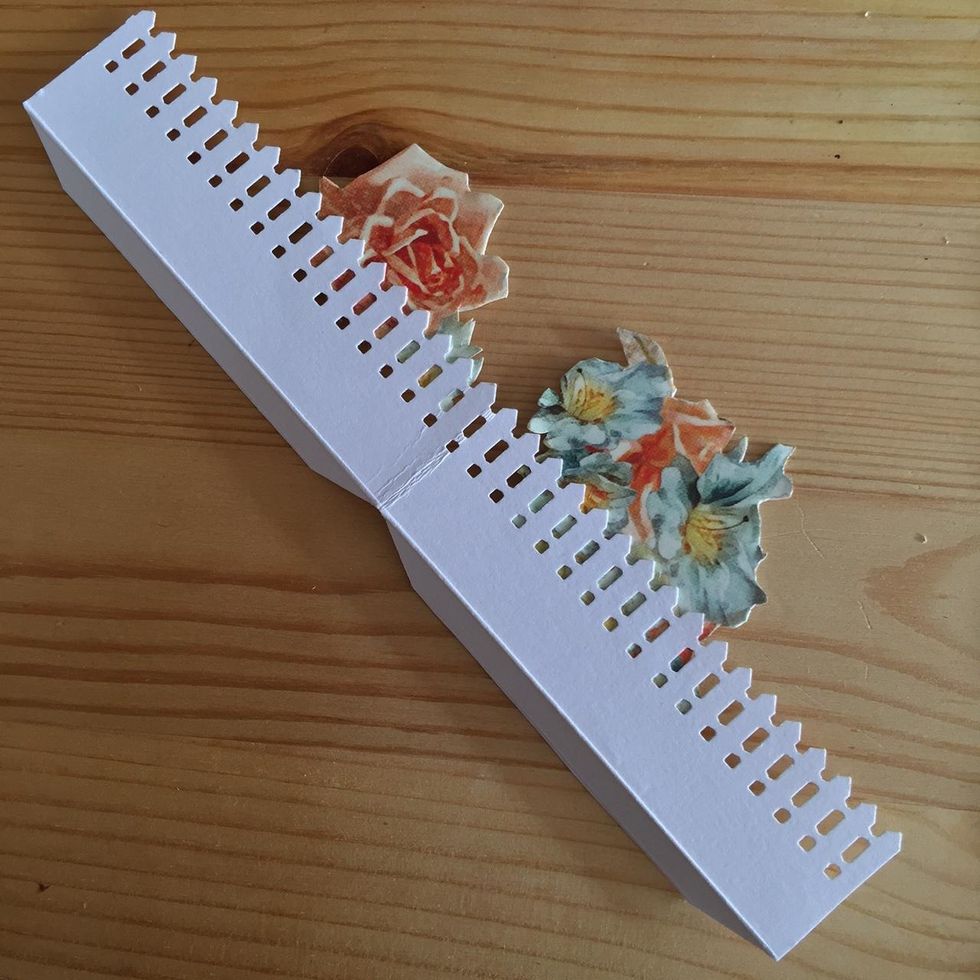
Glue the fence. First one tab, then the other one as we made in the main piece.
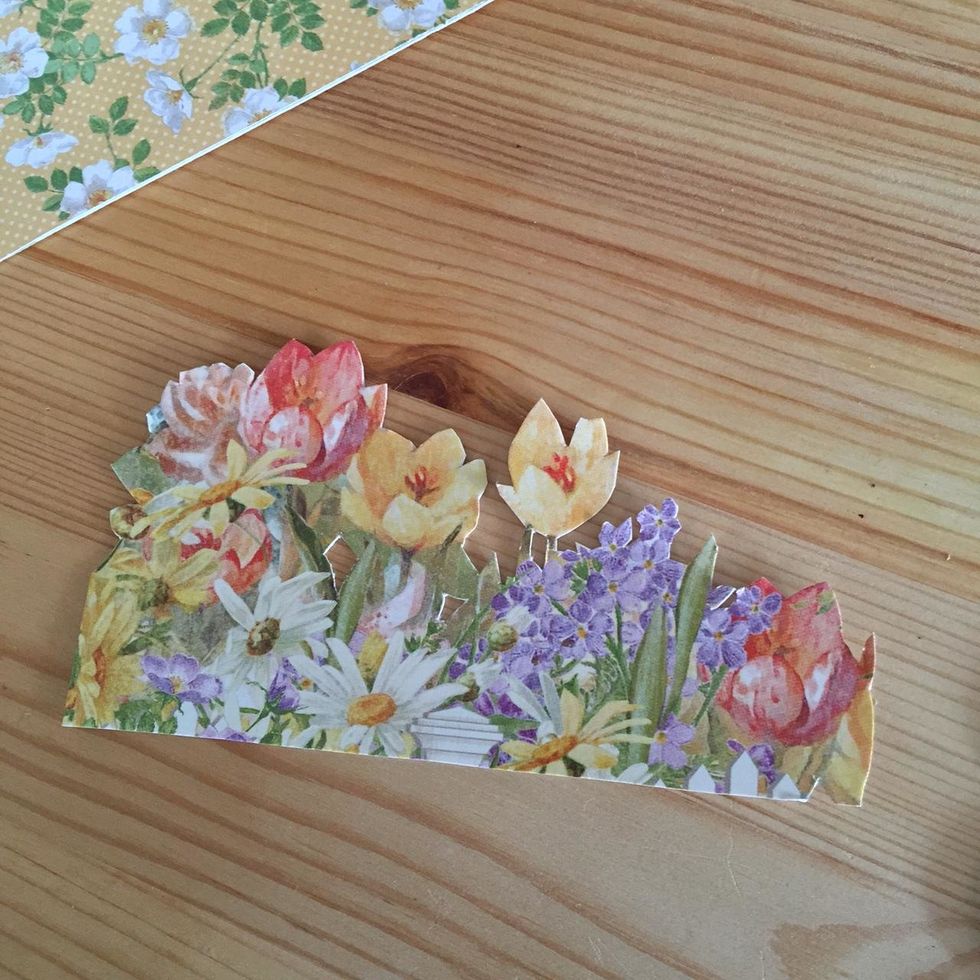
More and more fussy cut ...
Score to make a tab and glue the piece on the base.
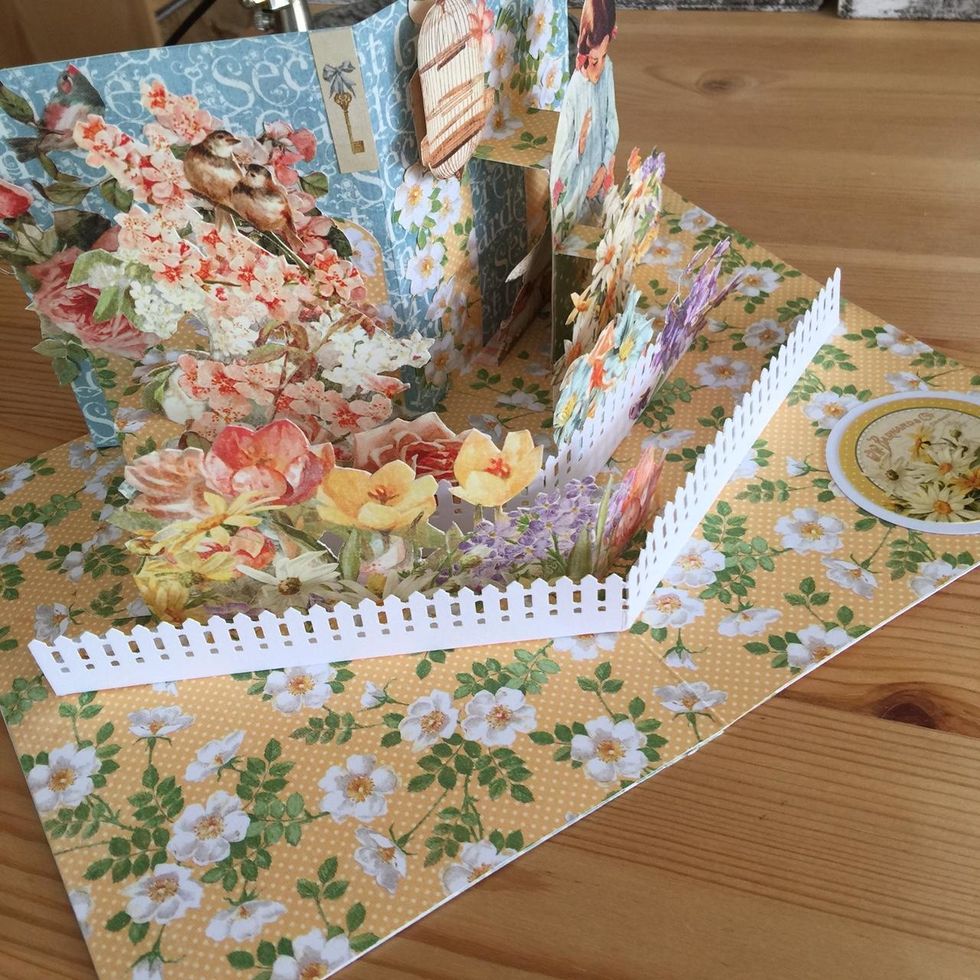
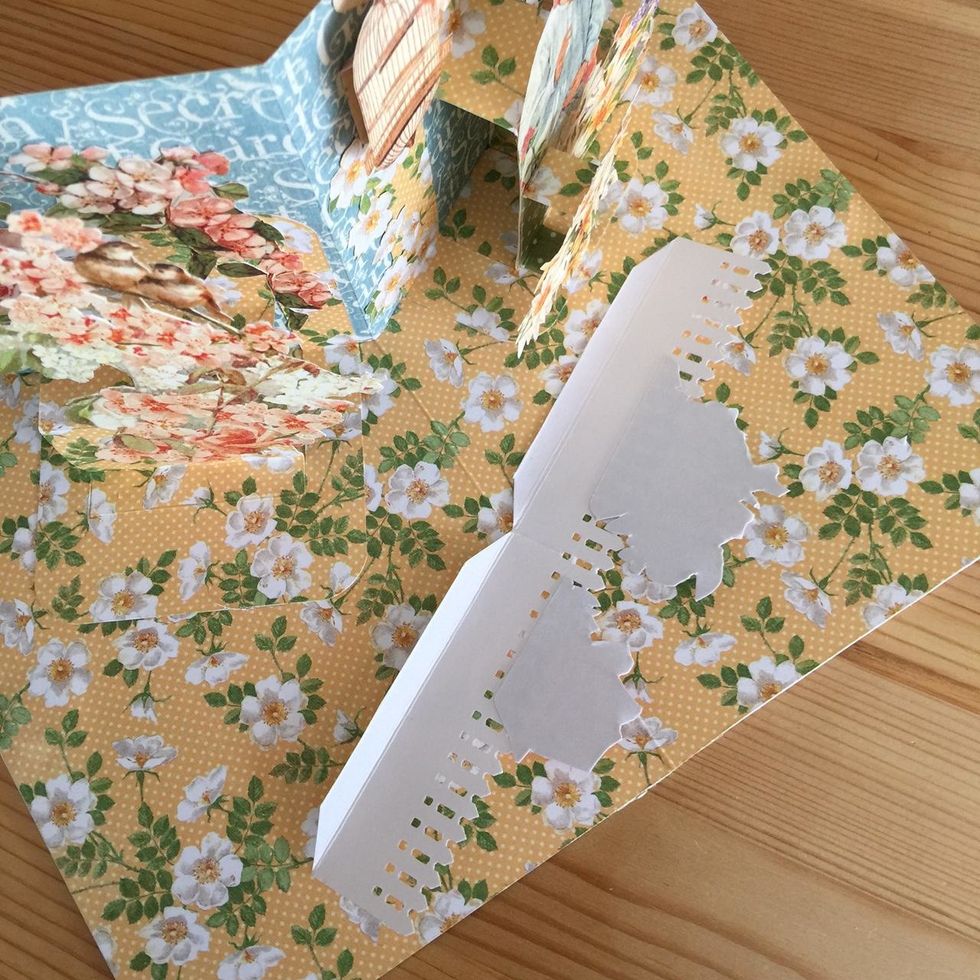
By last glue another fence on the front and decorate glueing flowers.
Adhere the card on the back cover of the book box.
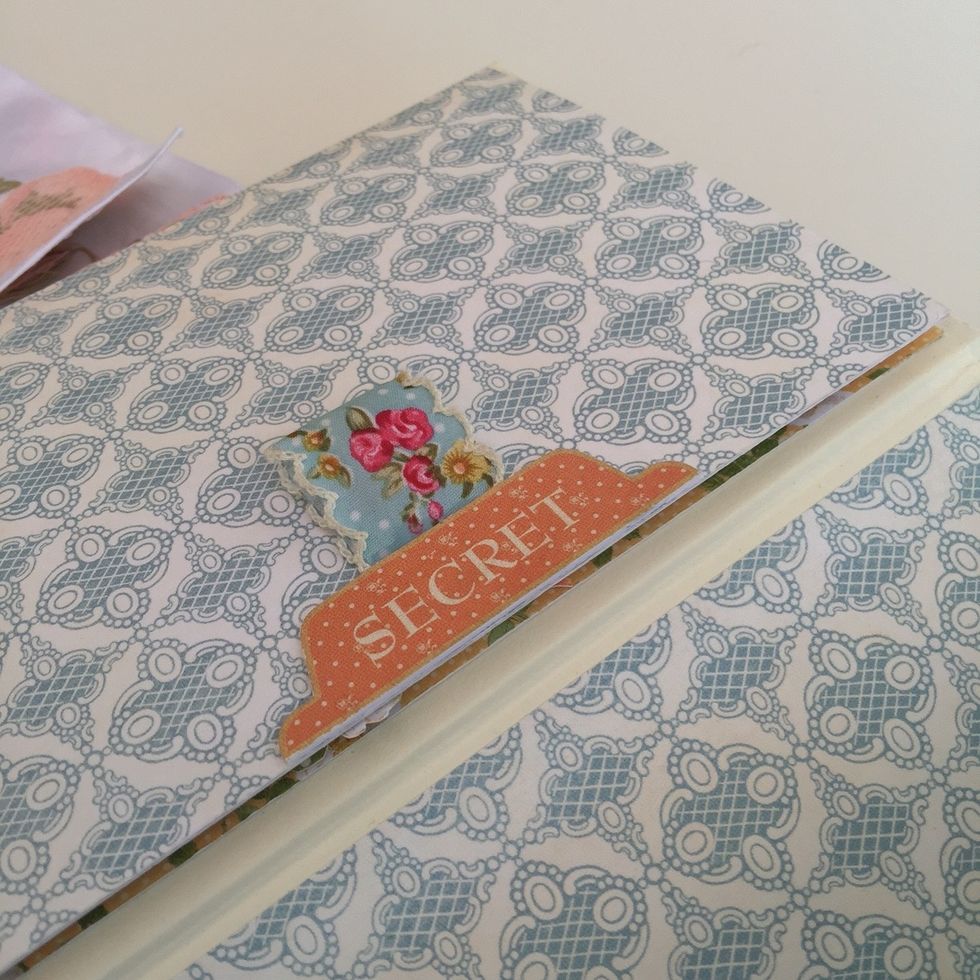
Stick a cardstock sticker and a piece of ribbon to pull and open the card.

Opening ...

...
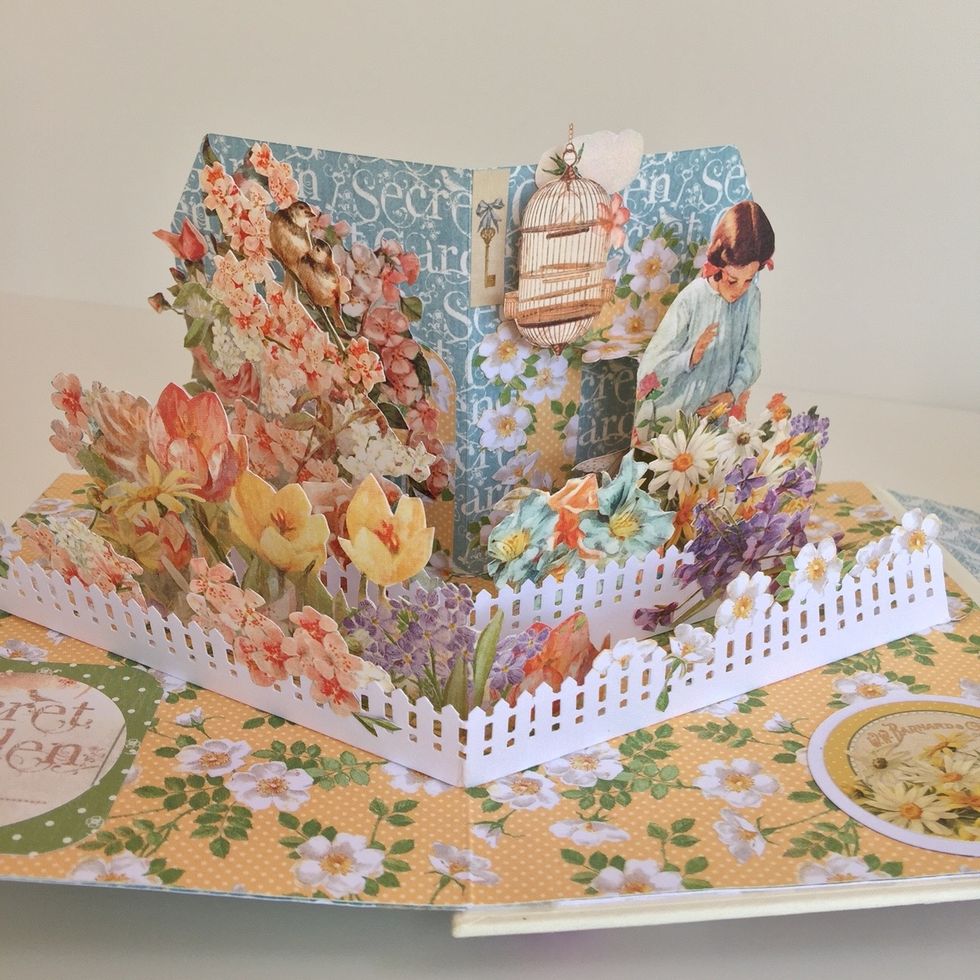
Opened!
All the elements of Graphic 45 Secret Garden Set.

The Ivory Book Box
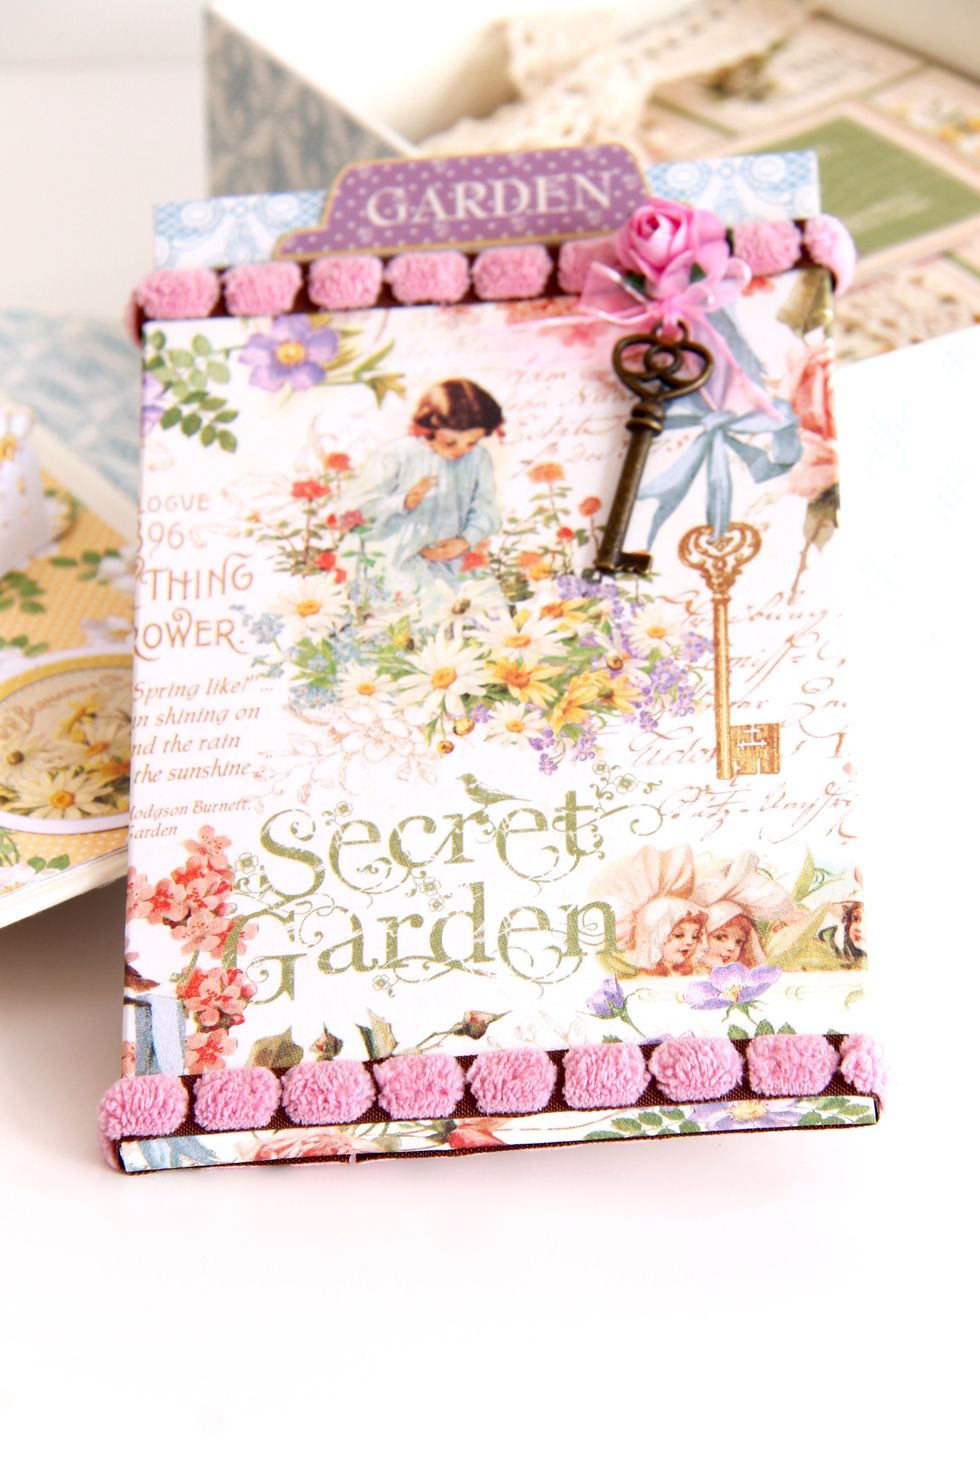
Mini album.

Mini album and case.
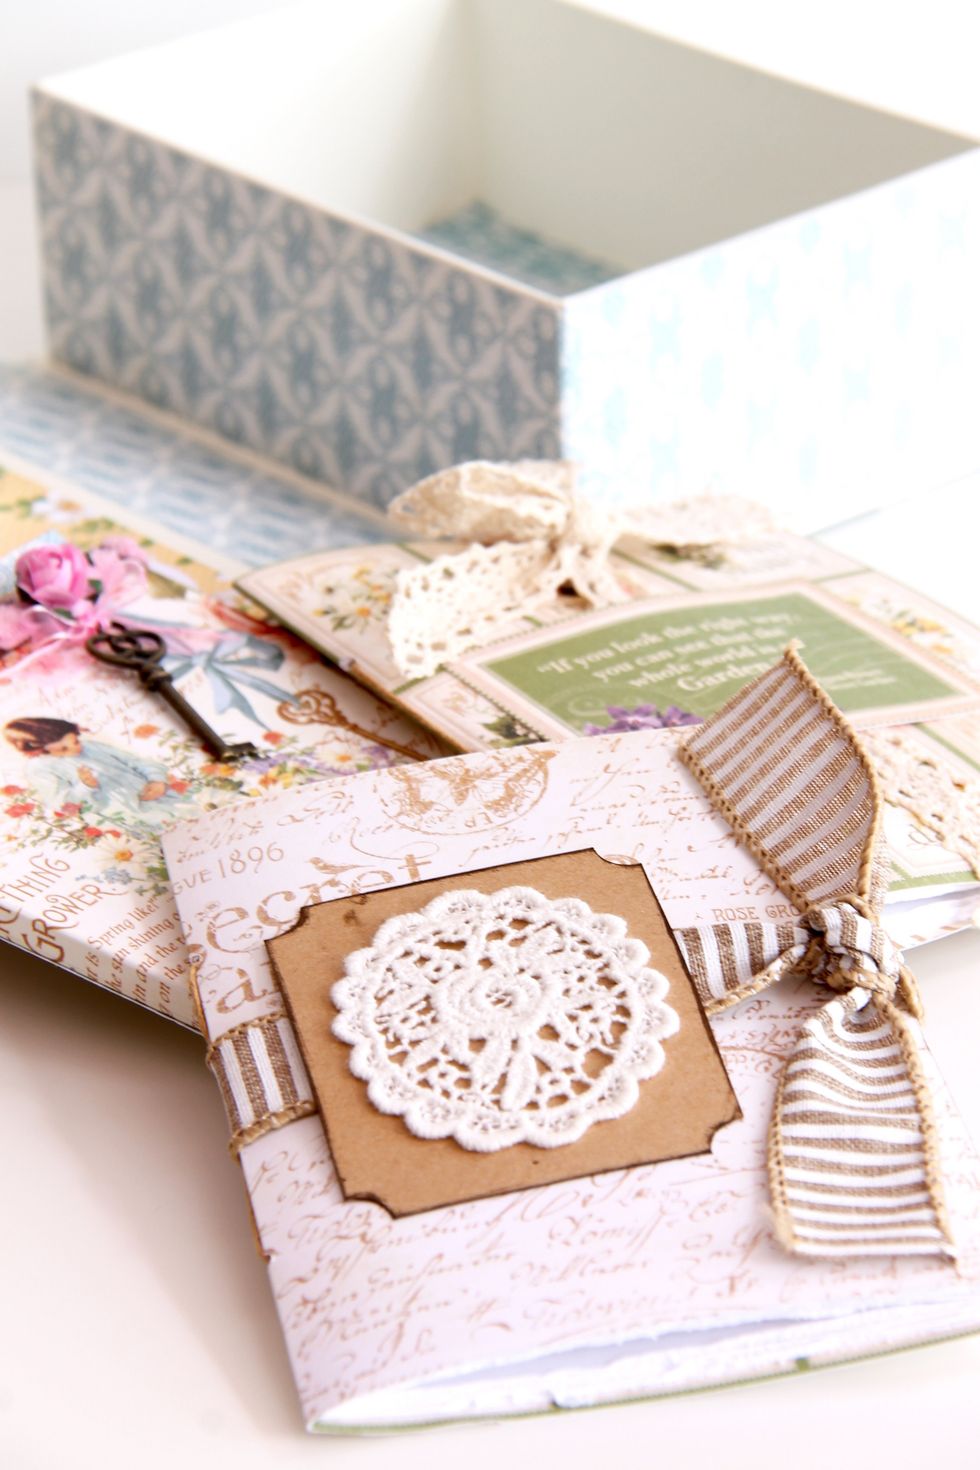
Notebooks.
Notebooks.
Close up project.
Thank you for watching the guide!