The Conversation (0)
Sign Up
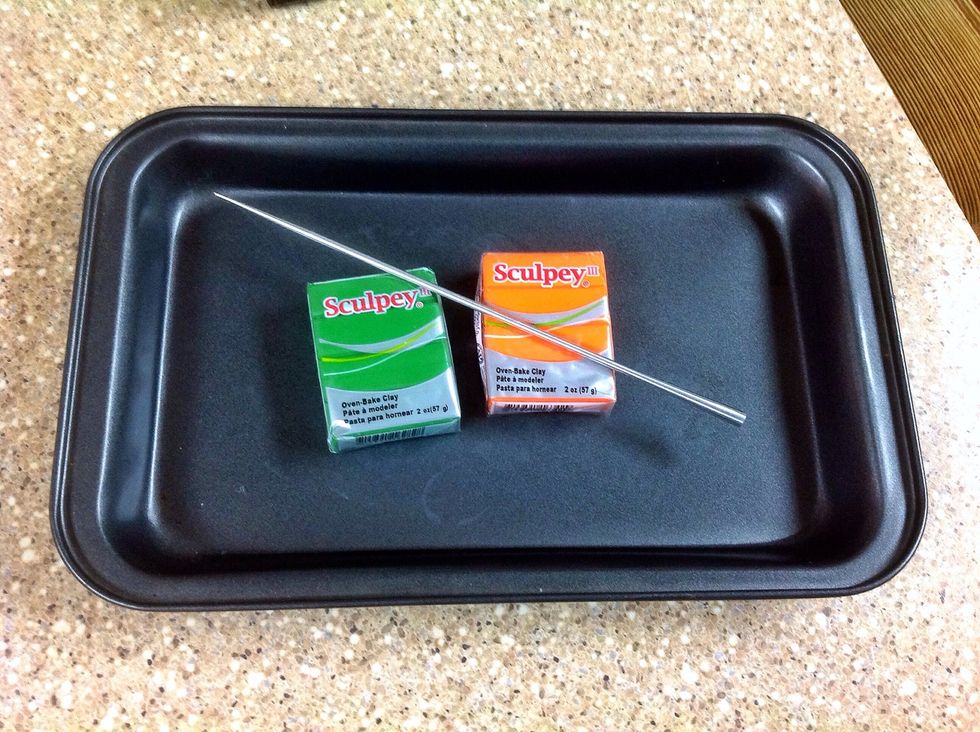
When all of your supplies are assembled, double check that your tool and cookie sheet are clean, as well as your hands and surface.
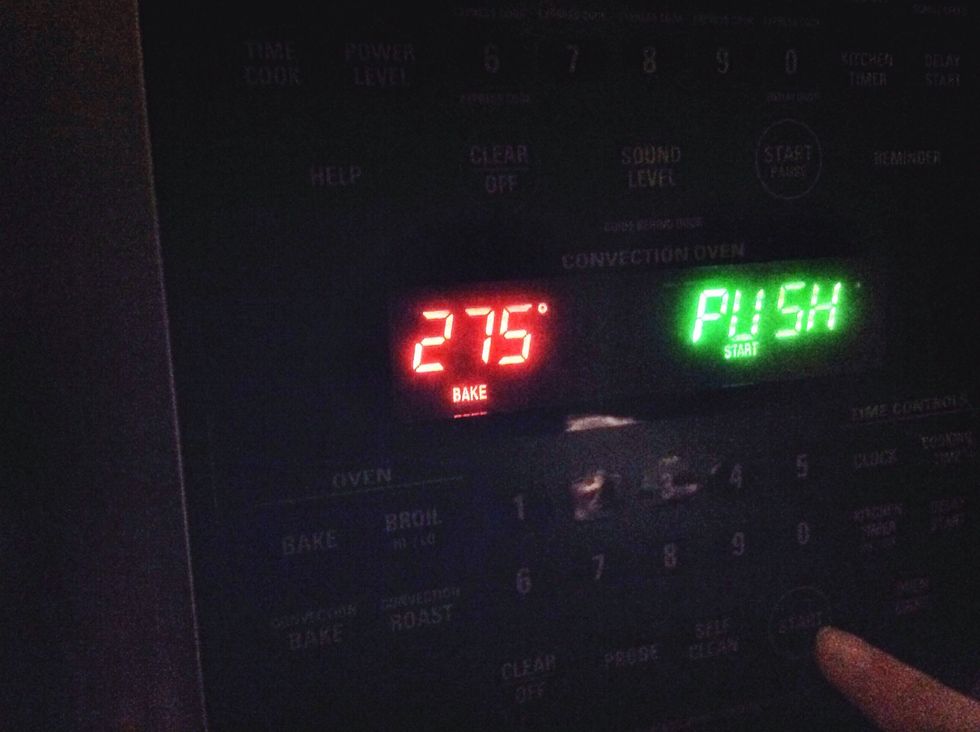
Preheat oven to the temperature specified on the package of clay.

Break off a piece of the orange clay. It can be however large you want.
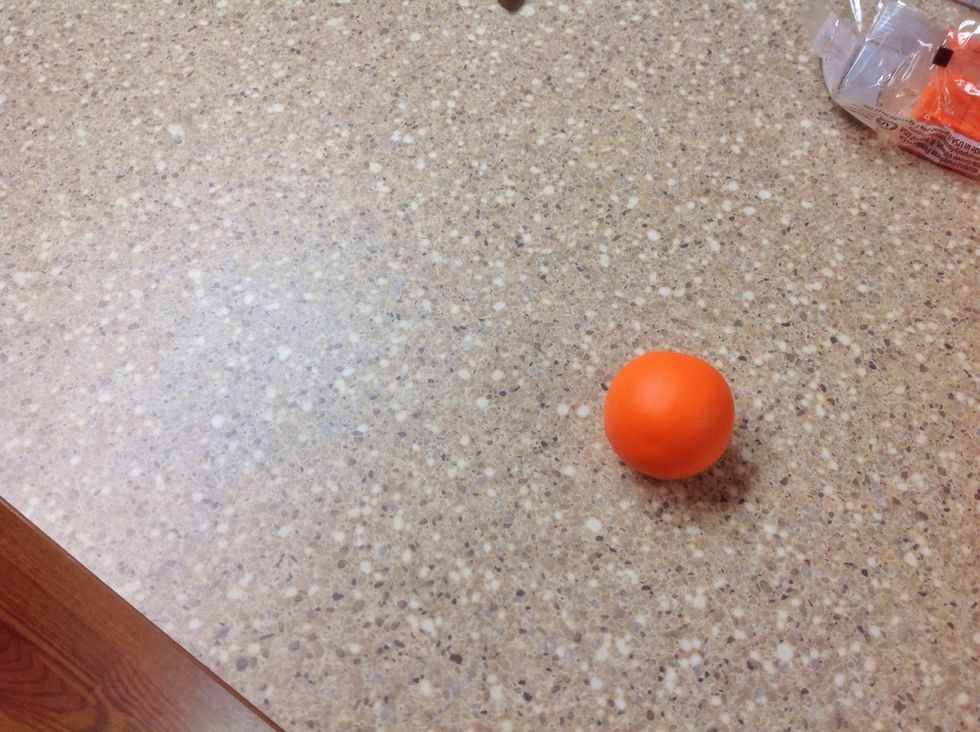
Form the clay into a ball. Place the ball on the hard surface.

Using your thumb, gently push down on the center of the top of the ball. The top and bottom will be slightly flattened.
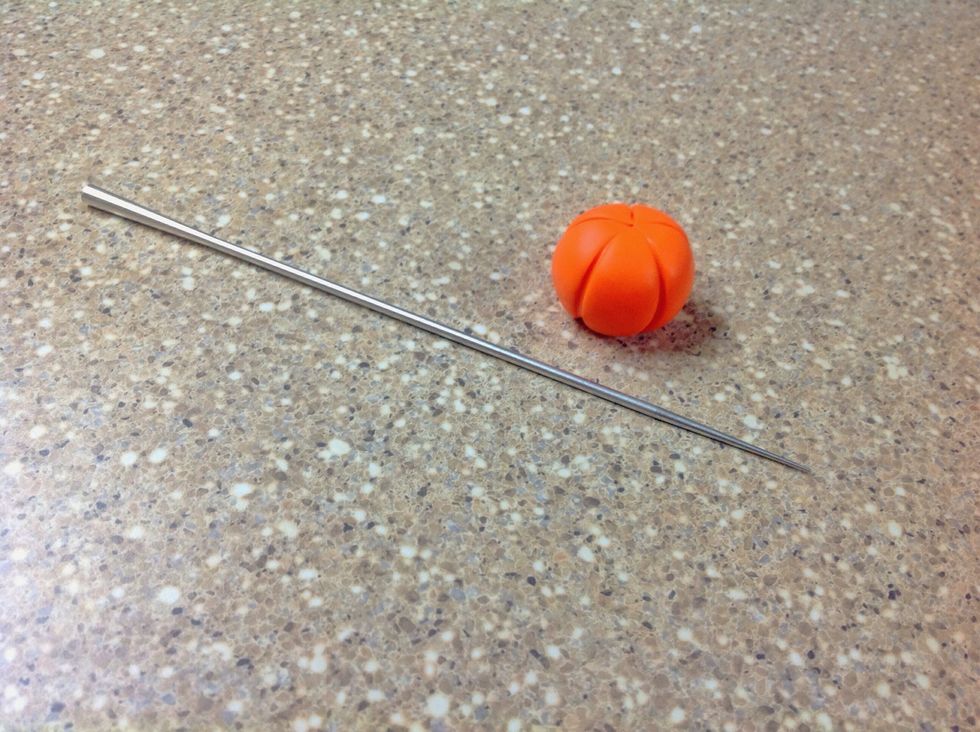
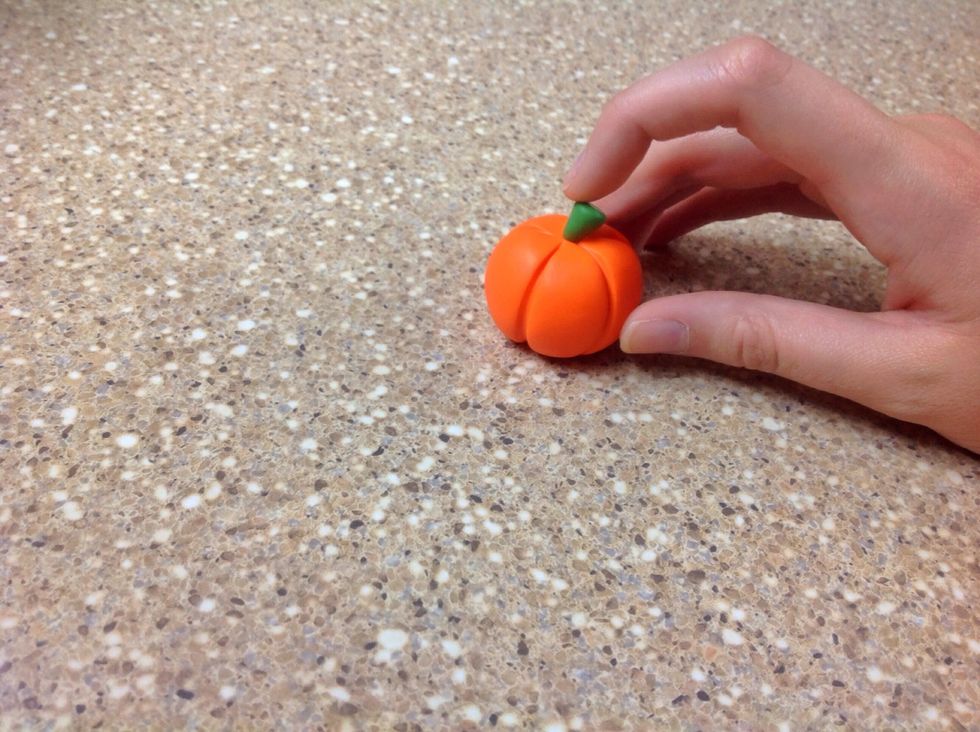
Take the sculpting tool and press it vertically along the outside of the ball to give it pumpkin-like grooves. Make as many grooves as you desire, but spread them out to make the pumpkin realistic.
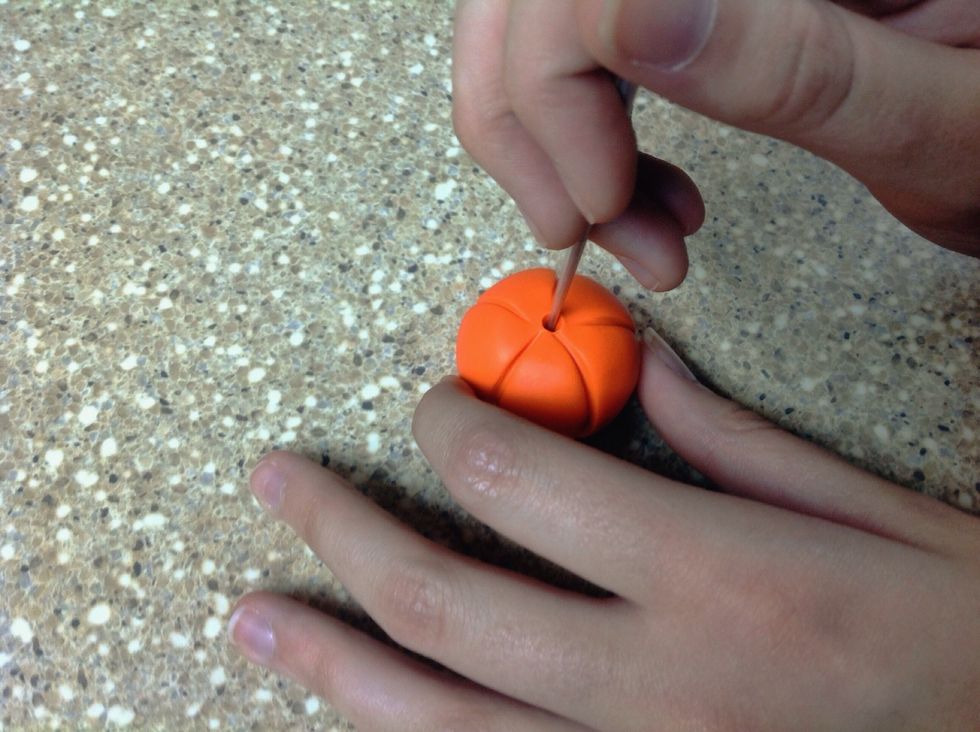
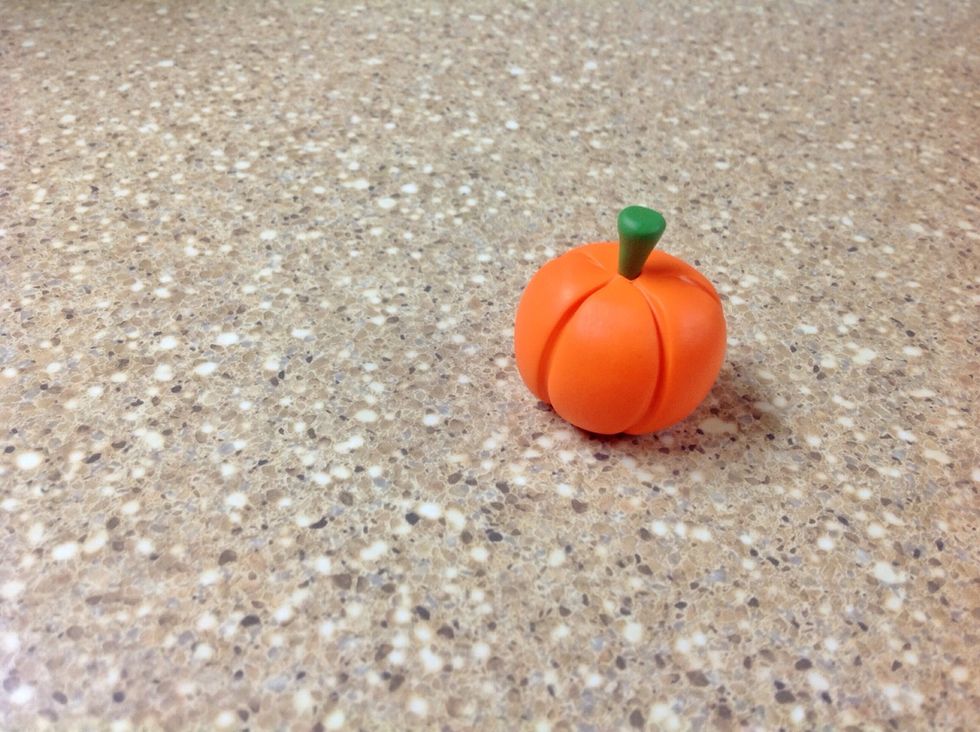
Using the sharp tip of the sculpting tool, poke a hole in the top of the pumpkin. Push the tip in and make slow circular motions with the tool to make the hole large enough to insert the stem.
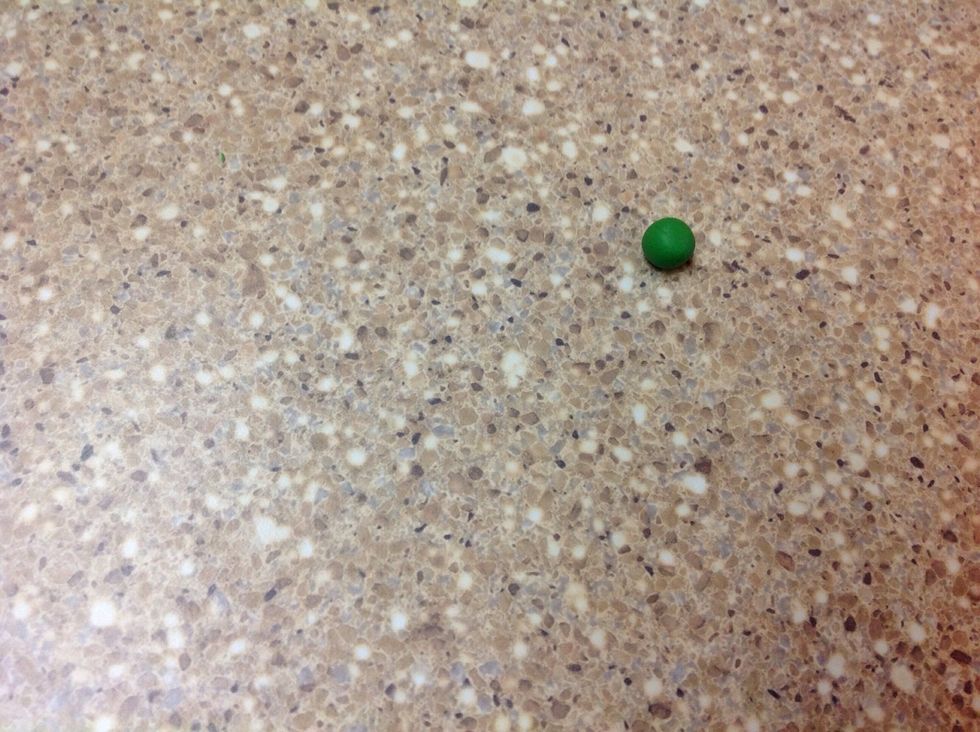
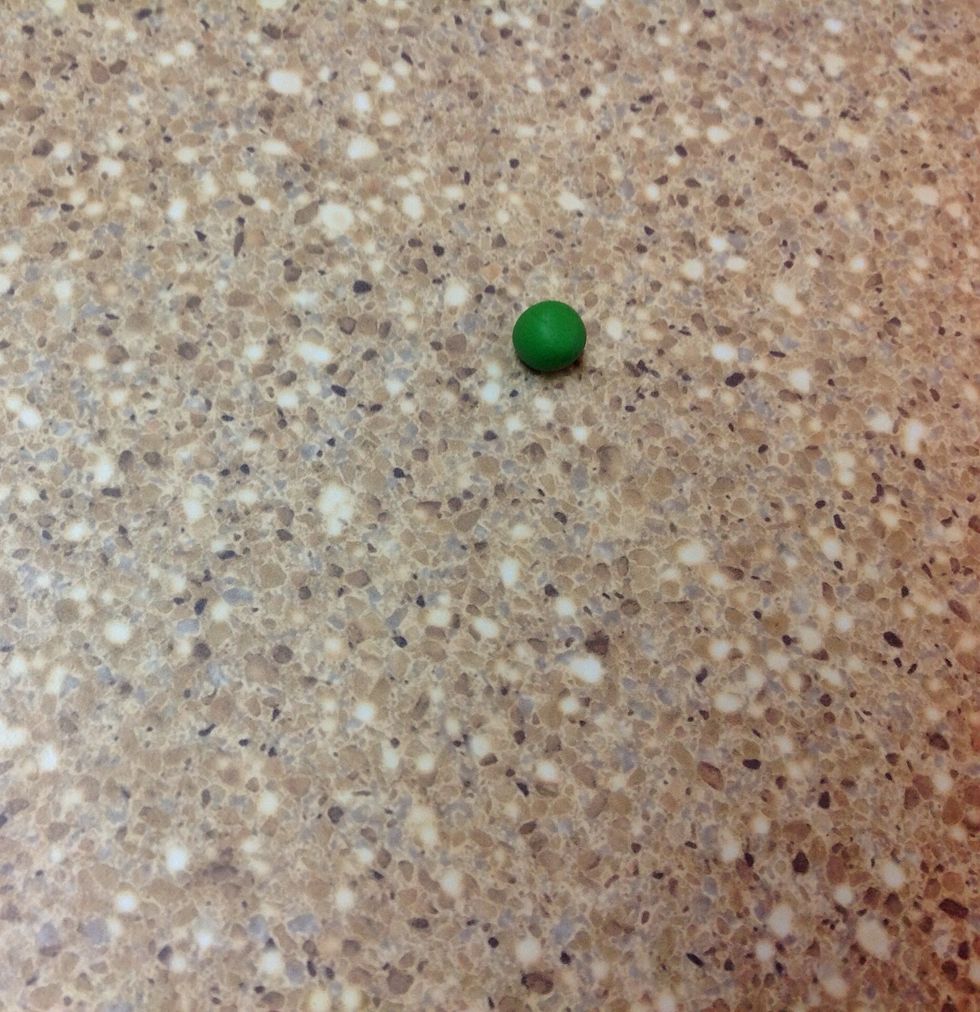
Wash your hands thoroughly before warming up the green clay. Pinch off a small piece of the clay, form a ball and place it on the hard surface.
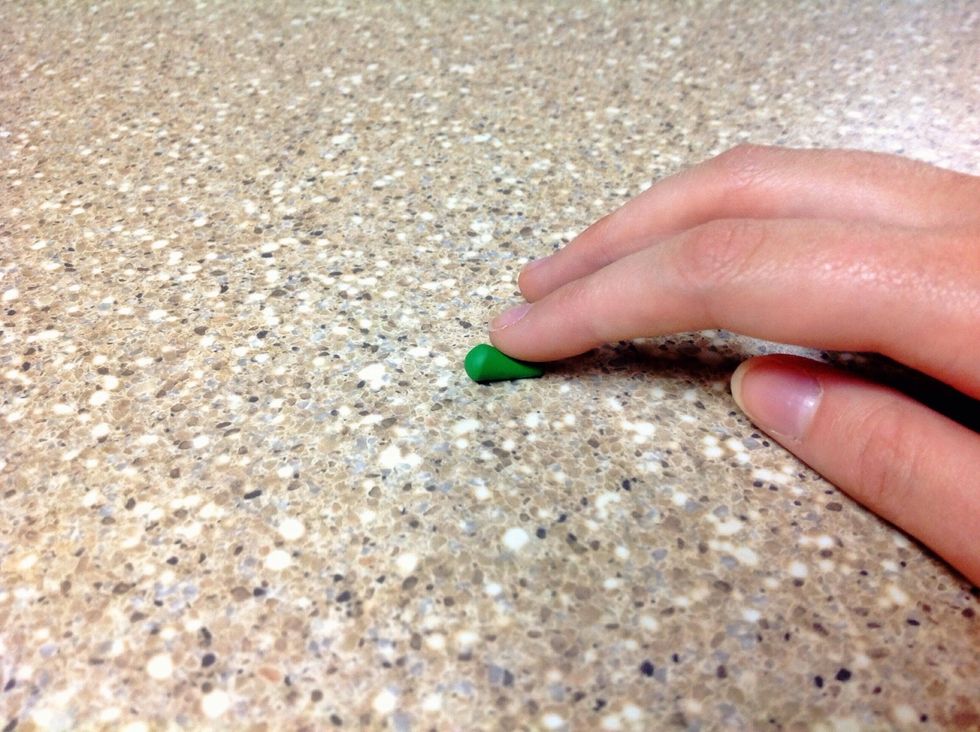
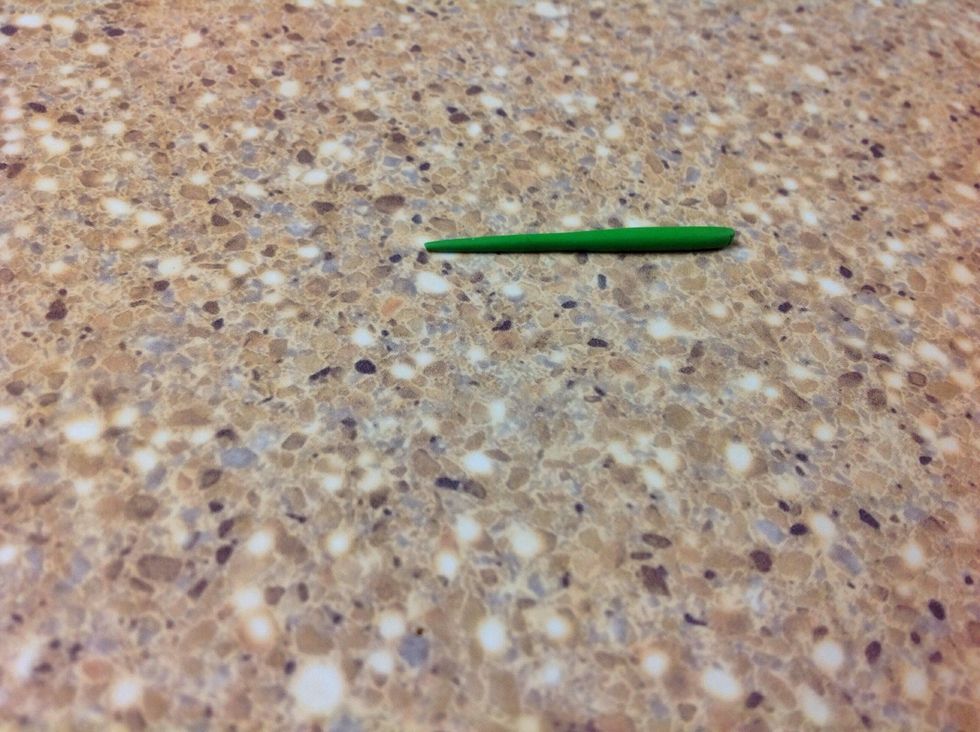
Using your fore finger, press and roll on one side of the ball to make a cone shape.
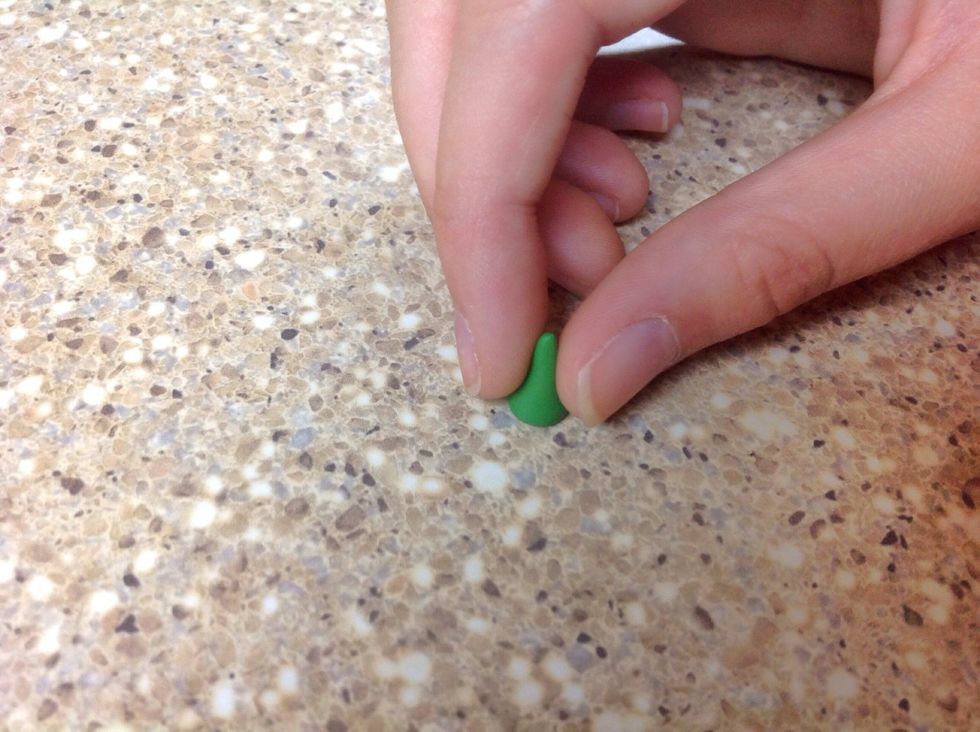
Gently pick the cone shape up and flatten the larger end of the cone on the hard surface.
Stick the cone shape, tip down, into the hole in the top of the pumpkin. Do not press down to hard or the stem will become misshapen.
Using your fore finger, gently push down on the top of the stem. This little curve will give personality to your pumpkin.
Pinch off another, smaller piece of green clay. Form a ball and place it on the hard surface.
Using your fore finger, roll the clay back and forth on the hard surface to make a snake-like shape. Press harder on one end as you roll to make a point.
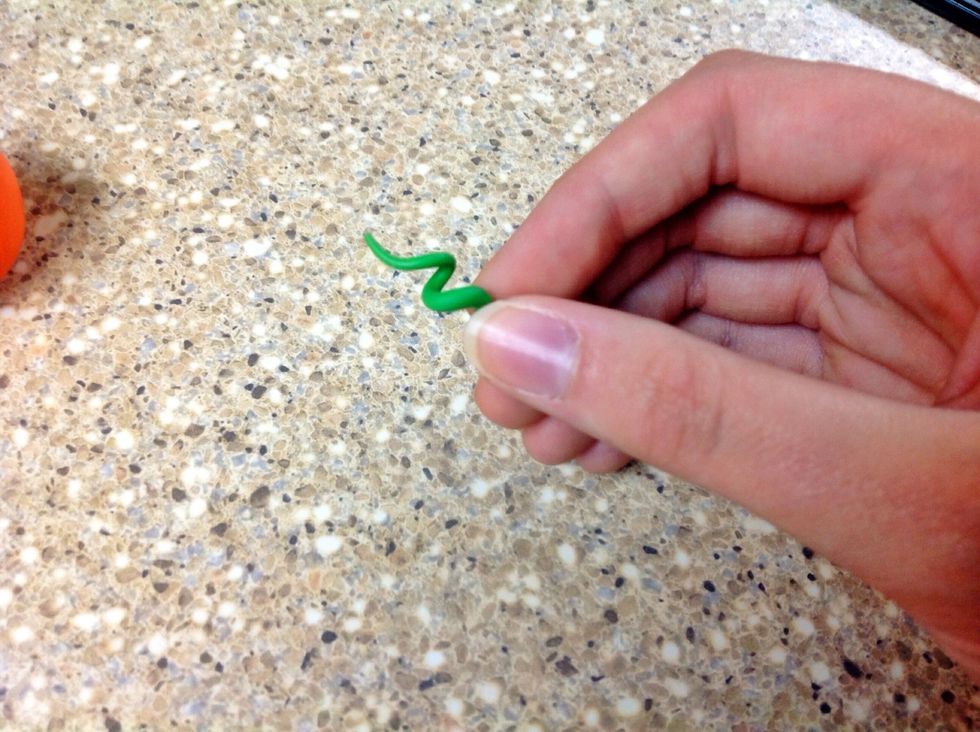
Take the clay "snake" and gently twist it into a spiral.
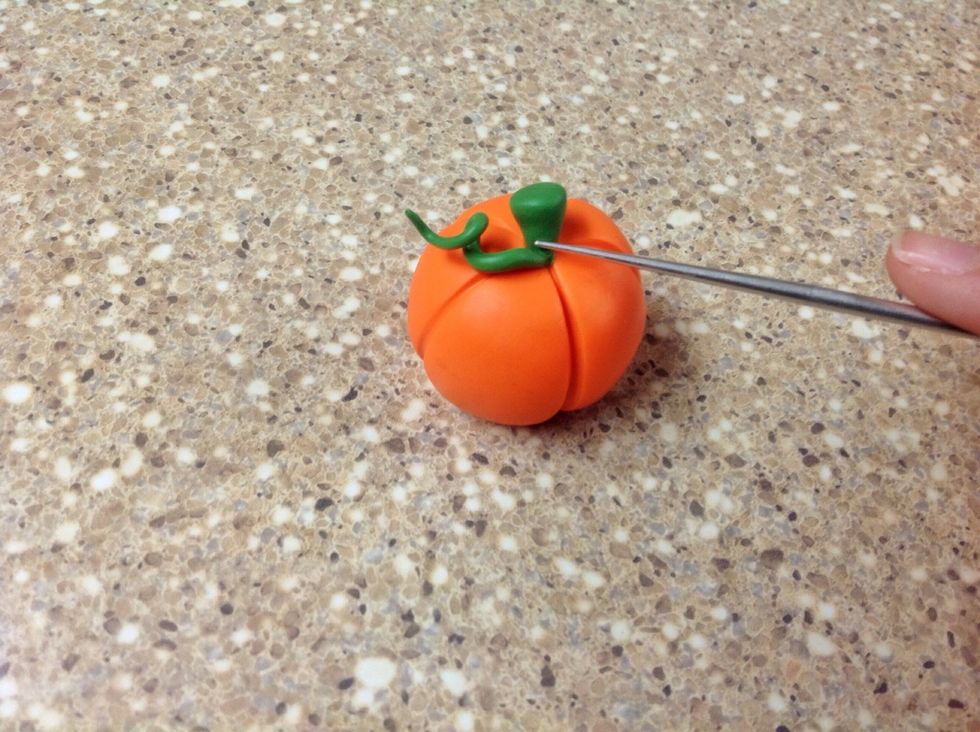
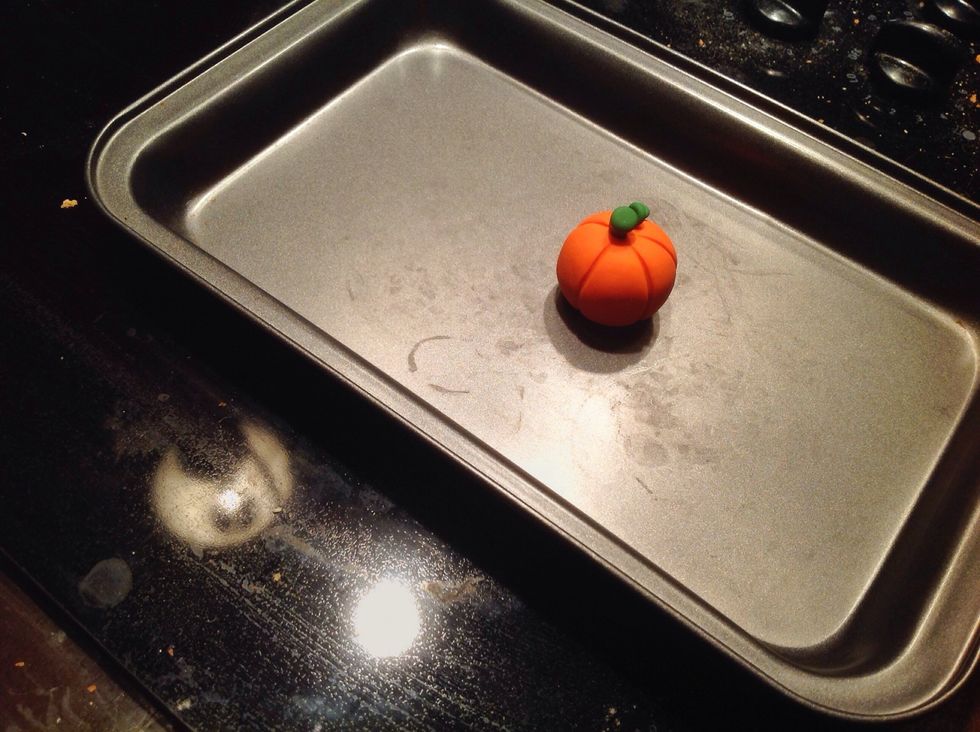
Pick a spot along the stem, place the non-pointed end of the vine there, and press down with the sculpting tool, adhering it to the pumpkin.
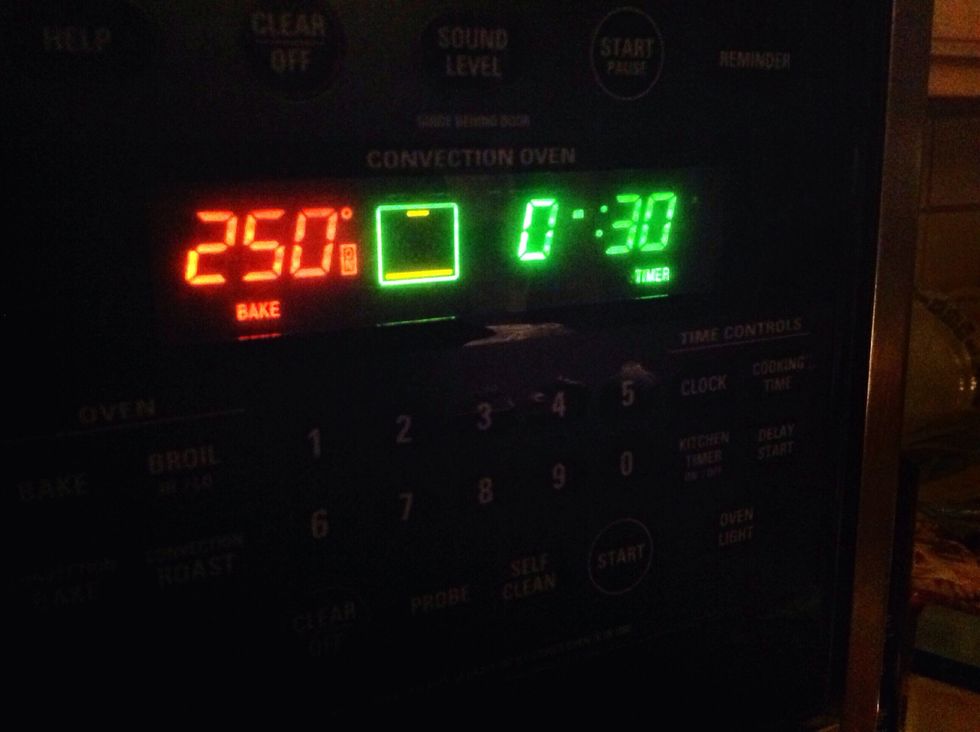
Set the oven timer for the amount specified on the clay's packaging.
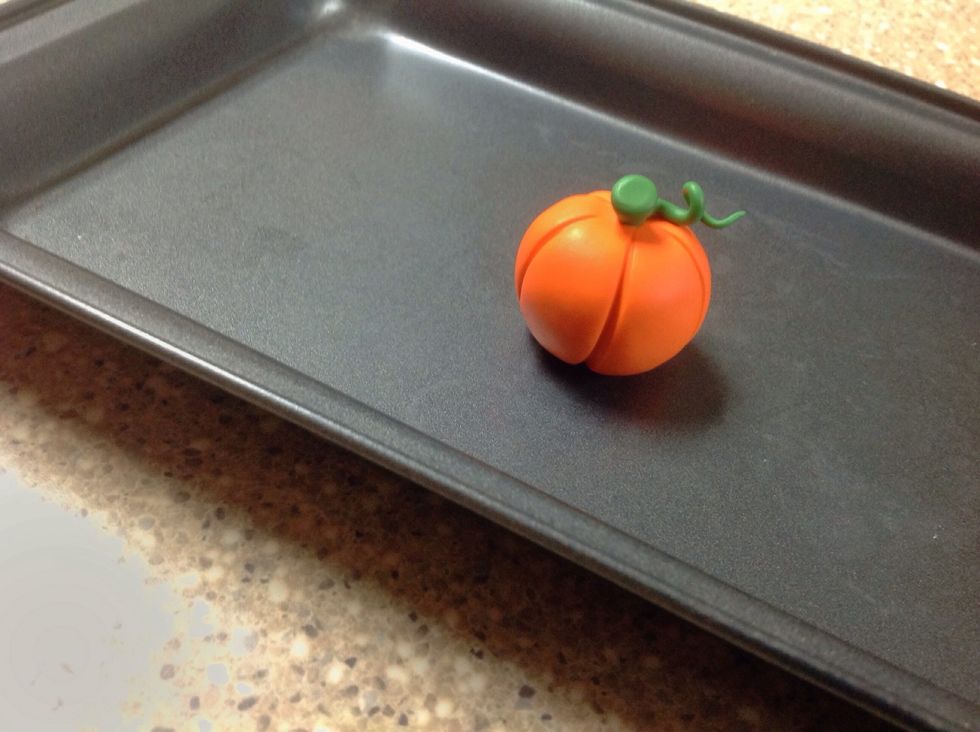
Put your completed pumpkin onto the cookie sheet and place it into the oven.
After the specified time, take your creation out of the oven. Do not grab the clay right away, because it will be extremely hot. Allow 10-15 minutes for the clay to cool.