The Conversation (0)
Sign Up

Gather your supplies. I'm using Sculpey III clay.
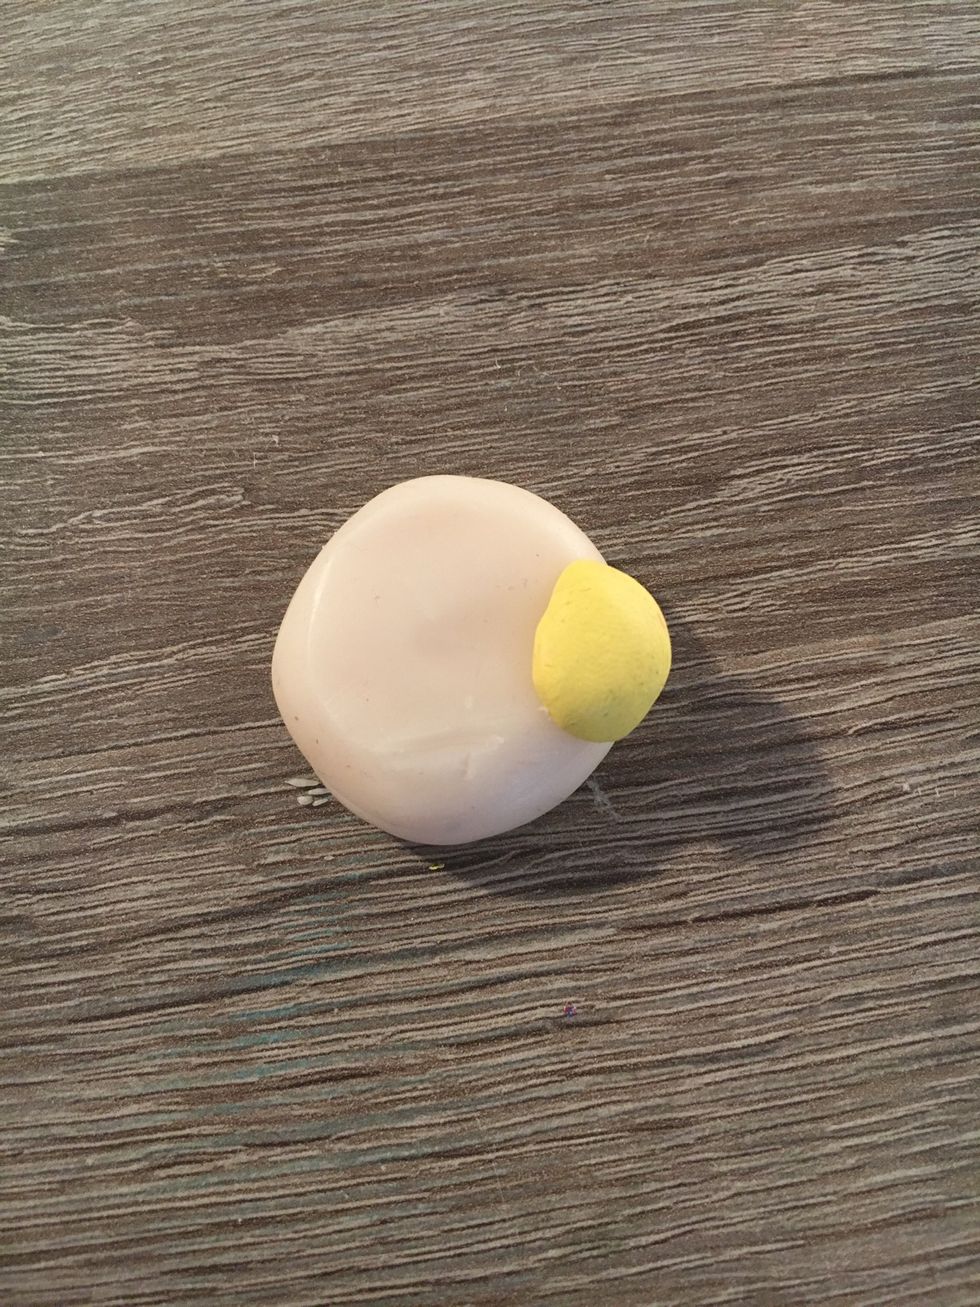
With clean hands, mix some translucent clay with a small piece of yellow clay.

It should create a lighter yellow, like this.
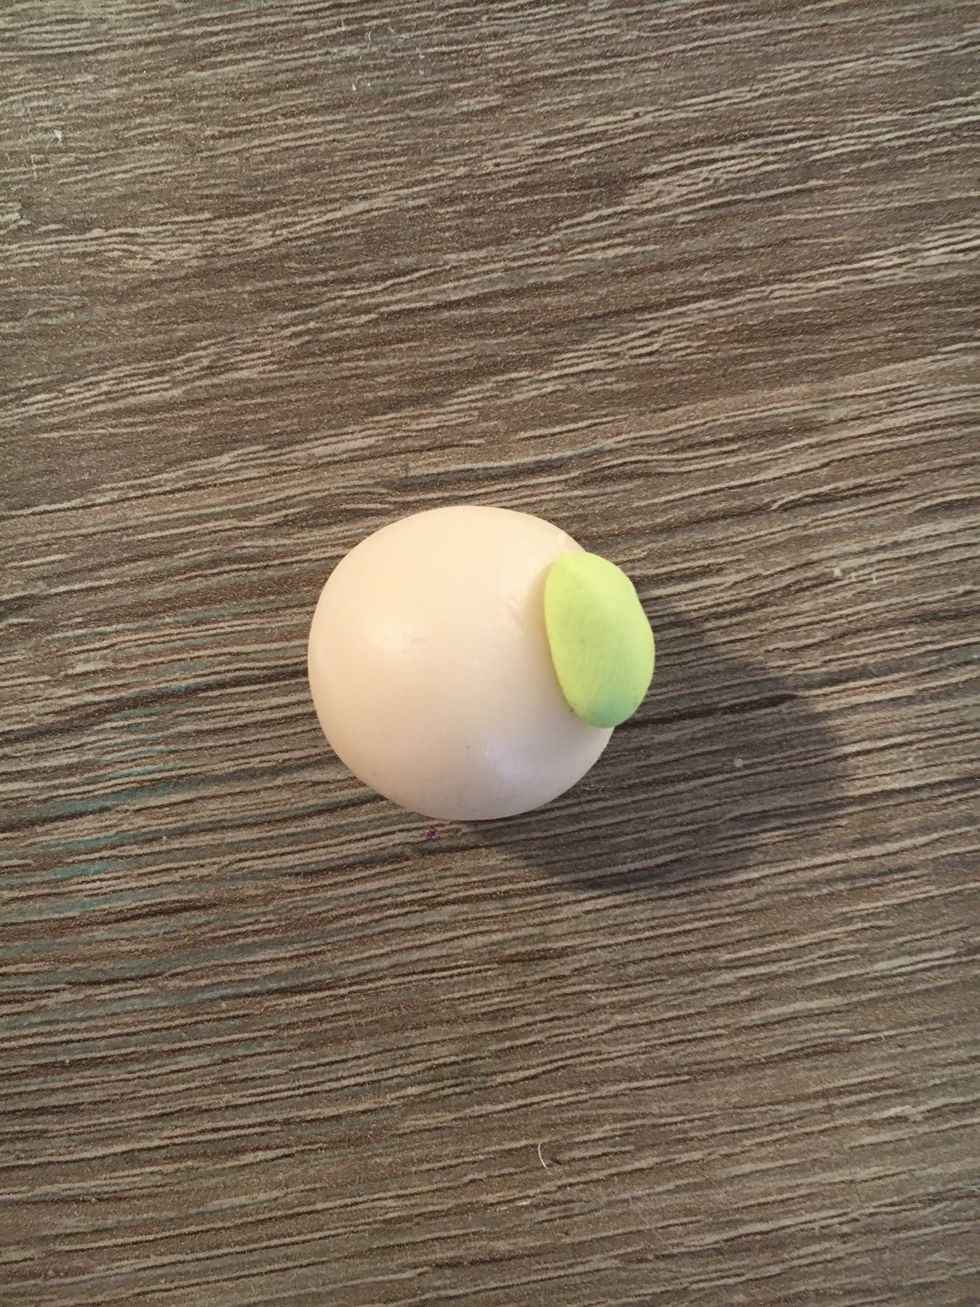
With a smaller ball of more translucent clay, mix it with a small piece of green clay.
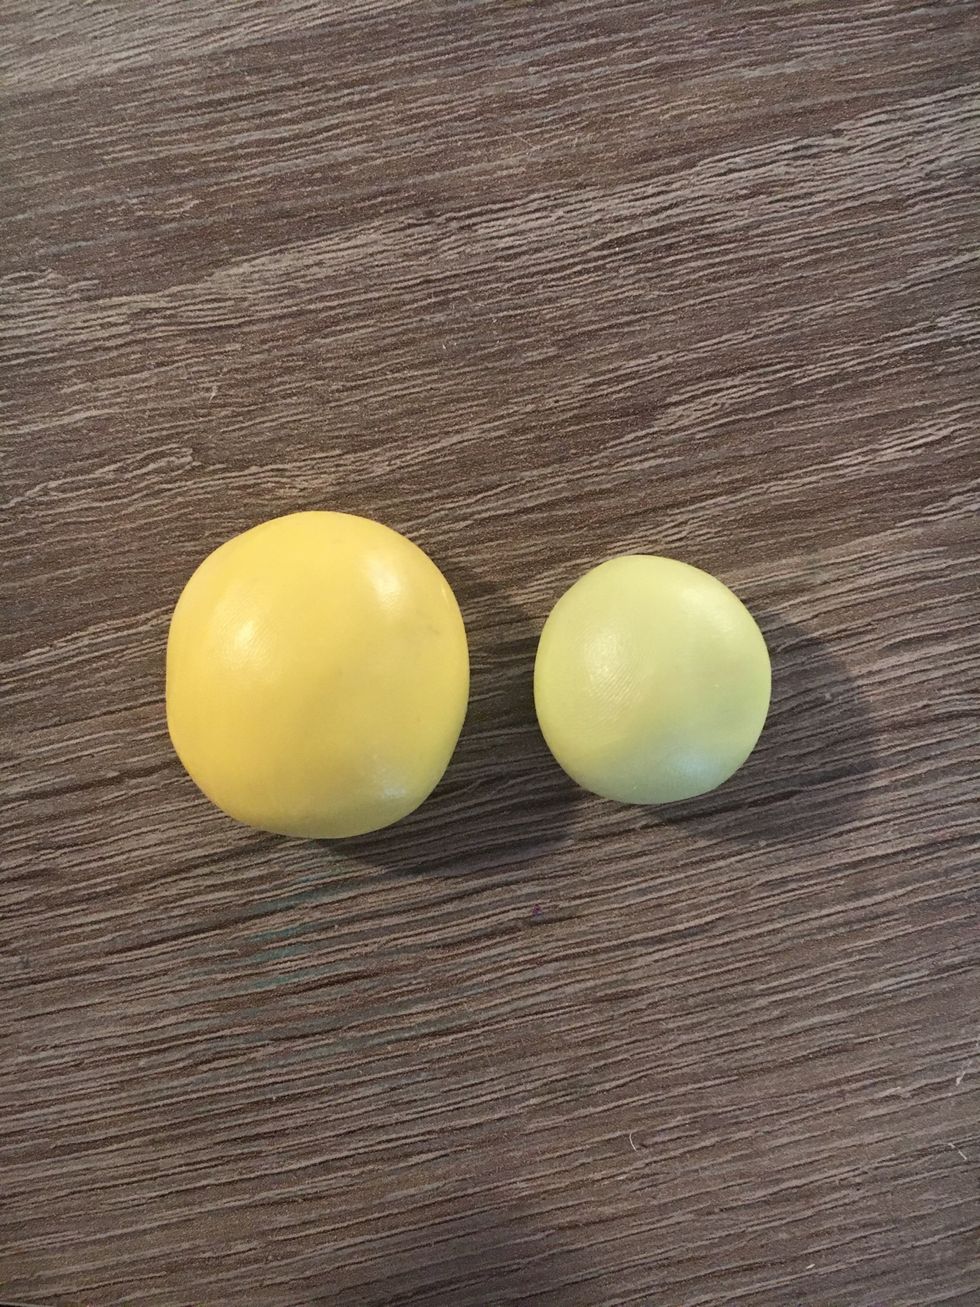
Add more translucent or colored clay to get the shades you like.
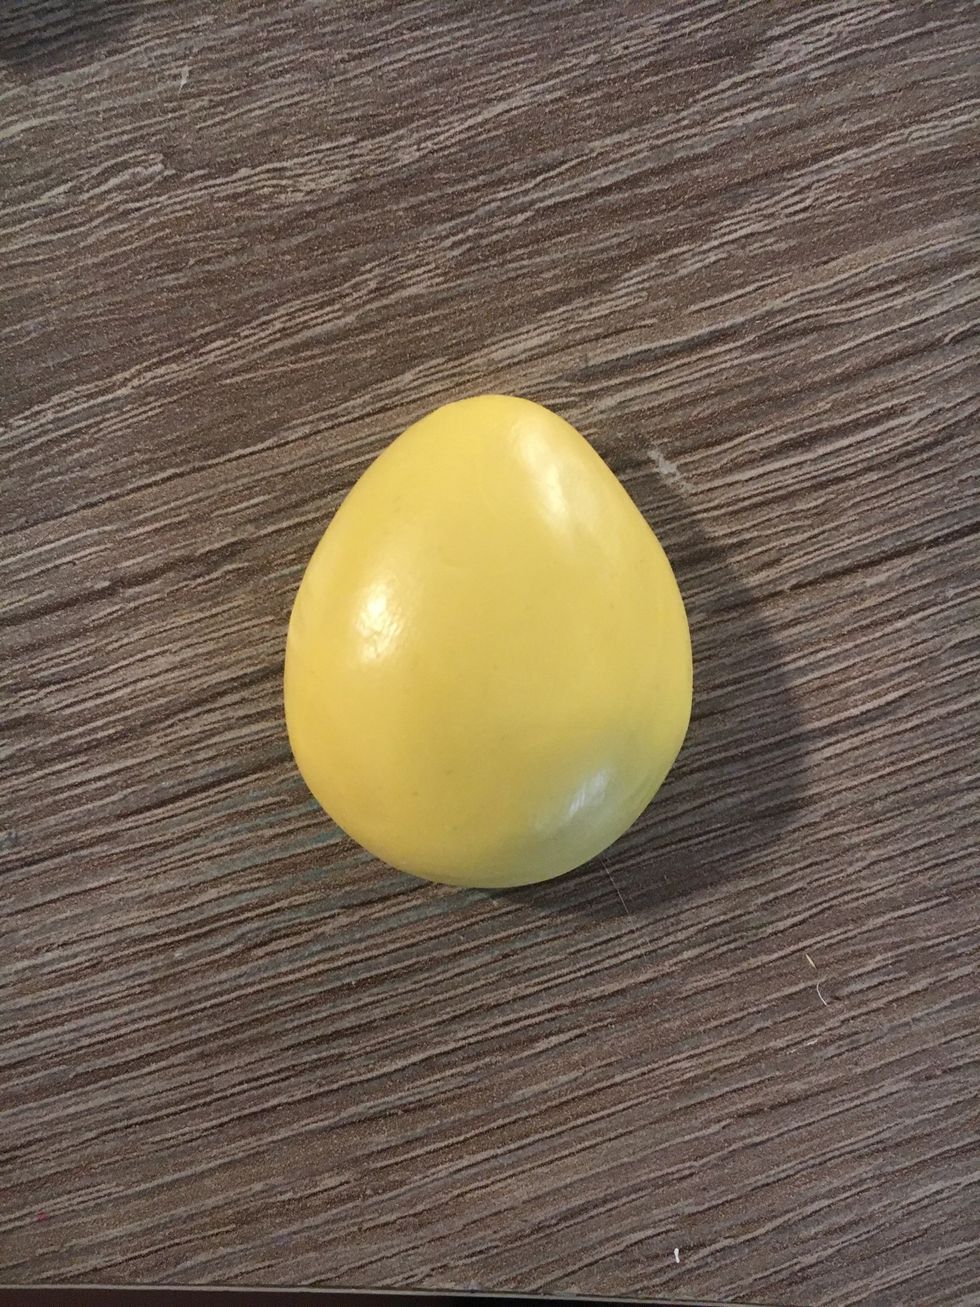
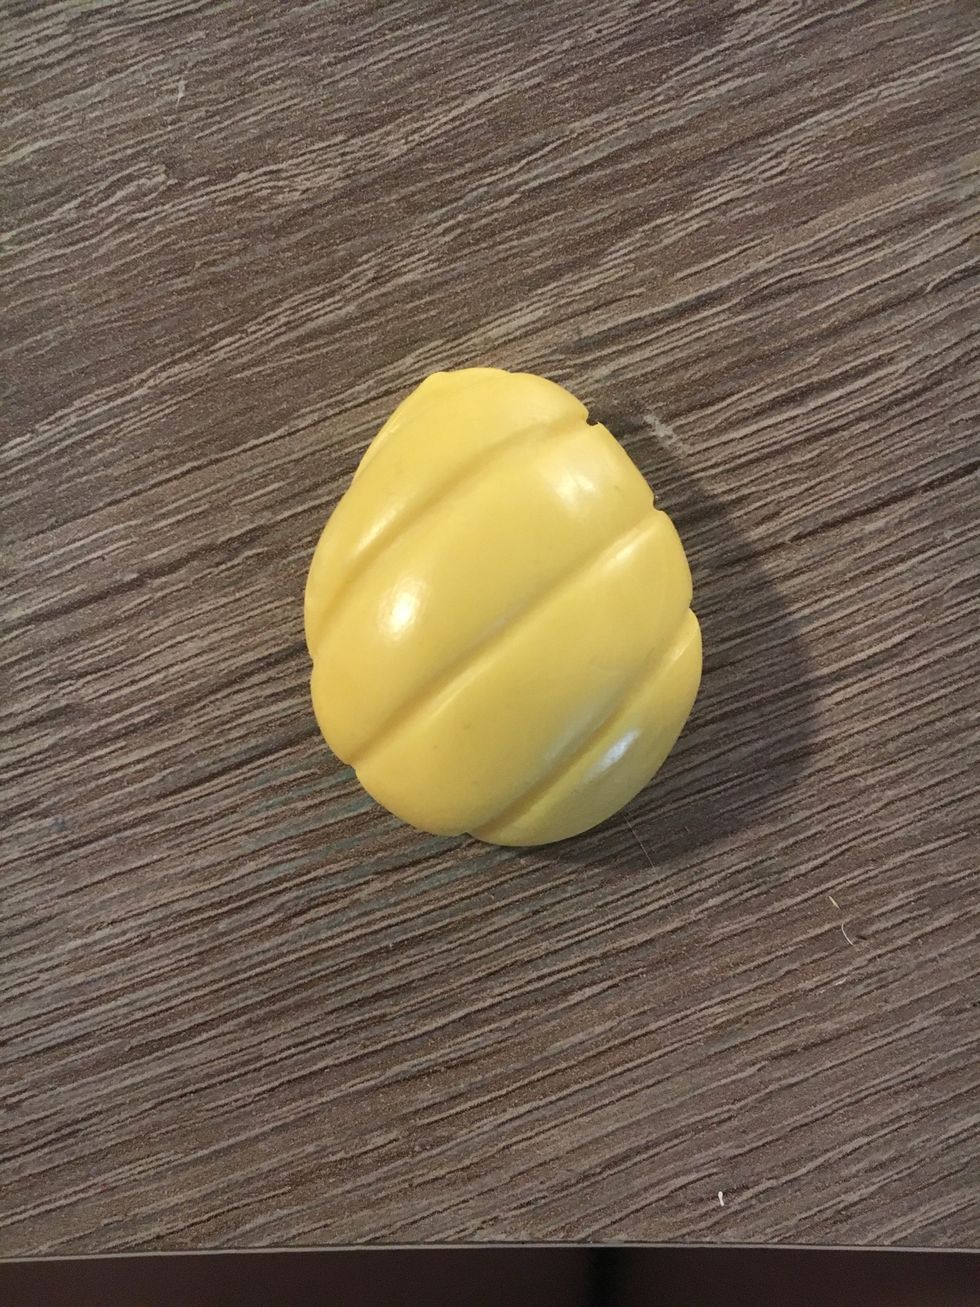
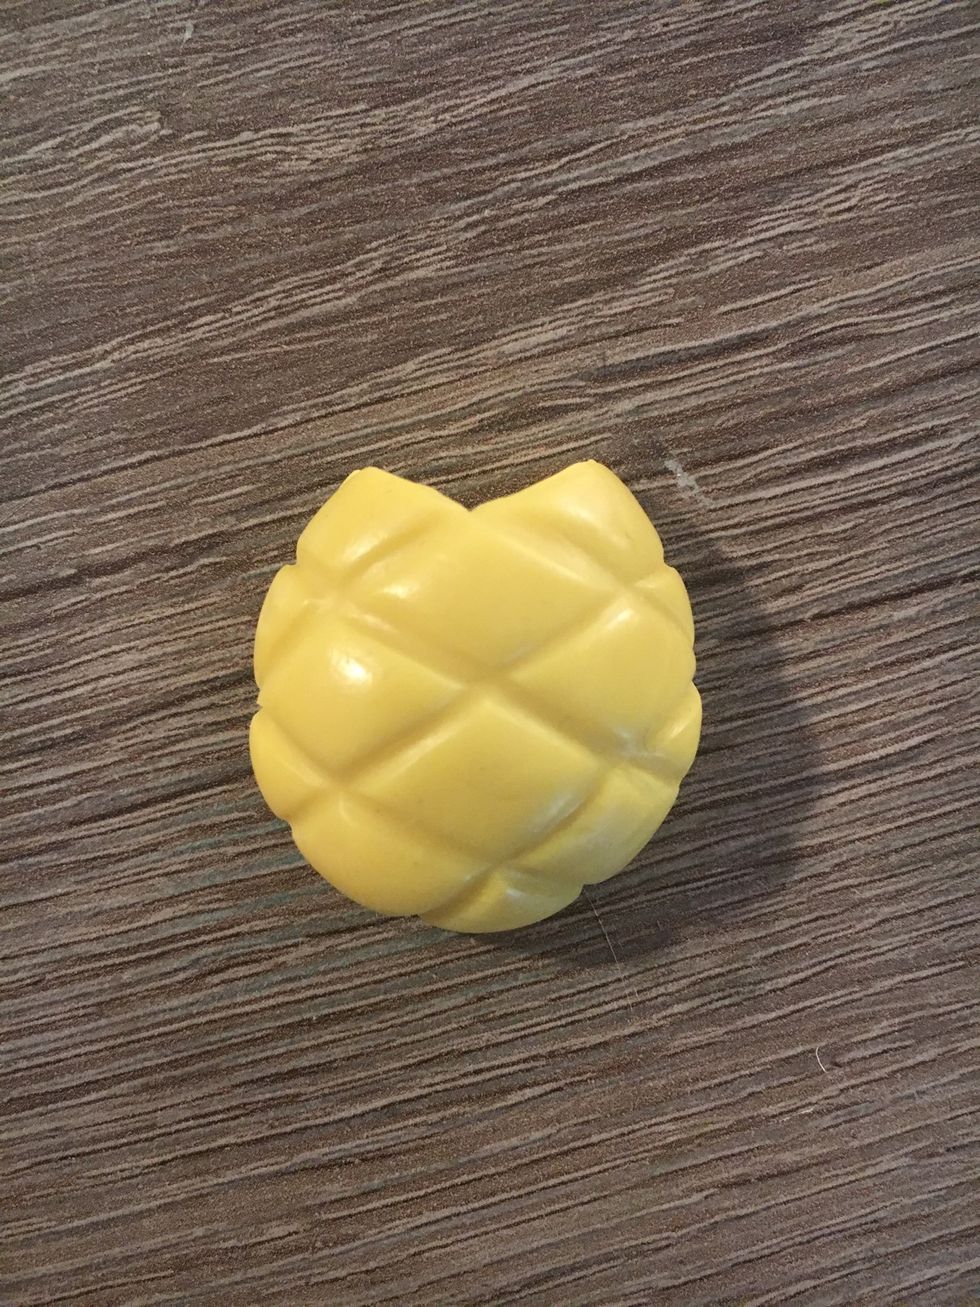
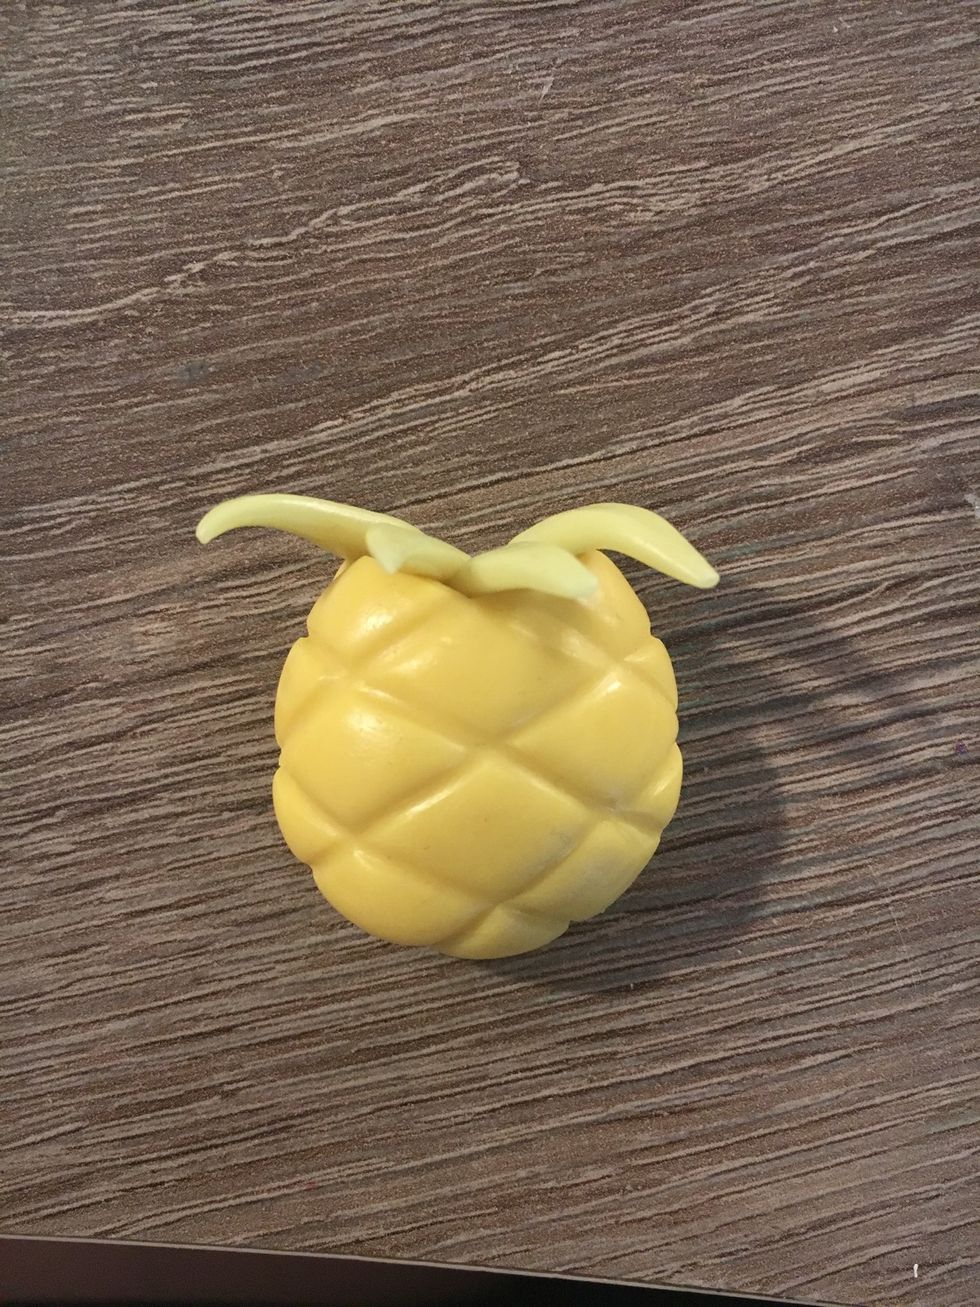
Shape the yellow ball into a puffy egg shape.
Use a toothpick or needle tool to roll across the pineapple to give it a texture.
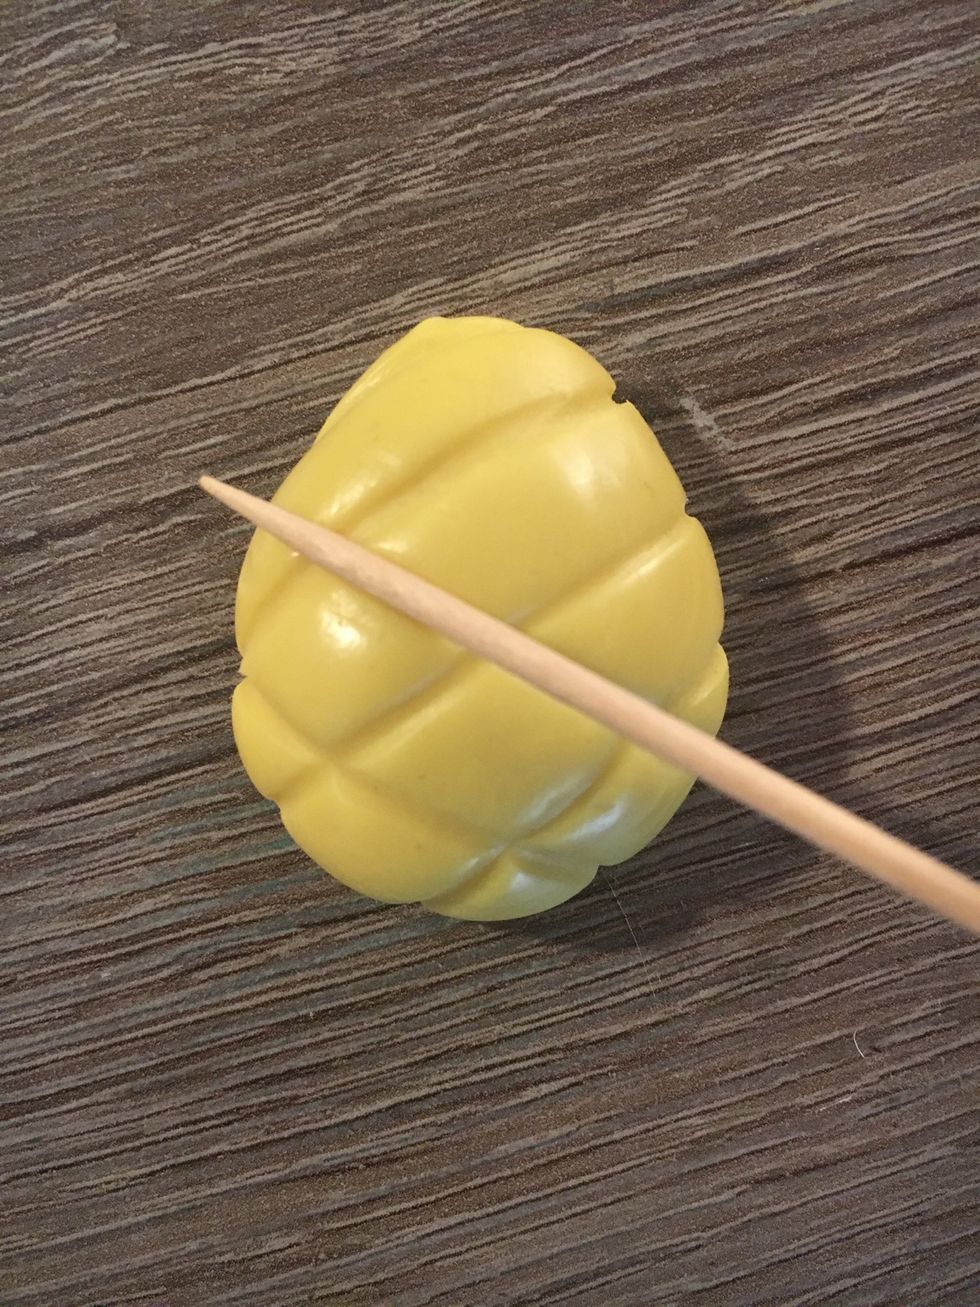
Go back the same way
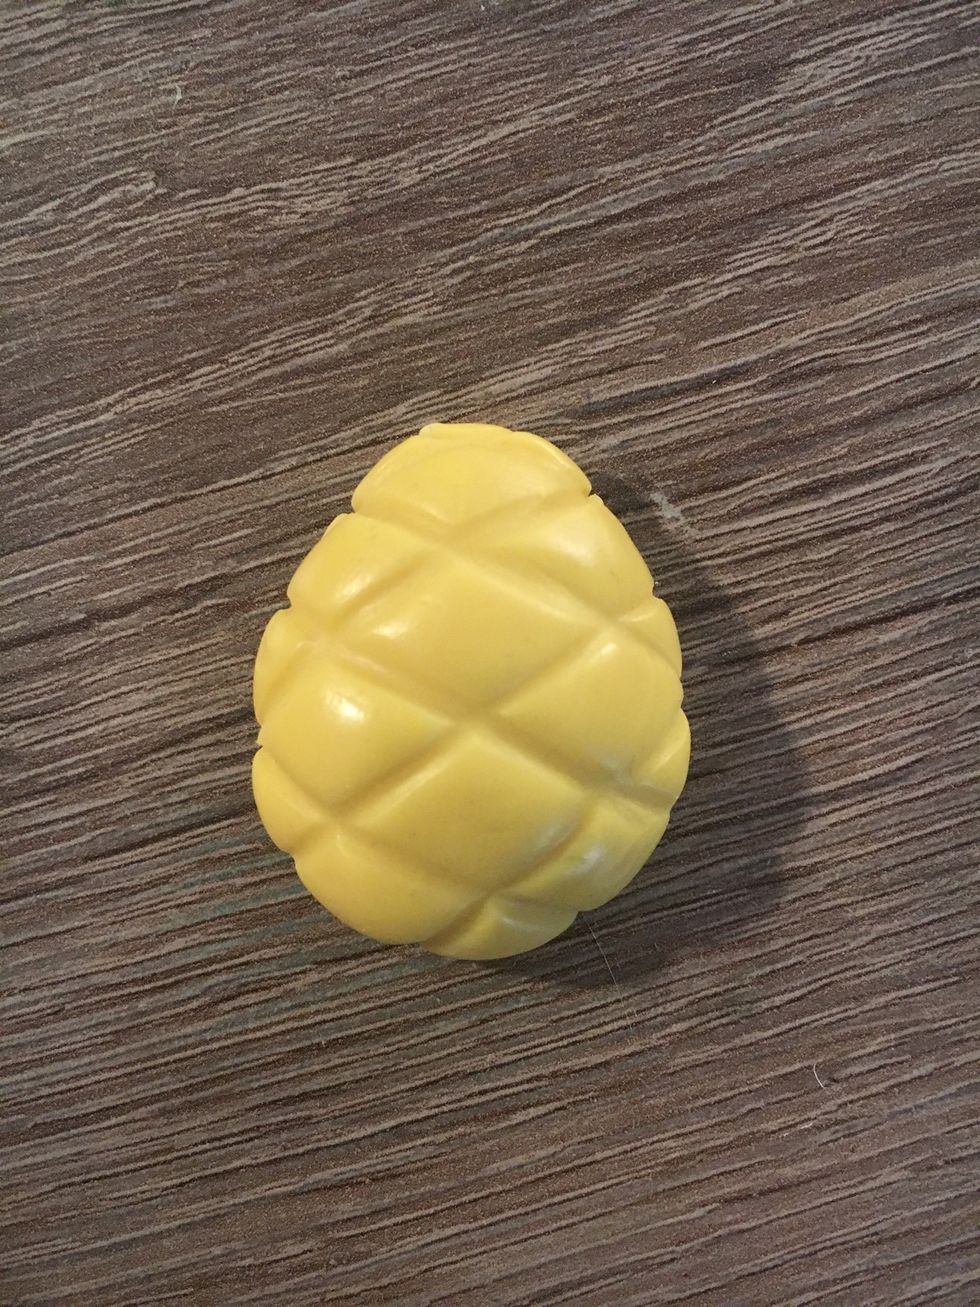
You should end up with something like this.
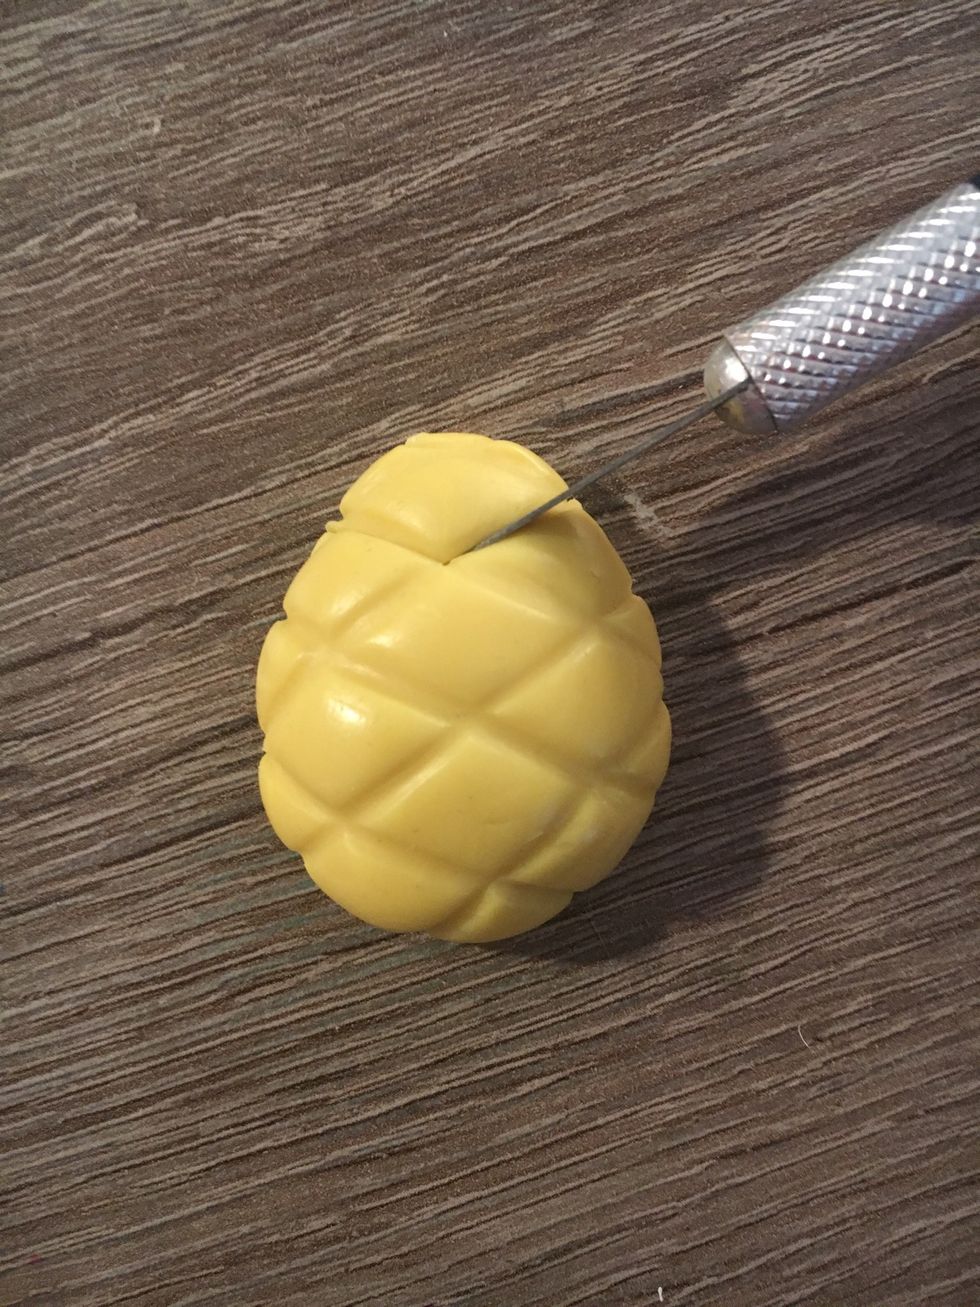
Using a clay blade or an X-Acto knife, cut out a small triangle shape in the top of your pineapple.
Set aside.
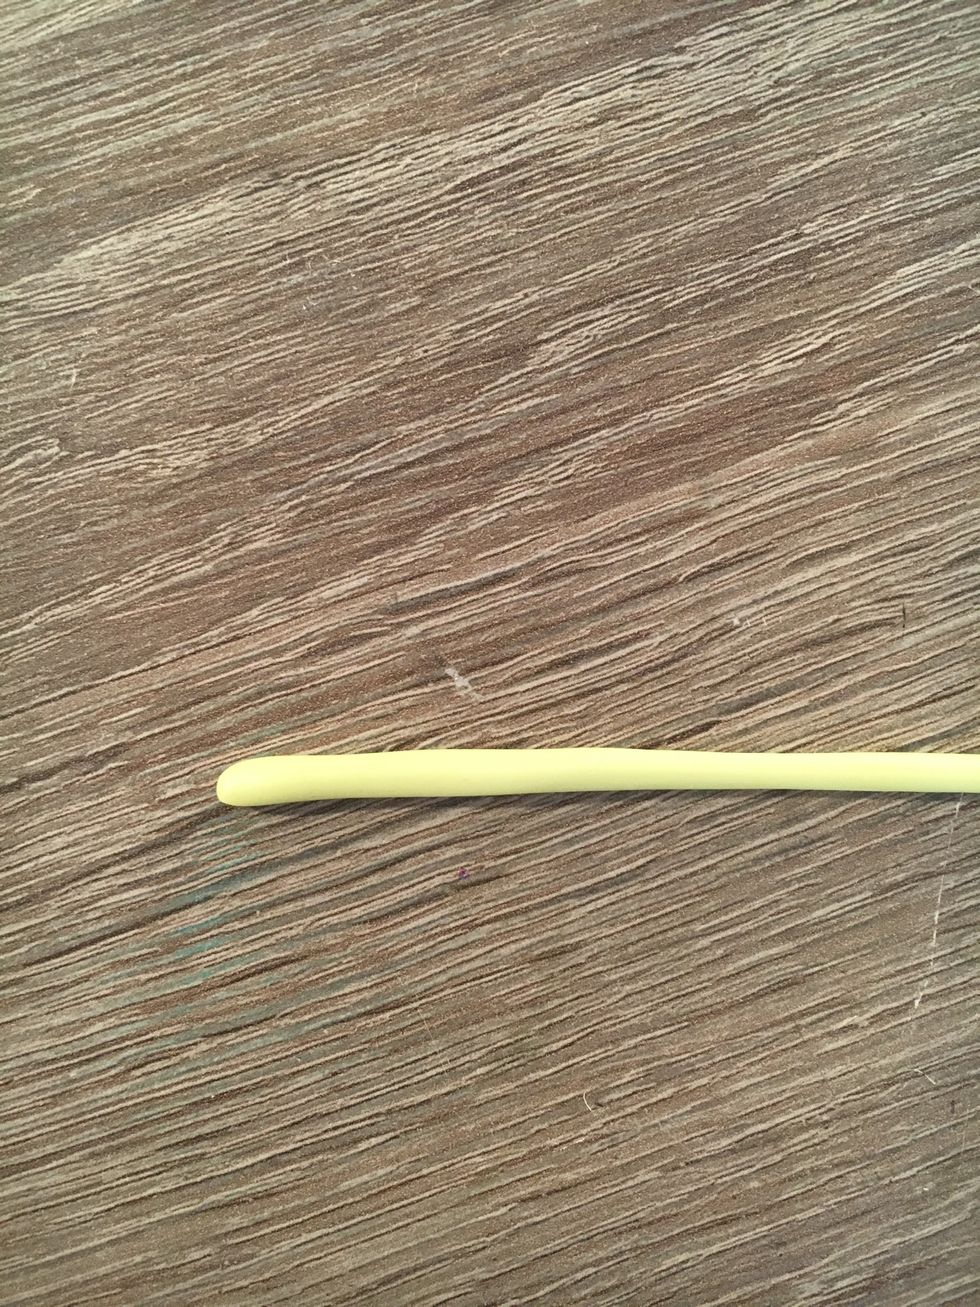
Roll out your green clay into a thin log.
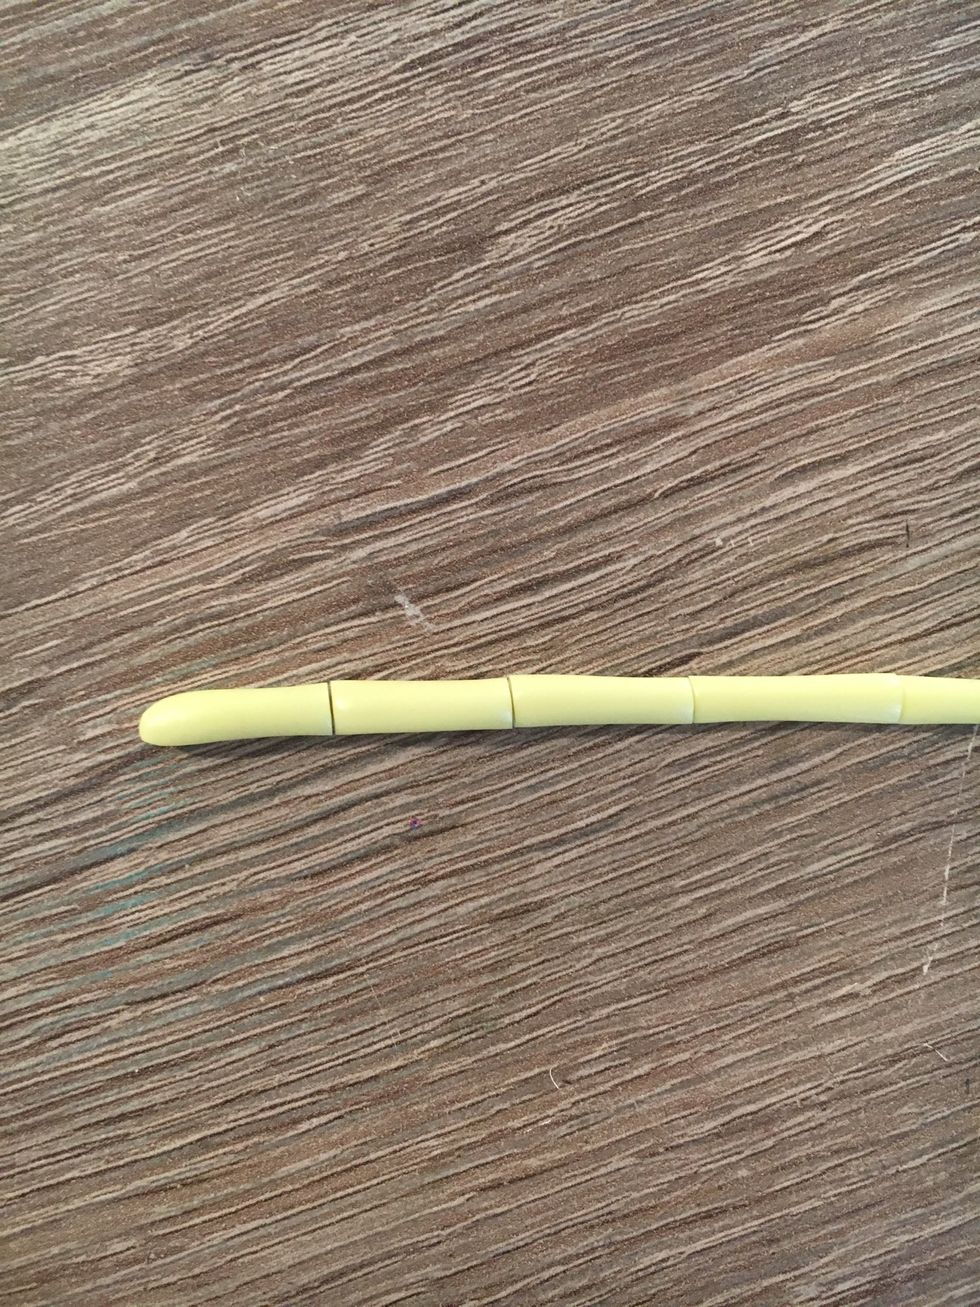
Cut it into small pieces, roughly the same size.
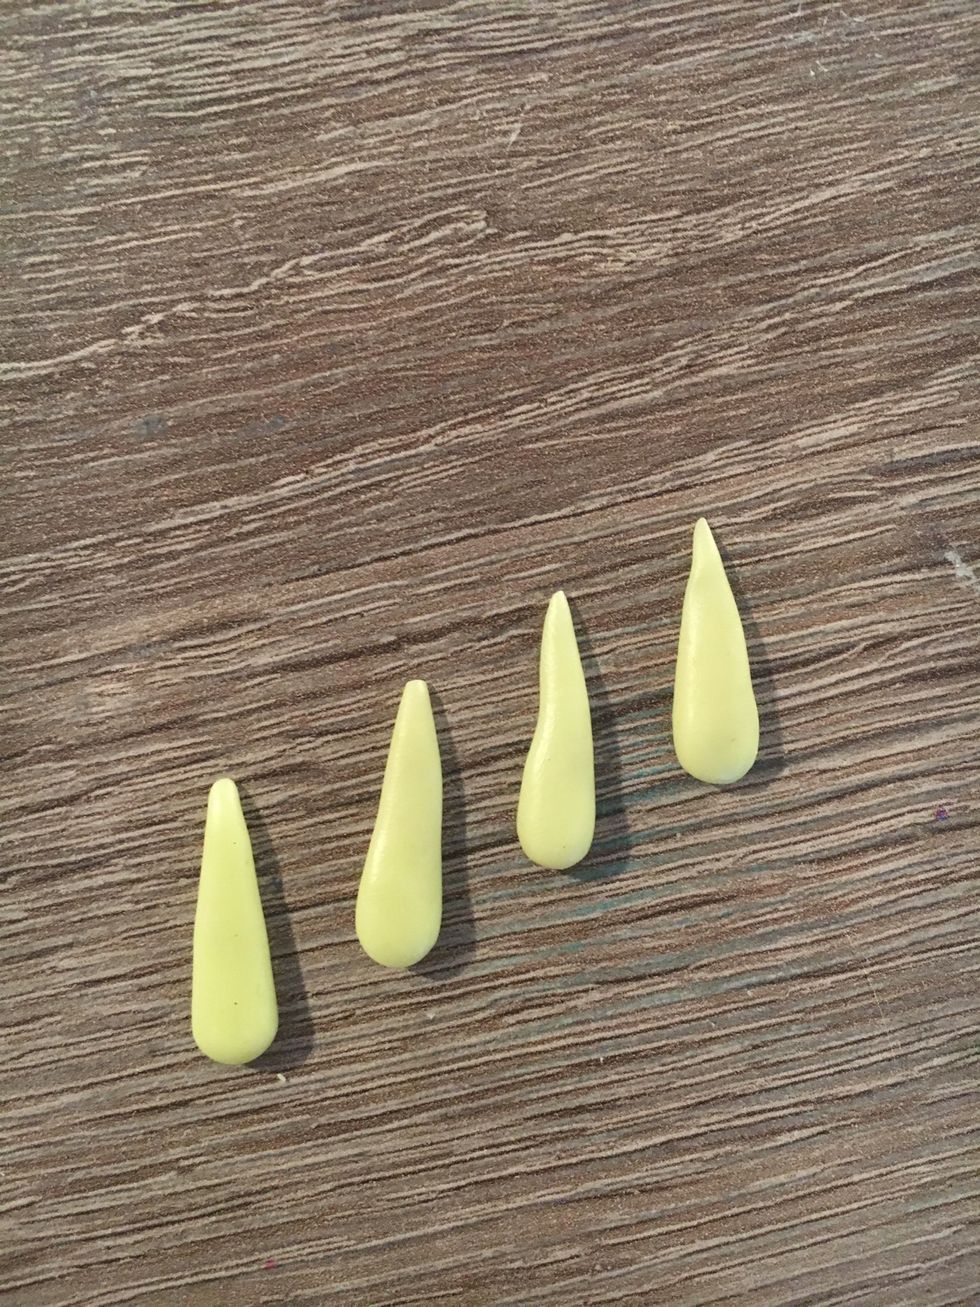
Roll the pieces into long, flattened cones.
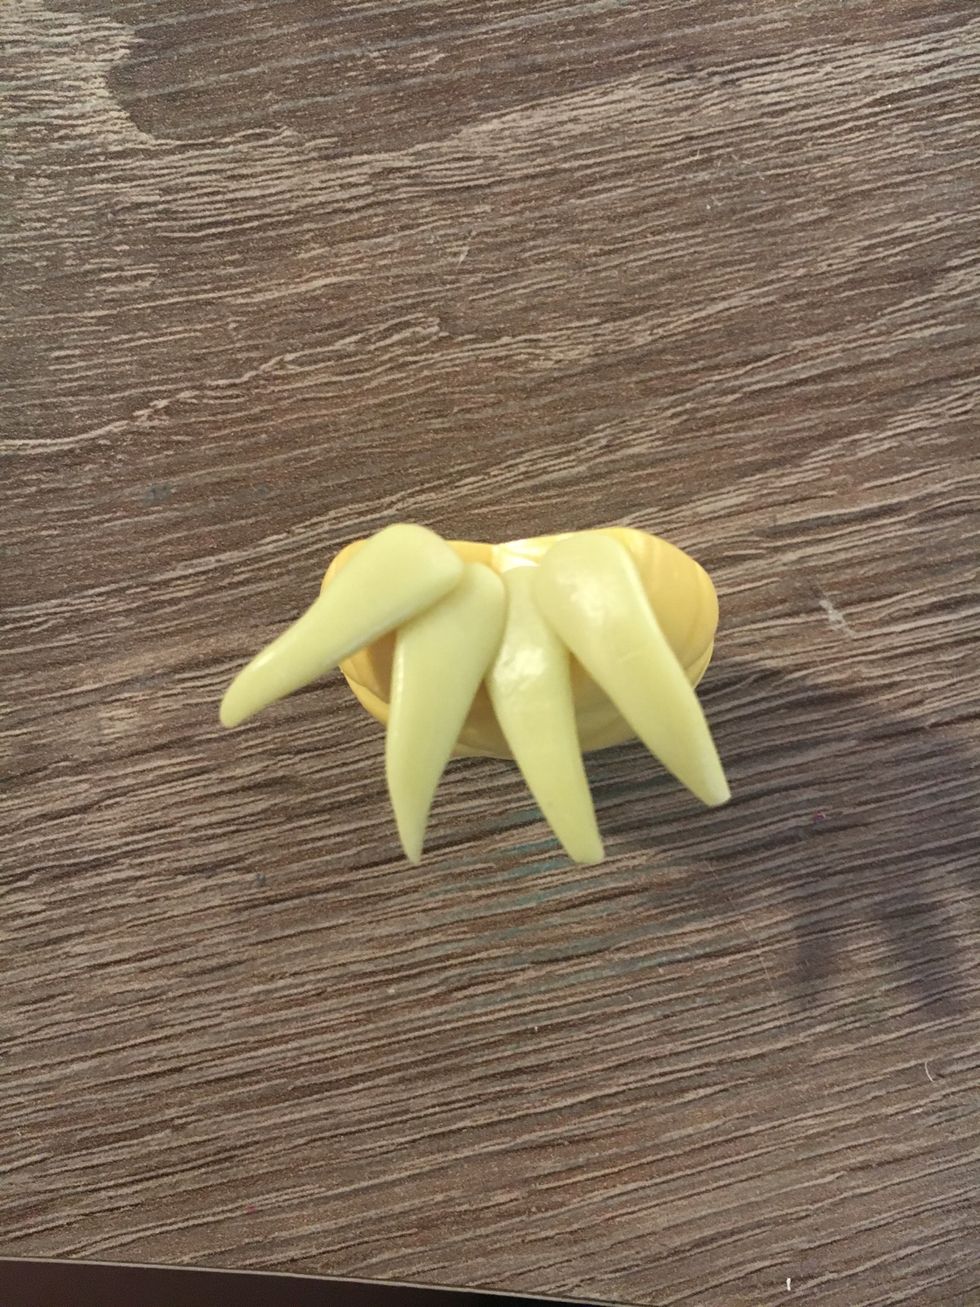
Place 4 cones at the top cutout of your pineapple.
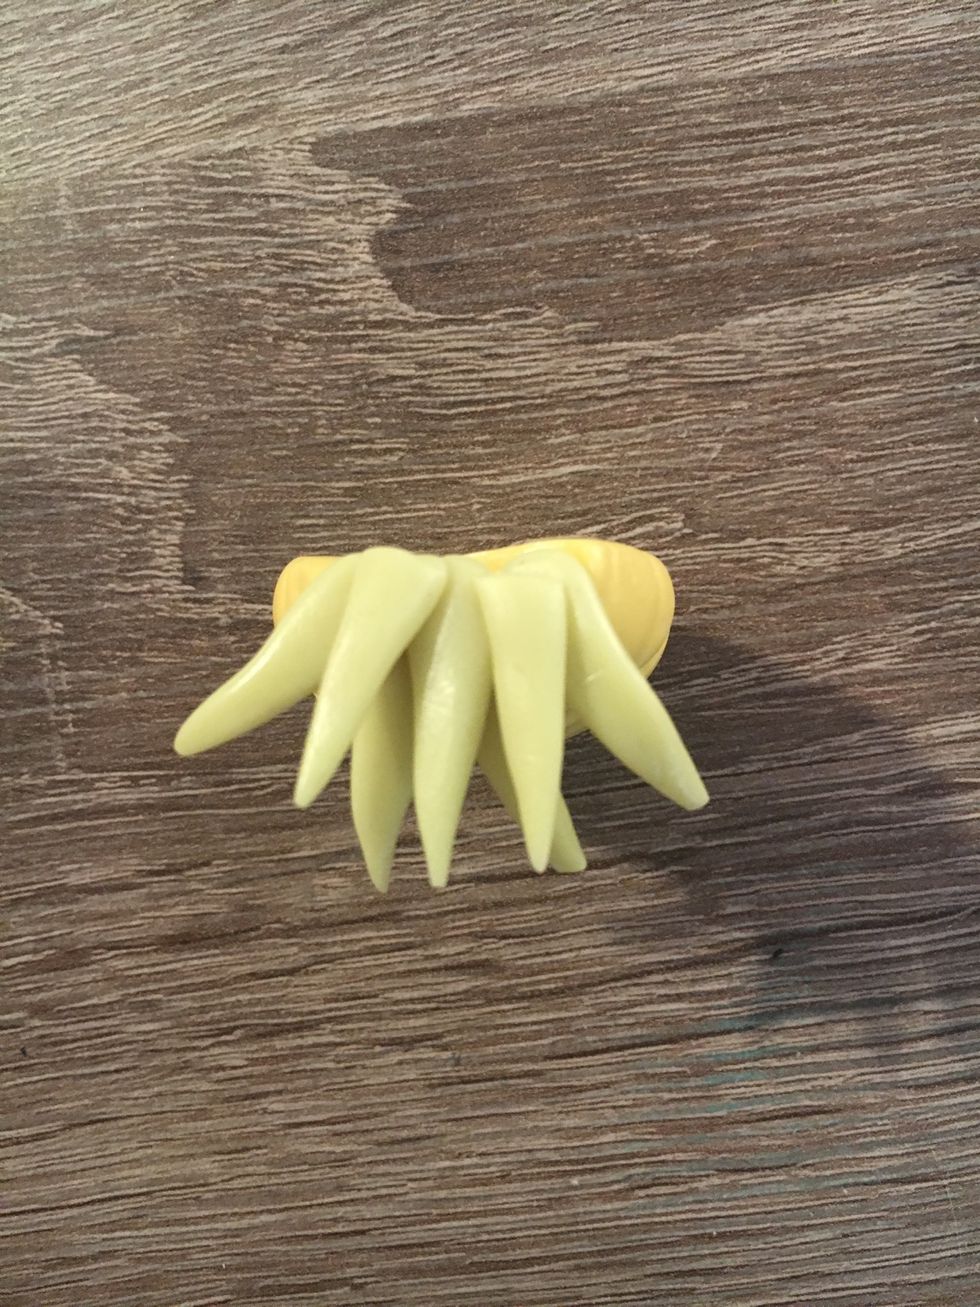
Keep layering your cones until you're happy with the look.
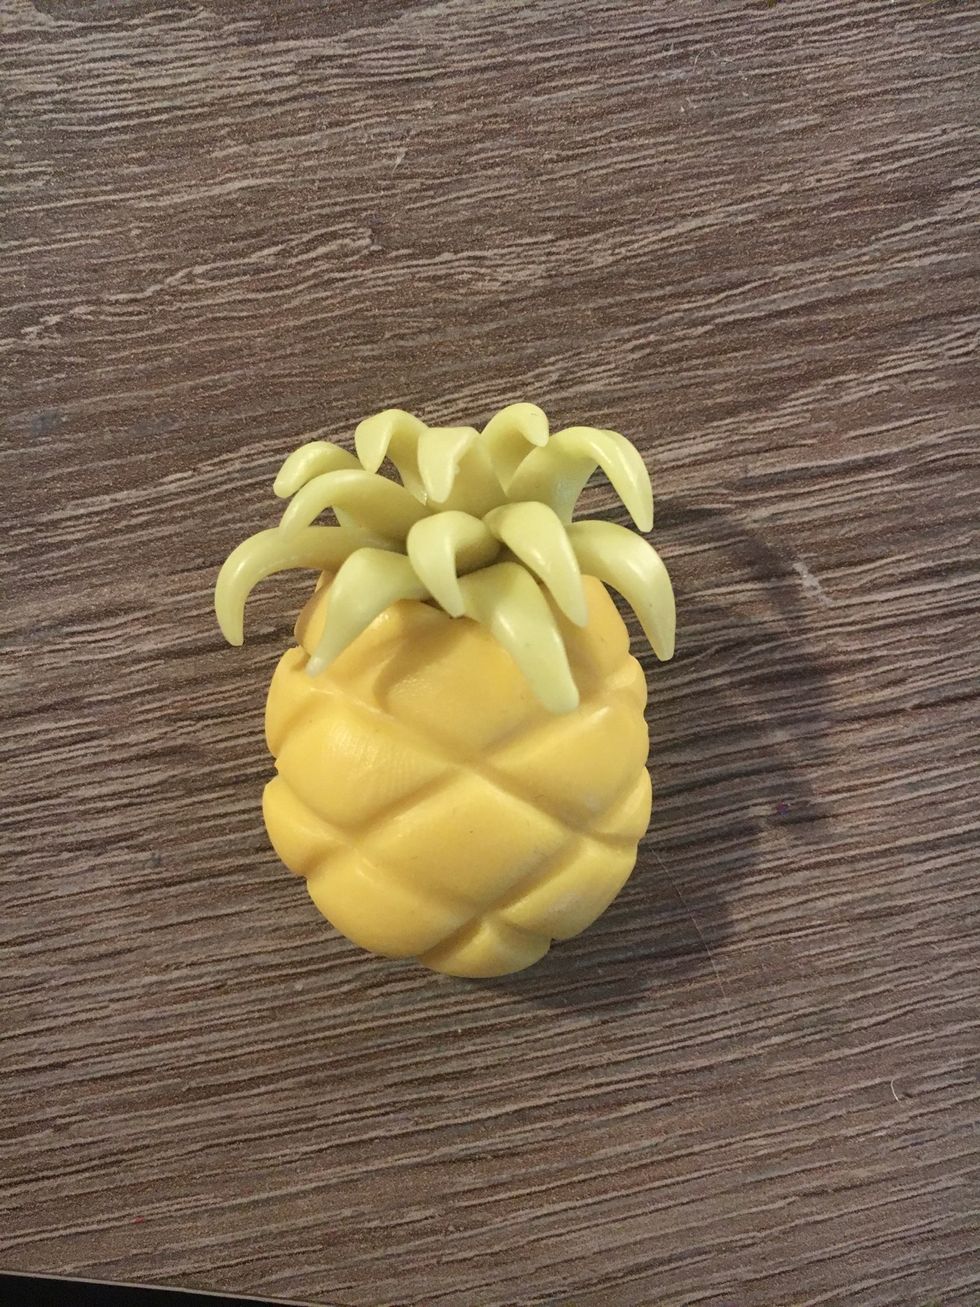
I added 12 leaves to my pineapple.
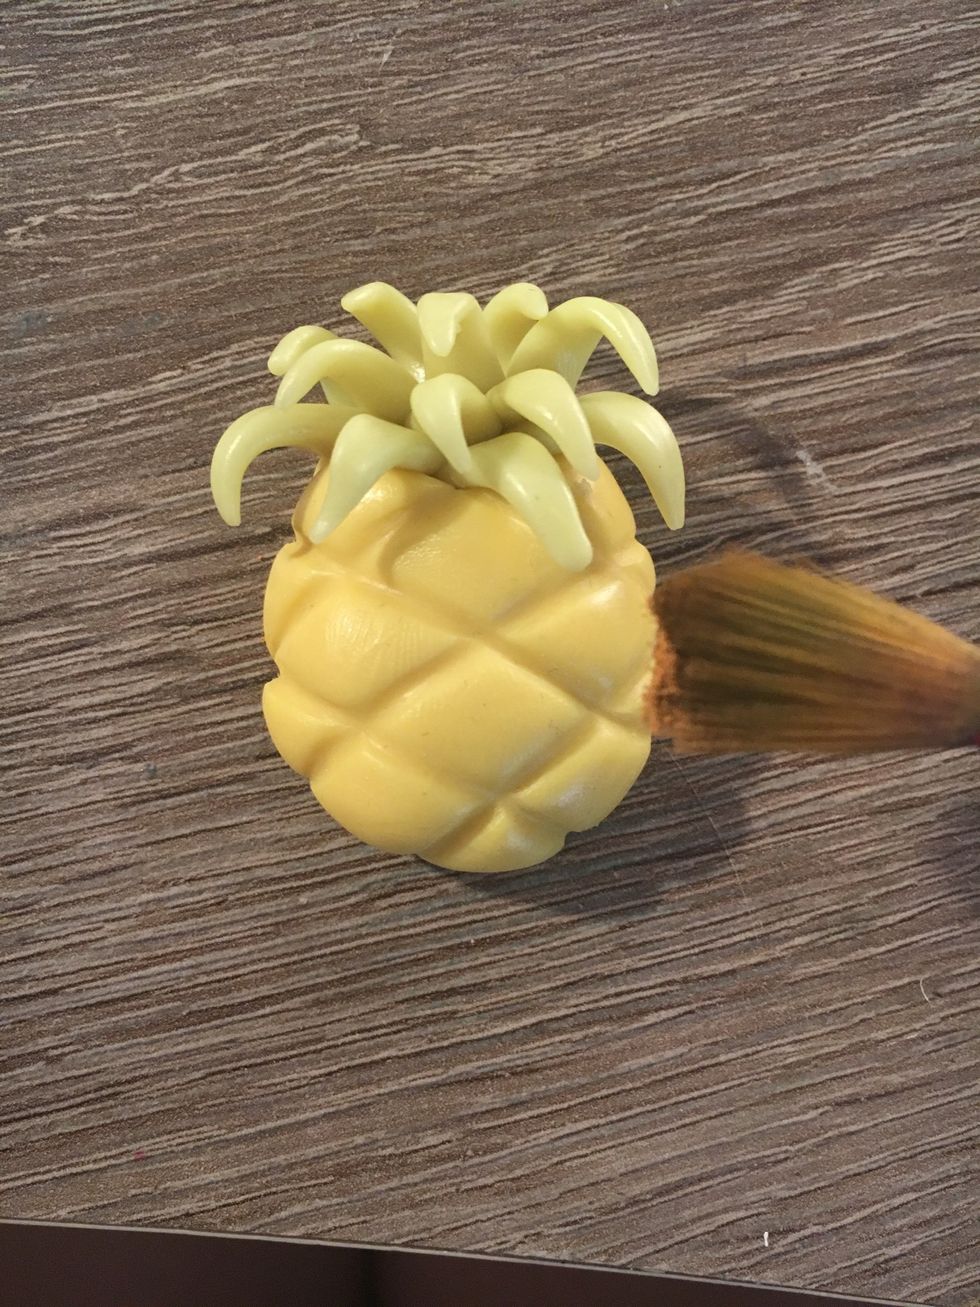
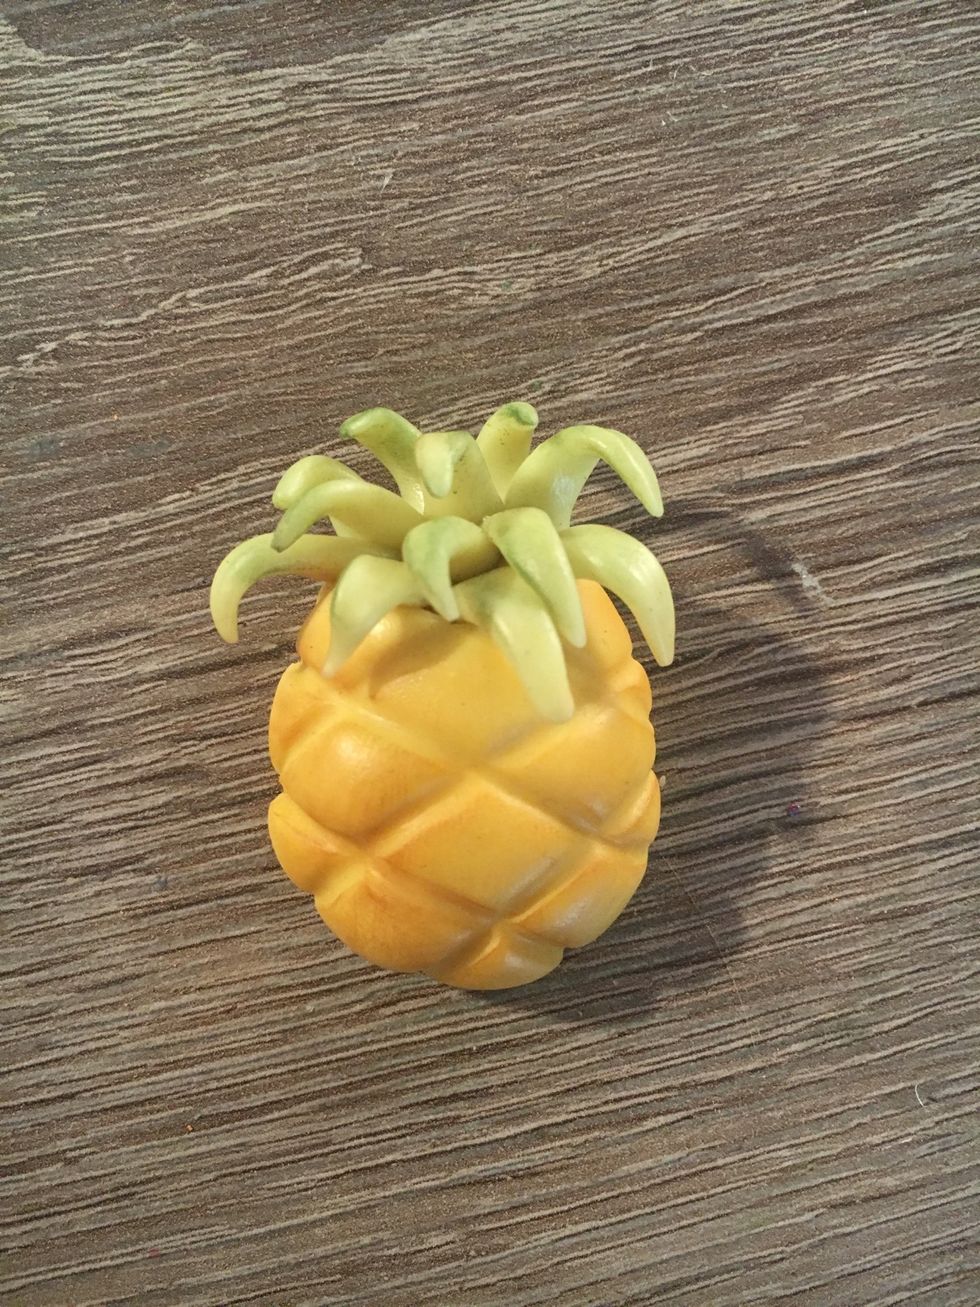
(Optional) Dust your pineapple with some chalk pastels using a paint brush to give it more color.
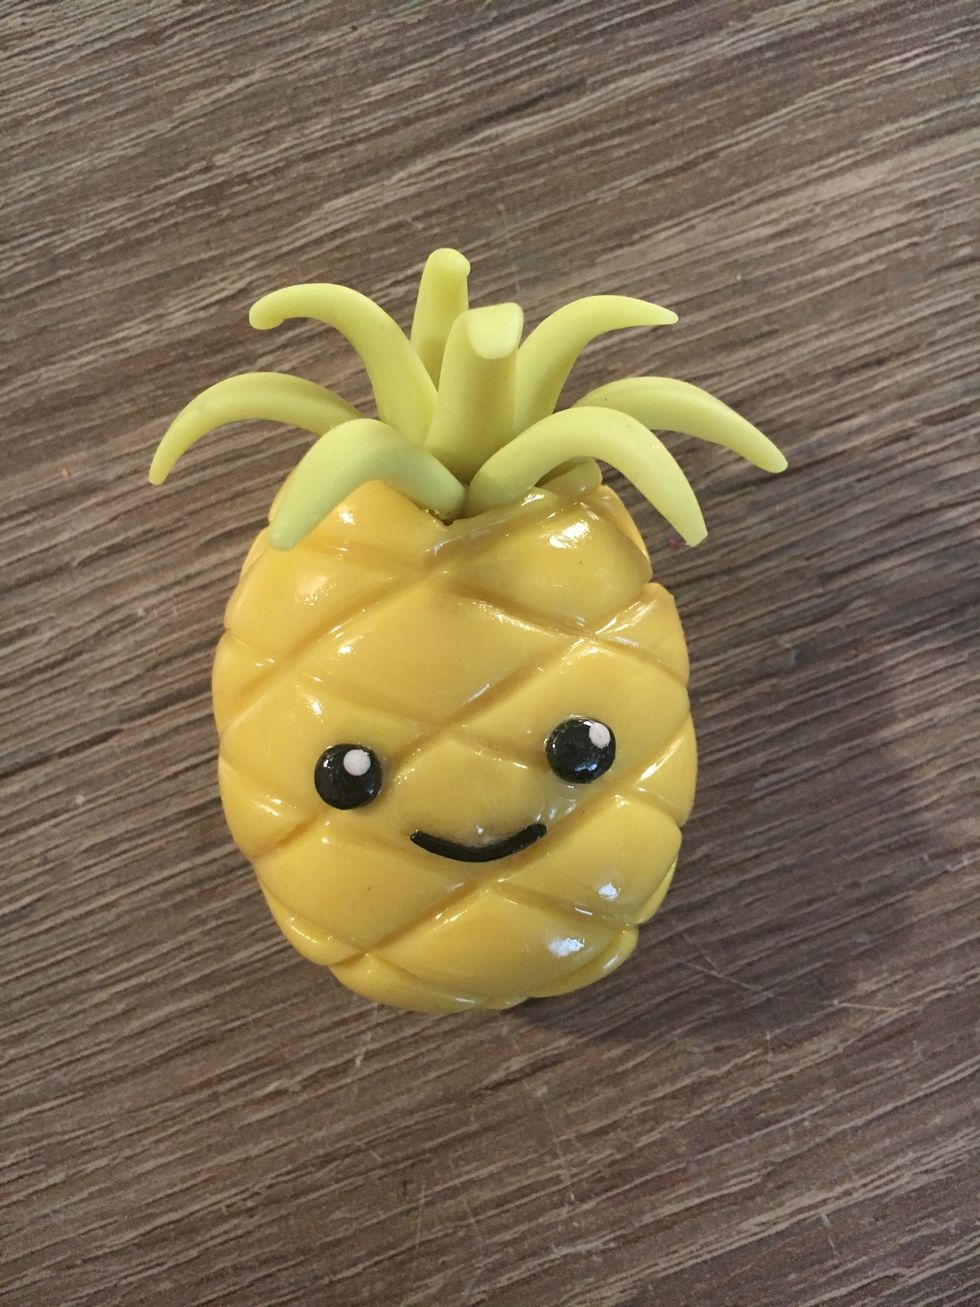
(Optional) If you want to add a face, take some black clay and roll it into small balls. Add them to the pineapple along with a small log for the mouth.
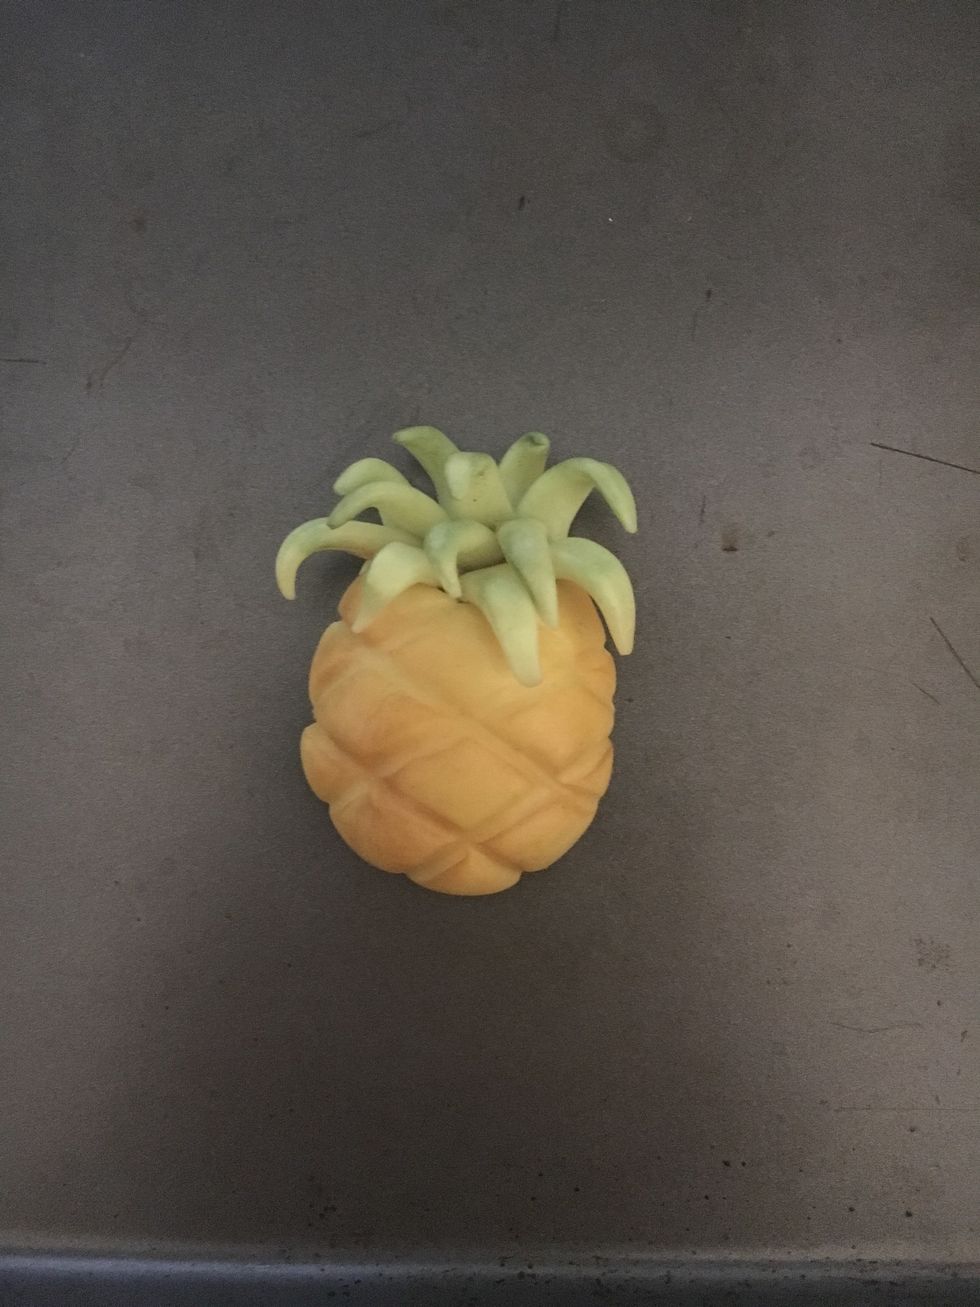
When you're happy with your pineapple, bake it according to your clay package instructions. I'm putting mine in at 250*F for 15-20 minutes.
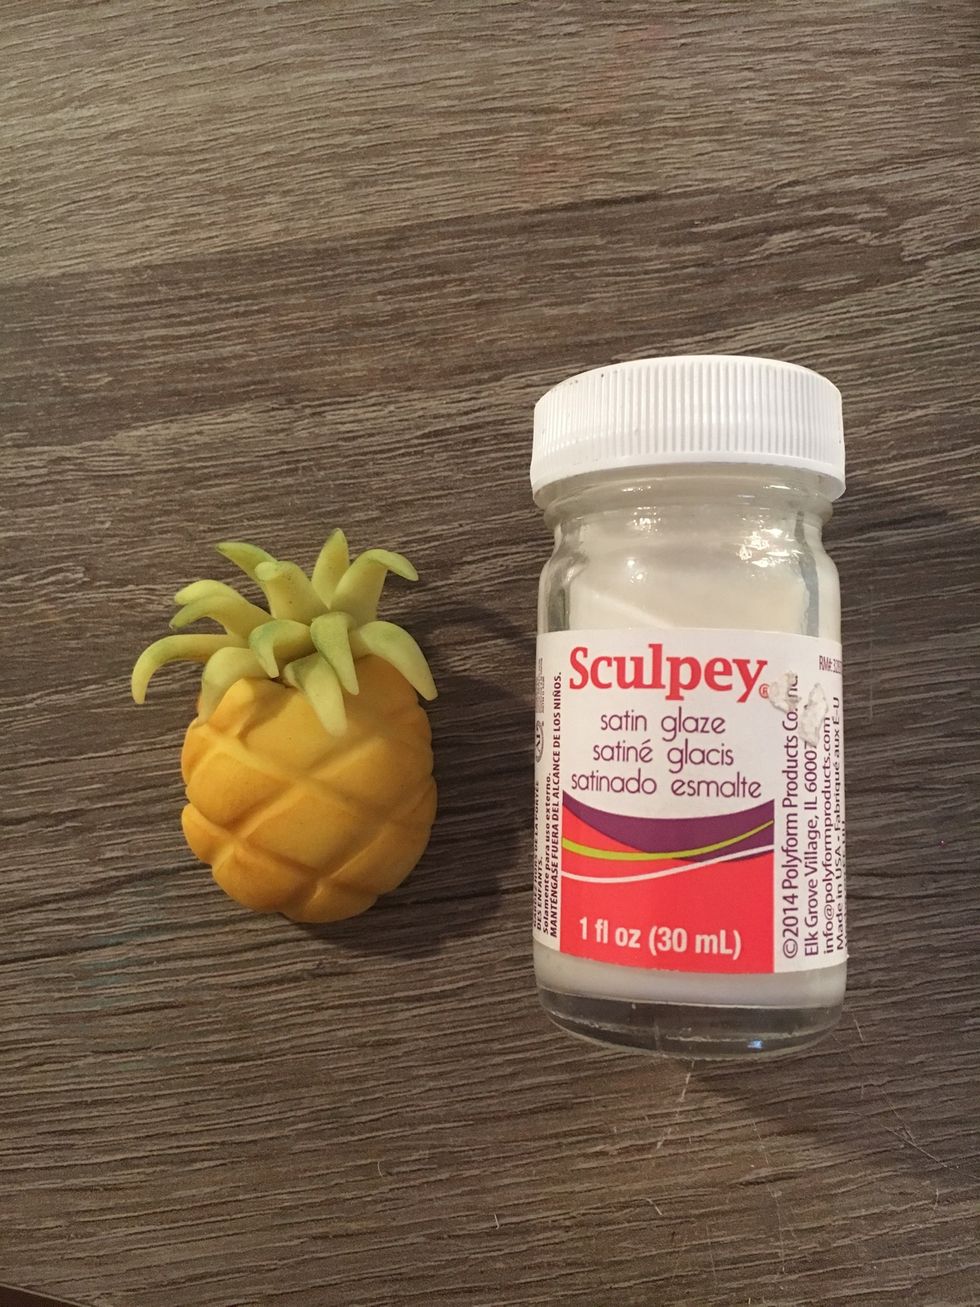
Once it's cooled down, you can glaze it.
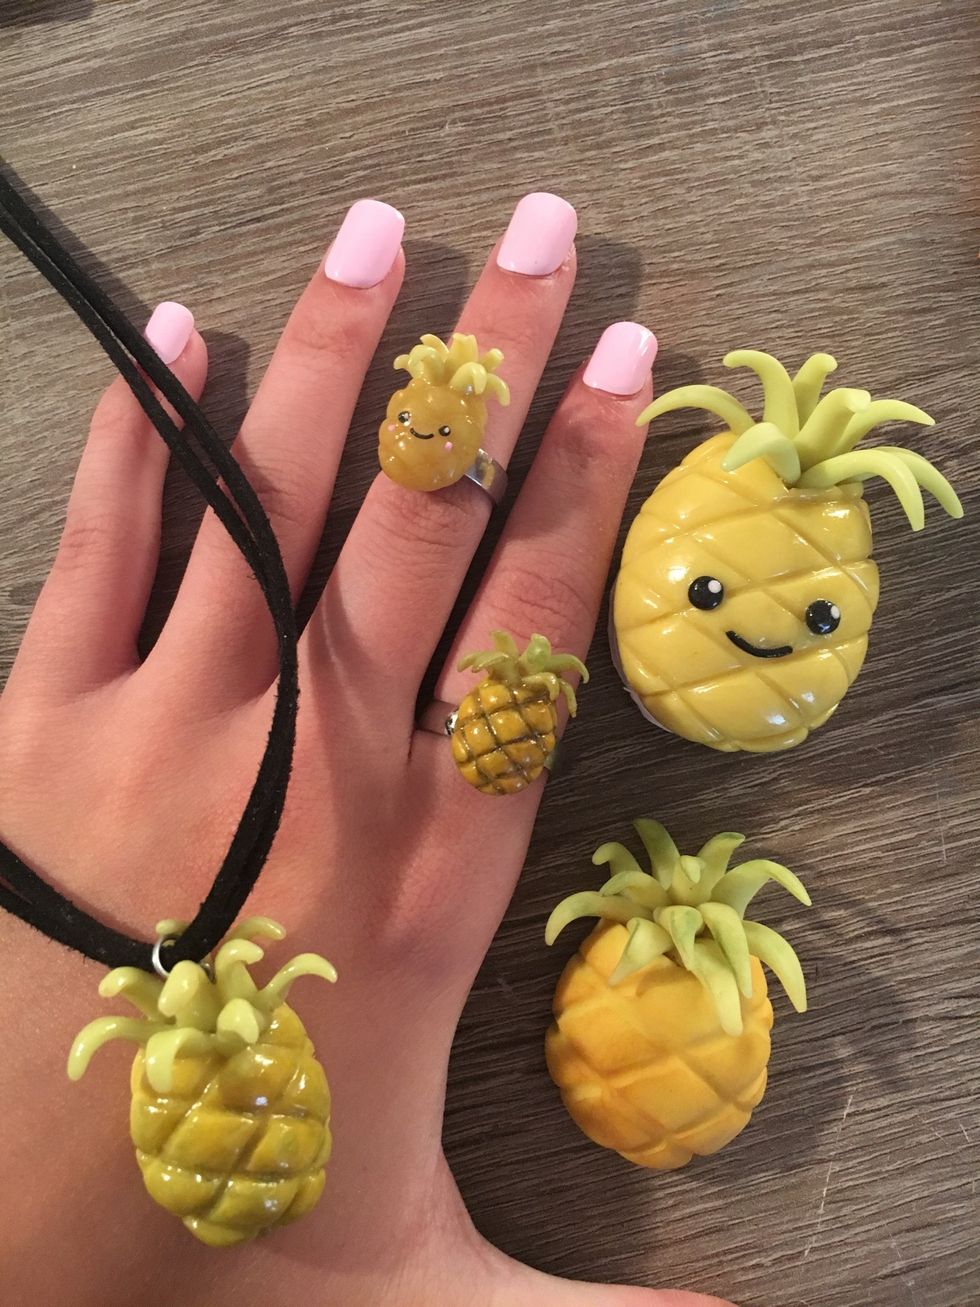
Be creative! Make necklaces, rings, magnets, notebooks. Have fun making your own pineapples!
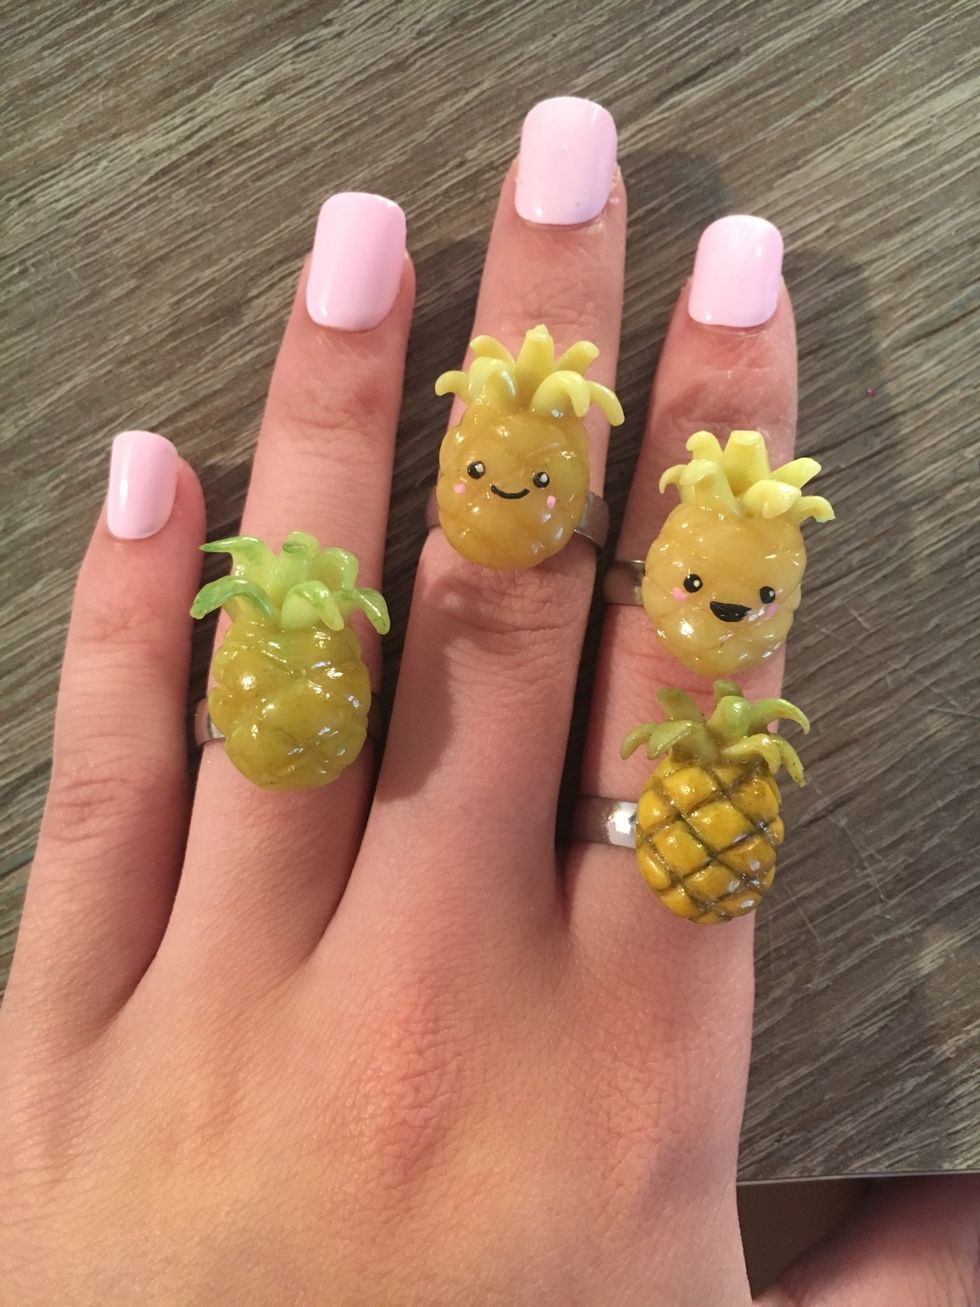
Give rings to your friends!

Make a mini book using book binding, glue it on, and you have a cute notebook!


Good luck and have fun!