The Conversation (0)
Sign Up
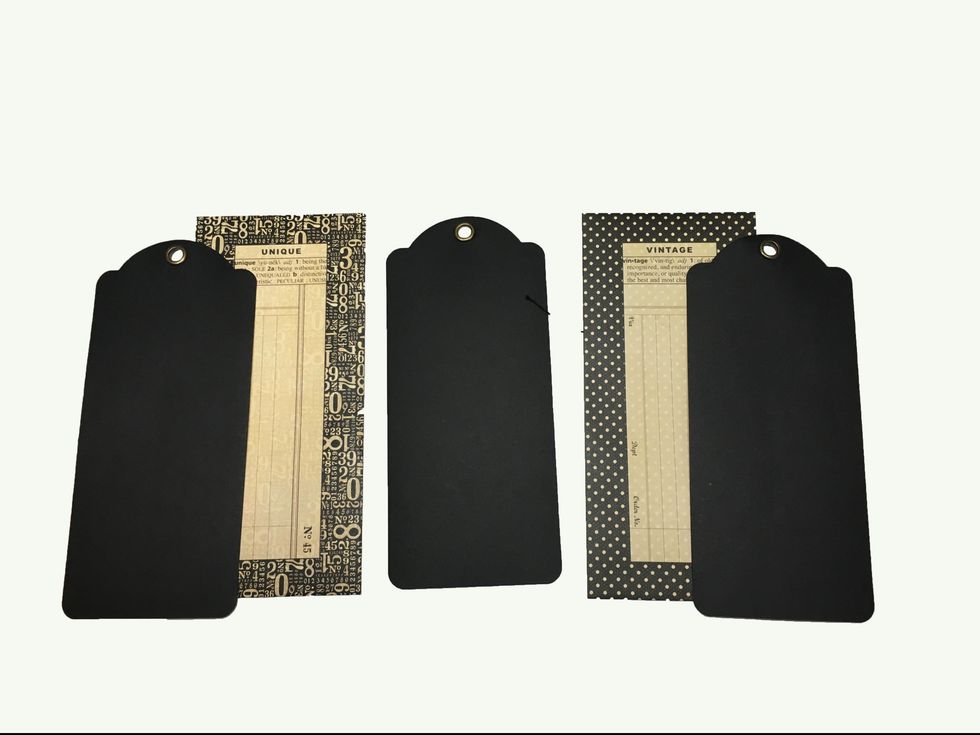
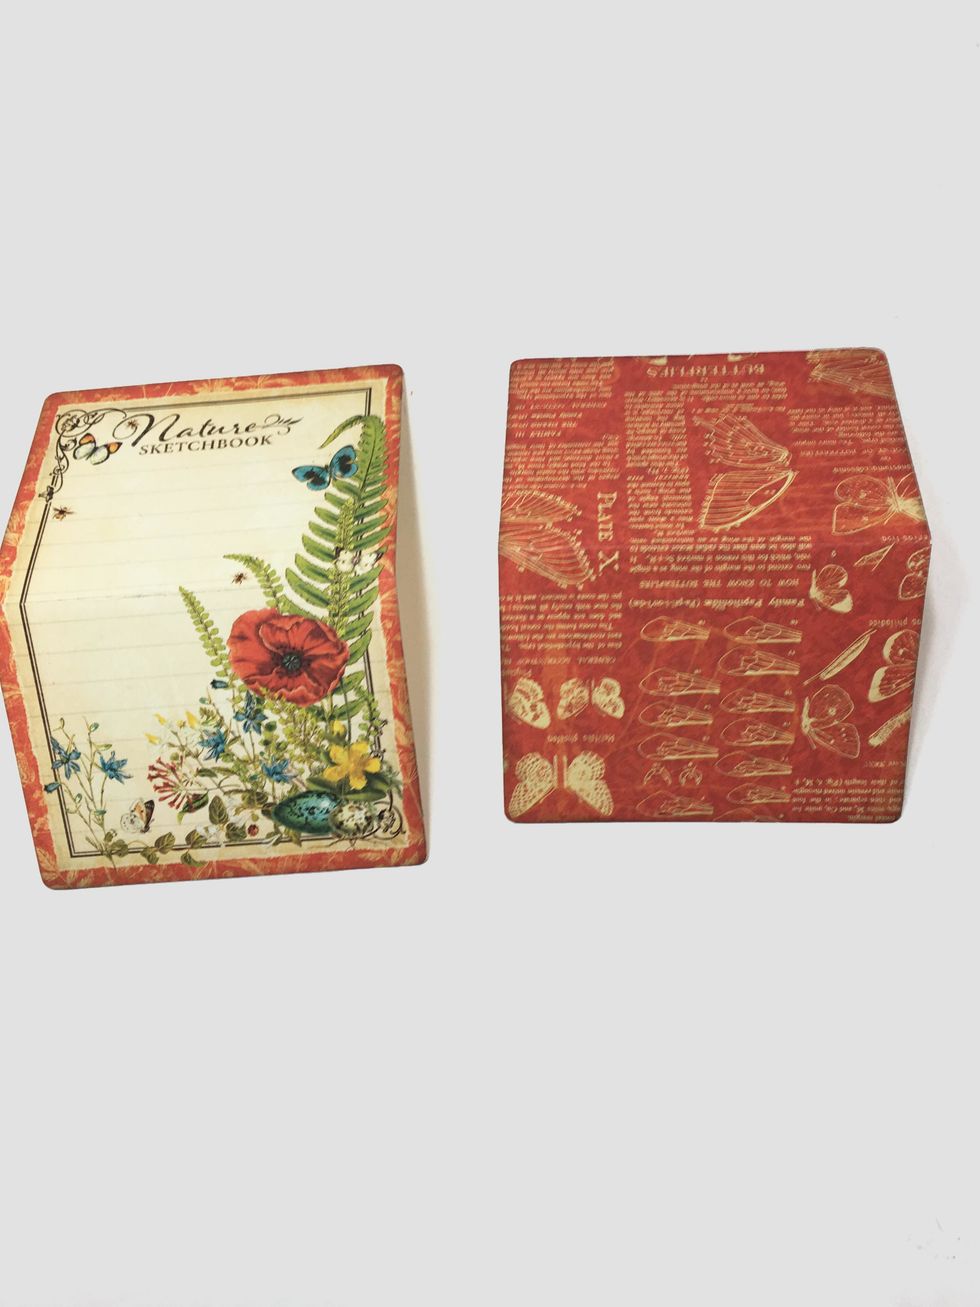
Gather 5 large tags from the Graphic 45 Large Tag Album and 2 large Graphic 45 Policy Envelopes. (we'll use 2 tags inside the policy envelopes).
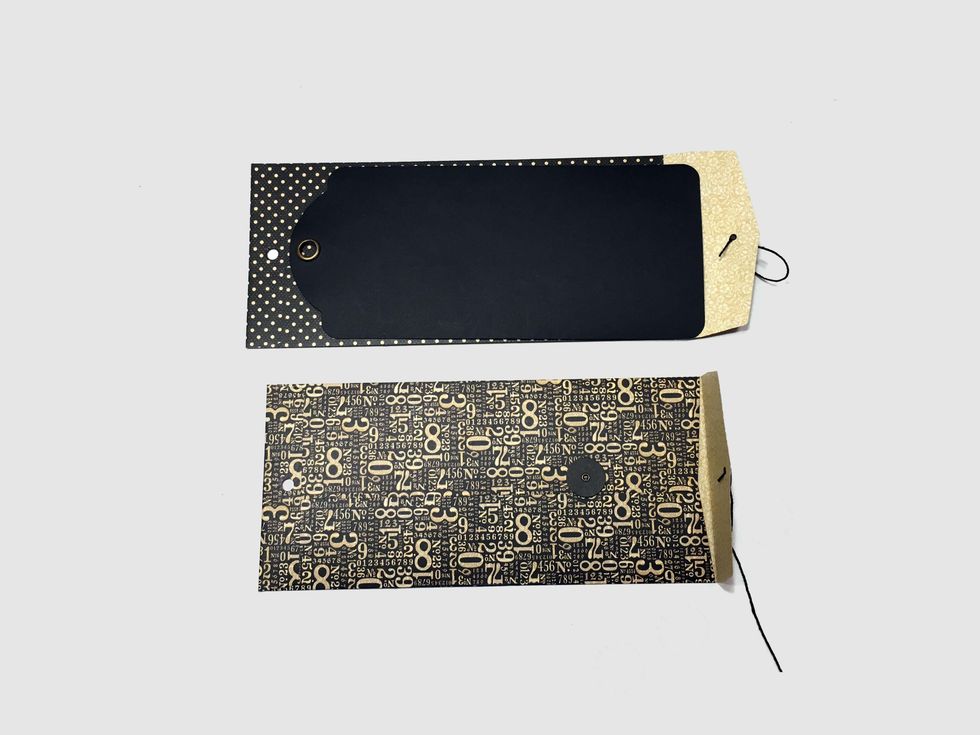
Use a tag to mark & punch holes in the ends of the envelopes. Save the binder ring from the tags for assembly. Shorten 2 of the tags to 8 3/8" so they'll fit in the envelopes above the punched hole.
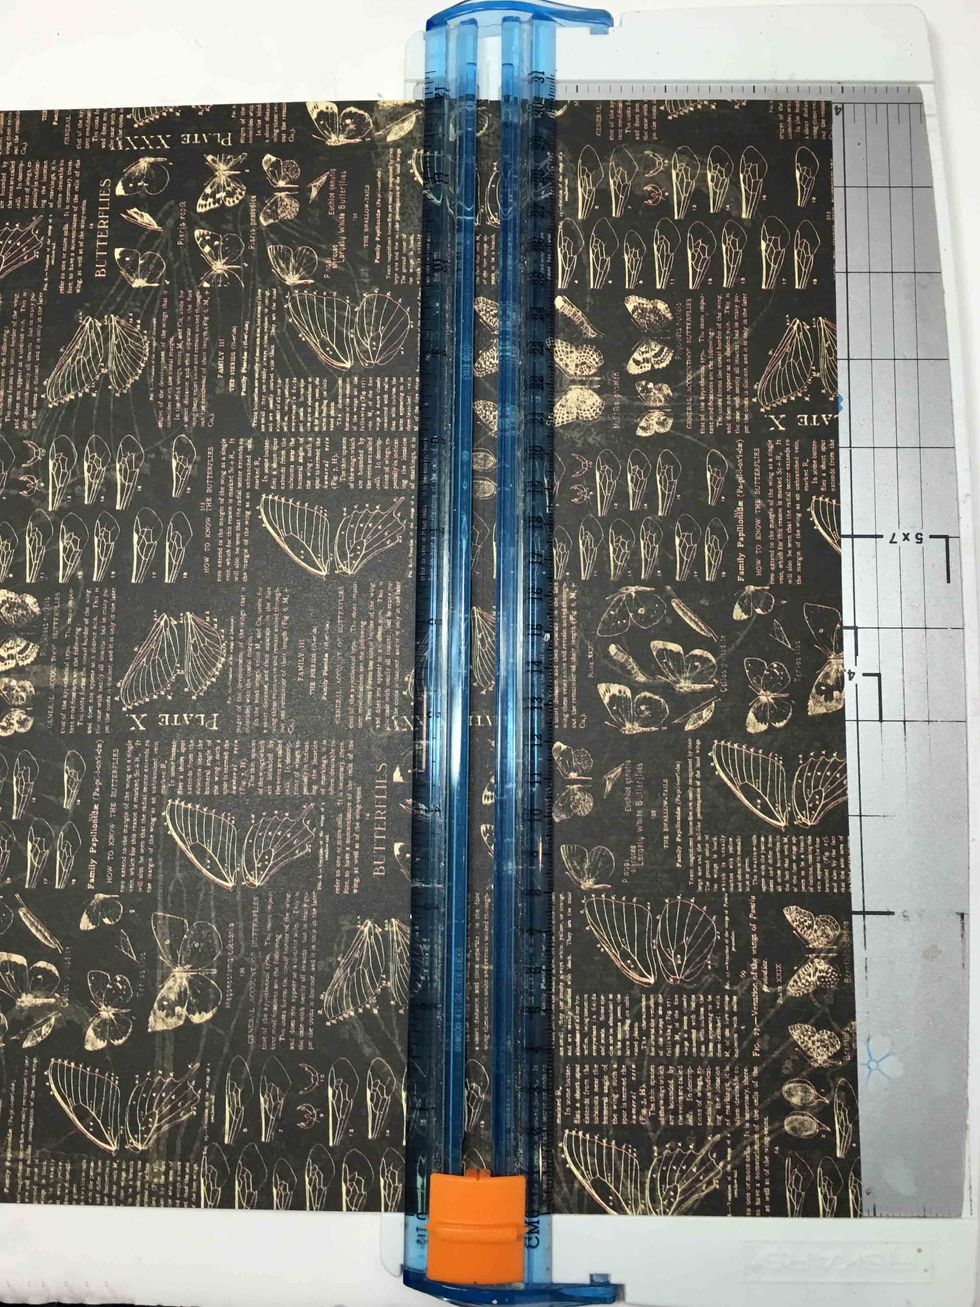
Cut 6 rectangles 8" x 3 7/8" from design paper.
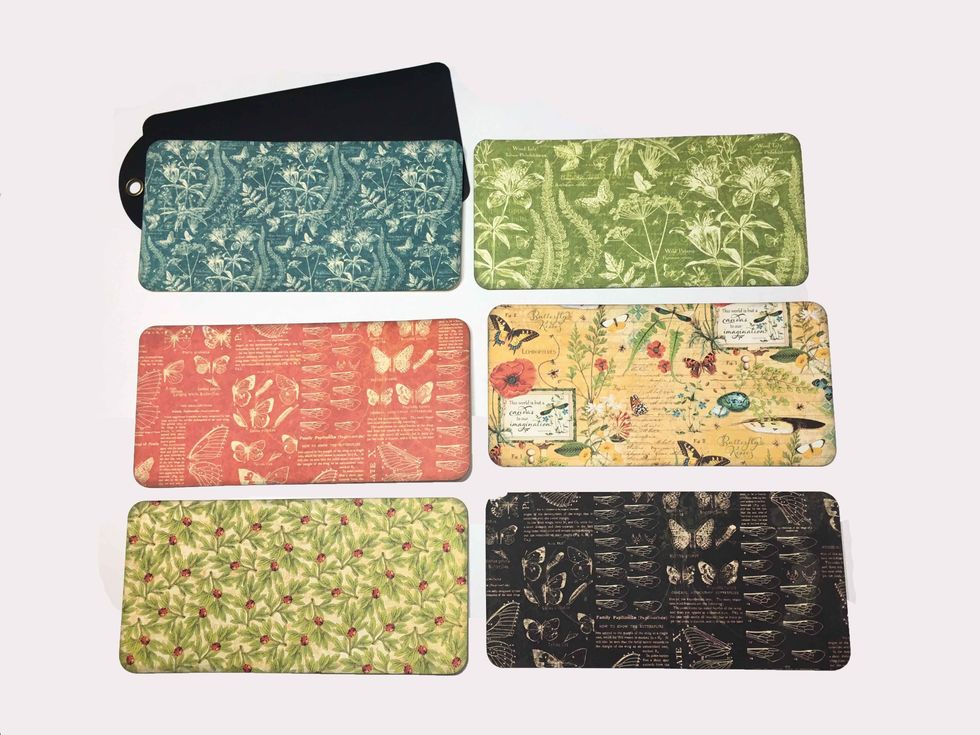
Ink the edges and round the corners to fit the 3 tags not shortened.
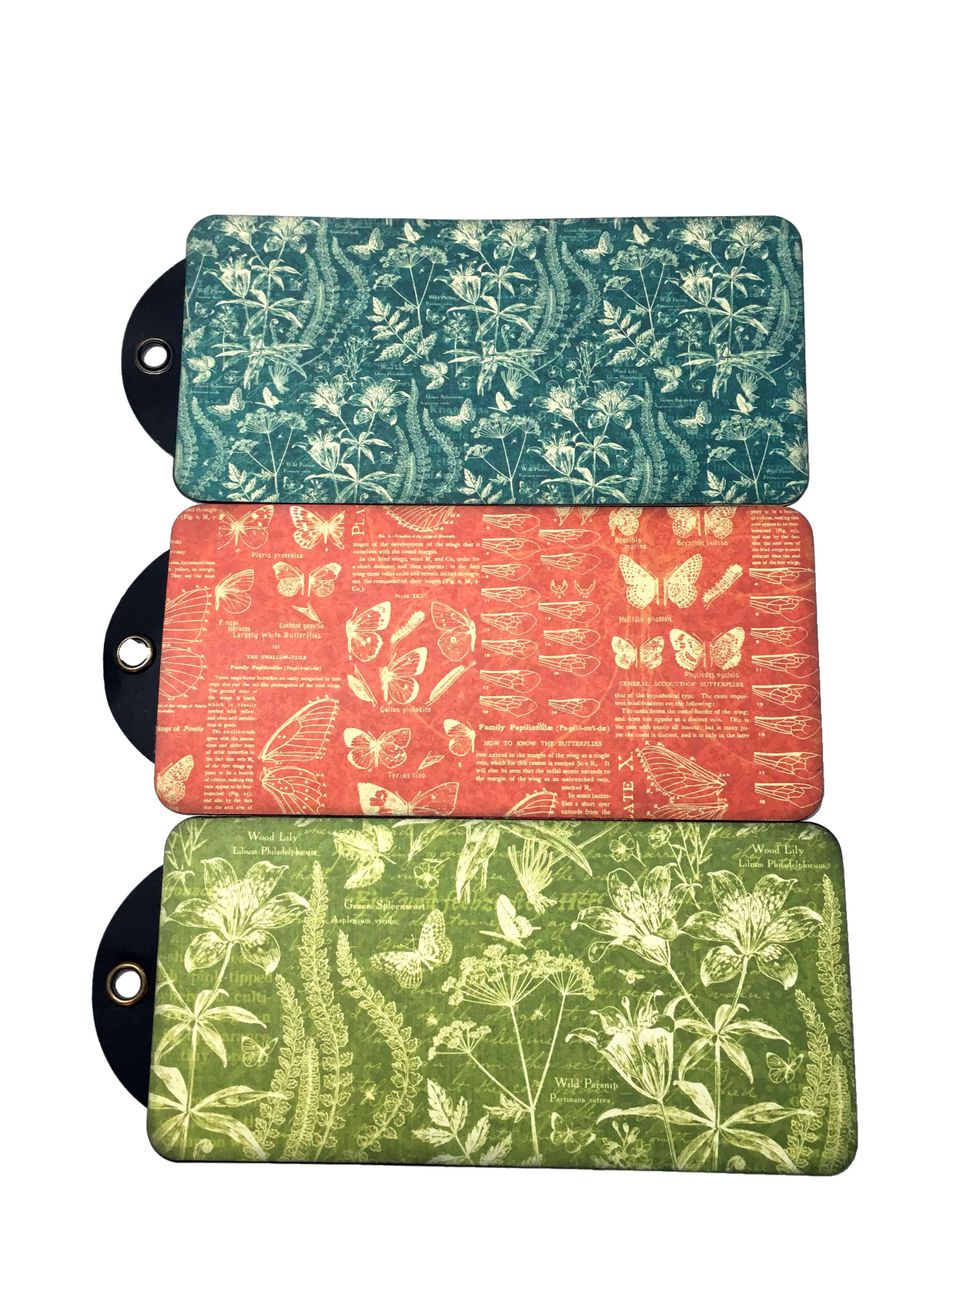
Cover both sides of the tags with the 8" x 3 7/8" rectangles.
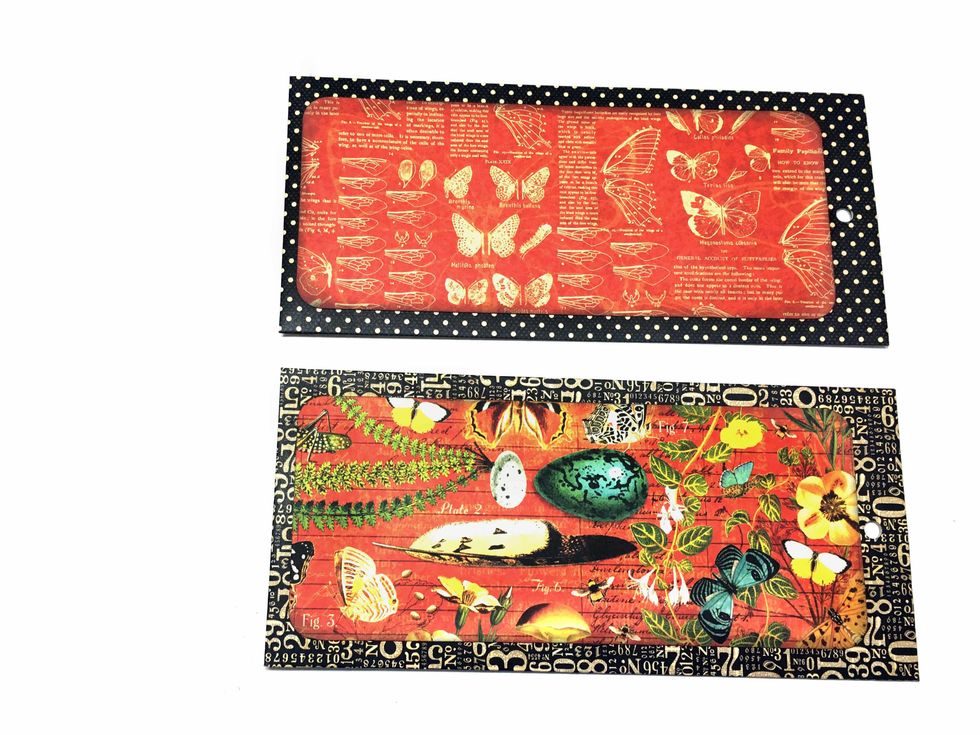
Cut 2 rectangles from design paper 8" x 3 3/8", ink, round the corners and adhere to the fronts of the policy envelopes.
Cur 2 rectangles 4" x 3 7/8" from design paper. Ink and round the corners.
Adhere to the back of the policy envelopes and then punch through the holes on the envelopes. Now you have the "bones" of the mini and you can embellish each page as you wish.
Assemble using the binder ring, place a policy envelope between each of the tags so that you have a tag, envelope, tag, envelope, and tag. Next I'll show you how I completed each page.
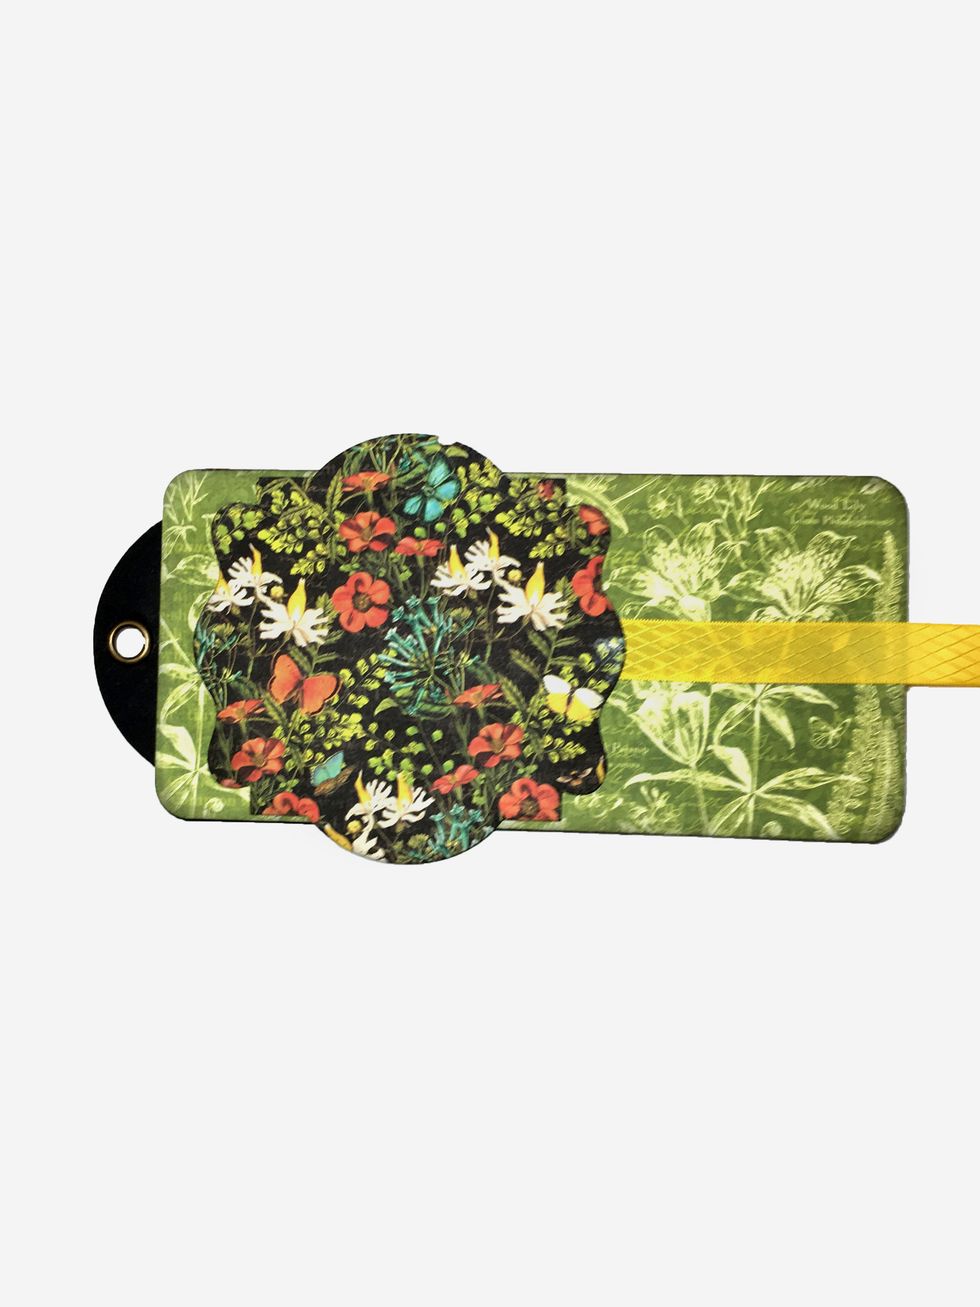
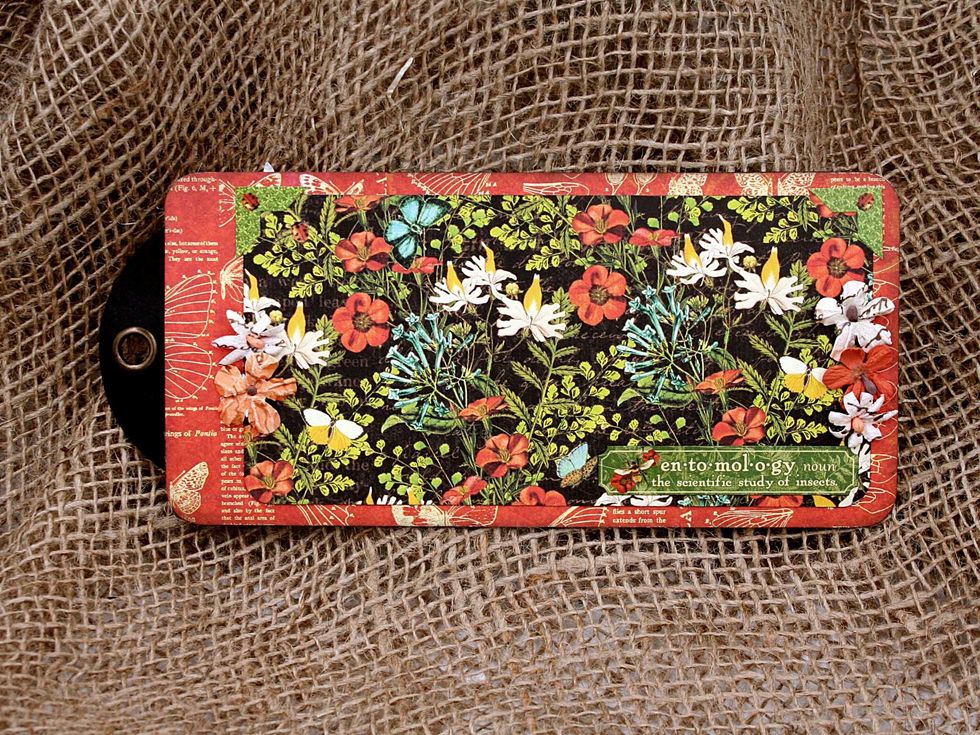
For the cover: Cut 2 - 18" pieces of ribbon. Choose a tag for the cover & glue one piece of ribbon in the center. Diecut a shape slightly larger than the tag and adhere as show in the photo. con't
I've used a Cheery Lynn Designs die, (Pierced Stacker 3 Die Set - XL21.) You could use a circle, doily, or any shape that pleases you in its place. Save the 2nd piece of ribbon for the back.

Fussy cut the title & foliage as shown from Nature Sketchbook. I'm using a piece of chipboard (Creative Embellishments WashiTape Clusters) so that the fussy cut pieces have something to support them.
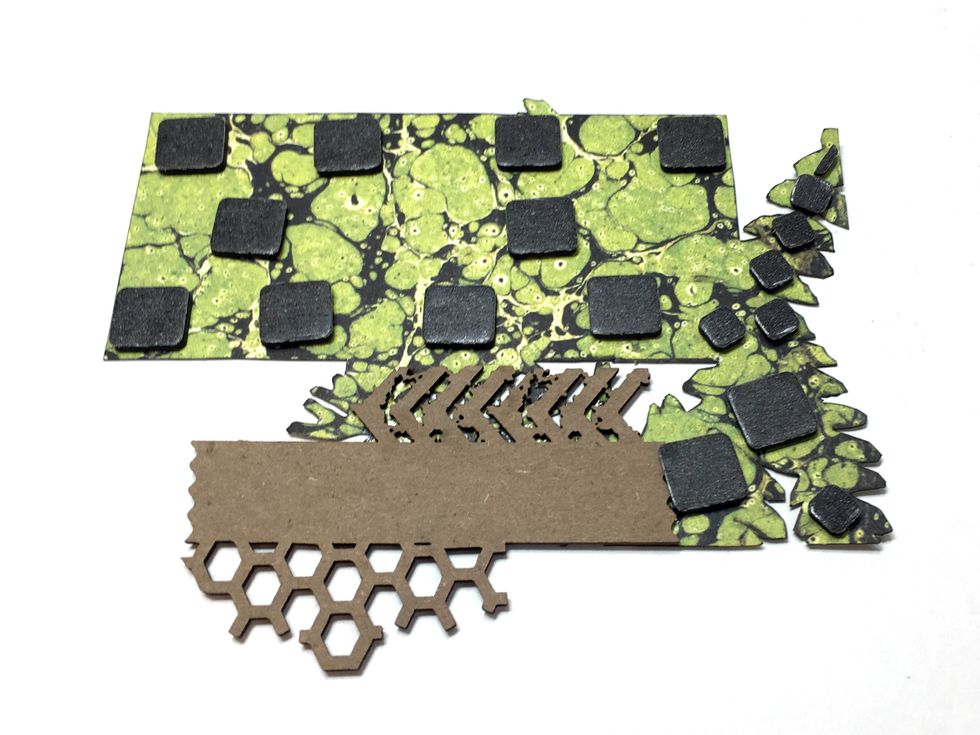
Adhere foam to the back of the title and fussy cut pieces. Here you can see how the chipboard acts as a support for the fussy cut foliage.
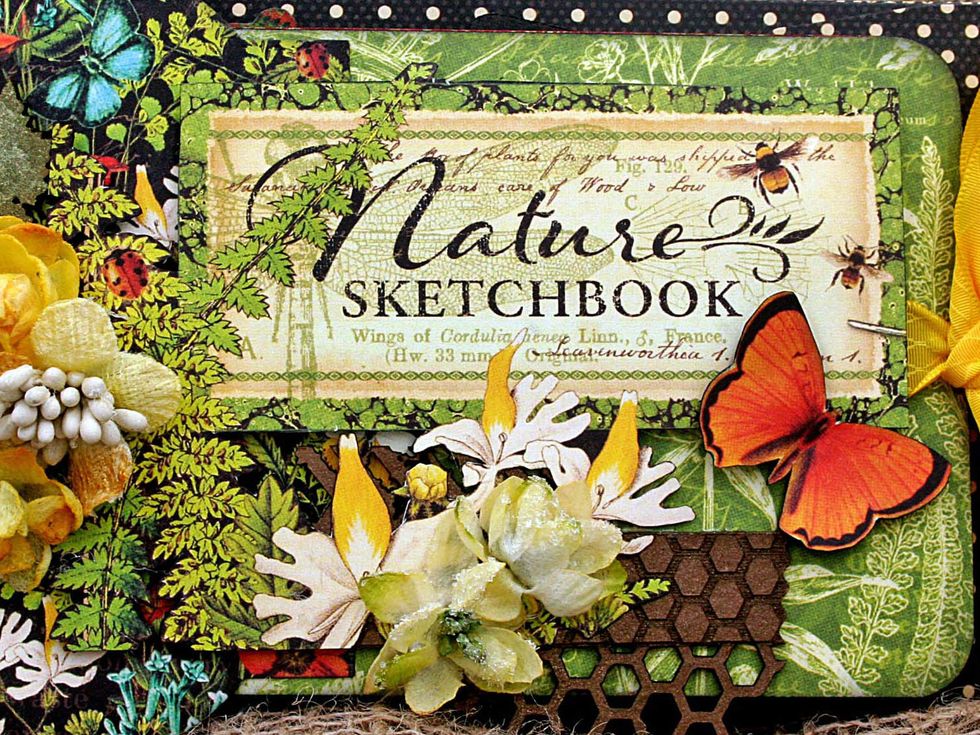
Adhere the title and foliage so that the Nature Sketchbook title is about 3/8" from the top and right side.
Finish up your cover by adding whatever embellishments you like. I've added some Petaloo Botanica Minis, Creative Embellishments chipboard leaves and fussy cut butterfly.
Backside of cover tag: Take a large cutapart (or ephemera card) and fold in half. Cut a rectangle from design paper slightly smaller, about 3 7/8" x 5 1/2" and fold in half. Ink the edges of both.

Poke 2 holes in the center of the tags, about an inch form the sides and thread a piece of cord through to bind the two pieces together, making a little book.
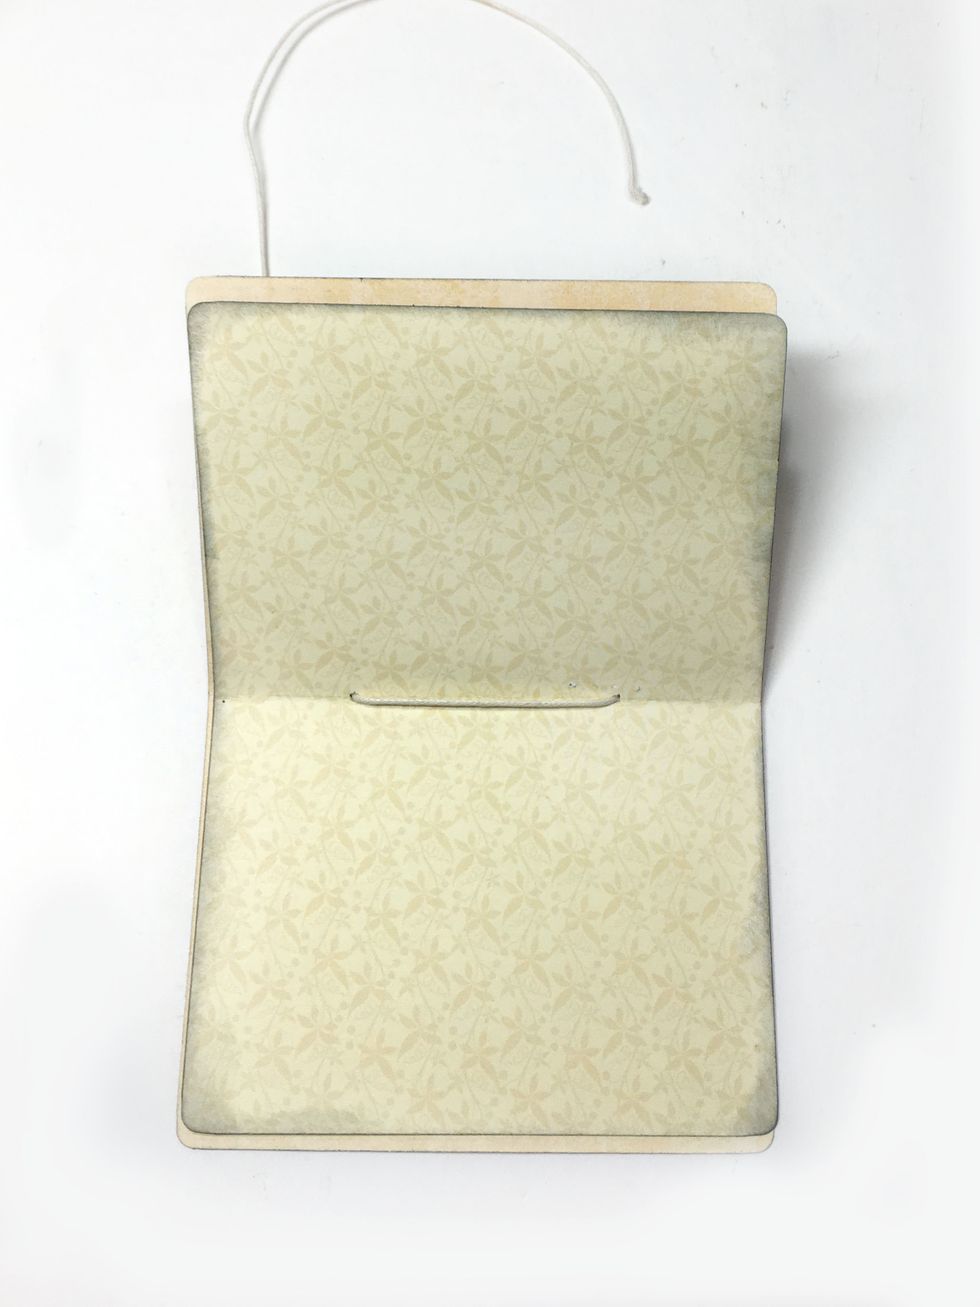
Tie a little bow at the top on the outside making a little book.
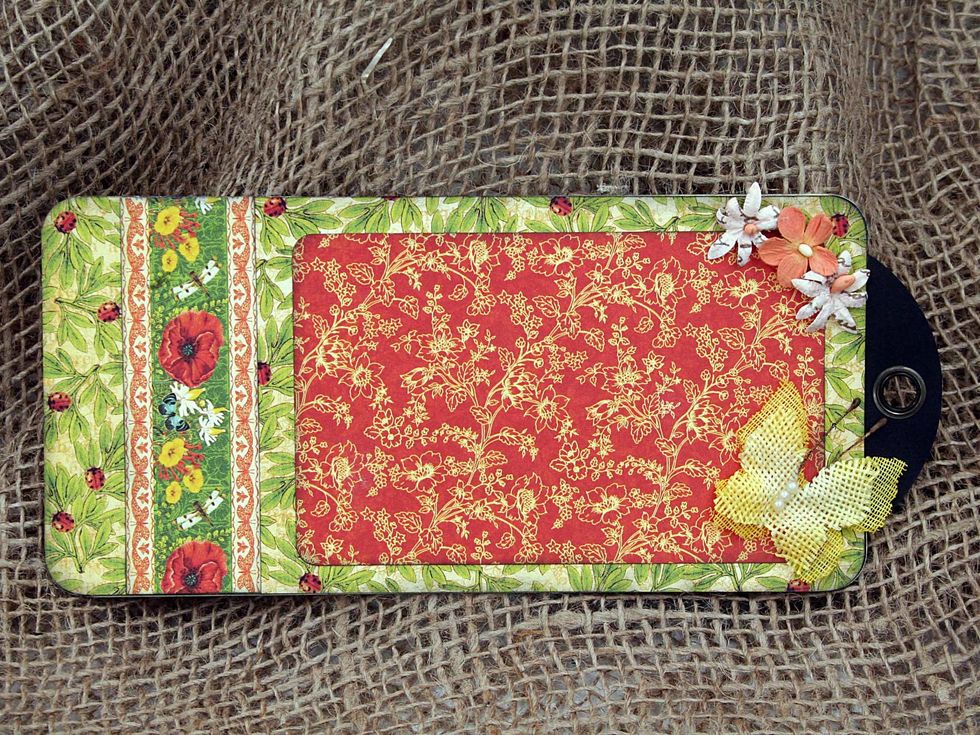
Add a rectangle 3" x 5" and a decorative strip to the back of the cover tag. Then adhere the little book we made in the previous step at an angle.
Add some flowers and chipboard pieces from the Nature Sketchbook collection to finish it off.
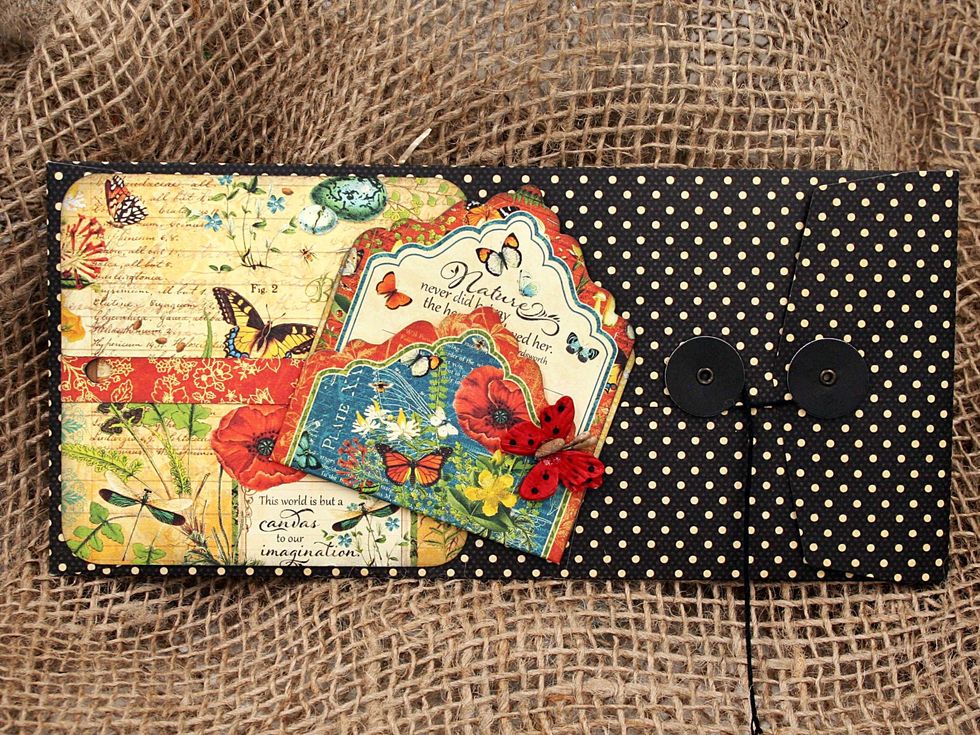
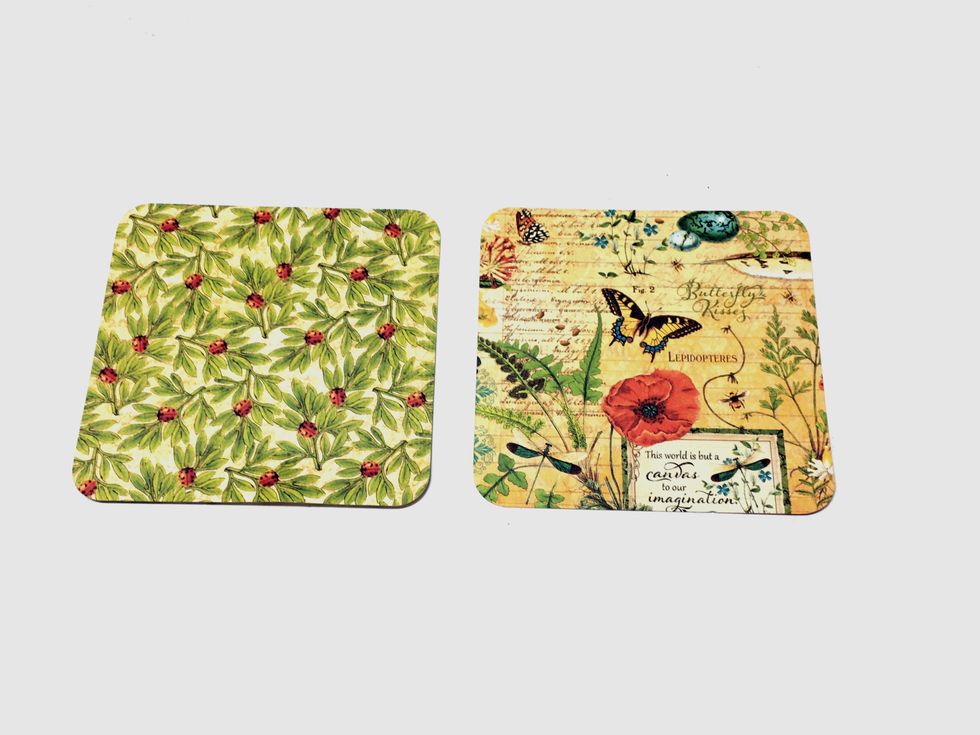
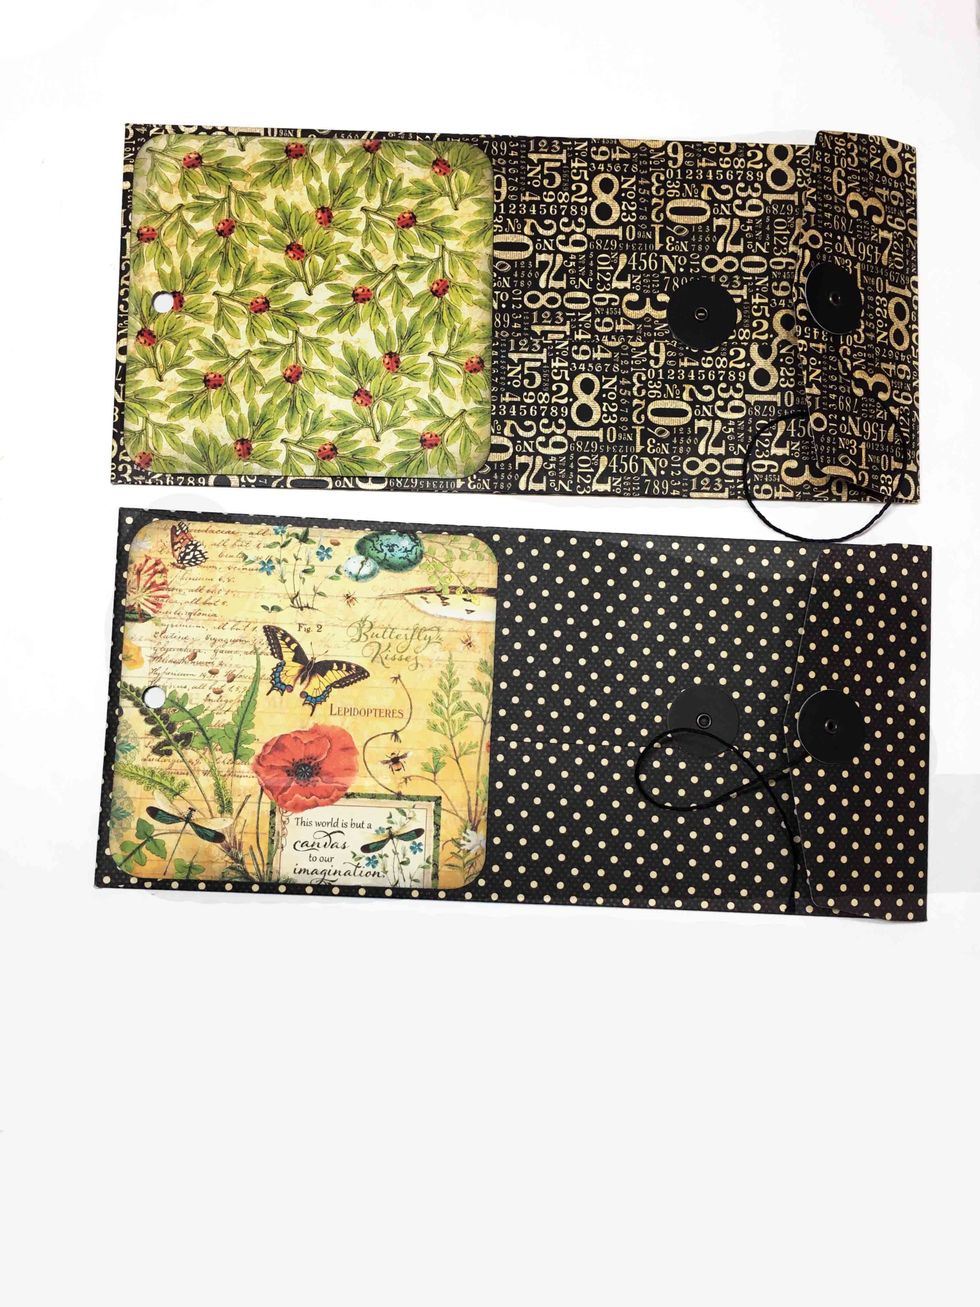
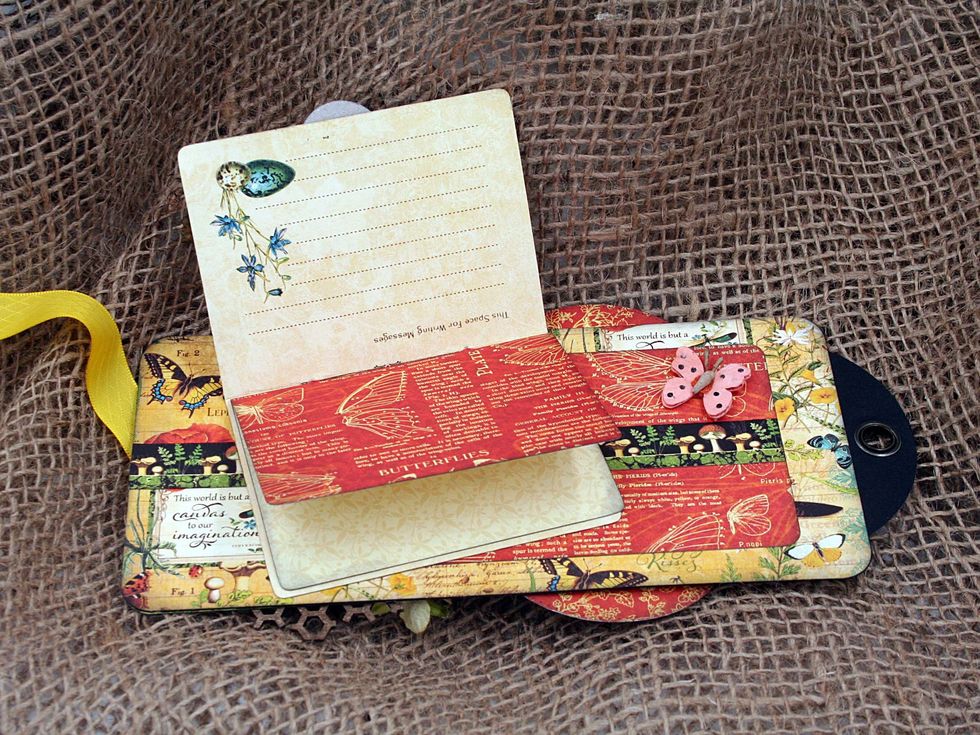
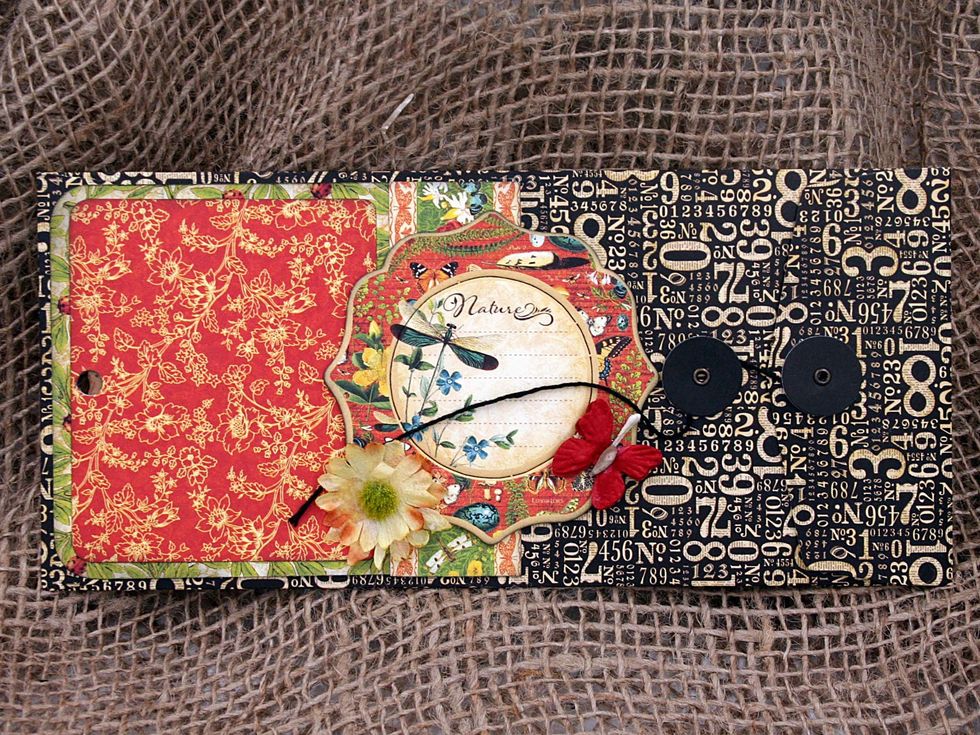
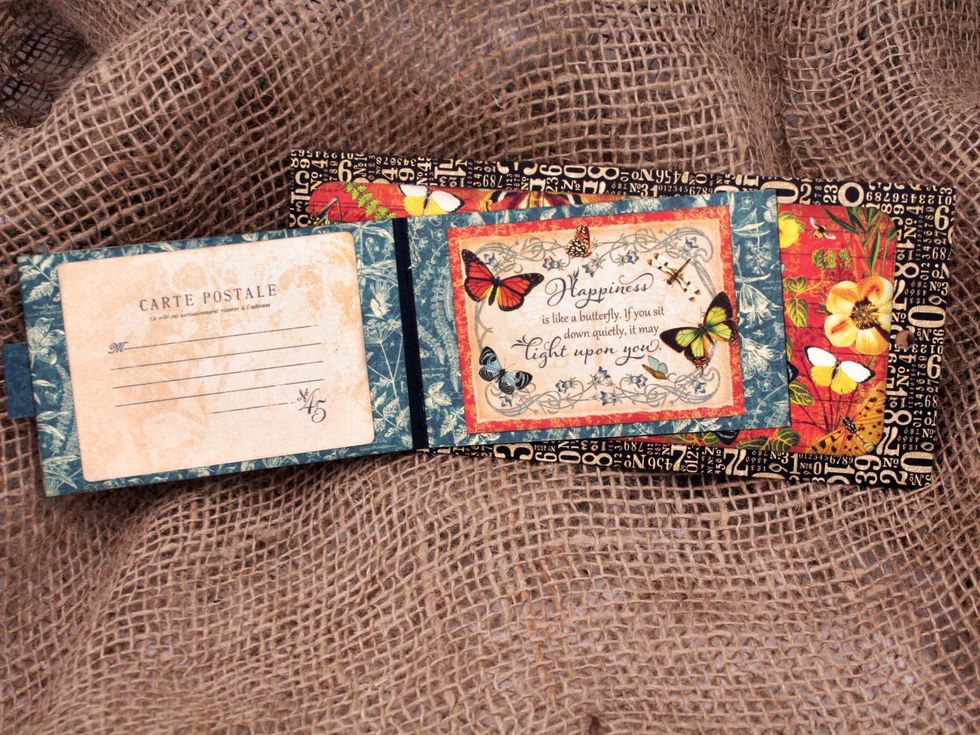
The next page in the mini is a policy envelope. Adhere a pocket tag from the Tags & Pockets as shown.
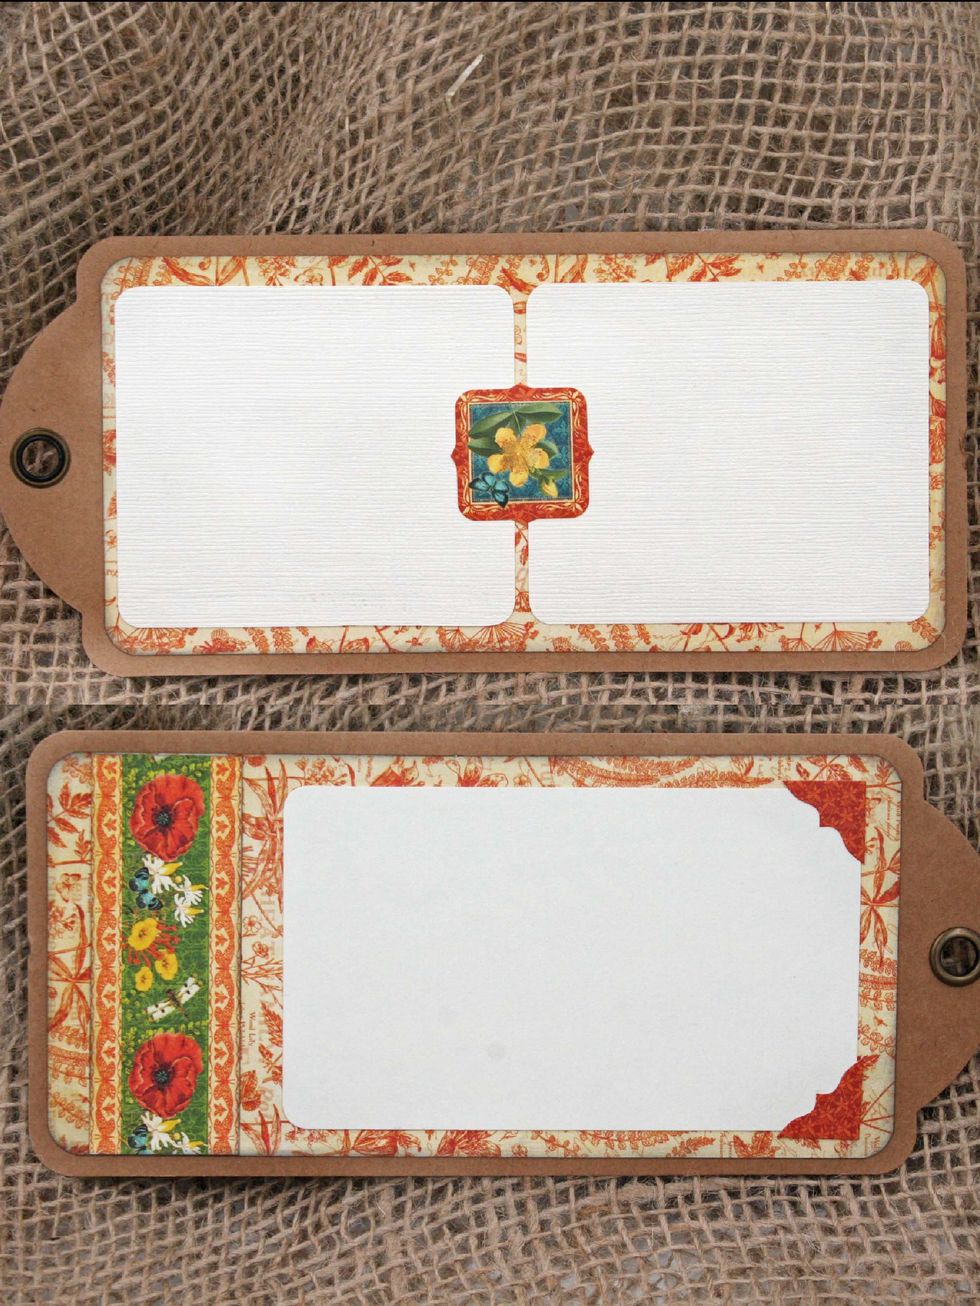
Use a shortened tag inside the policy envelope: Cut 2 rectangles 7 3/8" x 3 1/2" on each side of the tag. Add 2 photo mats on both sides and embellish with decorative strips and stickers.
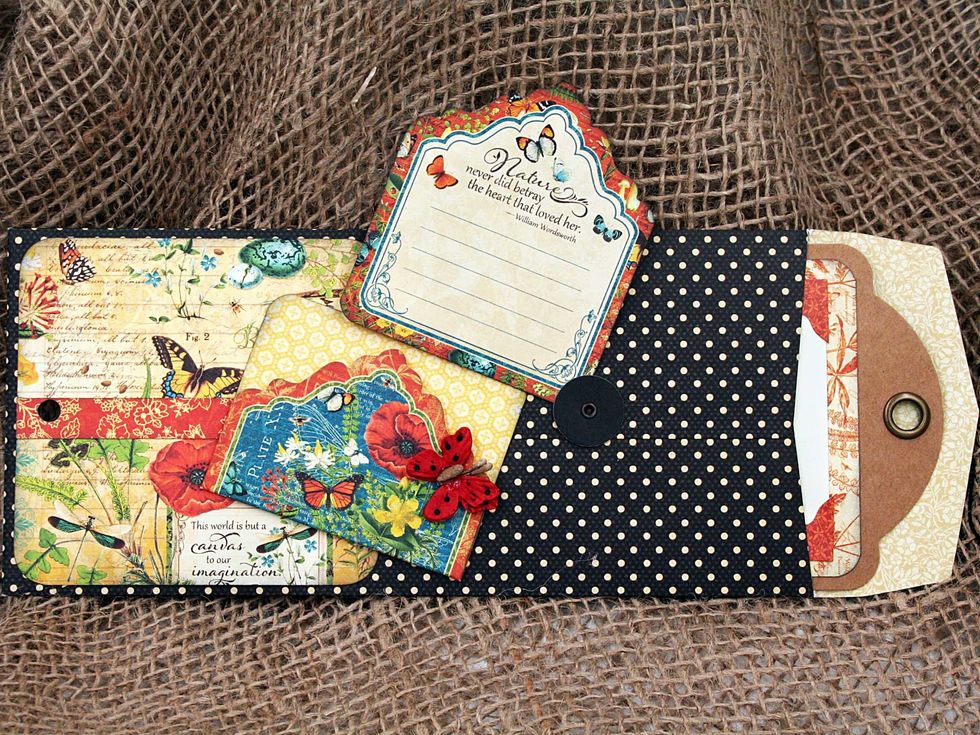
Place the shortened tag into the policy envelope.
For the front of the envelope, add a belly band. Cut a decorative strip & adhere only at the ends. Top with a chipboard piece glued only to the decorative strip. Then slip in some small cutaparts.
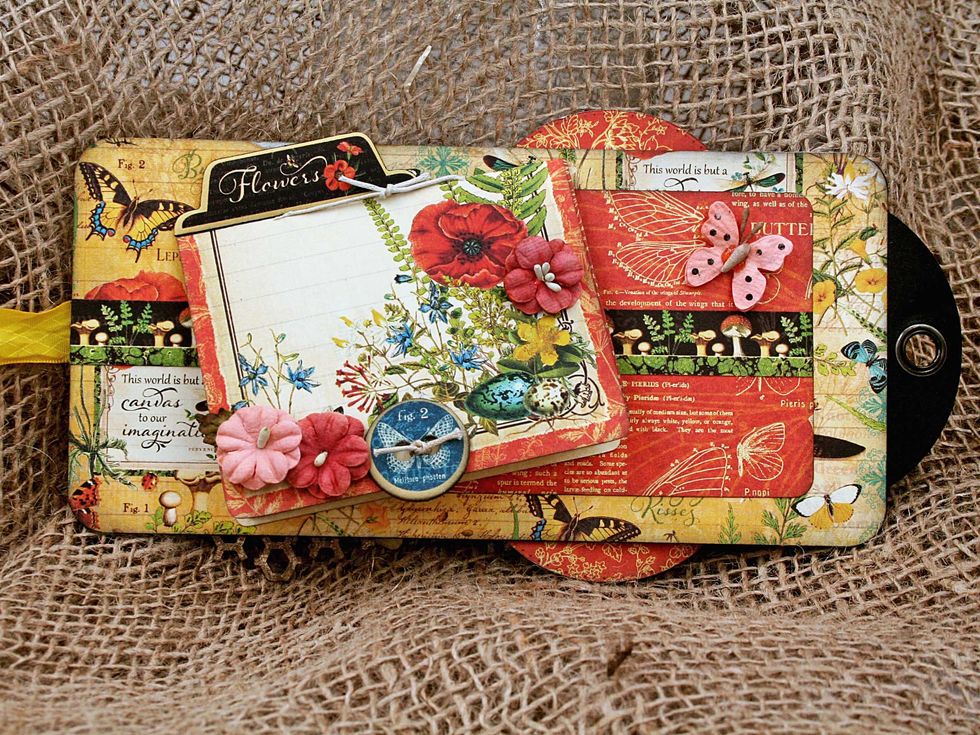
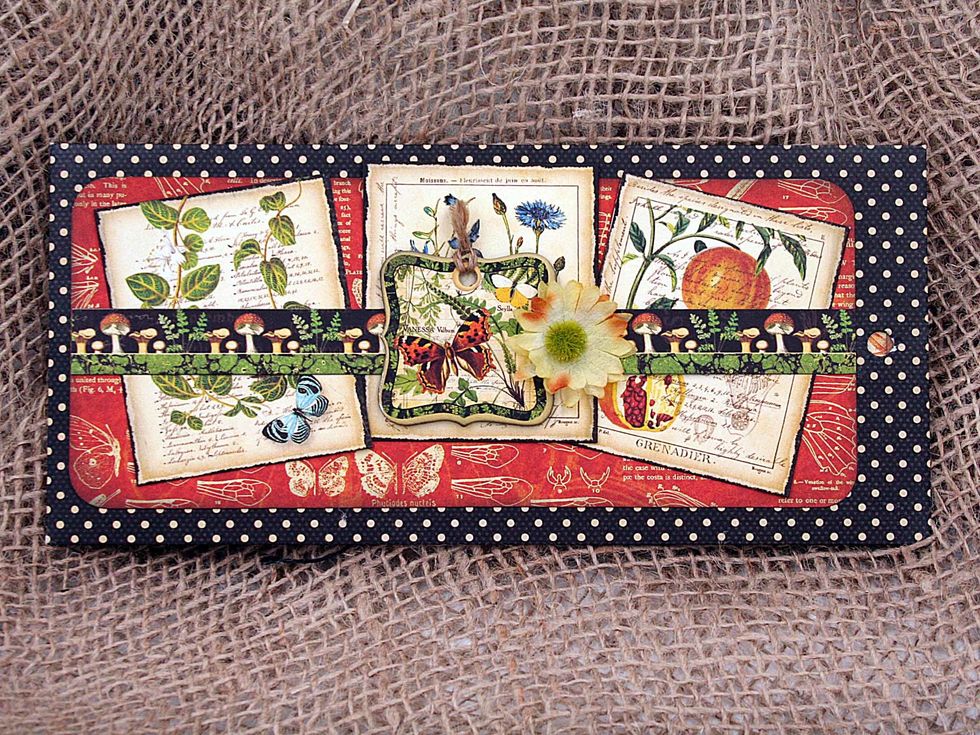
Add a 6 3/4" x 3 3/8" layer to the next tag and embellish with a stickers and small flowers.
On the back of the same tag, add a decorative strip and a 5 1/8" x 3 1/4" photo mat, embellish with flowers and a butterfly.
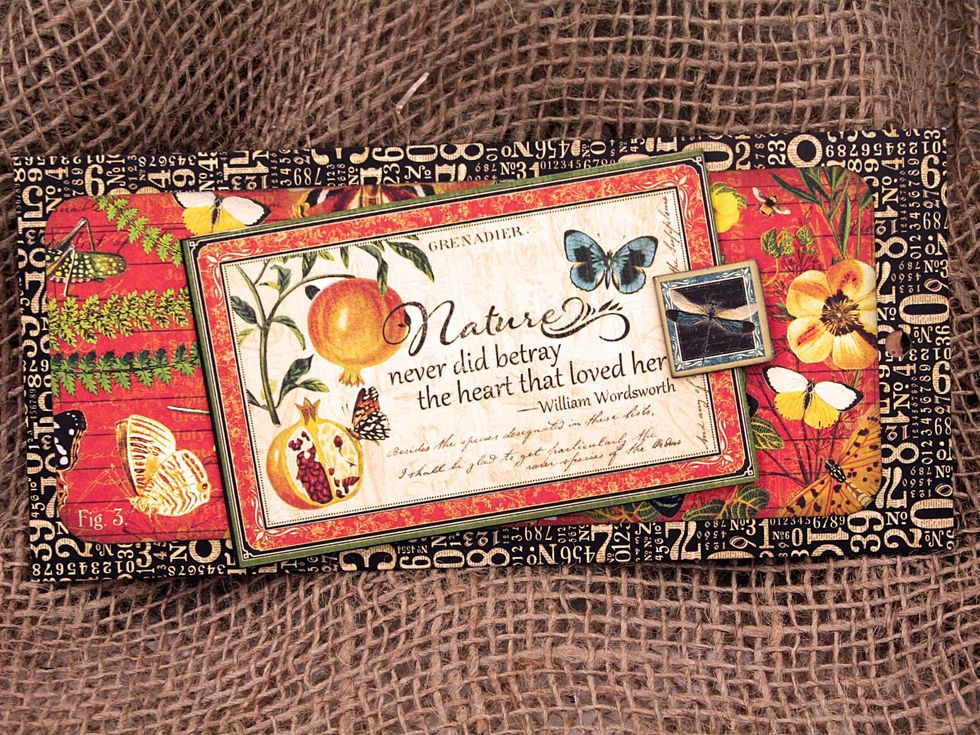
Next is the 2nd policy envelope. Add a 3" x 3 1/2" photo mat and embellish with a decorative strip and journaling chipboard.

Again, there is a shortened tag inside the pocket.

Cutt 2 rectangles 7 3/8" x 3 1/2" and glue to both sides of theshortened tag. Then add photo mats and embellished with a decorative strips and stickers.
Cut a piece of cardstock 10" x 3 1/4" and fold in half so that it is 5" x 3 1/4". Adhere a cut-apart to the front of the little book & add a small piece of chipboard to act as a finger hold.
Deocrate the inside of the book with more cutaparts or ephemera cards. Adhere to the front of the 2nd policy envelope.

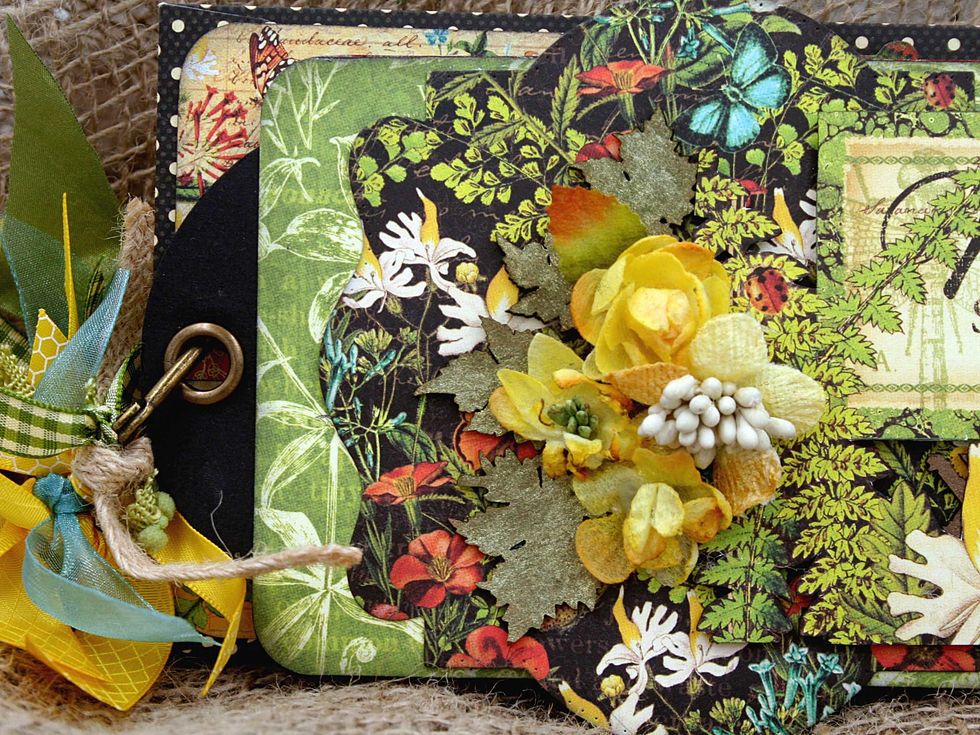
Cut a rectangle 7 1/2" x 6 3/4" & fold in half so that it is 7 1/2" x 3 5/8". Ink, round the corners & glue the back flap to the 3rd tag. Decorate the inside with photo mats, chipboard, flowers.

Decorate the outside flap with chipboard, a decorative strip and flowers.
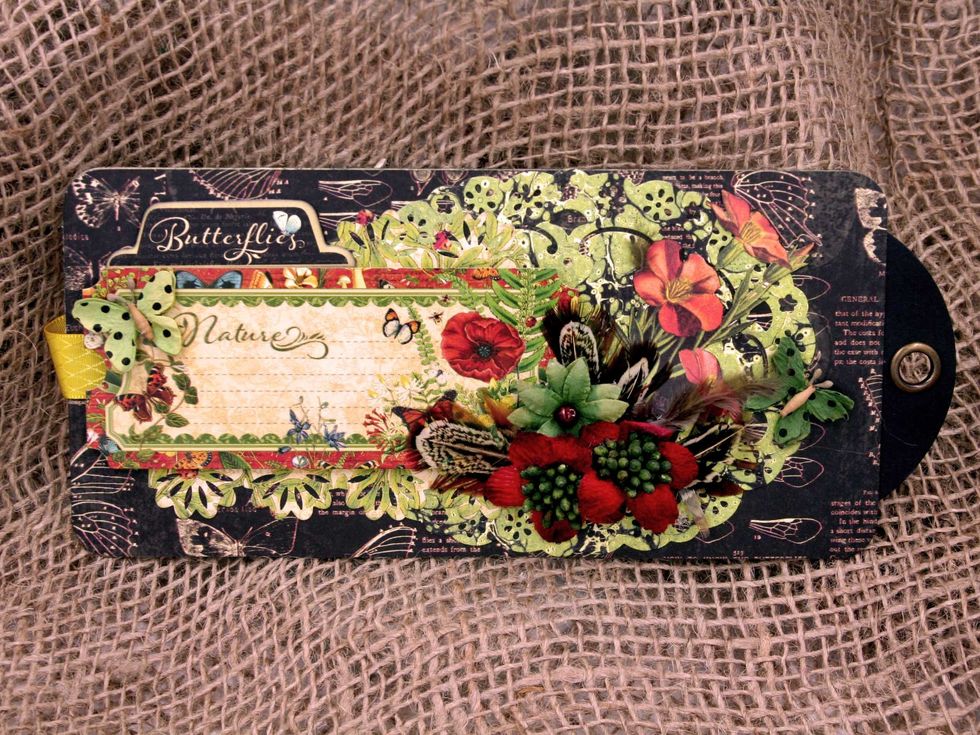
Back cover: Add a diecut oval doily on the right. Add a sticker from the sticker sheet to the left, add a border cut above & below the sticker, then embellish with chipboard, flowers & feathers.

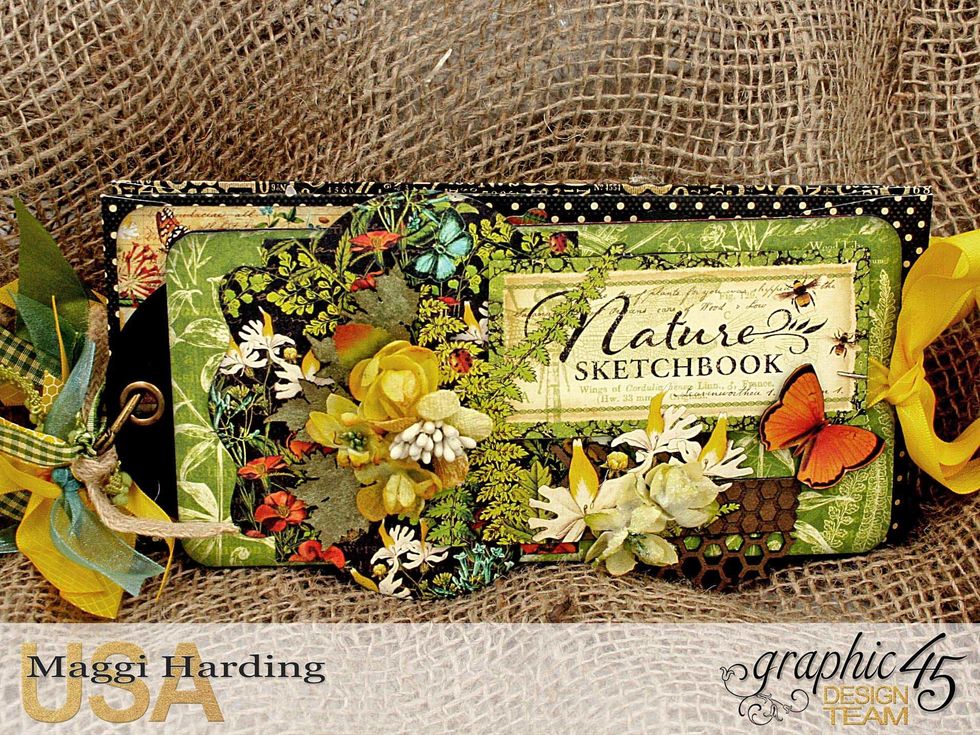
Finished mini.
Use the ring that comes with the large tag album to assemble the mini placing a policy envelope between each tag. Tie bits of ribbon onto the ring for a fun look.

I design for Graphic 45, Creative Embellishments, Petaloo, & Cheery Lynn Designs. Tutorials on my blog:bit.ly/1Sem2J0. Pinterest:bit.ly/1HhWvOx Thanks so much! Please like if you enjoyed this guide.