The Conversation (0)
Sign Up
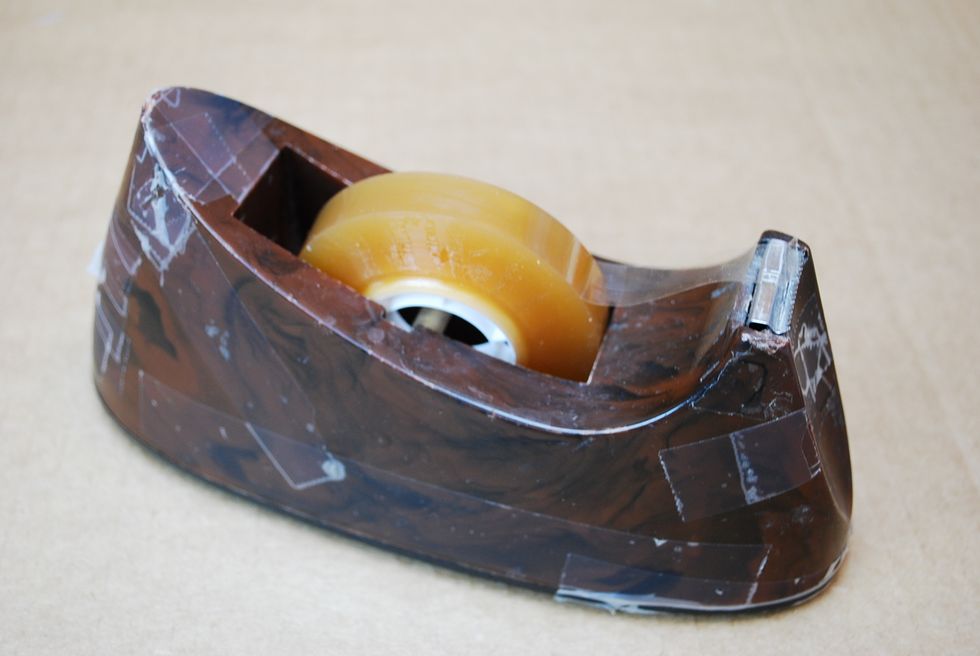
Put your packaging tape on a tape dispenser to make it easer to ripe off smaller pieces of tape.
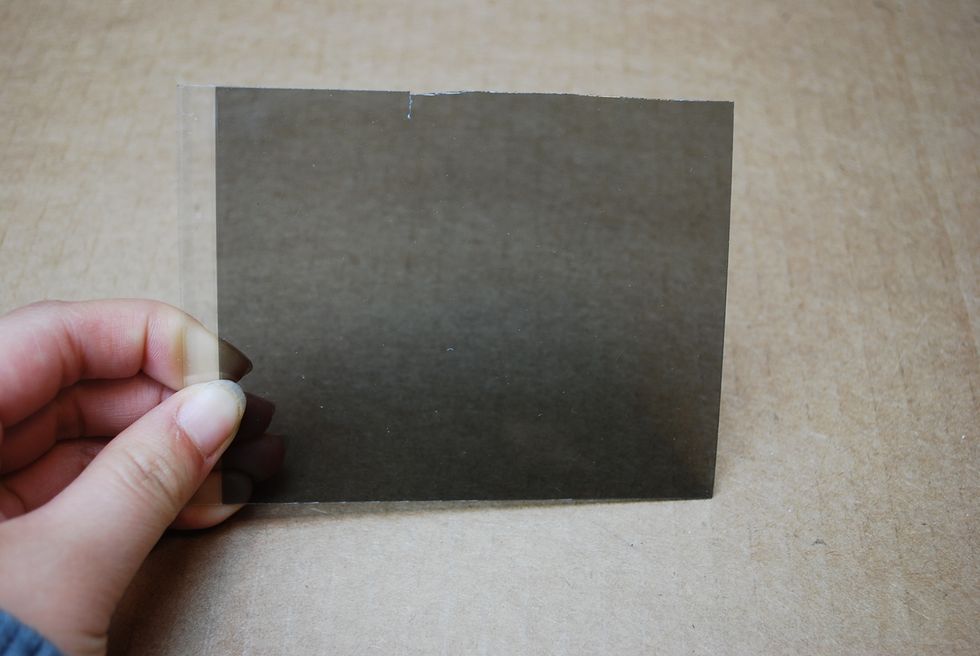
You'll need a polarizing filter sheet for viewing - we bought Linear Polarizer by the foot from Polarization.com
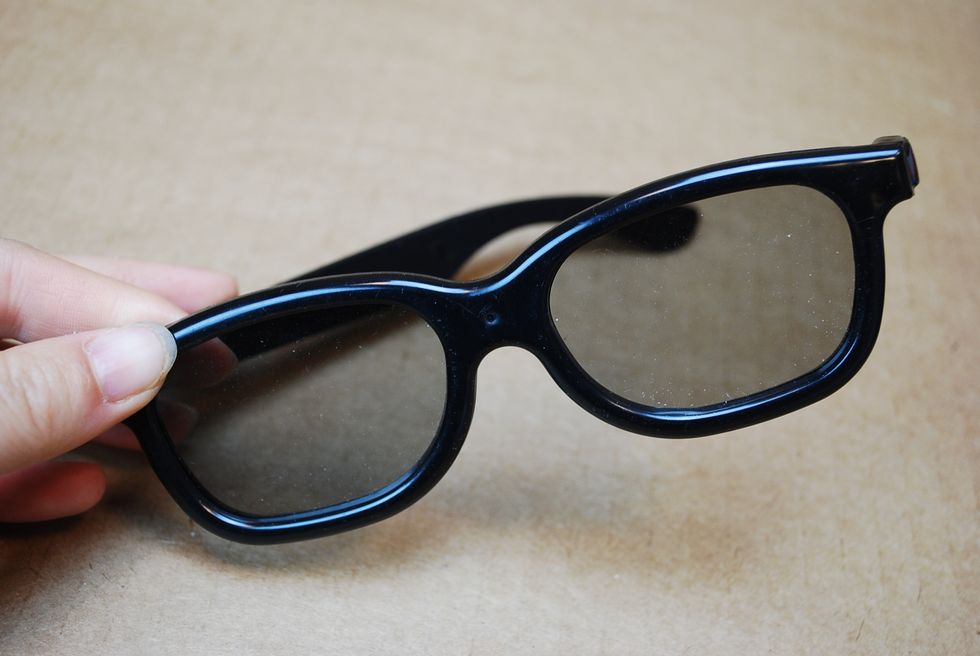
If you don't have polarizing film, a pair of 3D glasses from a movie viewing work great - you might be able to get a local theater to donate their broken ones - they usually throw them out.

You'll need a laptop or flat panel computer screen (these will work best). Have a white backdrop on your screen. These types of screens have a filter embedded in the screen itself!

Find a monochrome (black and white) image of a butterfly you like. Print it out on a transparent film that works on your printer/copier. We printed 4 to a 8 1/2"x11" sheet.
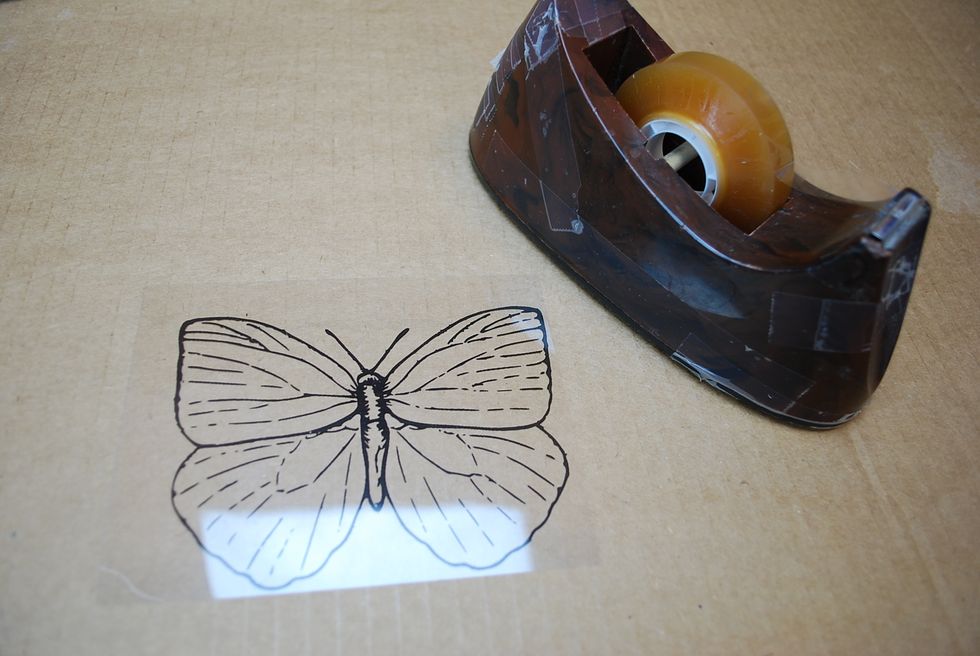
Lay out all of your materials.
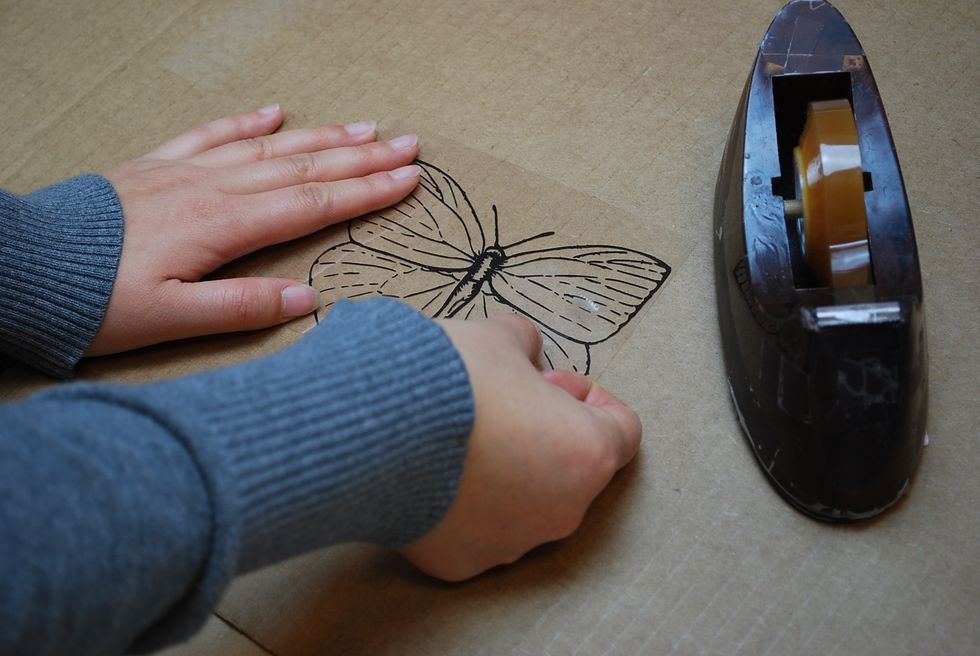
Start by ripping a small piece of tape and placing it inside the wing outlines. It is best place them randomly and then build them up by overlapping and layering.
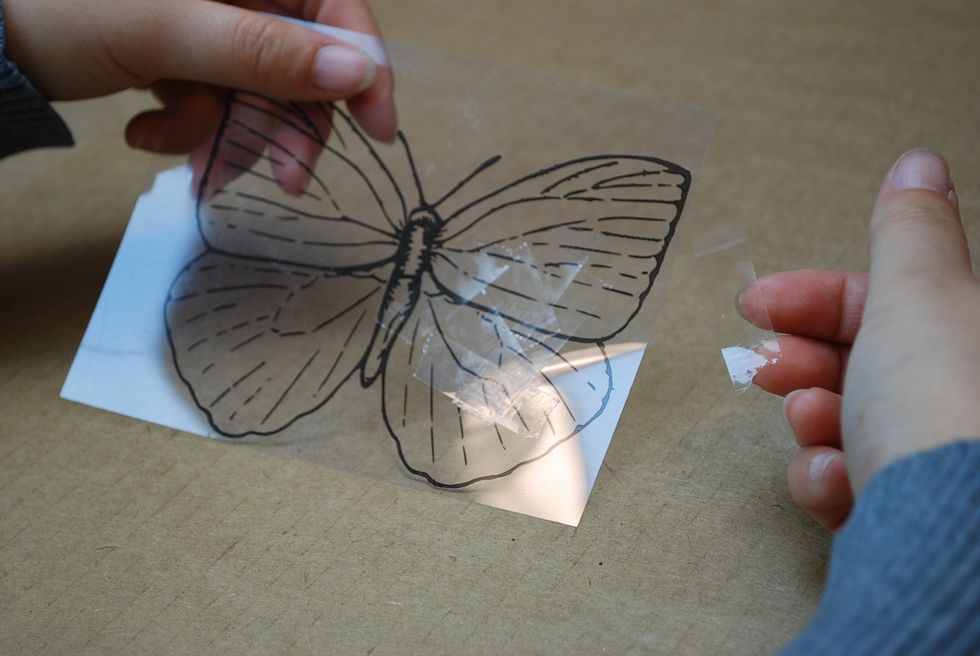
Continue to layer the tape and place pieces of tape randomly all over the butterfly until it is completely covered.
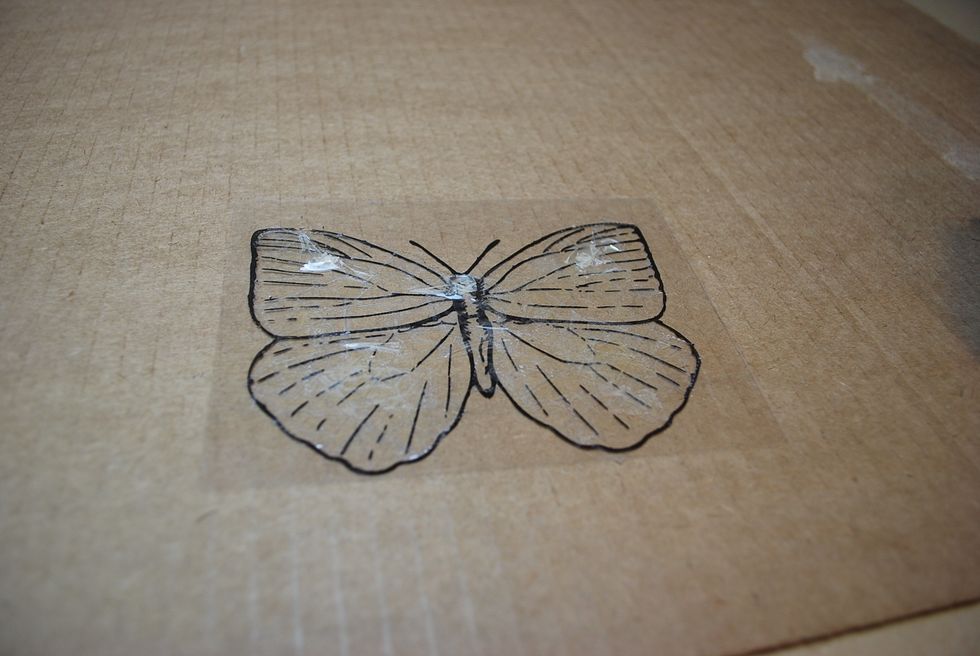
There is no such thing as "messing up" with this activity. If the tape gets clumpy or sticks together, go ahead and throw it on the butterfly and place a piece of tape on top (as shown above).
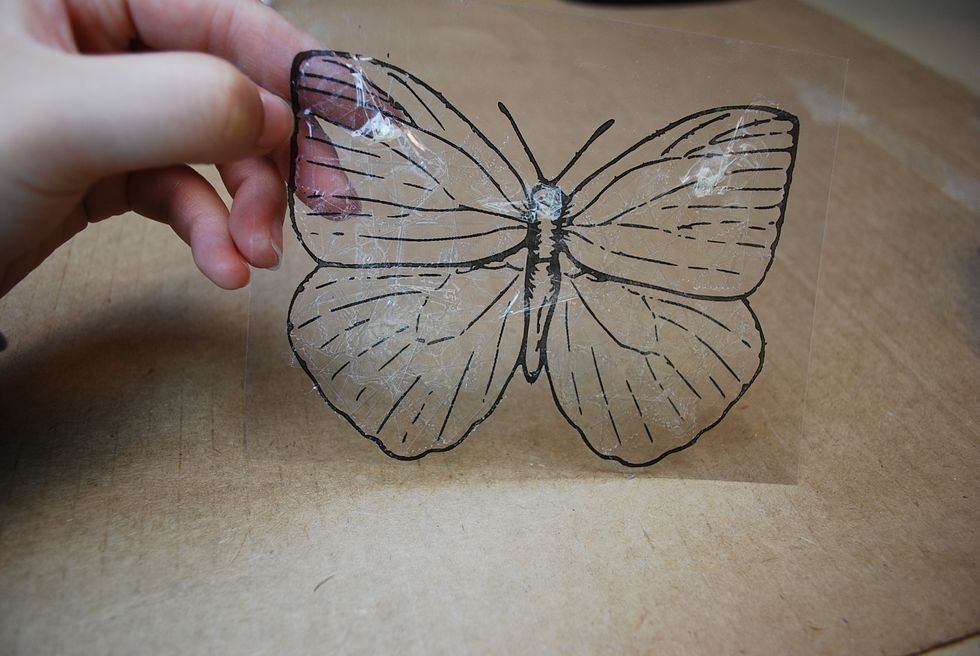
Here is a better view. The messier or more tape you place on your butterfly, the more colors you will see.
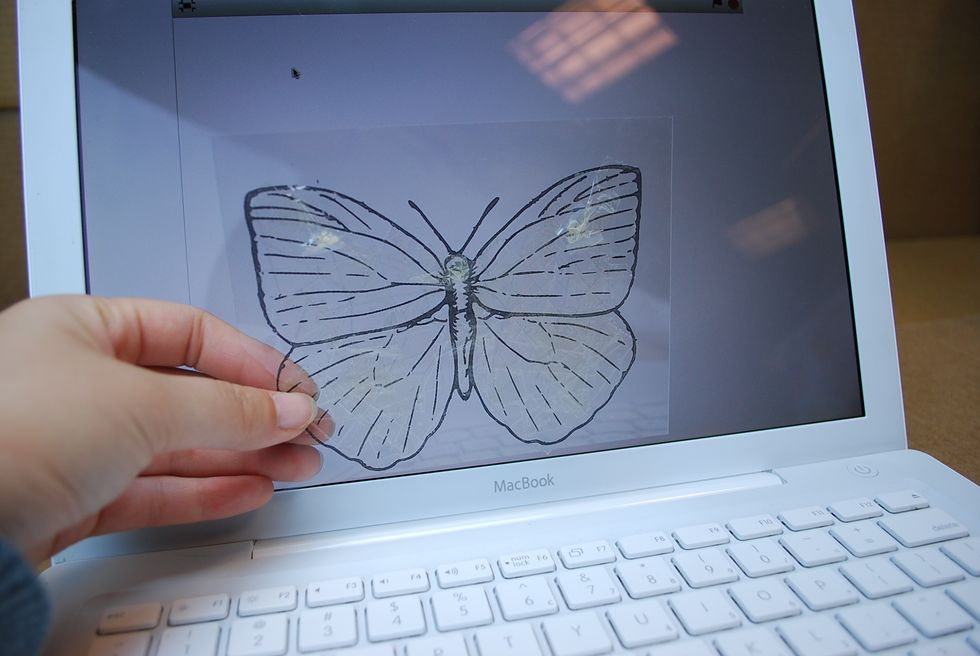
Place your template in front of the computer screen.
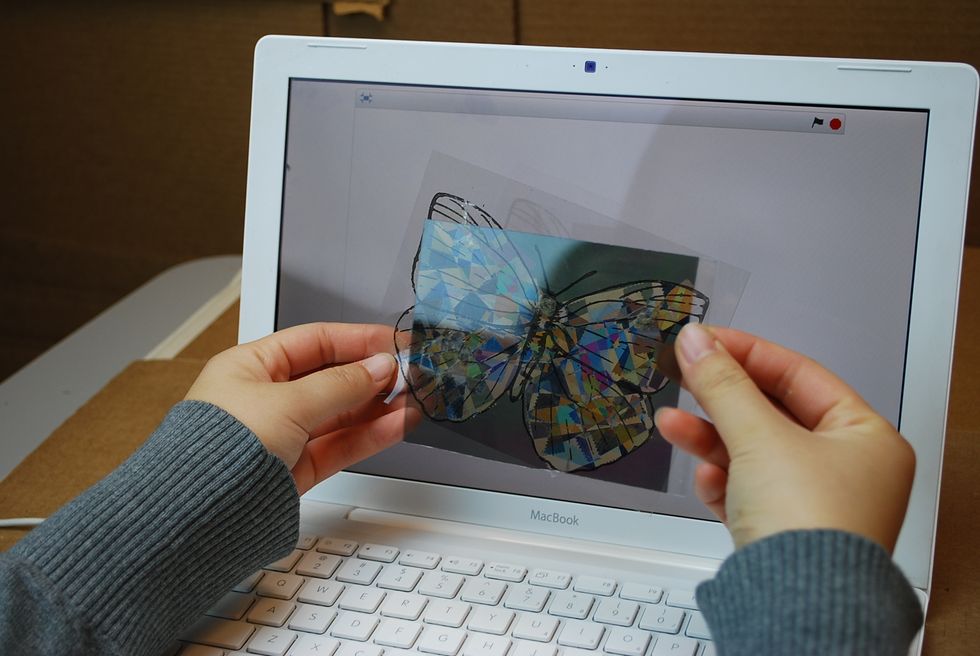
Place your polarizing paper in front of your butterfly. You will see colors right away!
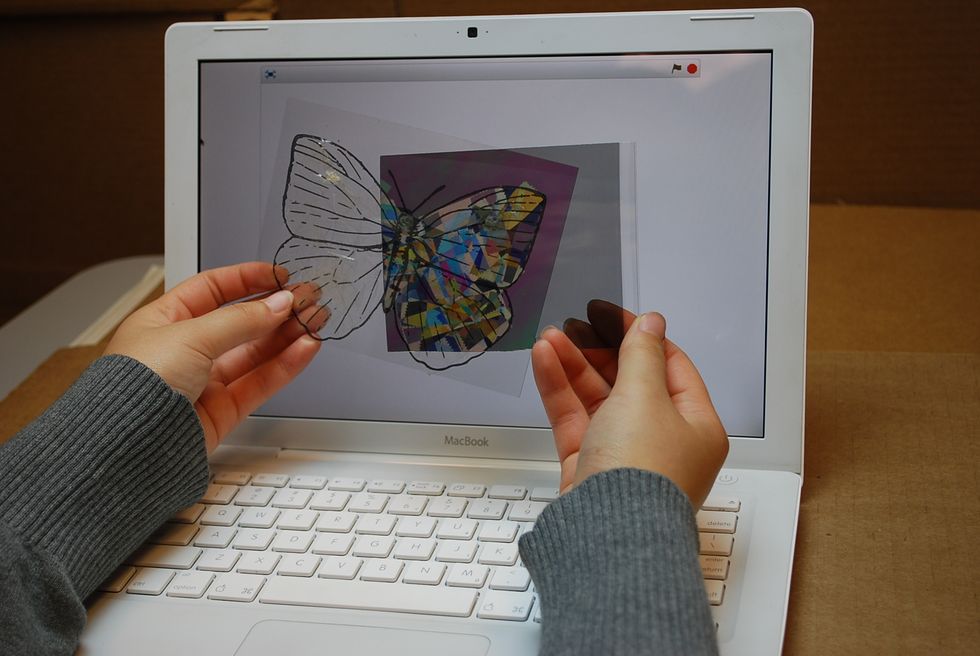
When you start to turn the polarizing paper, you will see the tape change colors.
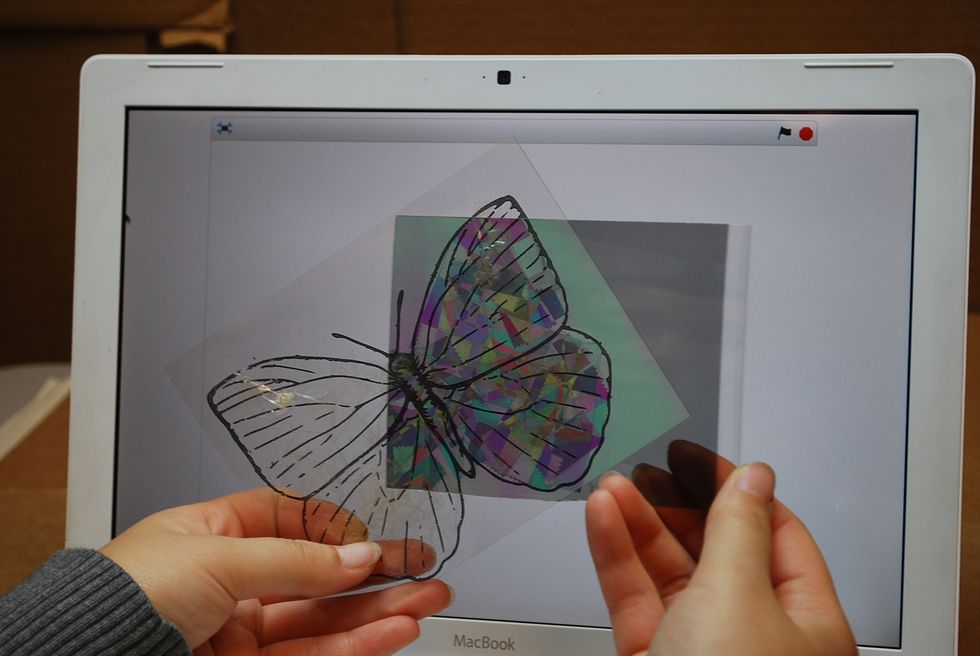
Enjoy! Try this with other images - can you orient the tape so you get a specific color in a specific area - like a blue sky or green grass? Experiment!