The Conversation (0)
Sign Up
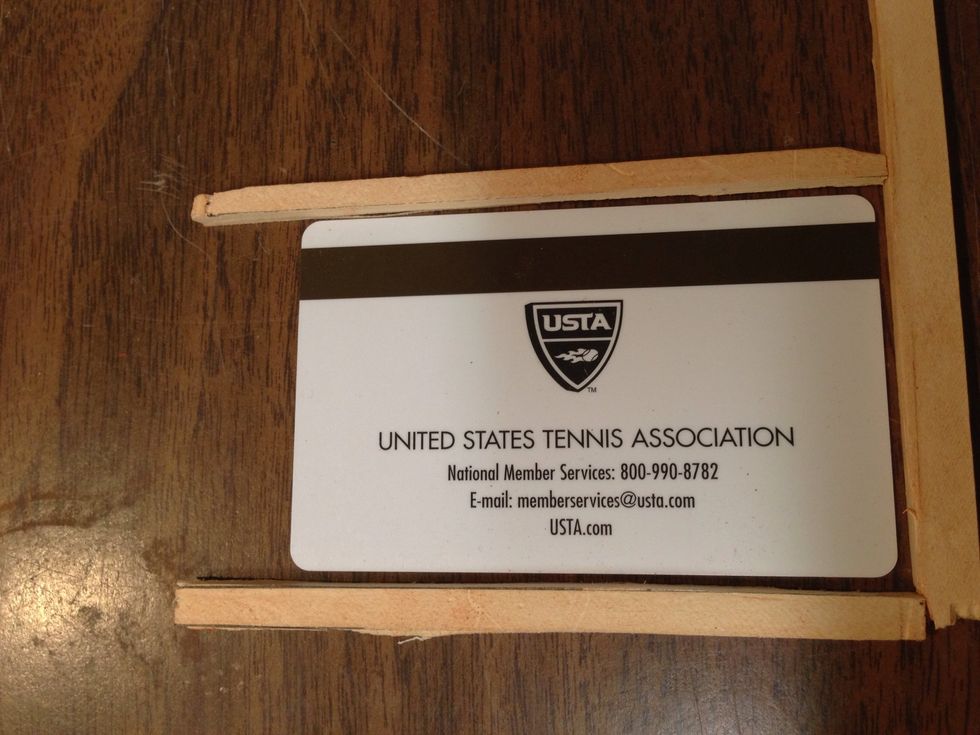
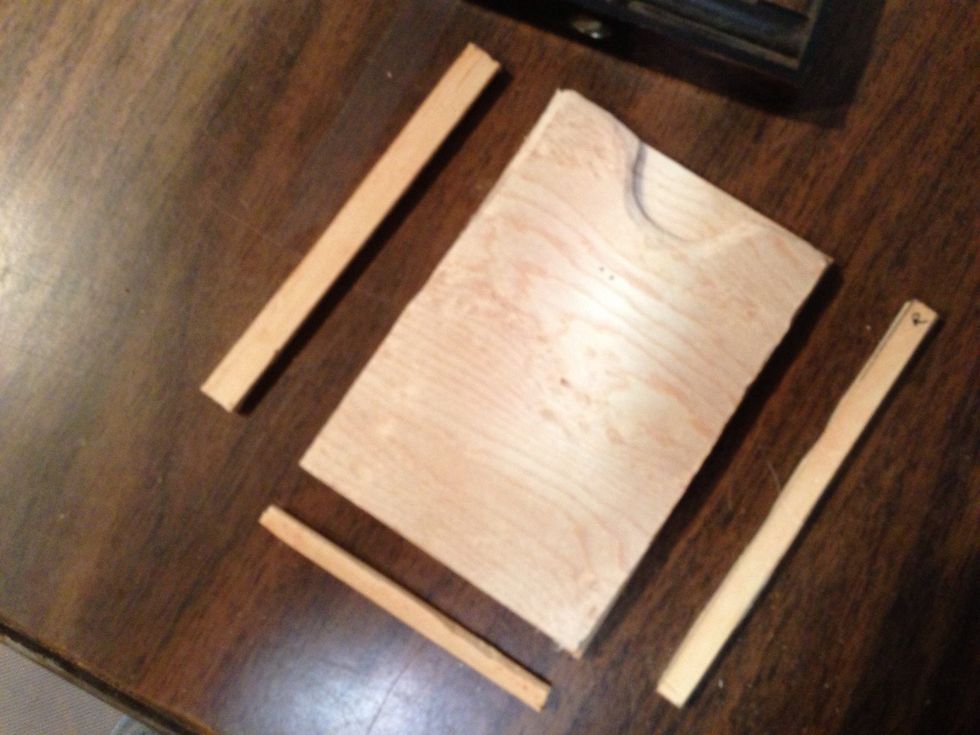
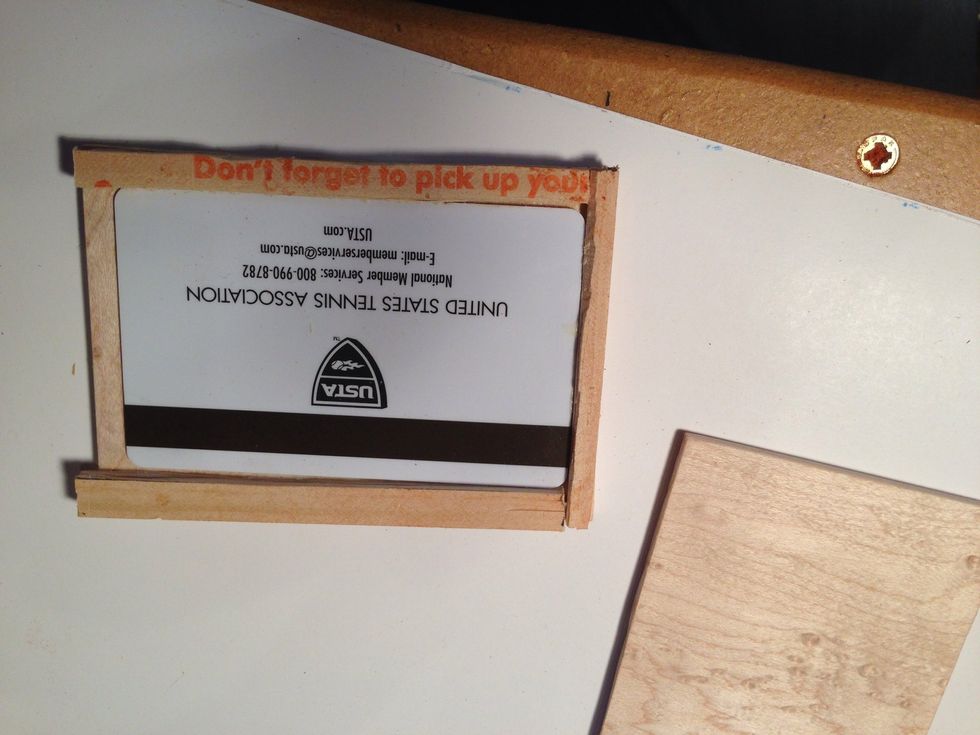
Measure small wood frame around credit card. I used a paint stick and split with utility blade.
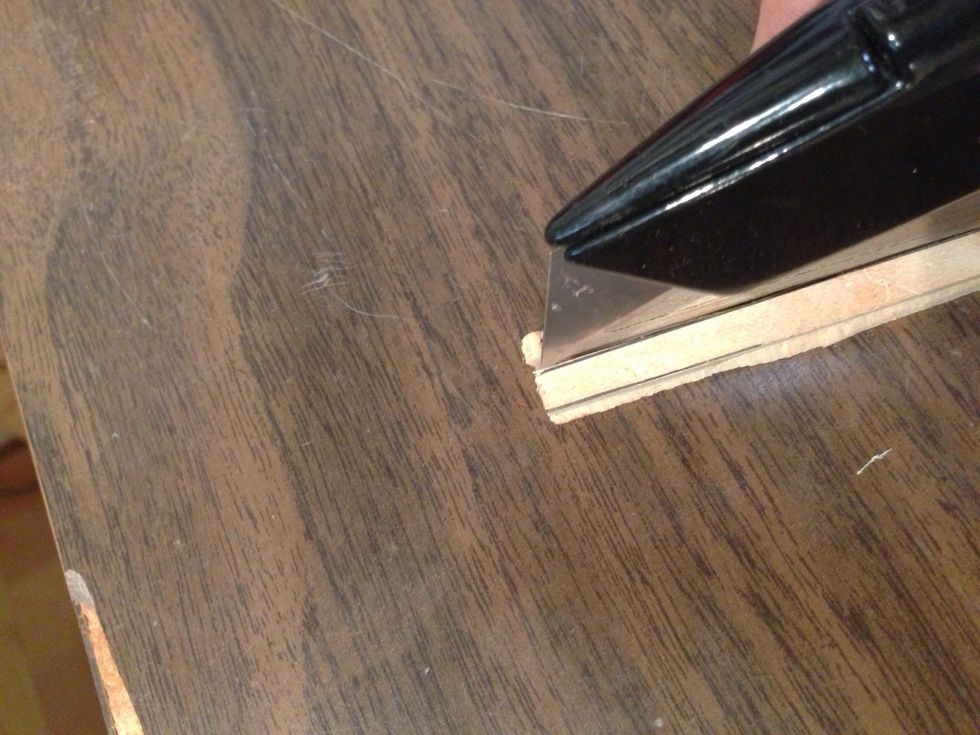
Be careful cutting the small wood strips.
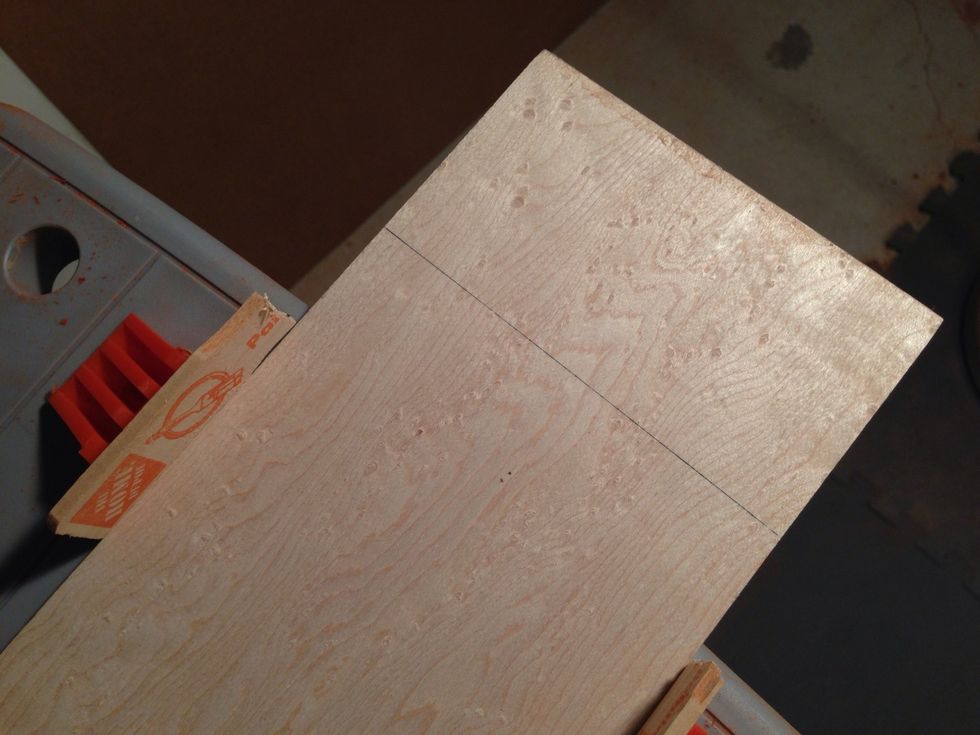
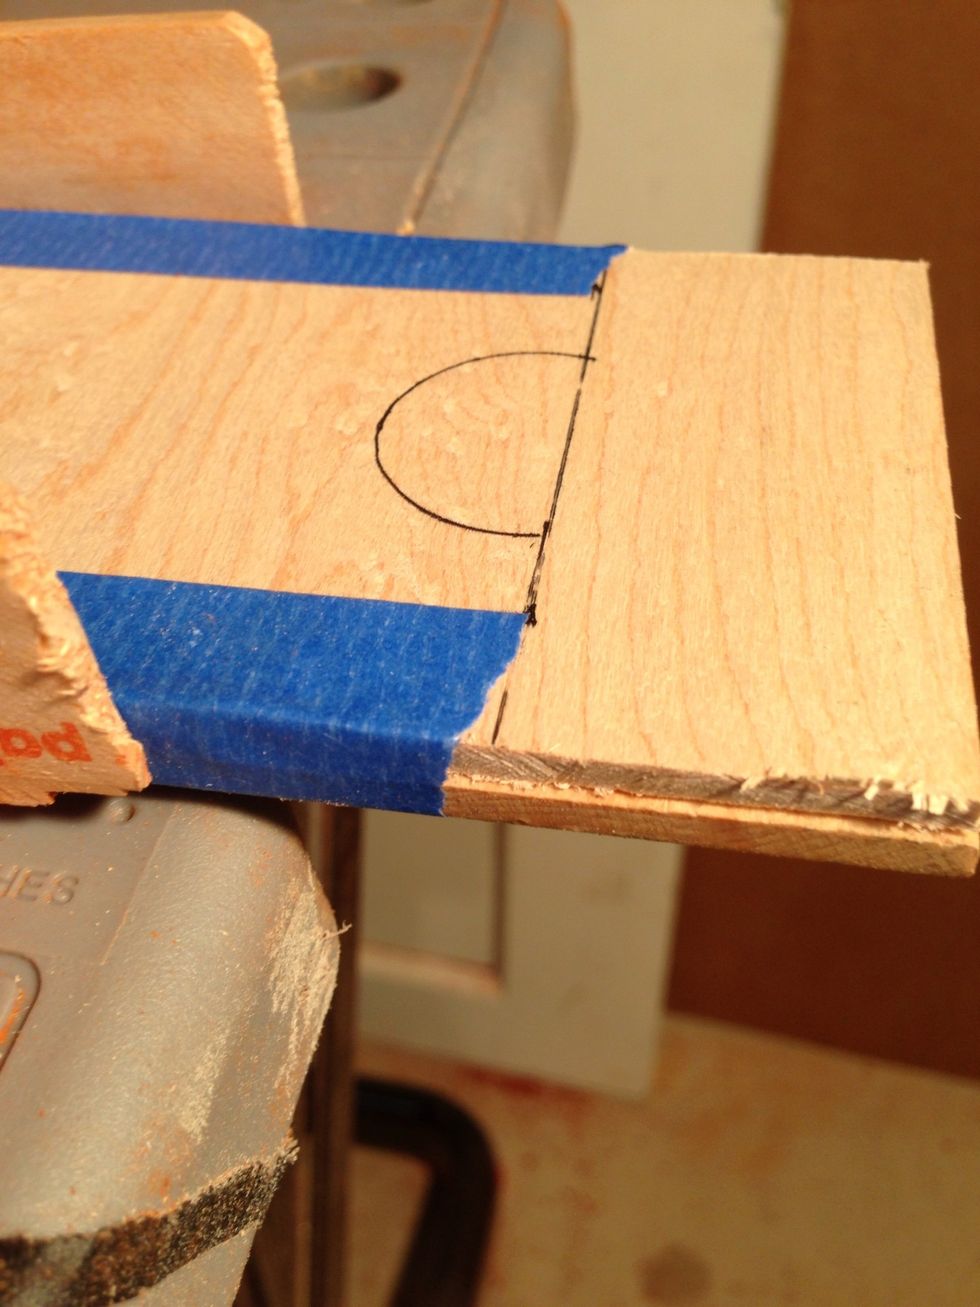
Mark the Birdseye maple or other wood and carefully measure and prepare to cut.
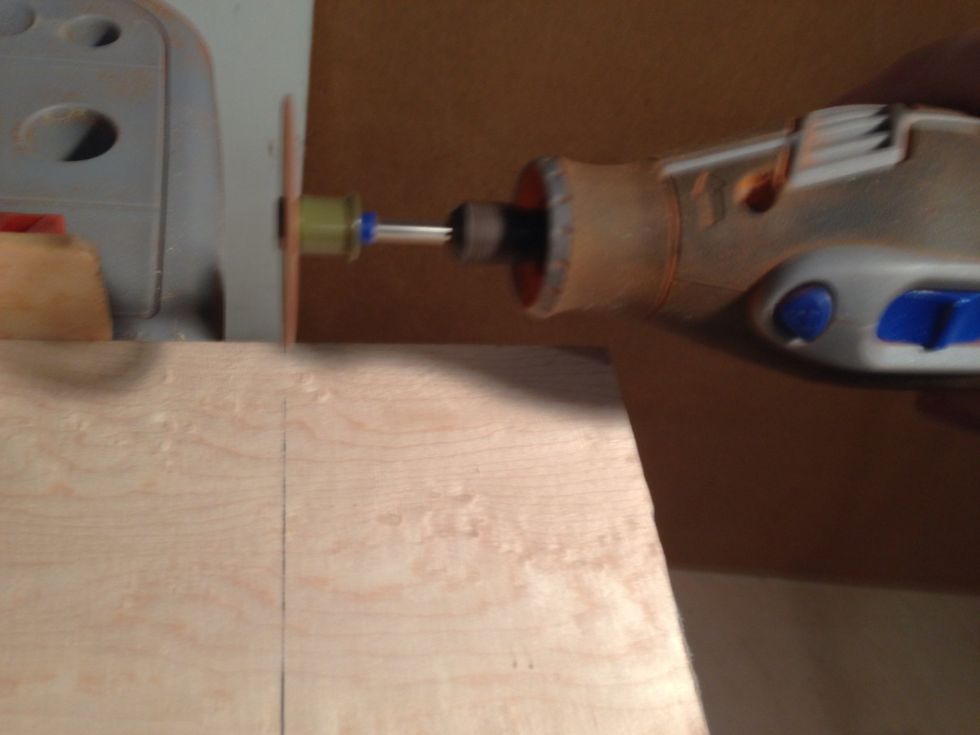
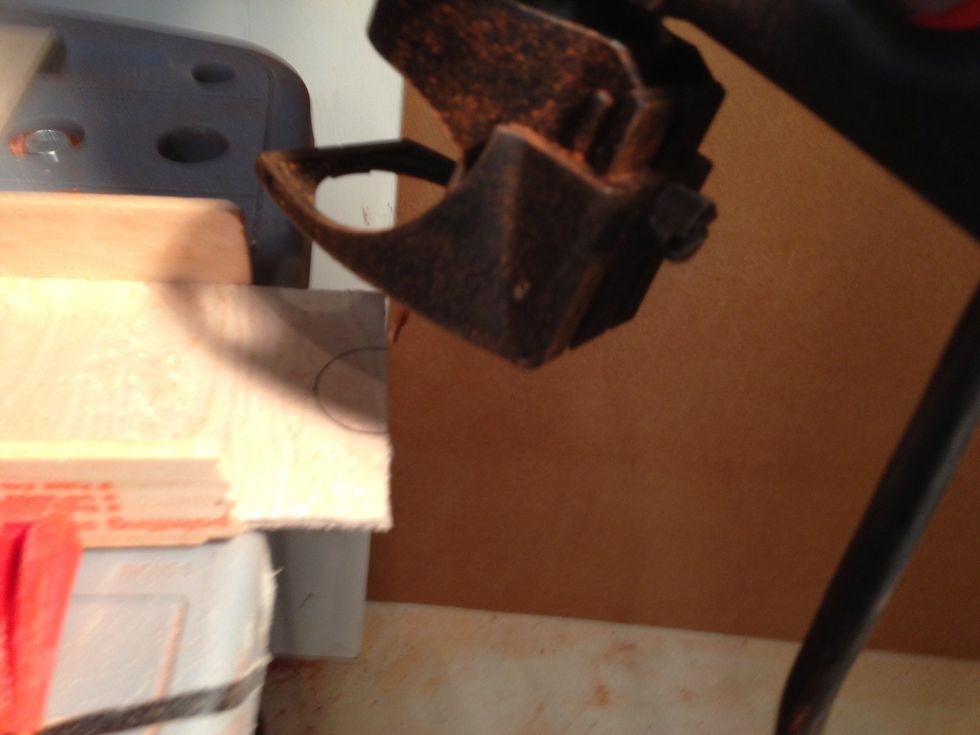
You can cut with band saw, skill saw, or the Dremel.
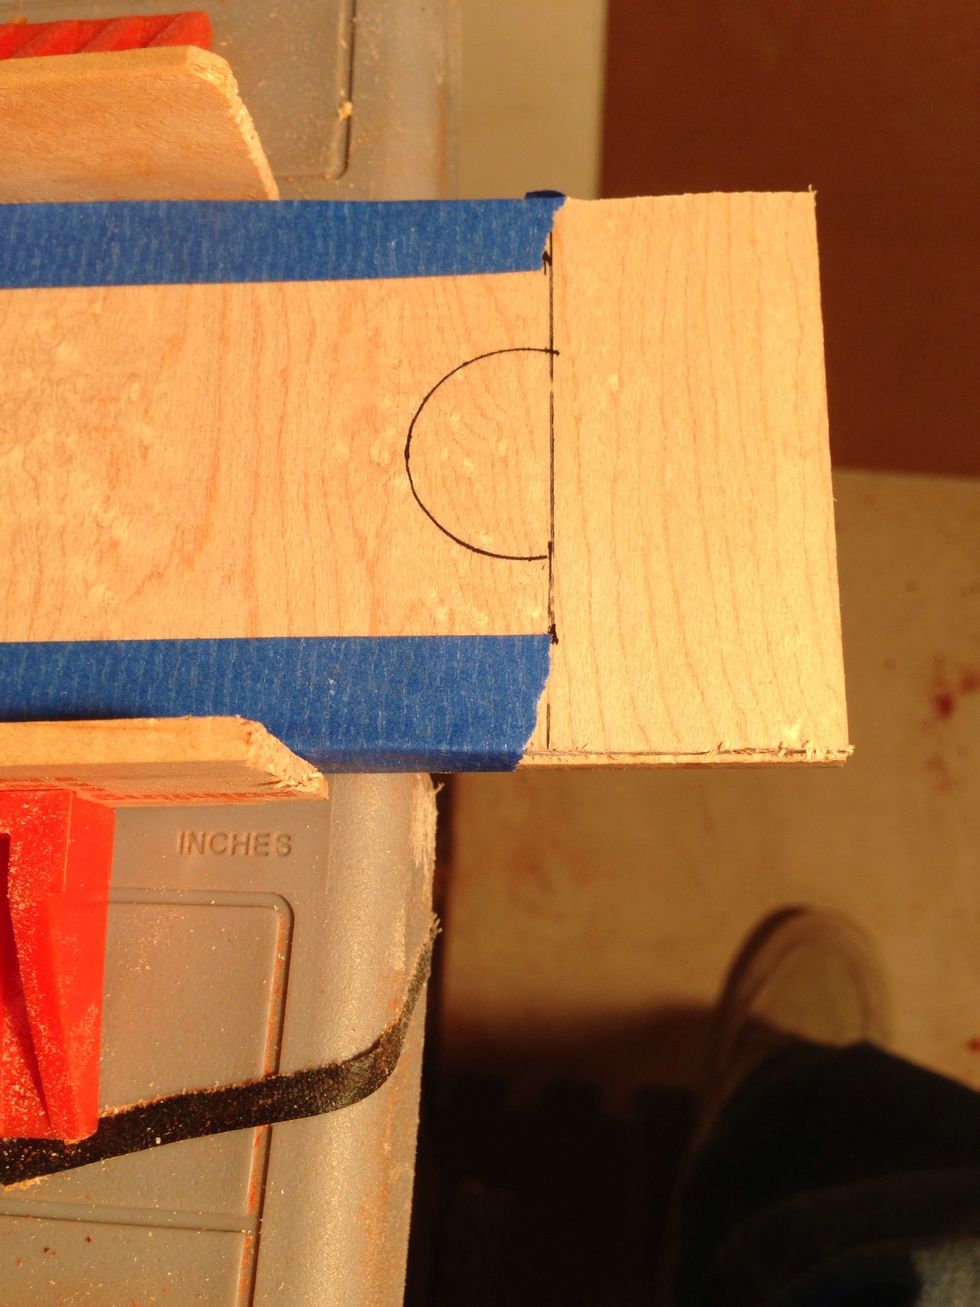
I used the blue painters tape to protect the wood.
I double stacked the wood to get accurate cuts.
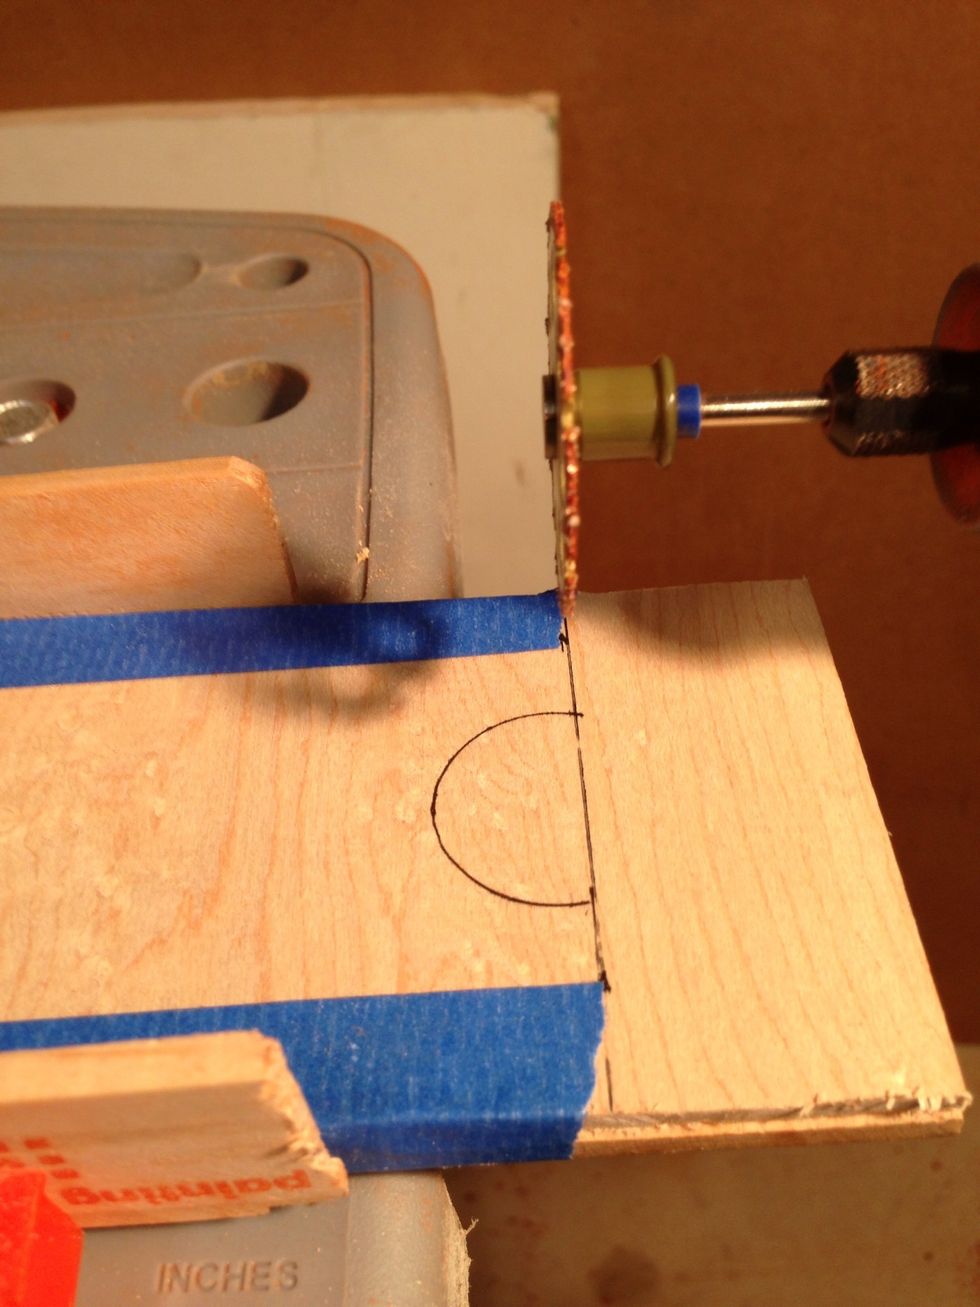
Here goes wear safety glasses.
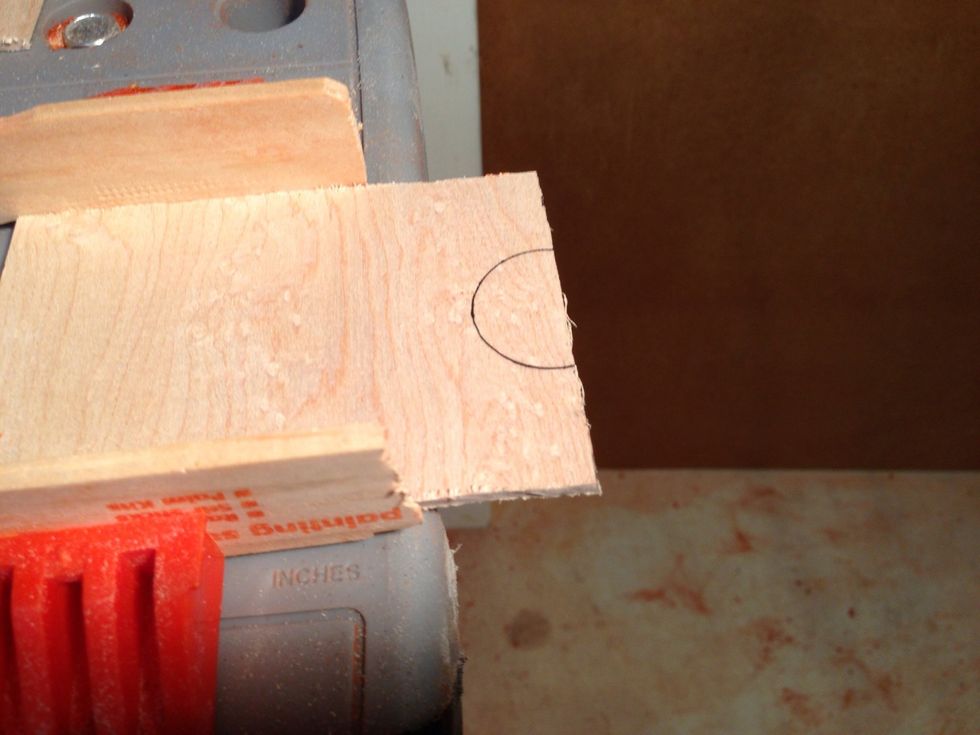
Cut is fine you will sand edges later so don't worry if you get some splinters.
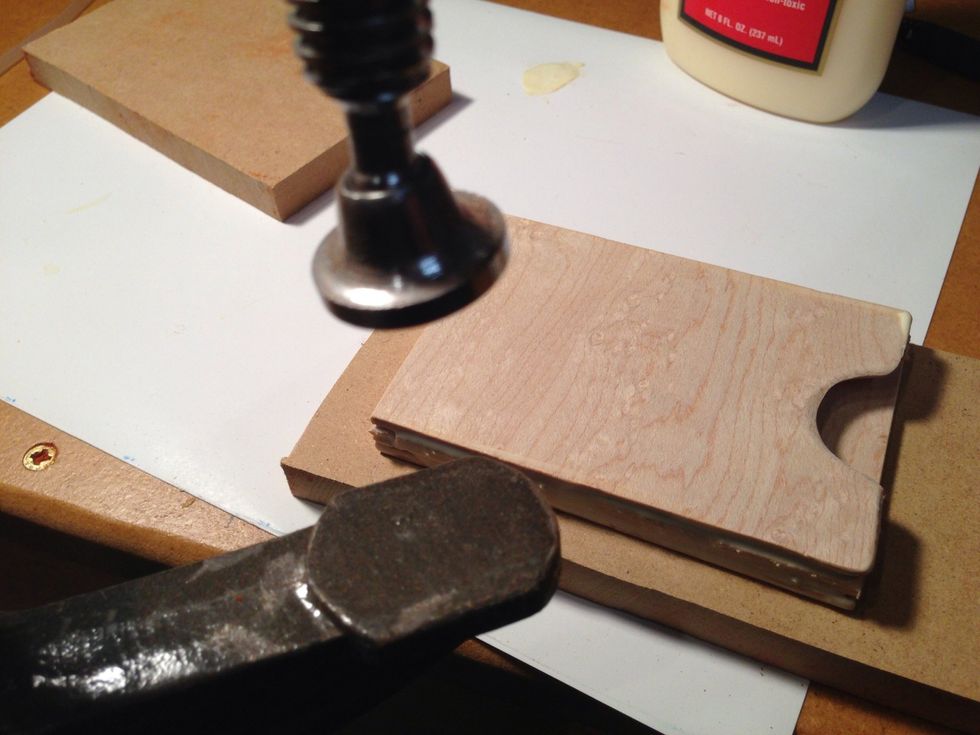
You can mark the thumb hole and then cut with Dremel or scroll saw.
Lay the pieces out and check for fit. Do some light sanding because some parts will be sealed and you won't be able to sand items.
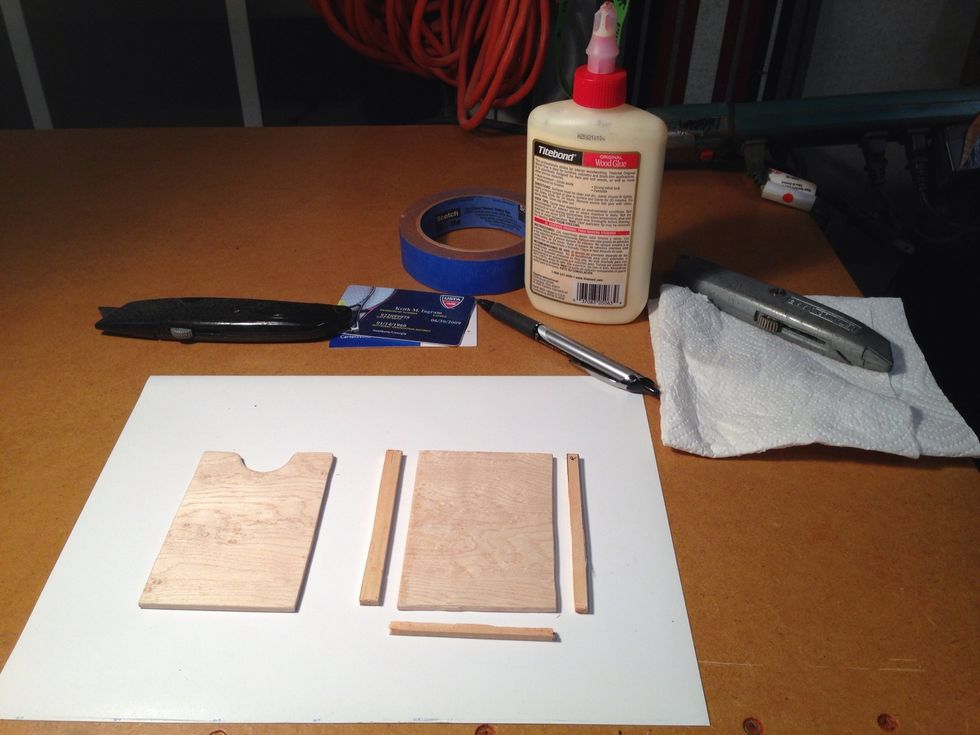
Lay out on clean area get wood glue and supply's within reach.
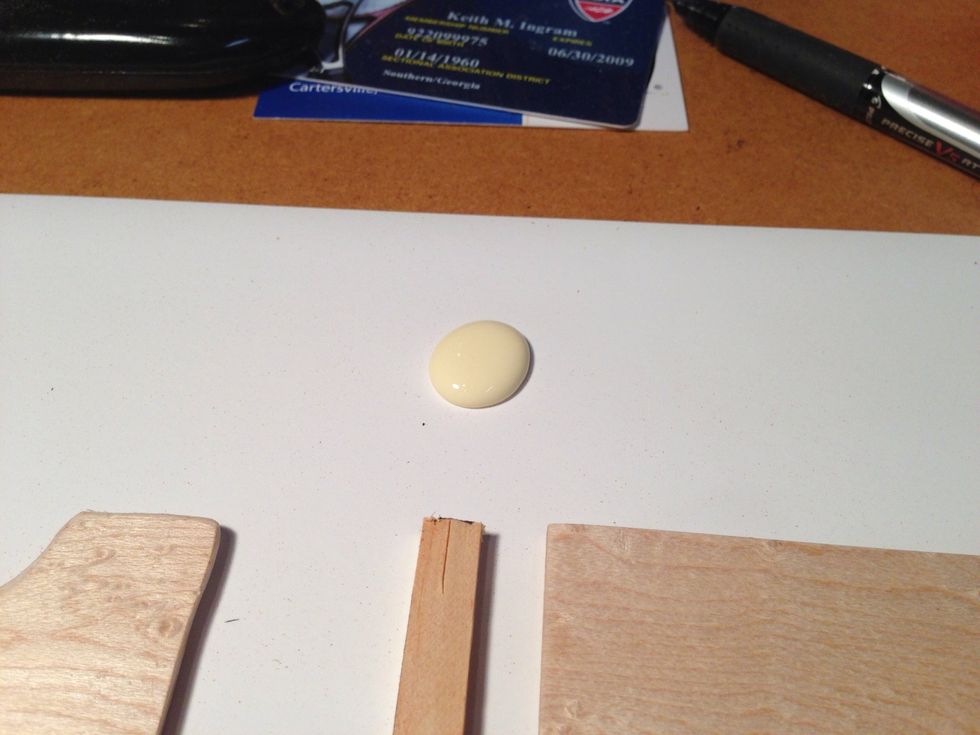
I suggest a dot of glue on paper and spread with your finger. Don't over glue it can't be sloppy on the inside where the cards will stay or they will bind.
Use your credit card to help with test fit. Yes I used a Home Depot paint stick.

Glue on fingertips then the wood. Not too much.
Place on top plate and check fit. After you have pressed down a bit your self then add one wood clamp and two small protective boards and tighten clamp but not to much pressure.
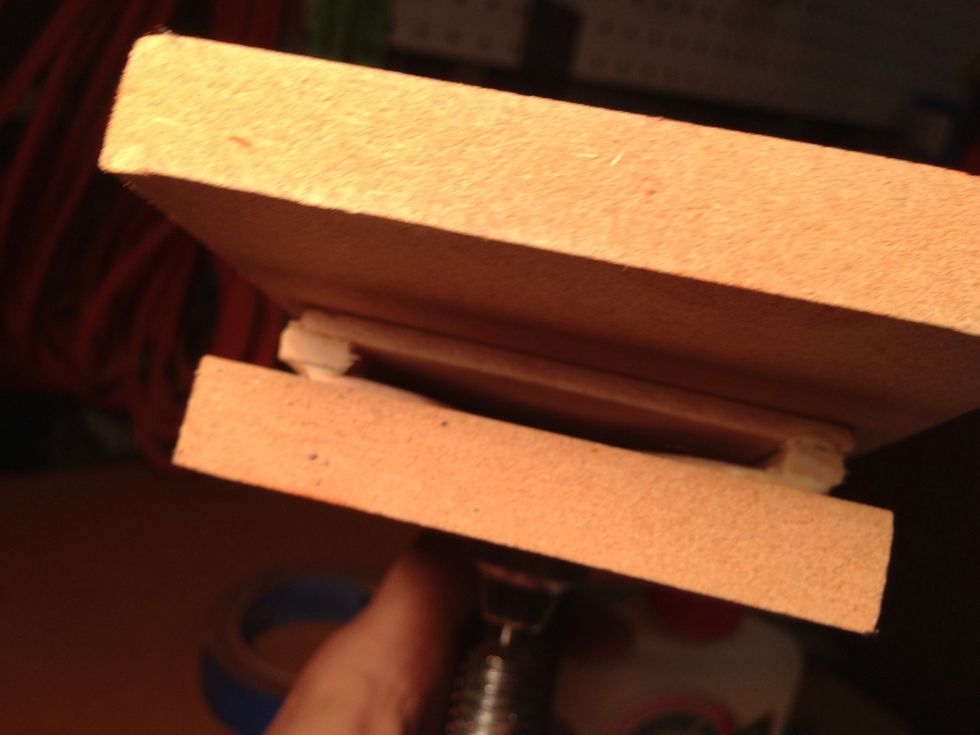
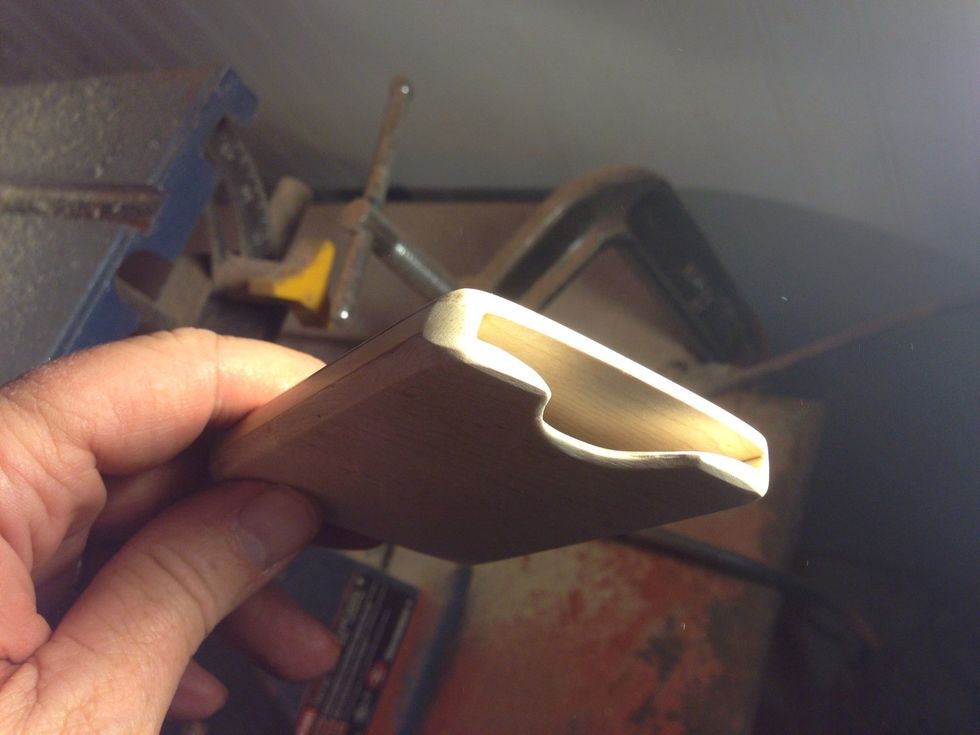
View of card slot and pressure from c- clamp.
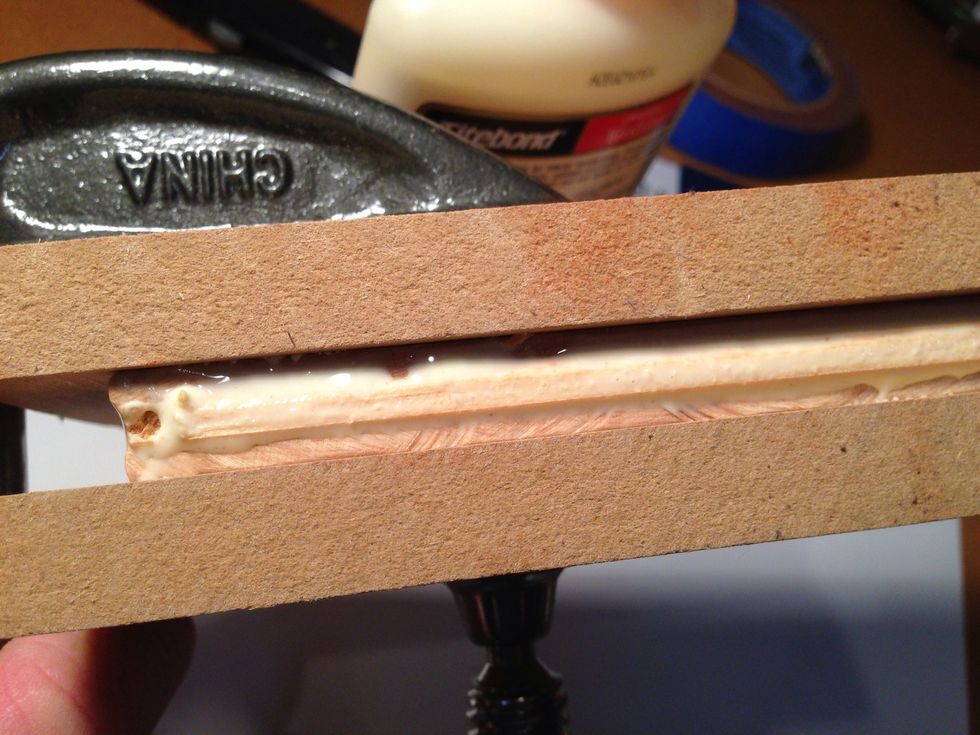
Side view it's okay to have some glue drop here. You will sand it off later.
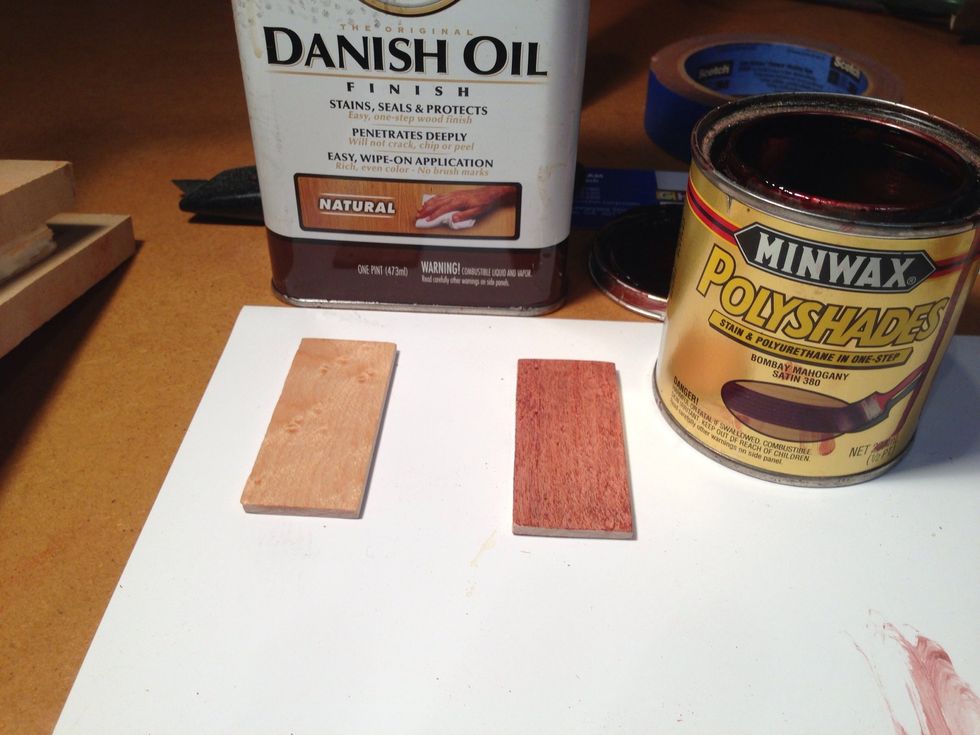
Pick your stain color.
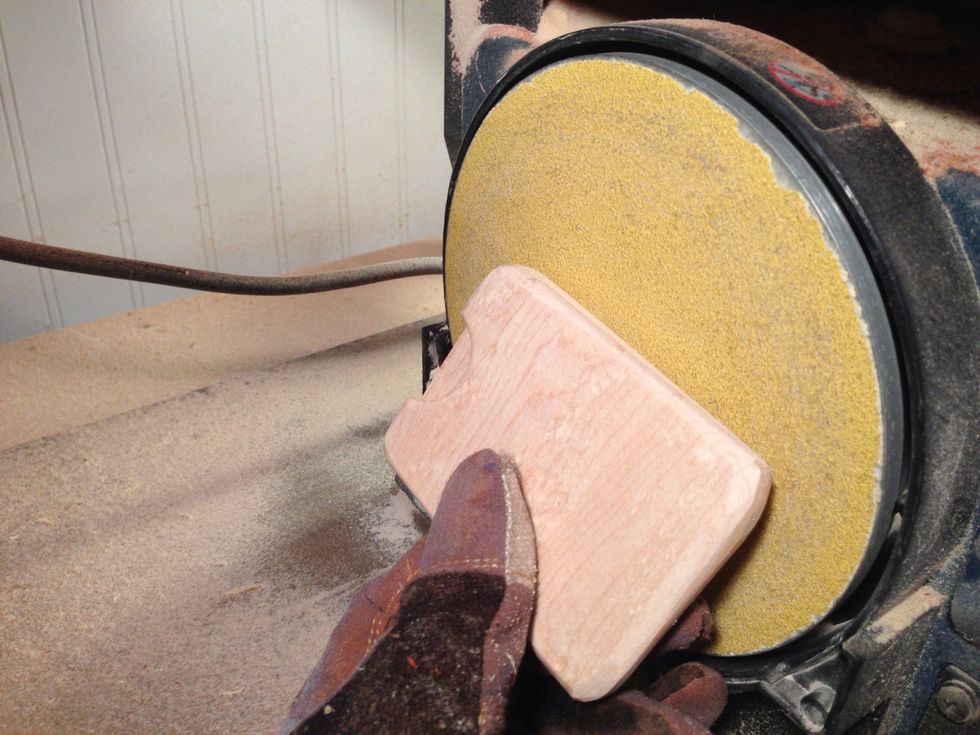
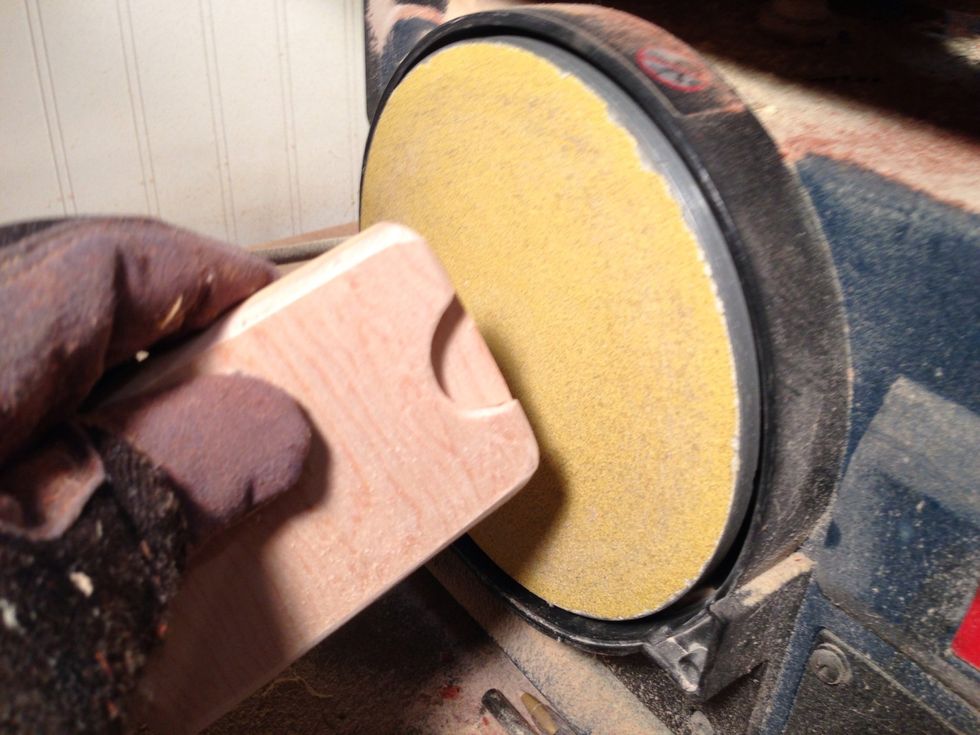
Wear gloves and goggles and sand carefully and don't try and take too much off at a time.
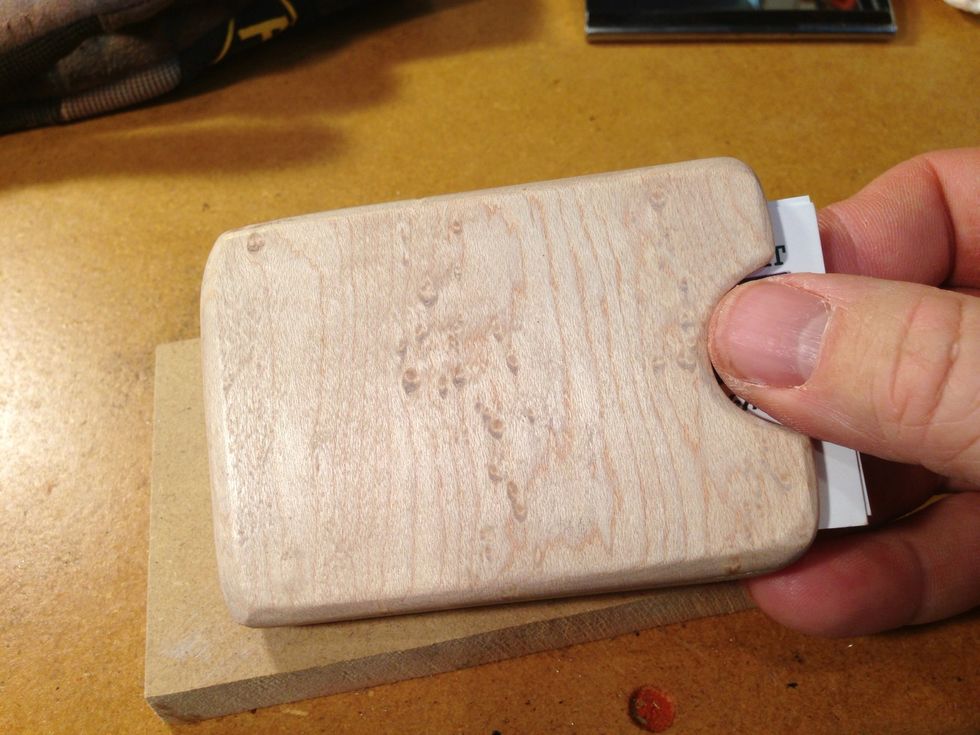
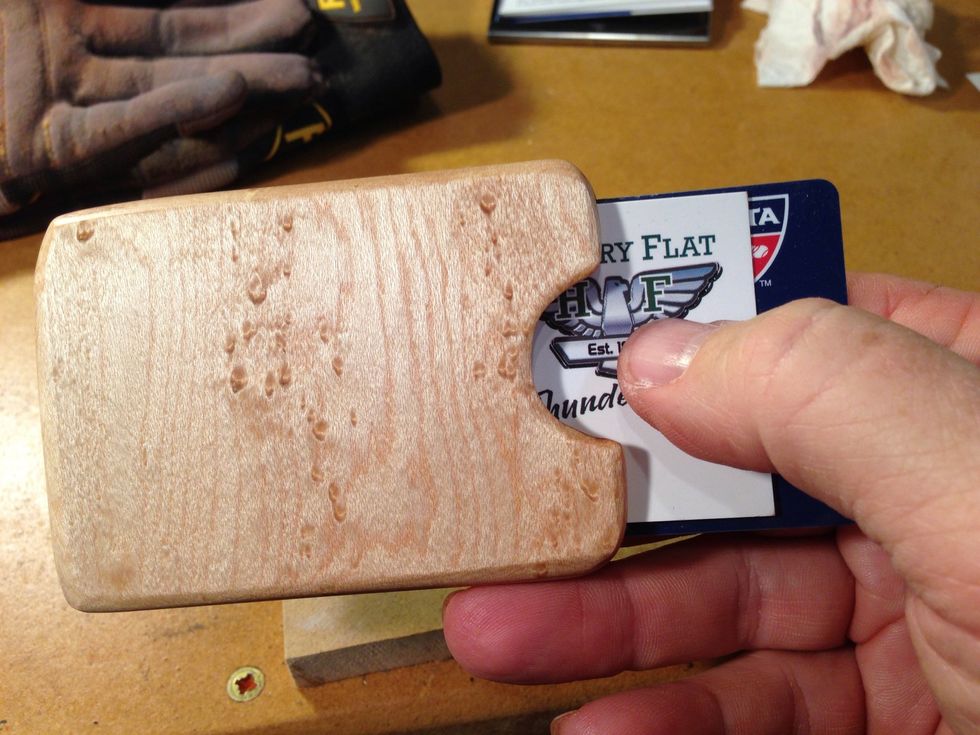
Nice view of thumb hole.
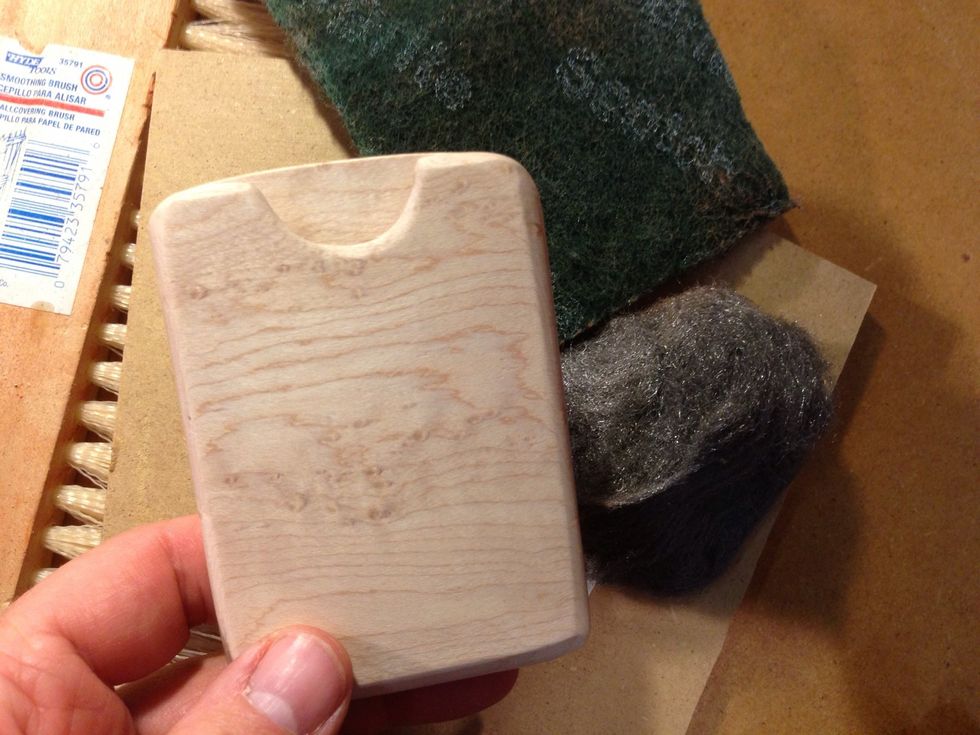
Sand with different grit papers, and finish off with steel wool to really get it smooth.
Check it out
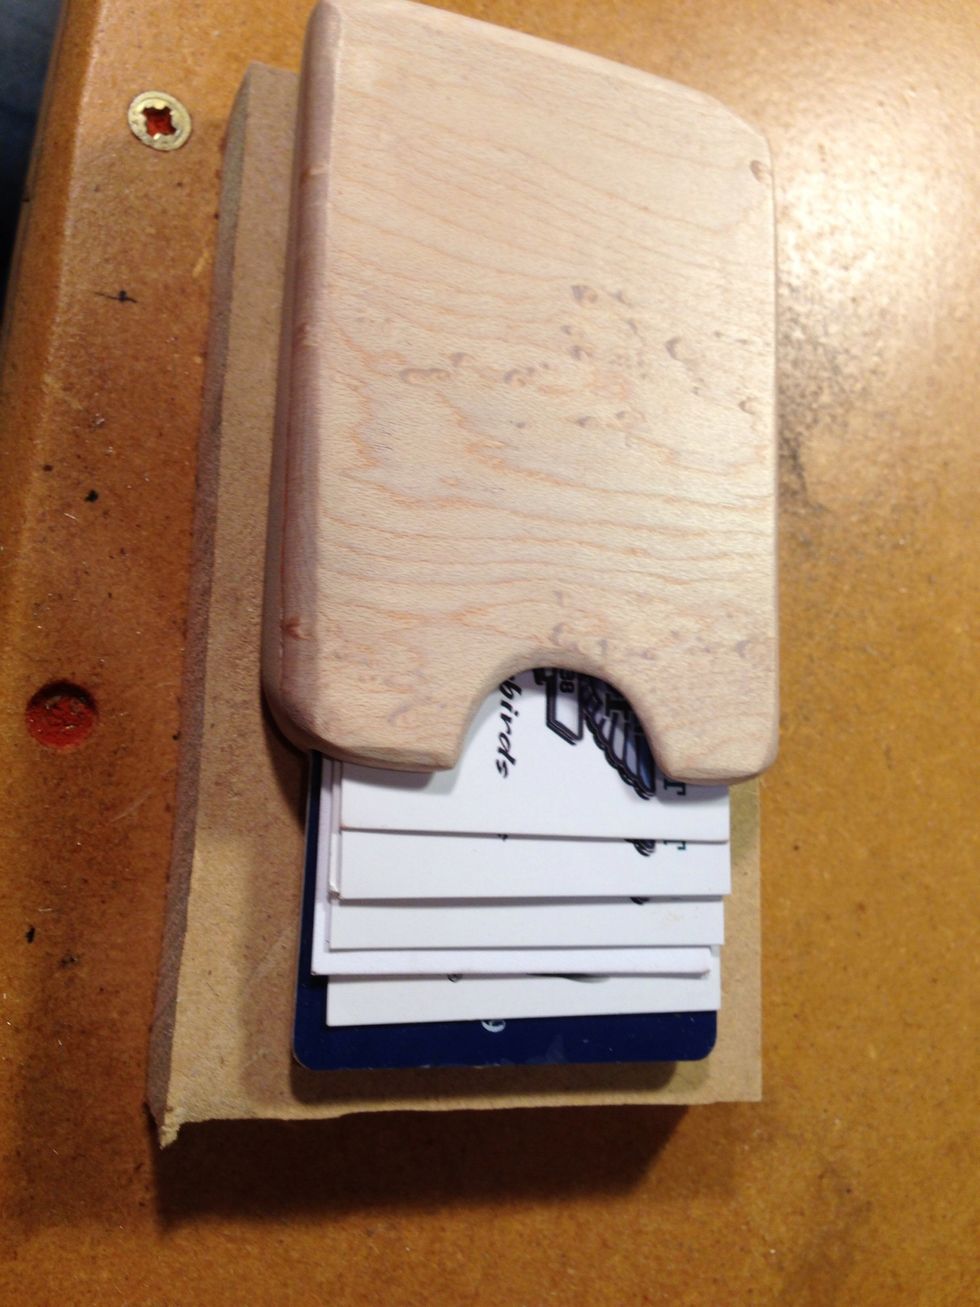
Will hold 10 business cards or several credit cards.
Thumb hole for pulling out card. Make sure it is sanded really smooth.

Here you go... Let me give you my card from my handmade wooden card holder.
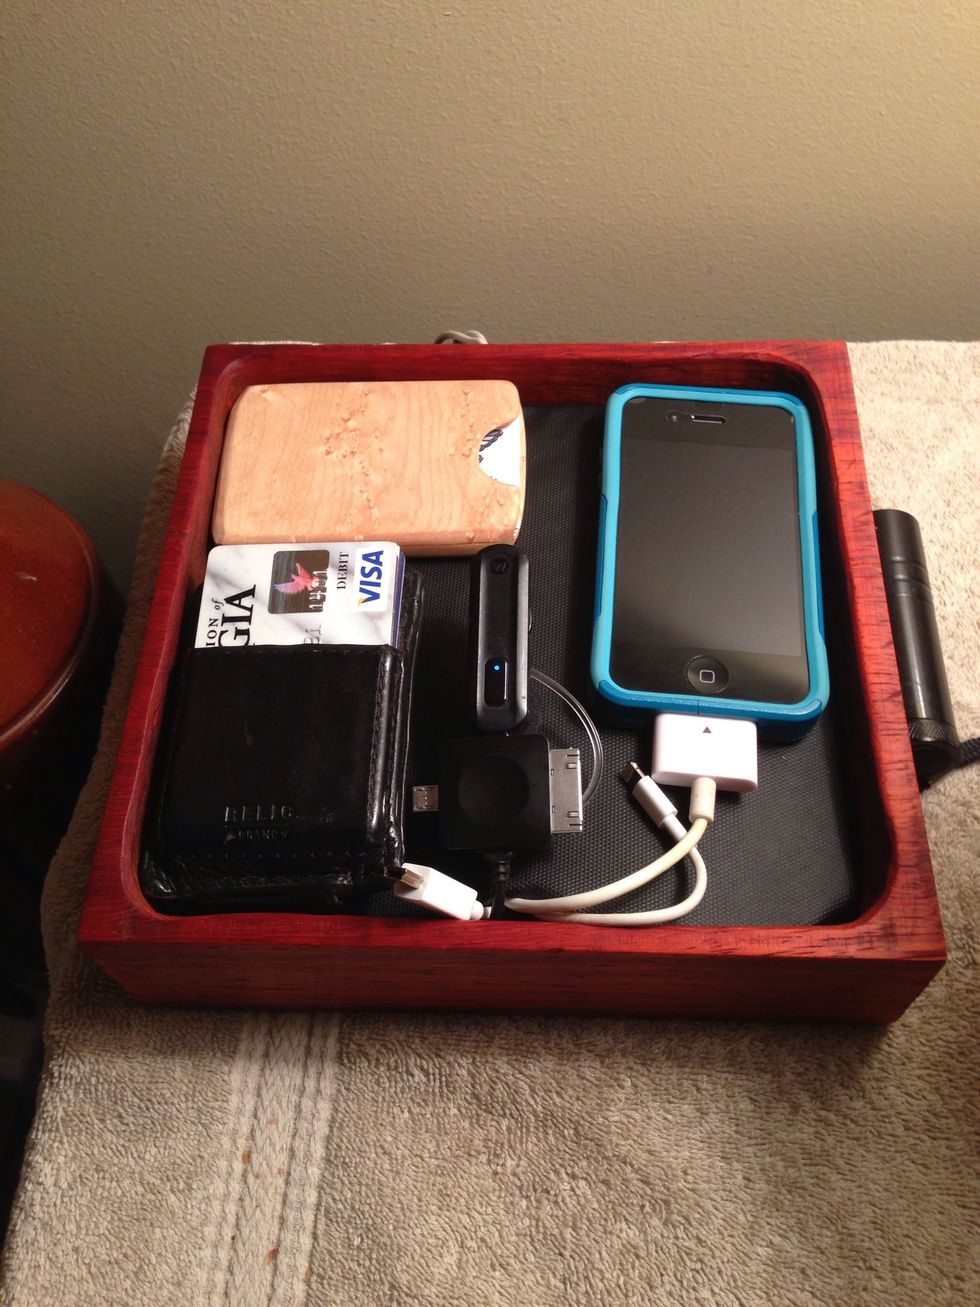
There it sits in my gentleman's electronic valet that you can investigate in my other Snapguide.
Hope you give it a try. Check out my other Snapguides under technology and give me a like or ask a question or leave a comment.
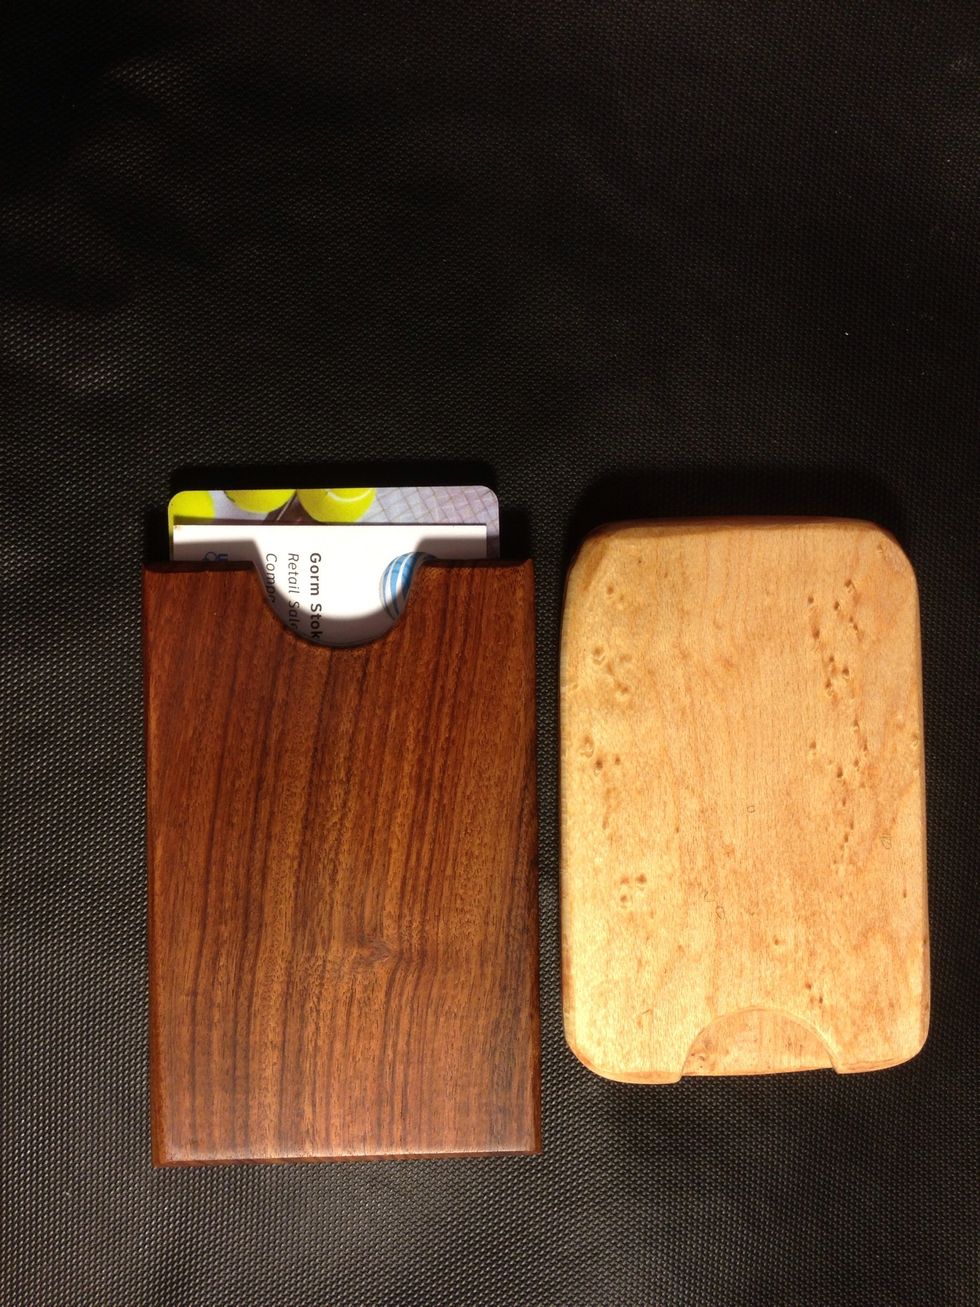
Here are my two versions with different wood styles and patterns.
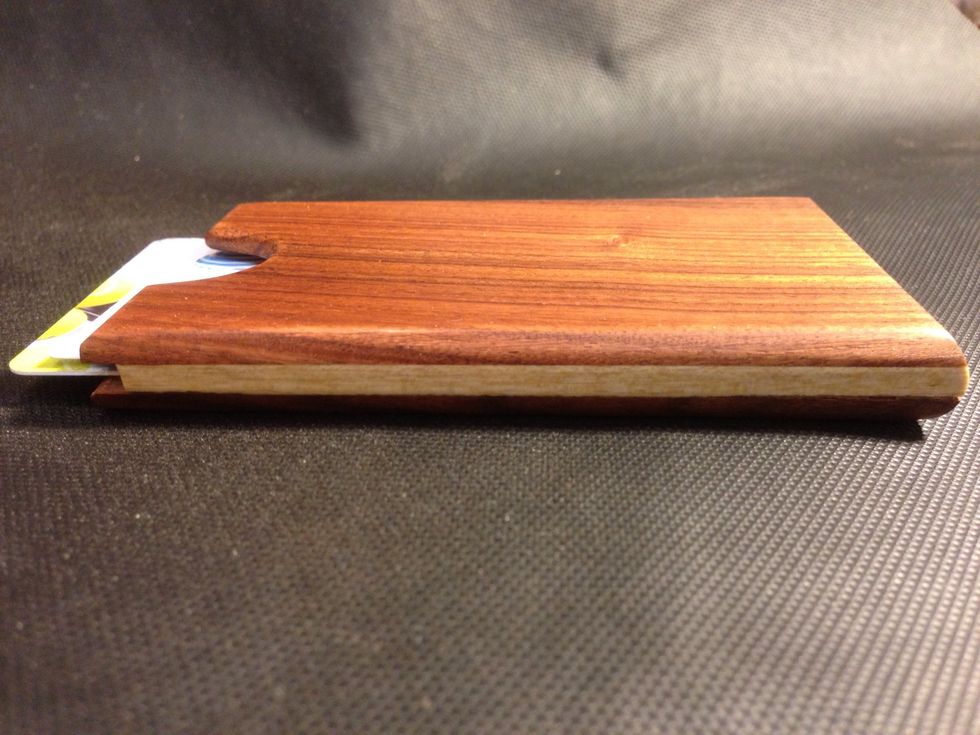
Side view of new dark wood business credit card holder.
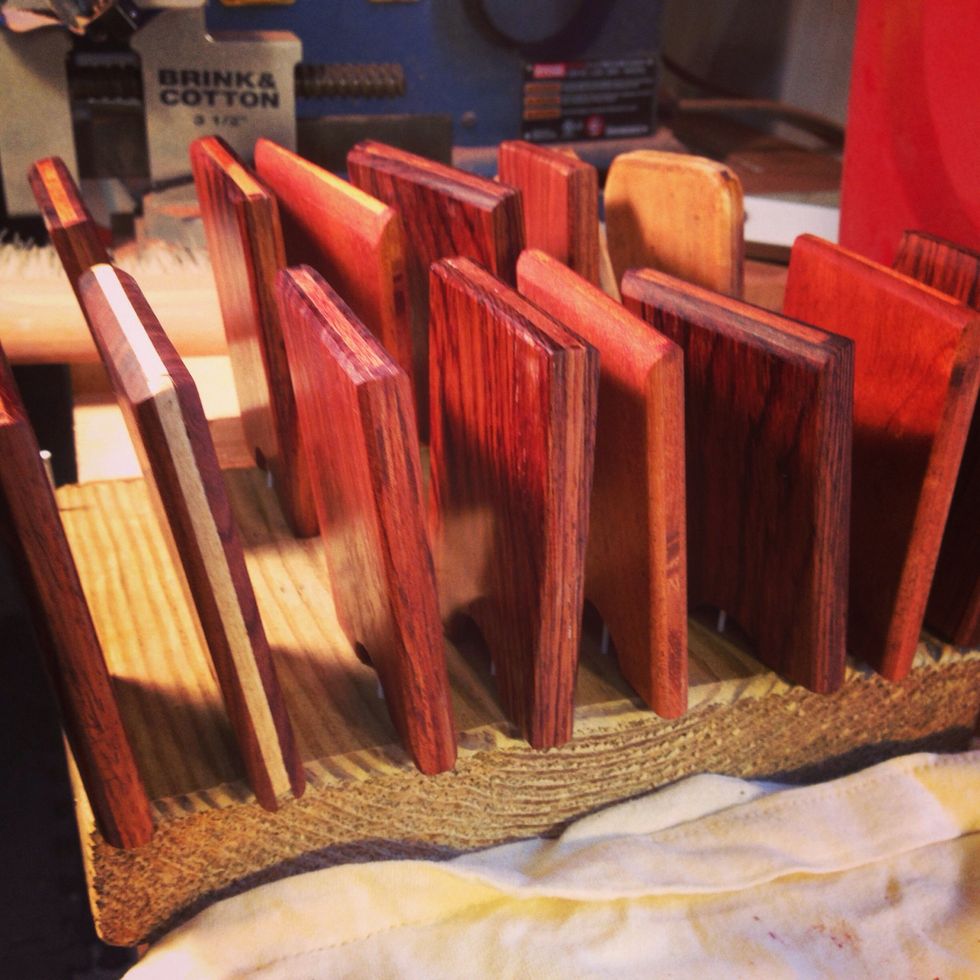
Just finished first order of business card holders from mahogany, bubangi, rosewood.