The Conversation (0)
Sign Up
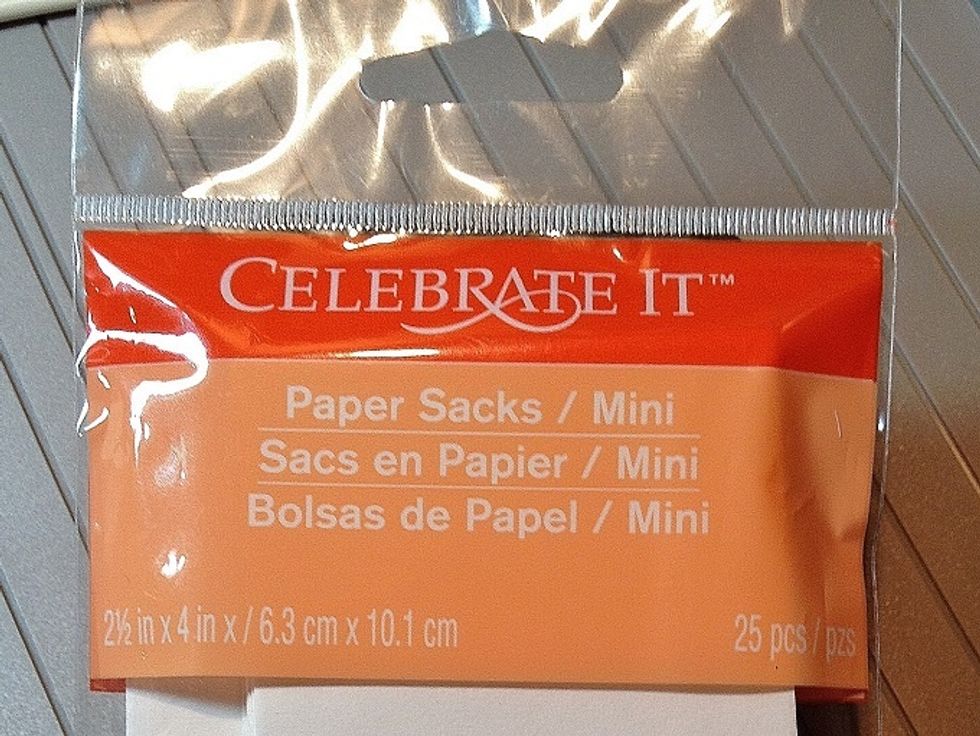
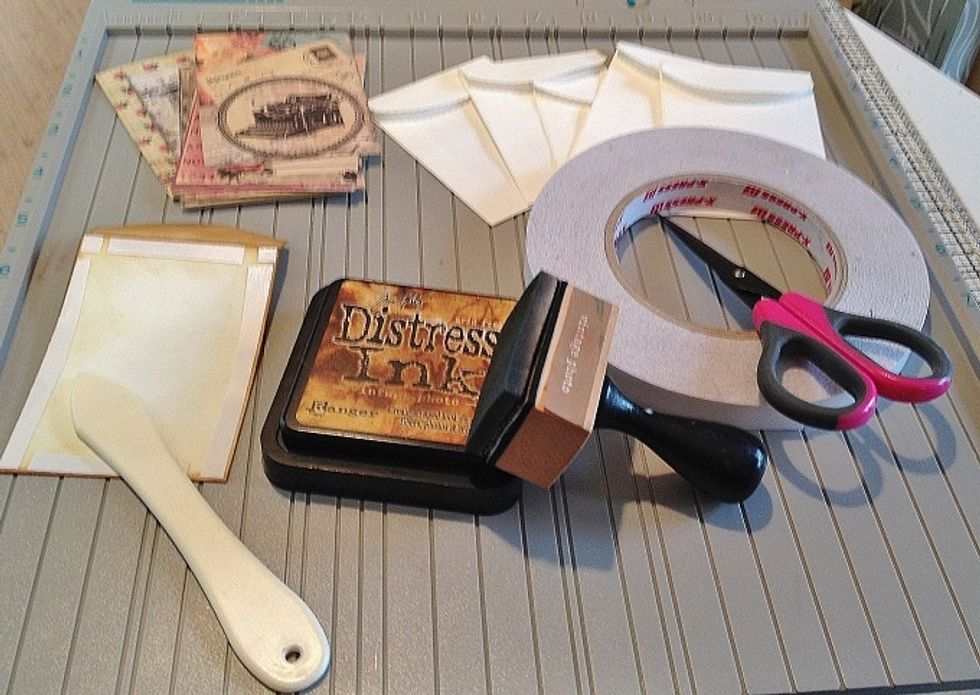
Purchase a pack of 2.5" x 4" white gift bags.
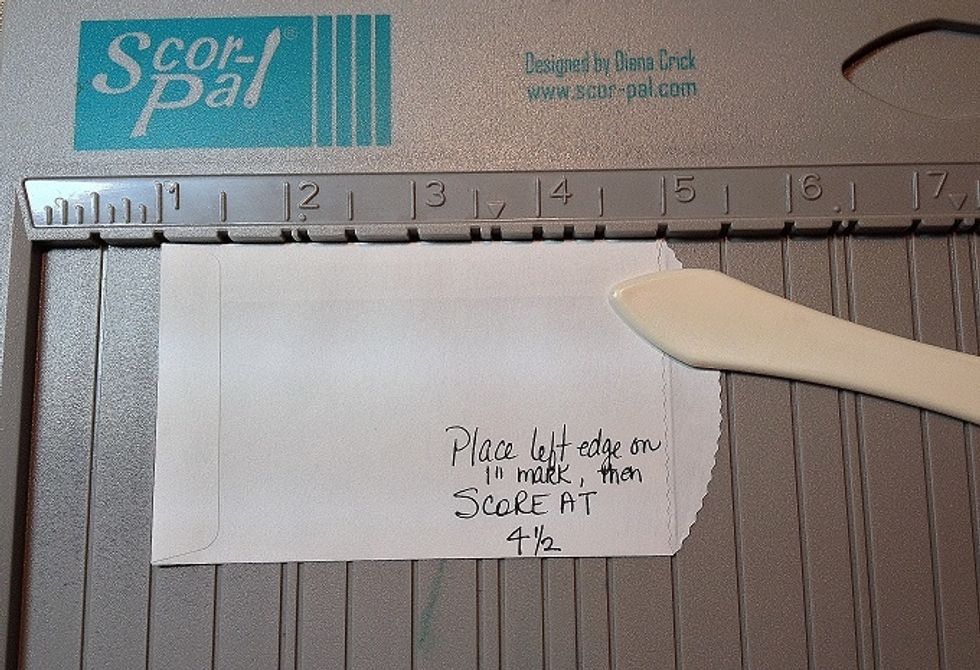
Using a score board line the bottom edge of the bag on the 1" mark and score at 4.5".
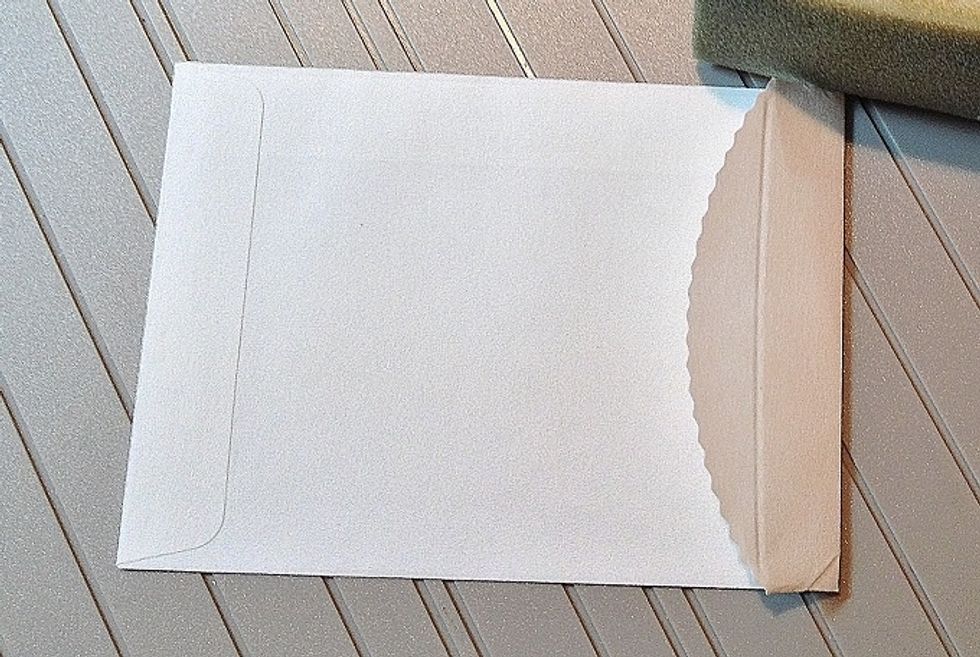
Fold the bag on the score line.
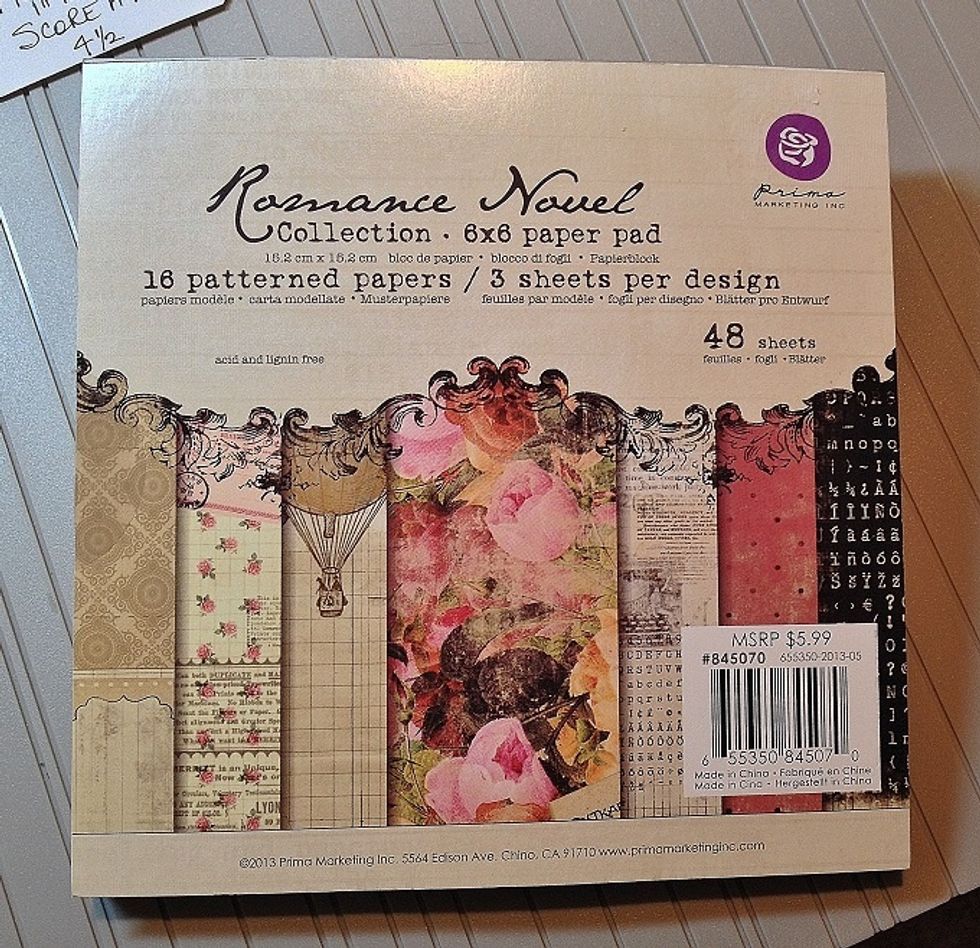
I used Prima's Romance Novel paper to decorate my shabby chic pocket letter.
The patterned paper was cut to ATC size (2.5" x 3.5") and inked with vintage photo Distress Ink. I applied strips of double stick tape to the outer edges to adhere the paper to.
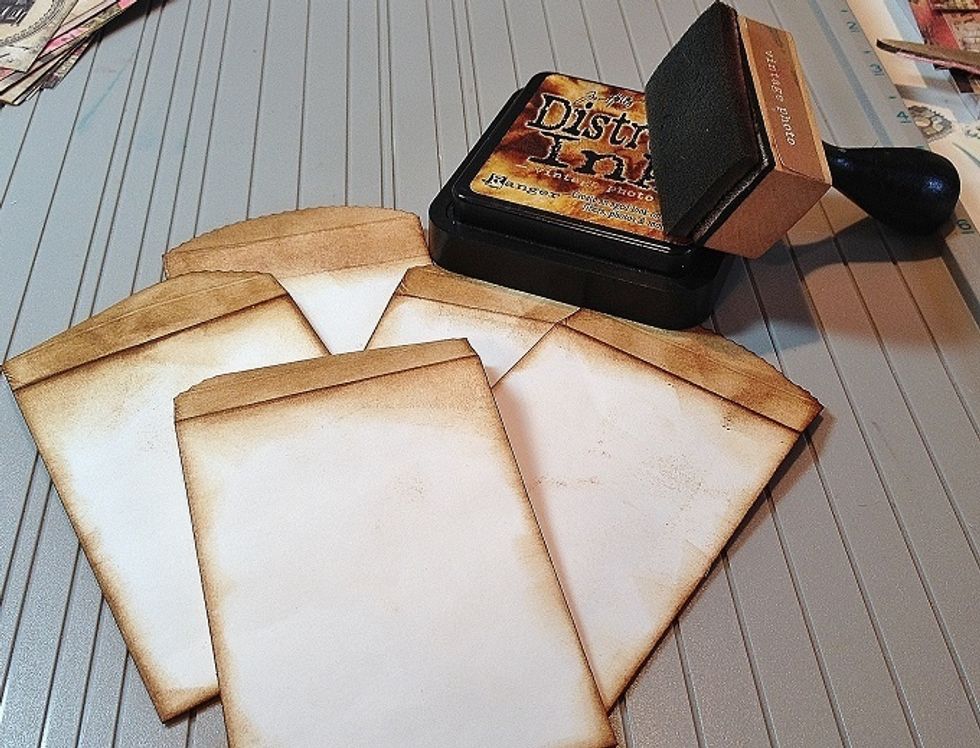
Ink the back of the bag, folded flap and each edge. I used an ink tool to apply vintage photo Distress Ink to each bag.
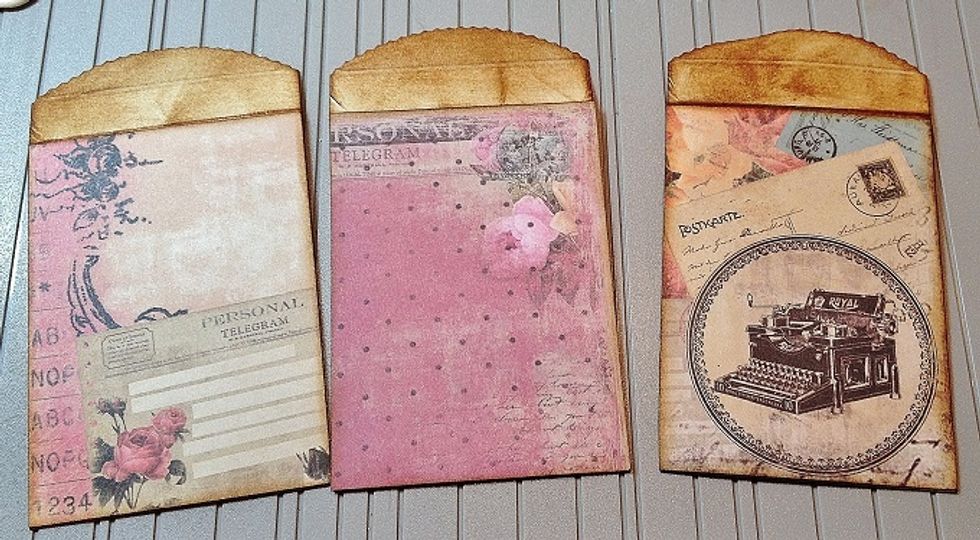
Once the trimmed paper is adhered to the front of the bag it's time to decorate.
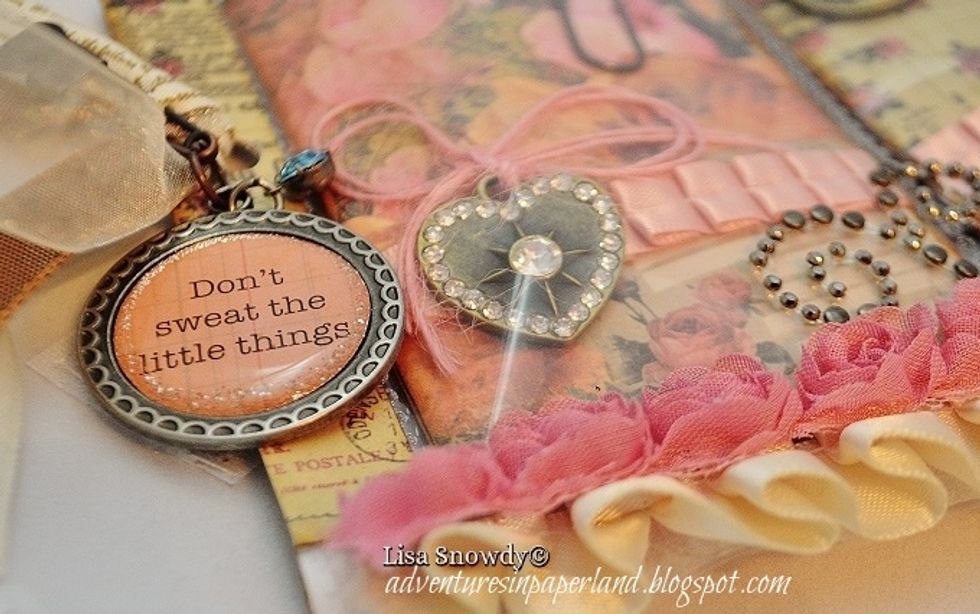
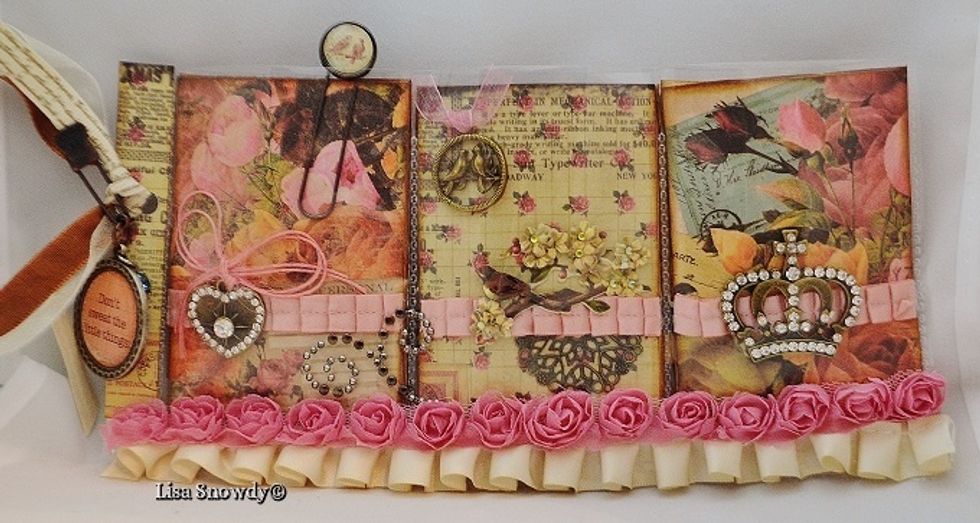
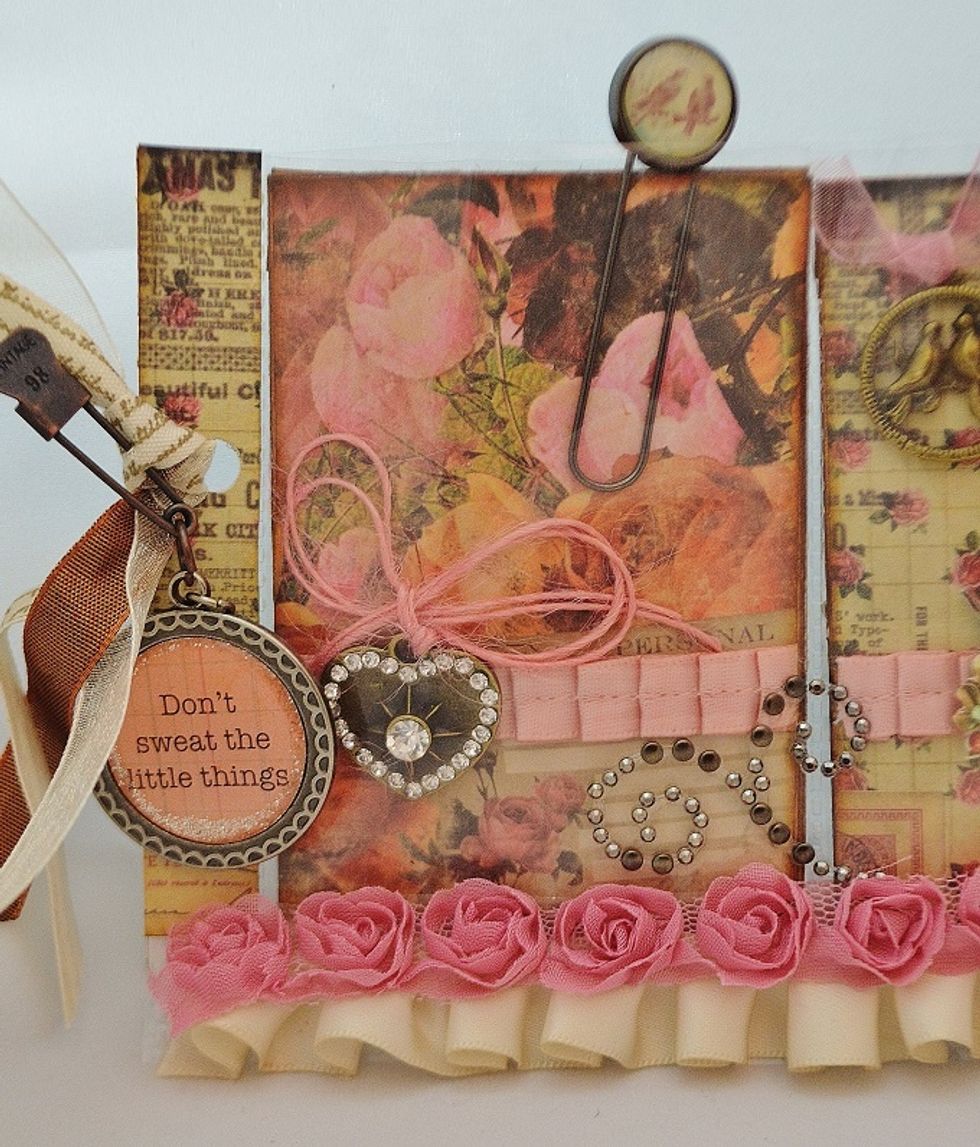
I added metal elements by Prima to the pocket and a metal charm by Girl's Paperie to the spine of the pocket letter.
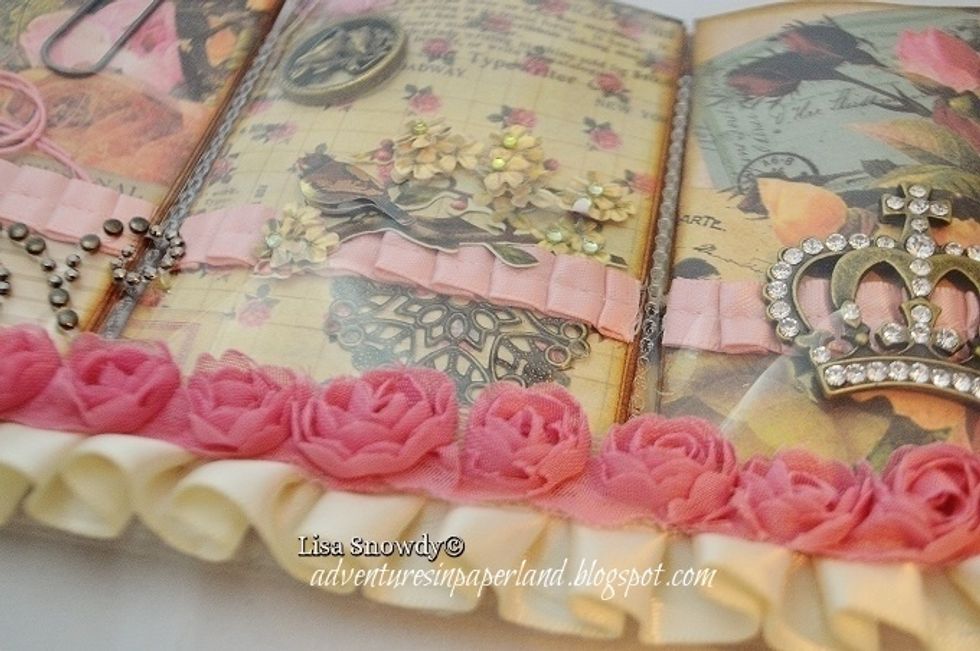
Metal charms, 3D stickers and a metal element by Finnabair add flair to this pocket. The pink pleated trim is by Stampin' Up.

I added another metal element by Prima to this pocket.
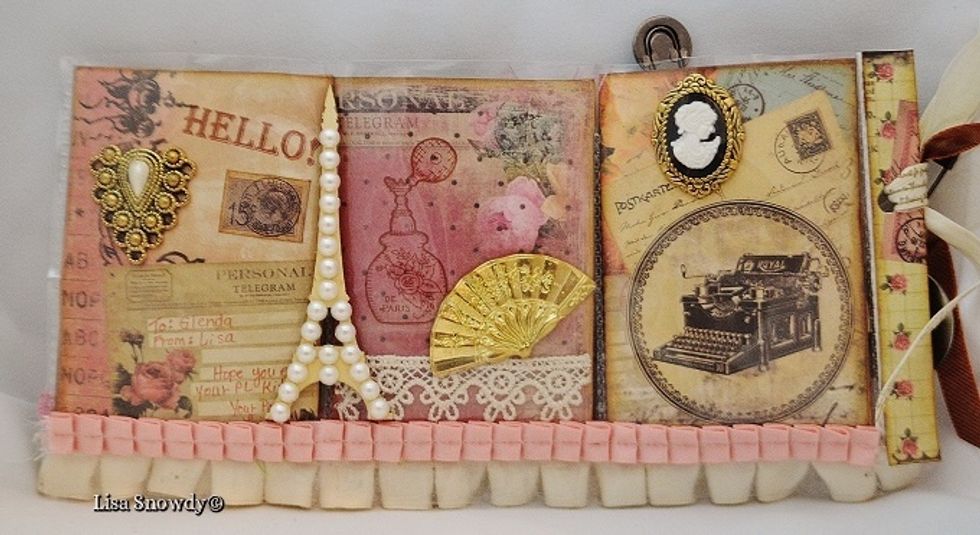
The back 3 pockets were decorated with vintage images from the paper pack and embellished with vintage findings. I added a wood veneer Eiffel Tower which I decorated with pearls.
The pretty ivory satin trim is by Webster's Pages and the rose trim is by May Arts. I cut 1/2" below the top row of pockets so I could add my trim with double stick tape. It adds to the shabby feel!
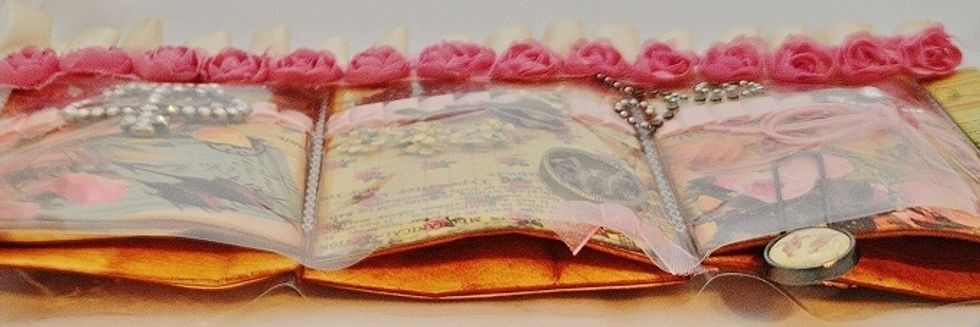
This is how the bags look inside the pockets. Each was filled with crafty goodies for my Pocket Letter Pal's kit.
I like to decorate the spine of my pl's. I measured and cut two strips of patterned paper to size. Inked the edges & adhered with double stick tape. Be sure to punch your hole then add the back strip.
Thanks for viewing my tutorial. You can find me at www.adventuresinpaperland.blogspot.com