The Conversation (0)
Sign Up
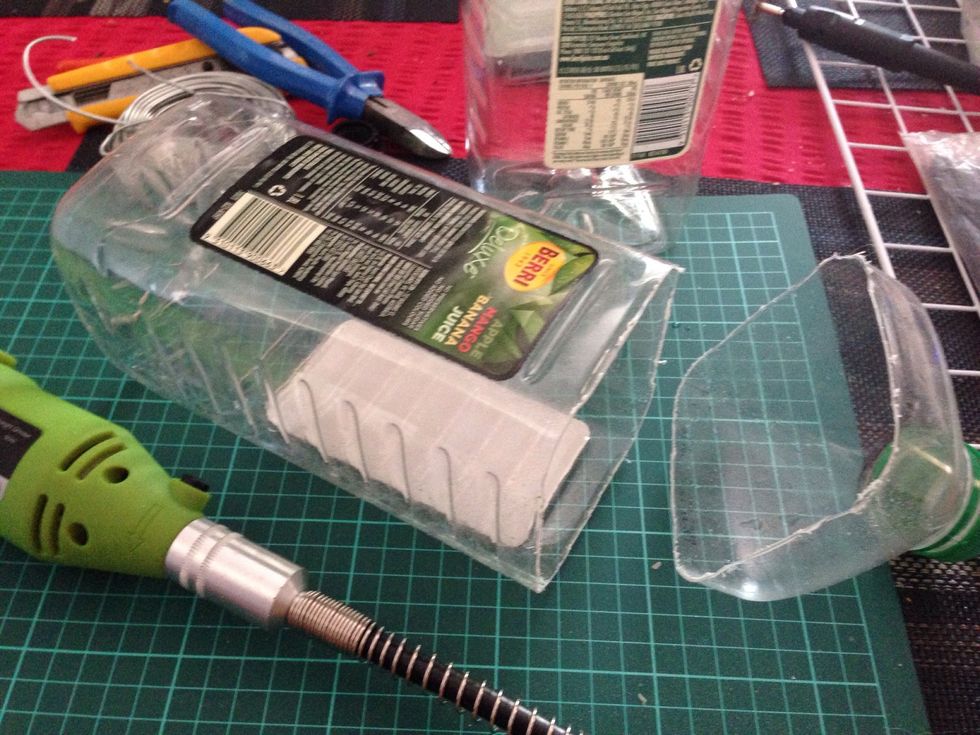
Making the reservoir - Cut the lid section off 2 bottles. I chose these bottles because they were square sided (and they had awesome flavours)
Make a small cut in one side longitudinally. We will use this to make one side smaller to fit inside the other.
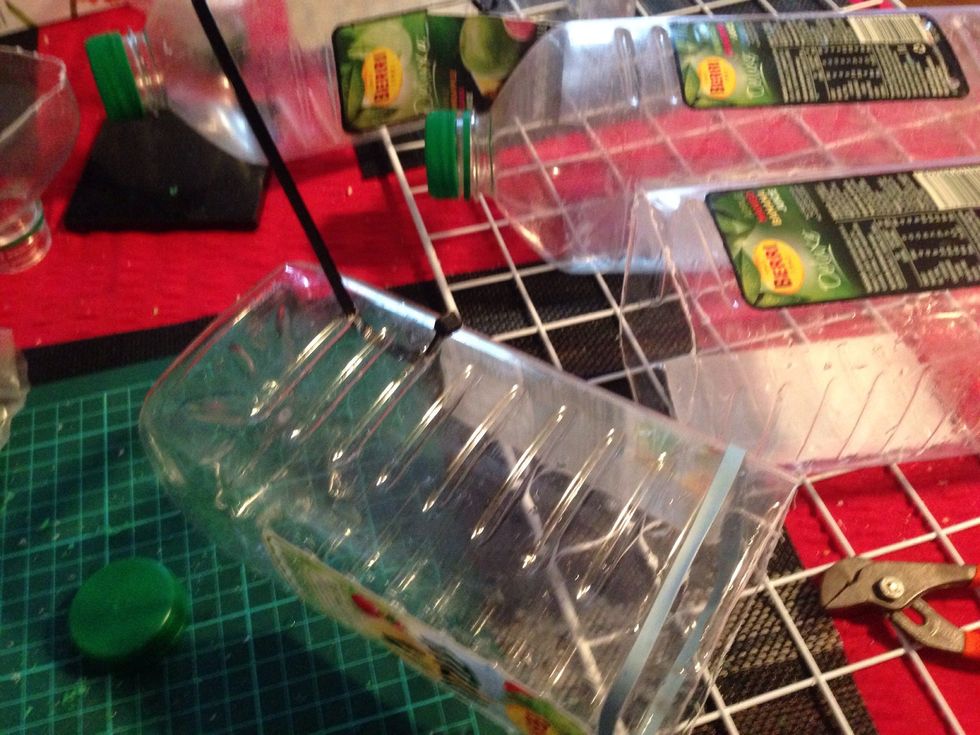
Add holes for the cable ties. Make sure they are high in the sides. I added an elastic band as a basic O-ring just to slow the drip rate a tad. Silicone would be better but I didn't want the mess.
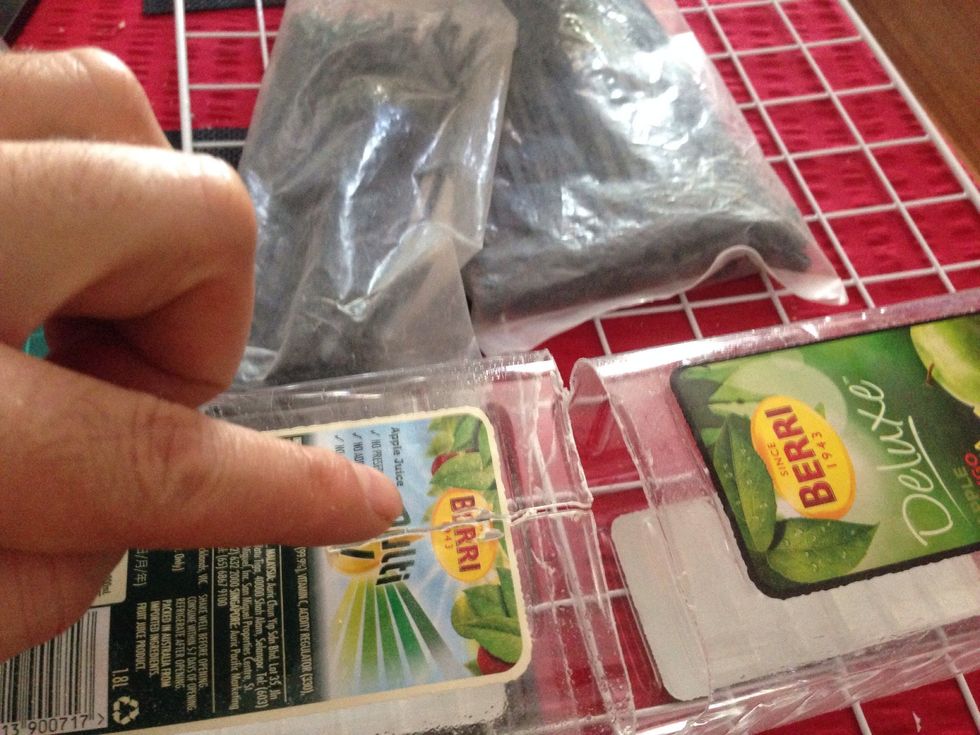
Add a hole at the top to add a funnel made from the piece removed in step 1. If you cut your hole relatively accurately you can screw it in. Put the 2 sides together to make the reservoir.
Planter bottles. Make as many bottles as will fit on the wire rack. Each is made exactly the same

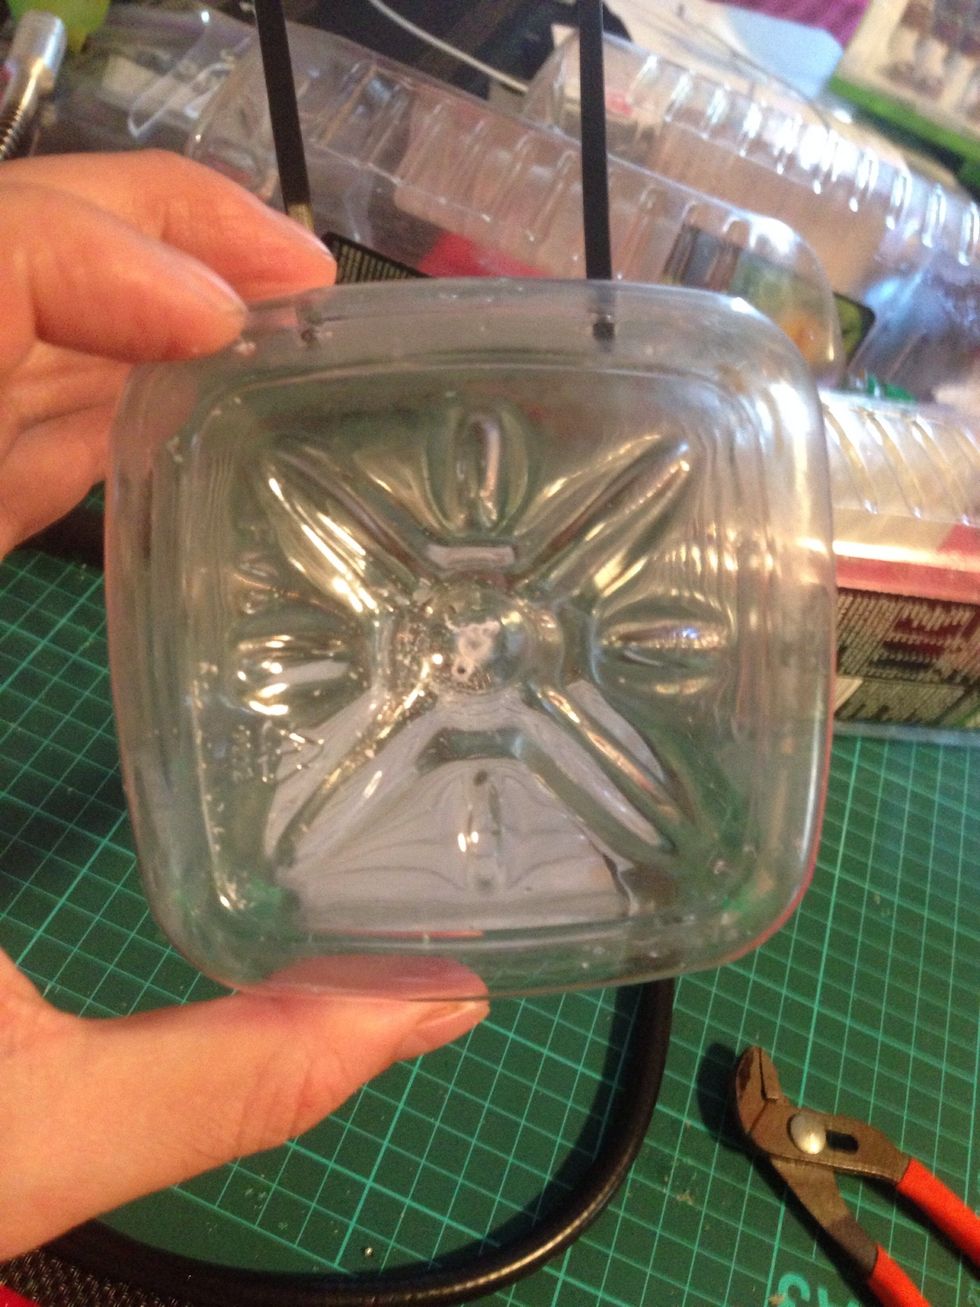
Cut the front flap. Cut 3 sides so it can be opened. I made the "hinge" at the bottom to allow rain to drain in and plants to grow out.
Make holes at the back for hanging them. I used cable ties extensively because I rent, but you could fix in any way that suits you.
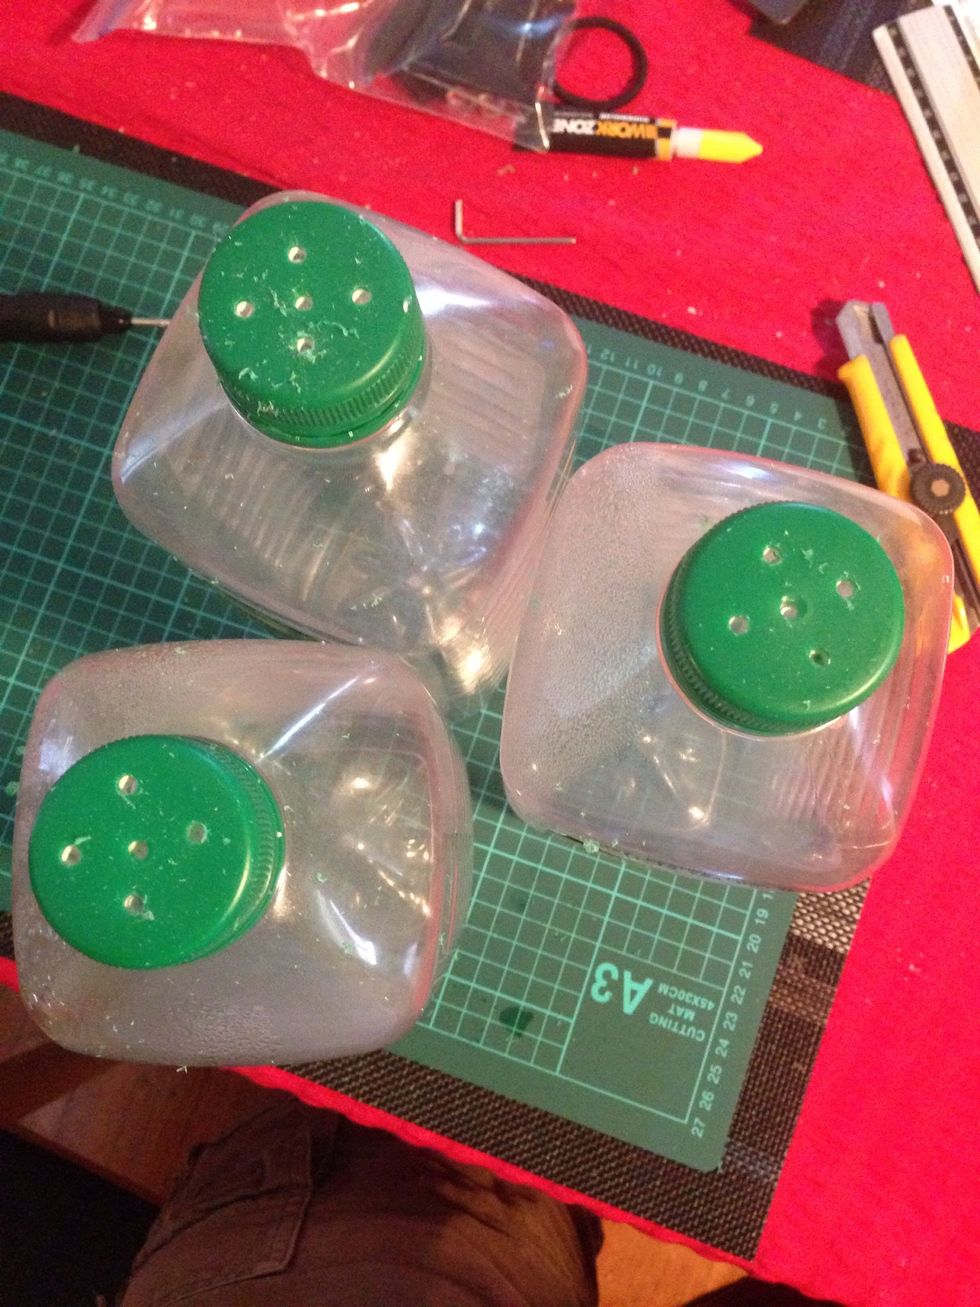
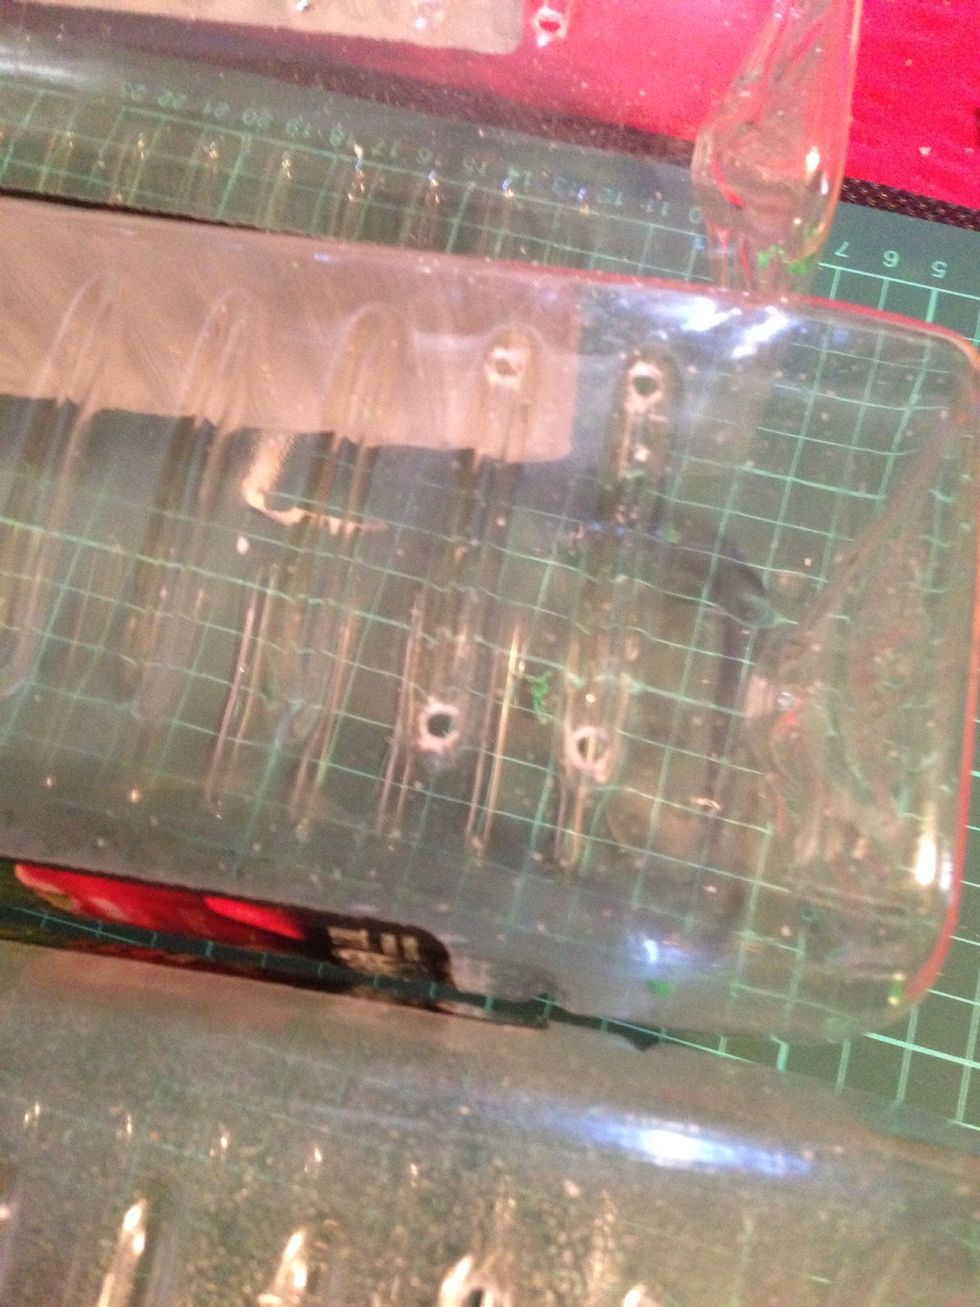
Each bottle top and bottom needs to have small holes drilled to allow the water to flow through.
These bottles are great because there is a funnel shape in the bottom when they are turned over.
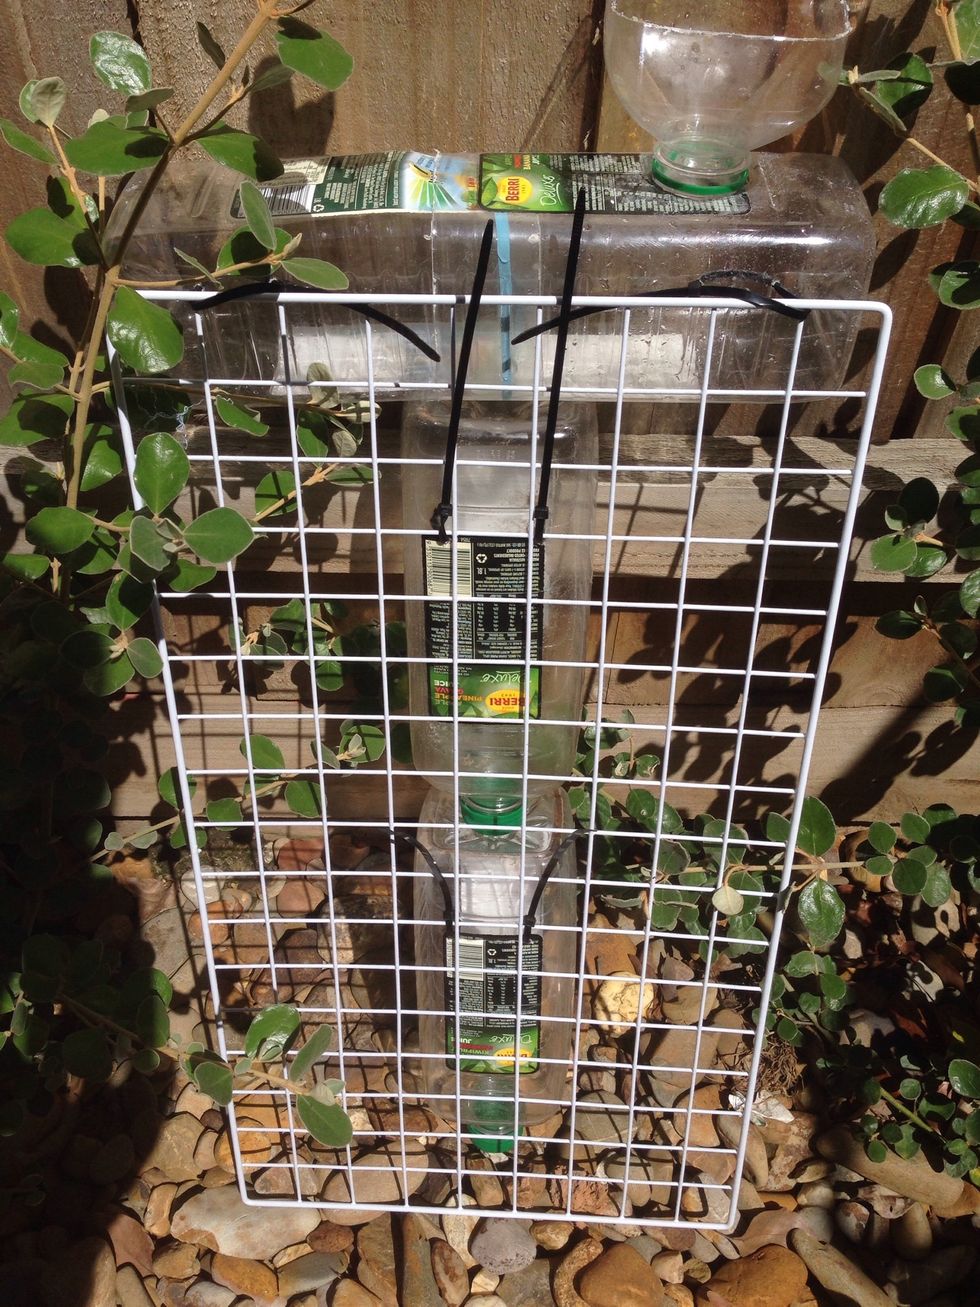
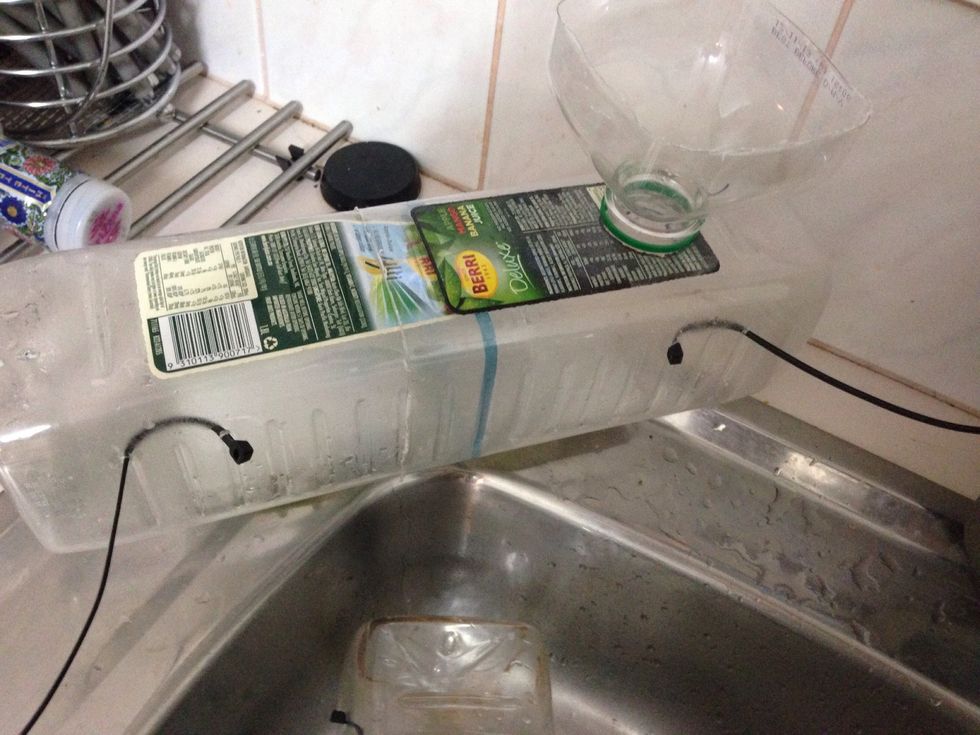
Tie the reservoir to the wire frame. Place the planter bottles below

Fill planter bottles with potting mix.

I added a bit of slow release fertilizer (but I'm no gardener so trust your judgement)
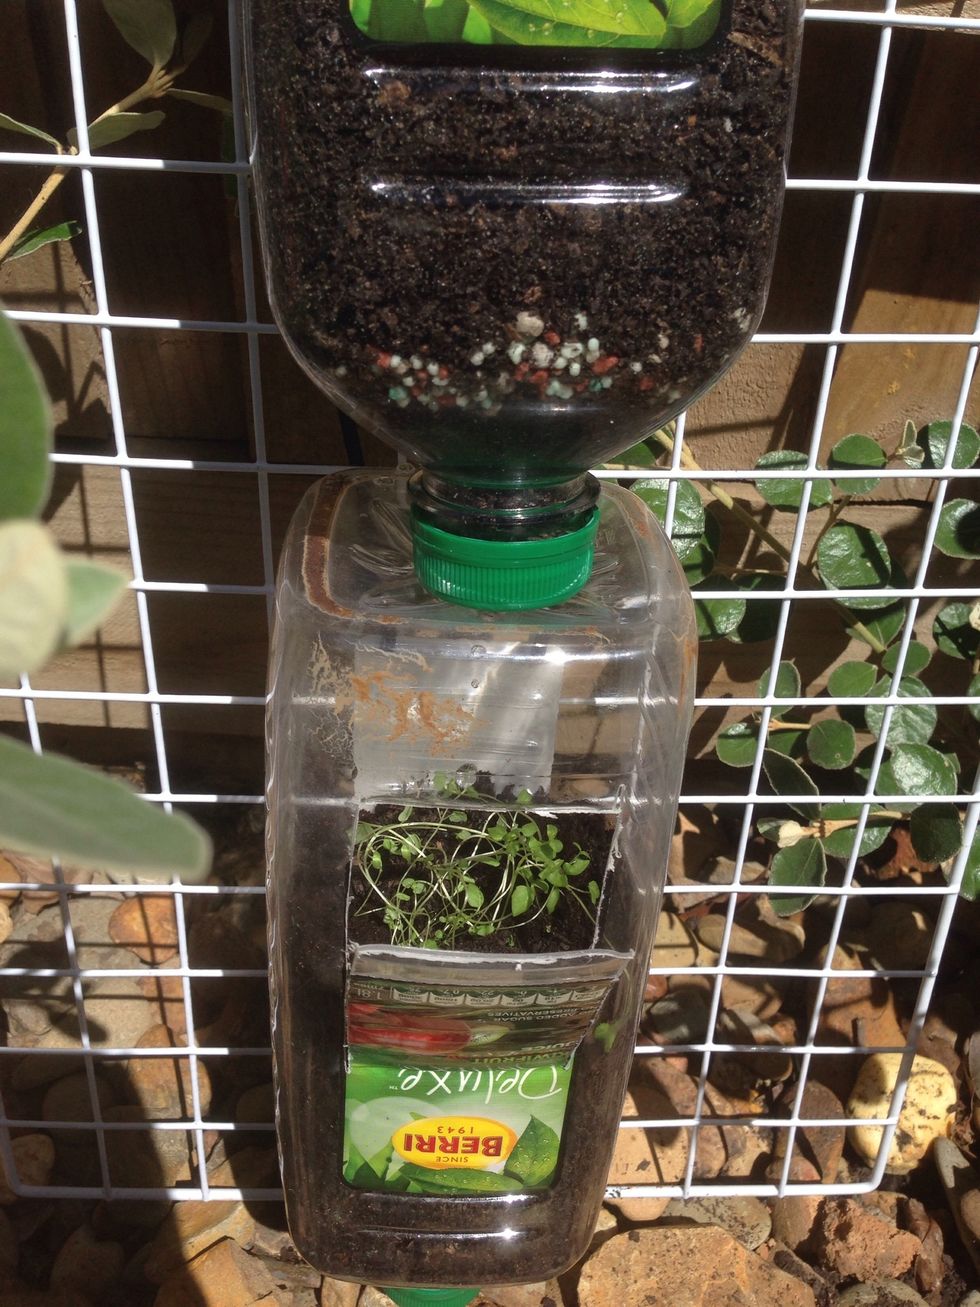
Plant the seedlings

Fill water from the top. It will drop out at the bottom and trickle down. I keep a spare bottle at the kitchen sink and get about a litre of waste water whilst waiting for the water to heat up.

After testing just 2 bottles for a week I was satisfied it would work and added the final 4.