The Conversation (0)
Sign Up
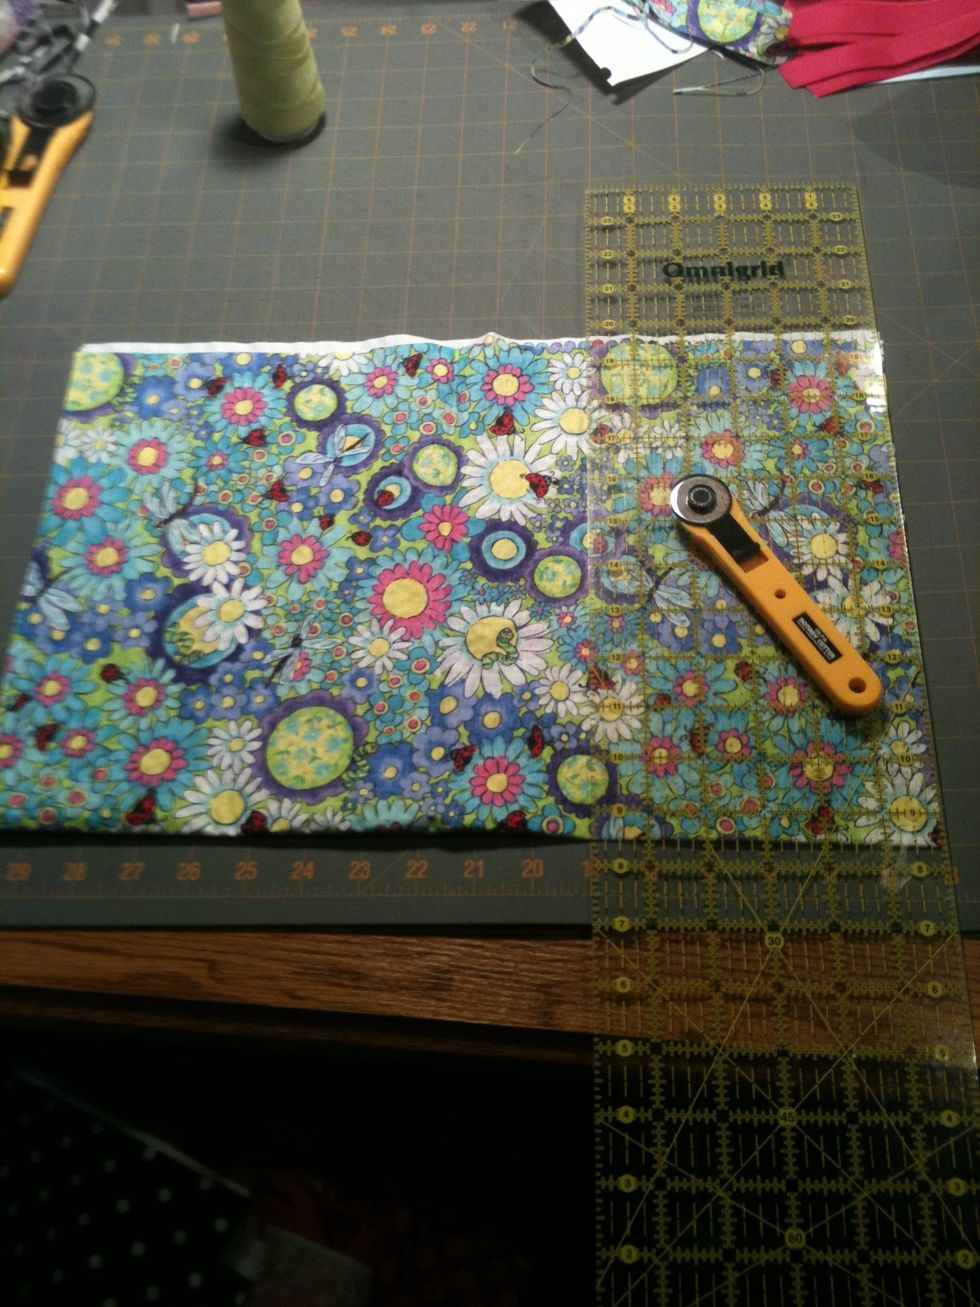
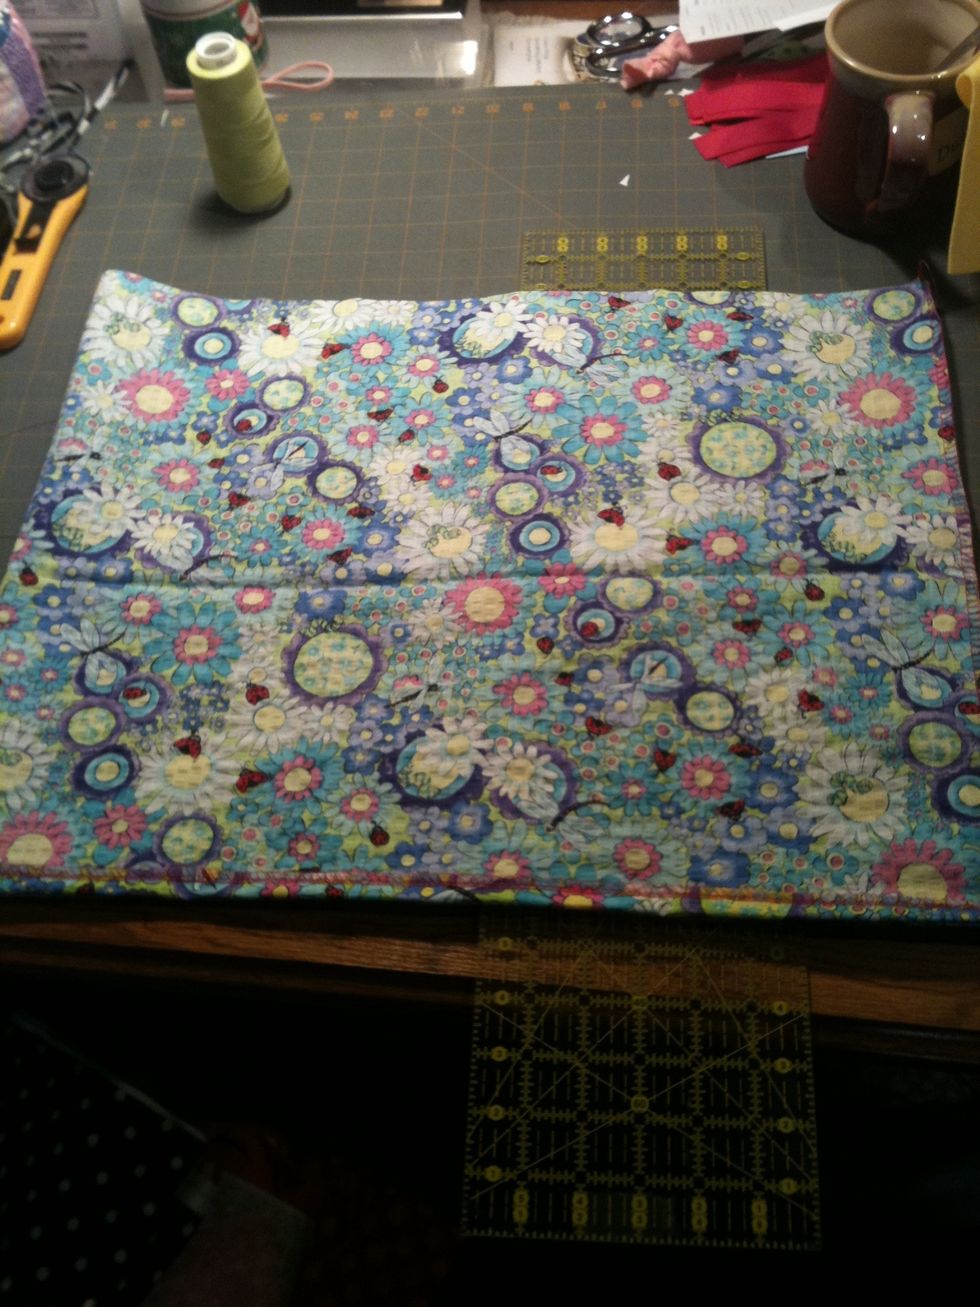
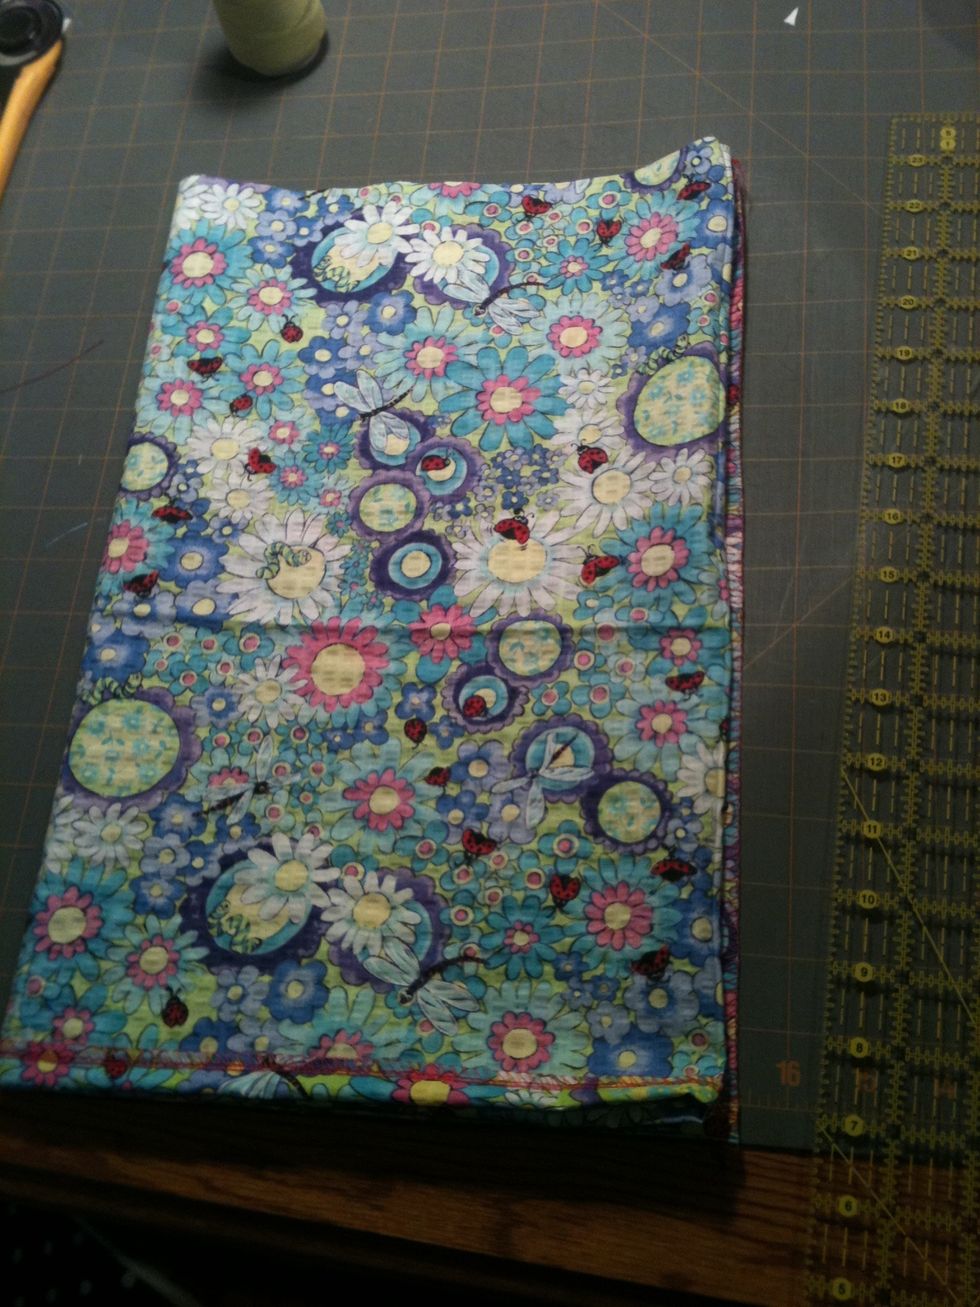
Measure and cut fabric: 18 inches for size 12/24 months. 20inches for size 2/3T. 22 inches for size 4/5.
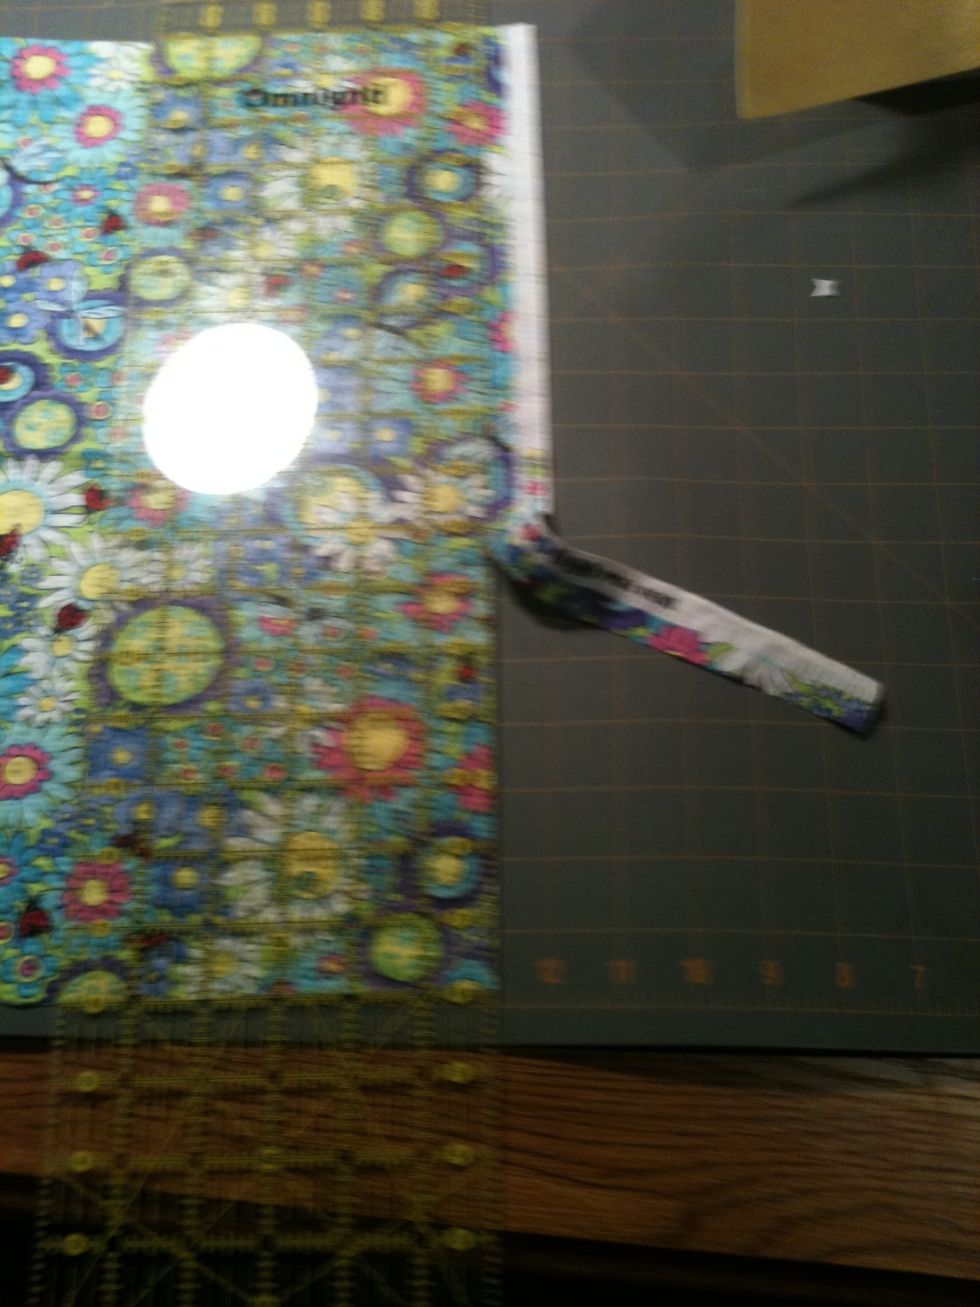
Cut off the printed selvedges.
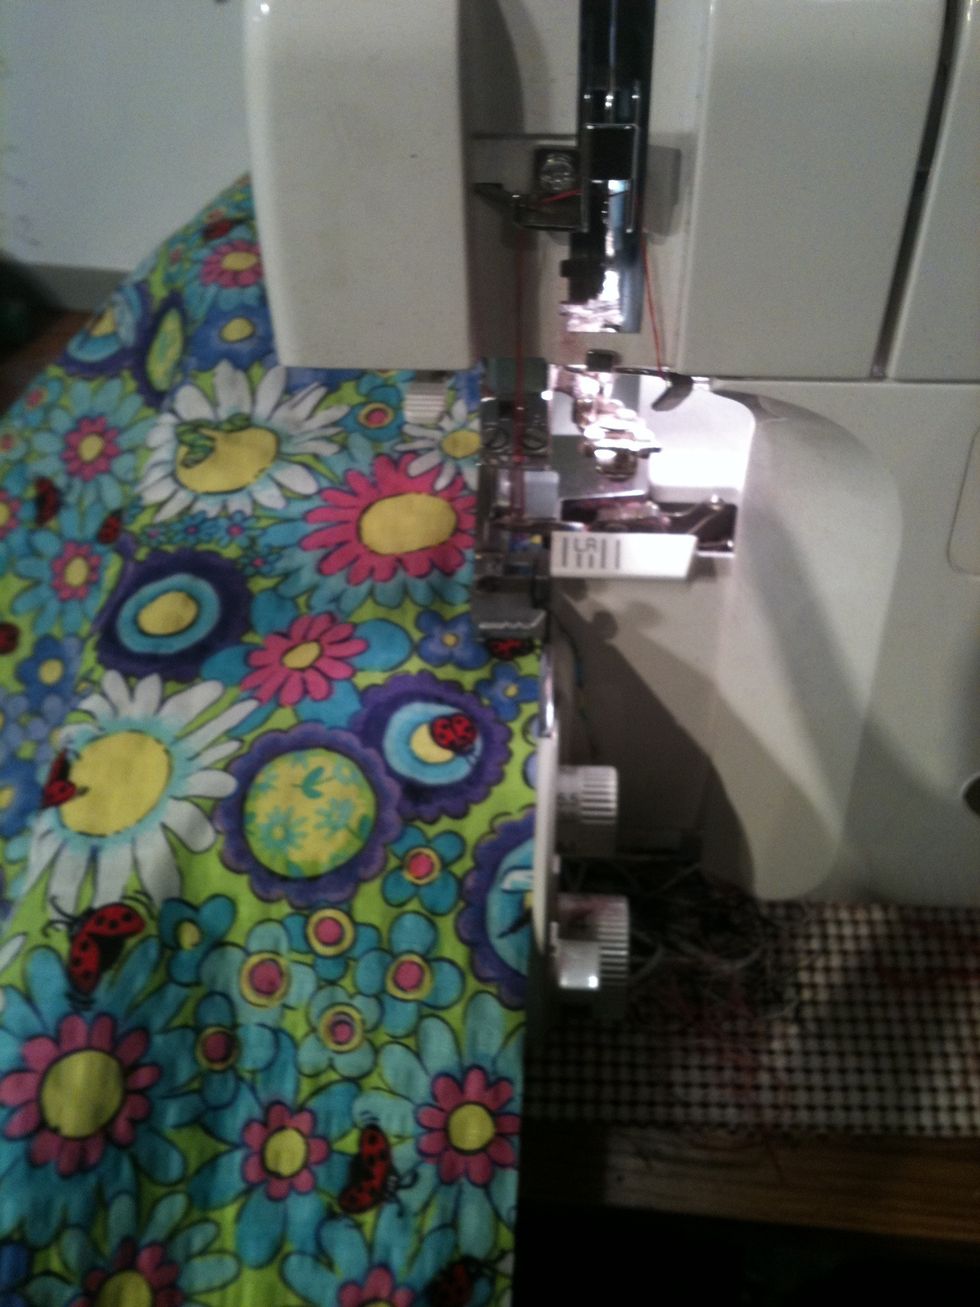
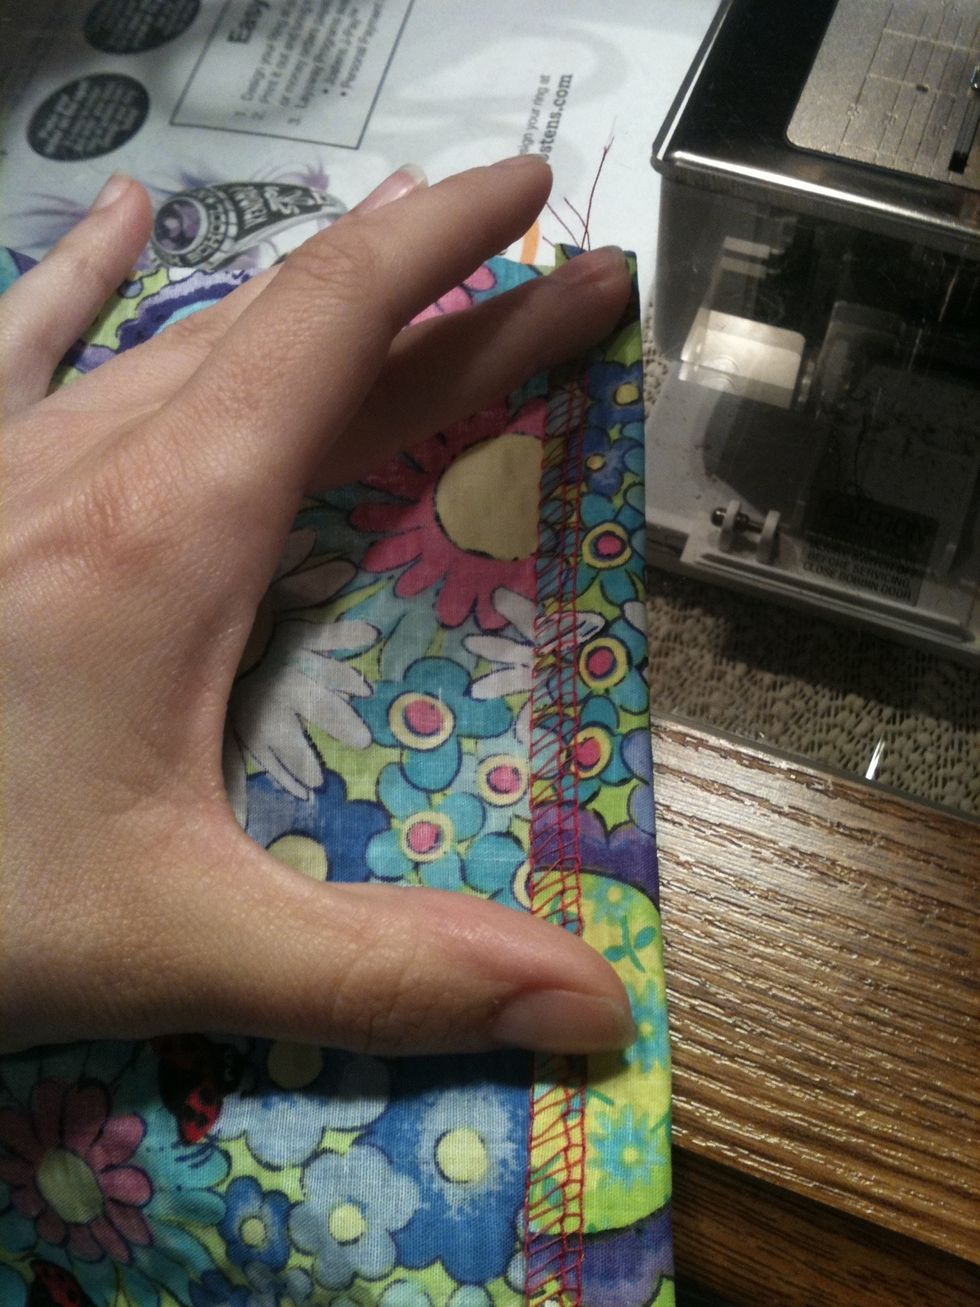
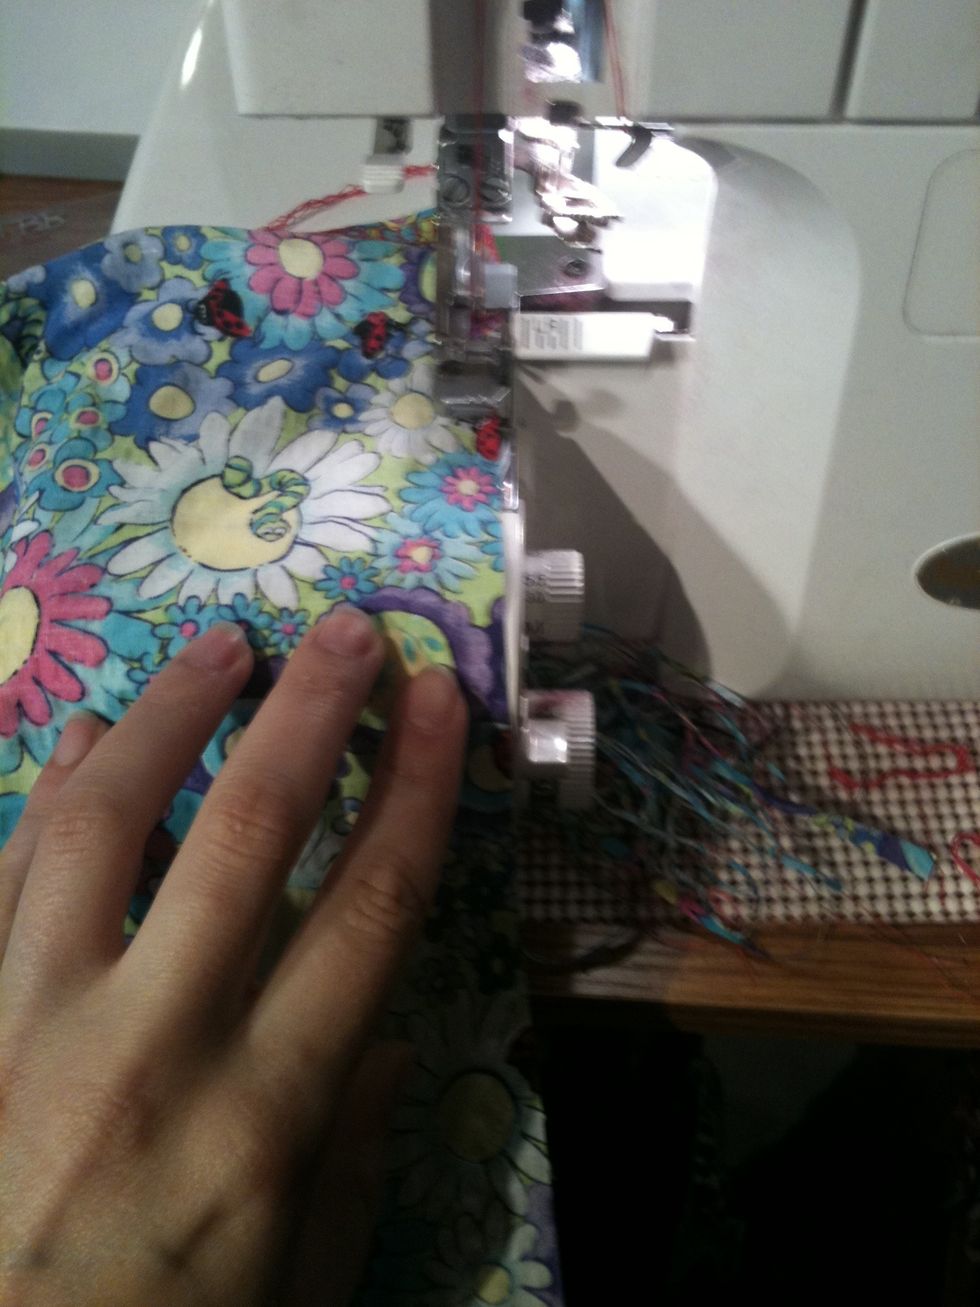
Zigzag with your sewing machine or serge the raw edges...
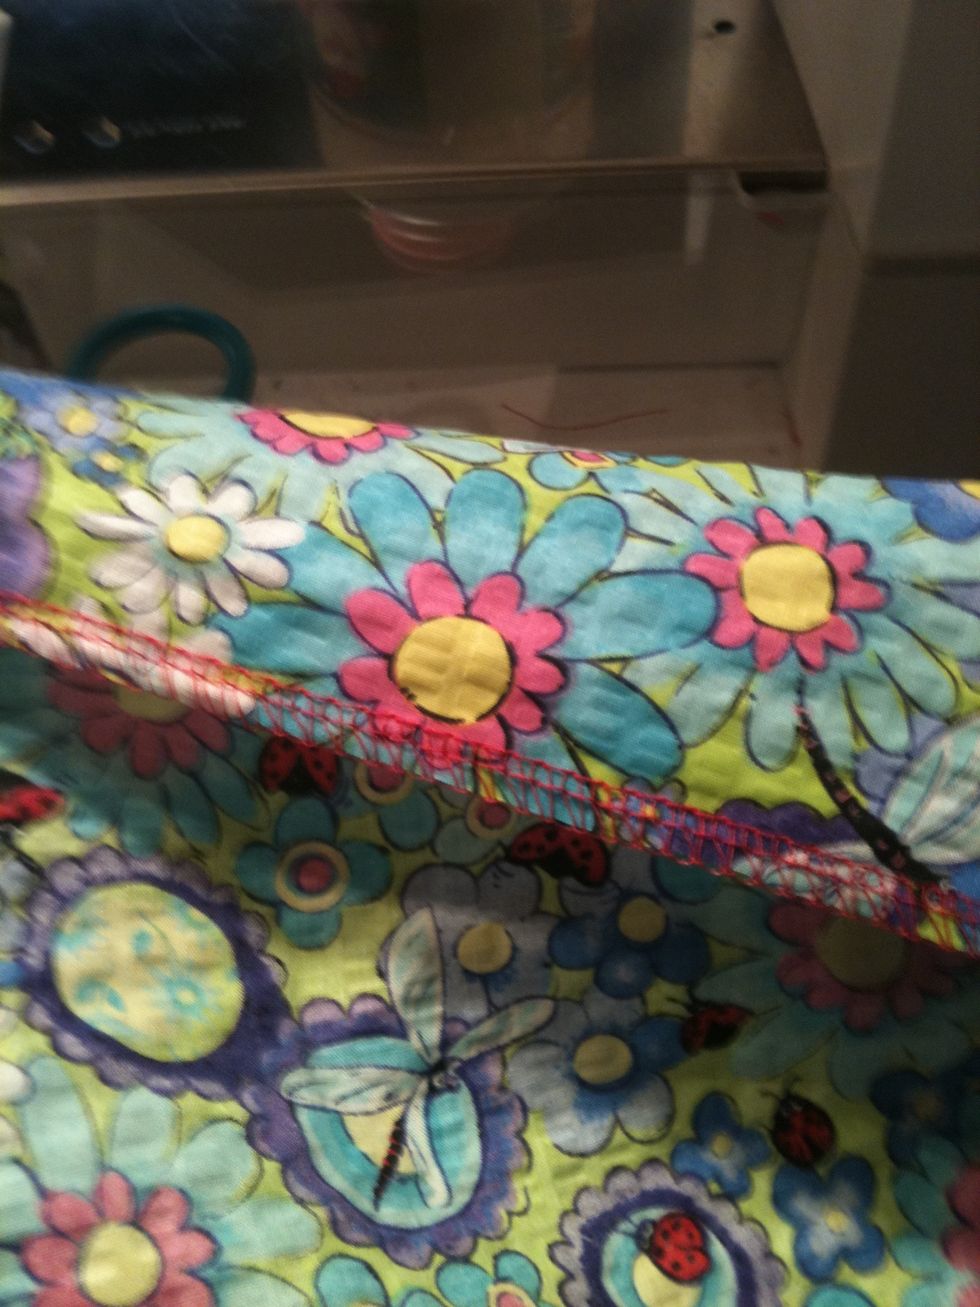
....like this.
Fold over 1/2- 3/4 inches. You can pin or press if you like....
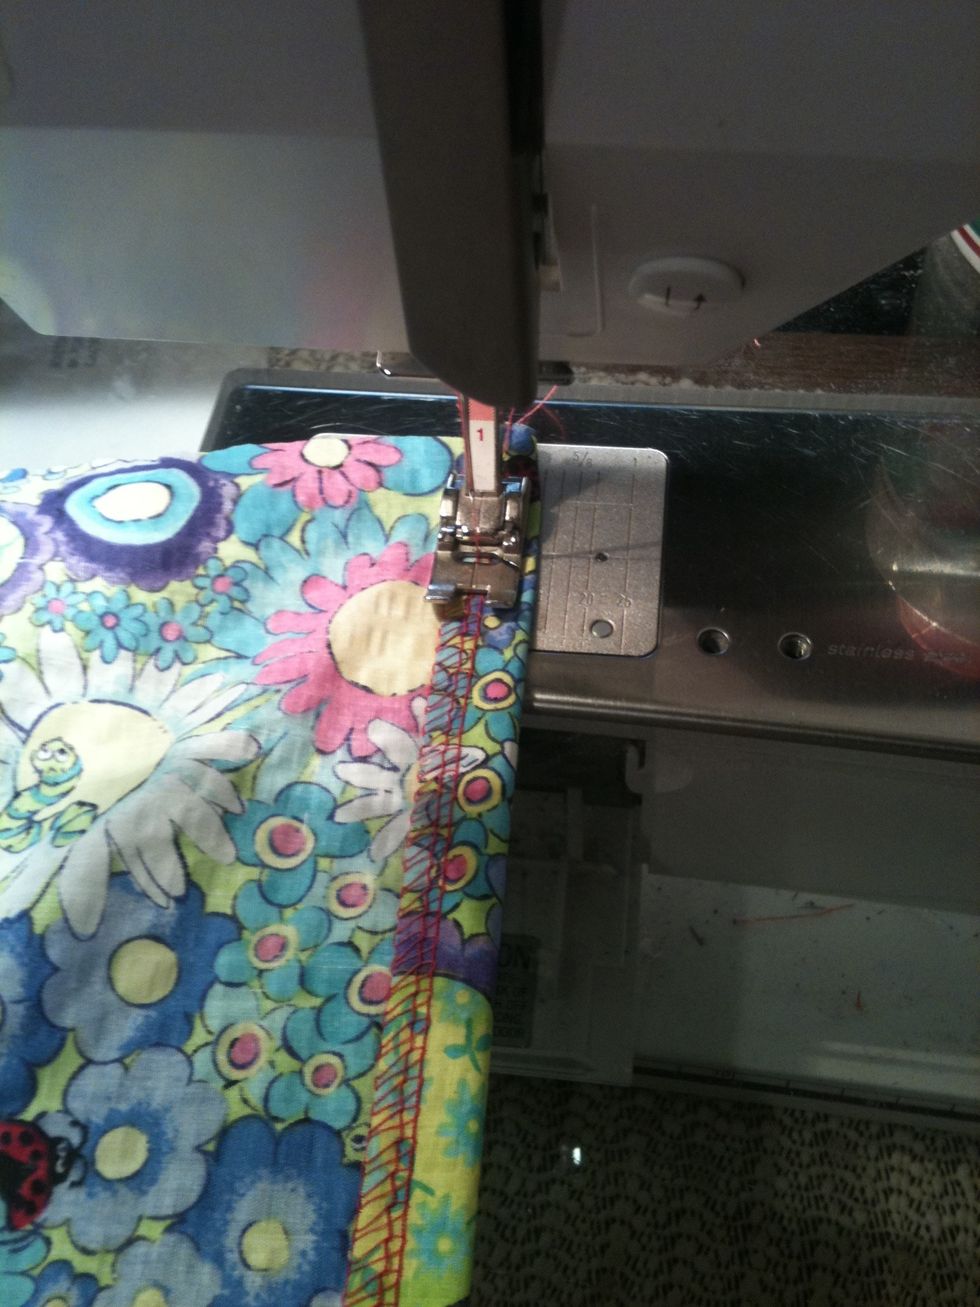
But I just use the markings on the throat plate of my machine.
Fold the dress in half, right sides together. The bottom hem needs to match up, it isn't as important at the top.
Sew or serge the side seam, then lay the dress flat with the seam on the right (reverse this if you are cutting lefty!)
Fold the left to the right like this- now the fabric is four thick, with a seam and a fold on top of each other on the right.
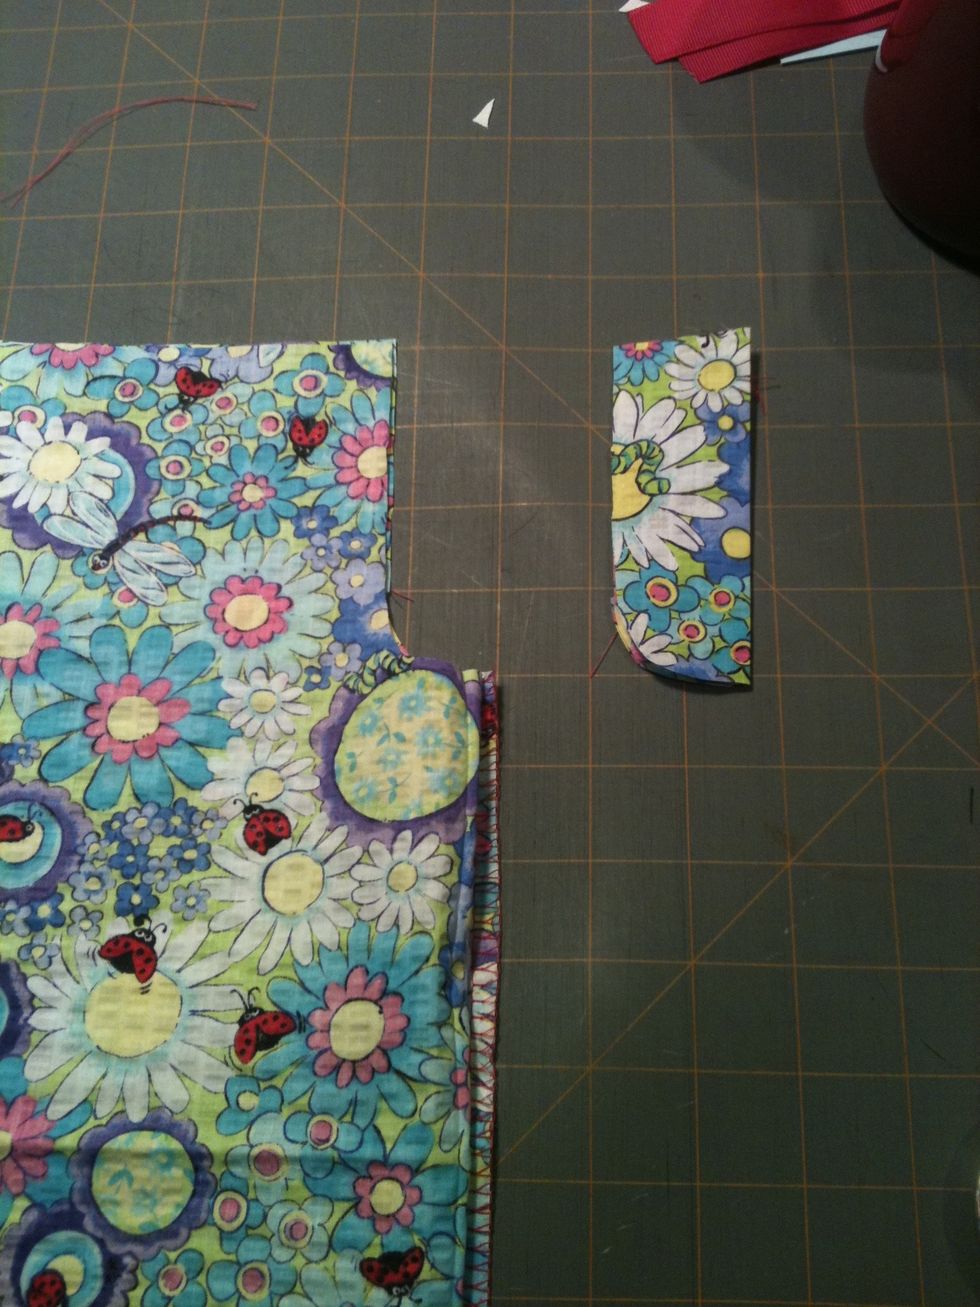
At the top right corner, cut a notch for the armholes, about 1x4 inches. Exact measurement isn't important. Cut through all four layers so your armholes are even and symmetrical.....
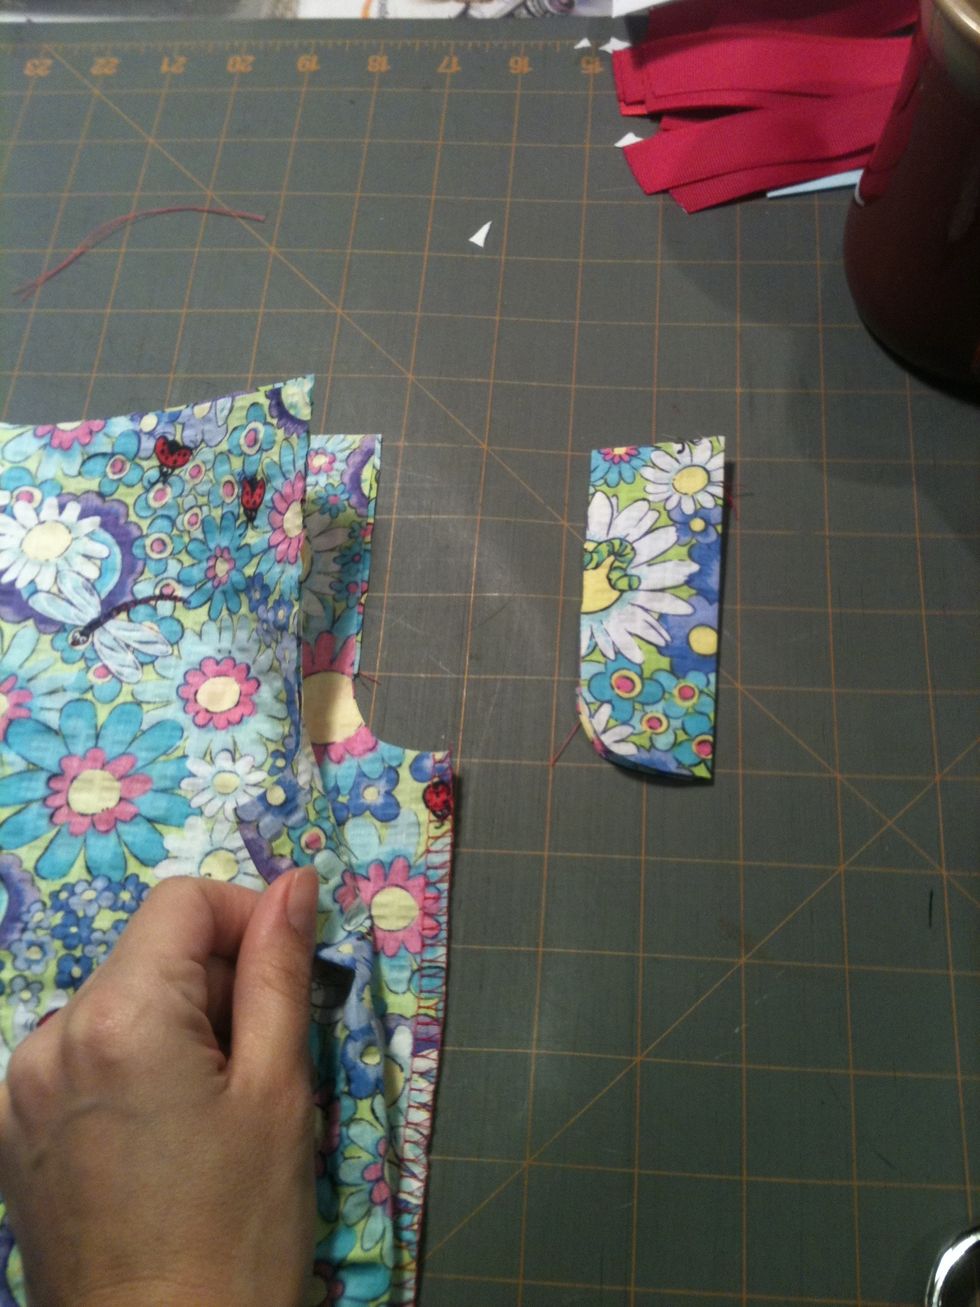
...like this.

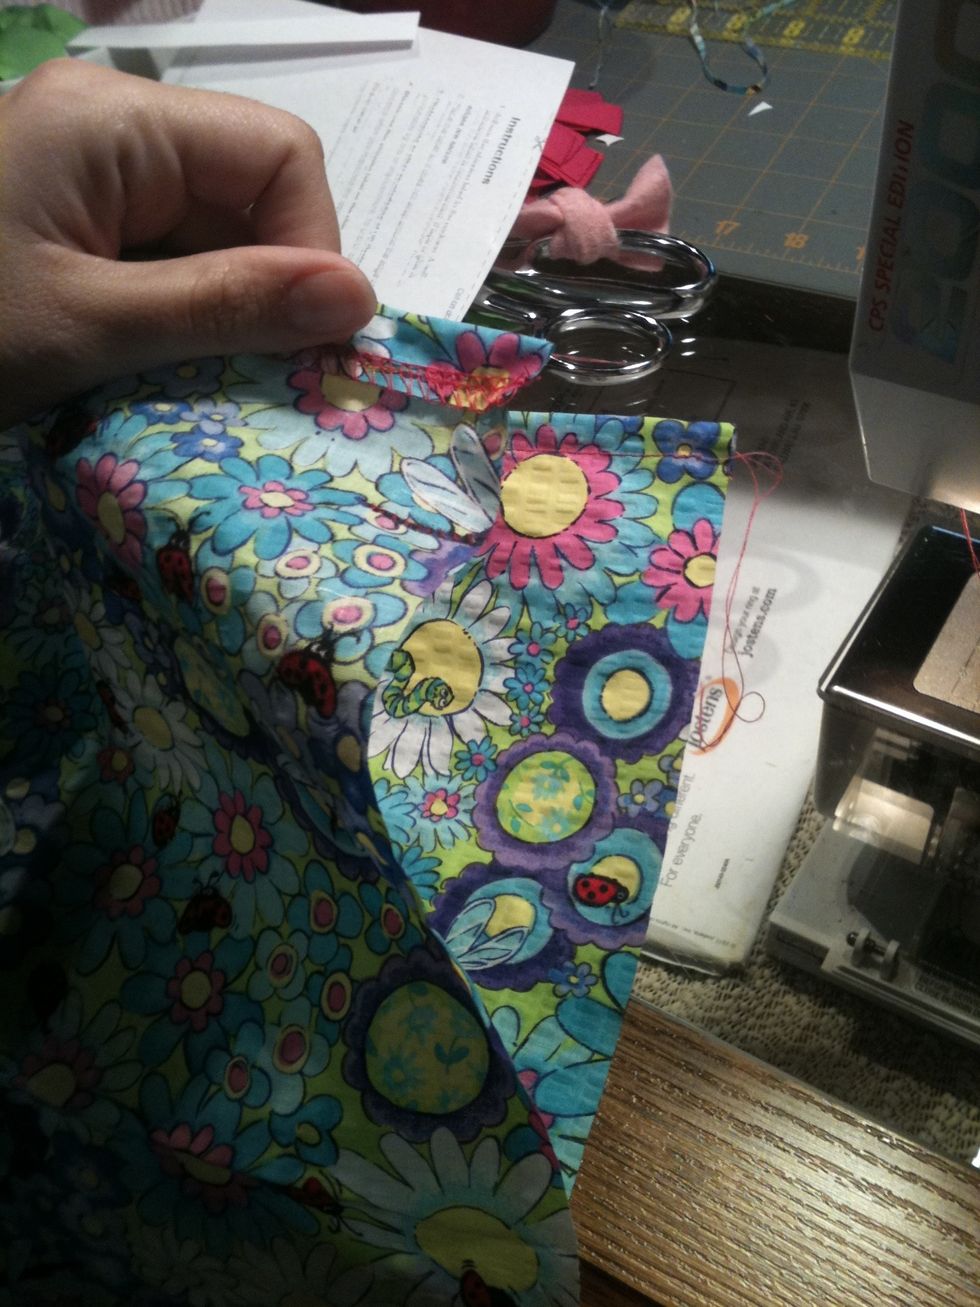
Serge or zig zag your raw armholes.
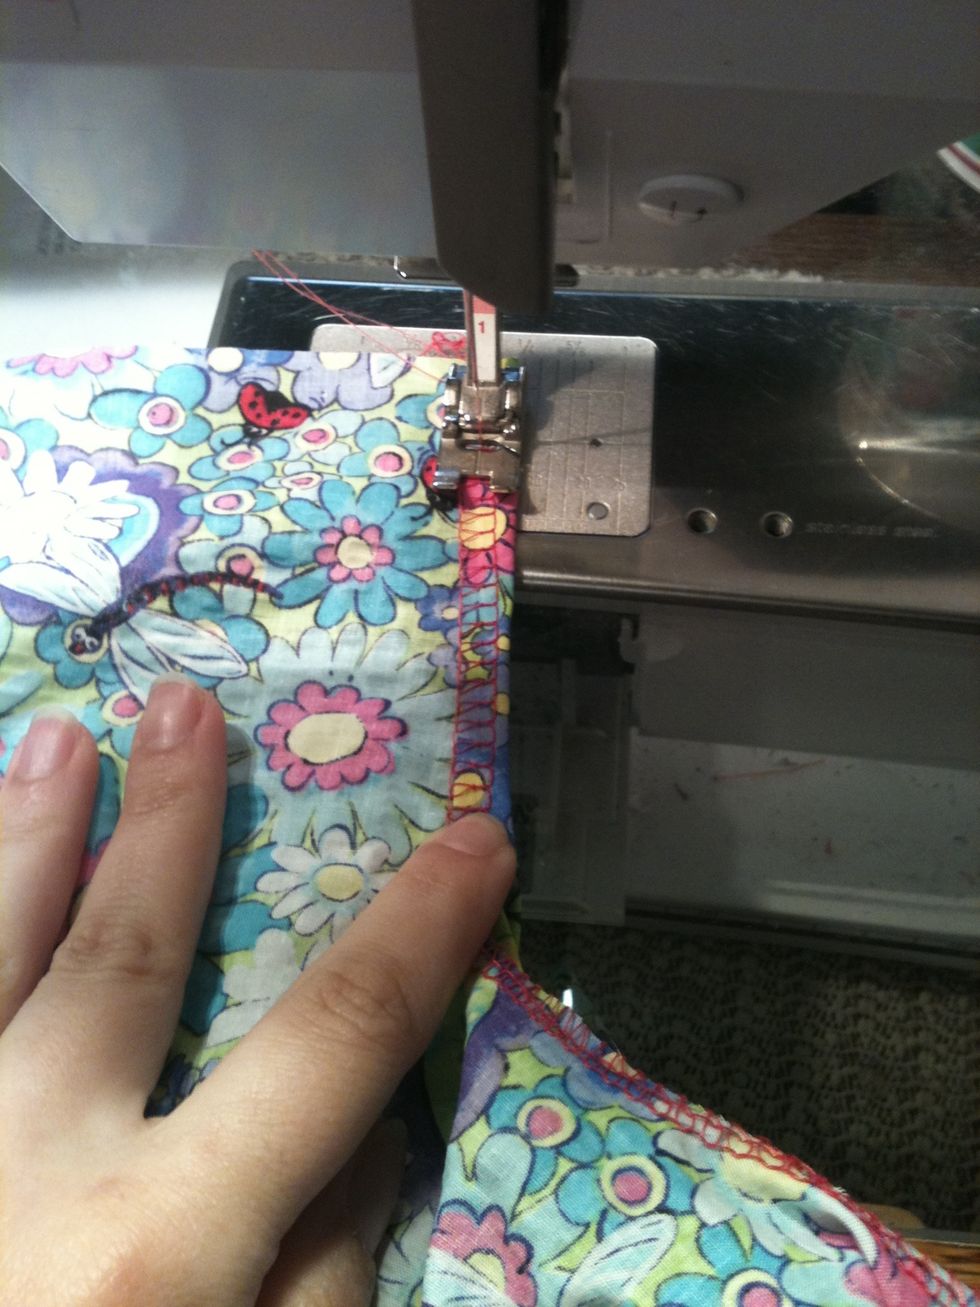
Then, working from the wrong side, fold in 1/4- 3/8 inch of fabric and stitch down....

....so it looks like this.
Serge or zigzag the raw top edges.....
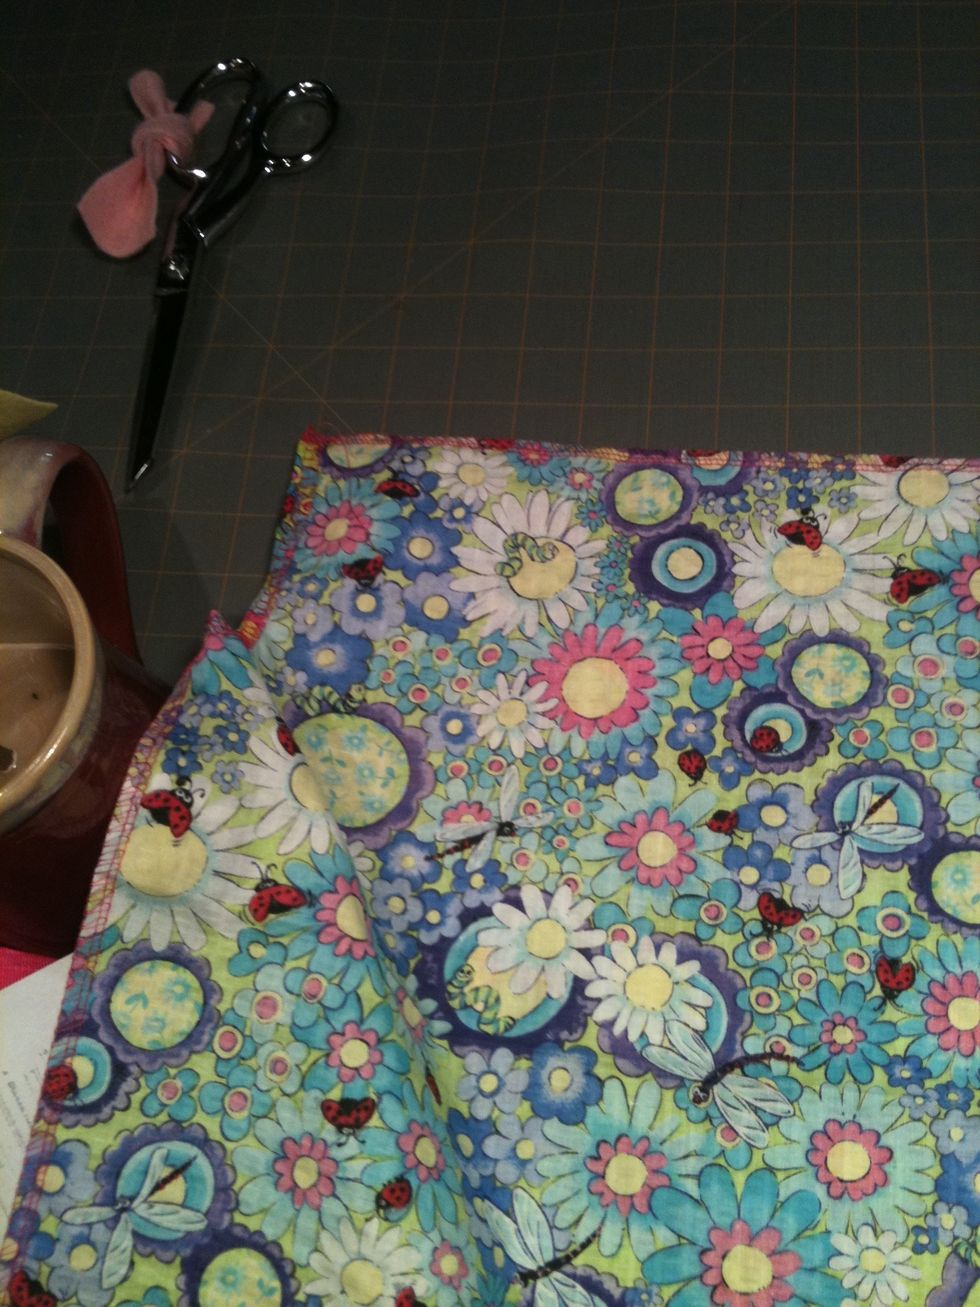
...Then fold and stitch down about an inch for your ribbon casing.
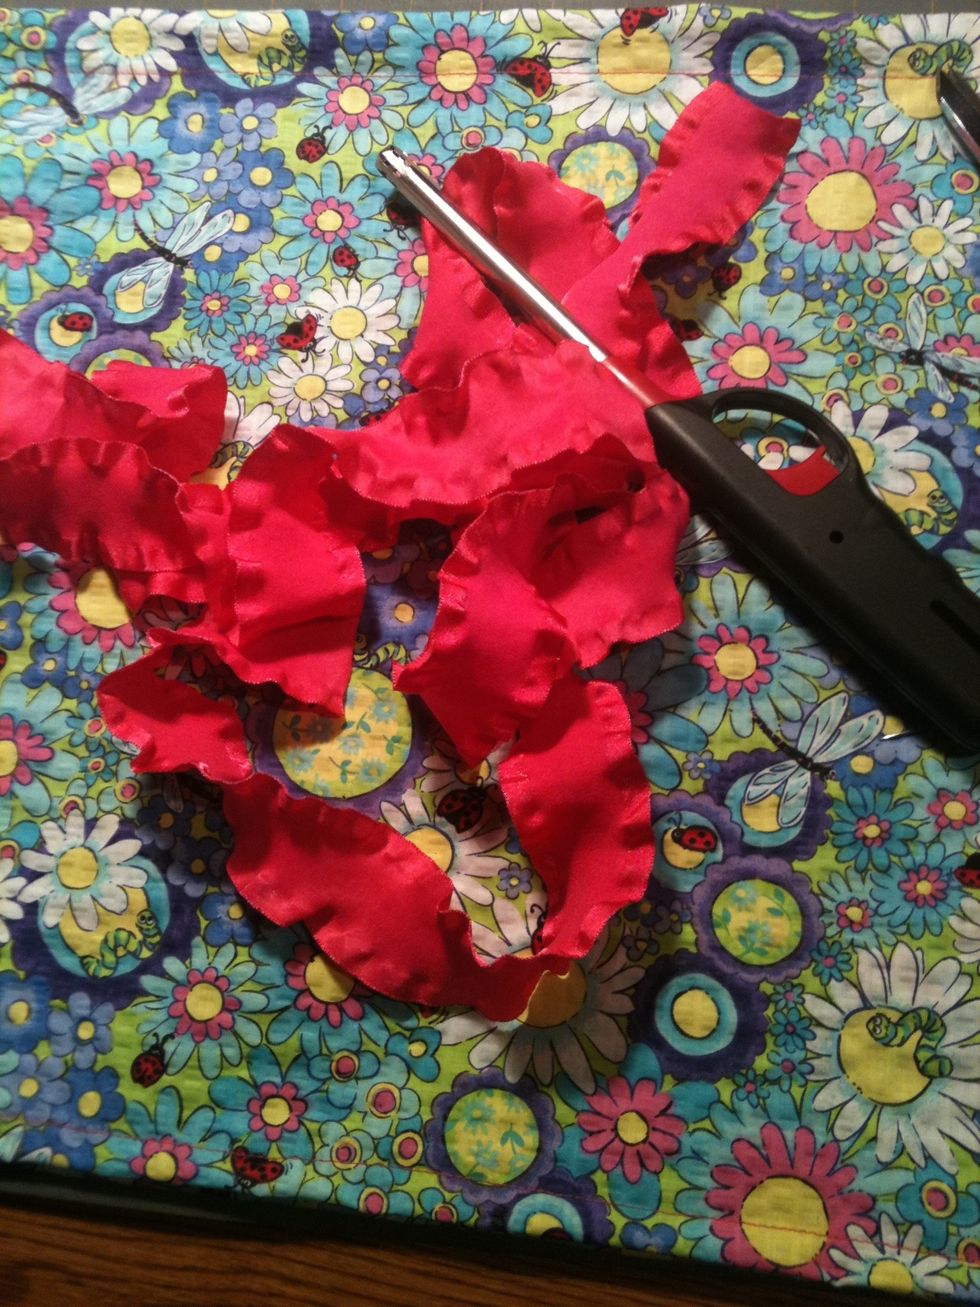
Cut and seal 2 pieces of ribbon- each about a yard long.
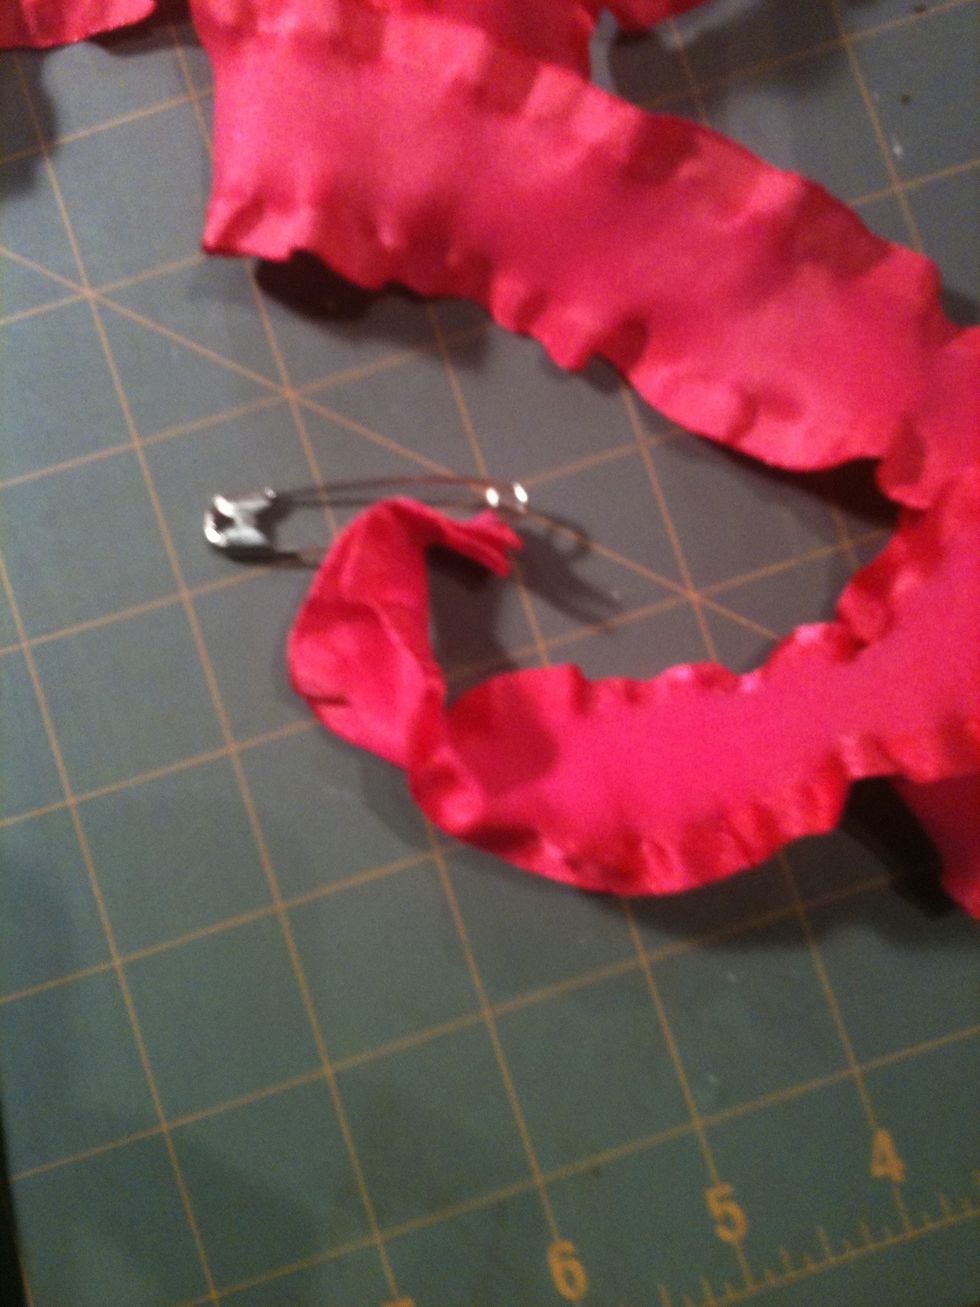
Attach a large safety pin to feed through casing.
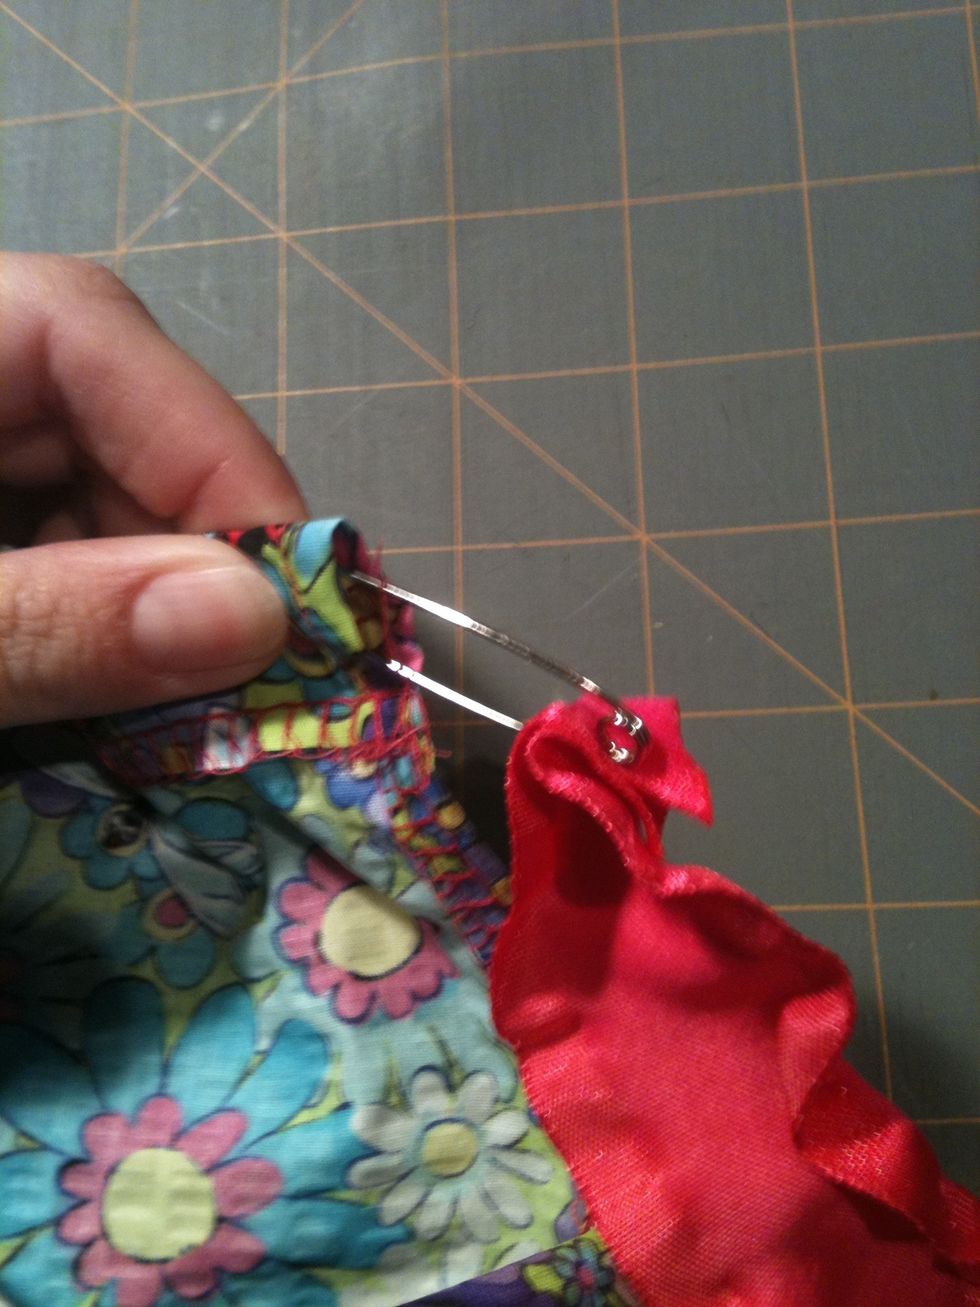
Feed ribbon through both casings at the top front and back of the dress.
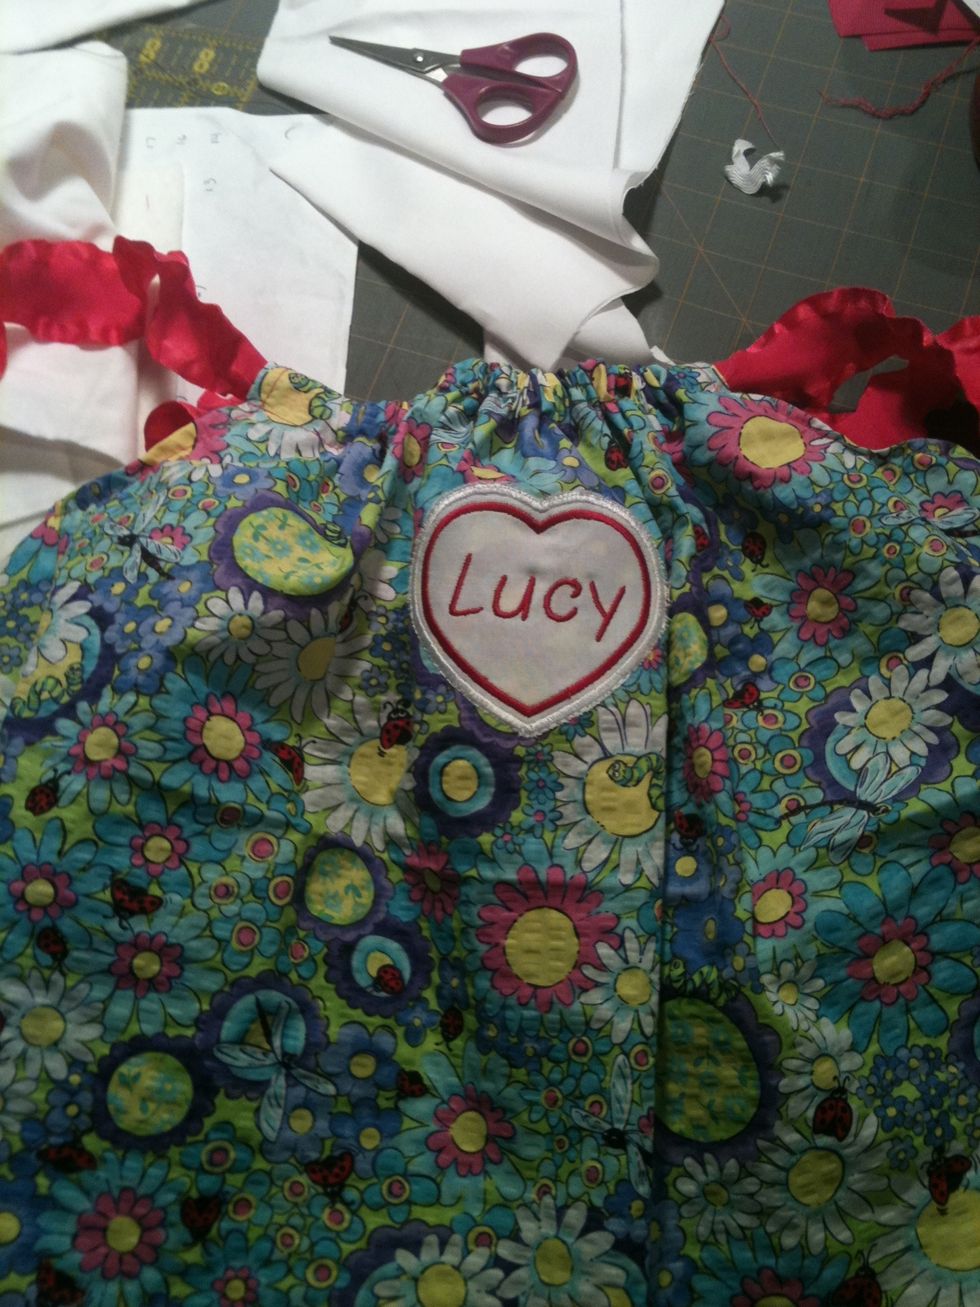
Embellish your dress with applique....
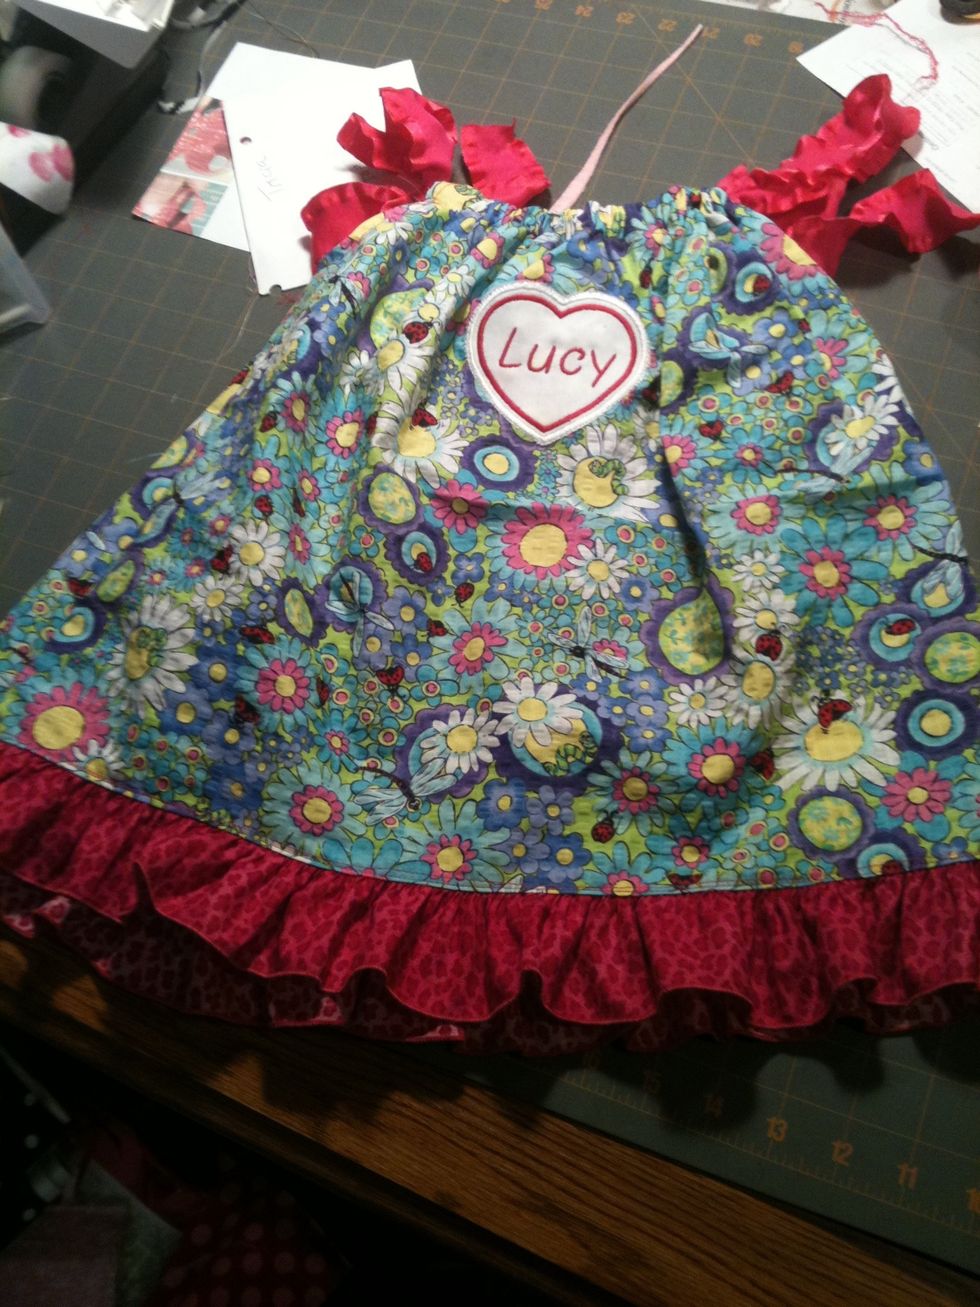
...ruffles....
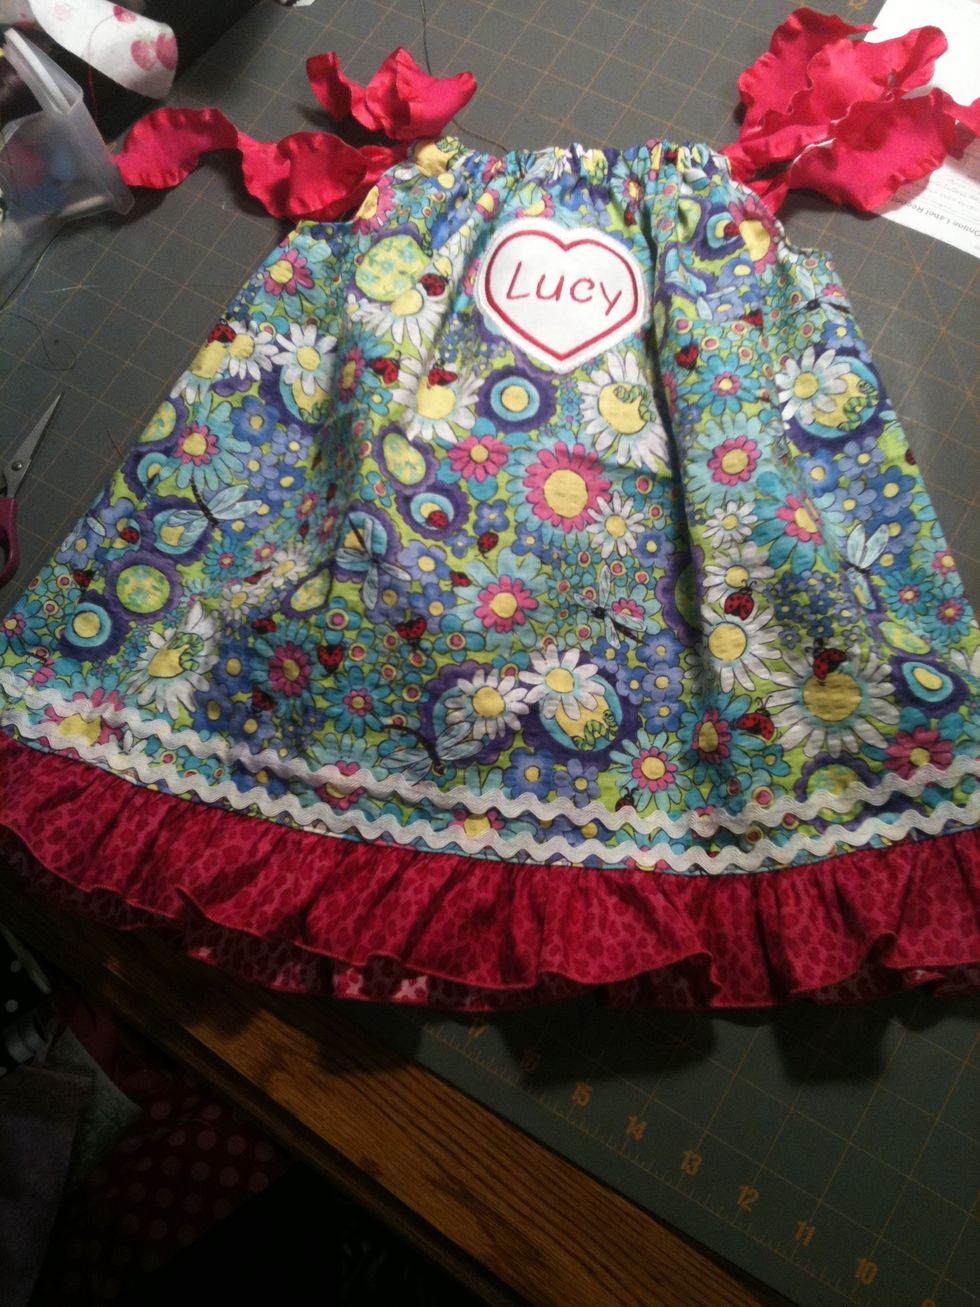
...and/or trim. Enjoy!