The Conversation (0)
Sign Up
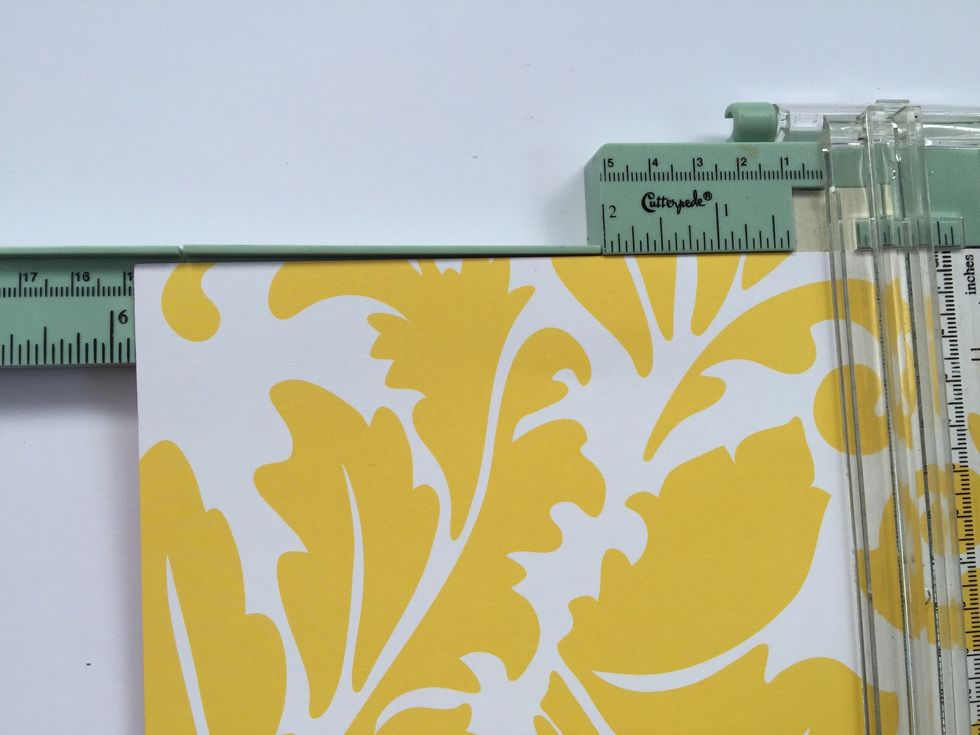
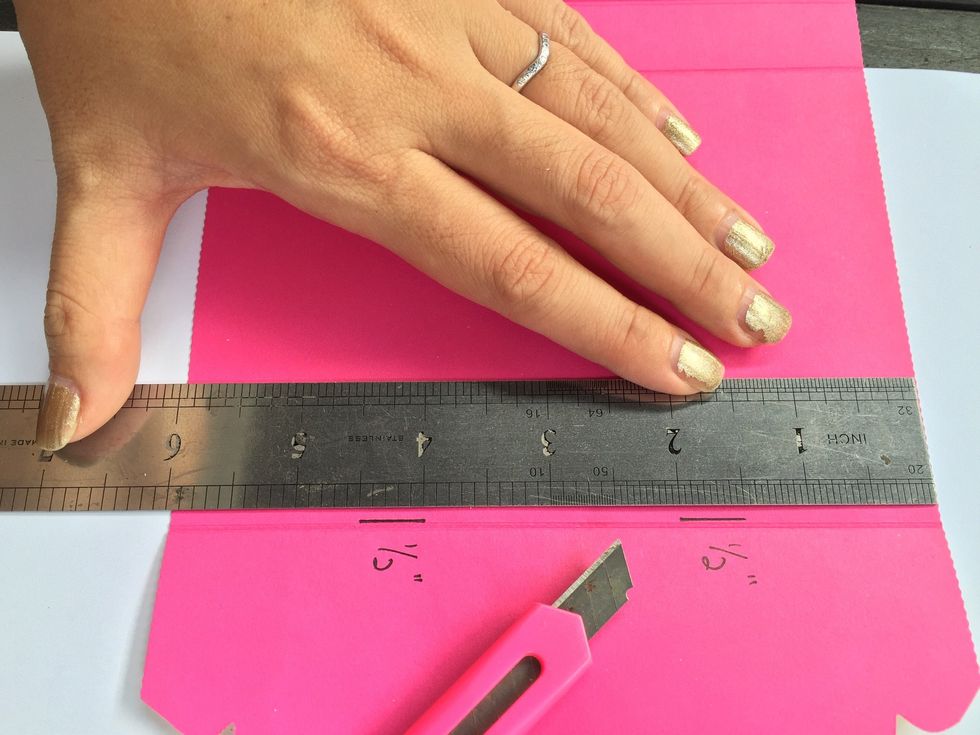
Use a desired, preferably double sided patterned paper and cut into 6" x 12"
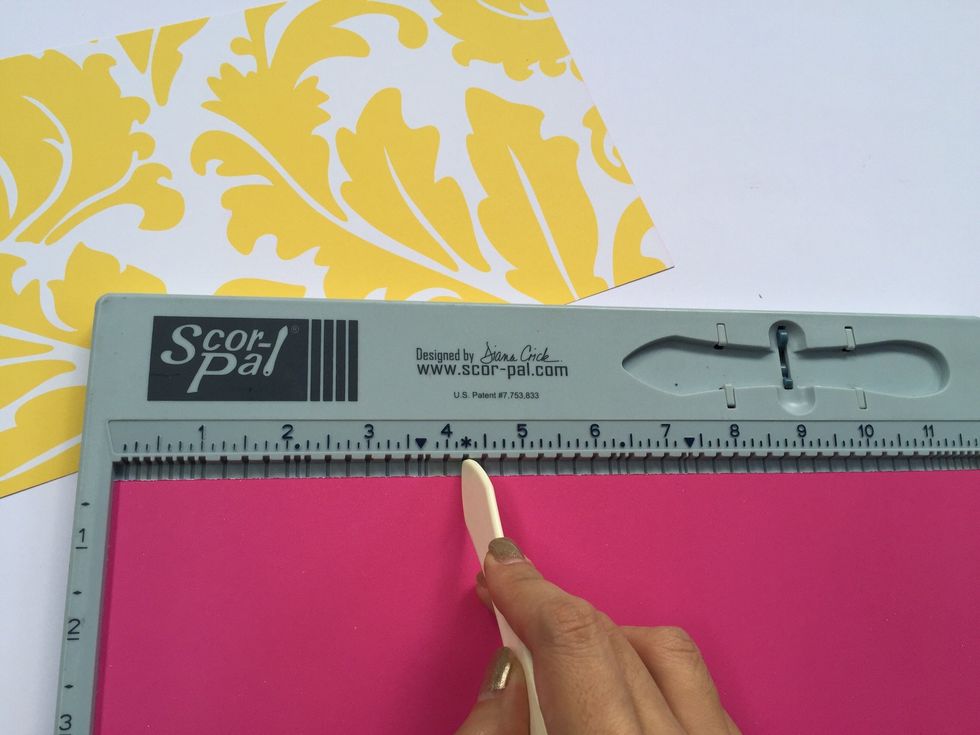
Score length wise at 4.25", 0.5" and 4.25". The remaining length of the paper of 3" forms the flap of the purse
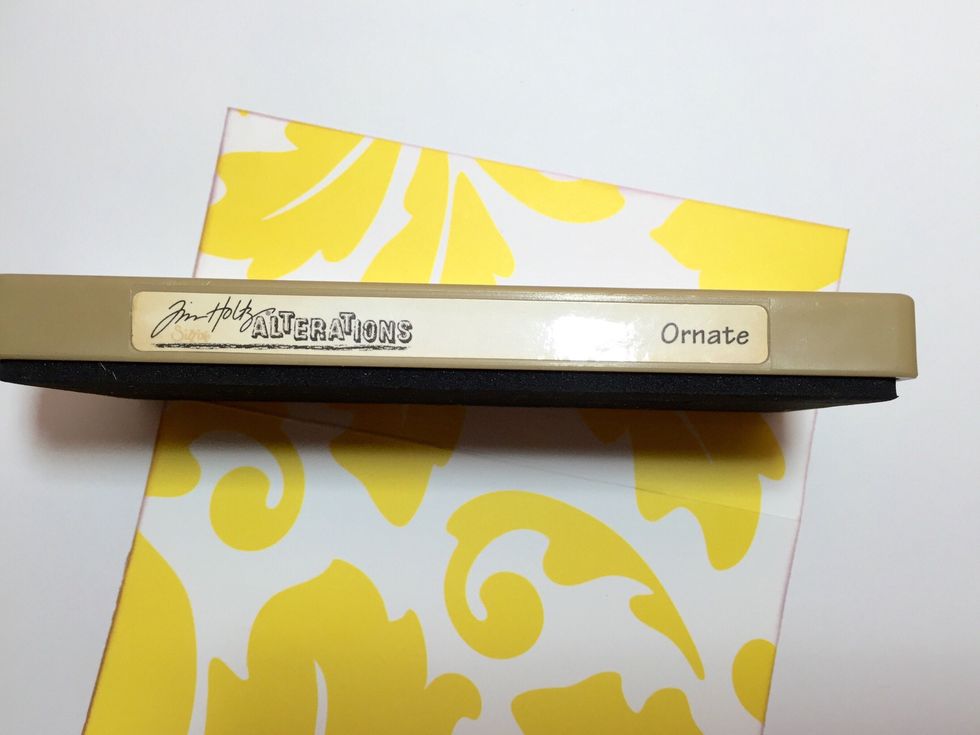
Use the Sizzix Ornate die or whatever border die you have, on the flap end of the paper
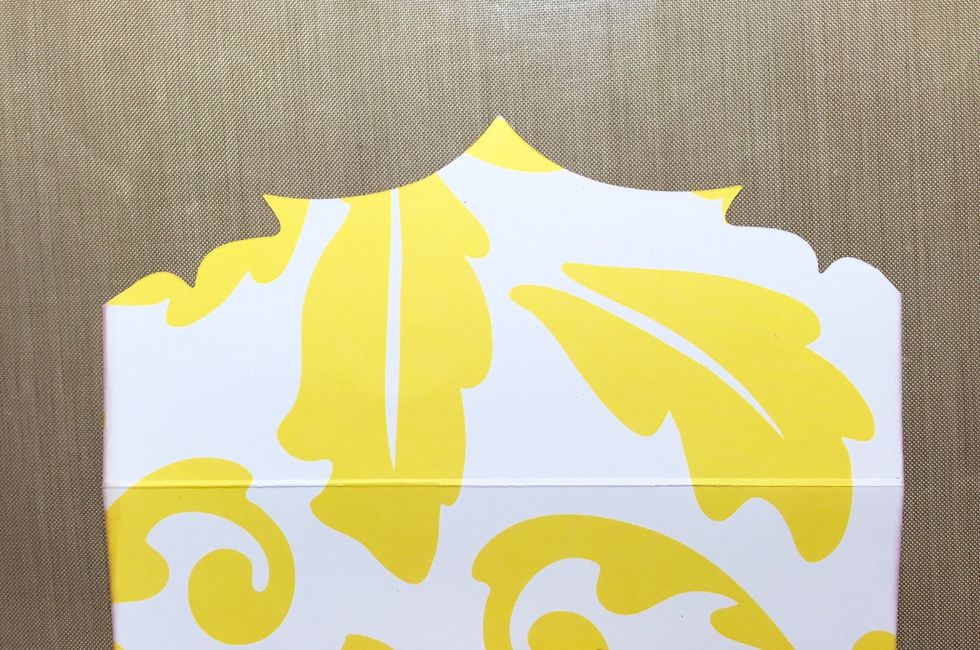
The look after using the ornate die
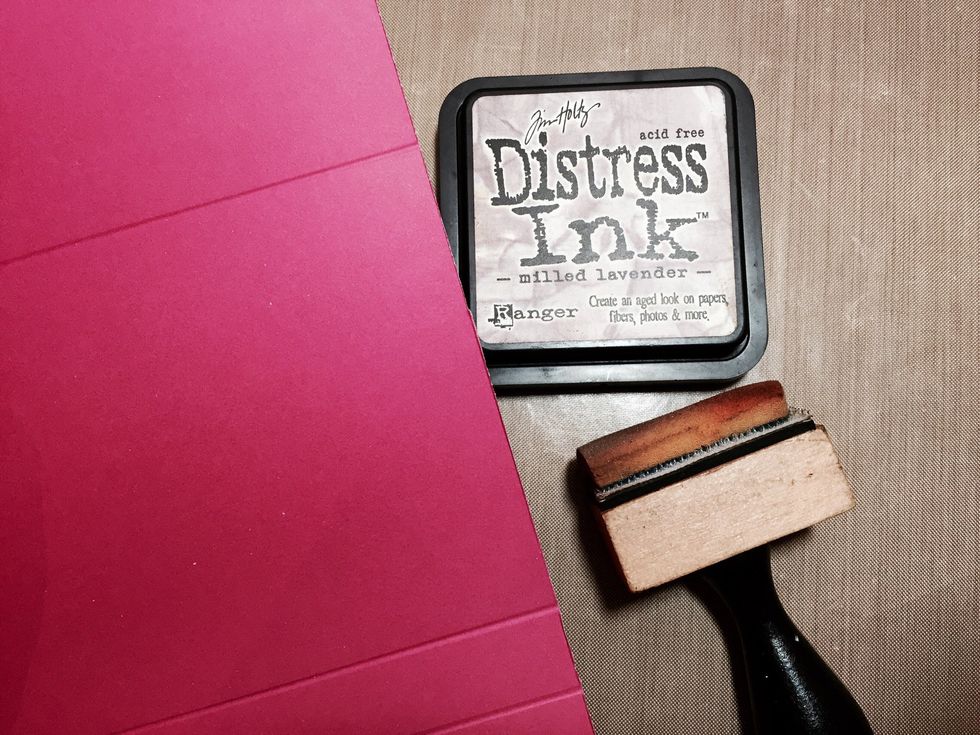
Use a distress ink (use a colour that suits the colour of your paper) to distress and soften the edge of the paper
Cut 2 slits of 0.5" on the flap end of the paper so as to slit the grosgrain ribbon through as a "handle" of the purse.
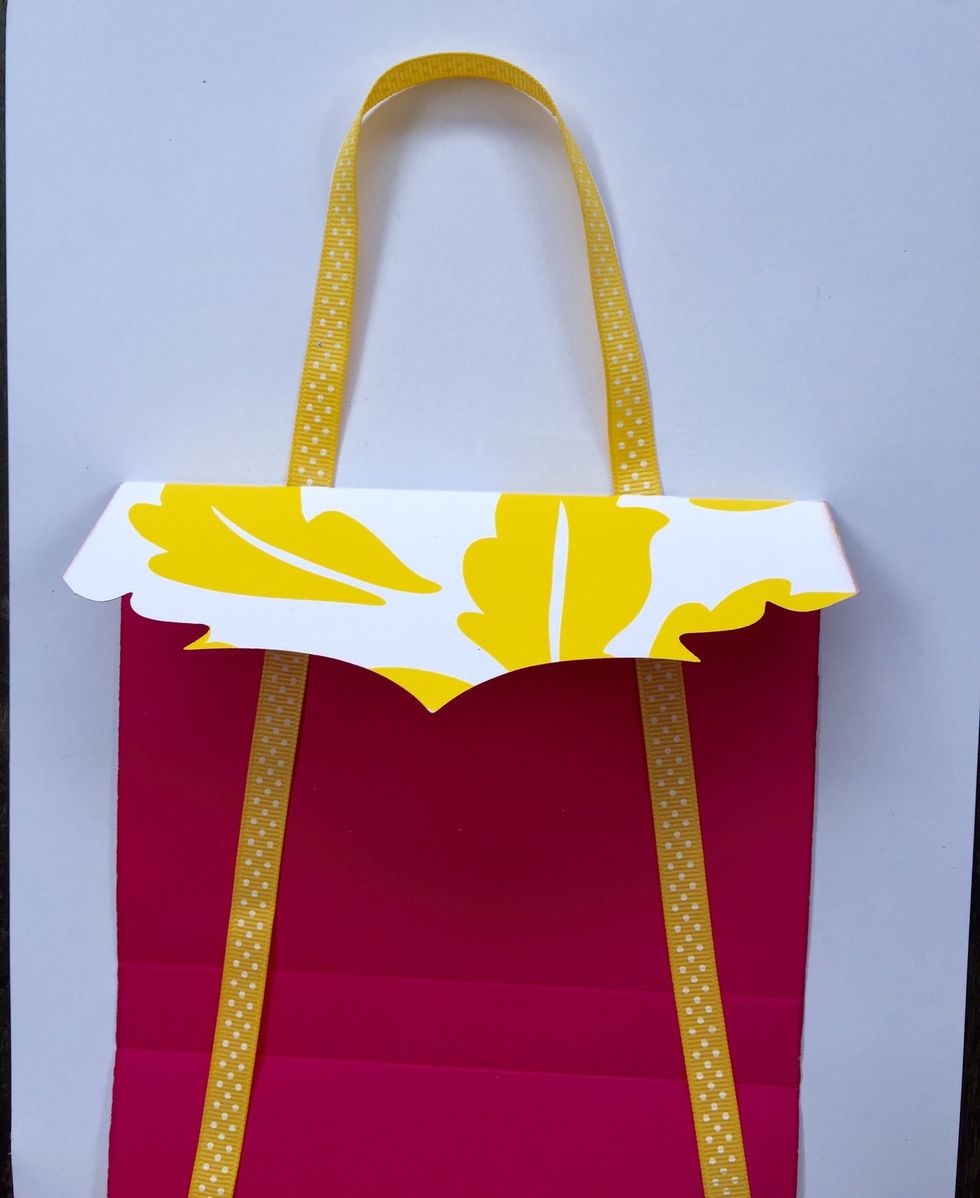
Slit the ribbon through depending on how long you want the handle to be.

Use a desired stamp for your caption on the flap end of the paper. I'm using black archival ink and a Technique Tuesday stamp
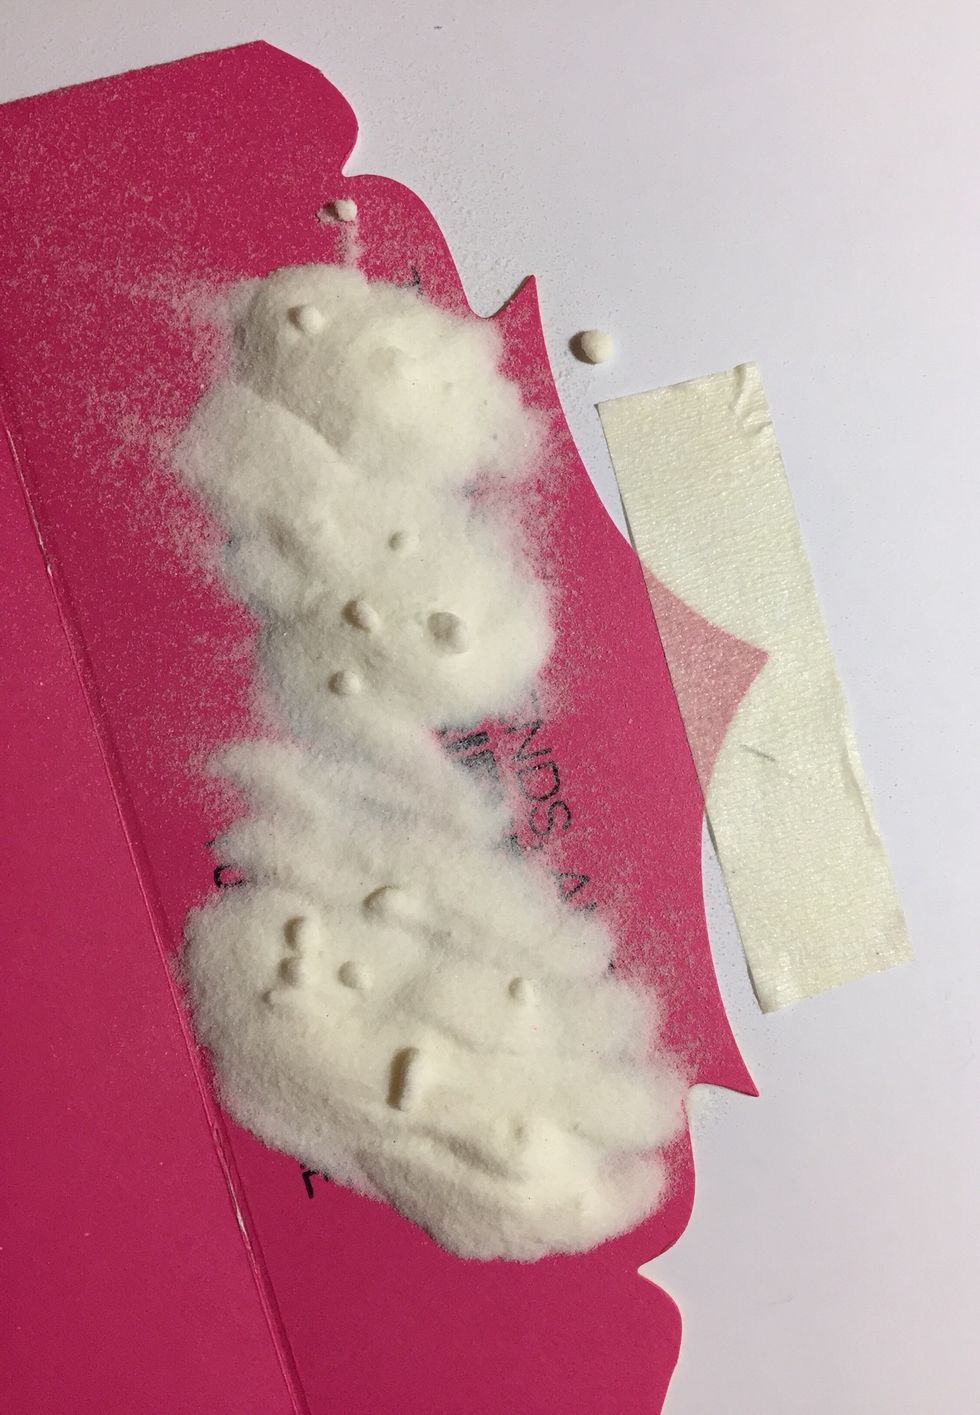
I'm using Hero arts clear embossing powder
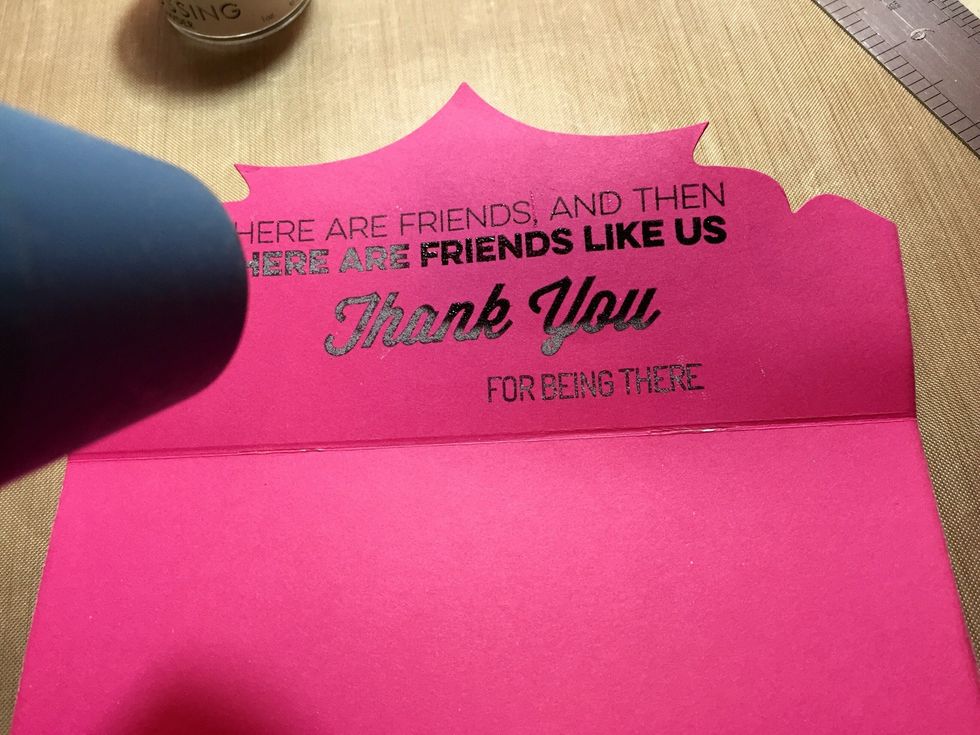
Use your heat gun to get a glossy look to your stamping.
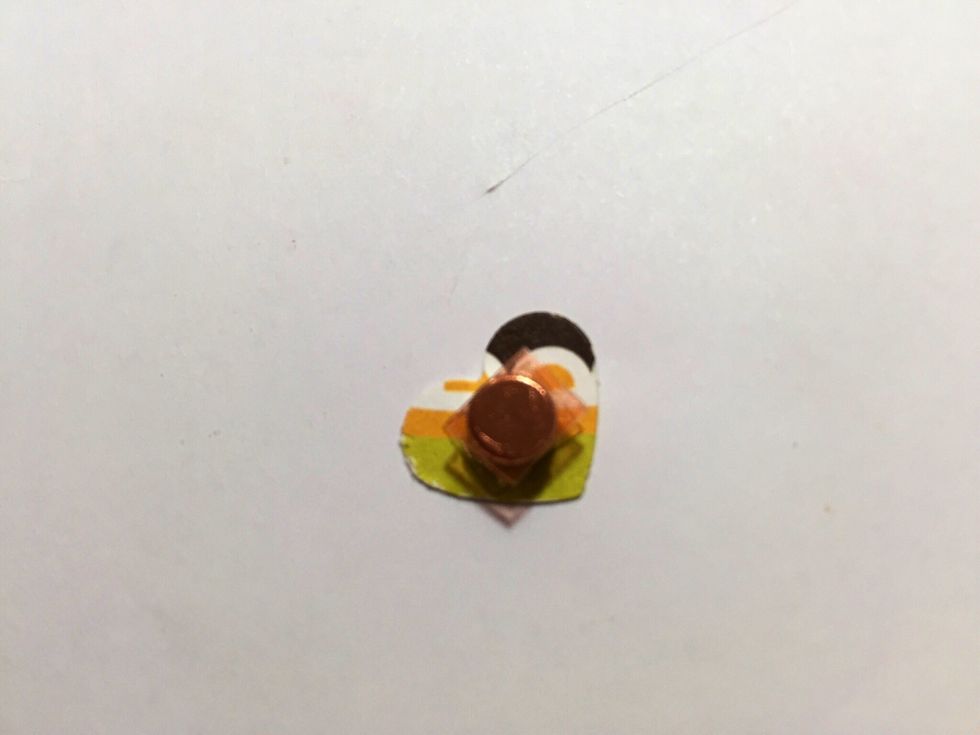
For the "clasp" of the purse, I use a small magnet and cover it with a small heart and fasten it with strong red tape adhesive on the inside flap of the paper. You need 2
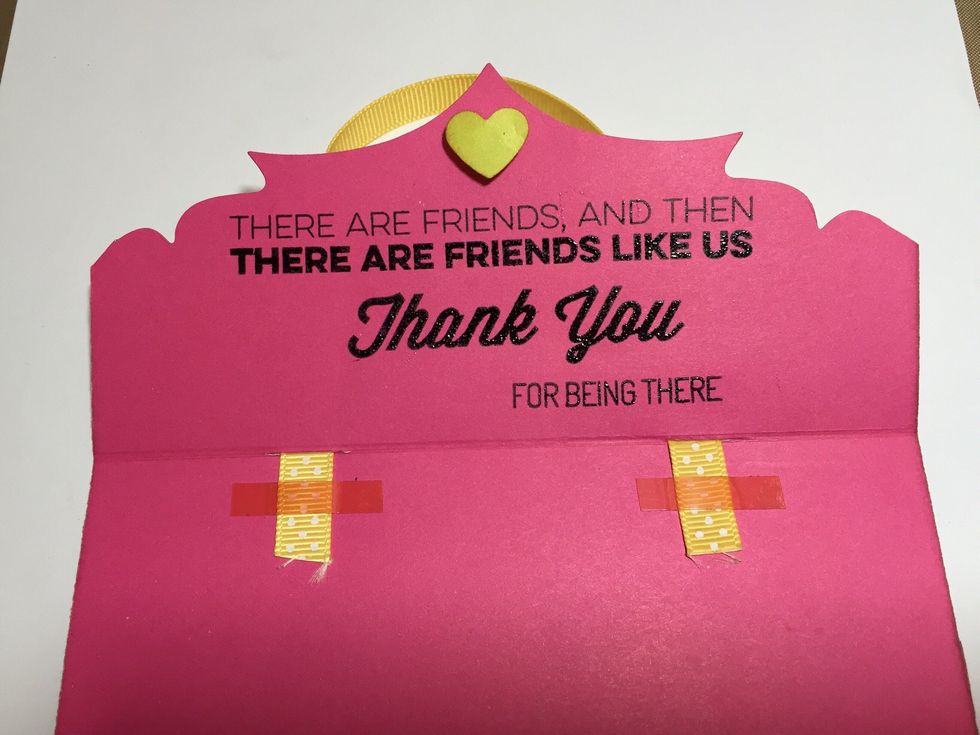
Cut the length of the ribbon and adhere it with strong red tape. Adhere the magnet on top of the caption as well
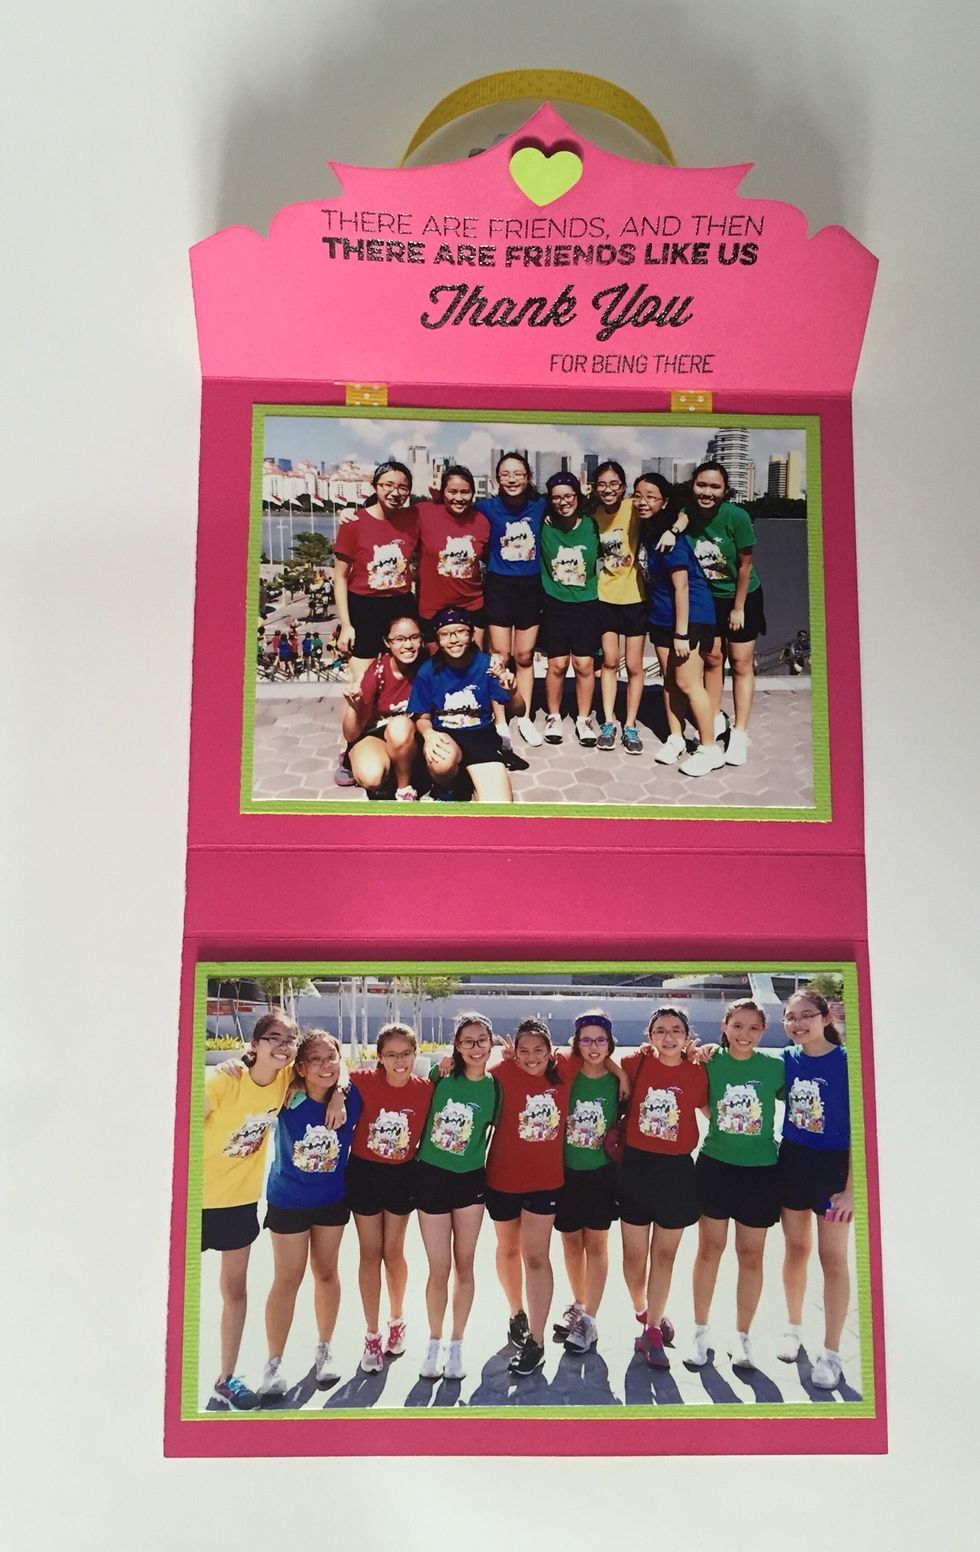
Mat your photos and adhere it to the inside of the purse. Adhere the 2nd magnet behind the bottom picture. For the bottom picture, I used foam tape to adhere
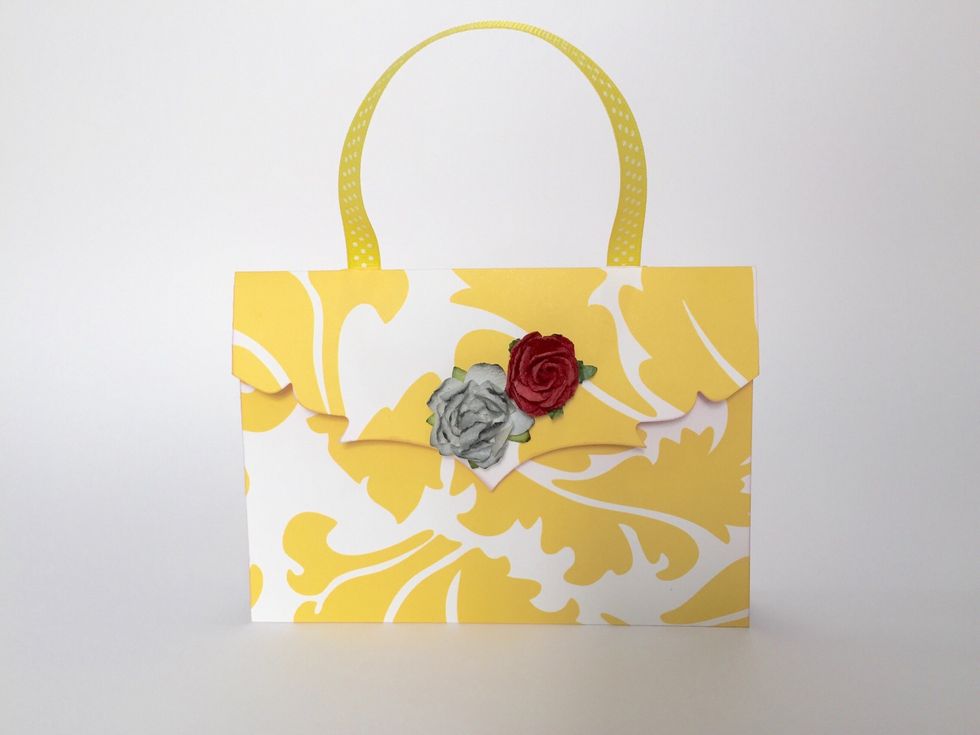
Adhere some flowers outside the flap of the paper. The look after you fold up the photocard :)
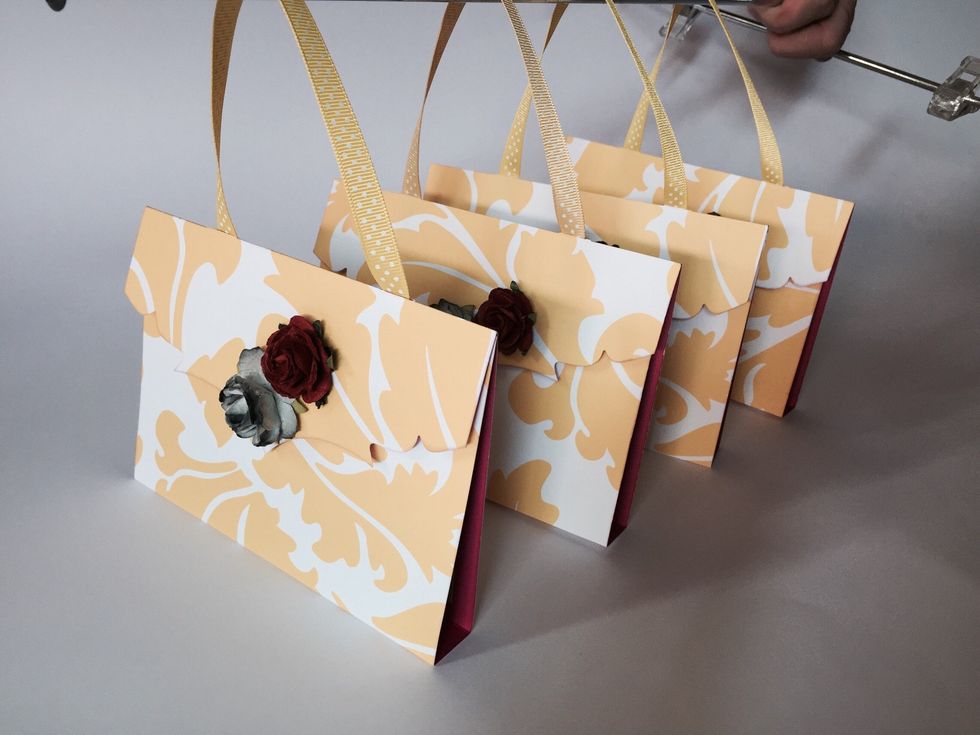
It was a young lady's birthday party and so I had to do several. Easy peasy and the gals love it!