The Conversation (0)
Sign Up
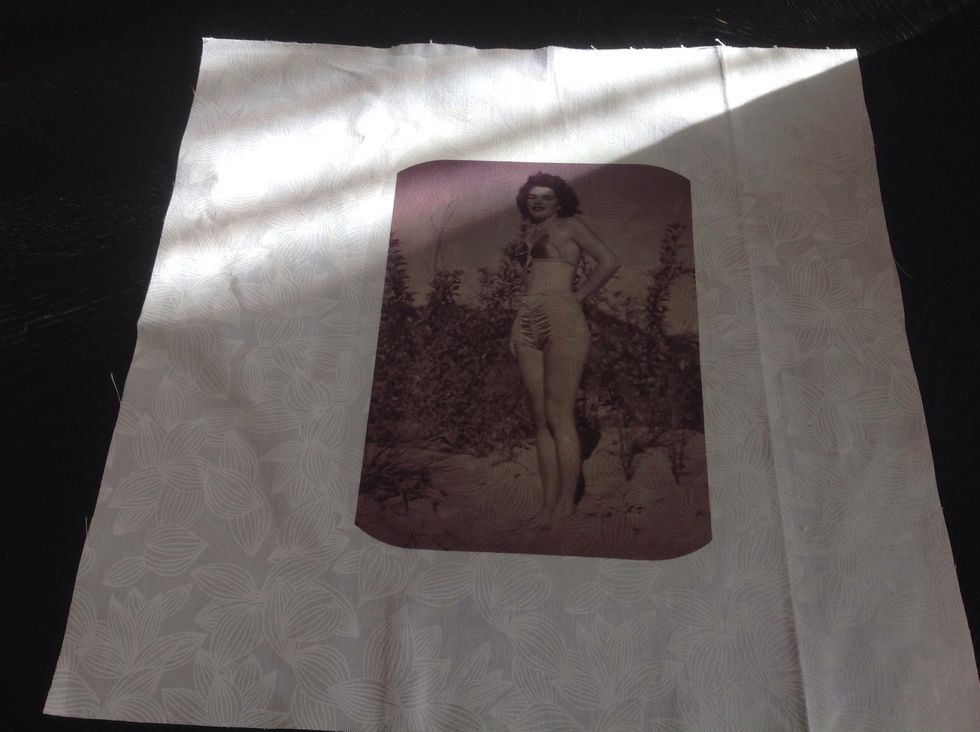
Transfer photo to a measured square apx the same size as the pillow.
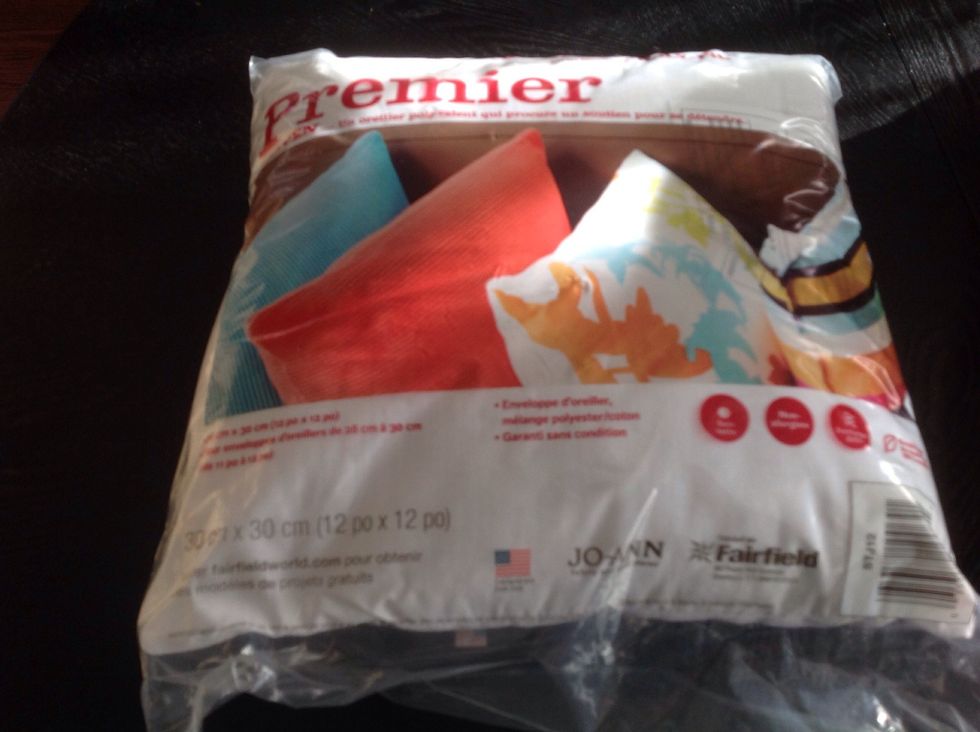
I used a pillow sized 12 x 12 so I cut my square 12 x 12 for a snug fit.
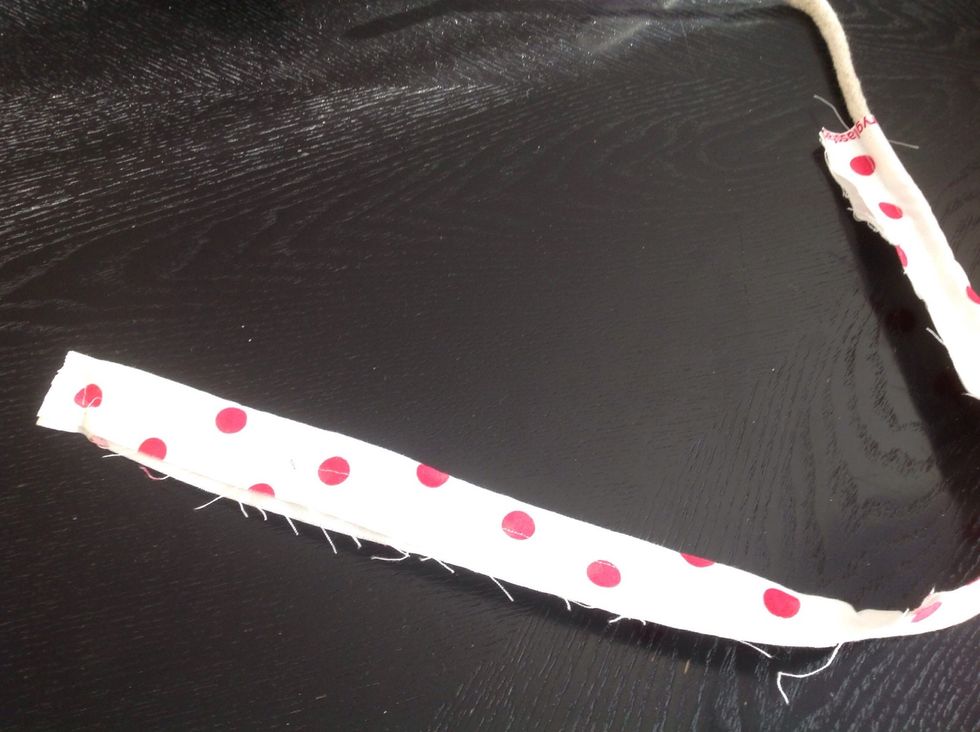
Cut 2 1/2 inch strips and sew on to cord.
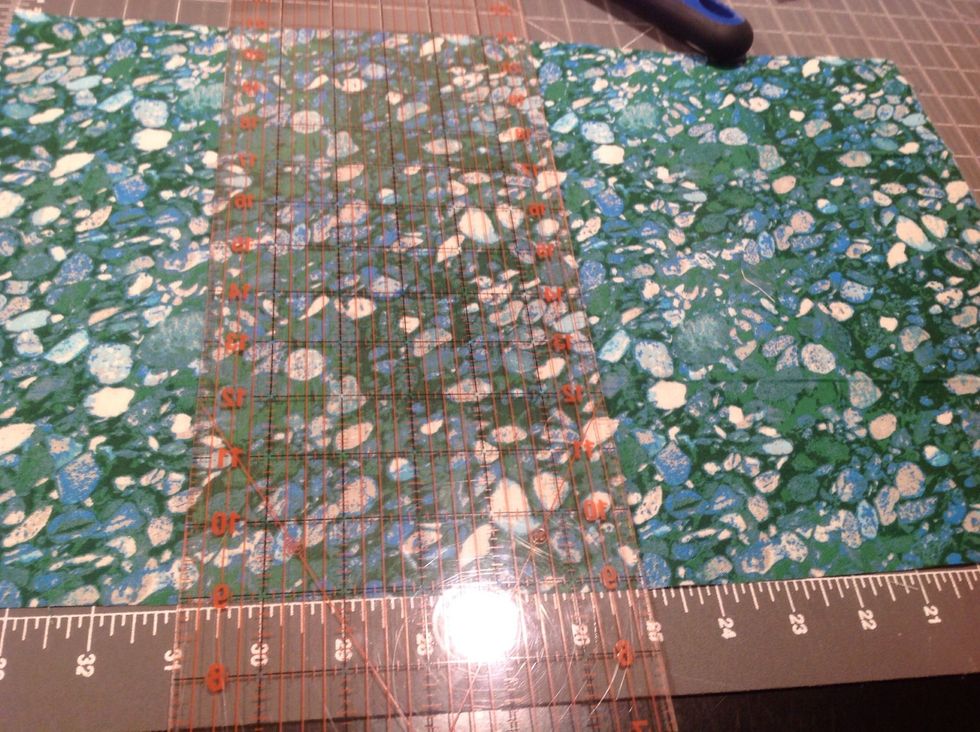
Cut to width of fabric (12 inches) and cut one length 10 and the other 7 inches.
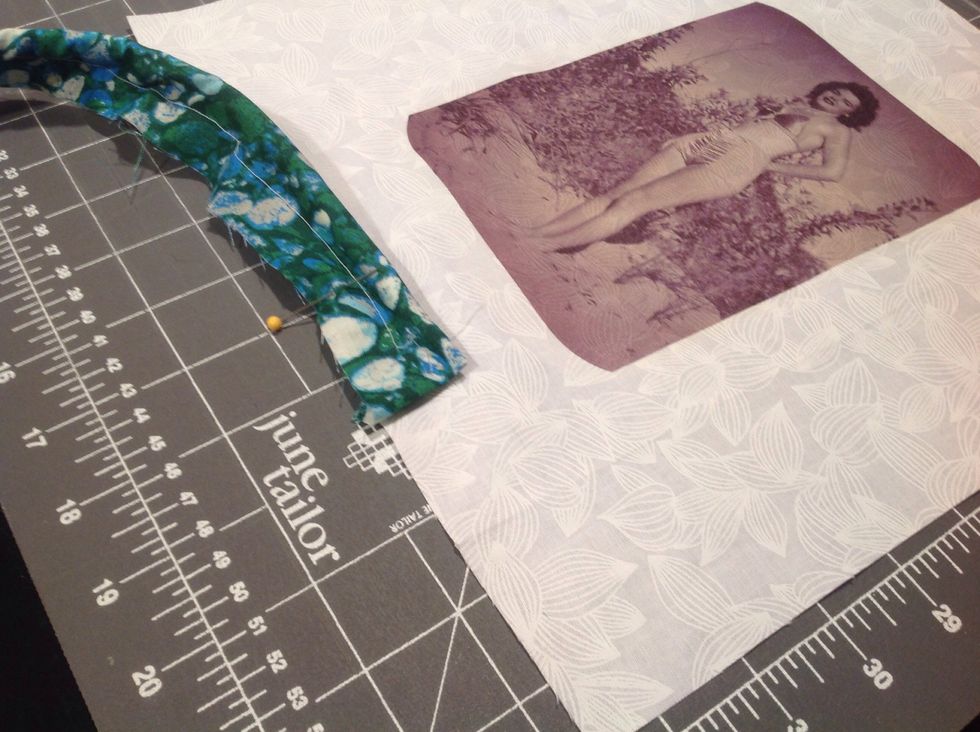
Pin cording to front cover with raw edges together.
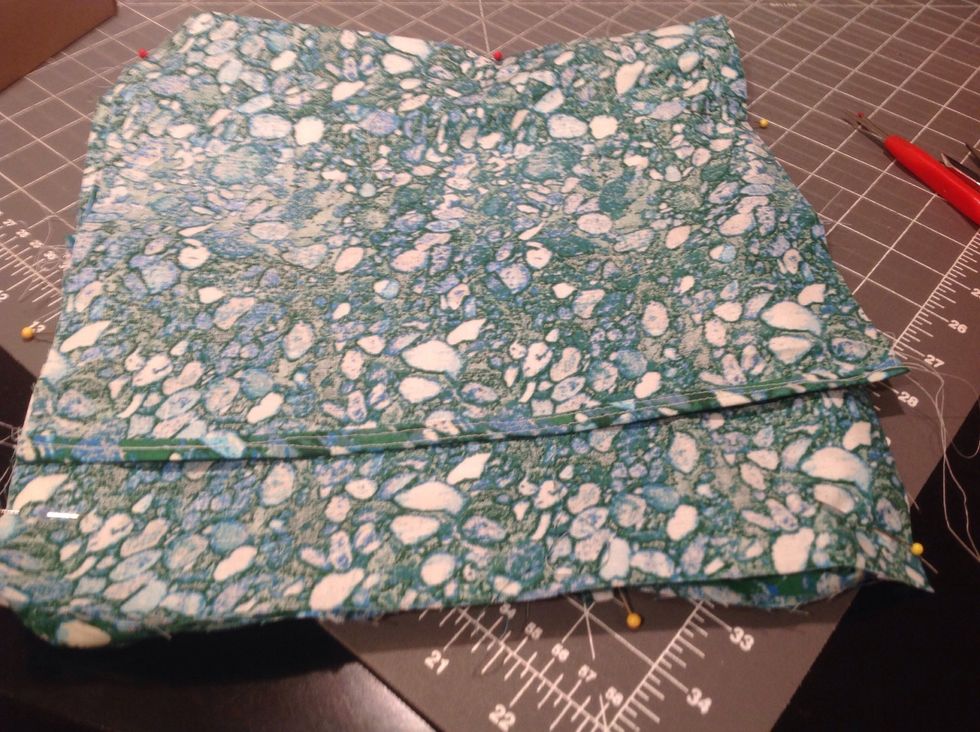
Pin back sides overlapping with right sides together.
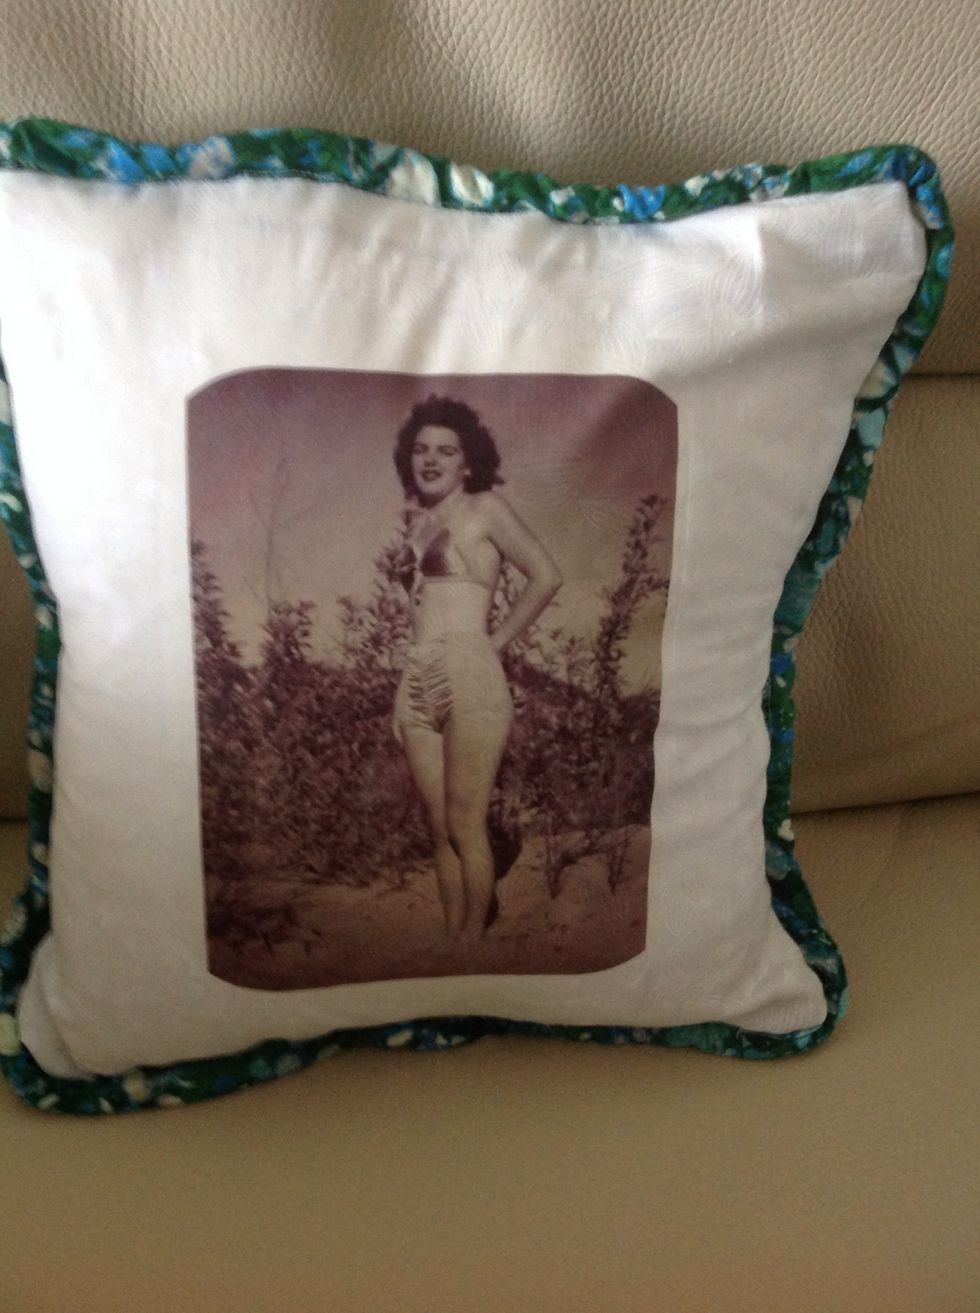
Flip to outside. Insert pillow and fluff. My fit is a bit snug but pillows usually flatten over time. You might prefer to cut your squares one inch more than pillow size to get a more relaxed fit.