The Conversation (0)
Sign Up
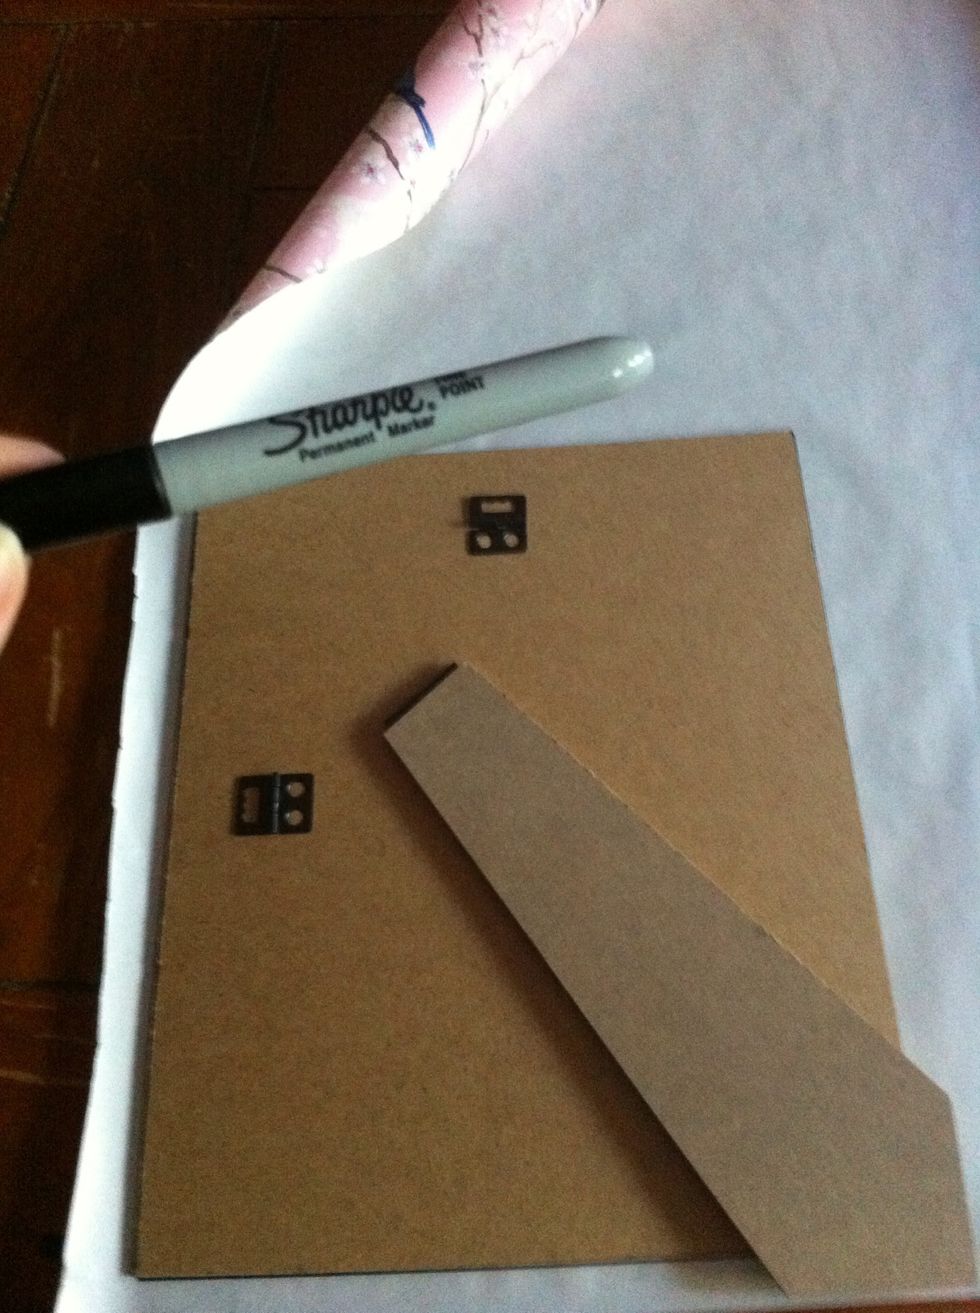
First remove the backing from the frame
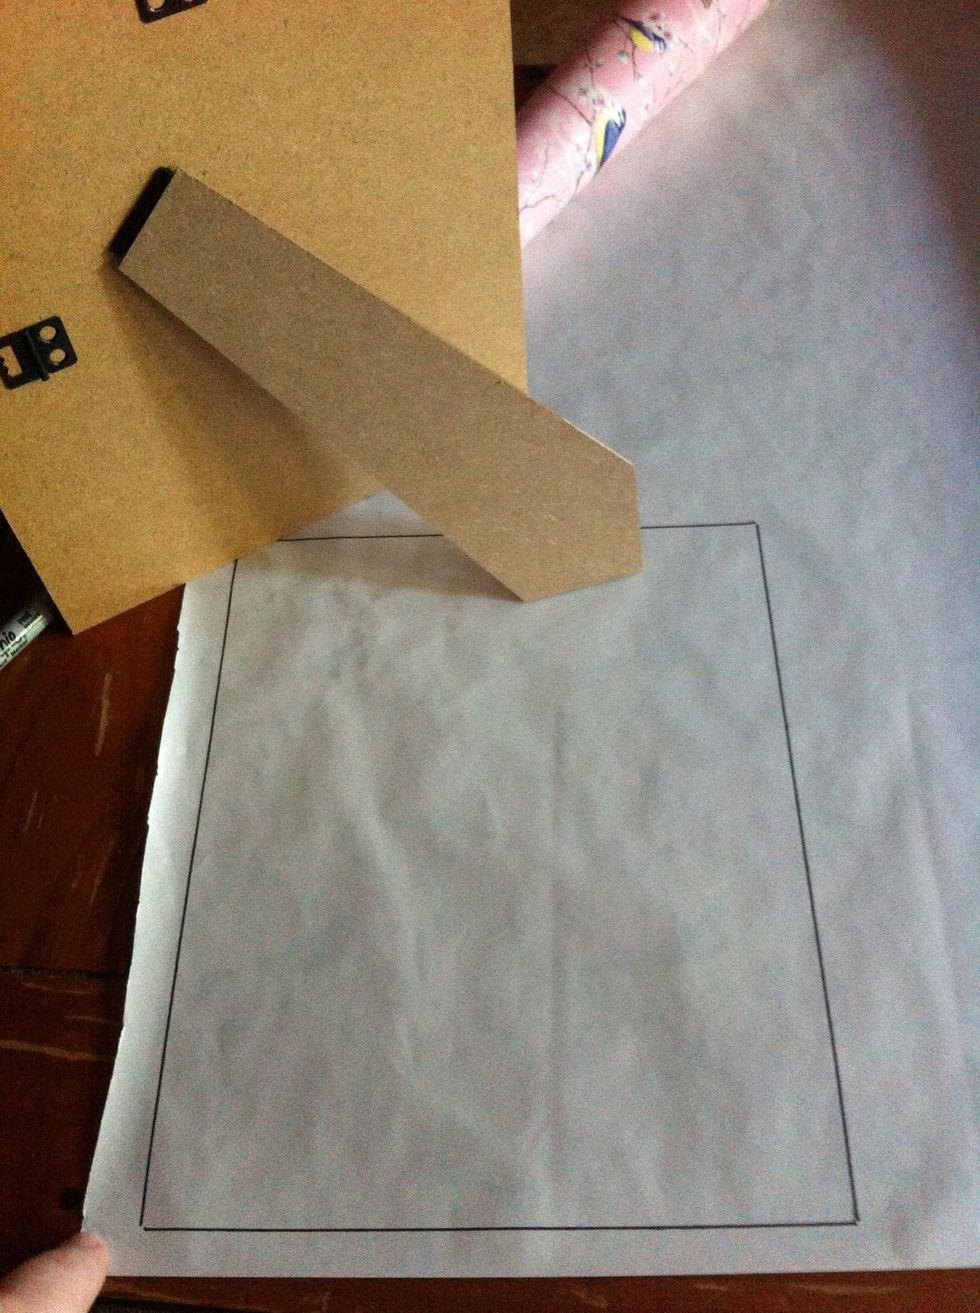
Next using a sharpie or pencil/pen trace around the photo frame board onto the paper
Than cut the outline of the paper till you have the exact shape and size
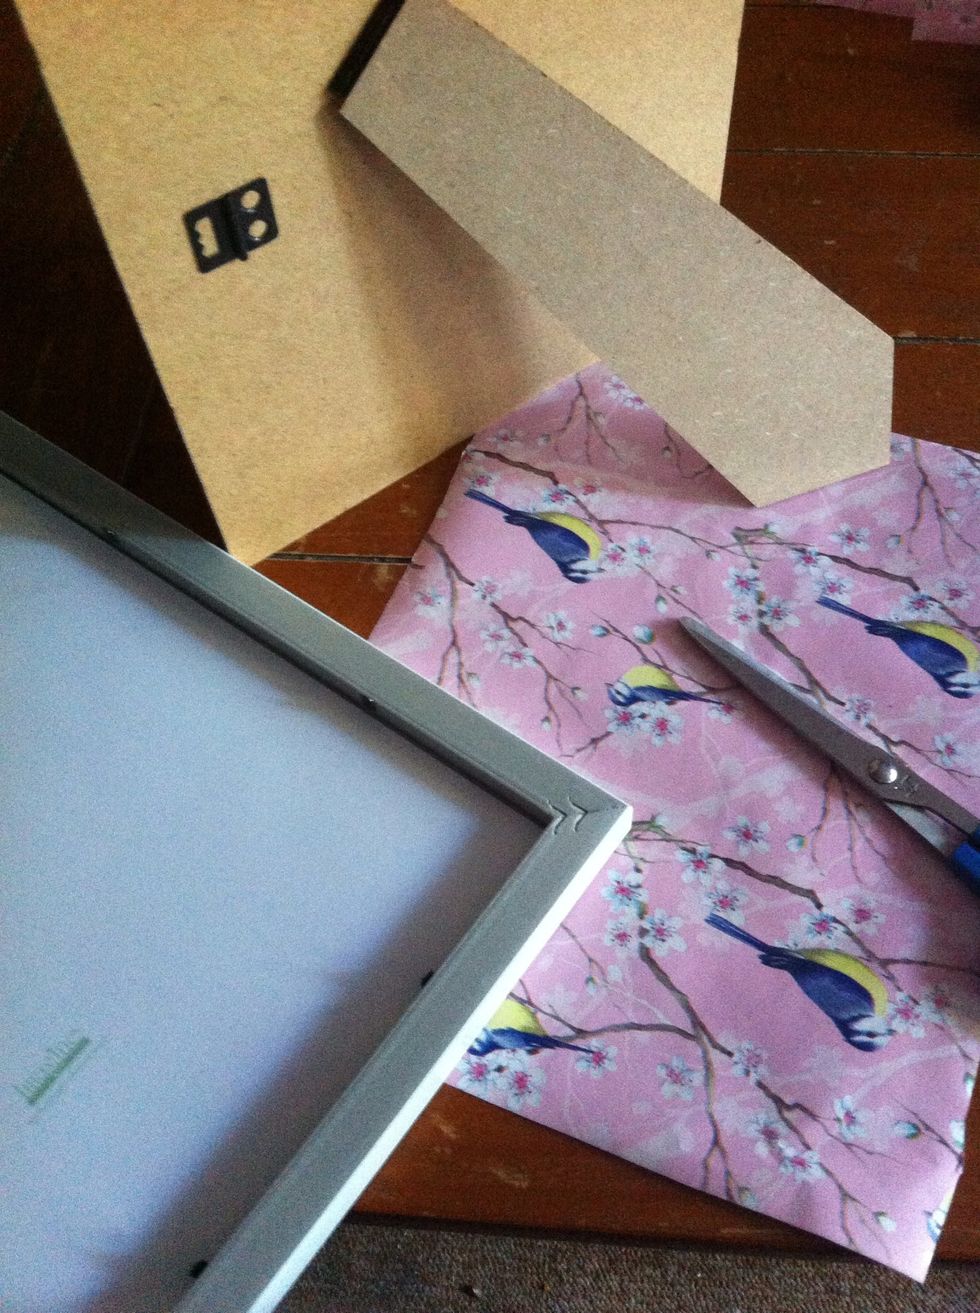
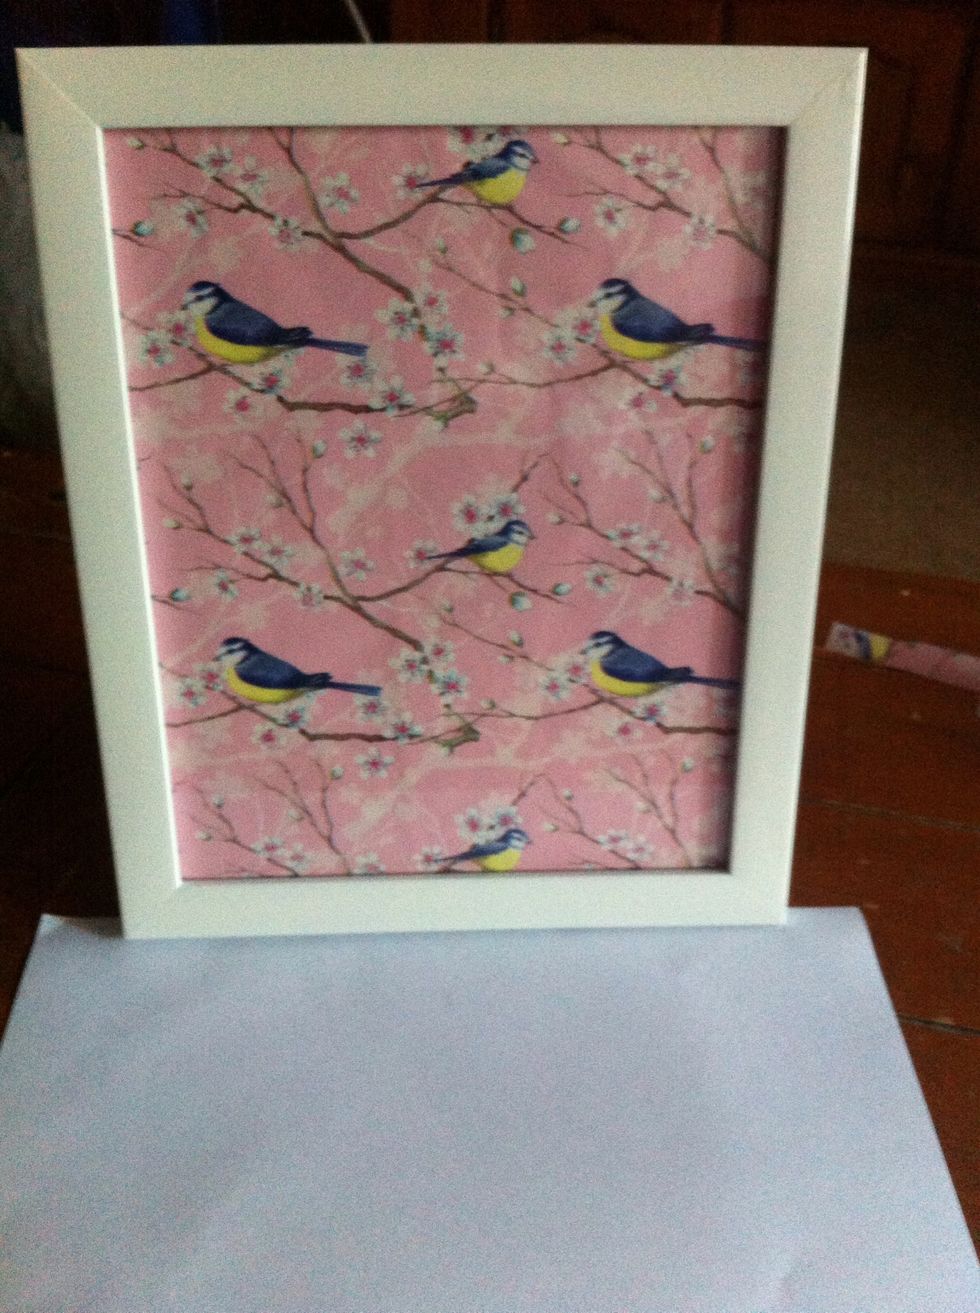
Place the decorative paper in the frame as you would with a photo
Put the backing of the frame on
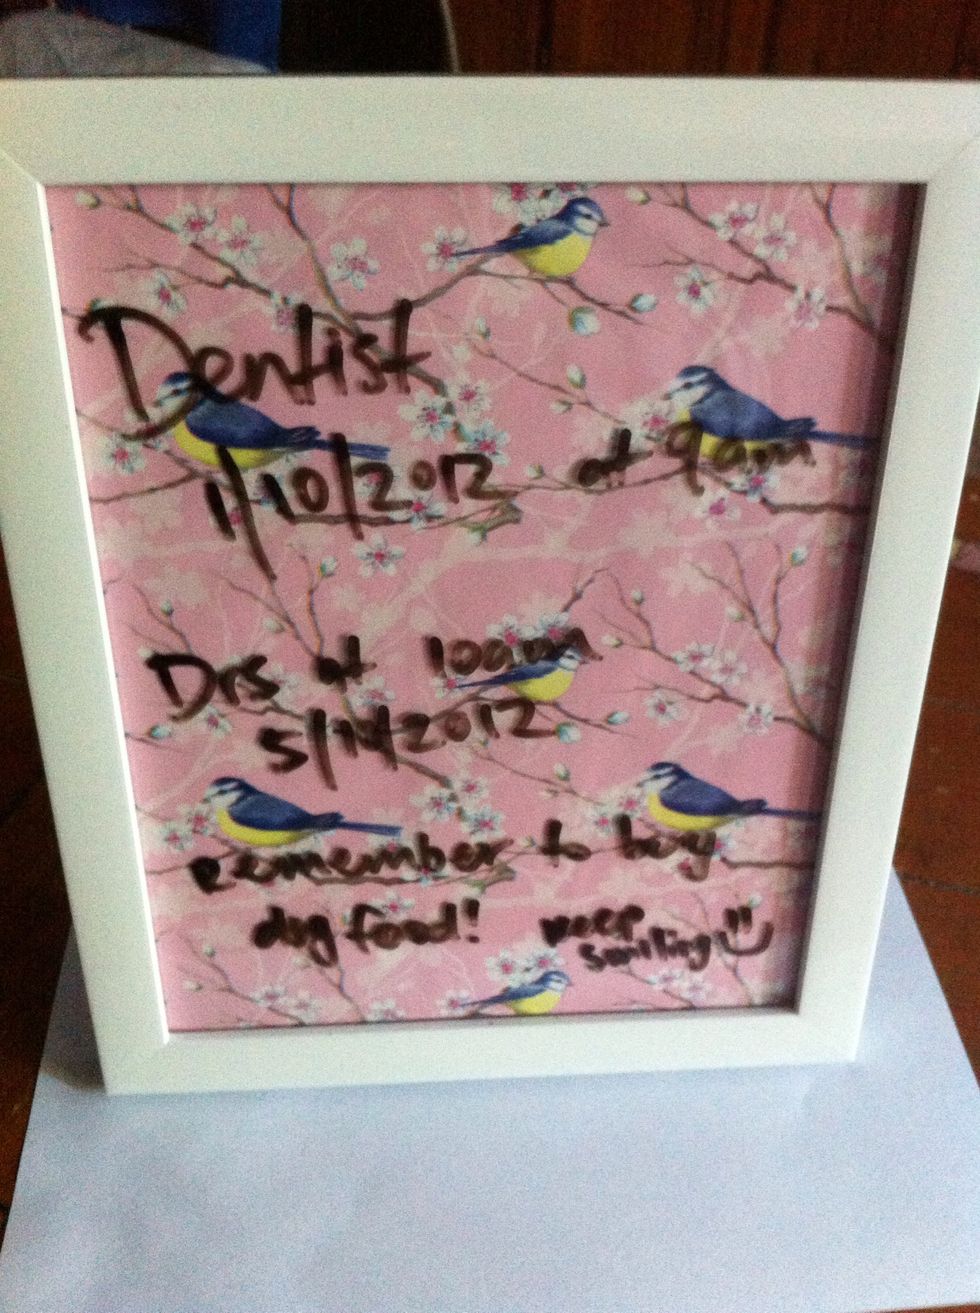
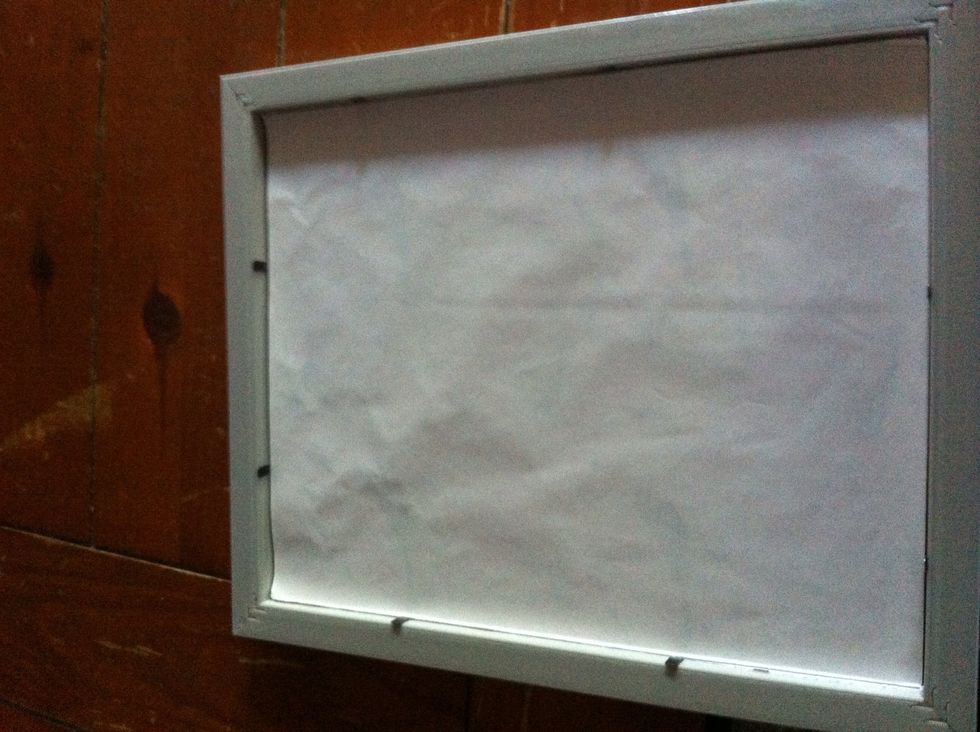
And get to using your super pretty DIY erase board! The markers rub right off the glass just make sure to only use whiteboard markers..