The Conversation (0)
Sign Up

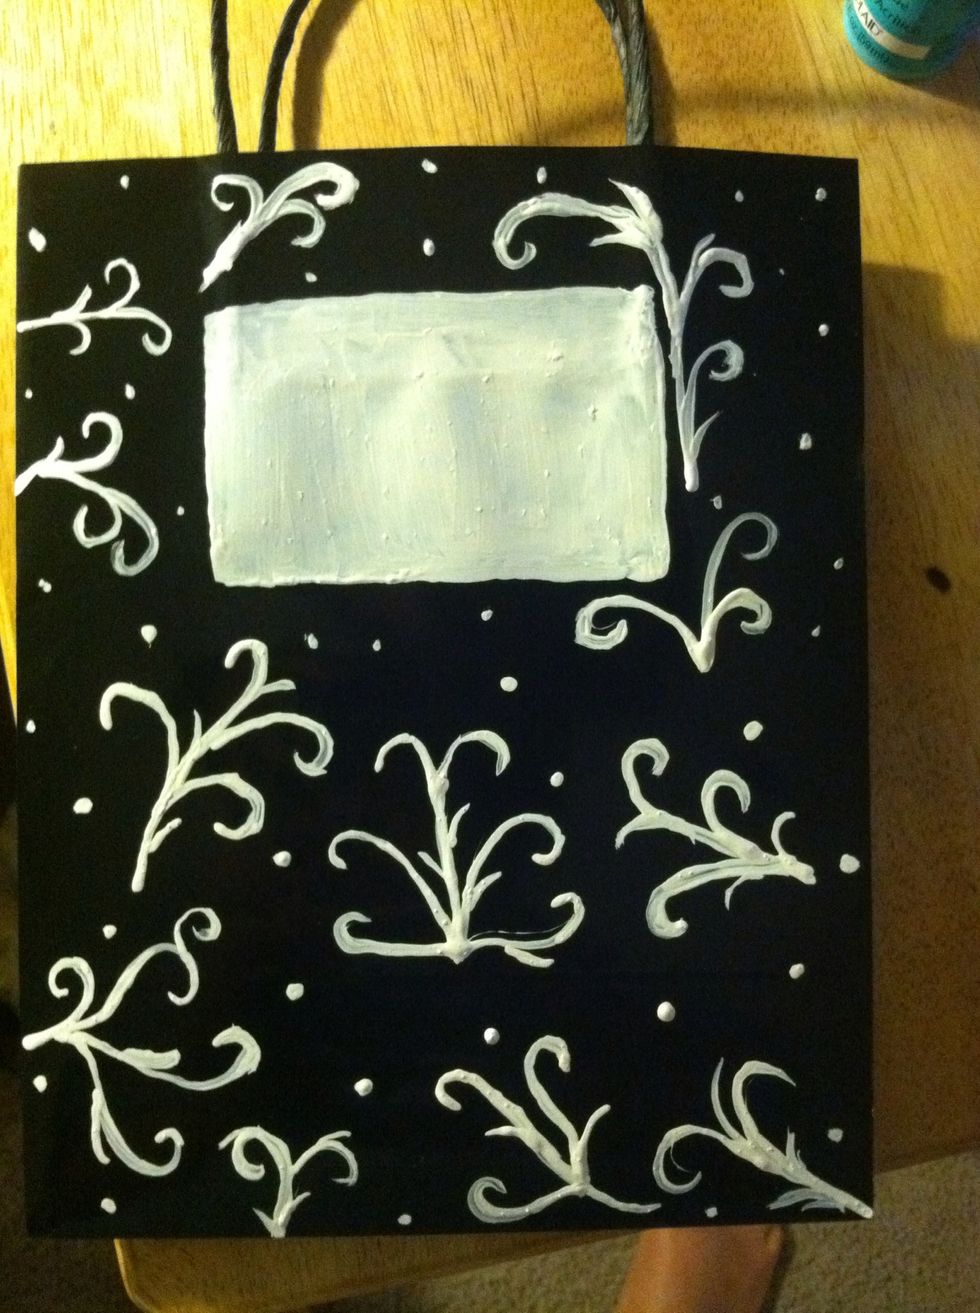
This is the gift bag I'm going to show you how to make!
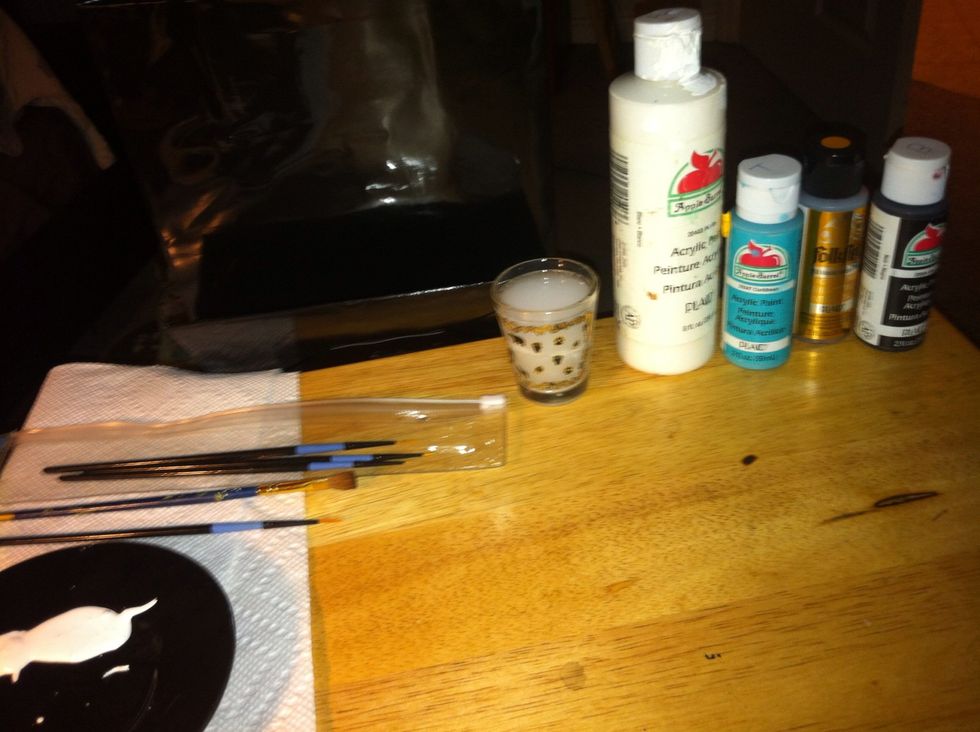
These are the supplies you'll need. The list is in the supply section. :)
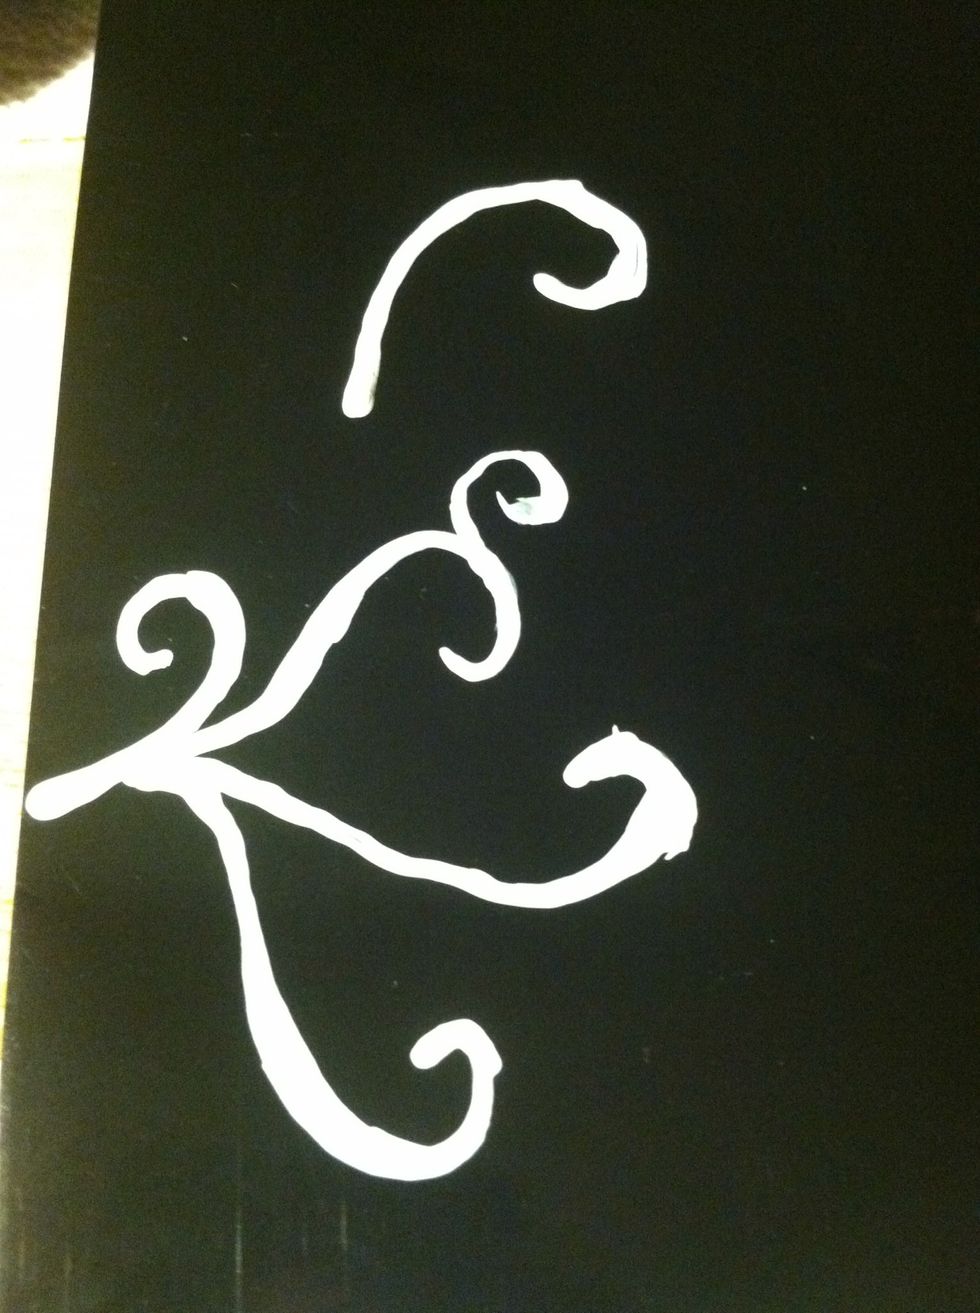
For this design I decided on white swirls because not many colors show up on black. If you have a lighter bag you can use more colors.
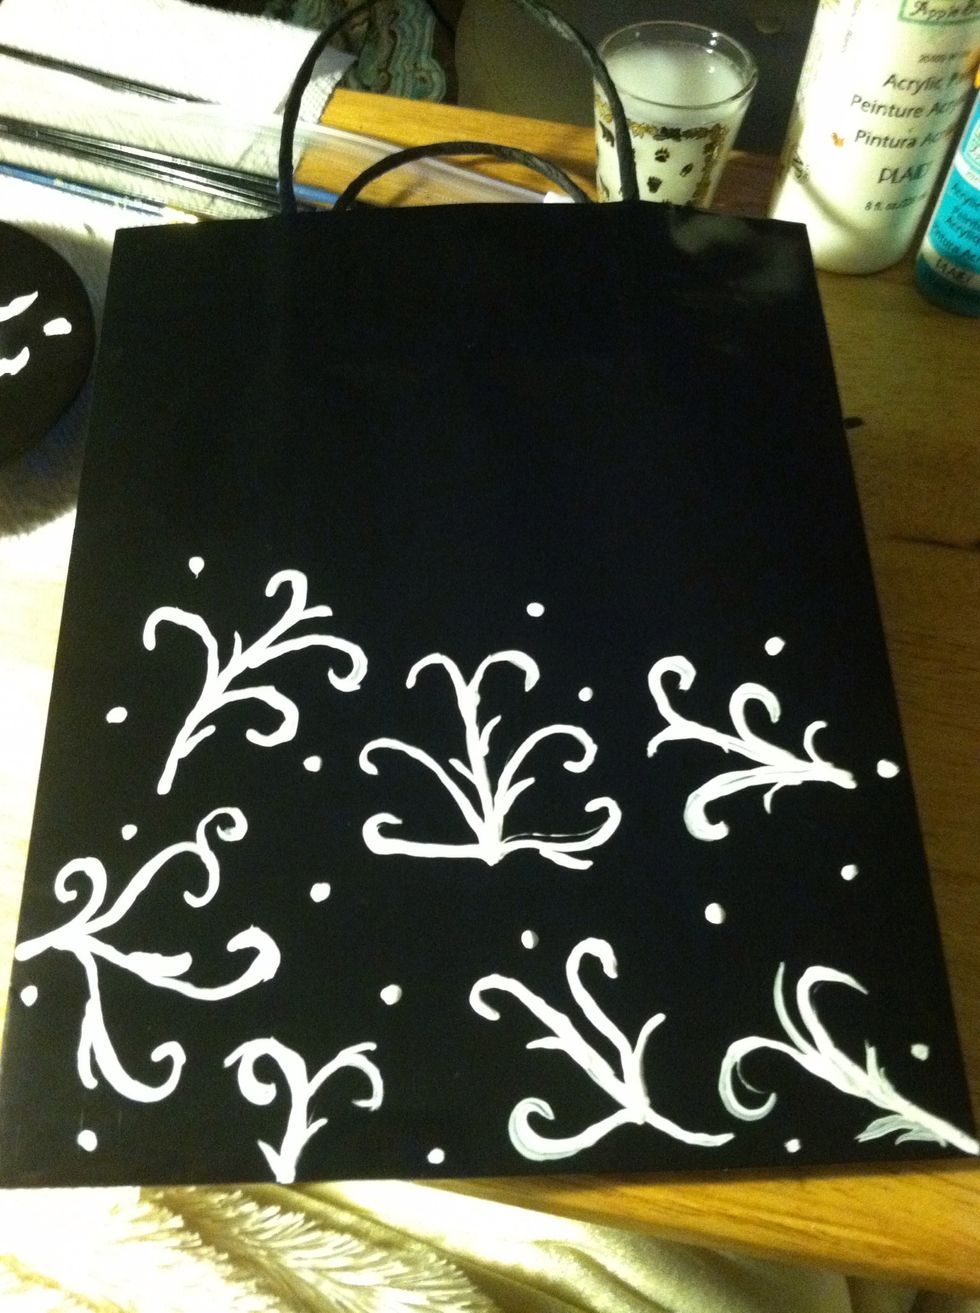
I stopped about halfway up the bag so I could paint the square for the words.
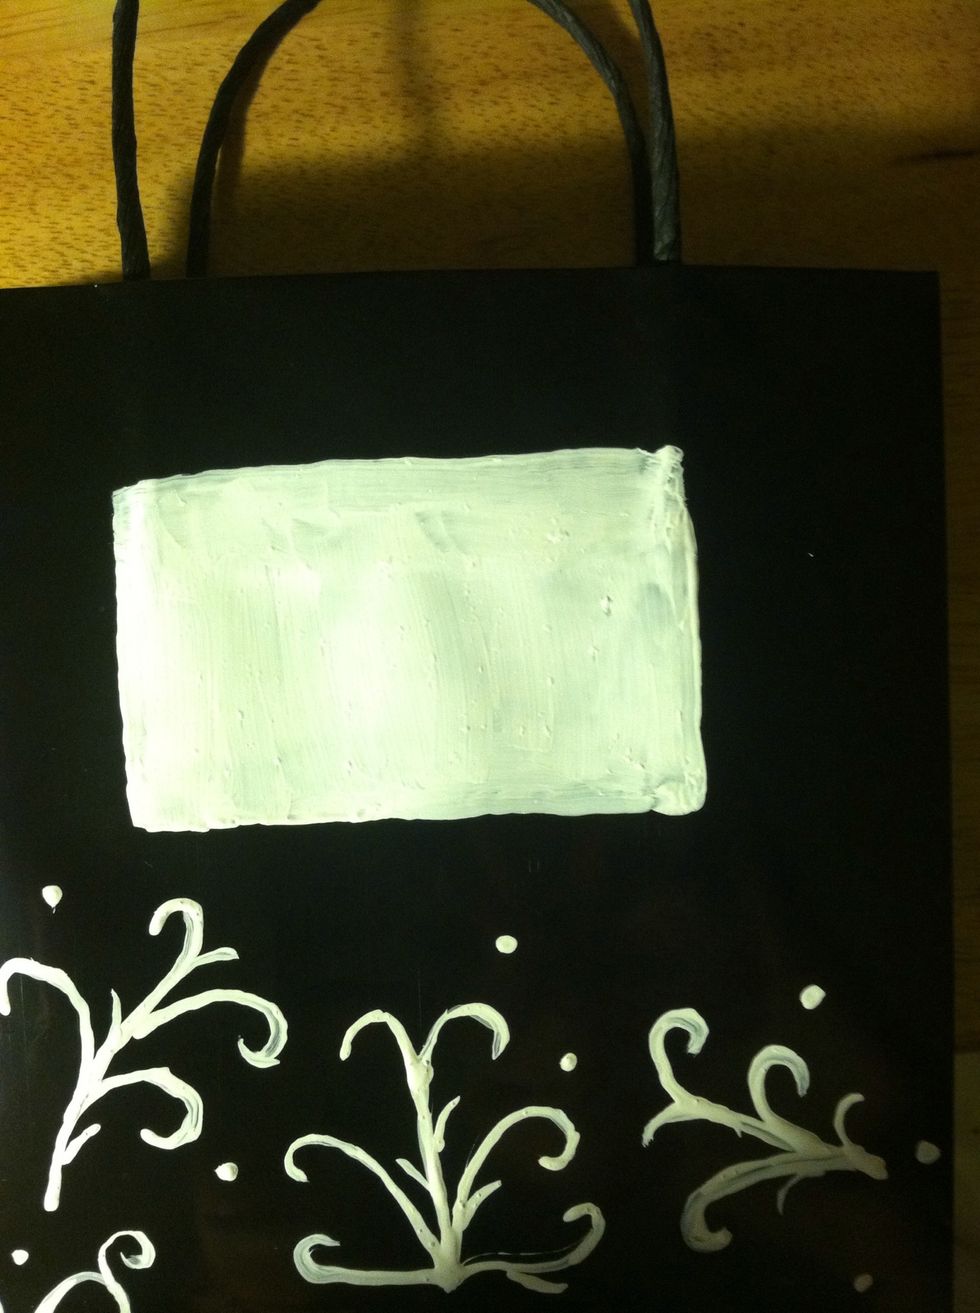
I had to paint a white square first so the teal would show up better and pop. You can skip this step if you have a lighter bag although it does help. I used the bigger brush for the square.
After I did the square I finished the rest of the bag front. Let it dry for a few minutes so you can paint over the white.
Rinse your brushes often so that they don't get clumpy.
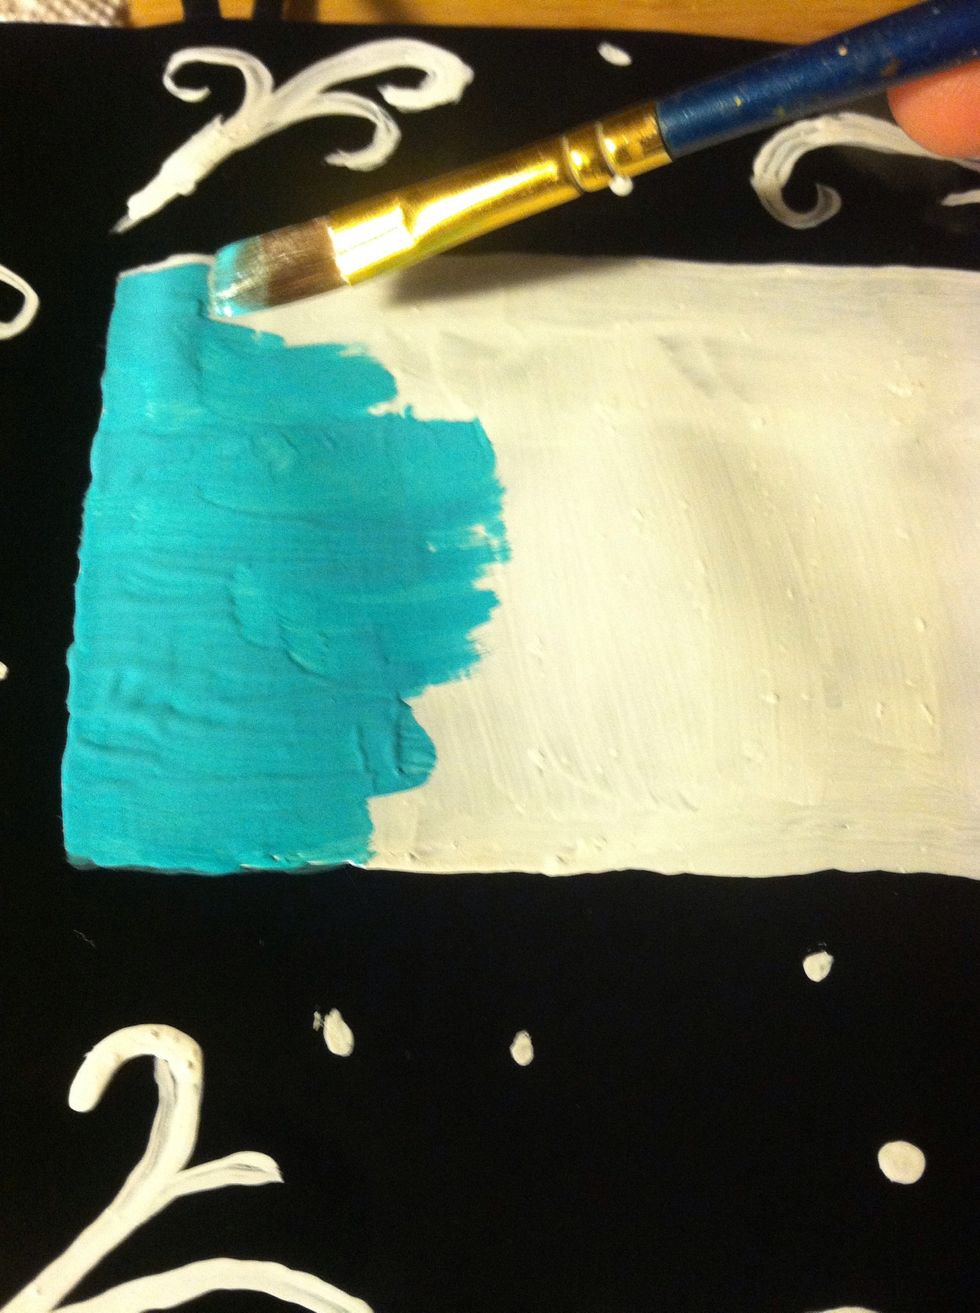
Start filling in the white square with teal paint.
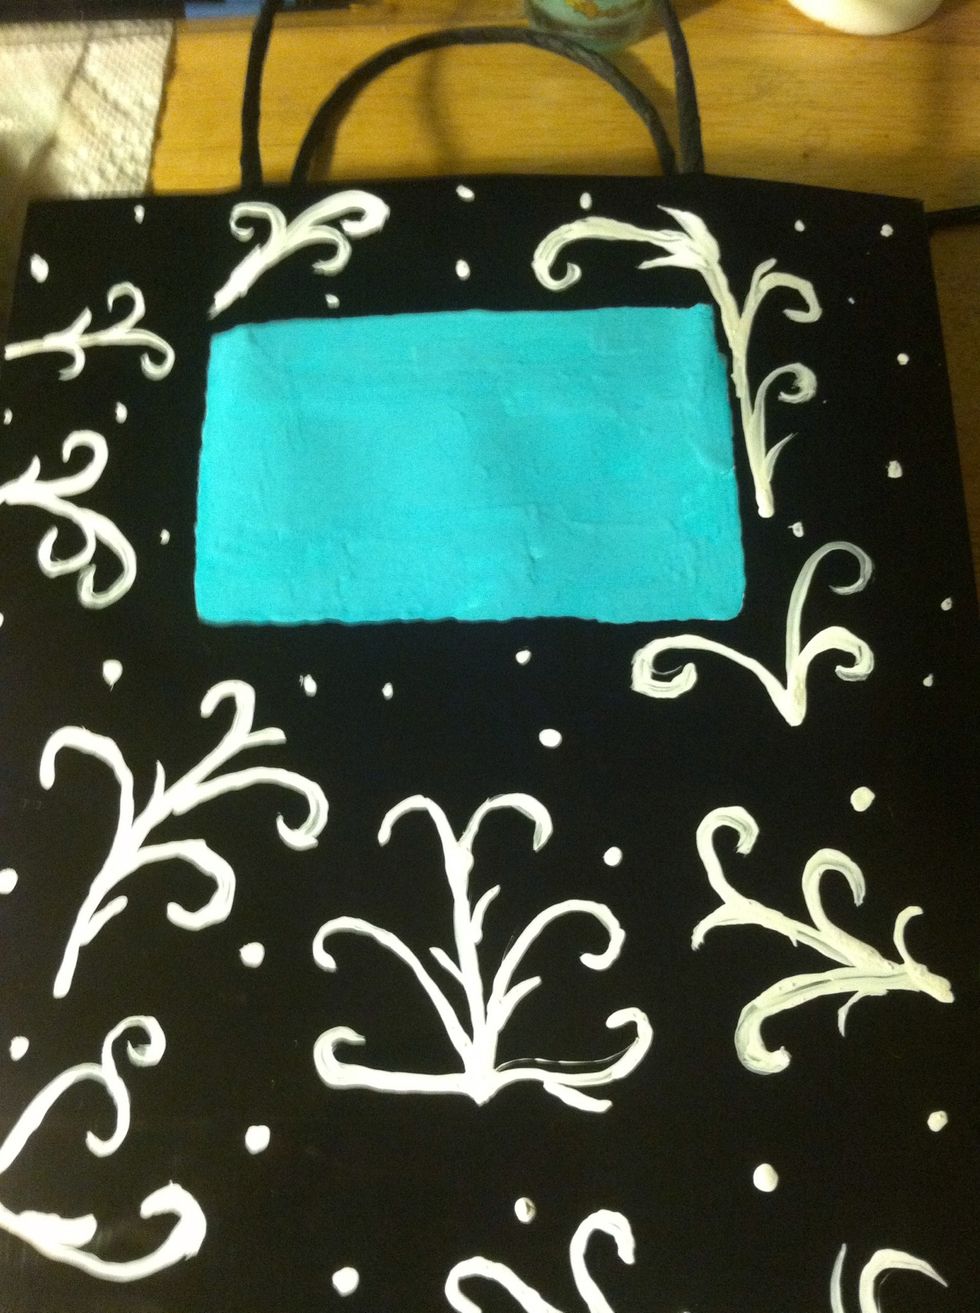
Make sure you cover all of the white. Then let it dry.
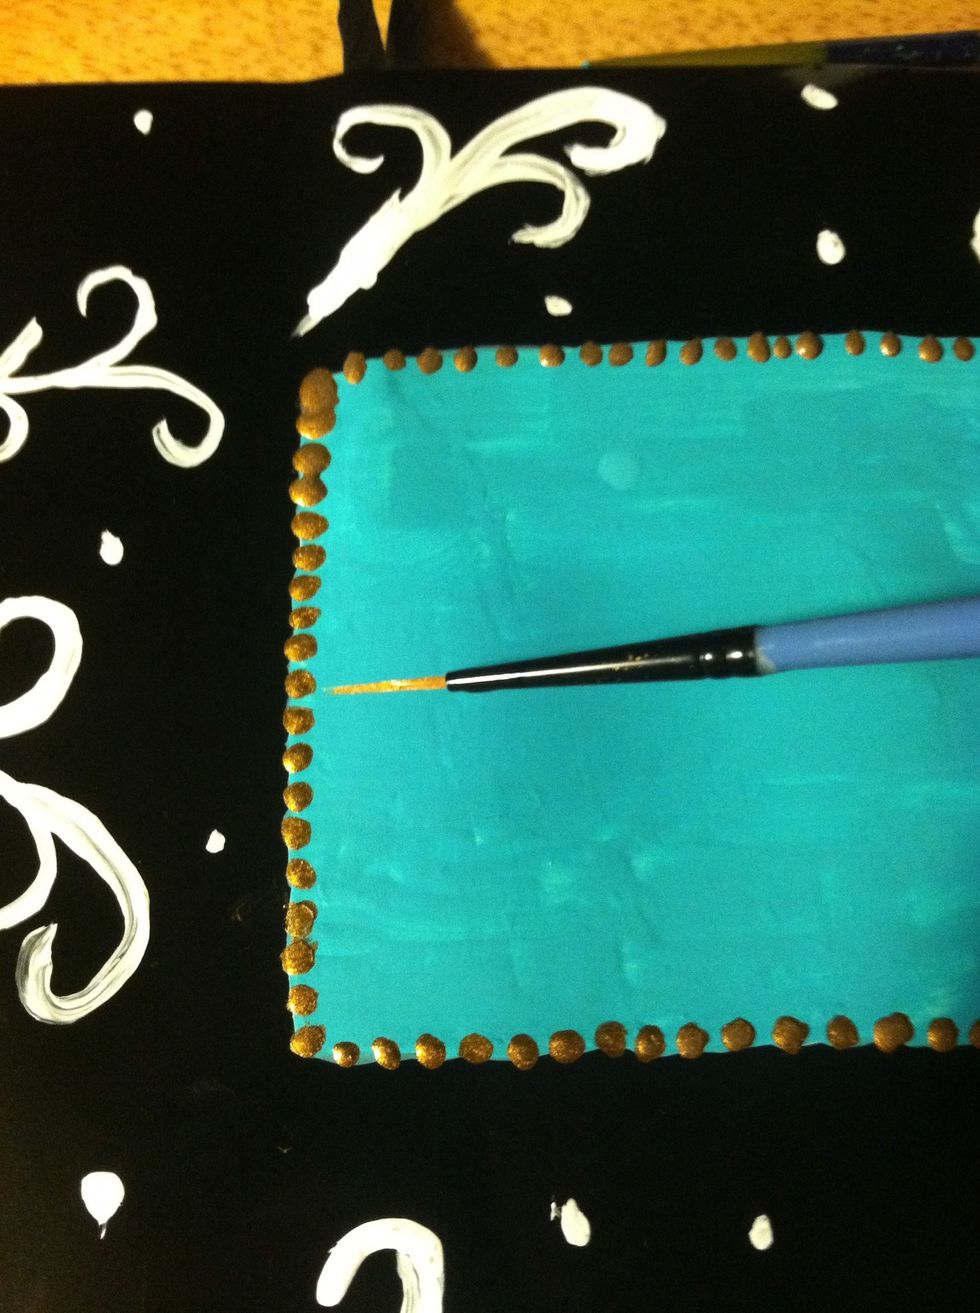
Use the gold paint to place little dots around the square. You could do a solid line too.
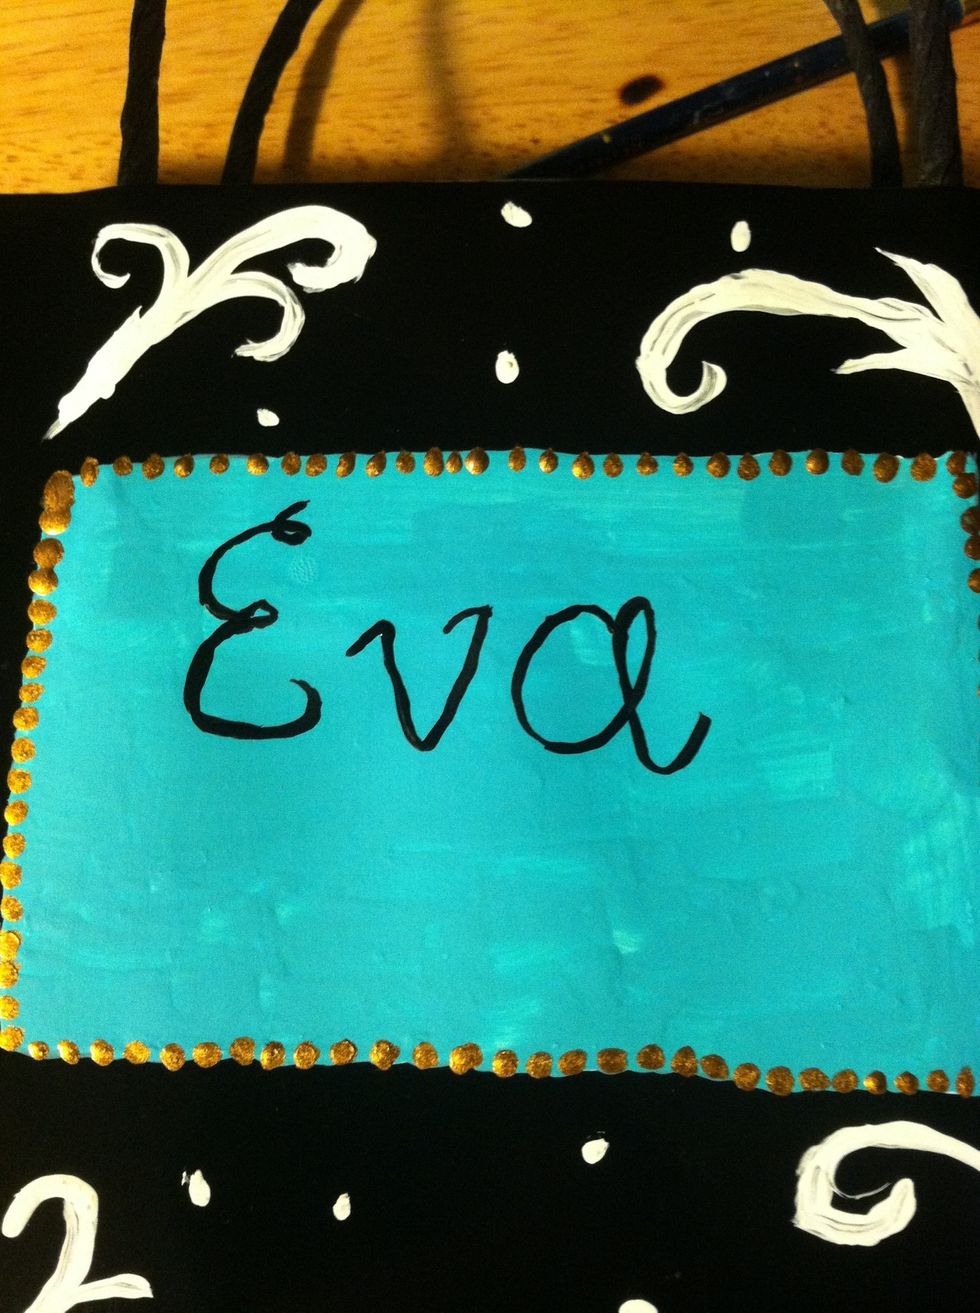
Go a head and write the name or phrase you want to use in the square. Use any font you like. You can find pictures of fonts on google.
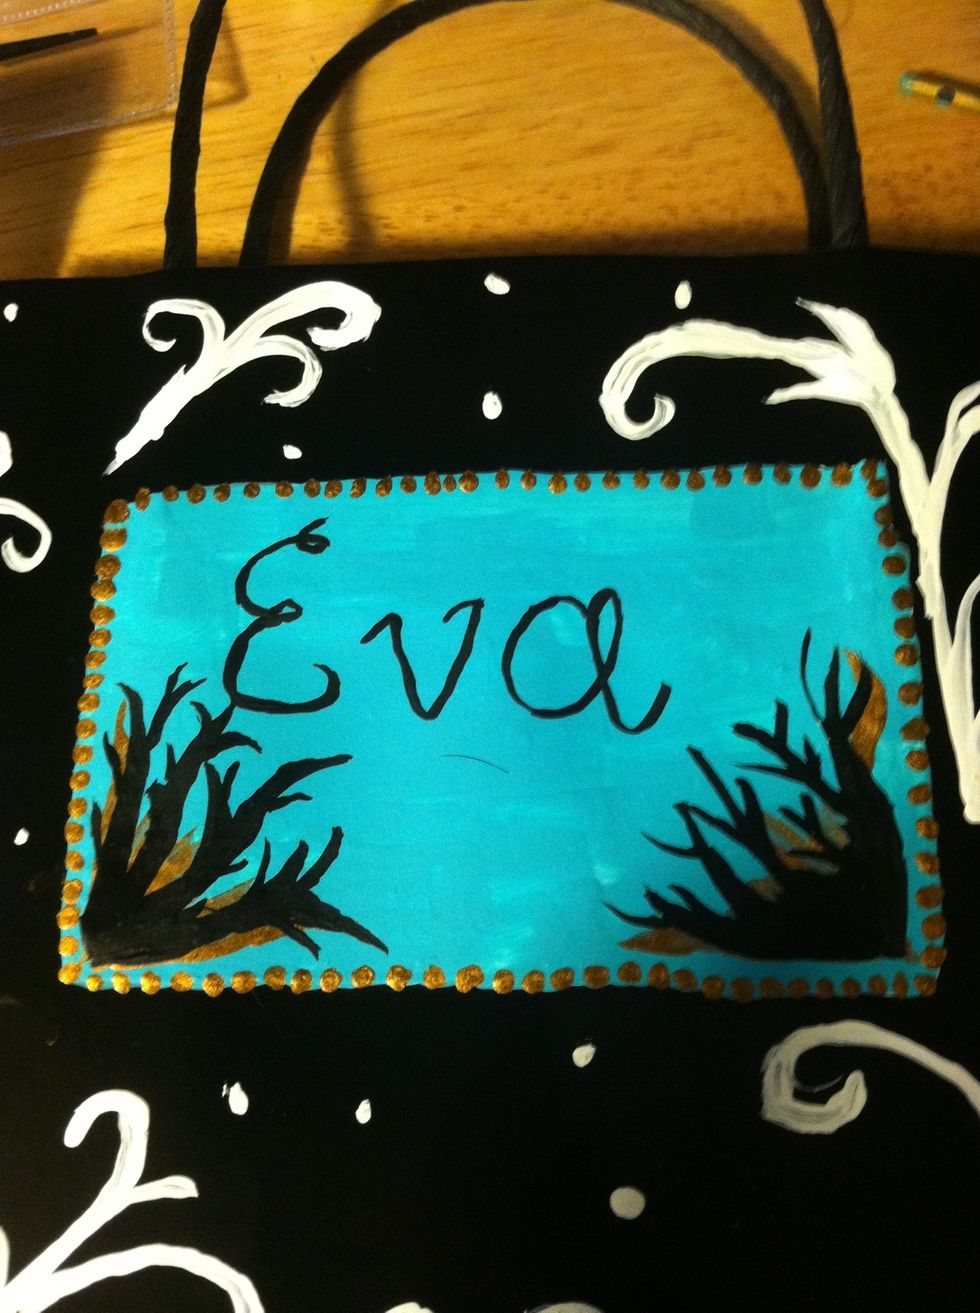
The finished stems. ;)
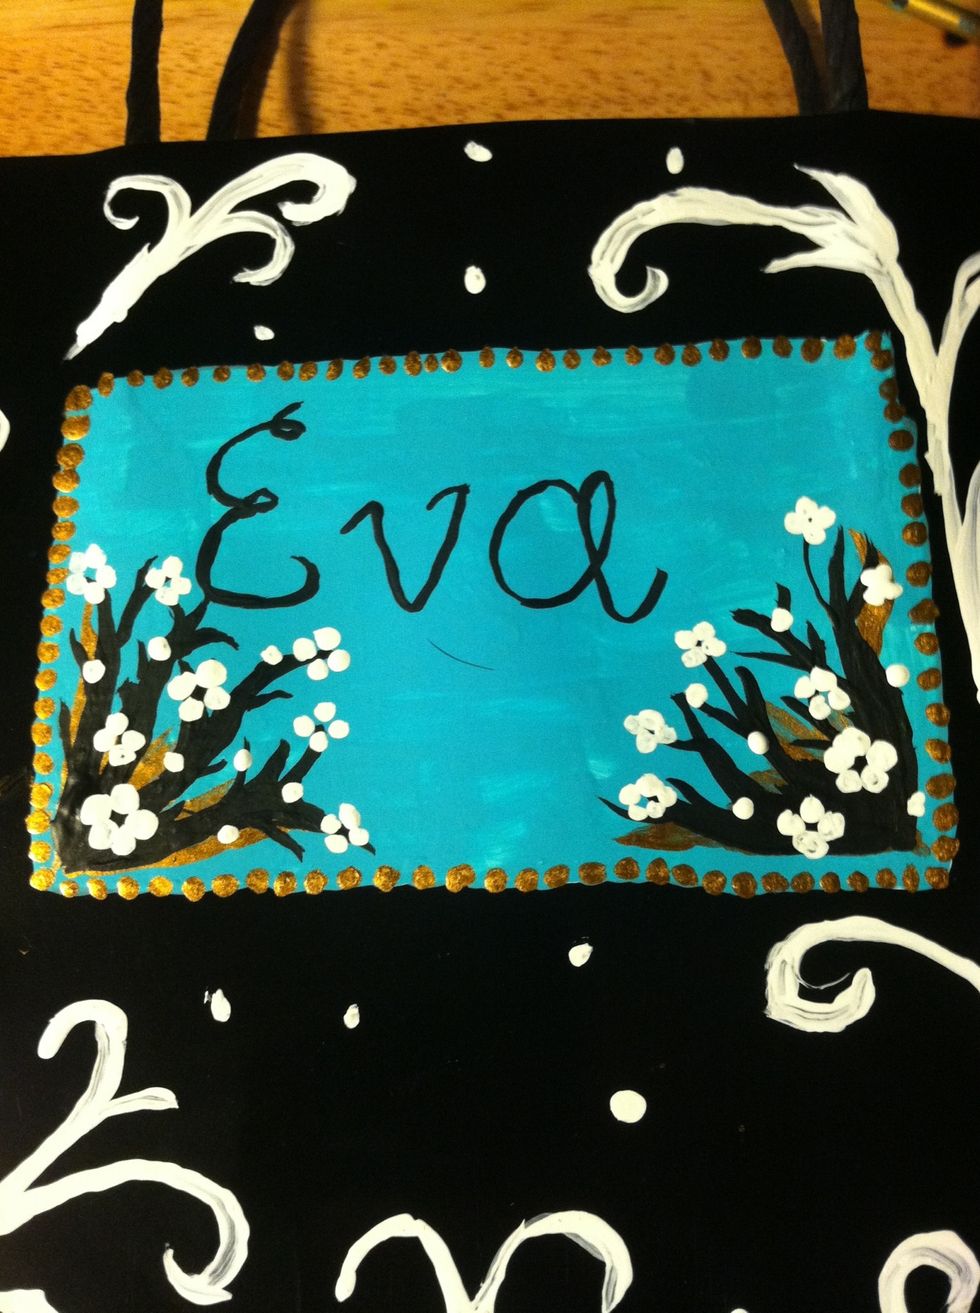
Almost done!
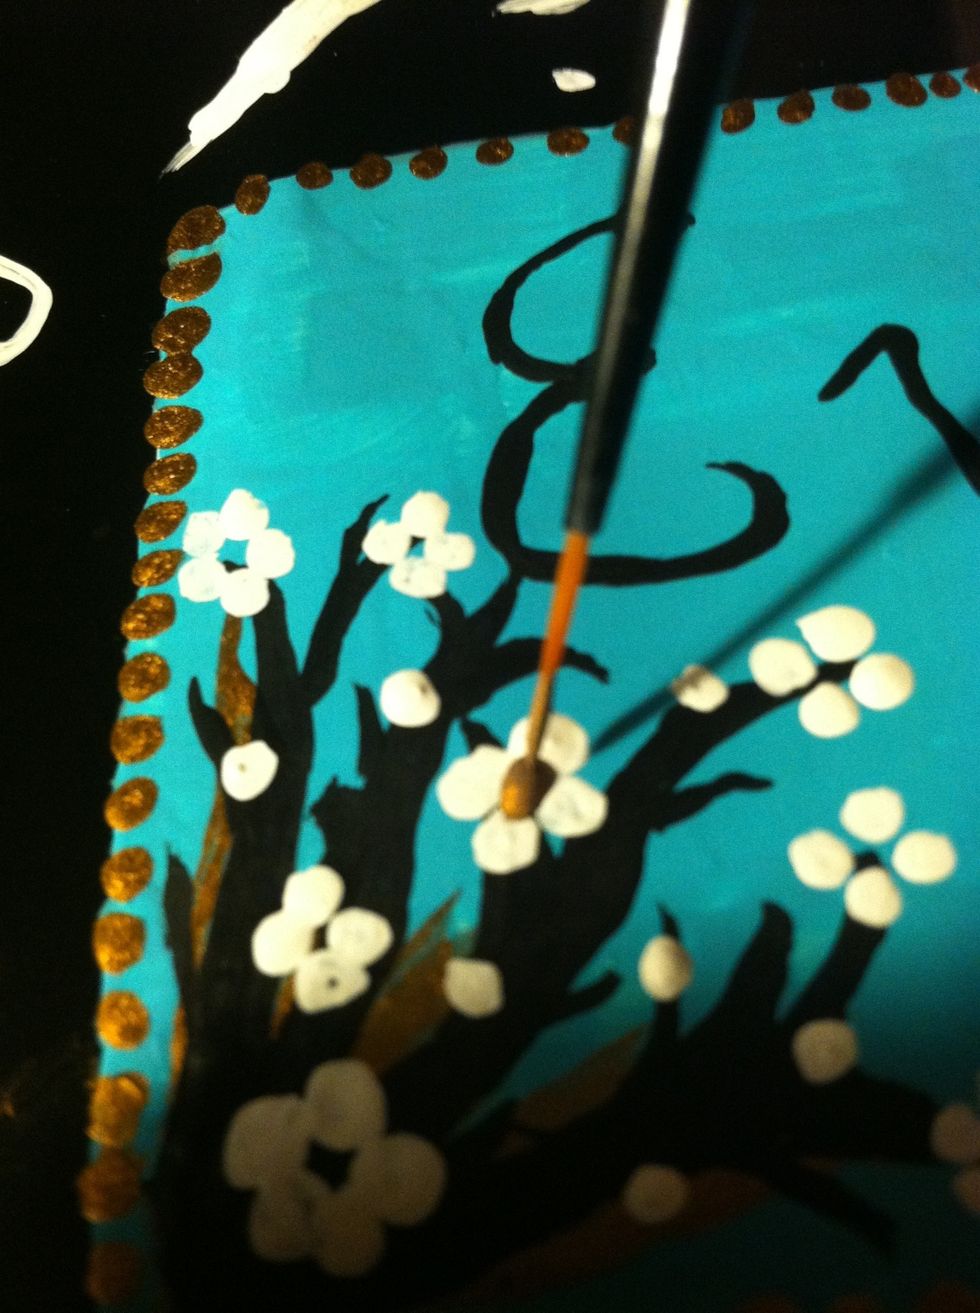
Add the little gold dots in the middle of the flowers and around the stems.
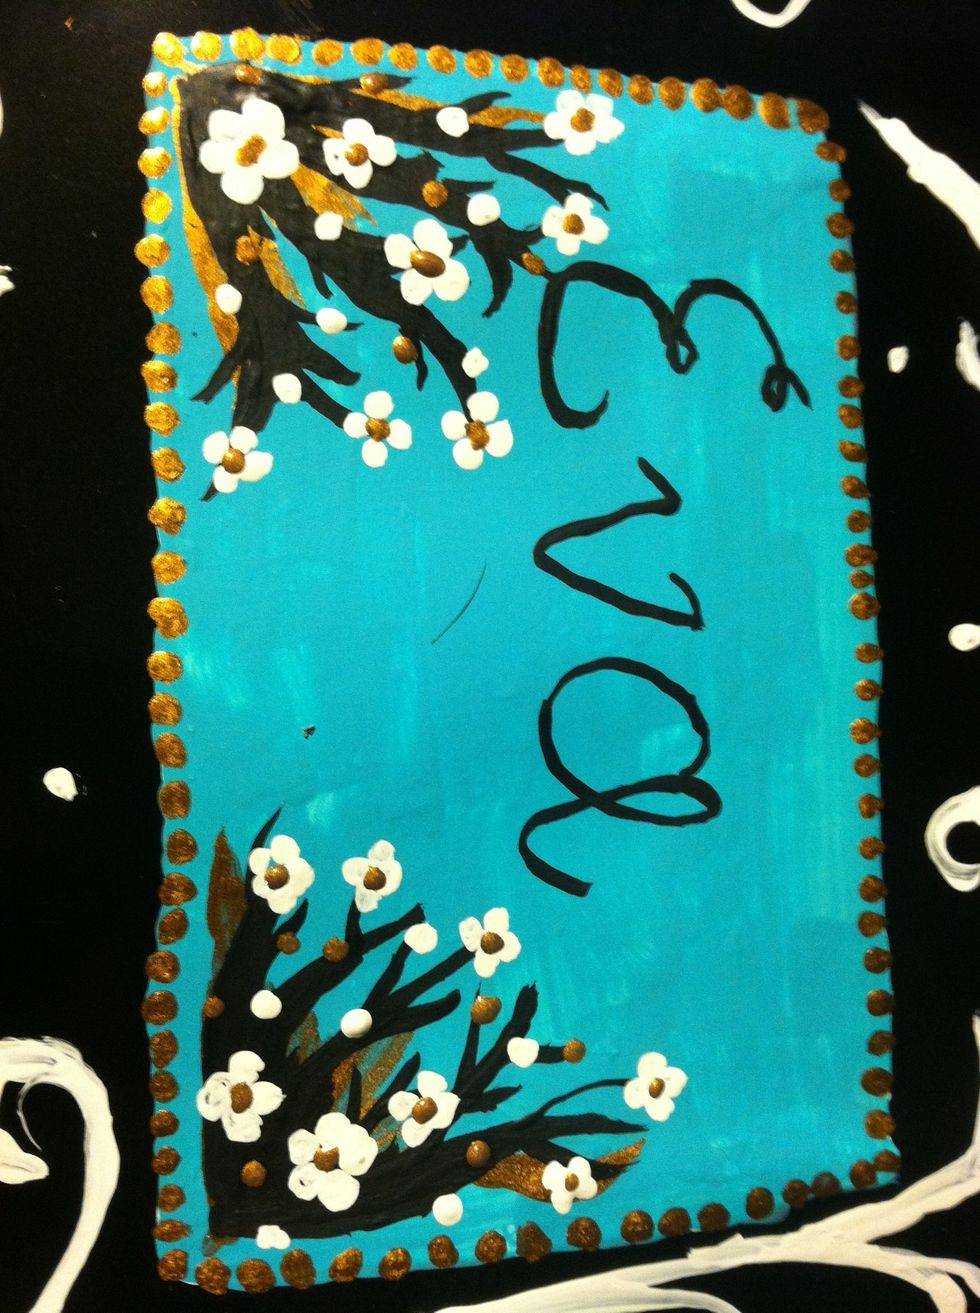
Finished square.

Finished product again! Thanks for checking out my guide!!