The Conversation (0)
Sign Up
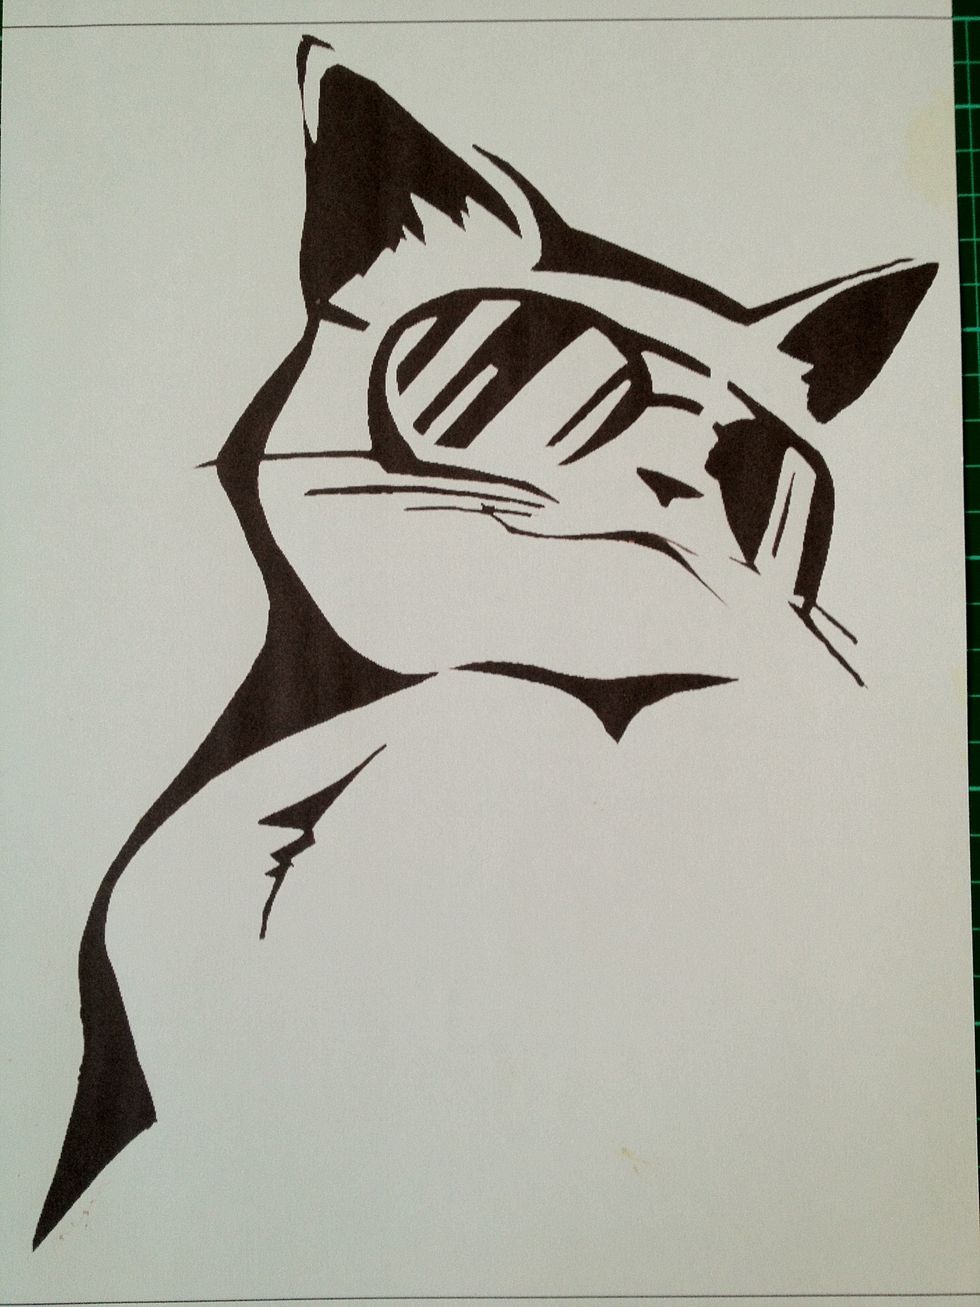
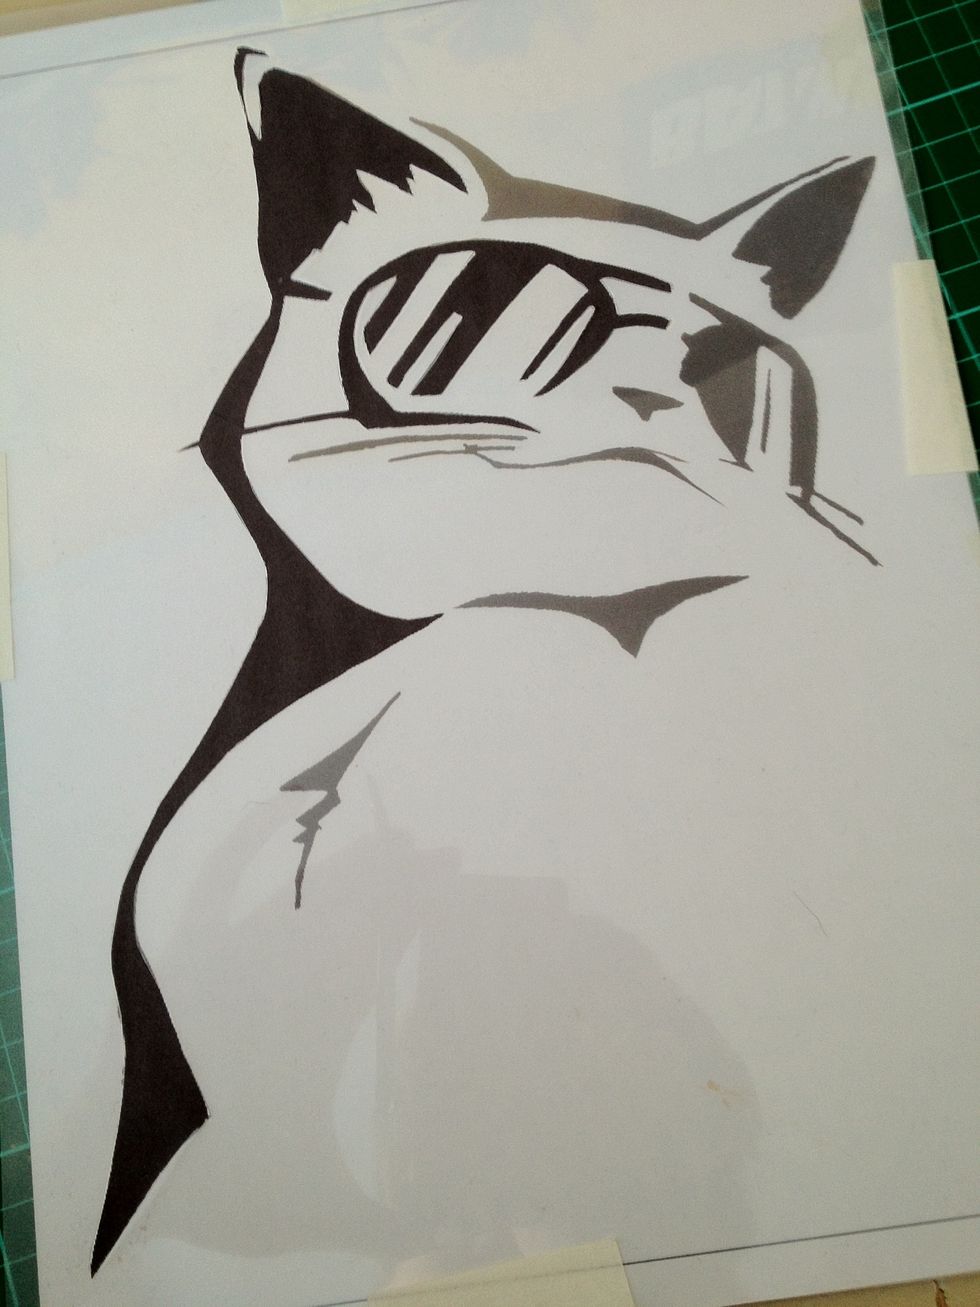
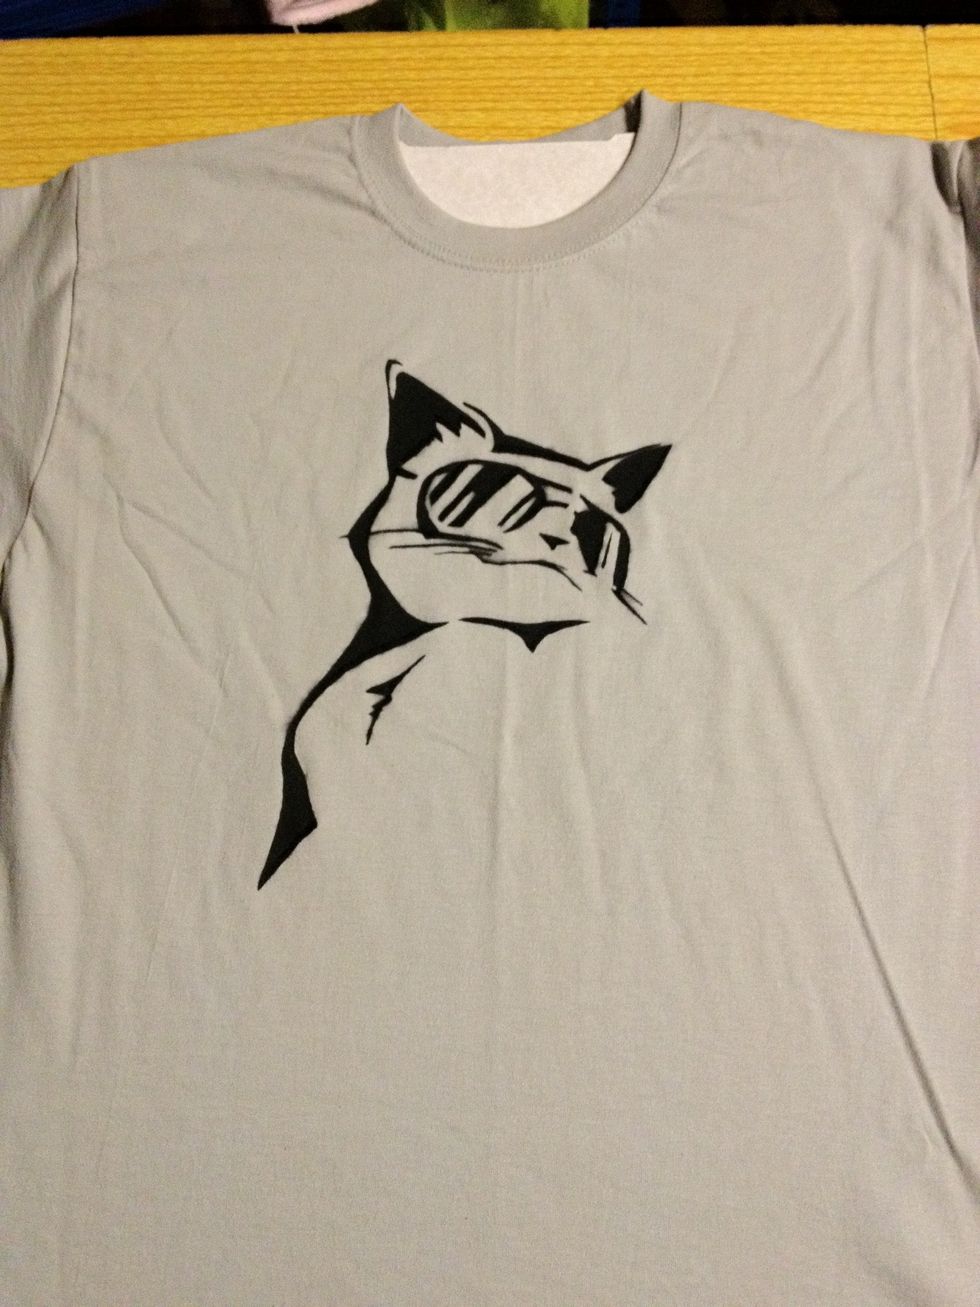
First find the image you want to put onto the shirt. I found this on google, but you could draw yours or use photoshop to edit an image into a stencil.
You'll need your image to be plain black and white and also make sure it's the right size for your shirt. Multi-layered stencils are possible but we won't be covering them in this guide.
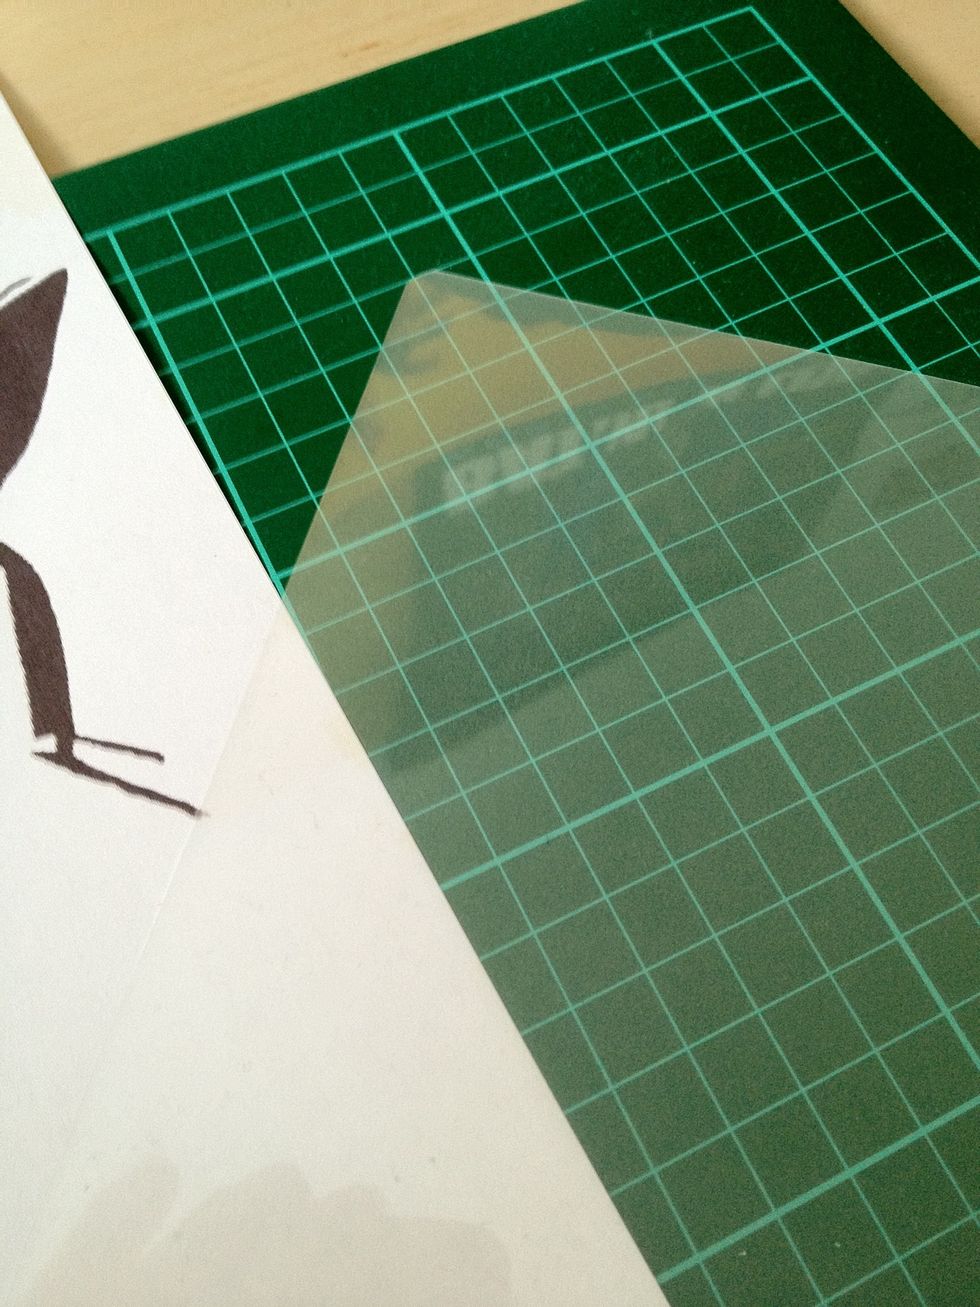
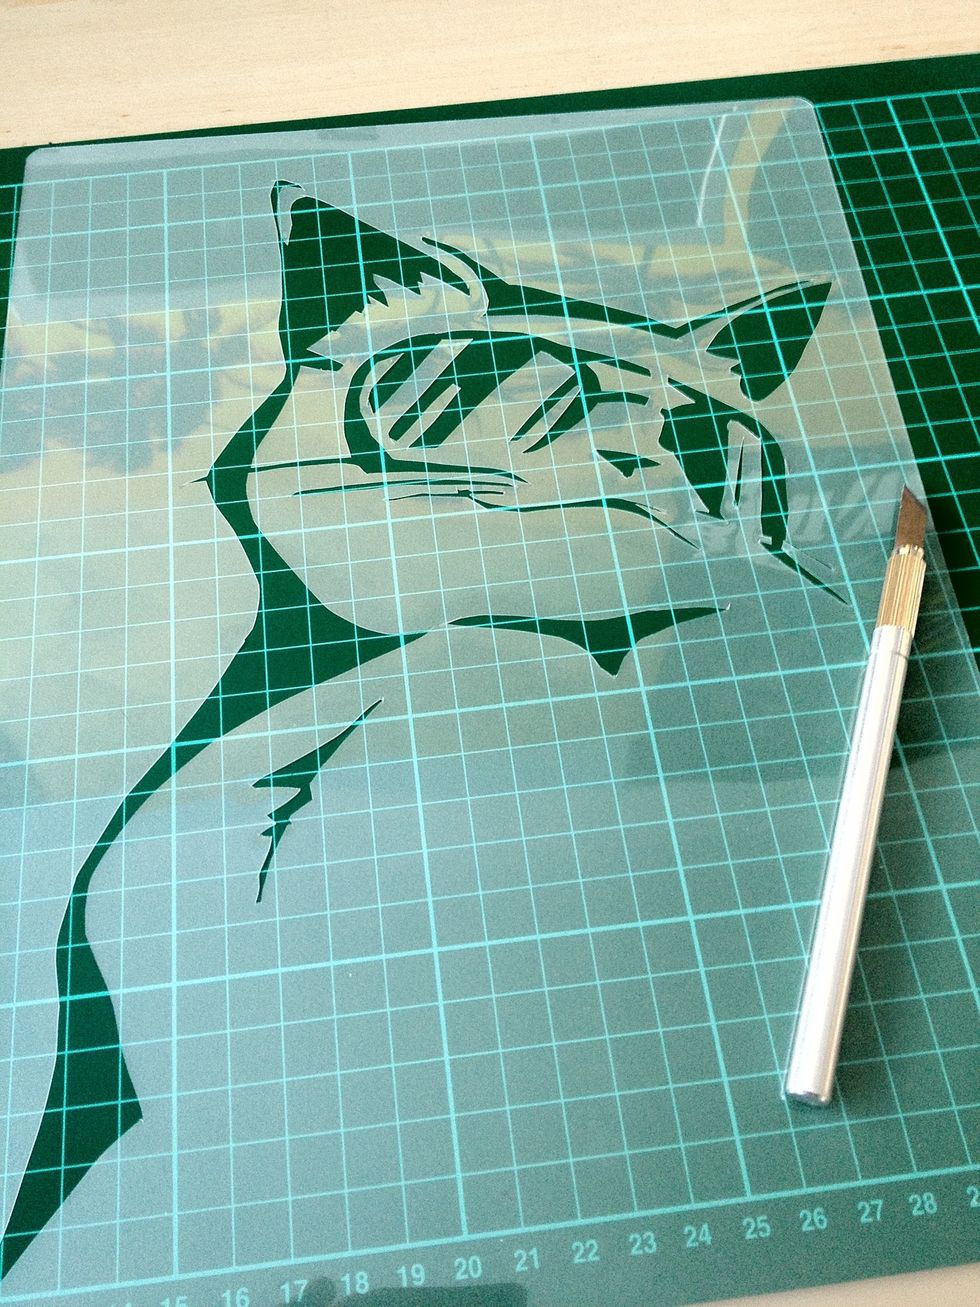
I'm going to cut my stencil into this piece of plastic. I'm just using a laminator sheet but any transparent plastic sheet will do.
The plastic isn't strictly necessary but it's unlikely that paper will withstand the high pressure spray paint. It's also going to allow you to cut more detailed stencils without it breaking.
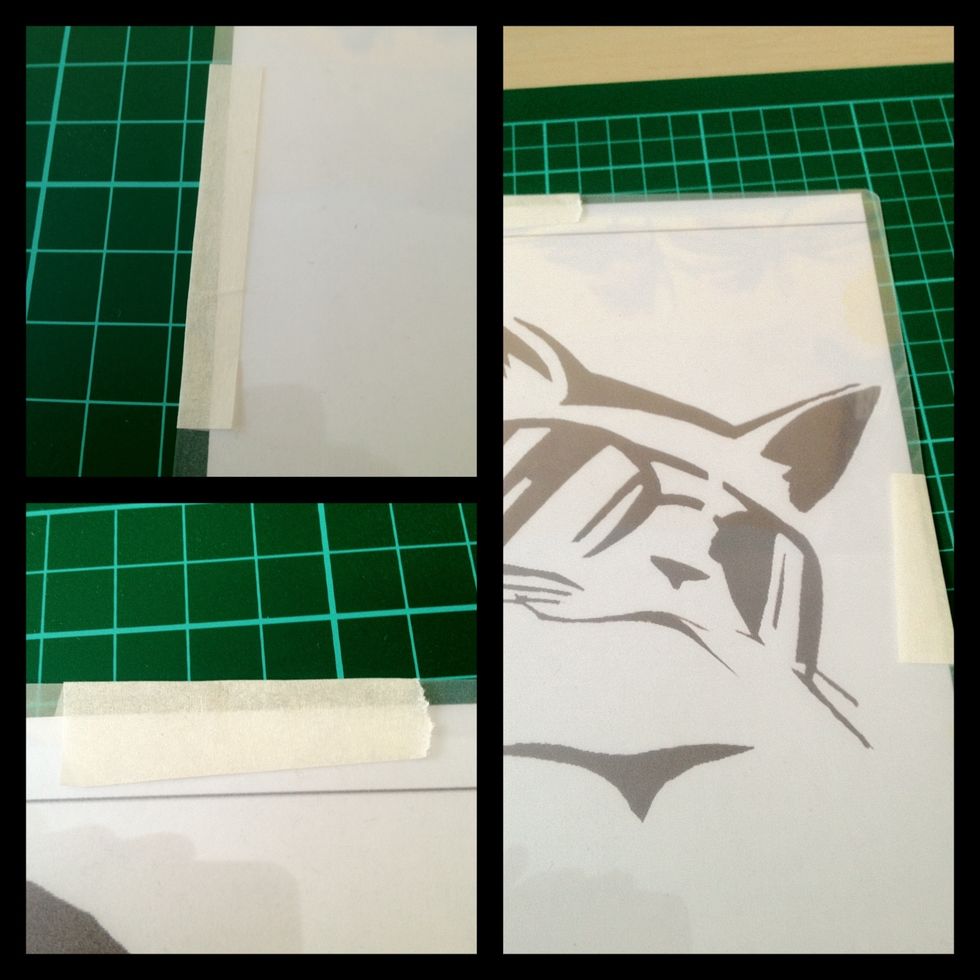
Tape the plastic sheet to your design so they stay together. I find masking/ painters tape is best because it doesn't leave any residue.

Now it's time to cut. You basically want to cut out all the black pieces. Mine is going to be pretty straightforward but it depends on the design you choose.
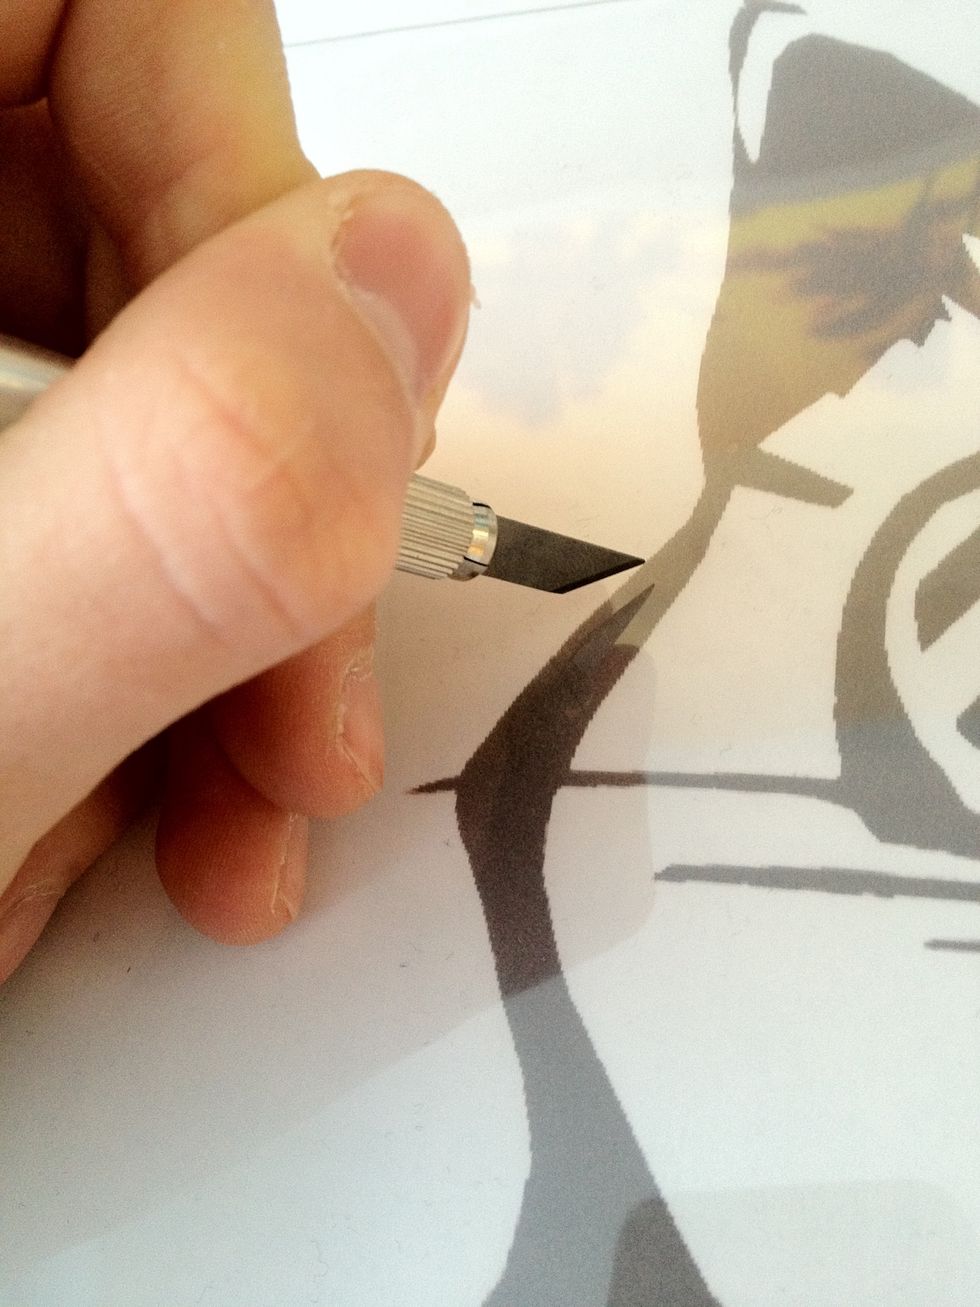
You have to make sure all the white is in one piece. If a white area is surrounded by black you will need to cut a small connector piece into the black so it all stays together.
Halfway done.

My hand started getting cramped up so I decided to take a coffee break. This isn't necessary but highly recommended.
The stencil is all done now so we just have a few things to do before we spray it.
Take your shirt and put some old cardboard inside. This will stop the paint soaking through to the other side. I just used a piece I cut from an old box. Tuck any excess fabric underneath.
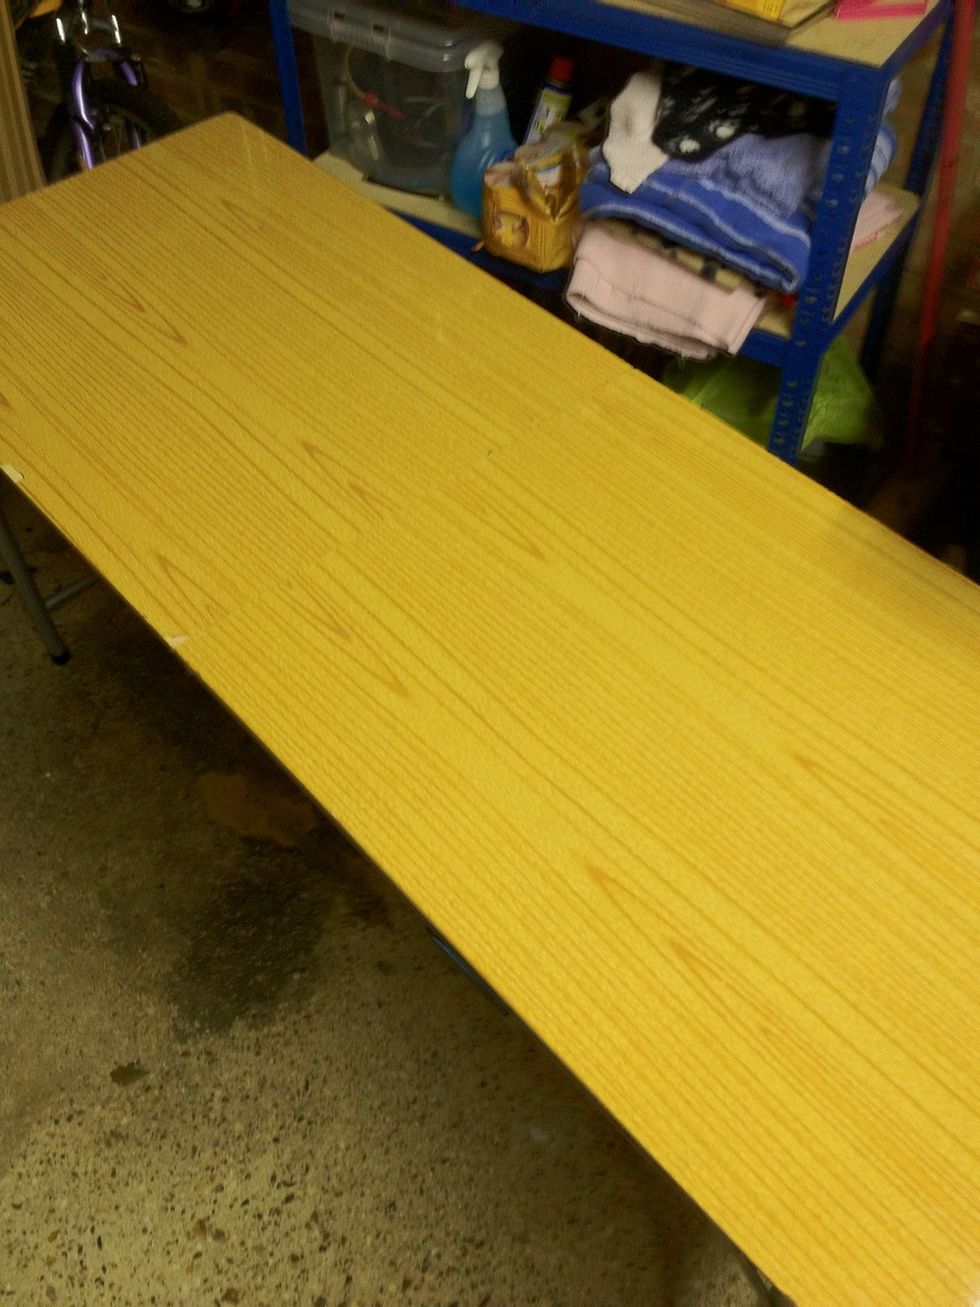
Get an area ready to spray. I'm using this wallpapering table in my garage, but you could do it outside too. Lay down some newspaper and make sure you move anything that could get painty.
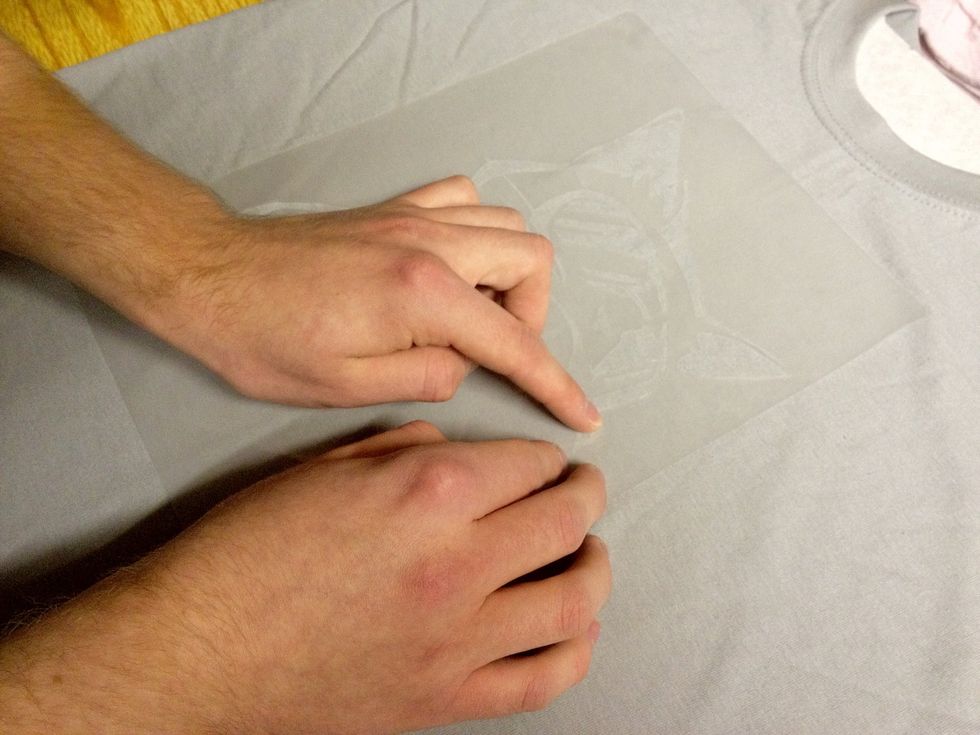
Go over the stencil with you fingers and make sure it's all stuck down. Be extra sure that any small pieces won't come up when you spray it and mess up your design.
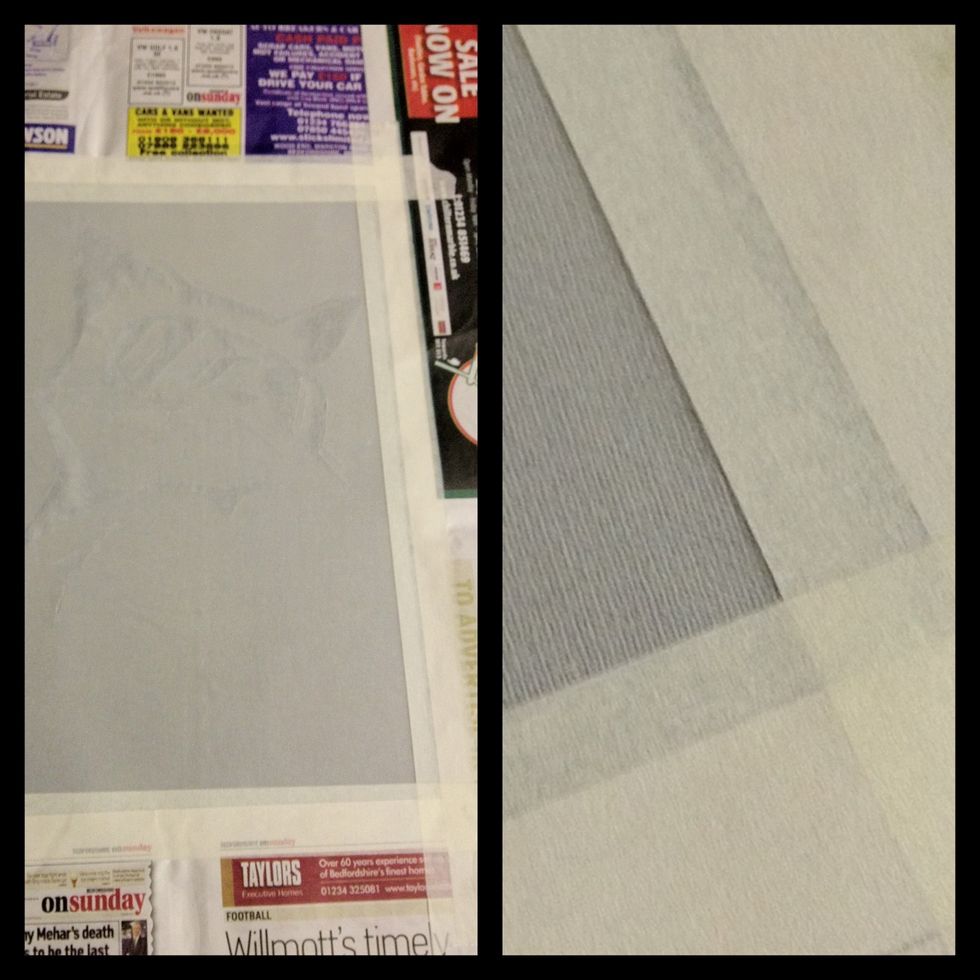
Tape newspaper around the edge of the stencil so there's no exposed t-shirt that might get overspray on it.
Leave your shirt to dry. Be careful not to move the stencil at all, you'll have a hard time trying to put it back in the exact same place (this is part of why we used the spray glue).
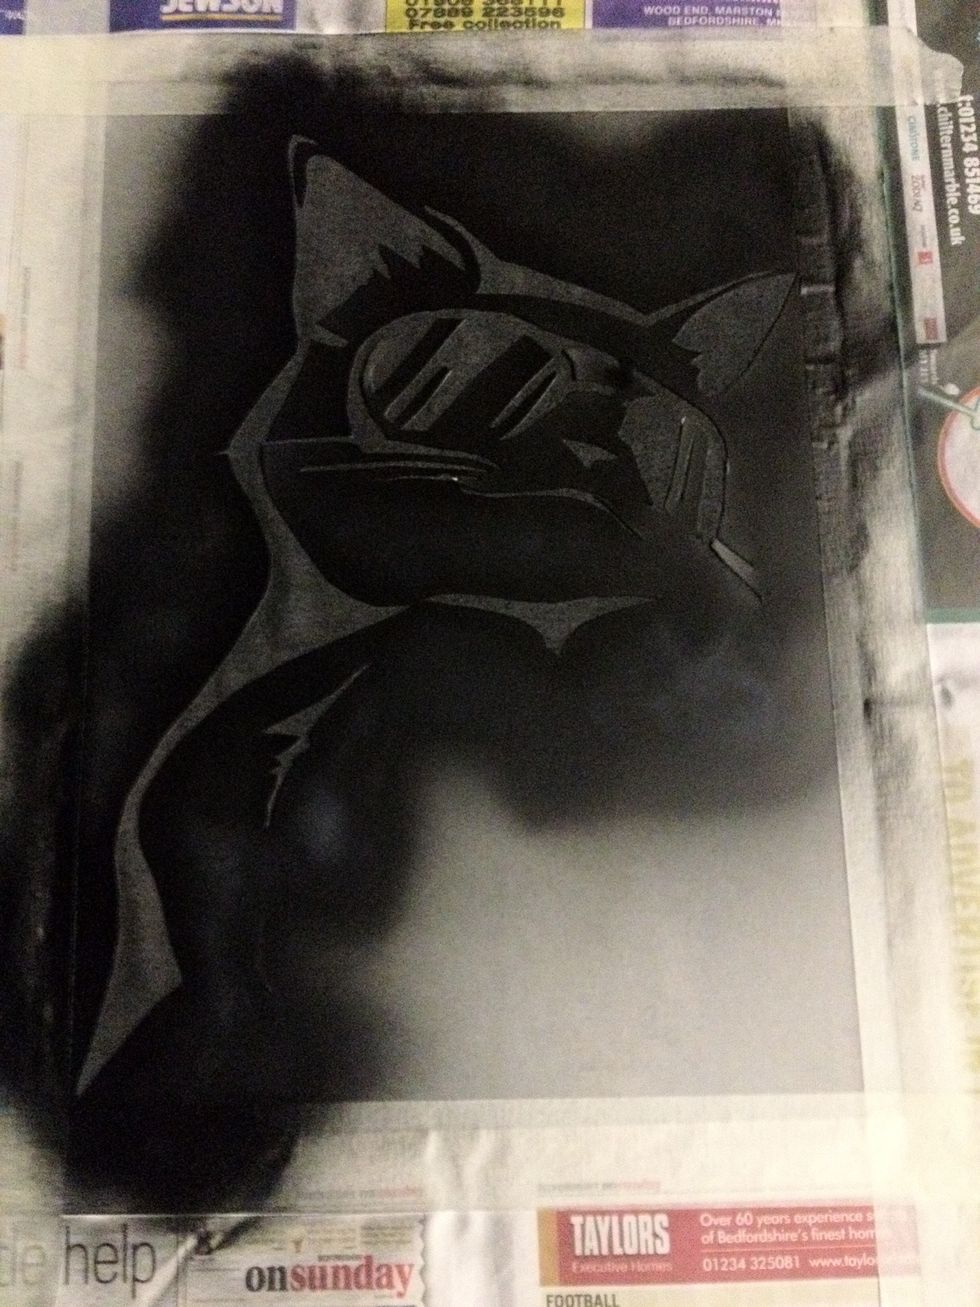
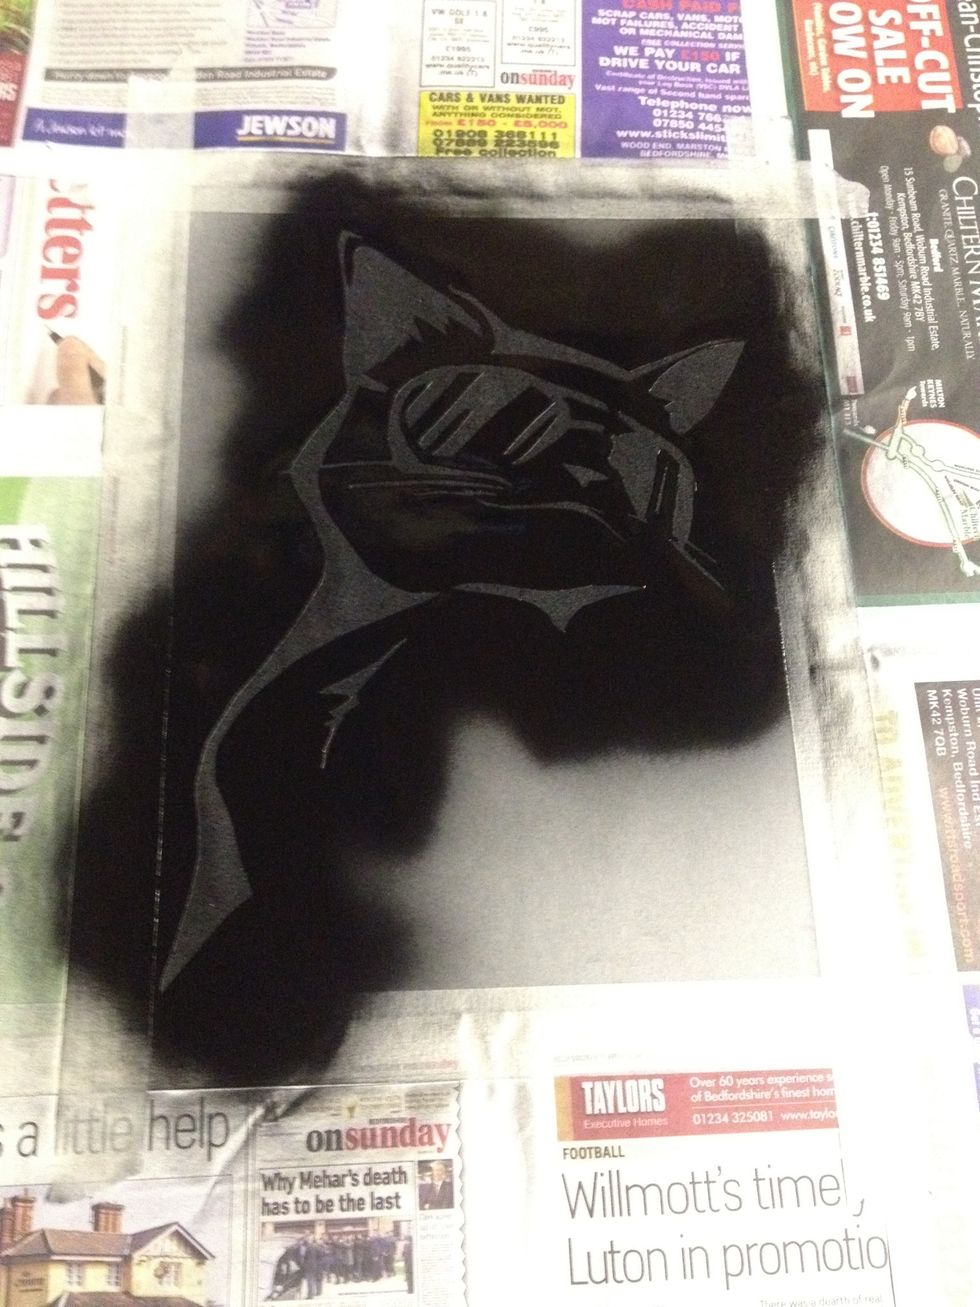
The paint is dry now, so go ahead and spray it again just like you did before. Let it dry again after.
The paint is all dry now so you can go ahead and remove the stencil and newspaper. Don't worry too much if there are some smudges or a little overspray, that should come off with a wash.
I like to add this little logo on the back here as a kind of signature. This is obviously optional but I do a lot of shirts for friends so I like to put this on so my shirts can be identified.
You could wear your shirt right away but this next step will help to set the design so you can wear it again and again without it fading.
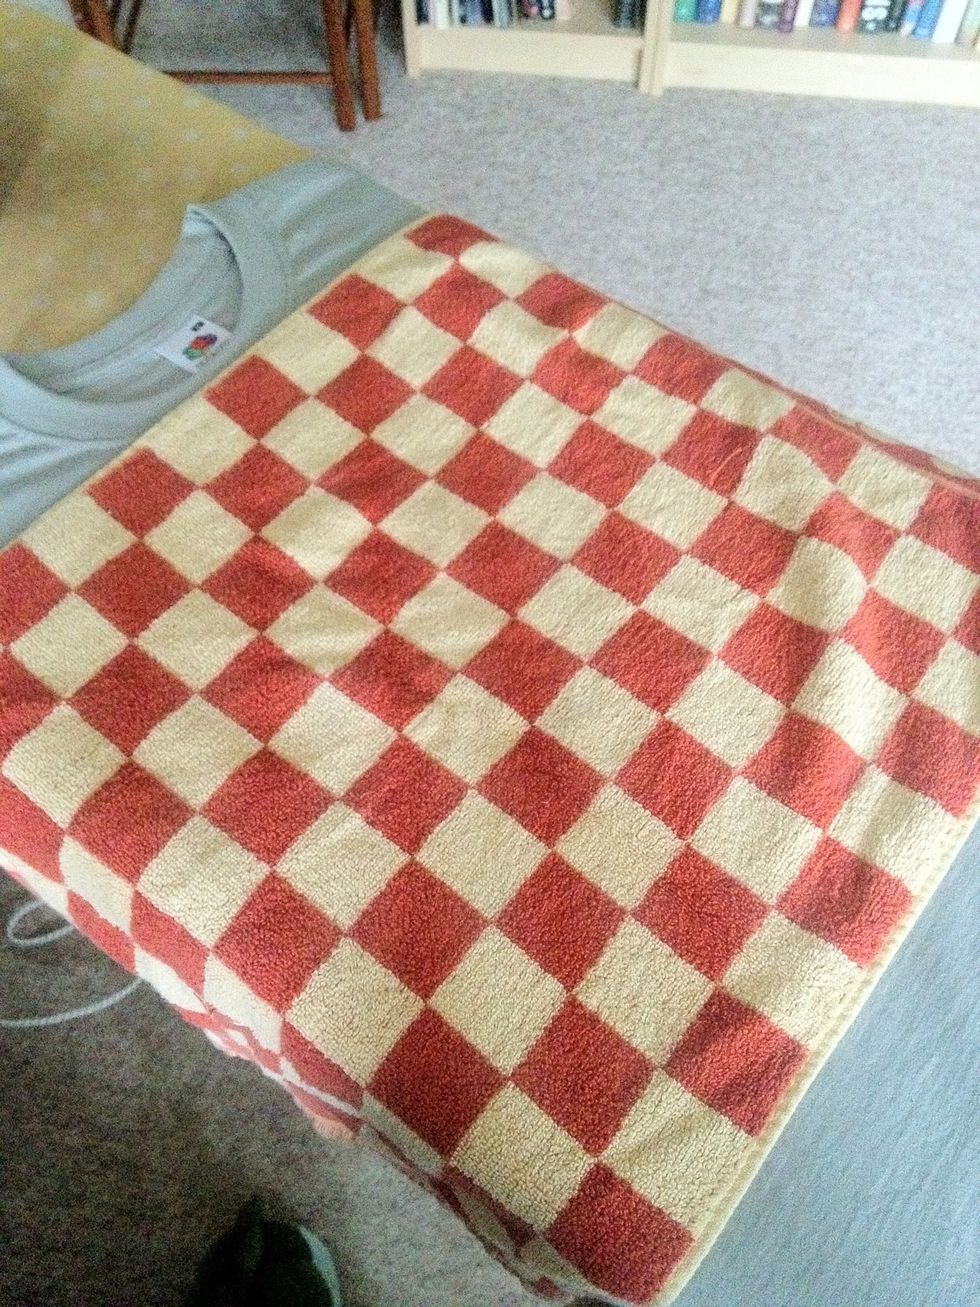
Cover the design with a towel.
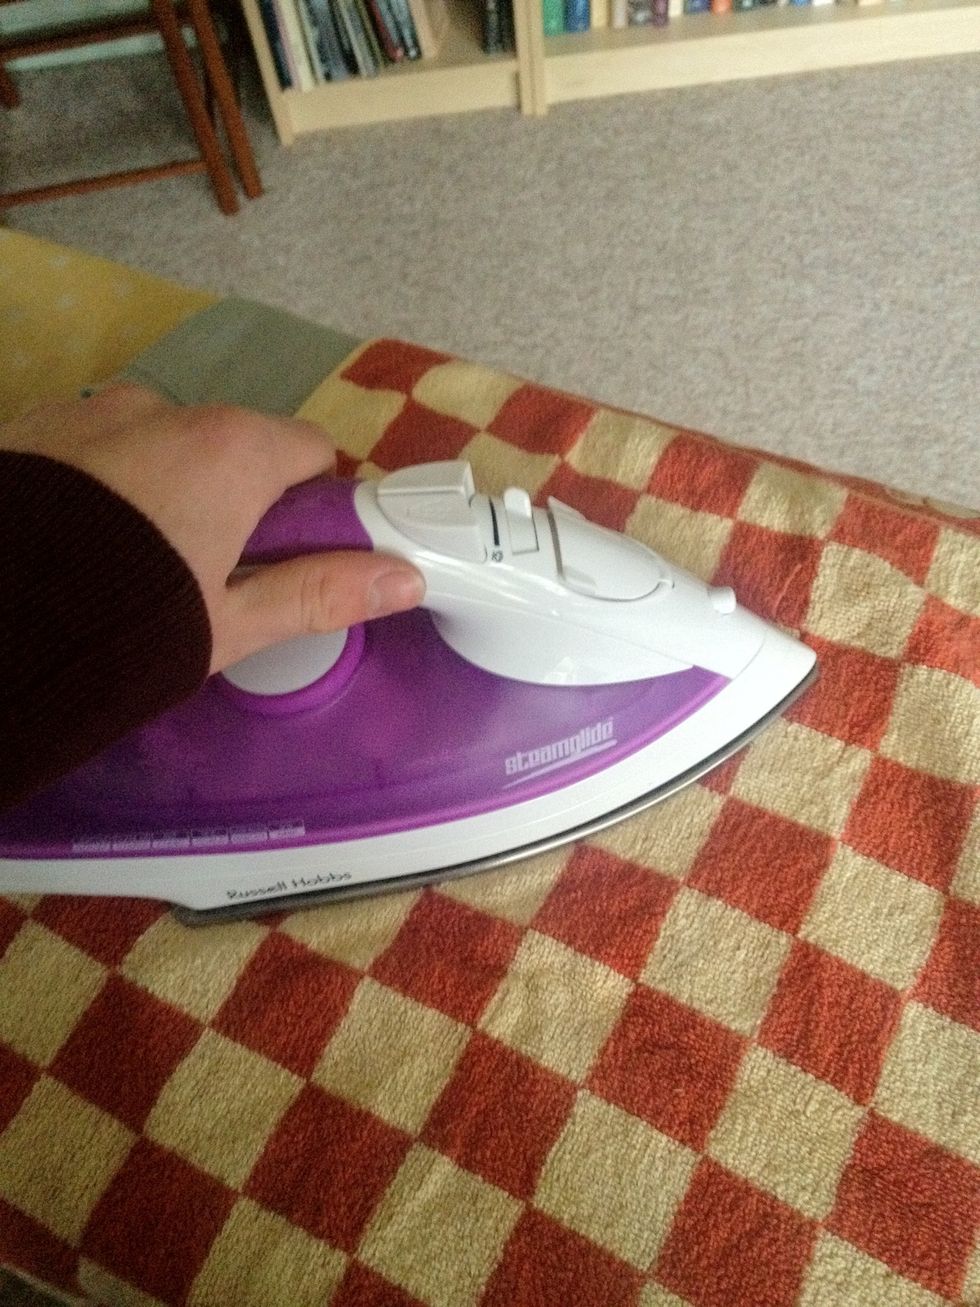
Now hold a DRY iron (no steam) over it for a while and rub it around a bit. You probably want to do this for 2-3 minutes.
There you go! You can now wear your shirt wherever you go, happy in the knowledge that there's none other like it. I hope this guide was interesting and maybe now you can go and make your own shirt!