Cut 13 squares from a white cardstock measuring 3 1/2" x 5"
Cover the first cardstock with 3 1/2" x 5" piece of pattern paper and embellish.
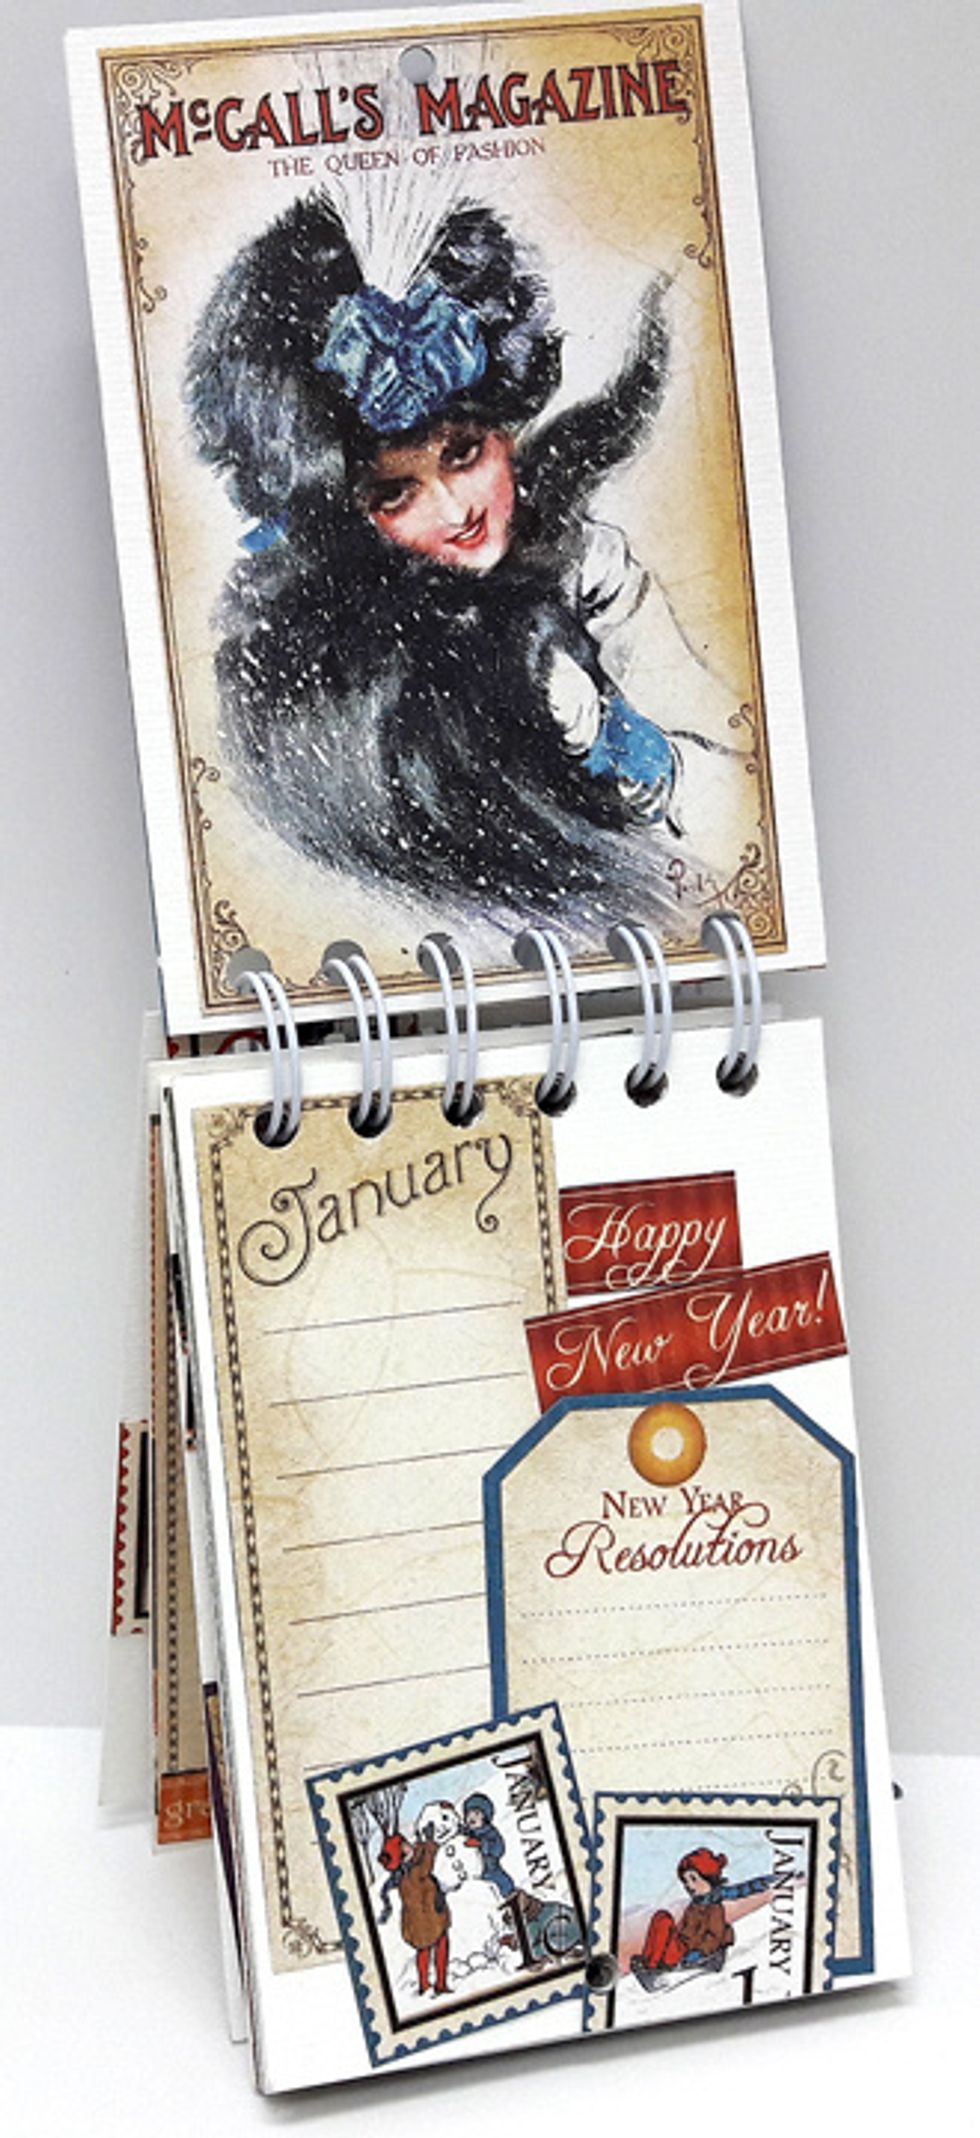
Turn cardstock upward so the first page is upside down. Cut Large square from paper and attach. Take another piece of white cardstock and add January square and other pieces from the collection.
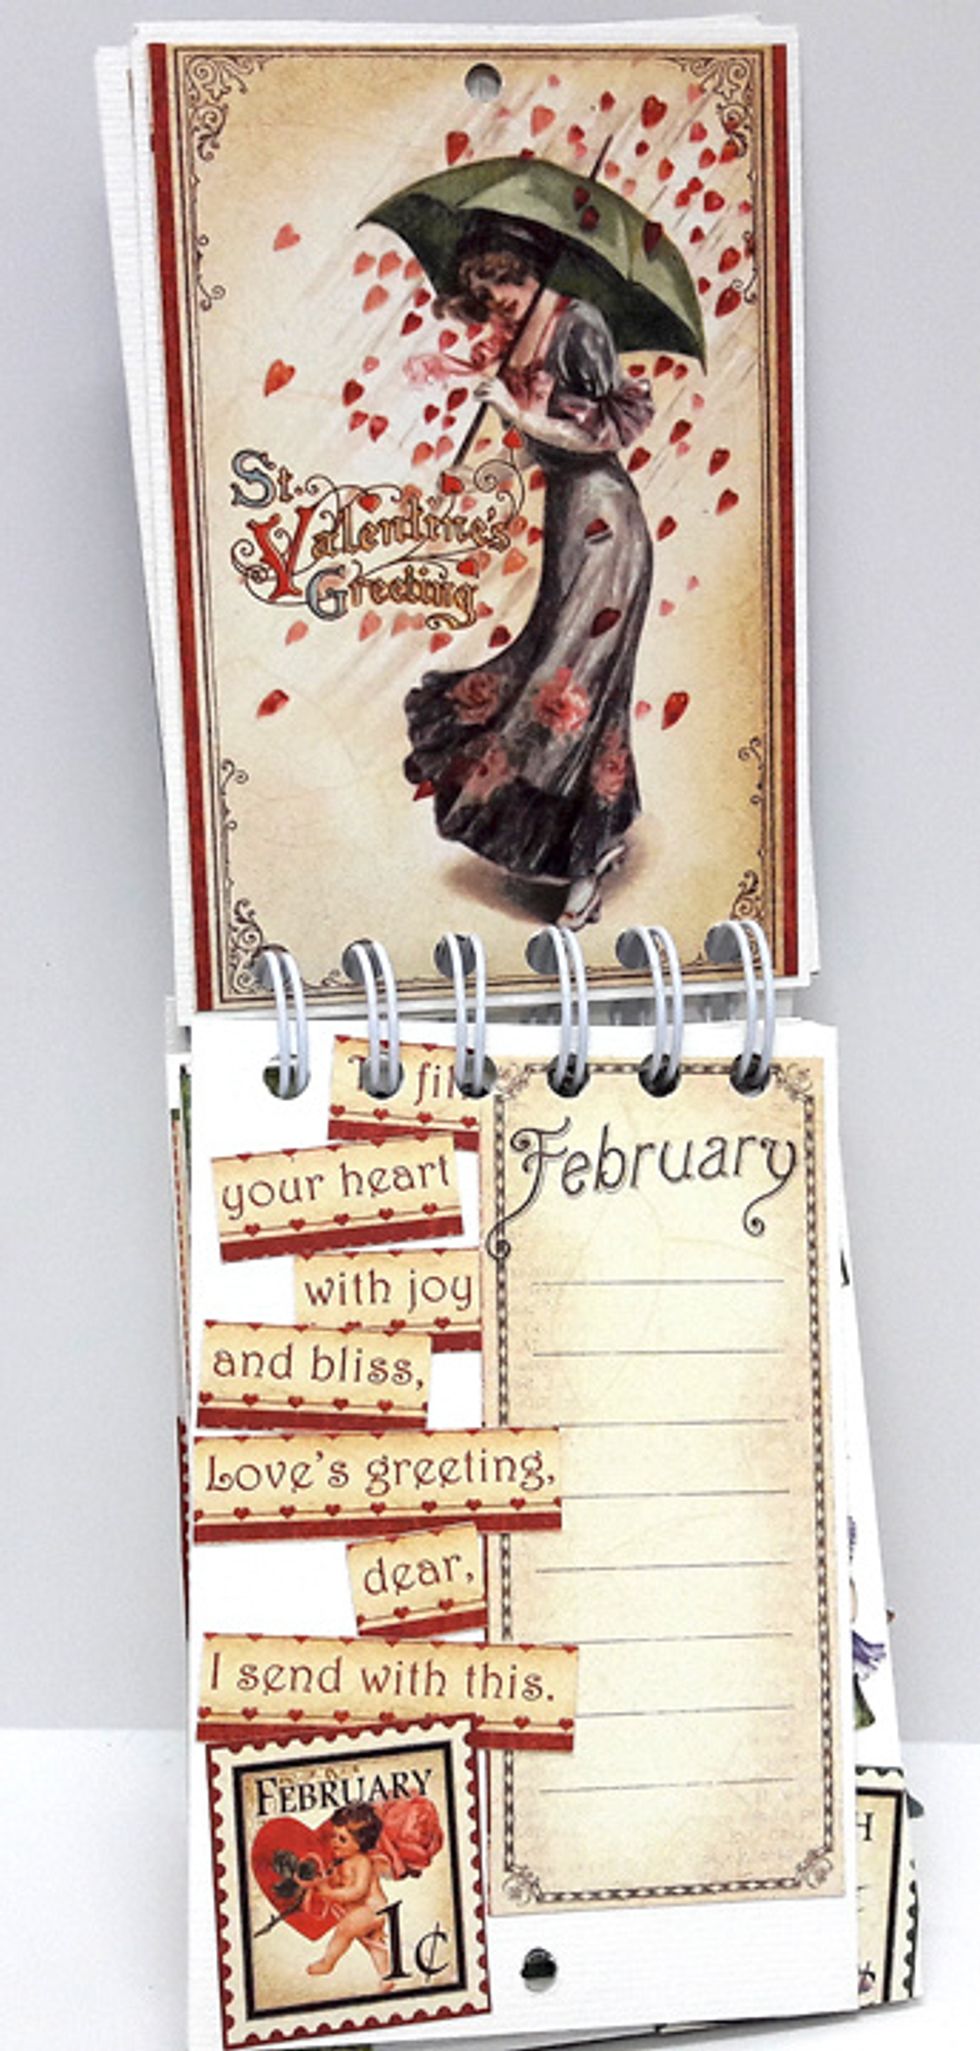
Turn the second cardstock upward so the page with the January list will be upside down. Create February page the same way.
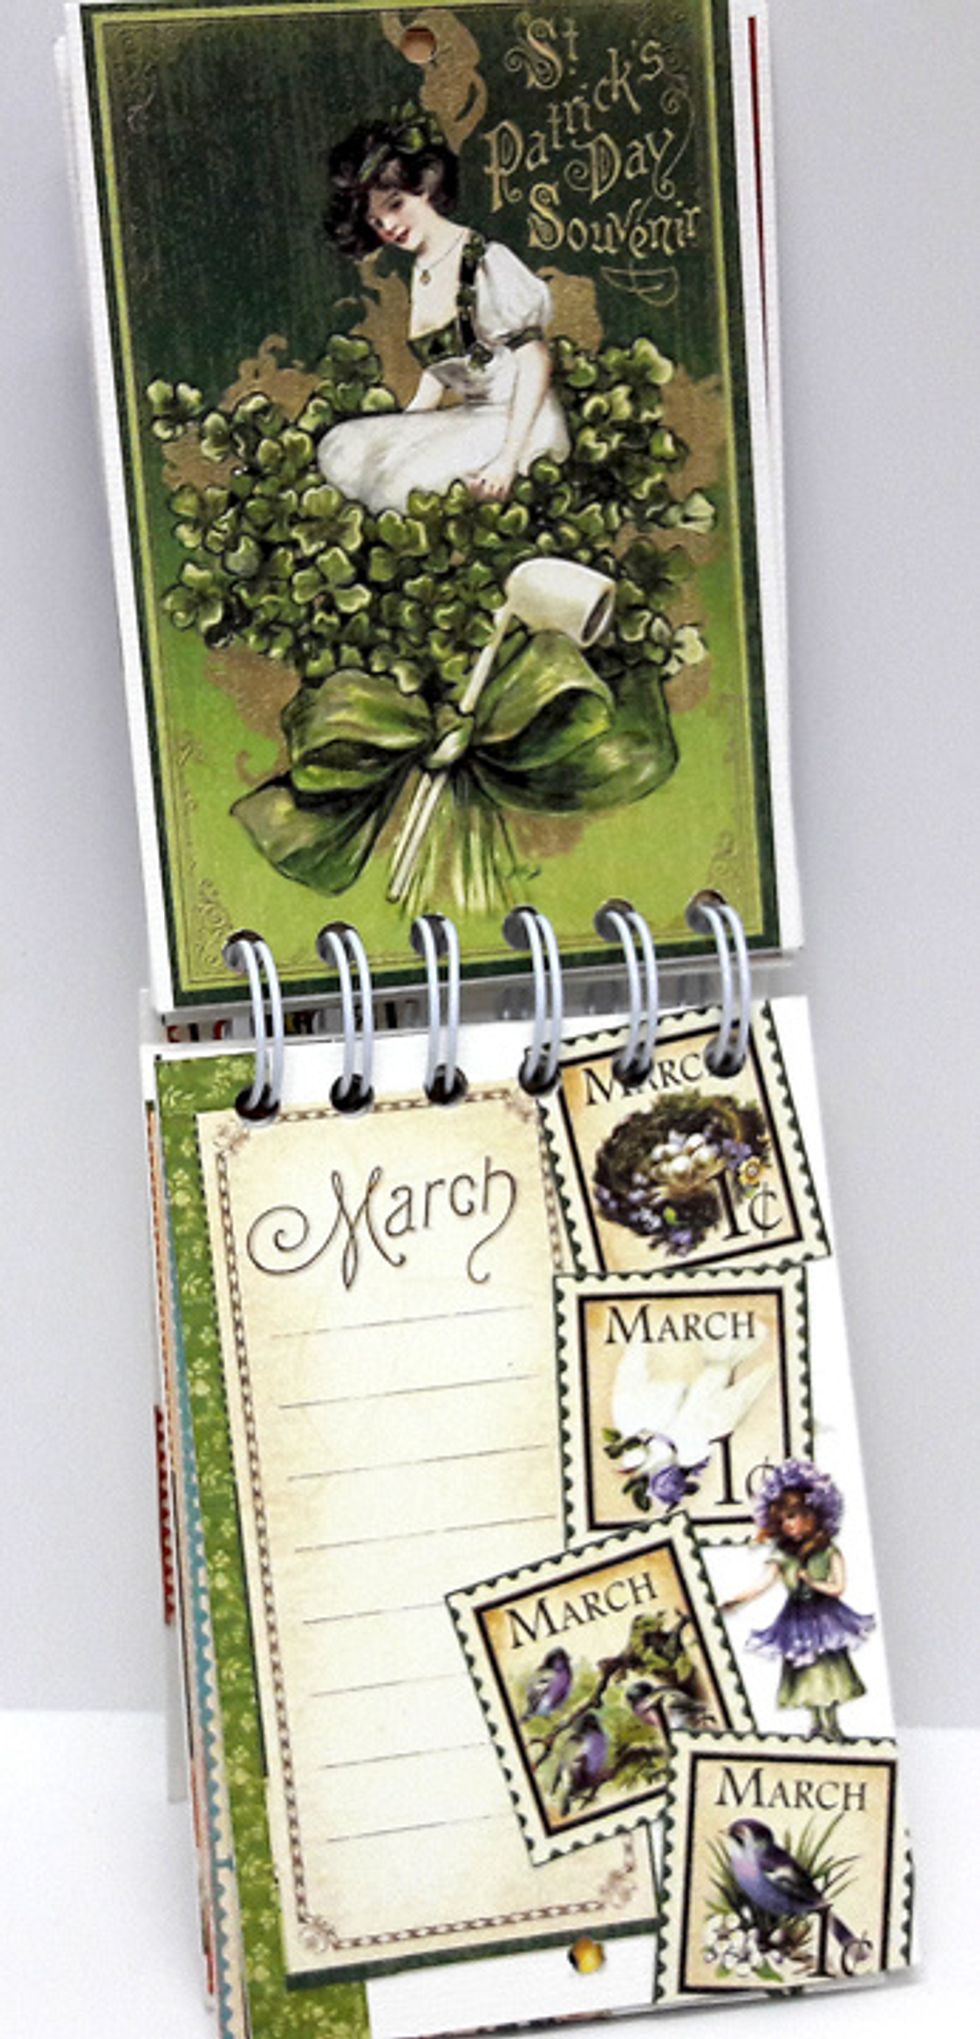
Repeat process until you create all months. Here's March.
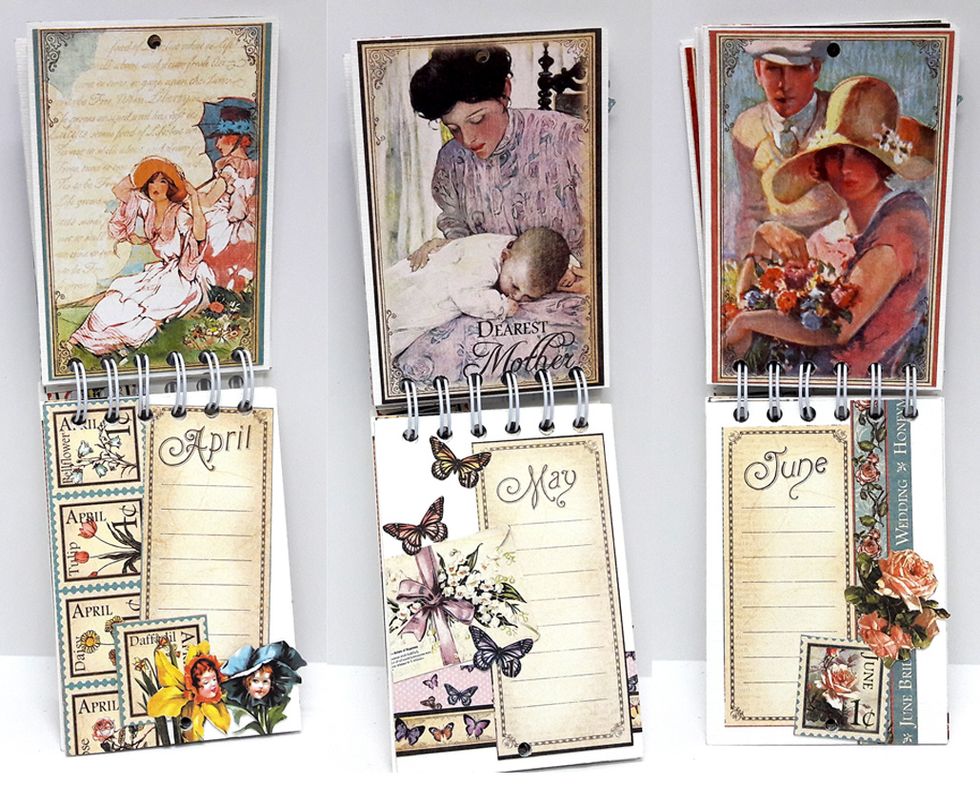
April, May and June.
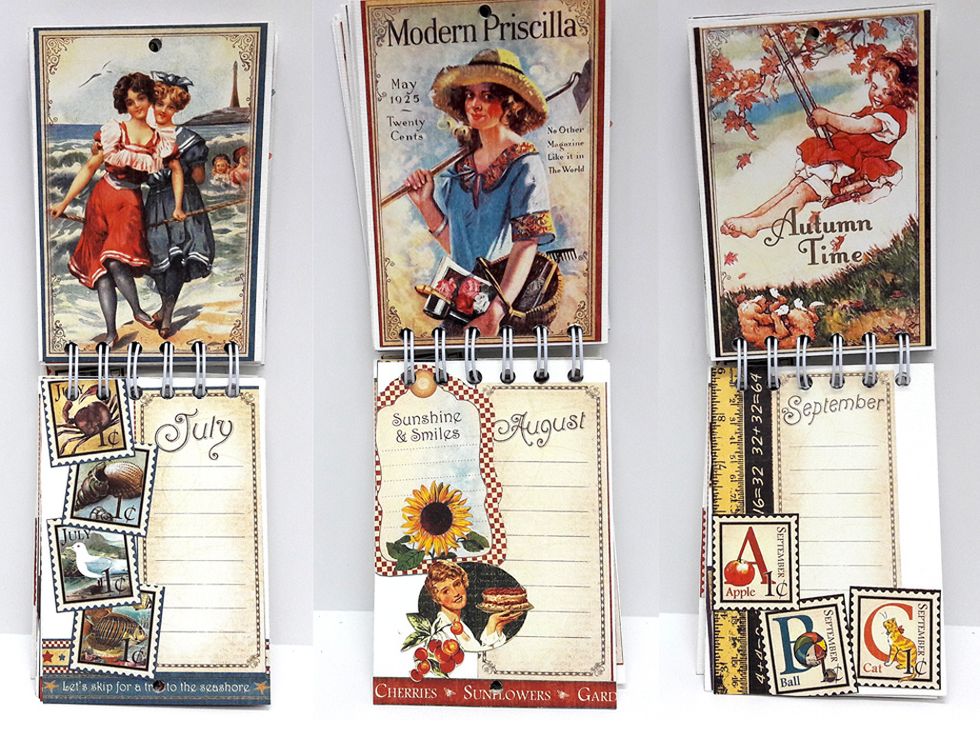
July, August and September.
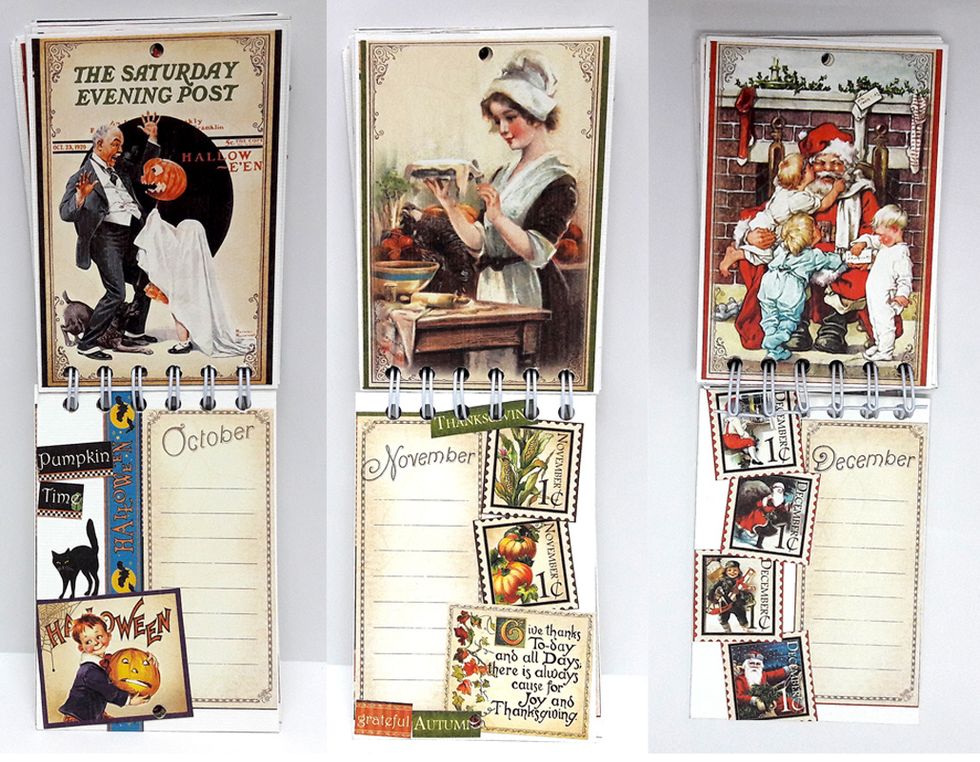
October, November and December.
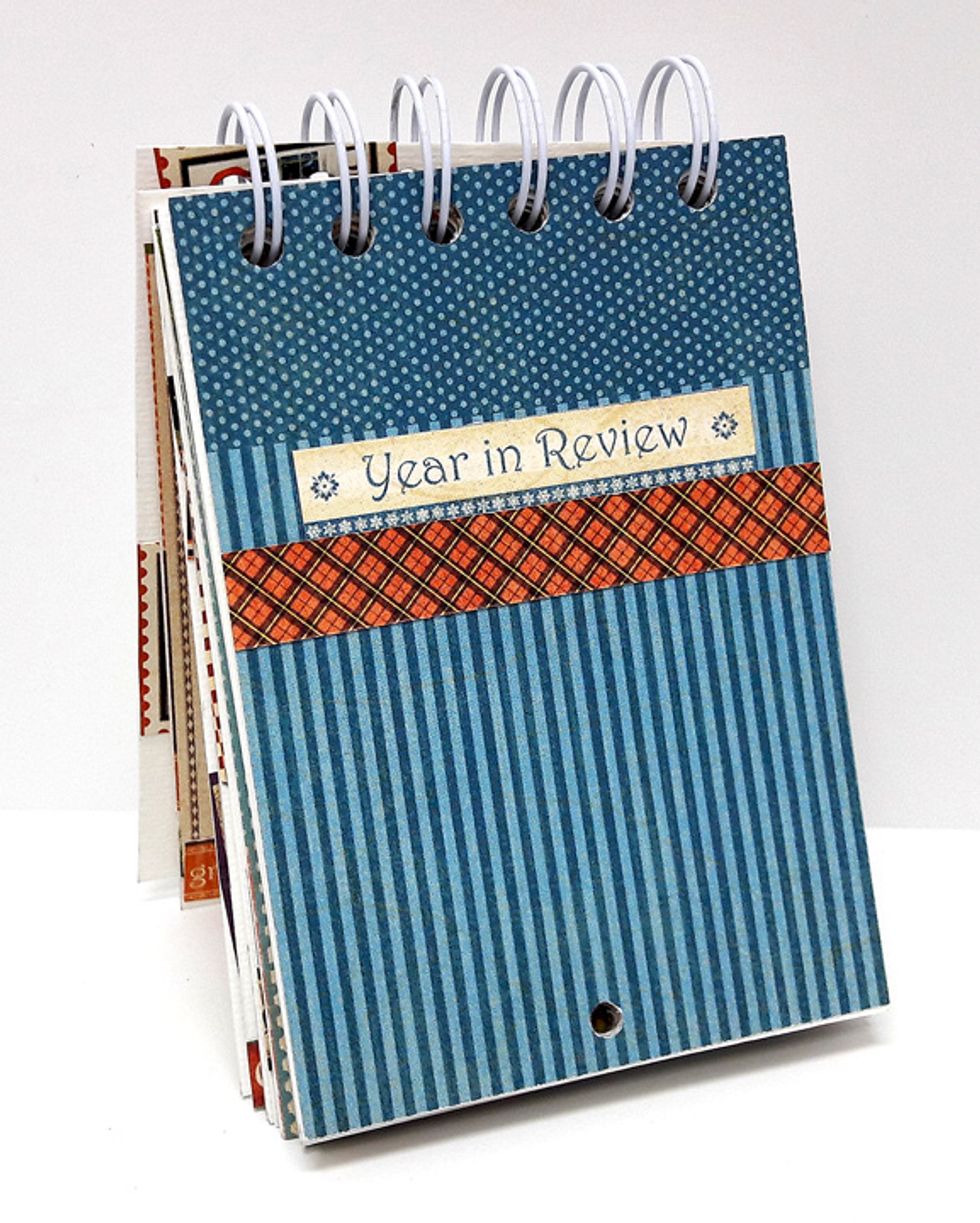
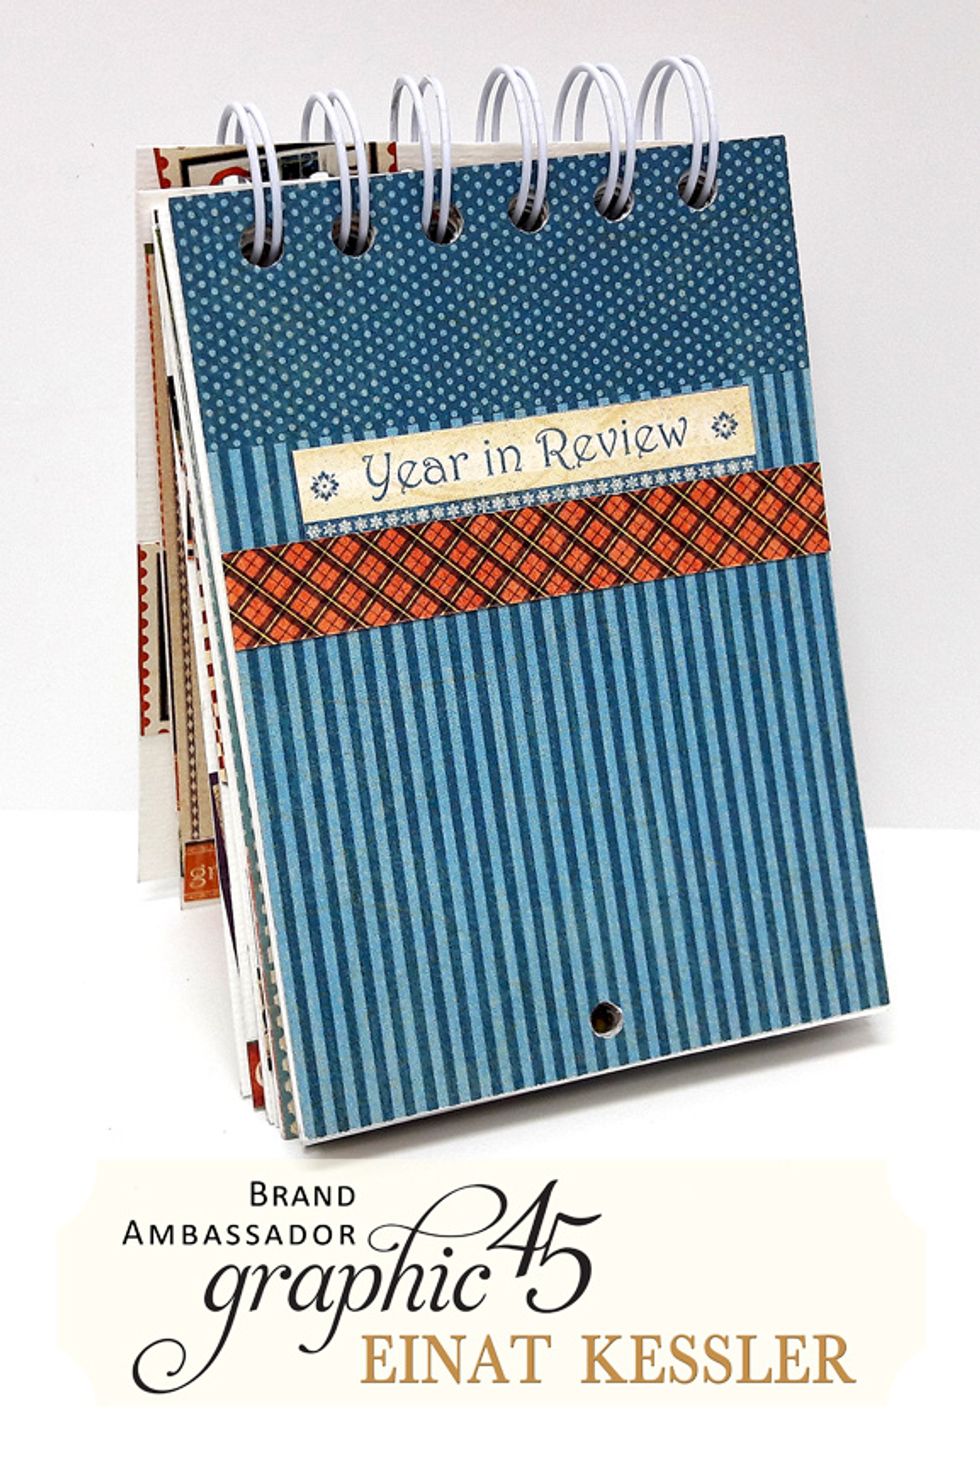
Bind all the pages with rings or other binding system.
Punch a hole on the bottom of each page so you'll be able to hang the calendar while open.
Now you can write all your important dates in a beautiful calendar!