The Conversation (0)
Sign Up

Hi!! You'll start with four pieces of chipboard at 8" x 3 1/4"

And now cut four pieces of cardstock with the same size
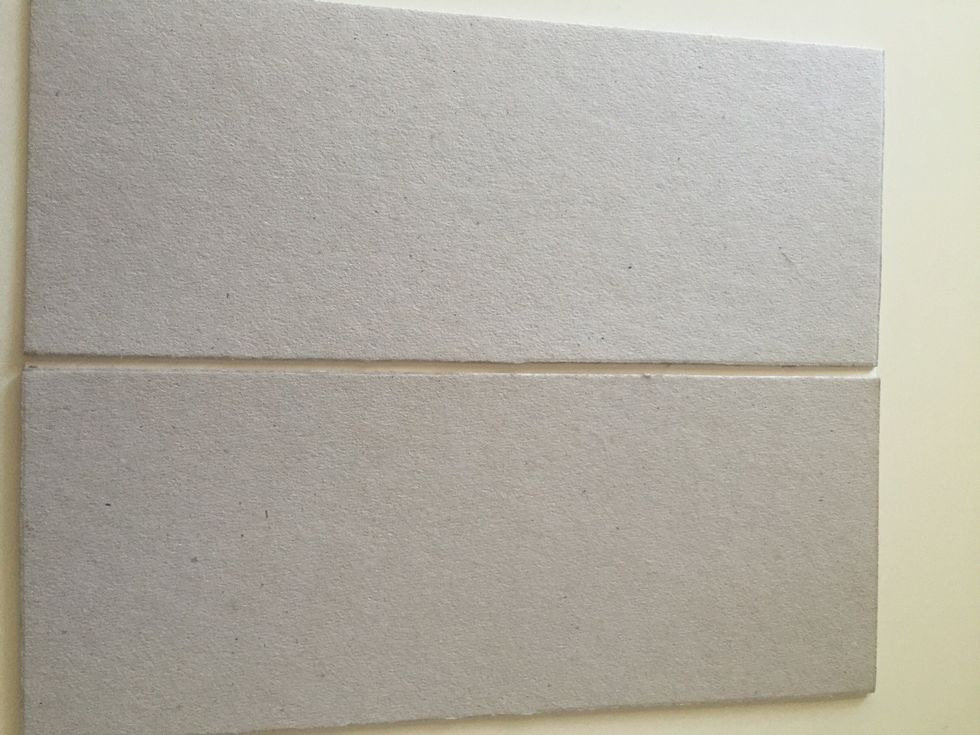
Put glue at chipboard edges to adhere the cardstock to chipboard

Looks like this..
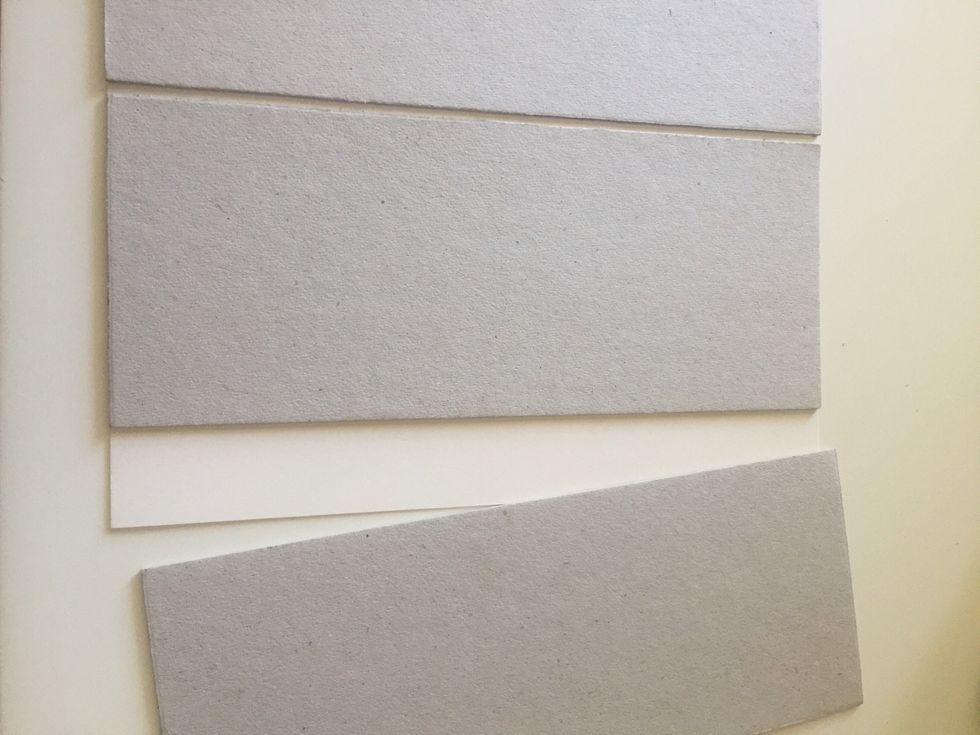
Repeat this with all chipboards and cardstock pieces
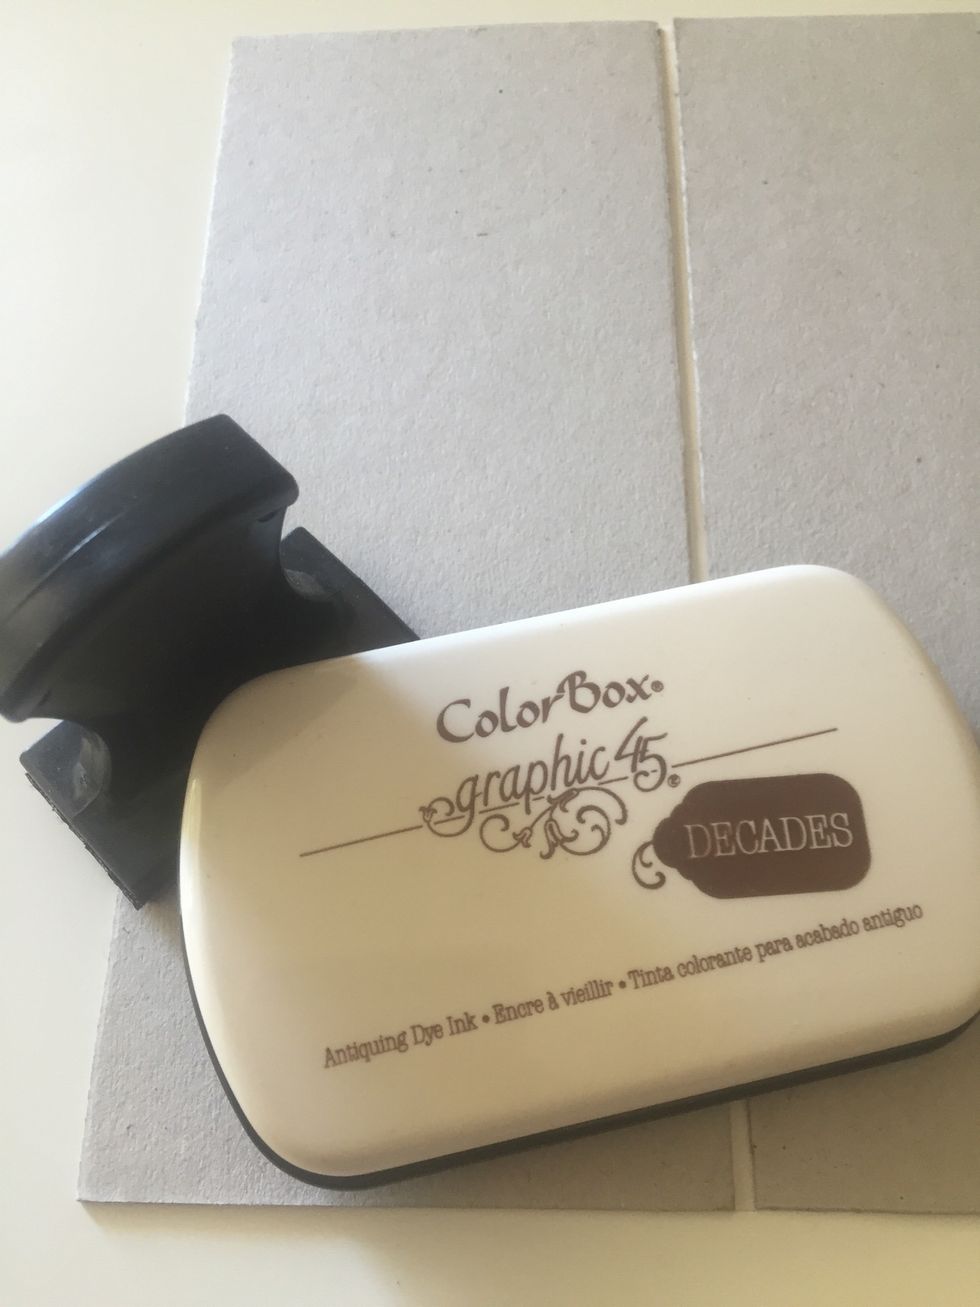
Ink edges of chipboard with Graphic 45 vintage brown color ink or similar
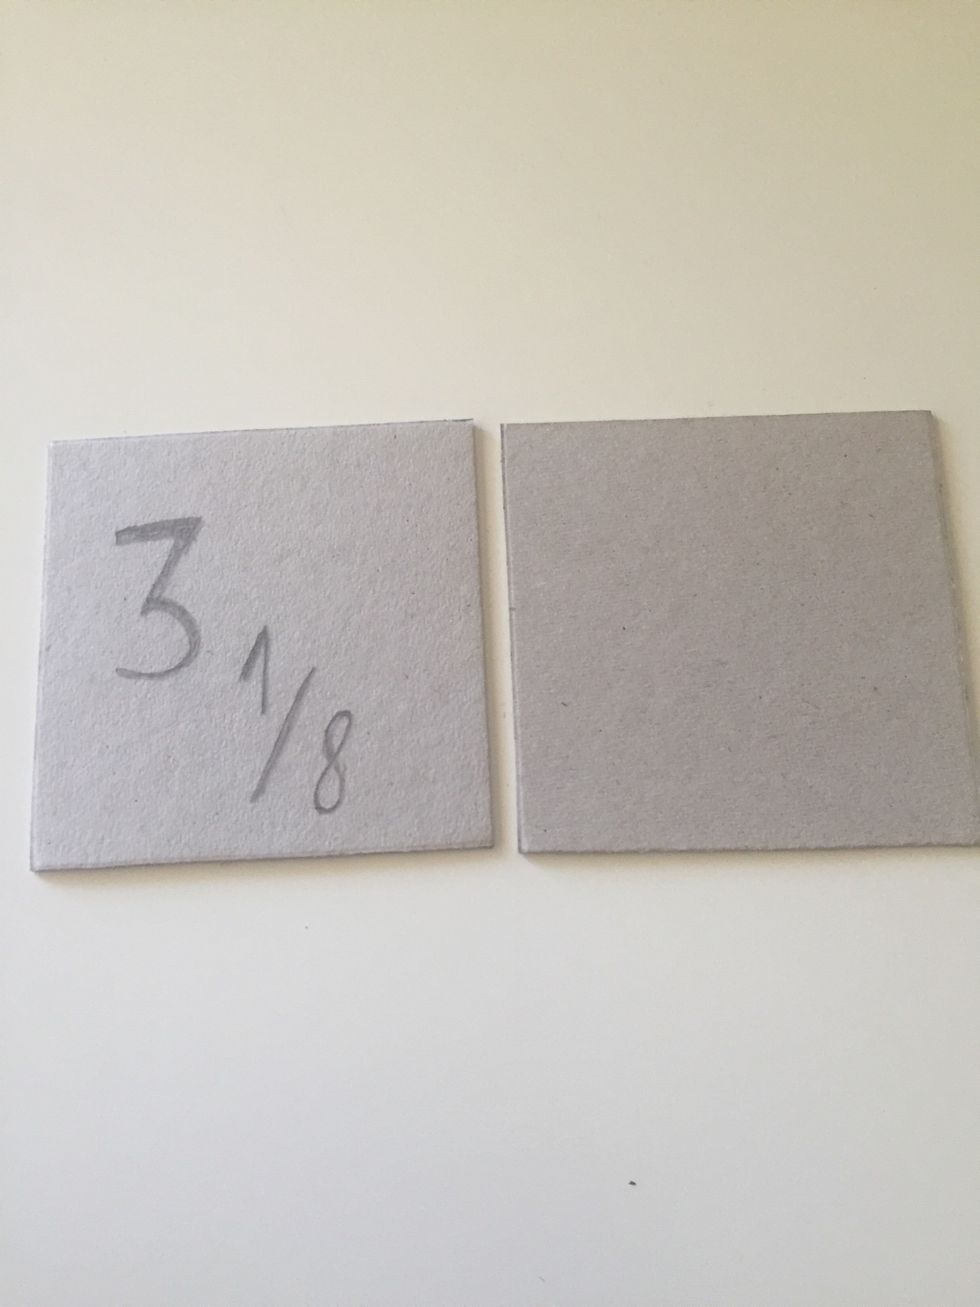
Now you must to cut two square pieces of chipboard with this measure
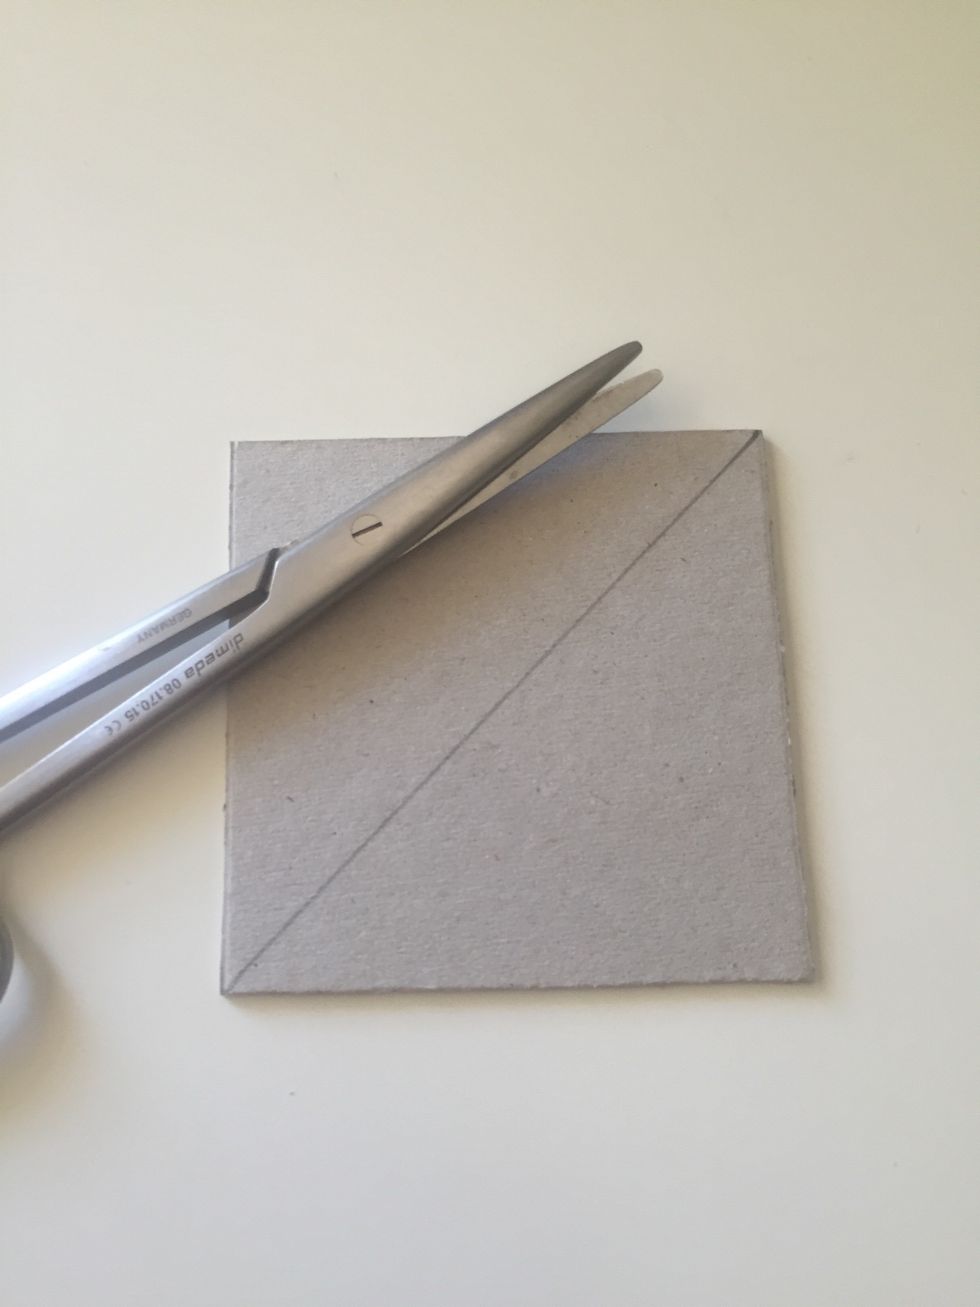
Cut them as shown...Repeat the process with the other square.
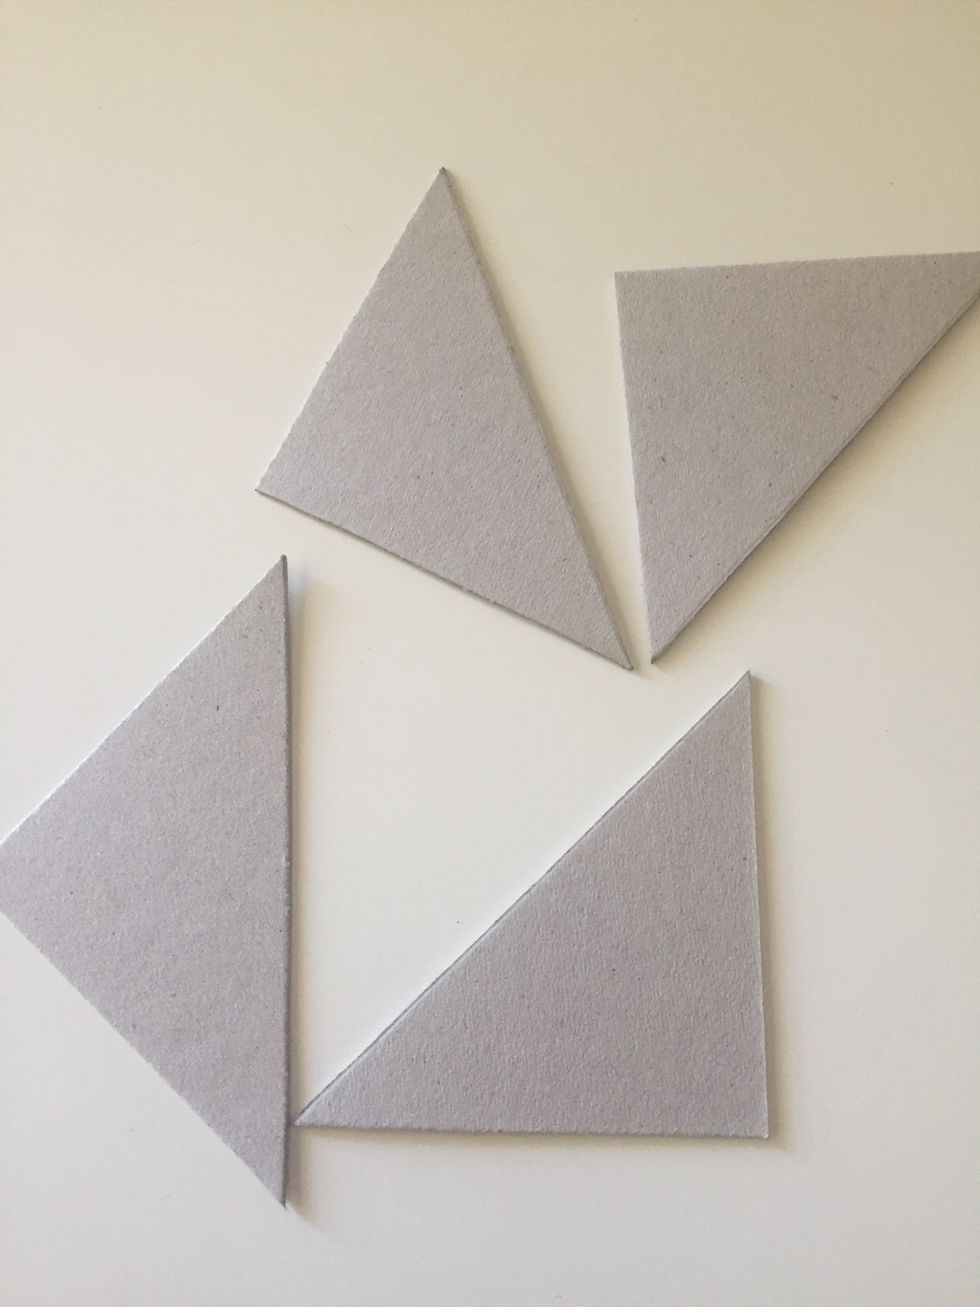
Now we have these four pieces of chipboard
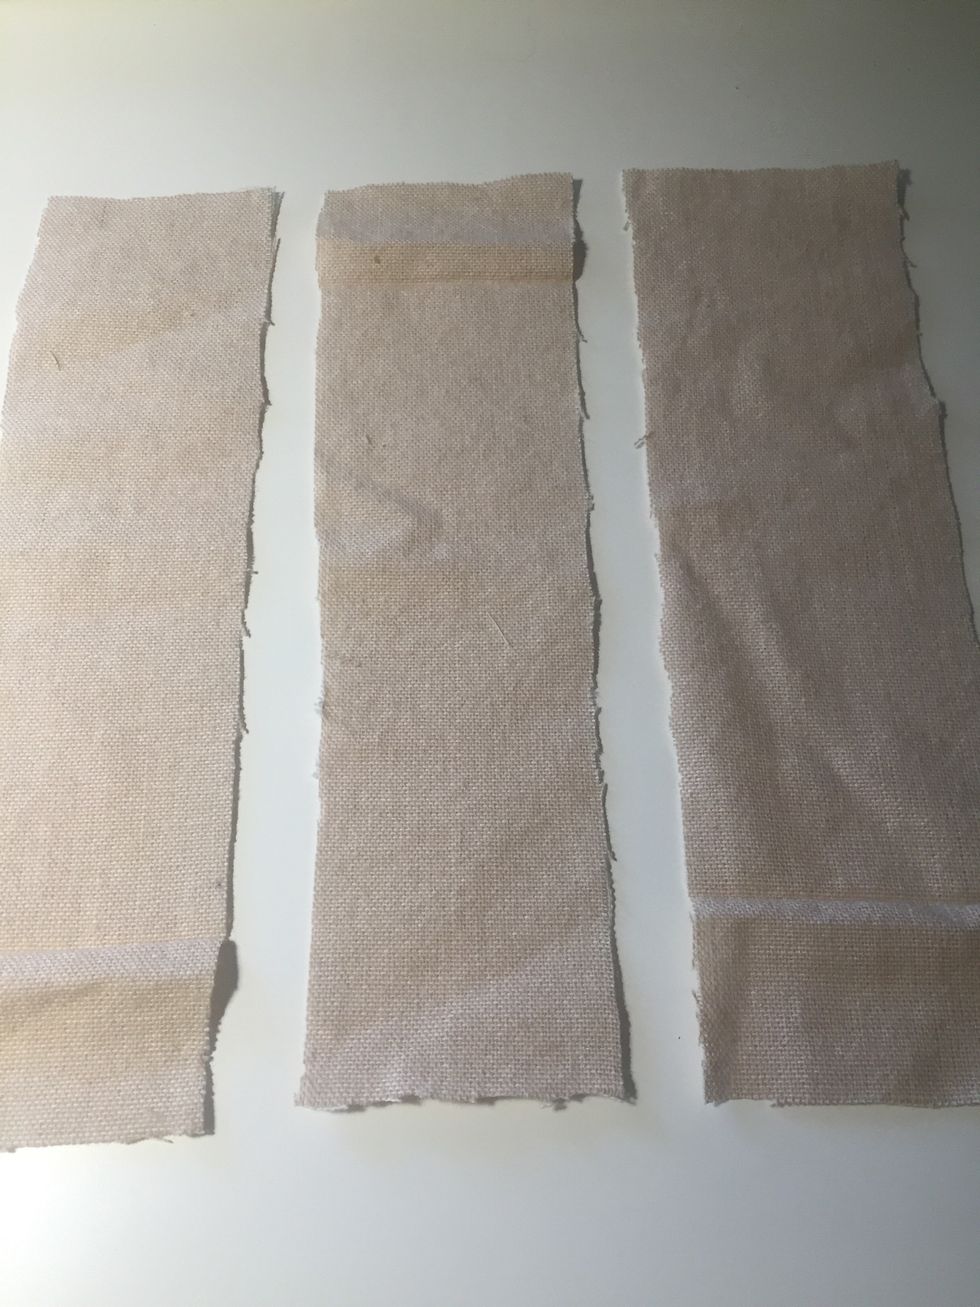
Cut three pieces of cotton or similar fabric
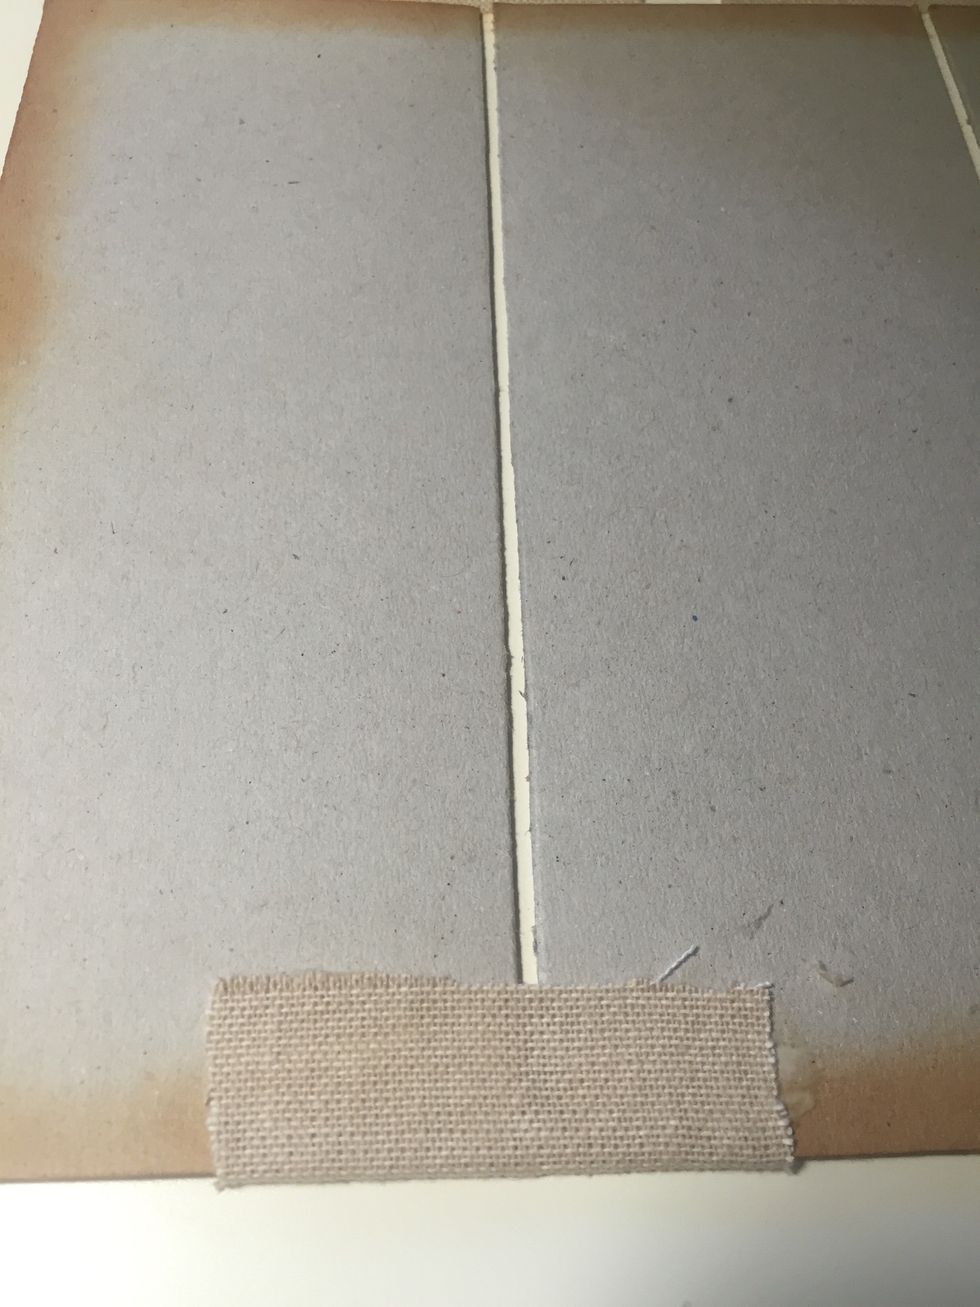
And adhere them to the backs of the chipboards pieces
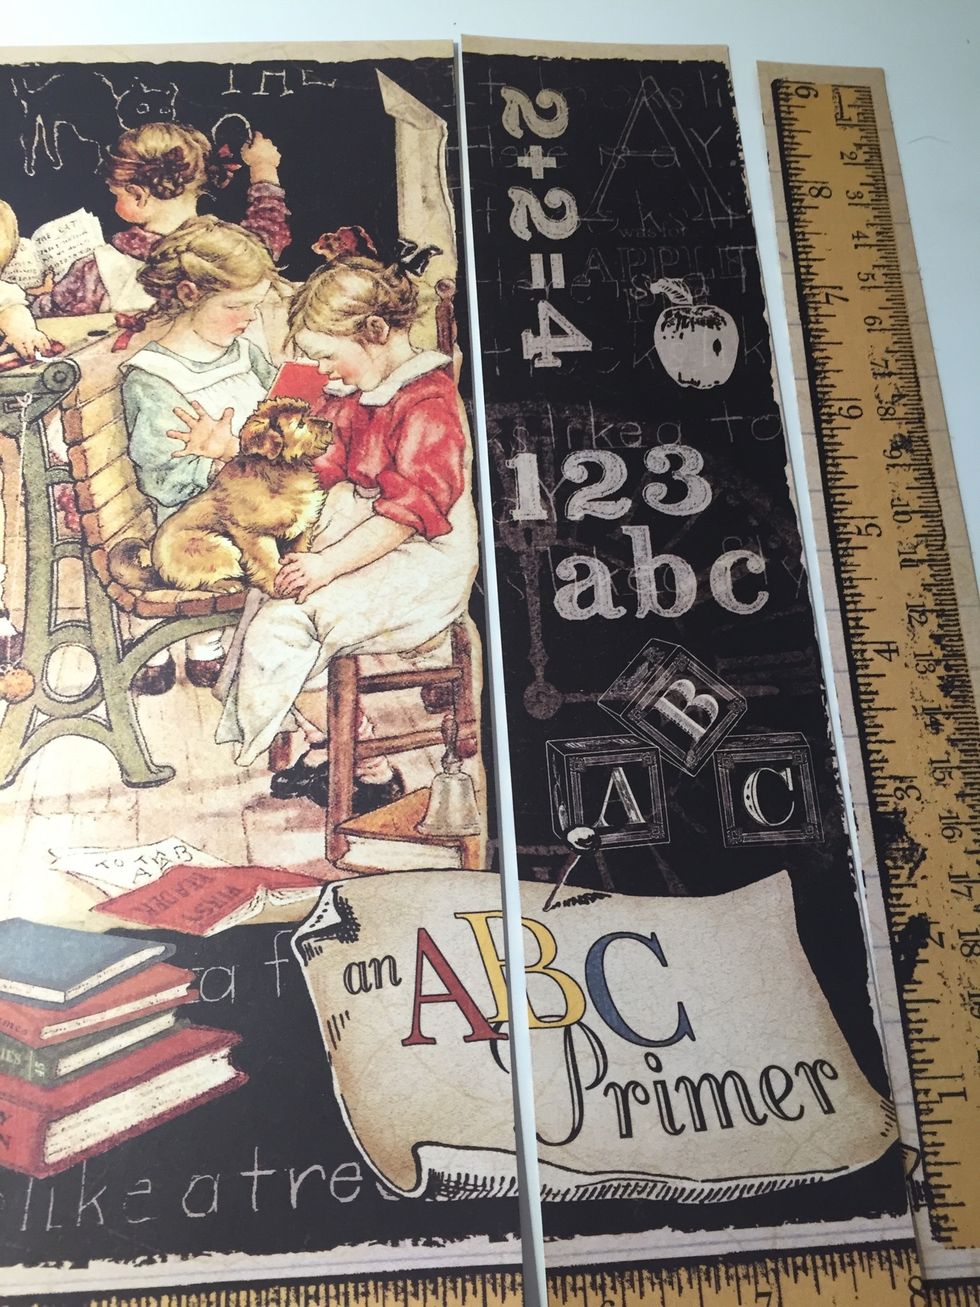
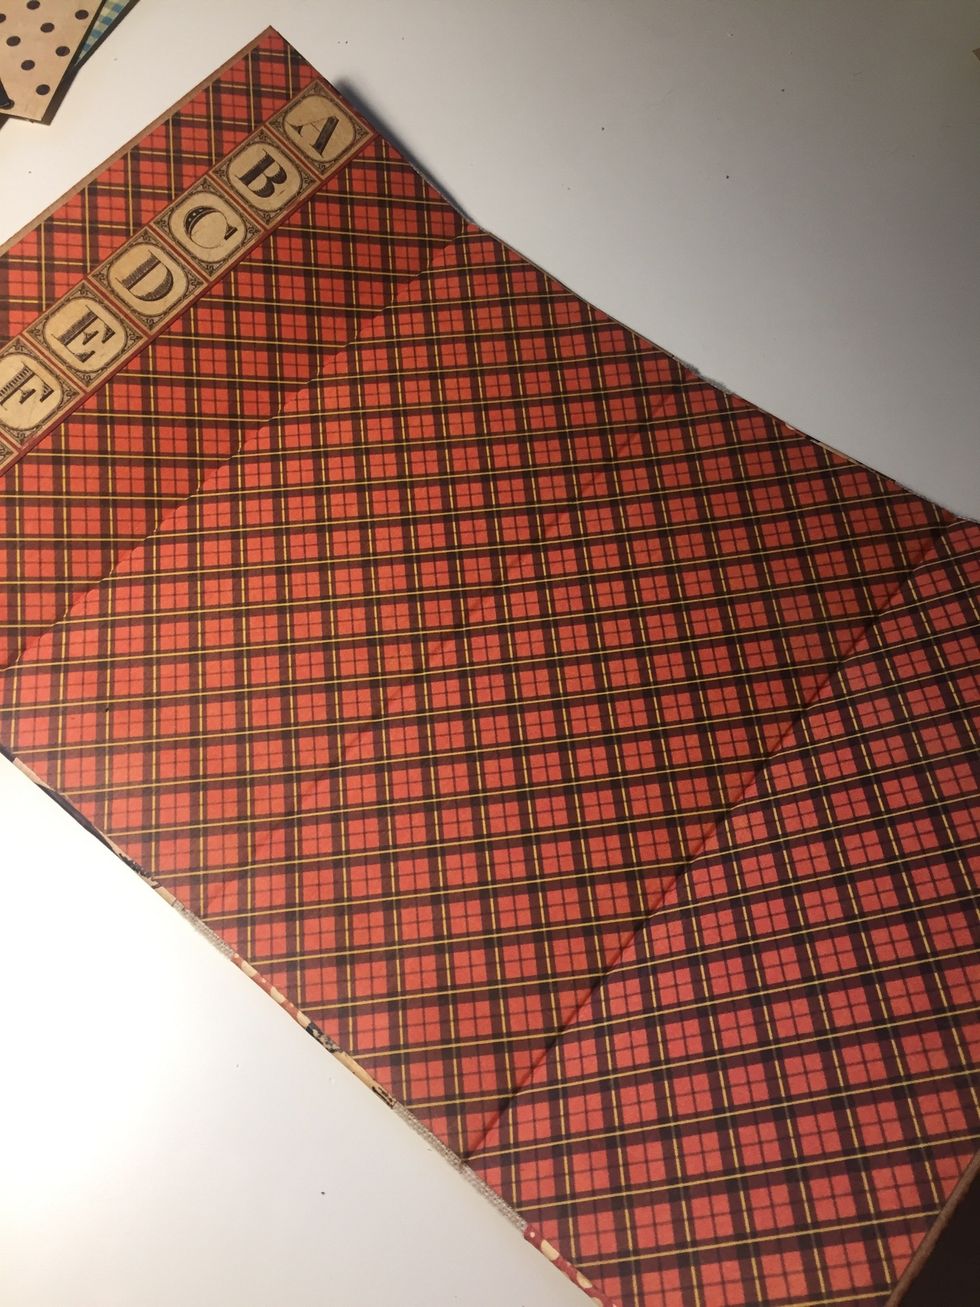
Select desired pieces of ABC paper, and cut them to cover the chipboard.

Adhere this to the chipboard
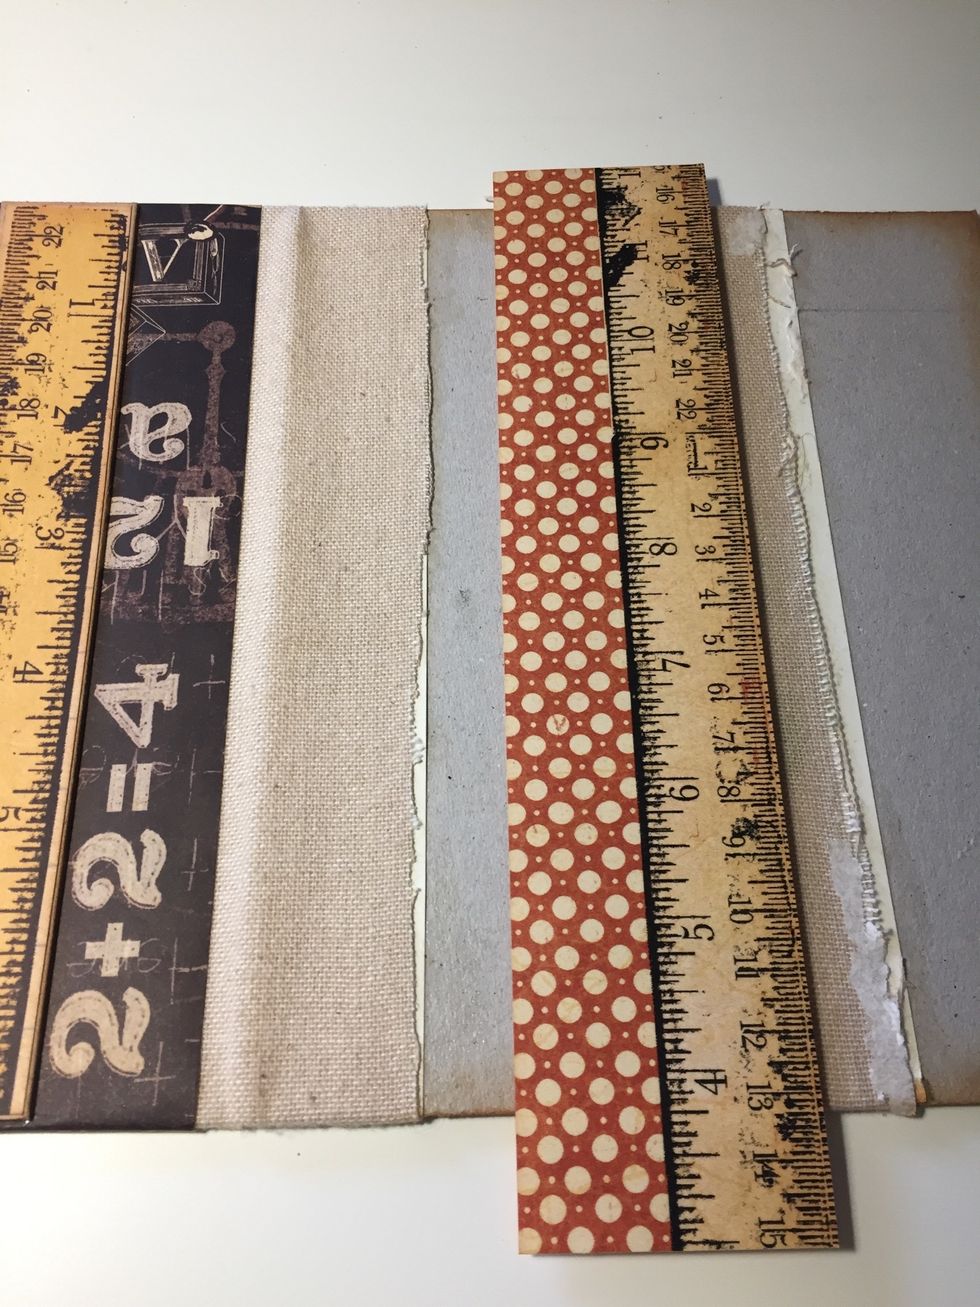
Repeat the process with all the front surfaces
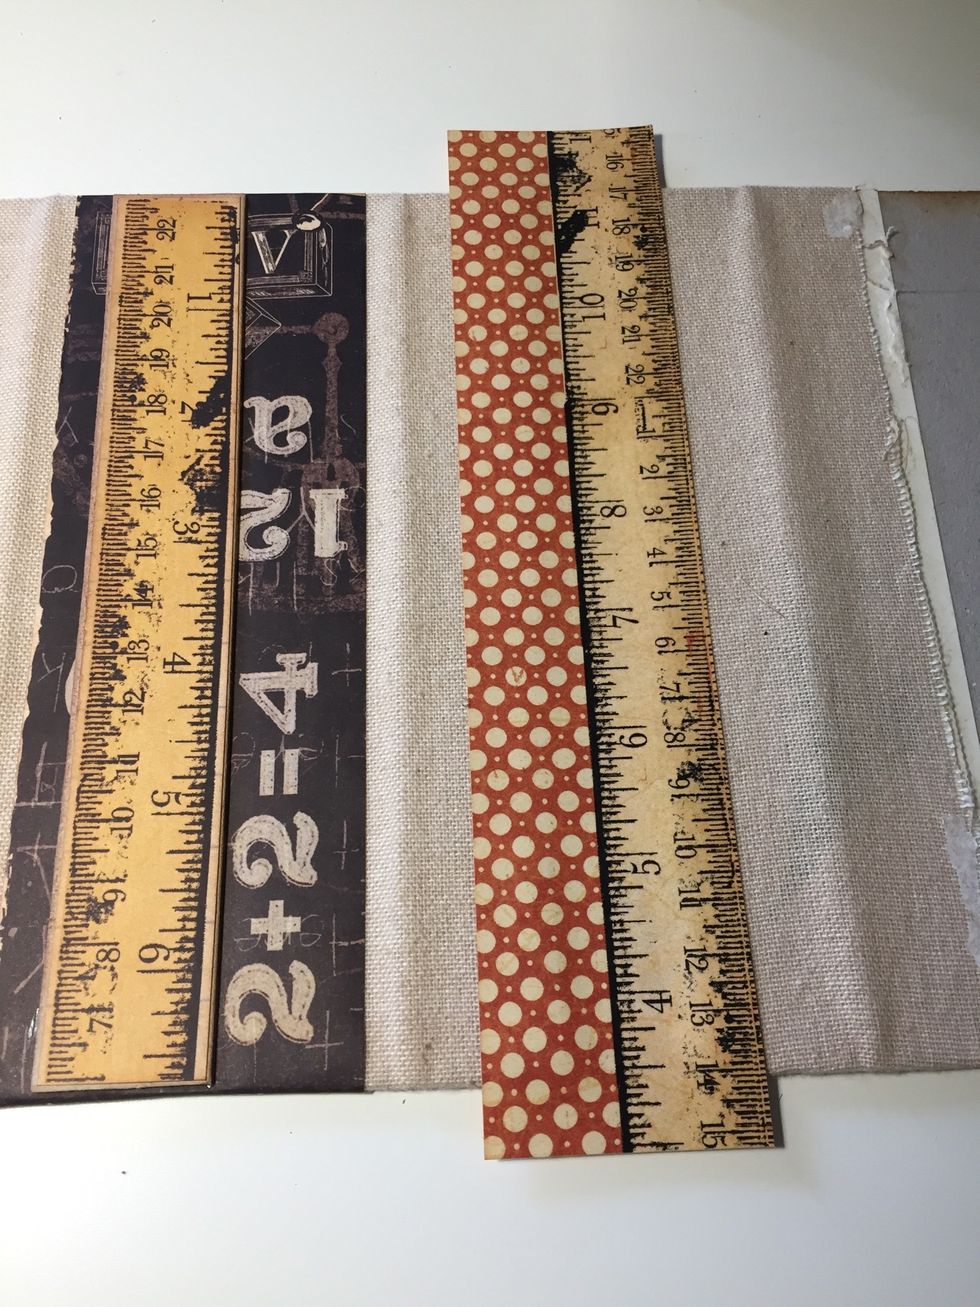
Like this..

This is how it will look ...

Now we have cover the front of our pencil case.
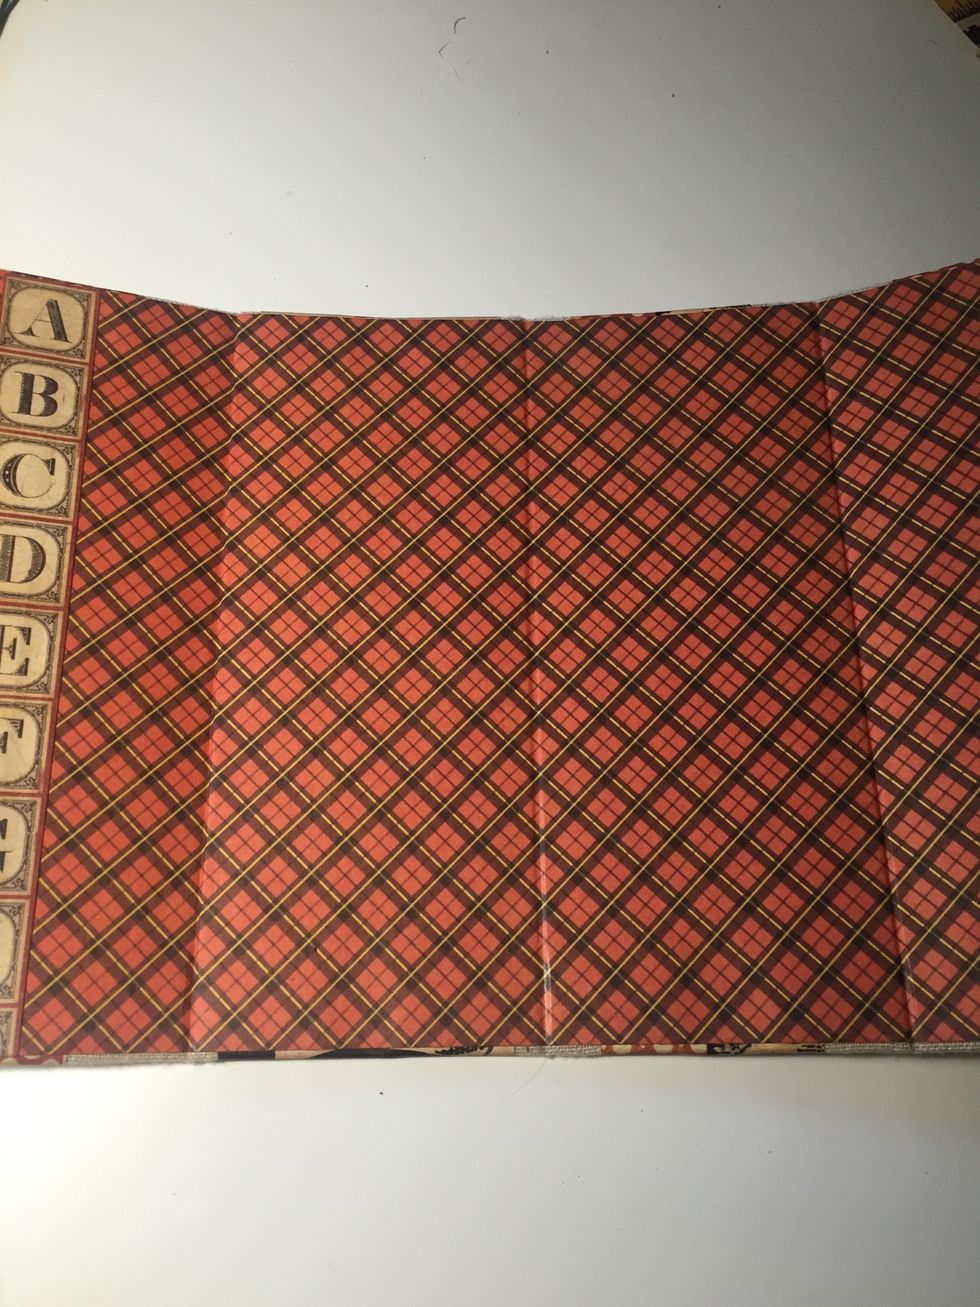
For the back side, cut a piece of ABC paper and and adhere to the back case
Now cut four stripes of paper and score them
Adhere the pieces of paper here as shown, cut away the corners...

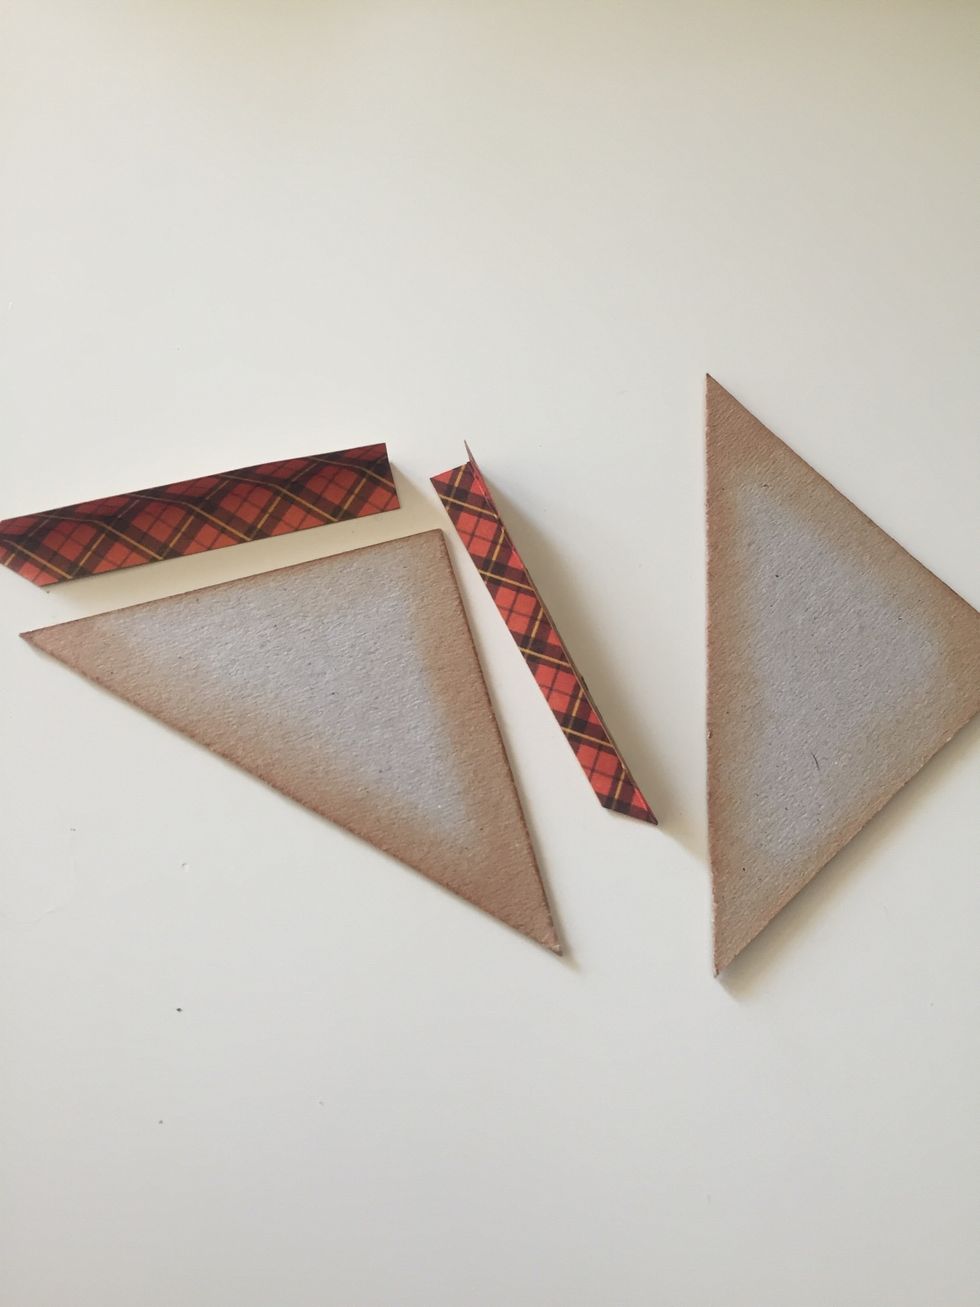
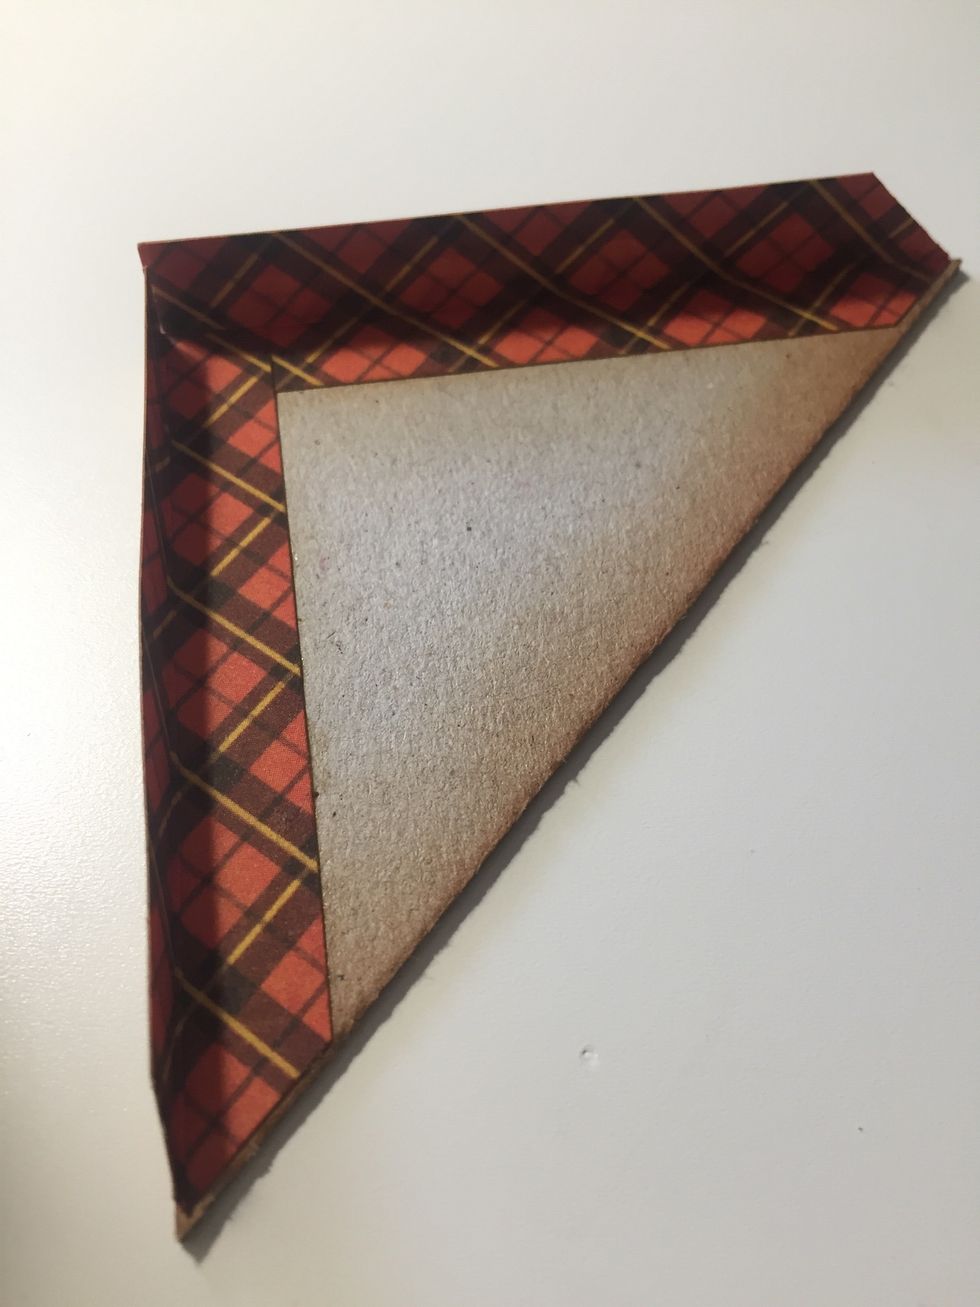
Repeat the steps with four triangles
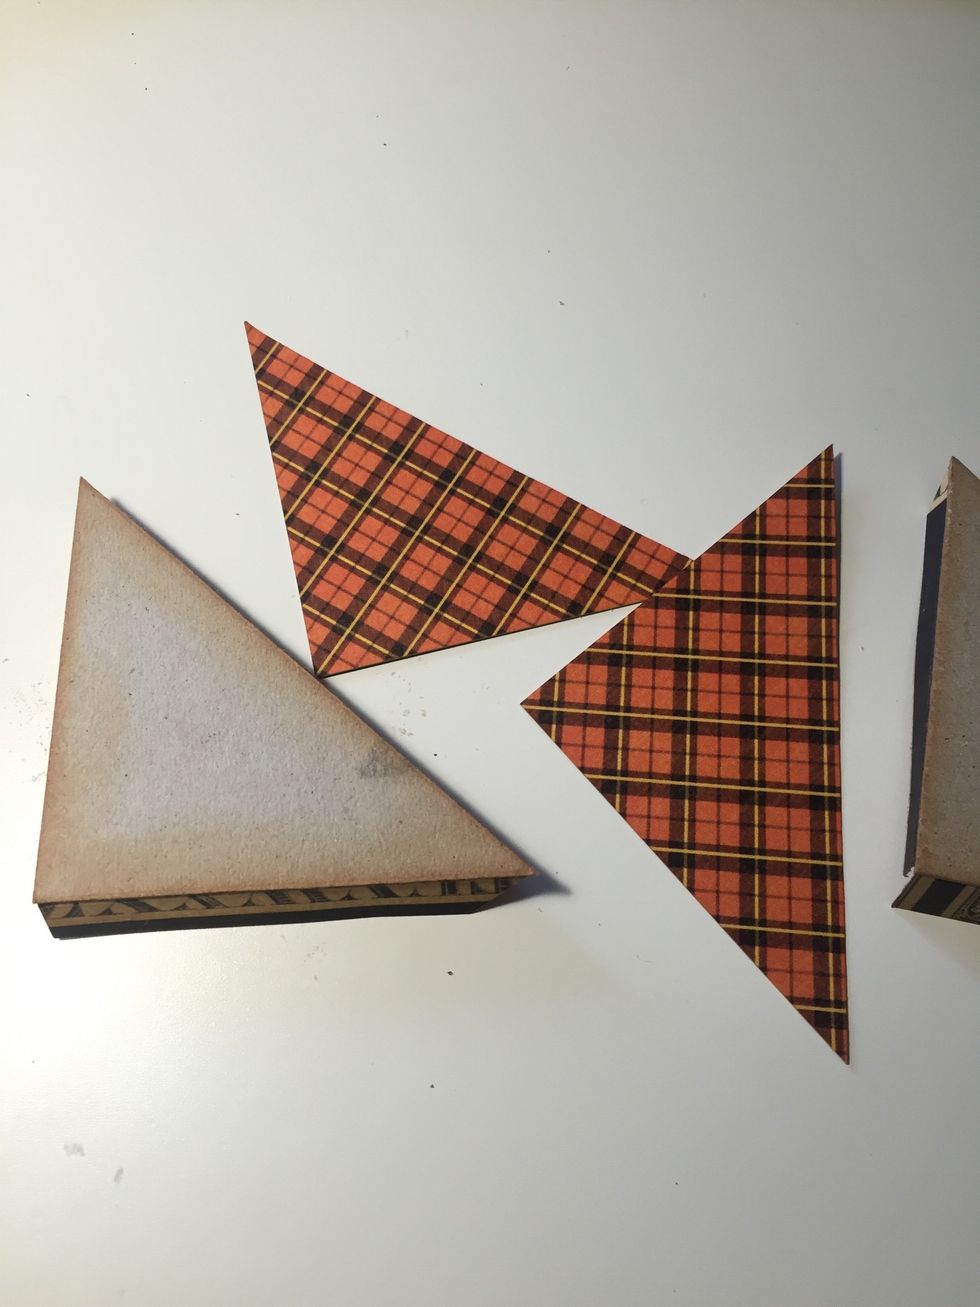
Cover them with decorative paper

Cut two pieces of cardstock with this measure

You will score this ...
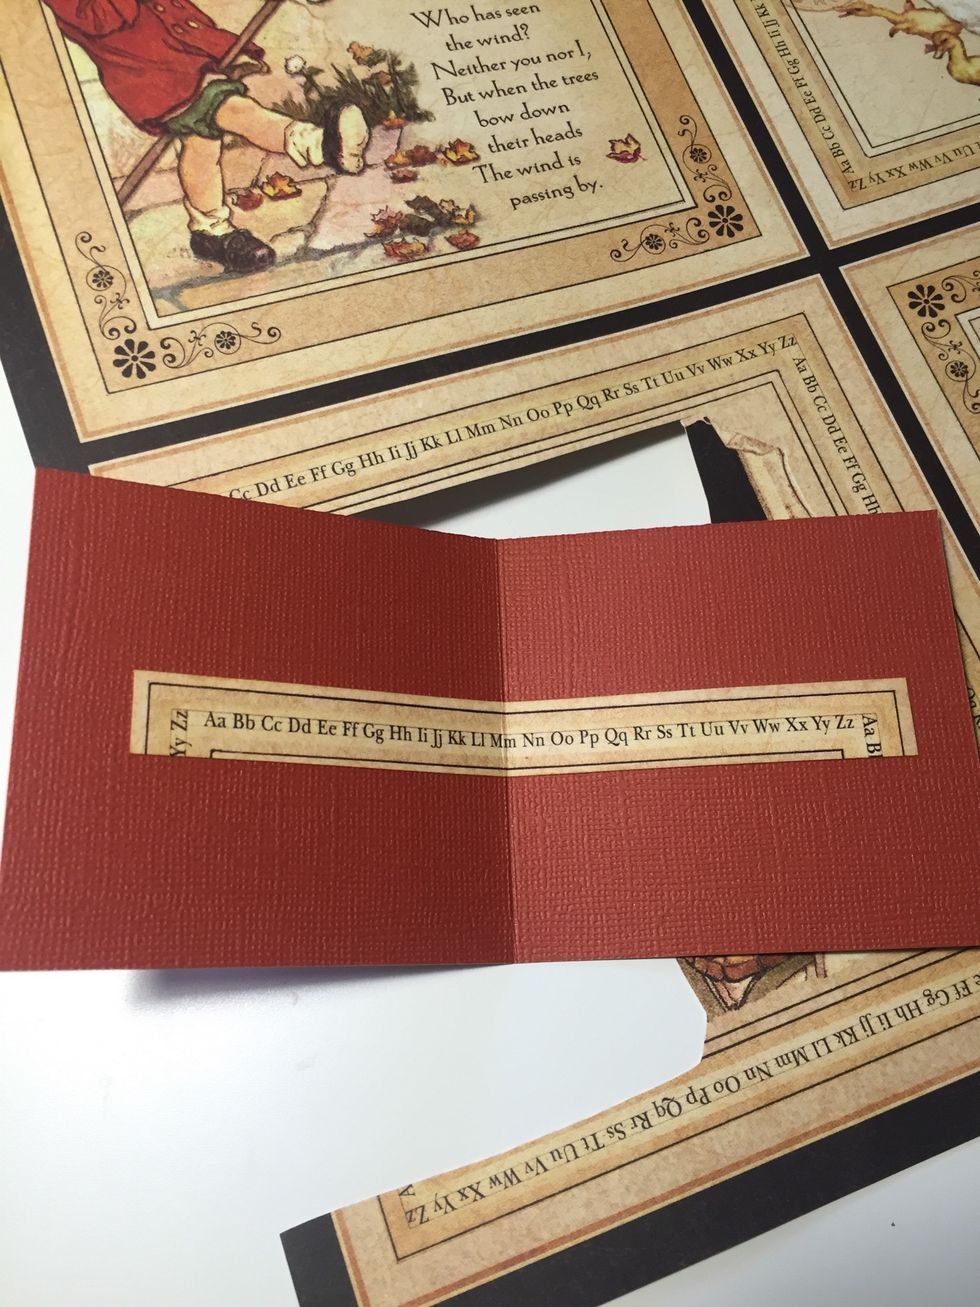
Cut a stripe of decorative paper and adhere it to the cardstock
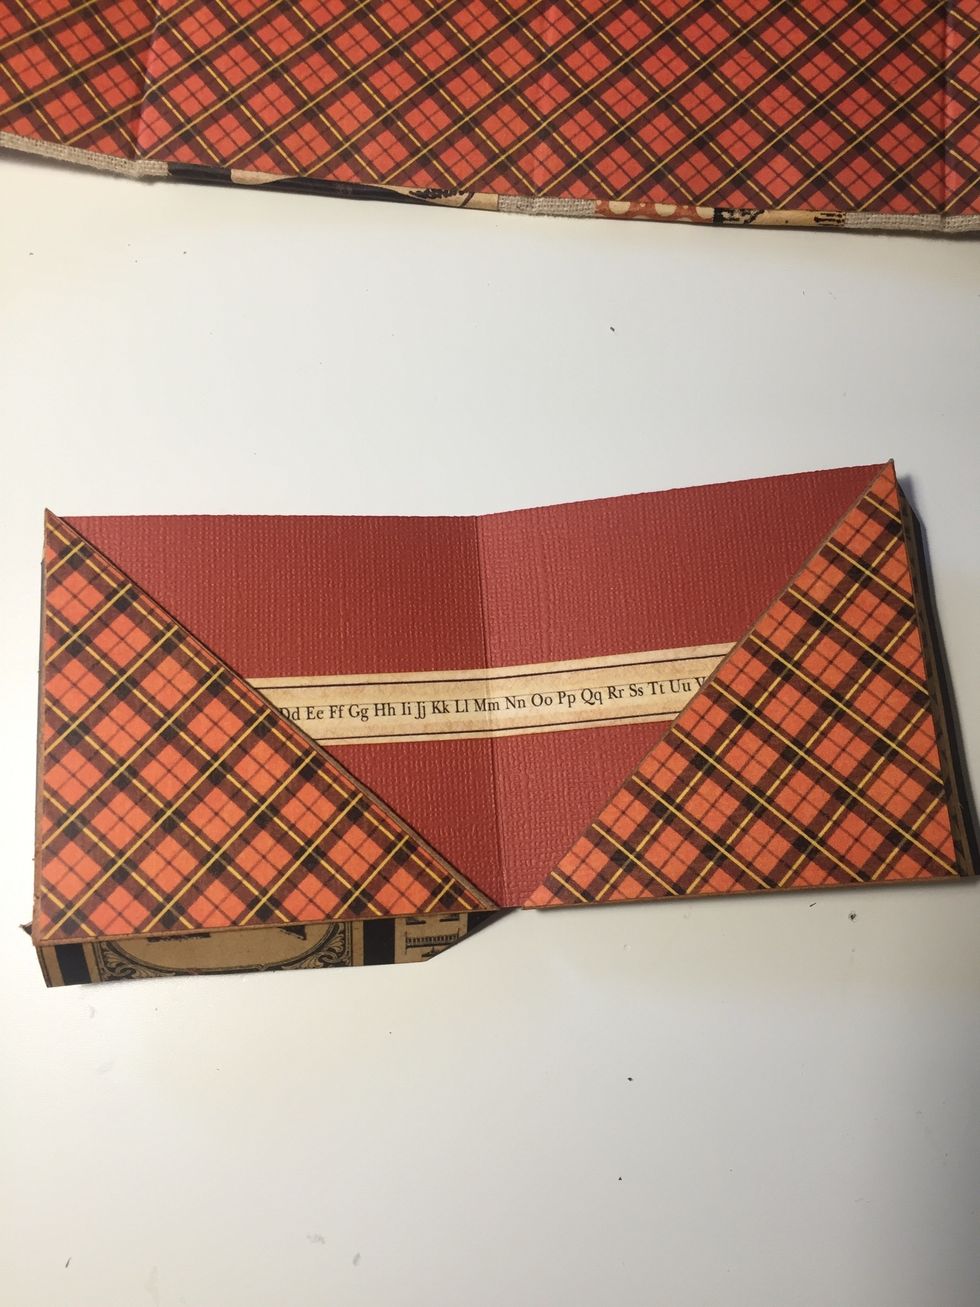
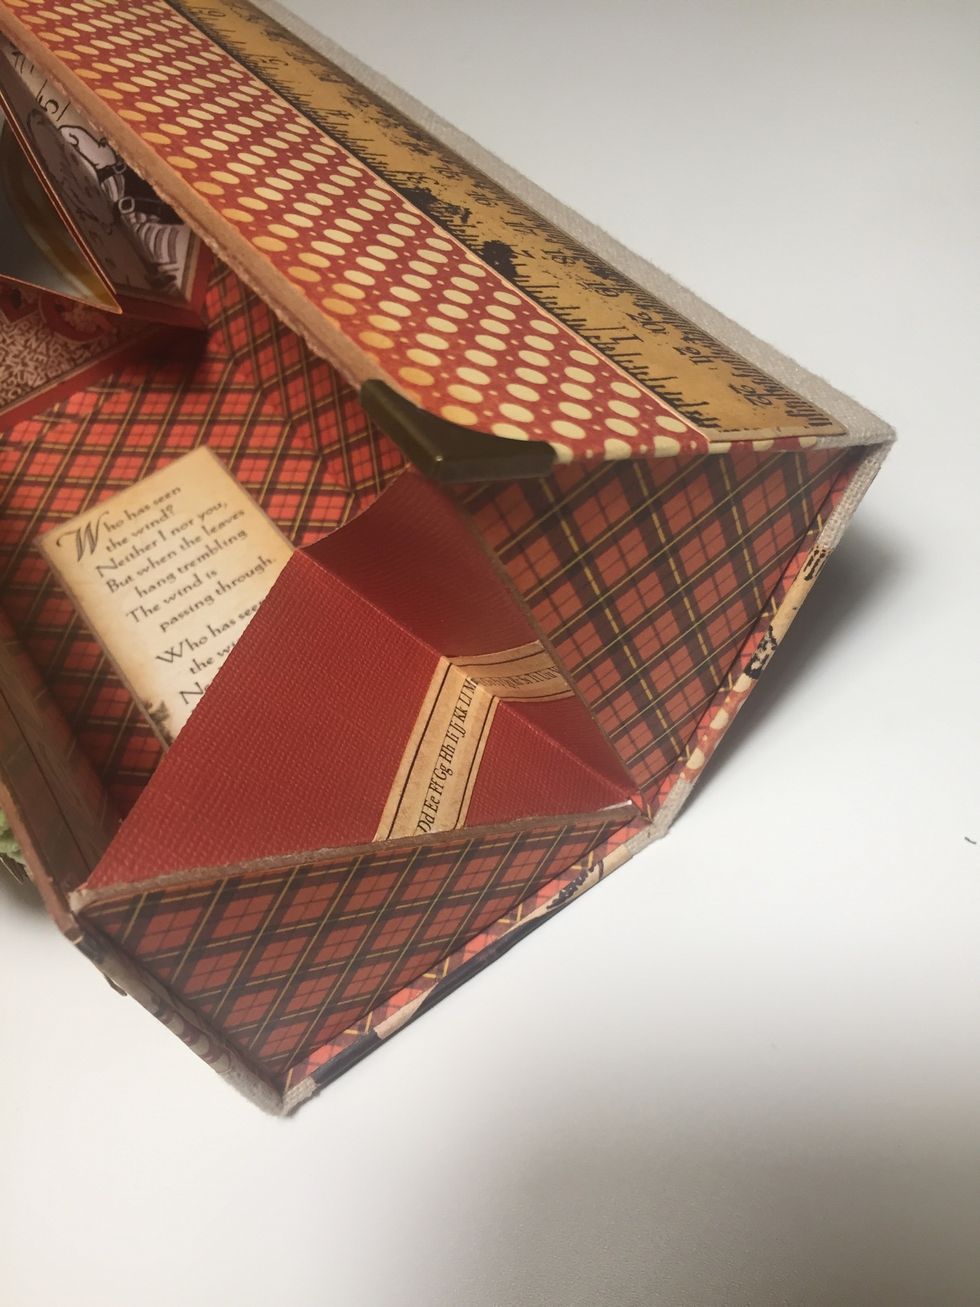
In this step you must to adhere the piece of cardstock to two triangles.. As shown

And glue it in the midle of the case..

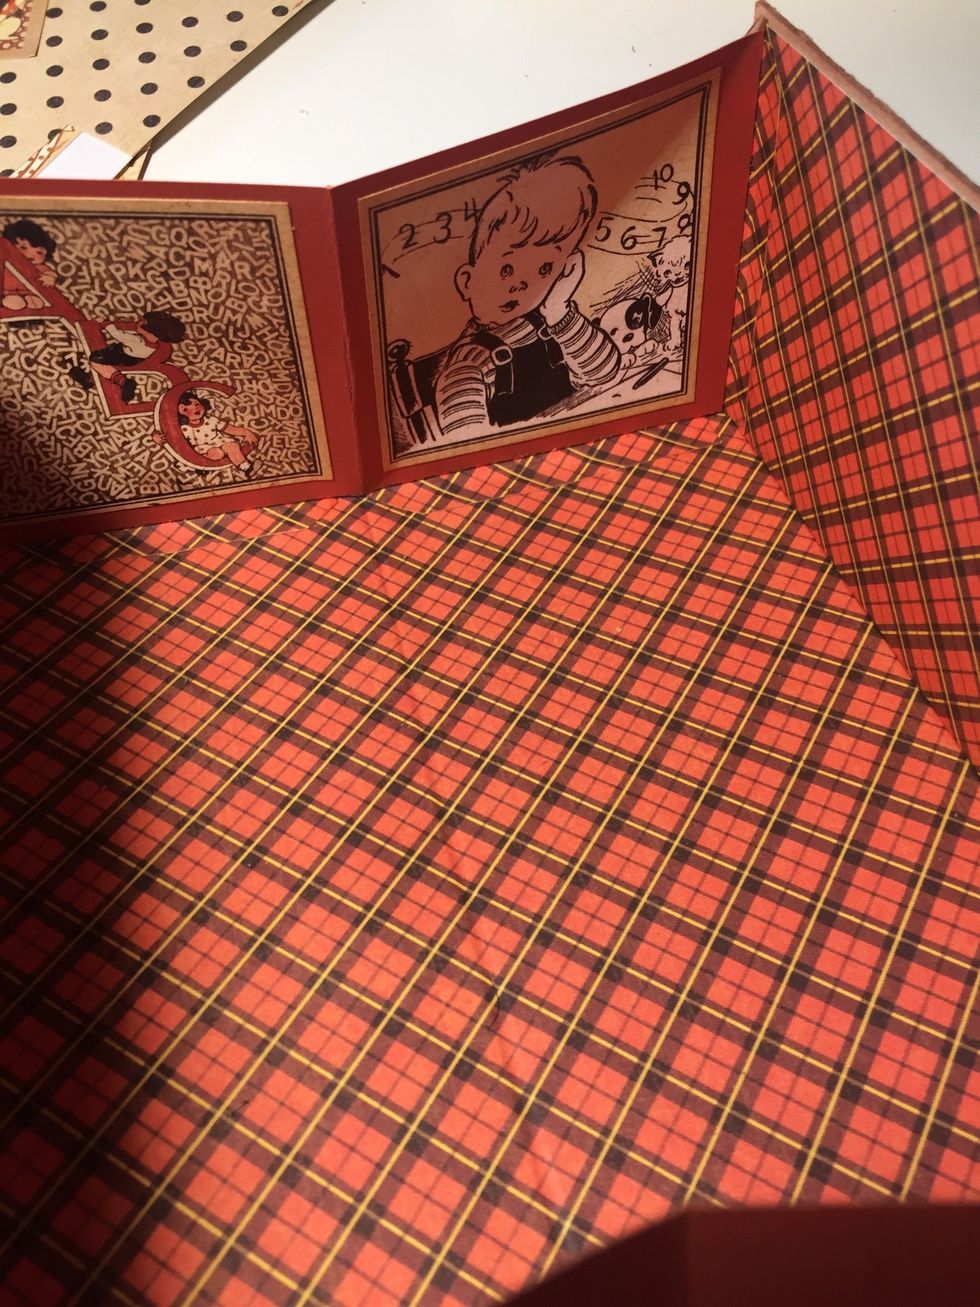
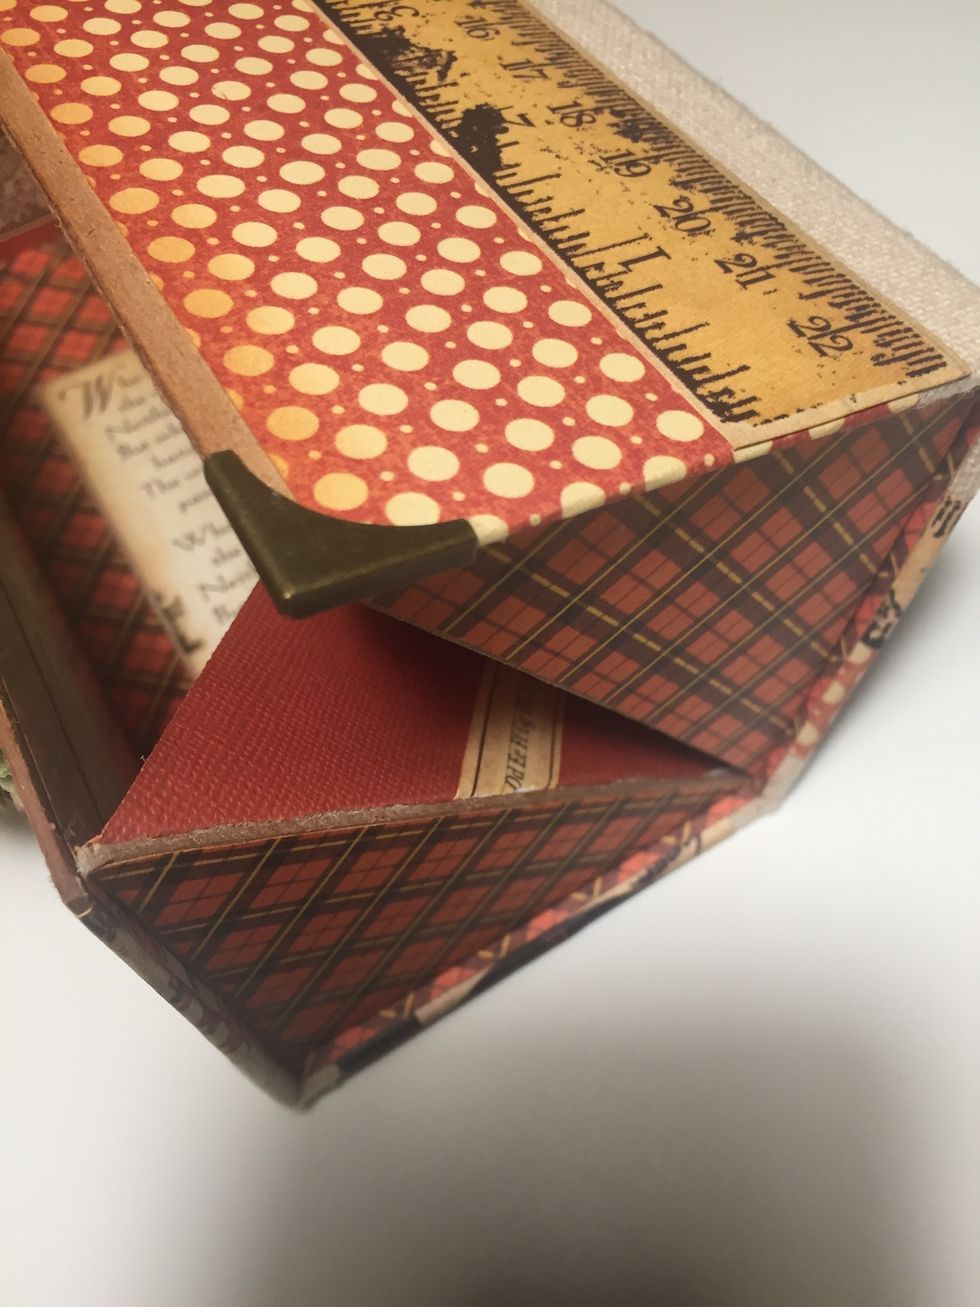
Use strong adhesive to adhere the triangles to the case...as shown.. Form a close box
Cut some pieces of decorative ABC paper to cover the inside
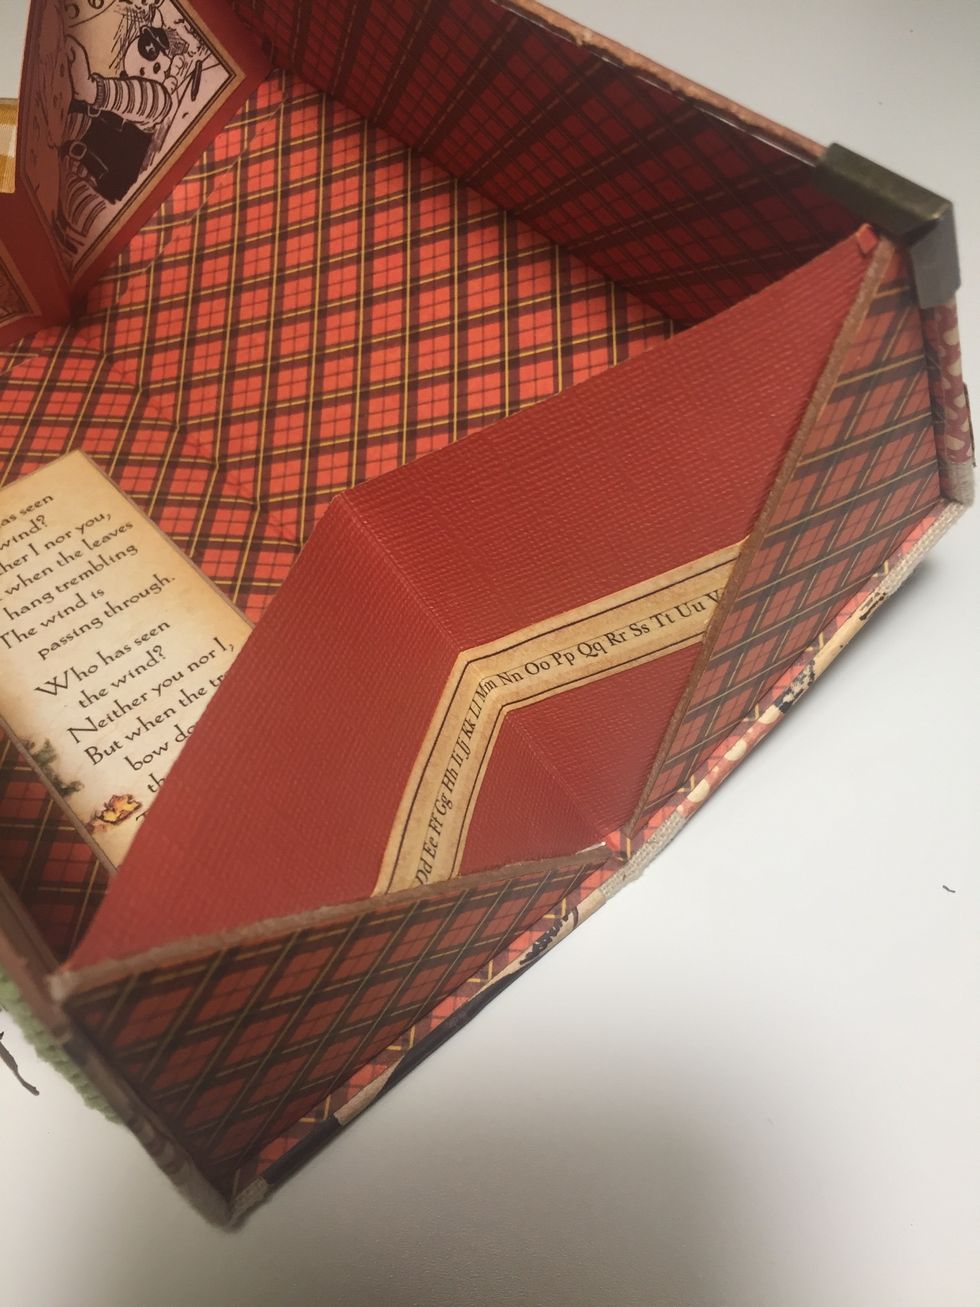
Score the cardstock and now you have finished your pencil case..

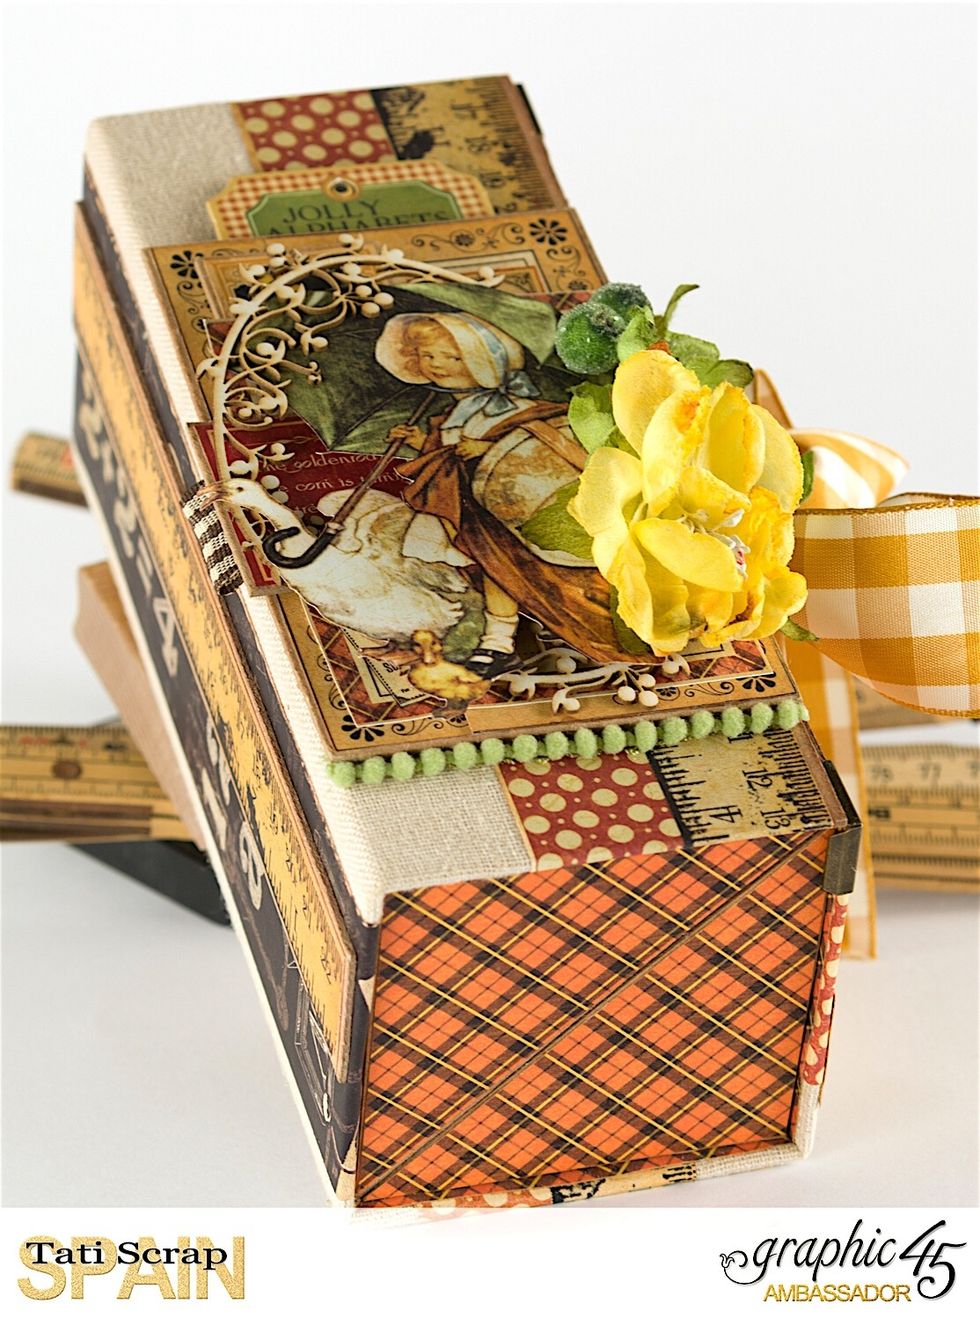
Fussy cut elements fron ABC papers and adhere then to the pencil case.
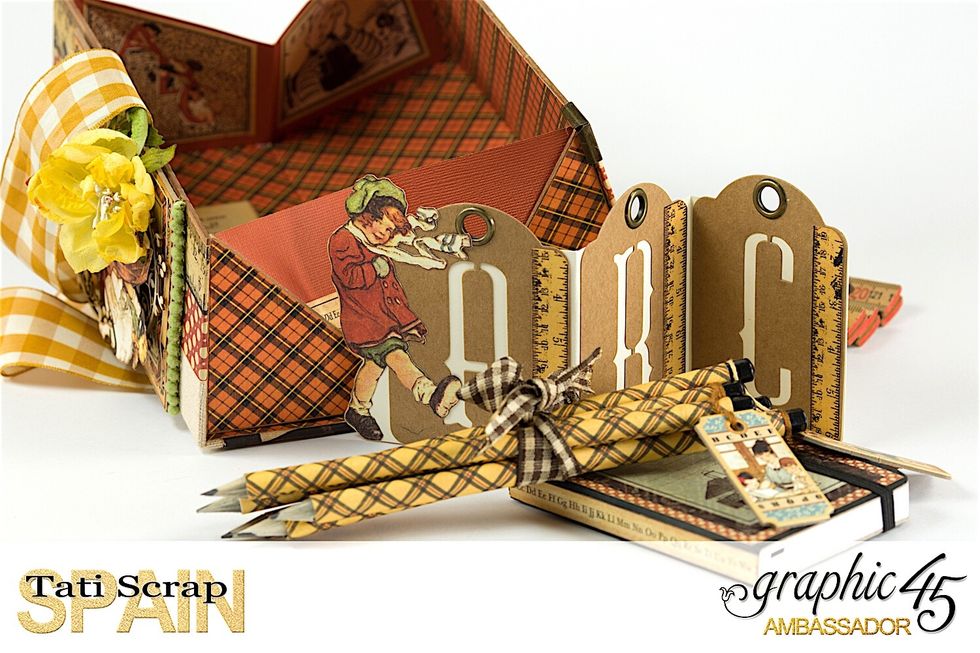
Finish with pencils, notebooks and decorative ABC tags and you're already for a "Back to School" perfect :)
Thanks for all! Tatiscrap.wordpress.com