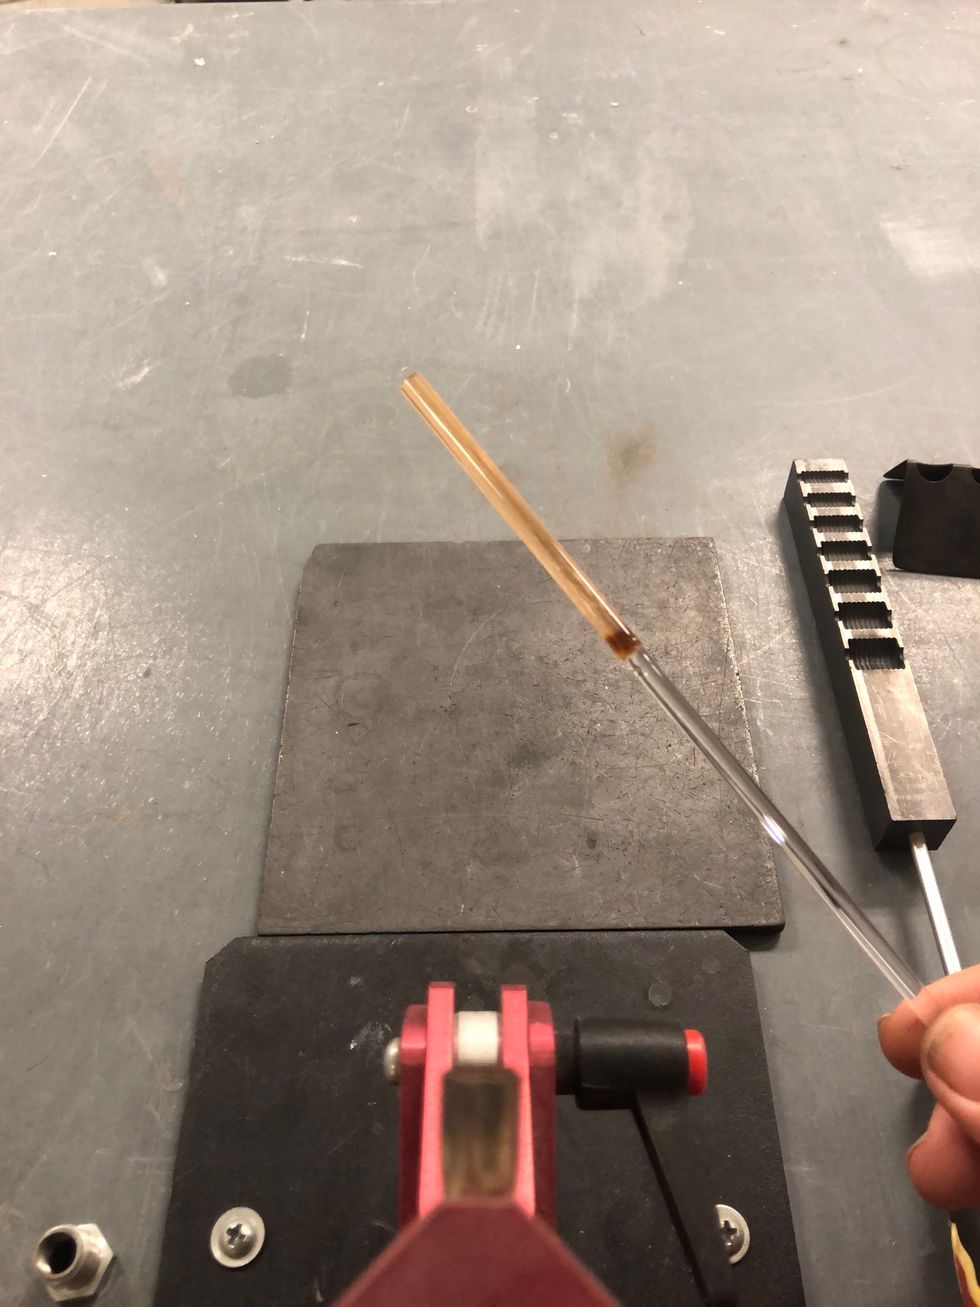
Portioning off the appropriate amount of glass can make for more consistent core sizes when using a beadroller or mold. This piece is about 2.75” long.
I’m using a CGBeads ribbed cylinder mold for the core of this bead.
Set a neutral flame. If in doubt, increase the oxygen. A higher-oxygen flame will help the Phaeton stay clean while you work it.
Join the portion of Phaeton onto a punty of scrap clear, then give it a little tug just before it cools/sets up to decrease strain at the junction.
There we go.
Wrap the Phaeton onto a mandrel coated in bead release. Use the beadroller cavity as a guide to determine how long to make the core.
Separate the punty, leaving a small bit of Phaeton behind. This ensures that there is no unwanted punty material in your bead.
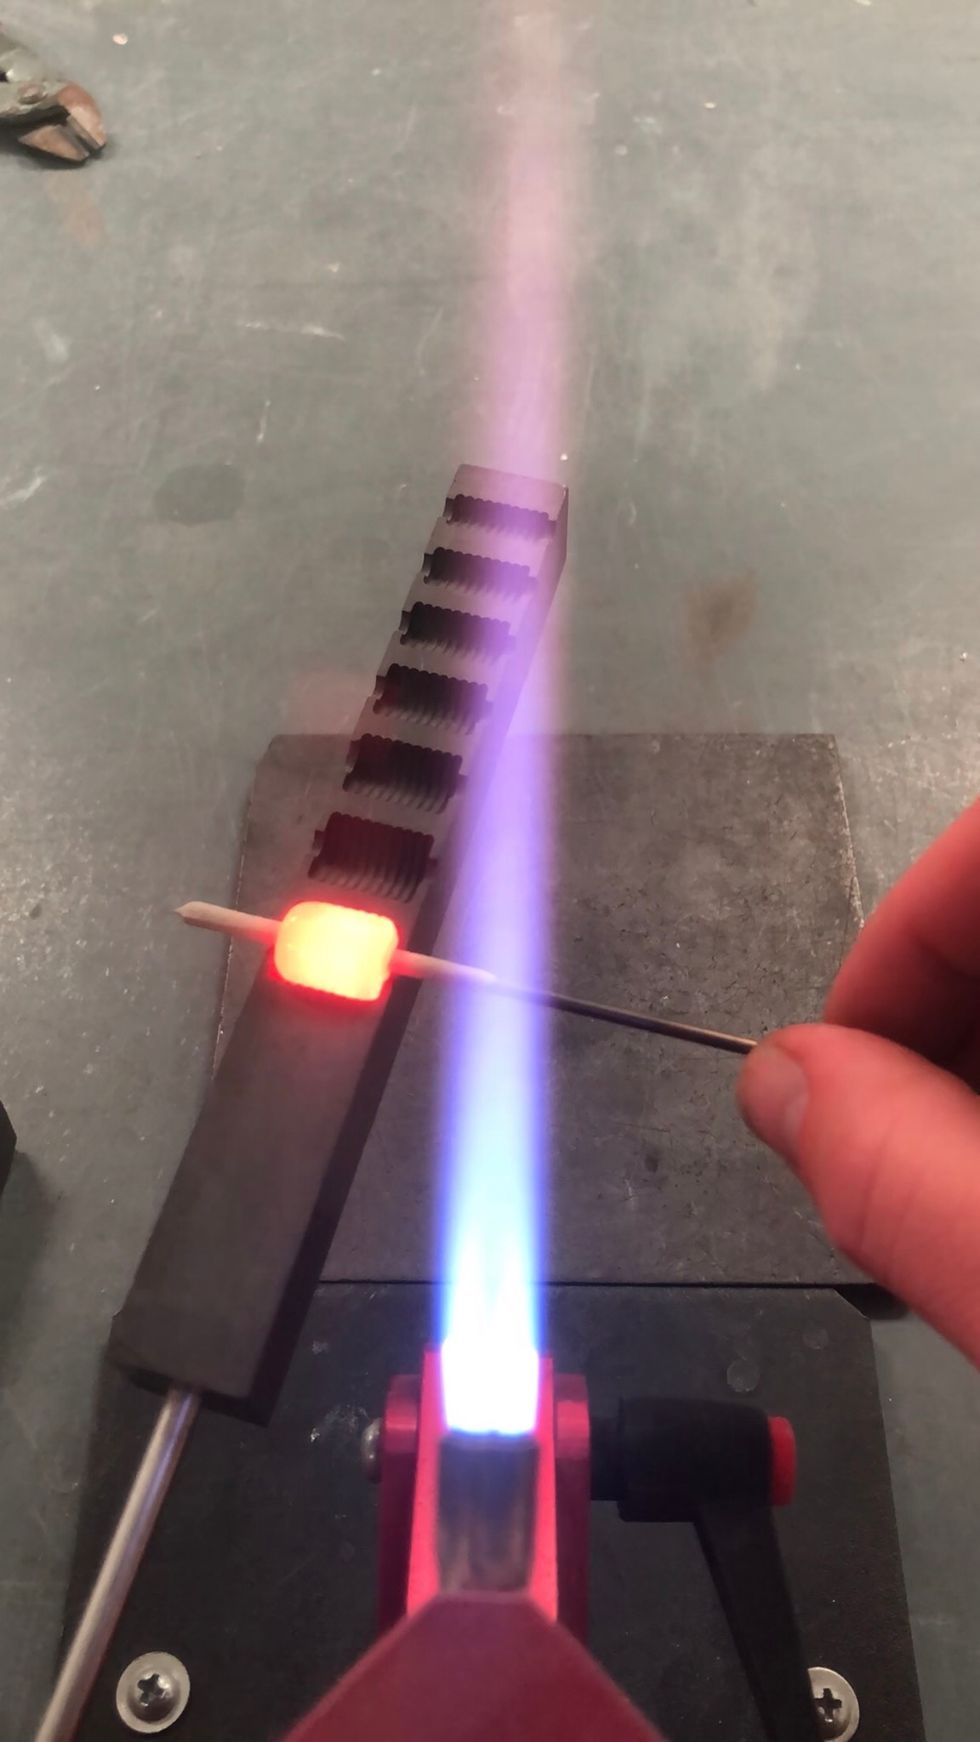
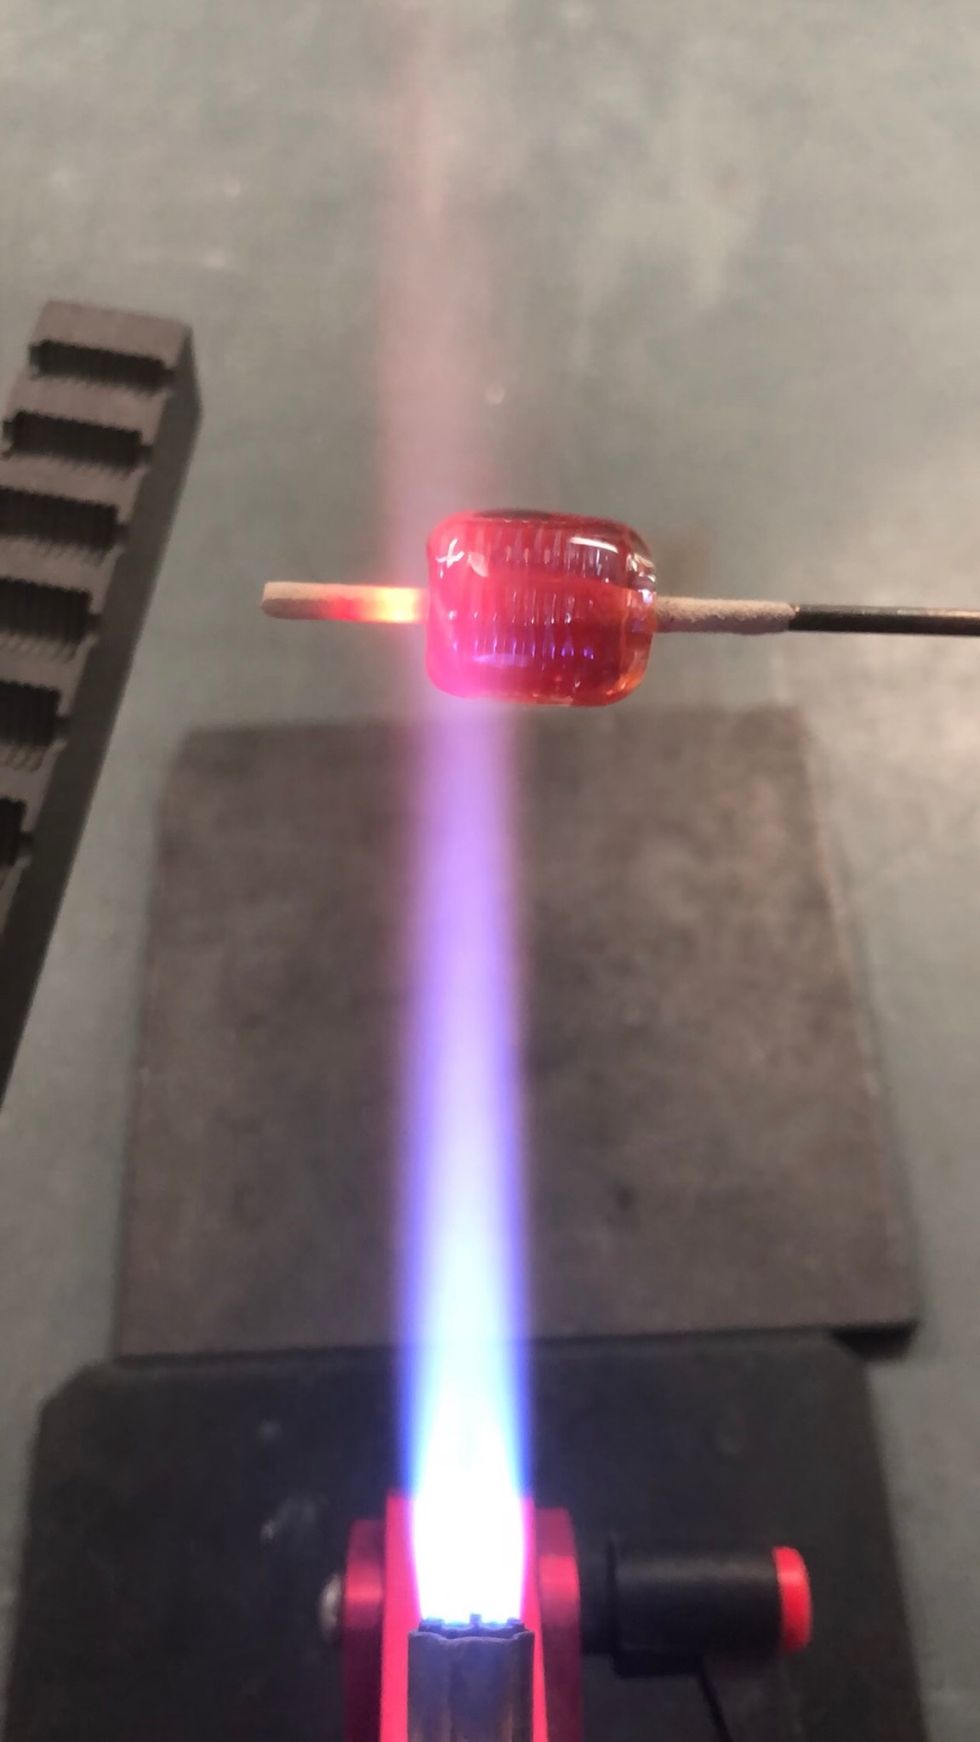
Reset the Phaeton. Give the glass enough heat that the original amber color becomes transparent pink. This will result in a pink-toned base under your pearlescence. Less heat = orange-amber color.
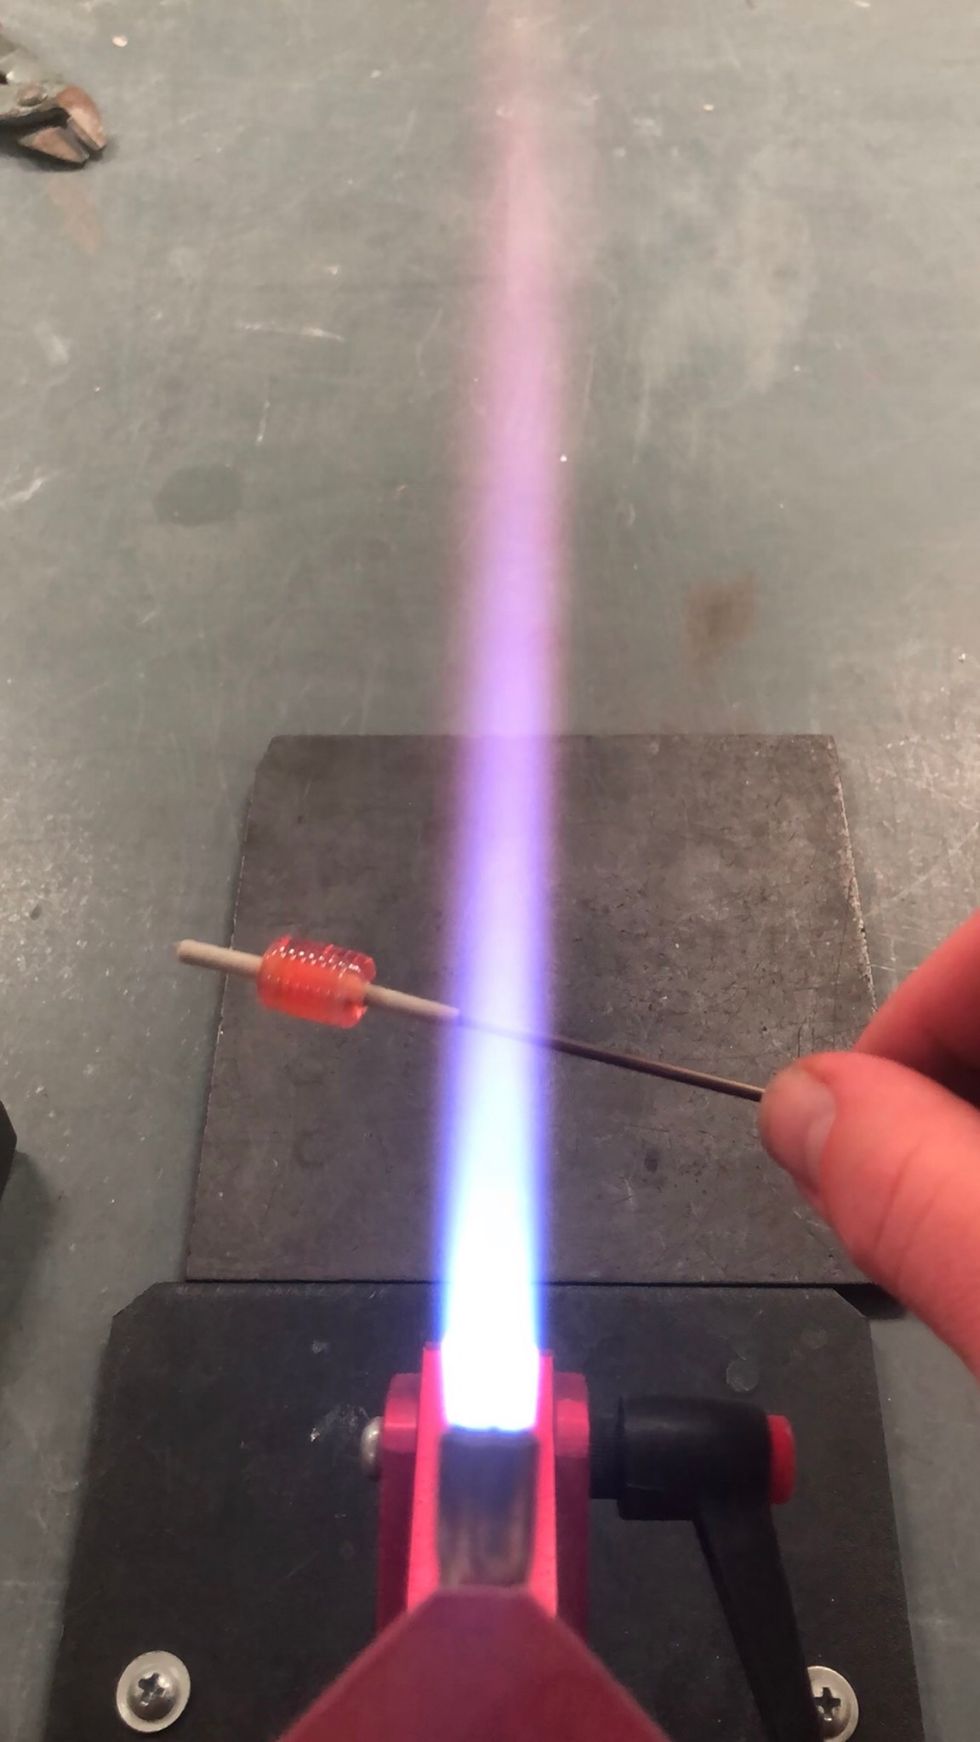
Gently roll the hot gather in the beadroller. This step takes a bit of practice to get just right.
There’s our core. Allow it to cool until the glow is gone while you work on the next step.
Set your torch to a reduction flame by turning up your fuel. Different torches will require different adjustments. Find what works for you.
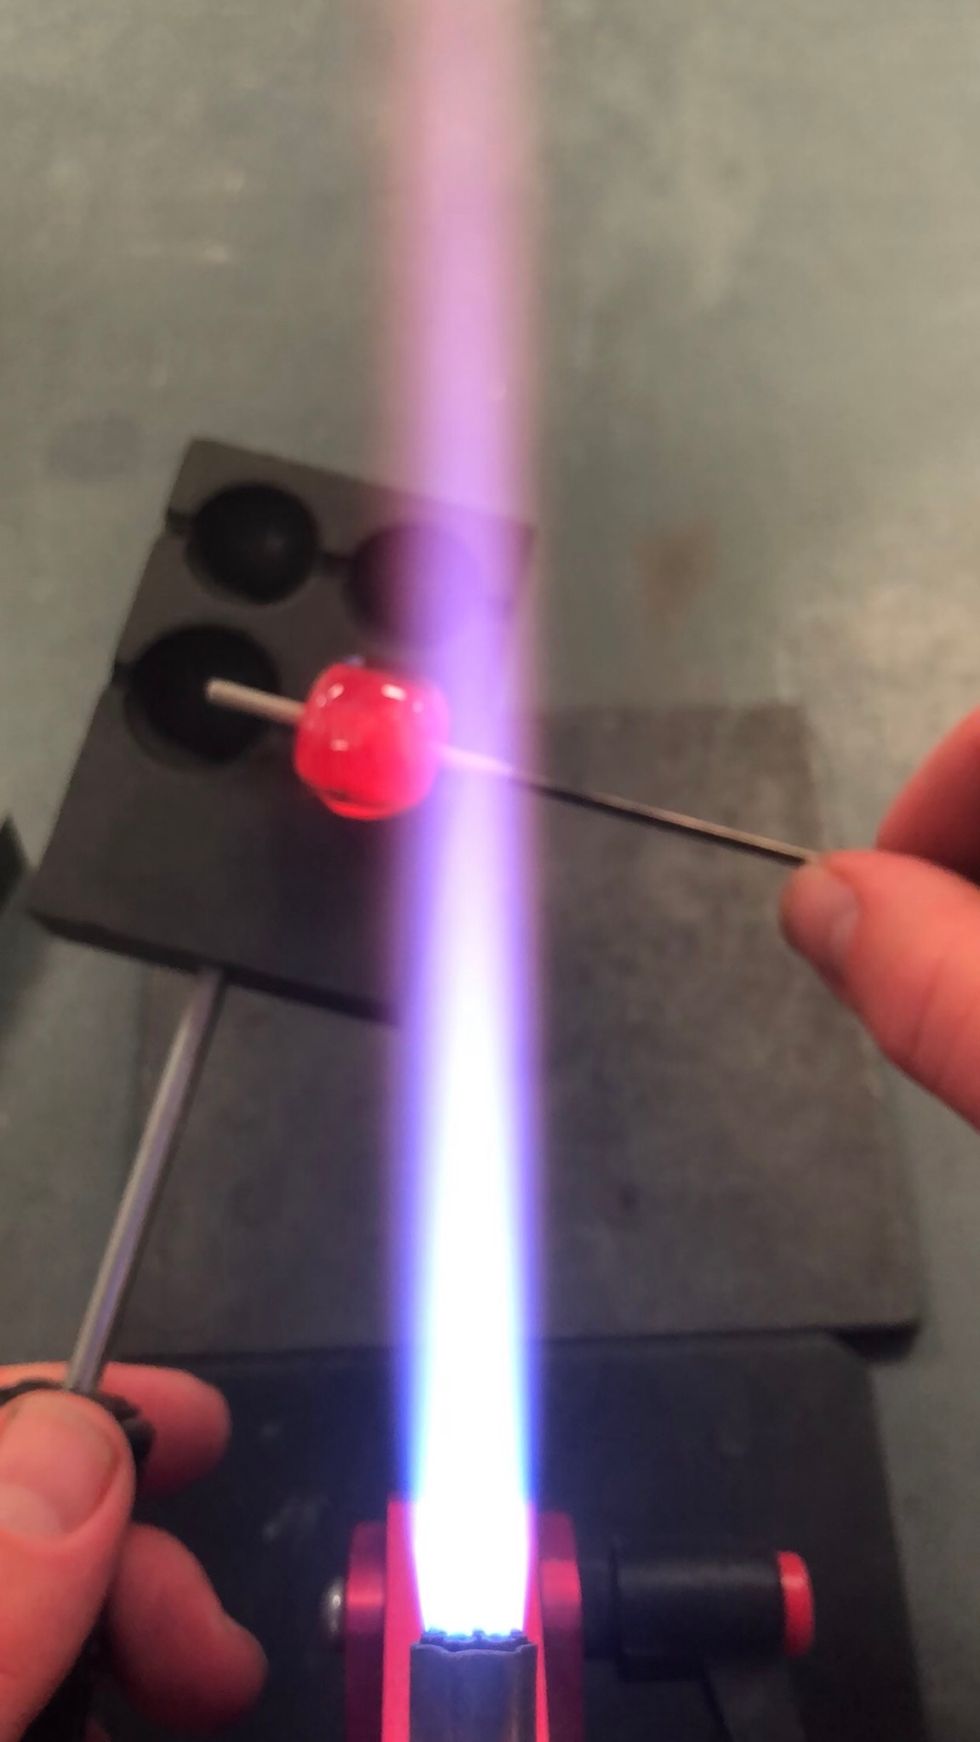
Briefly reduce the core. I reduce for about ten seconds, far out at the end of the flame, and then let the bead cool a bit. You can repeat as necessary, but don’t let the bead get hot while reducing.
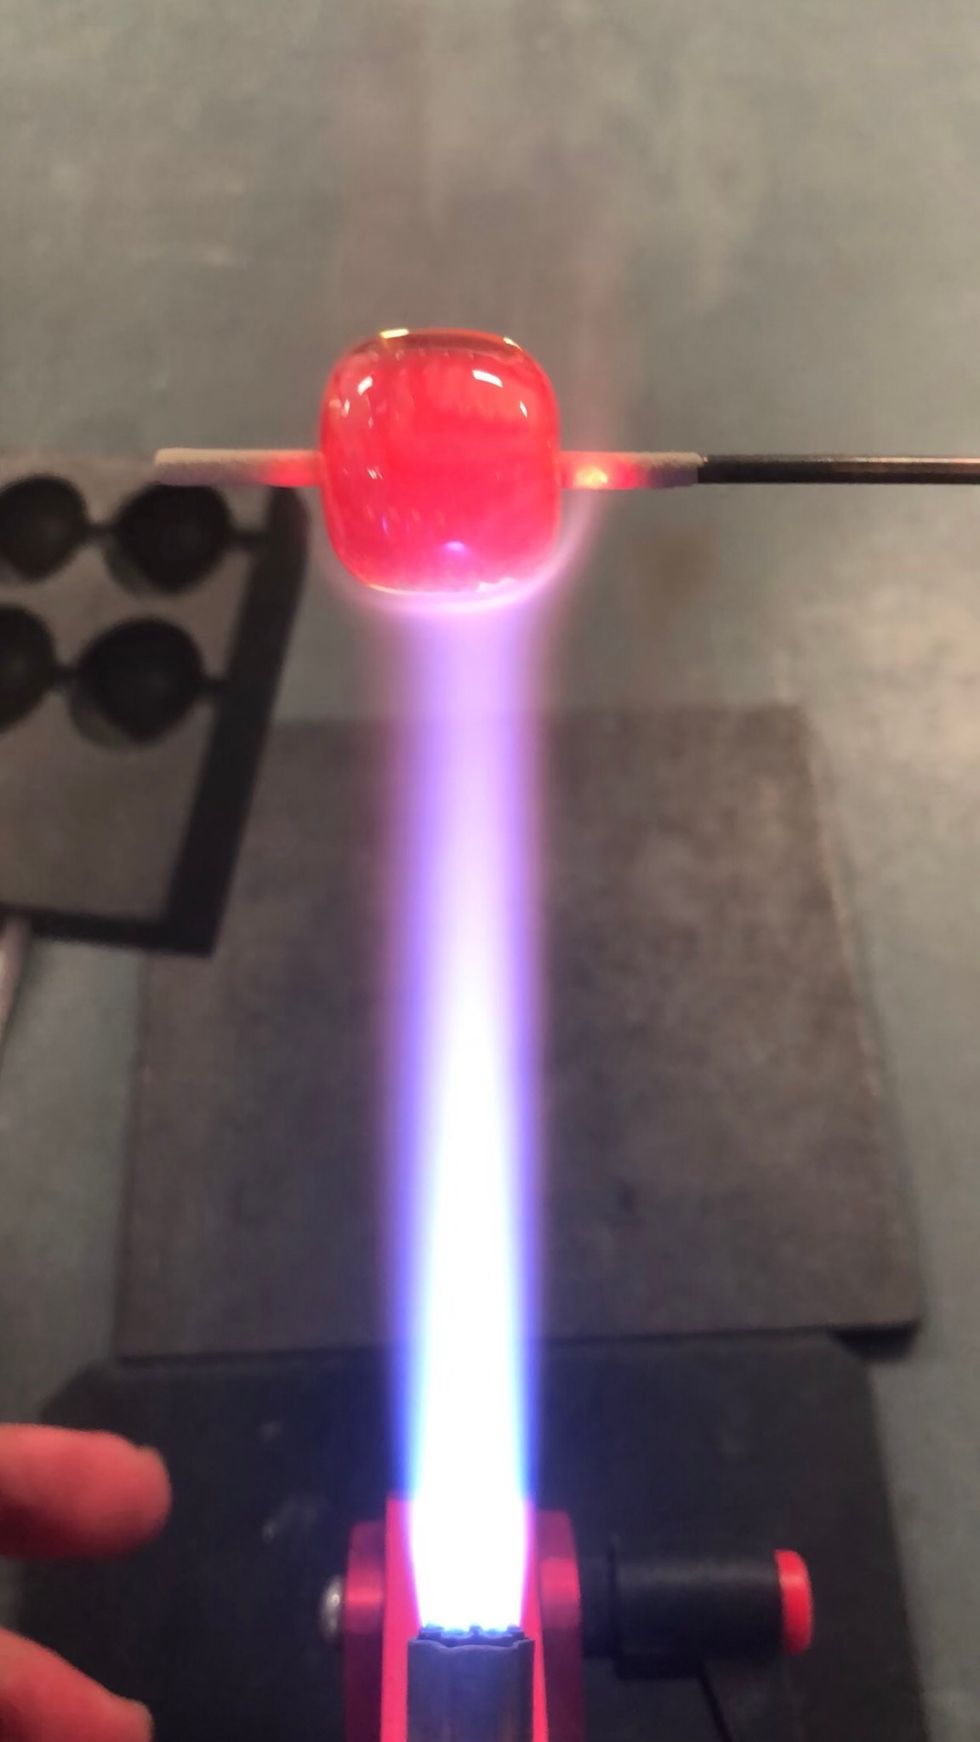
After the reduction process, a shiny metallic film will cover the outside of the bead.
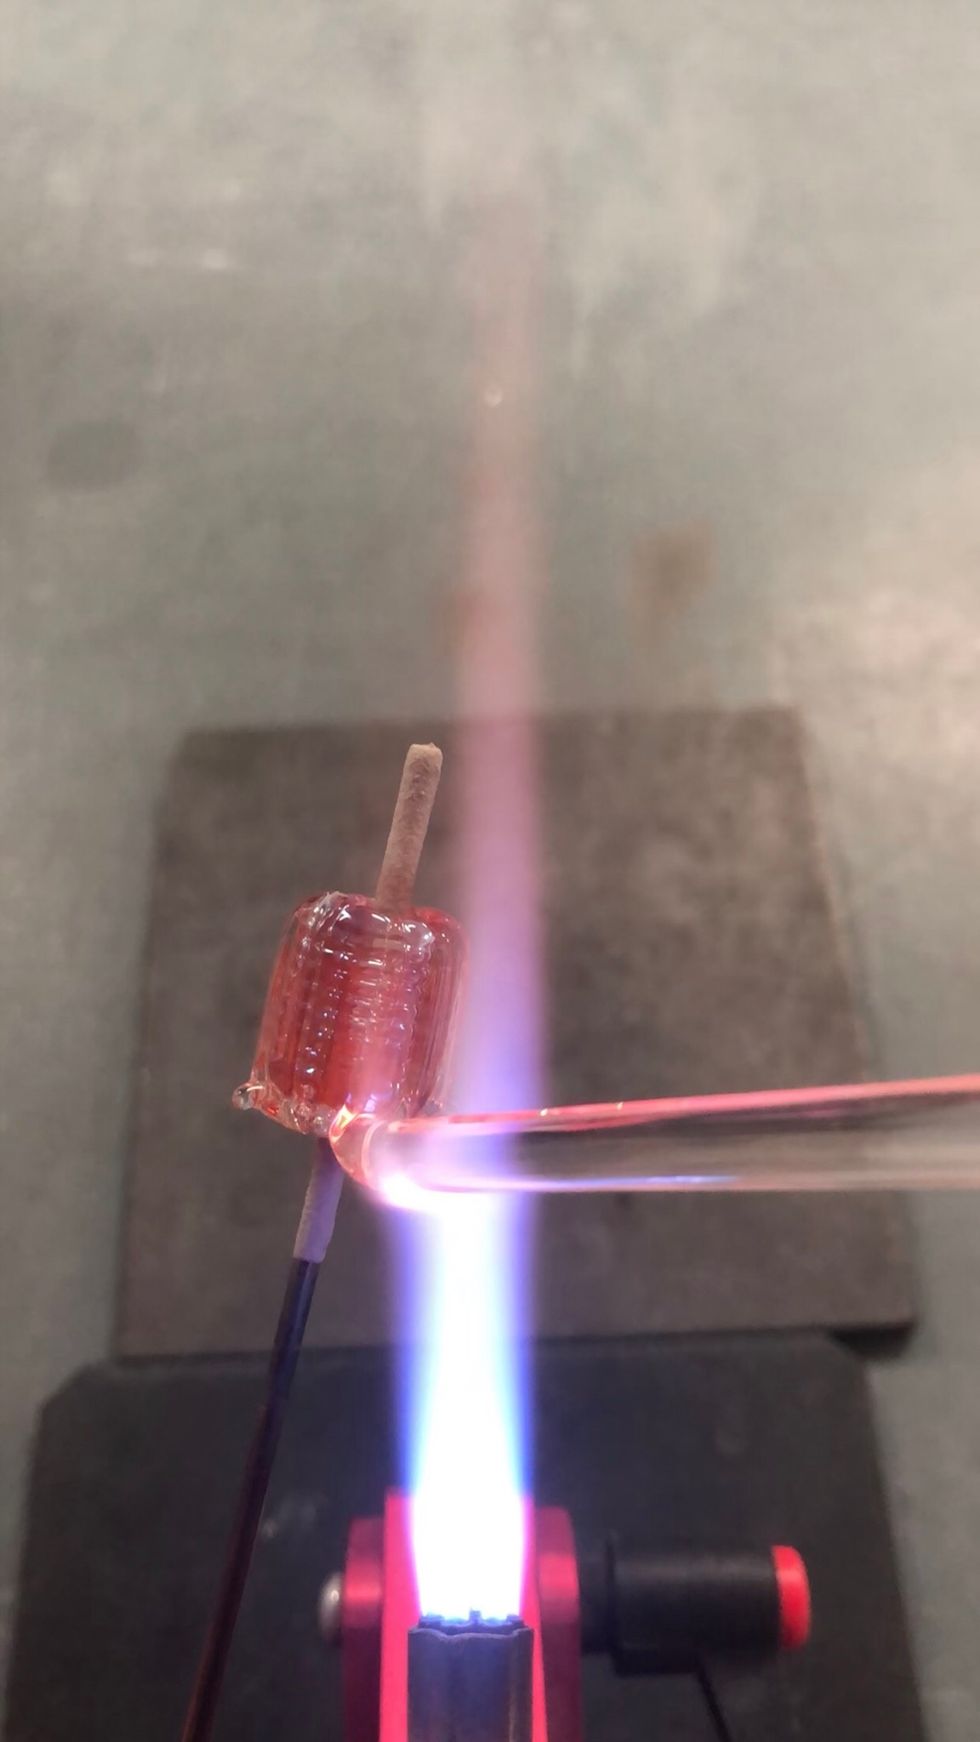
Next, we will apply the first clear encasement layer. Stripe hot clear down the length of the bead. To preserve the silver luster, keep the bead out of the flame while applying the clear.
Keep applying alternating stripes of clear until the core is coated. I usually end up with eight clear stripes.
Next we’ll heat the edges, melting down the clear until it smooths out.
You can use the edge of the beadroller to square up the bead end.
Now the left side. Heat, and gently square the end.
After applying a gentle, even heat to the encased core bead, I use the back side of the beadroller to smooth out the surface of the bead.
Another gentle heat to remove any chill marks...
Next I make a ring of clear around the center of the core.
Then I apply a smaller ring to the right-hand side.
And the left-hand side.
Another wrap of clear to the center, and I’m ready to melt it all in.
Using moderate heat, soften the clear encasement until it becomes a single, seamless layer.
Like so. Avoiding excessive heat will help preserve the pearlescent luster.
Gently marver the bead using the back of the beadroller to shape the bead into a cylinder shape.
One more gentle reheat and we’re ready to round it out using a spherical beadroller.
Use a cavity that’s slightly larger than the bead. Don’t force it, or you’ll crack the bead release.
Gently reheat the surface to remove any chill marks.
Let the bead cool enough to firm up before placing it in the annealer.
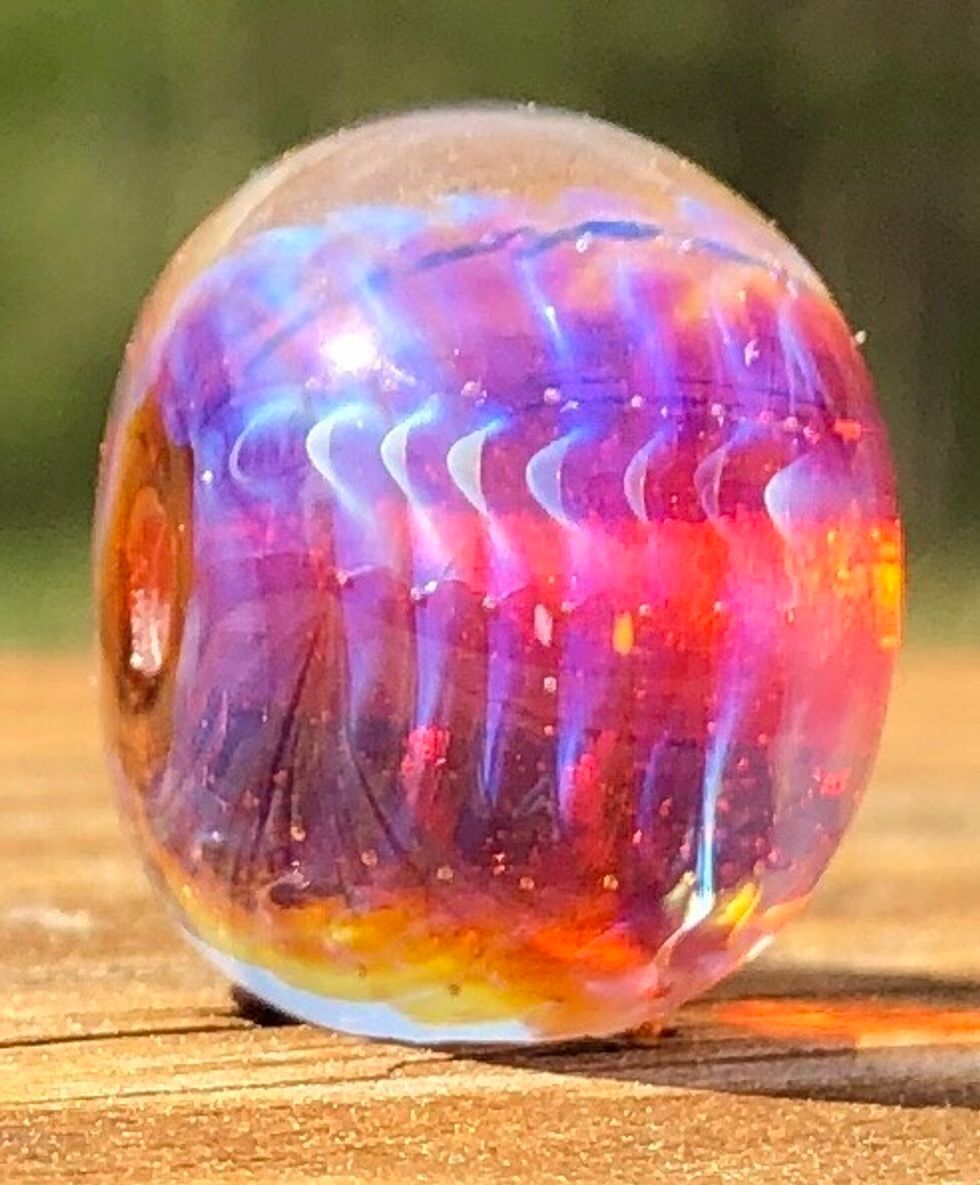
The finished bead features an encased silver luster and a transparent core.