The Conversation (0)
Sign Up
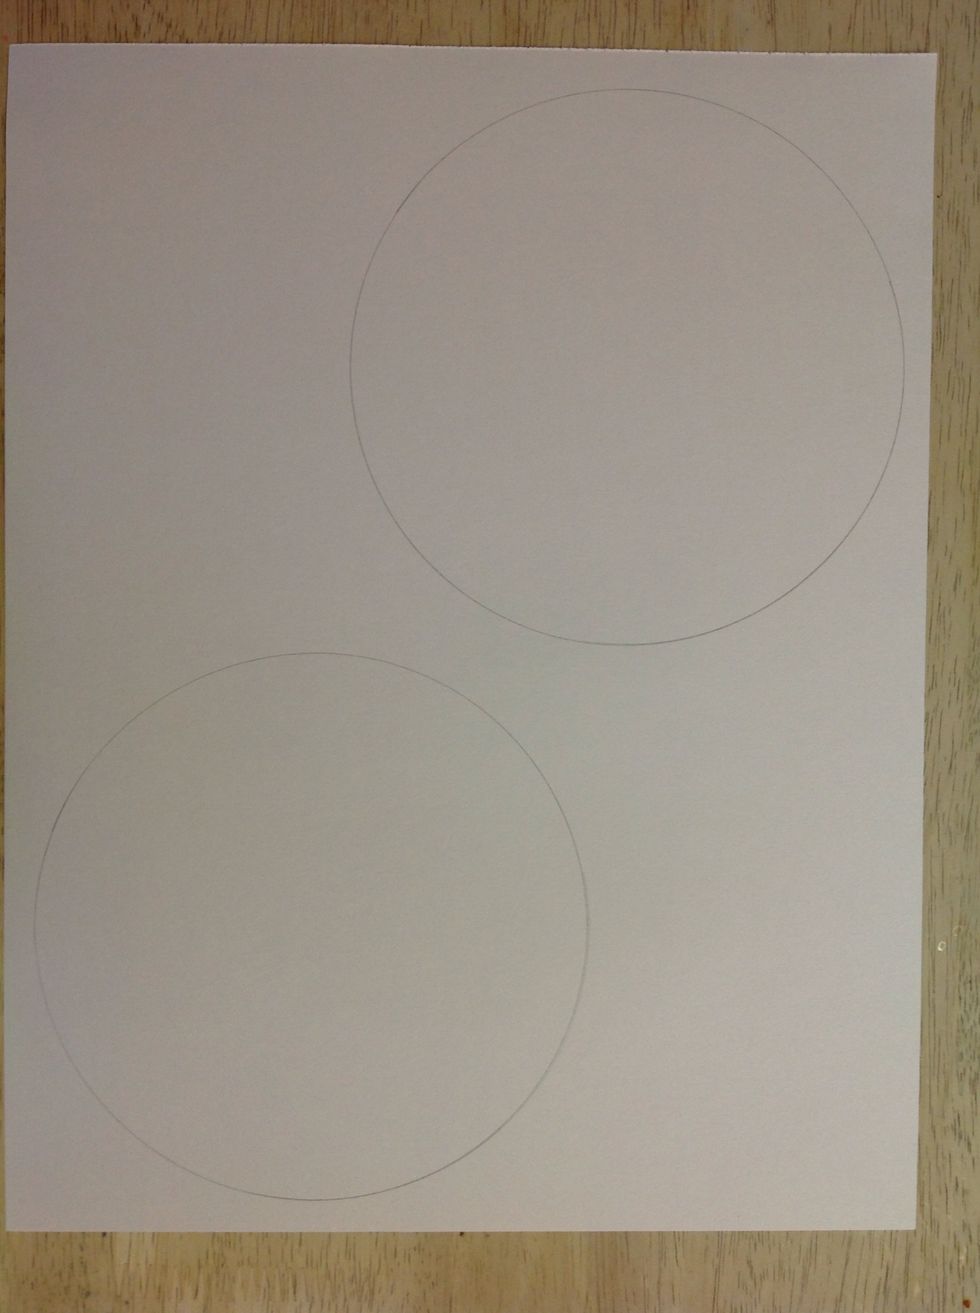
Begin by tracing a circle on to your paper. I used a bowl that measured 6 1/2 inches in diameter (across).
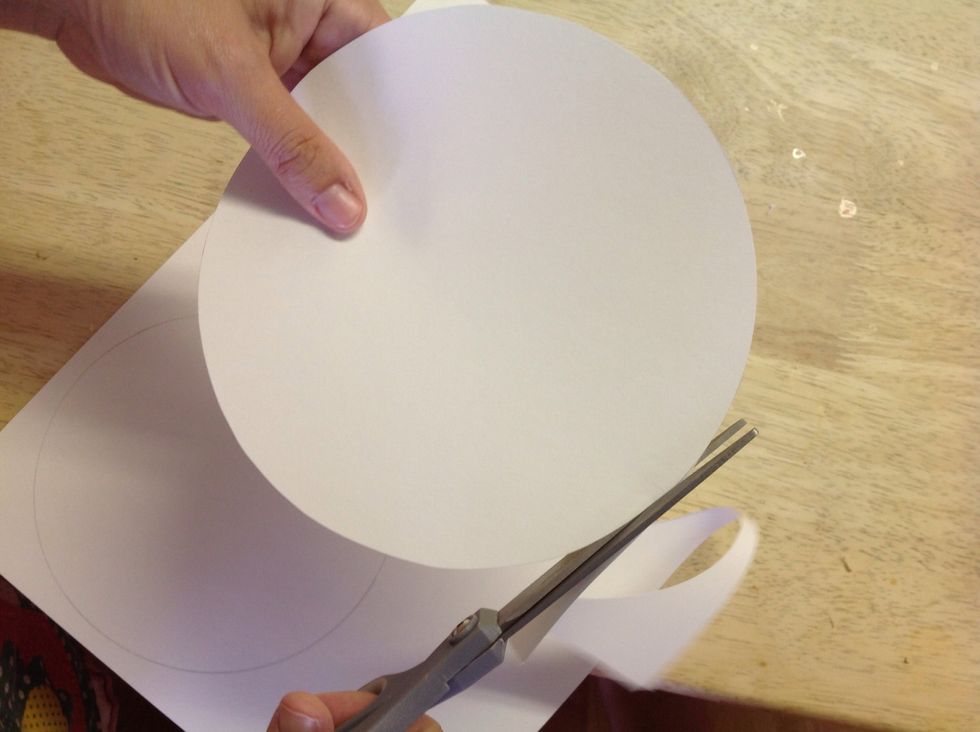
Carefully cut out your circle. It is helpful to turn the paper as you cut.
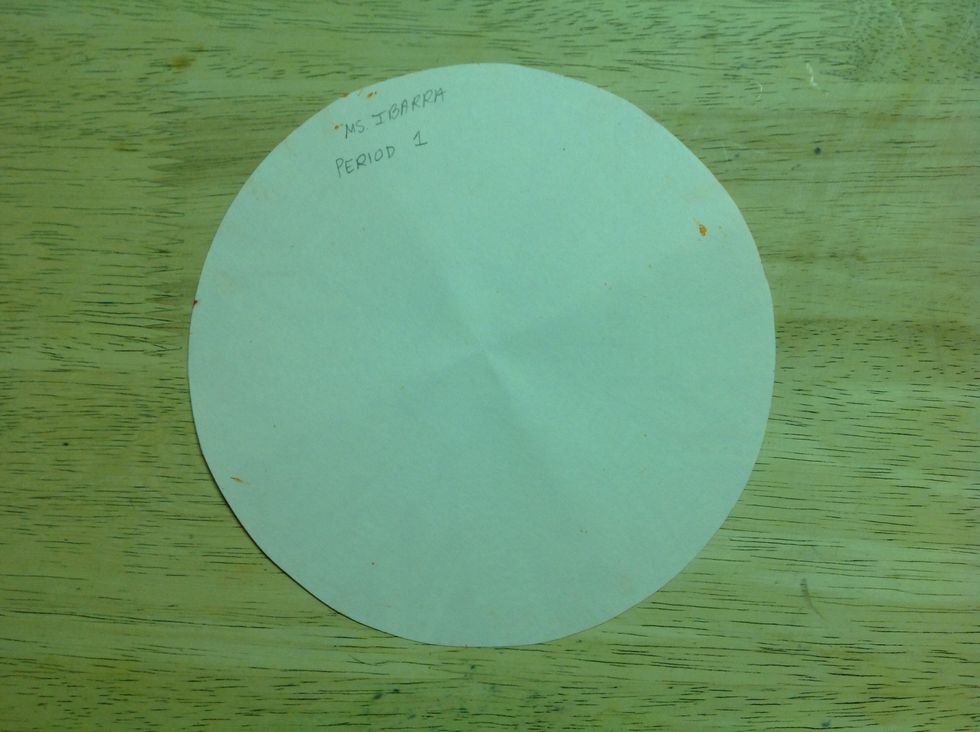
If you are doing this for a class, remember to add your name and class period on the back.
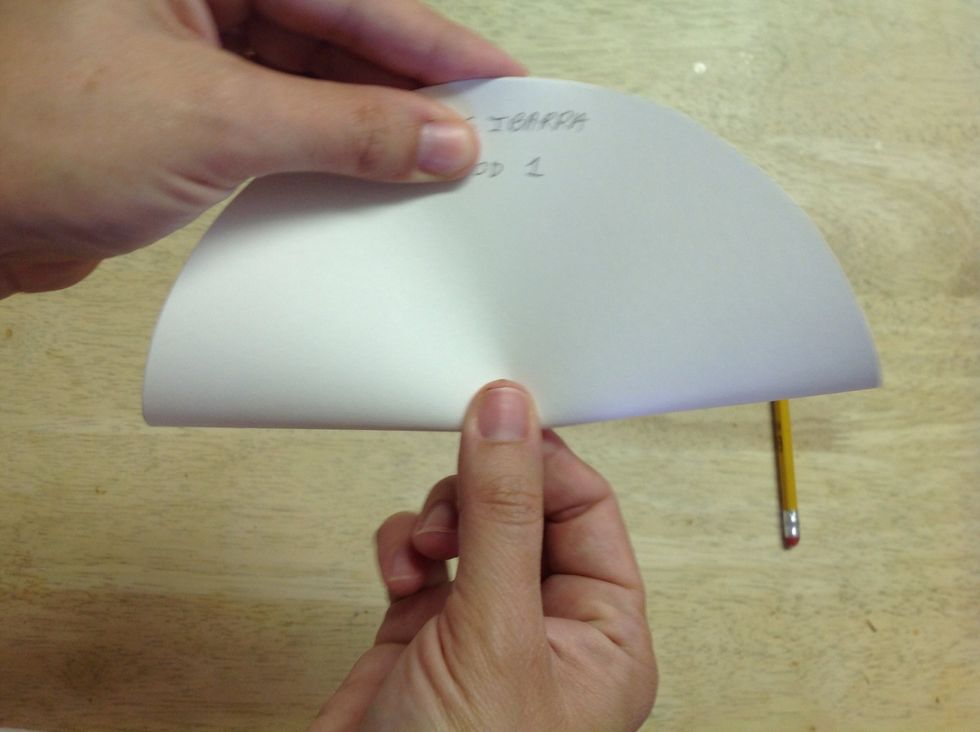
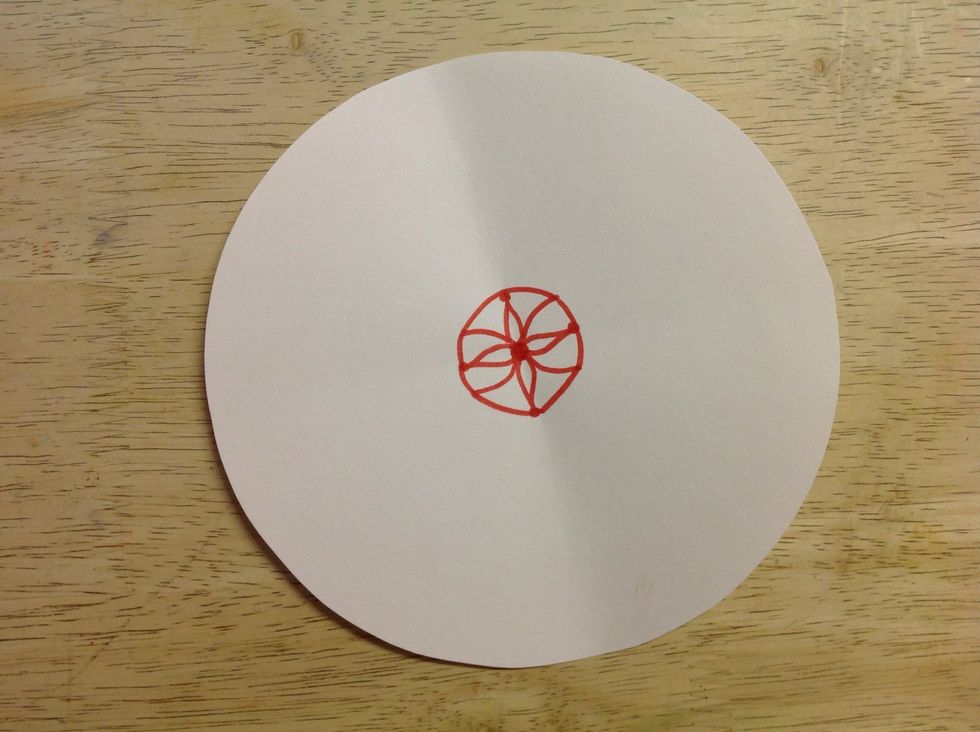
To begin, I like to make a small pinch in the center of my circle. This is a good idea if you want a radial design. A radial design is one that begins at the center of a shape and grows to the edges.
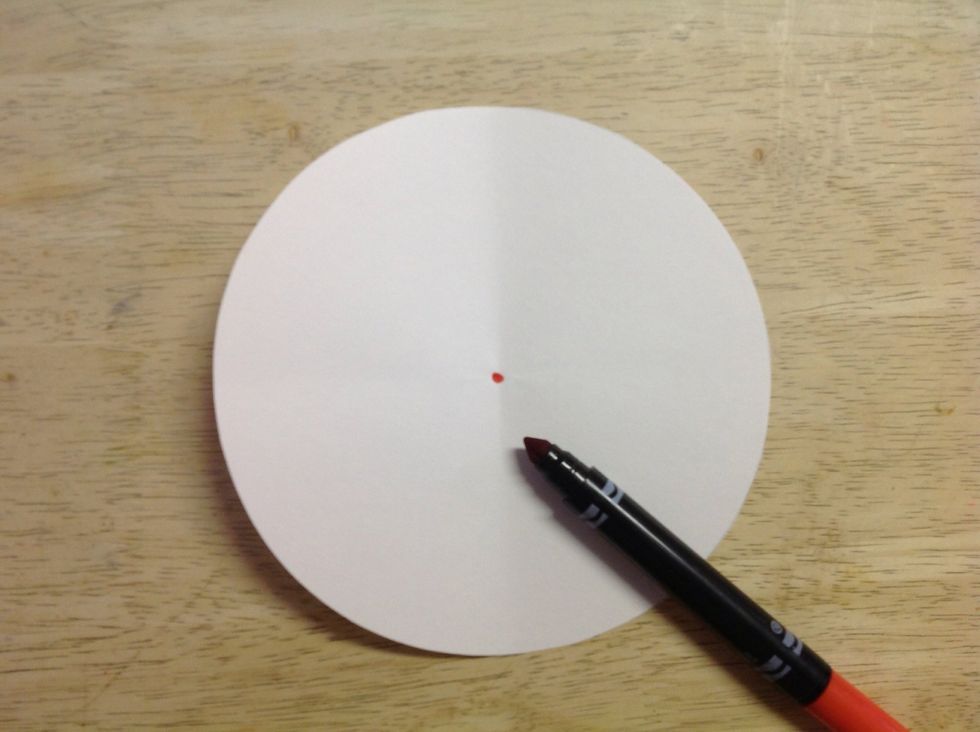
"Just make a mark". . .
"and see" . . .
"where it takes you ."
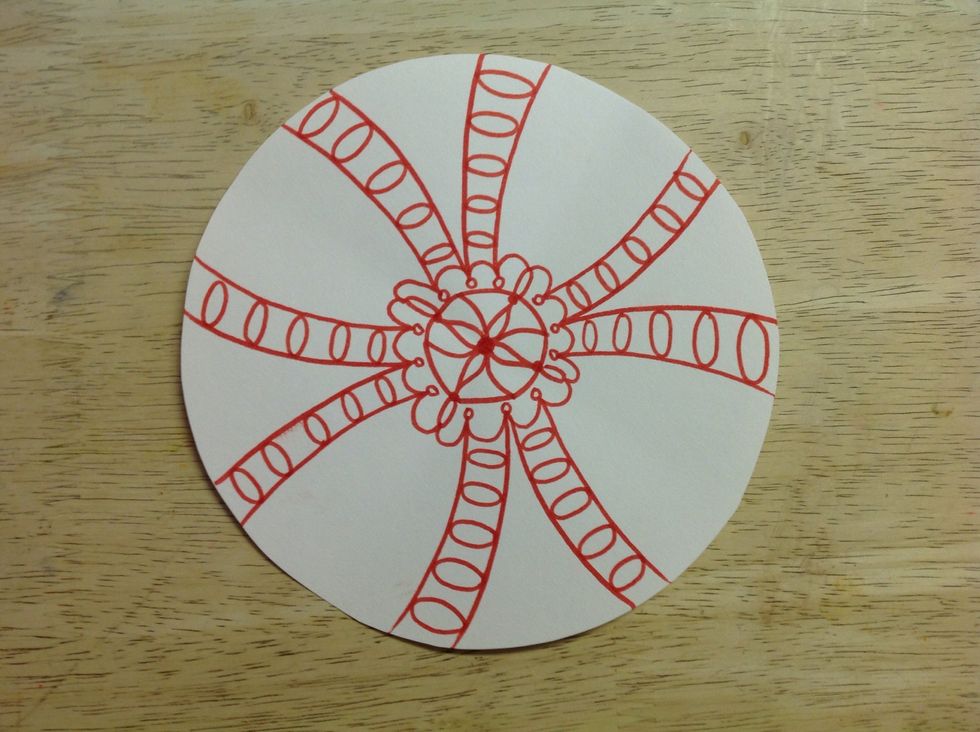
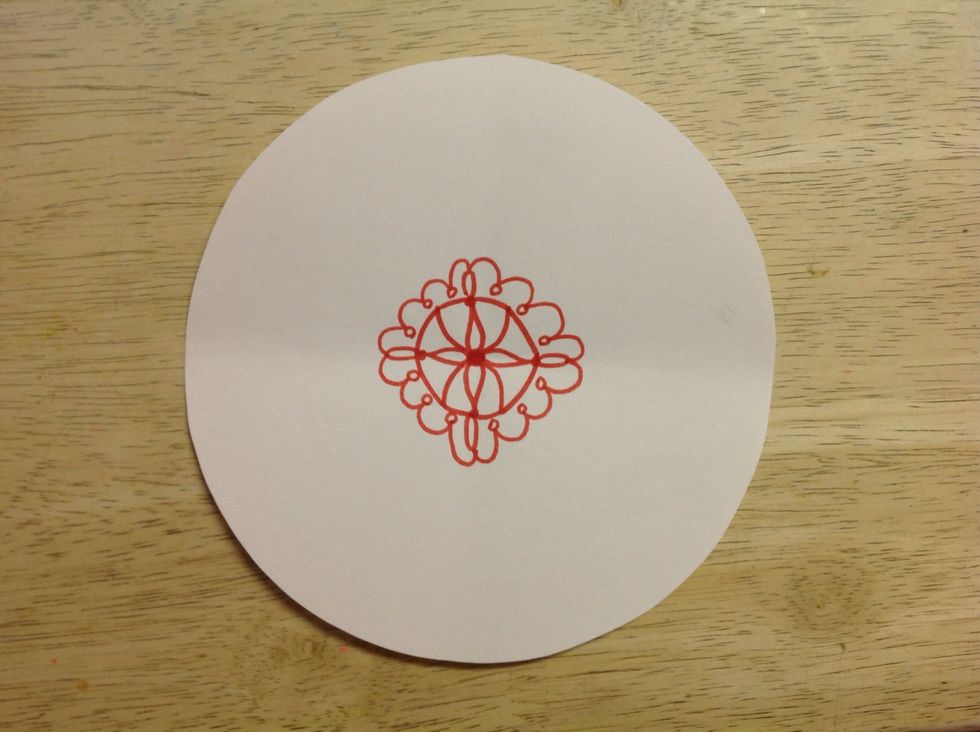
I started with lines and patterns.

My dot is symmetrical, but your dot does not have to be.
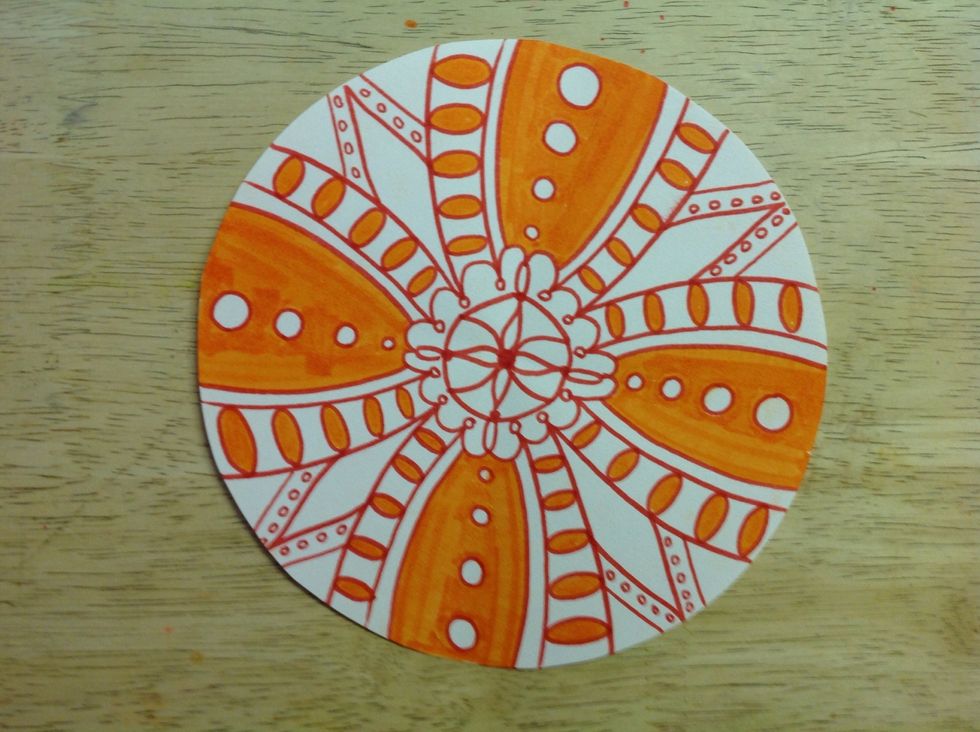
After I finished my line design I added color. You can always try a different way. Your dot should be as unique as you are.
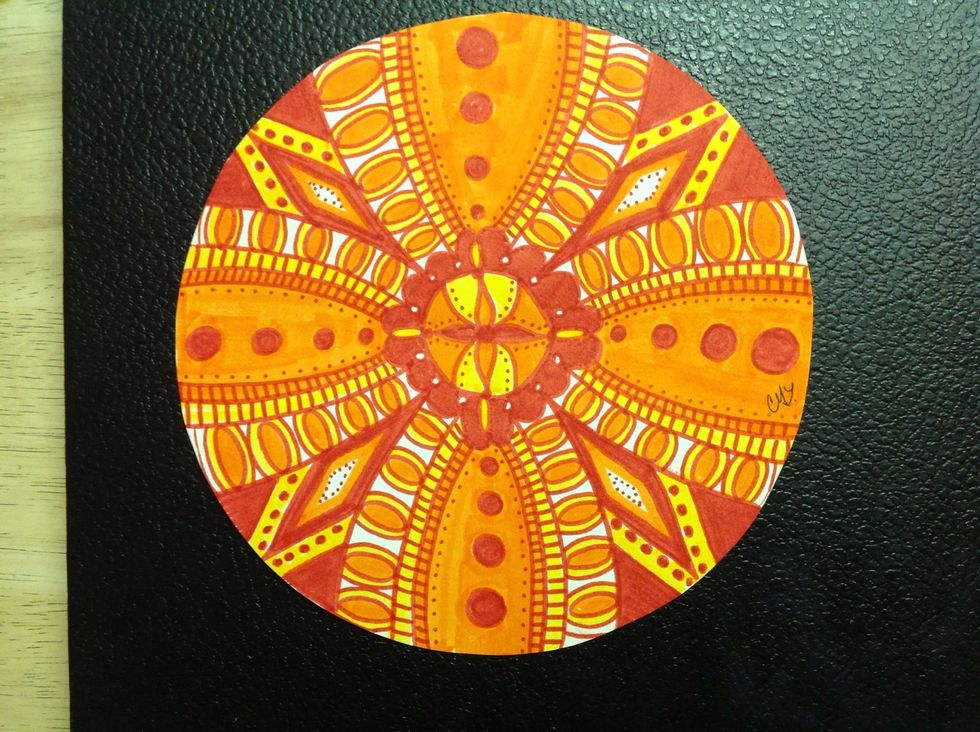
Keep working on it until you are satisfied. My classes will be putting all of our dots together when we are done. Don't forget to sign it.