The Conversation (0)
Sign Up
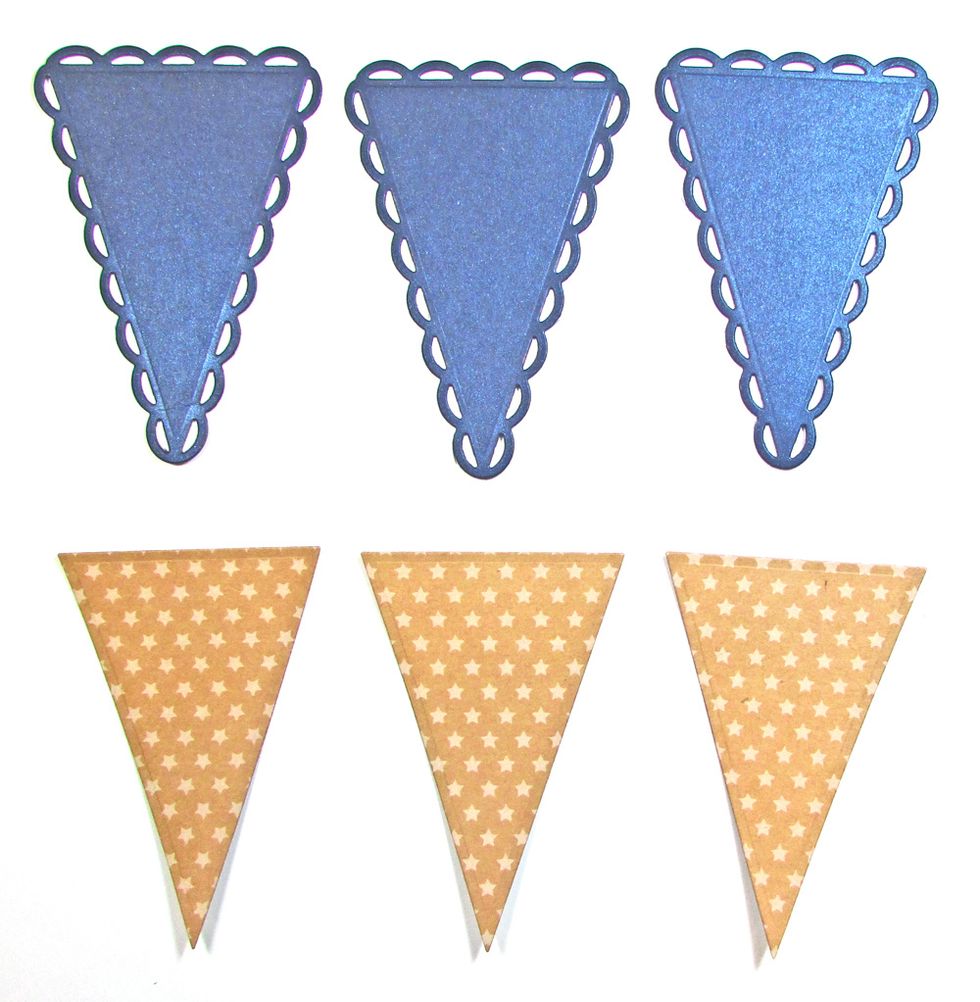
Use Lacy Pennant die to cut three pennants from Ink Curious Metallic Cardstock. Repeat with Nested Pennant die and star print kraft cardstock.

Use double-sided adhesive to attach one star-print pennant to each lacy pennant. Each pennant is approximately 4 1/2" long and 3" wide.
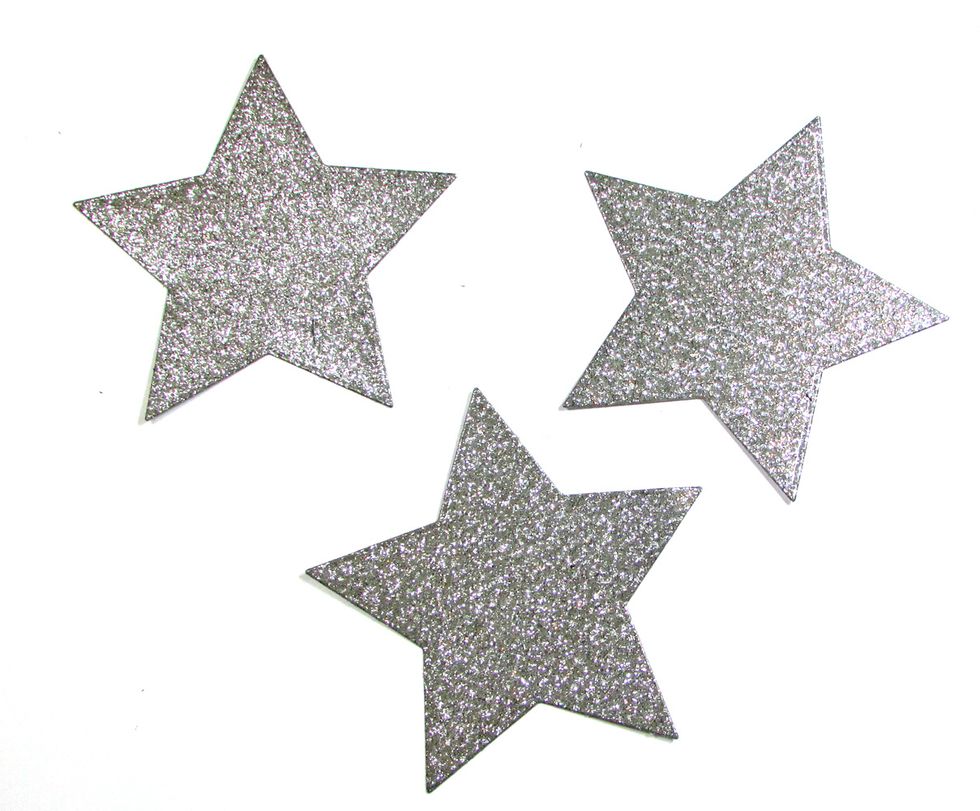
Use a star die to cut three stars from silver glitter cardstock. Each star is approximately 3 1/4" at the widest point.
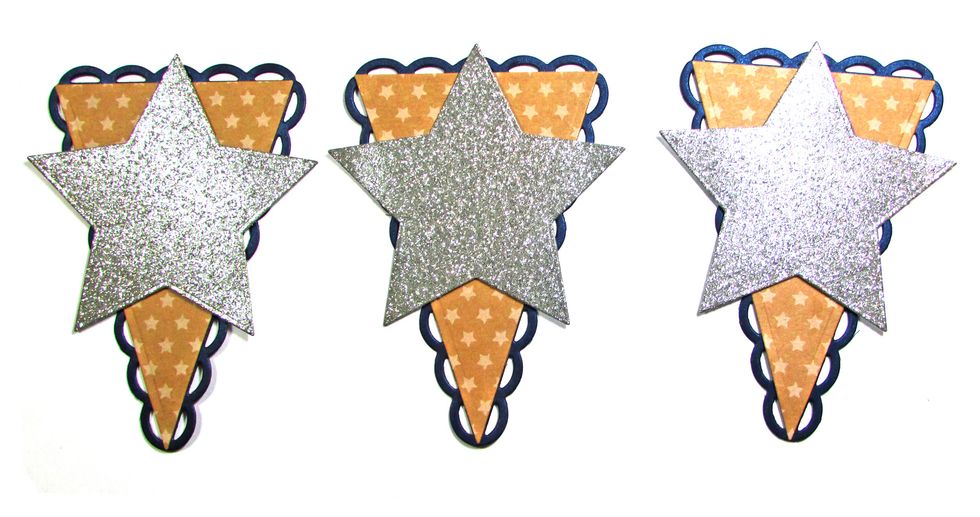
Use foam adhesive to attach a silver star to each pennant.
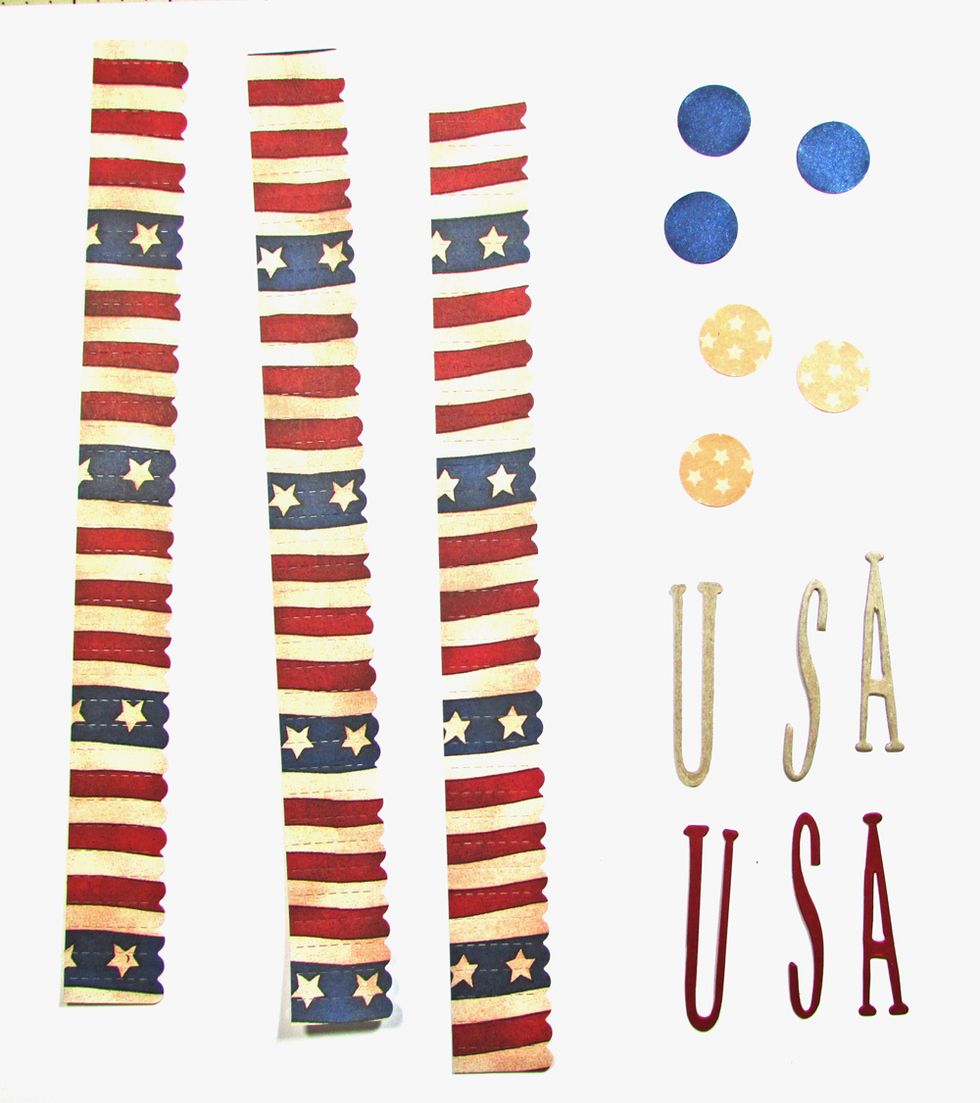
Use a Mini Rosette die to cut three strips of patriotic paper. Cut six, 3/4" circles from kraft and blue cardstock. Cut "USA" from chipboard and again from red cardstock.
If you do not have access to a rosette die, cut a strip of paper 12" x 1 1/4". Use a scallop punch to trim one long edge so that the strip is 1" wide. Score every 1/4" from the short end. Fold.
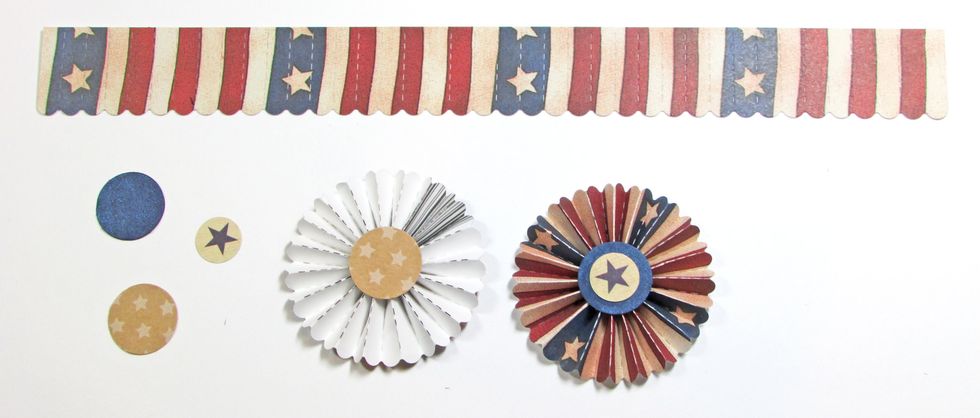
Fold the paper strip into rosette shapes and glue. Glue kraft circles to the back and blue circles to the front of each rosette. Punch three 1/2" circles from patriotic paper and glue in place.
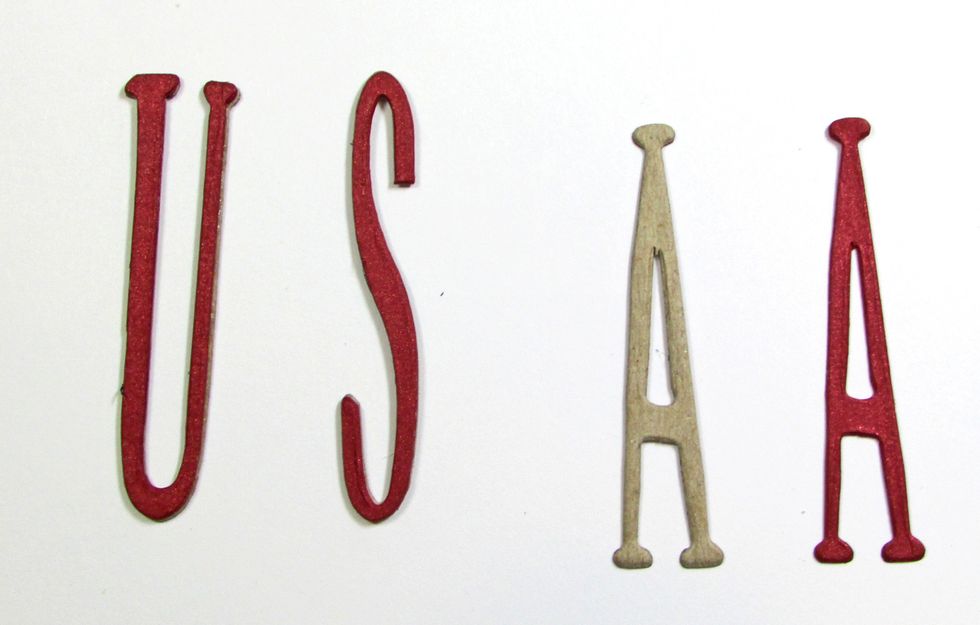
Glue the red cardstock letter to the top of each chipboard letter.

Glue one completed rosette to the center of each star.
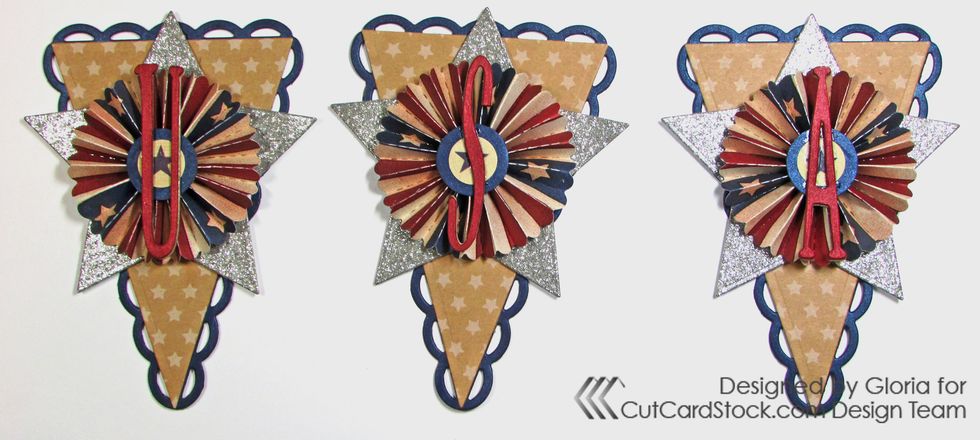
Glue one letter to the center of each rosette.
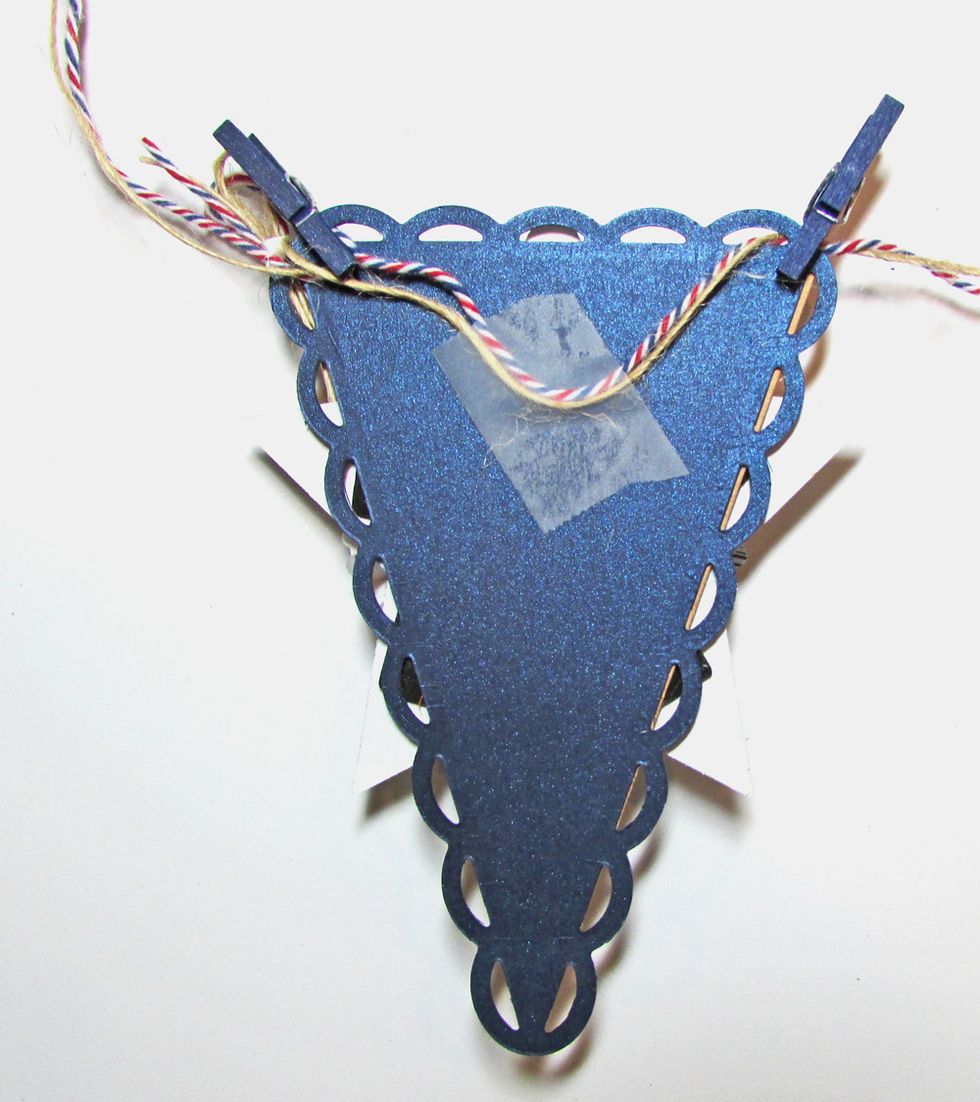
String the pennants together with twine. Use tape to secure twine to the back of each pennant. Glue mini clothes pins to each pennant corner.
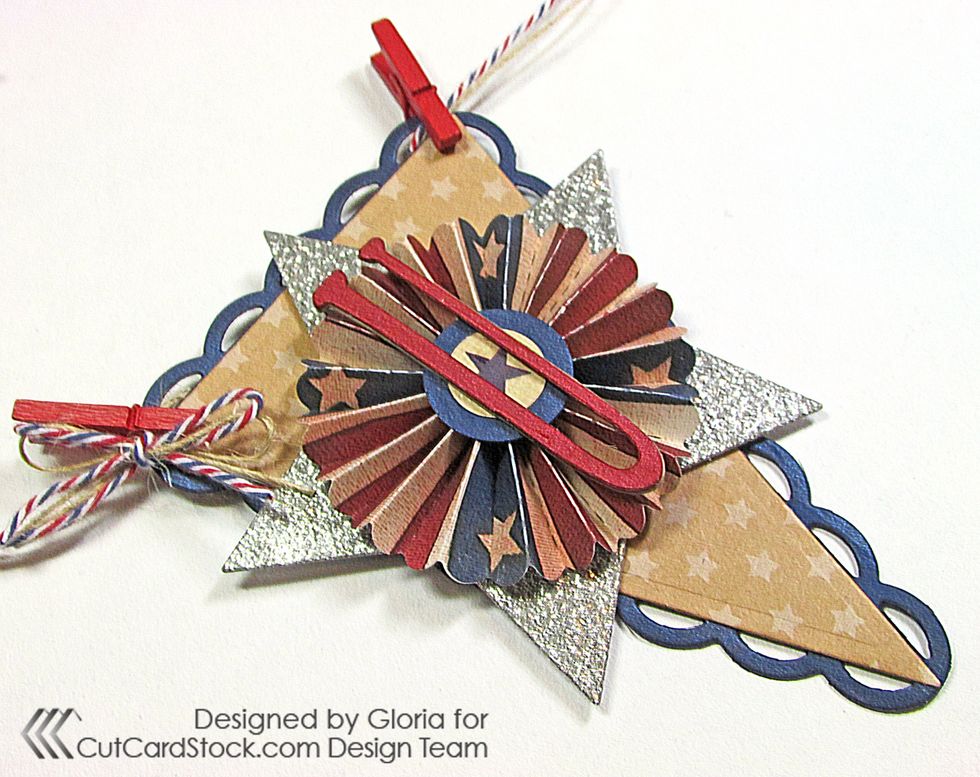
Add red clothespins to the "U" pennant. Tie a tiny bow with twine and glue it to the left corner of the pennant.
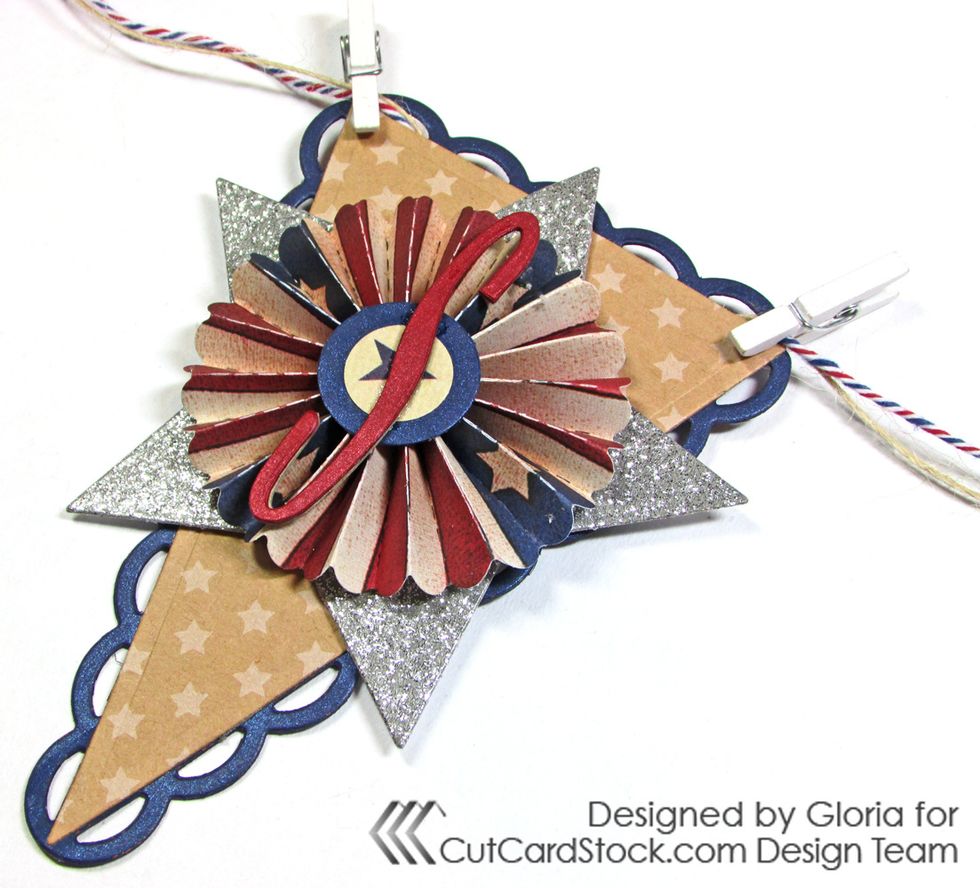
Add white clothespins to the "S" pennant. The twine is one strand of natural burlap and one strand of red/white/blue baker's twine.
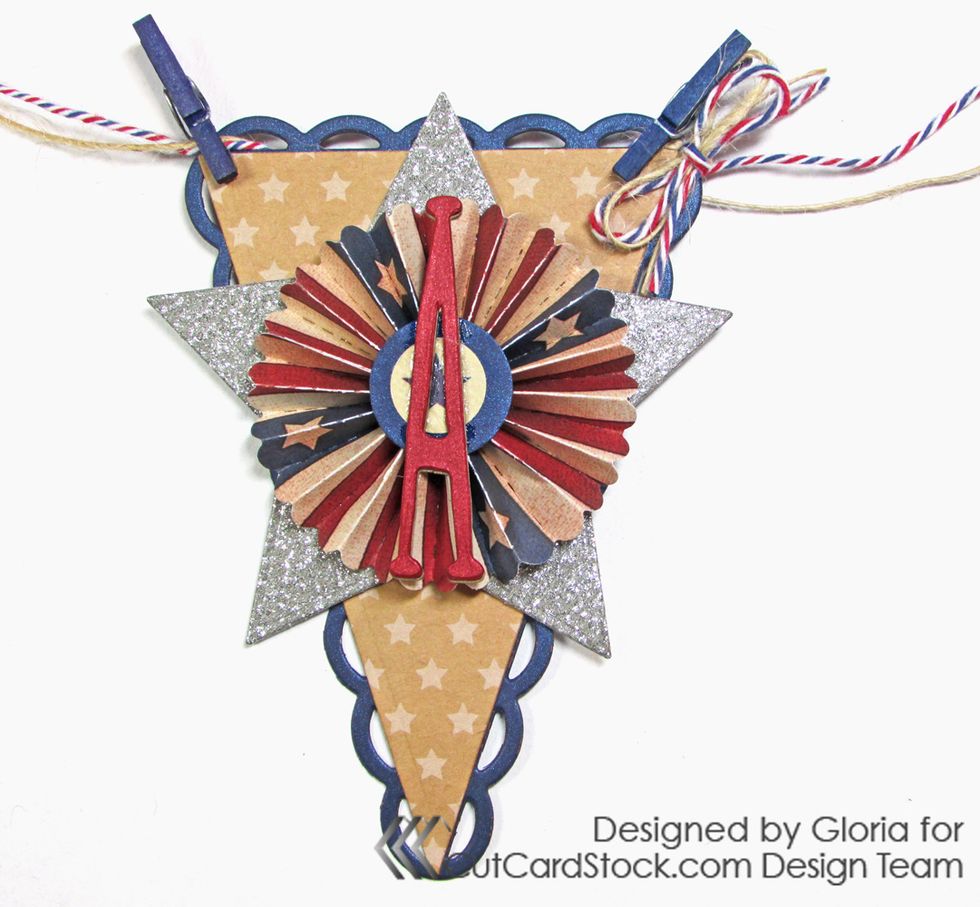
Add blue clothespins to the "A" pennant. Tie a tiny bow with twine and glue it to the right corner of the pennant.
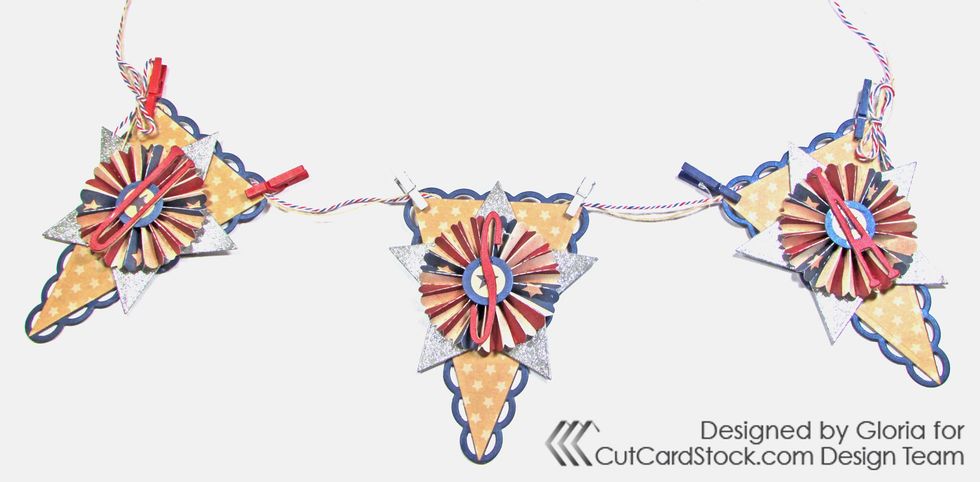
The banner stretches approximately 24" wide and is 4 1/2" tall. Enjoy!