The Conversation (0)
Sign Up
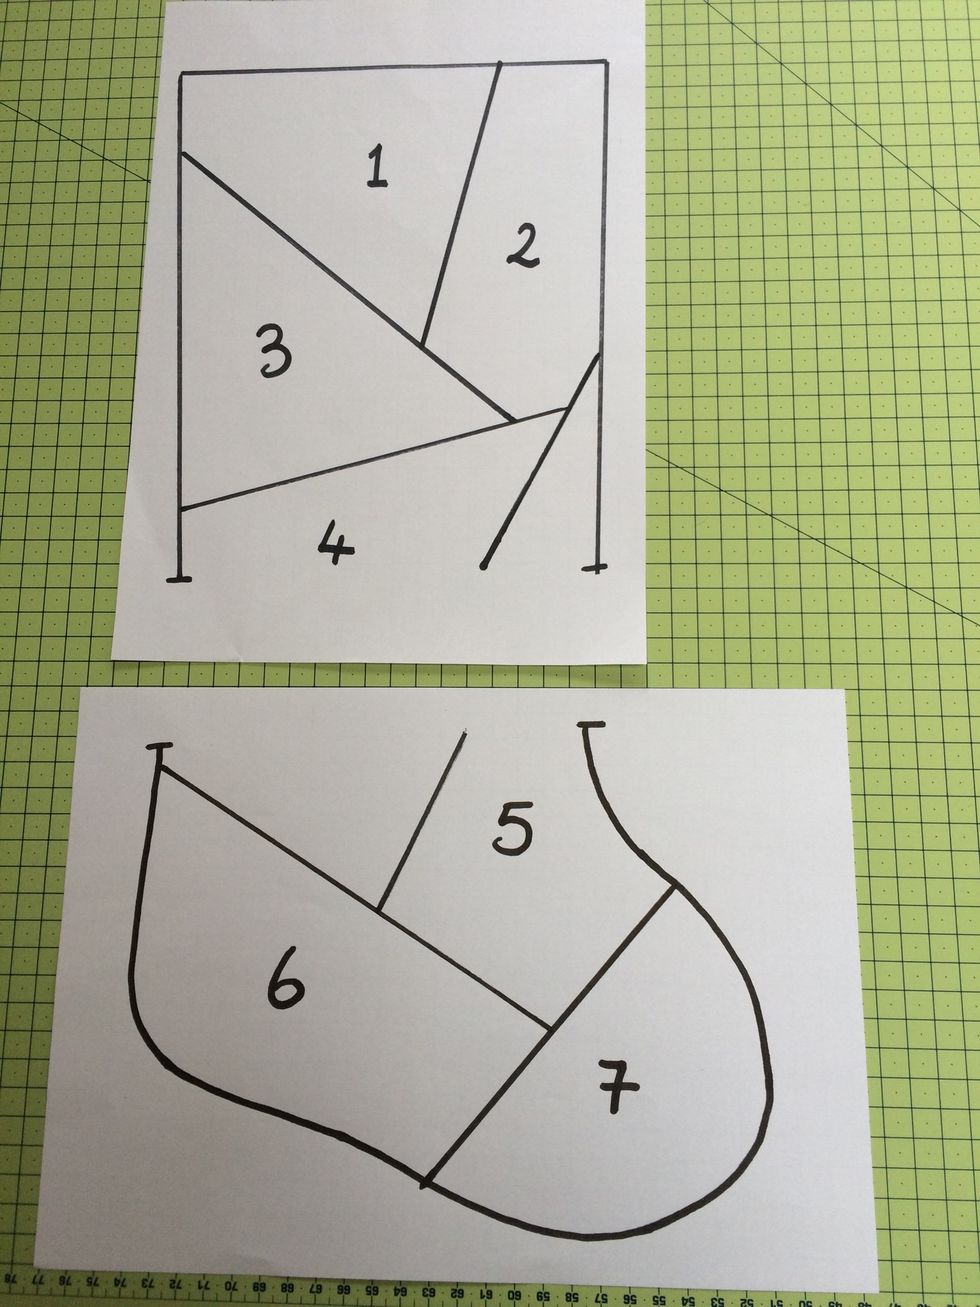
Draw a stocking shape and segments onto 2 A4 sheets
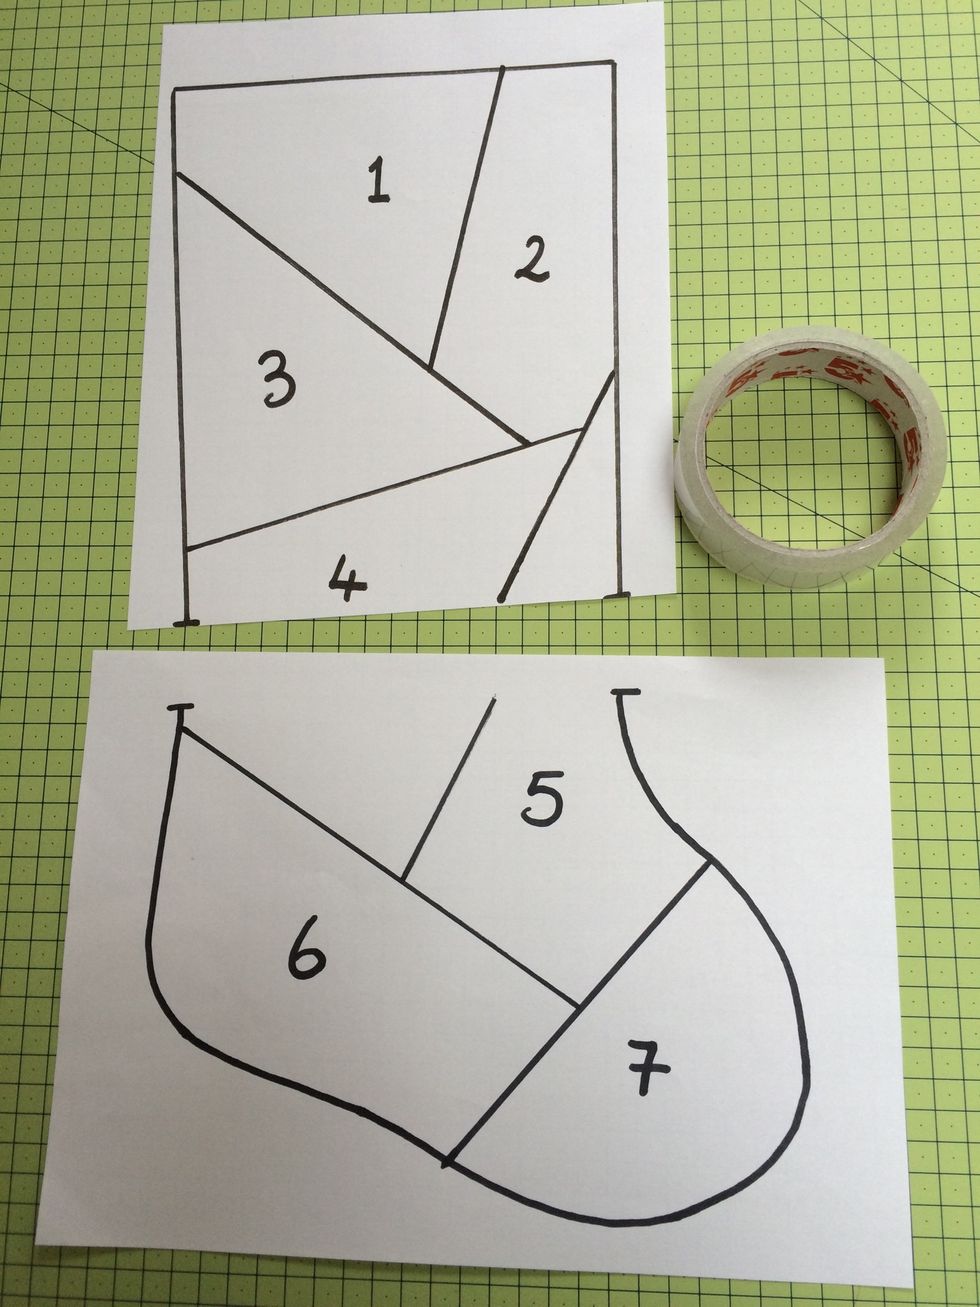
Stick the 2 sheets together
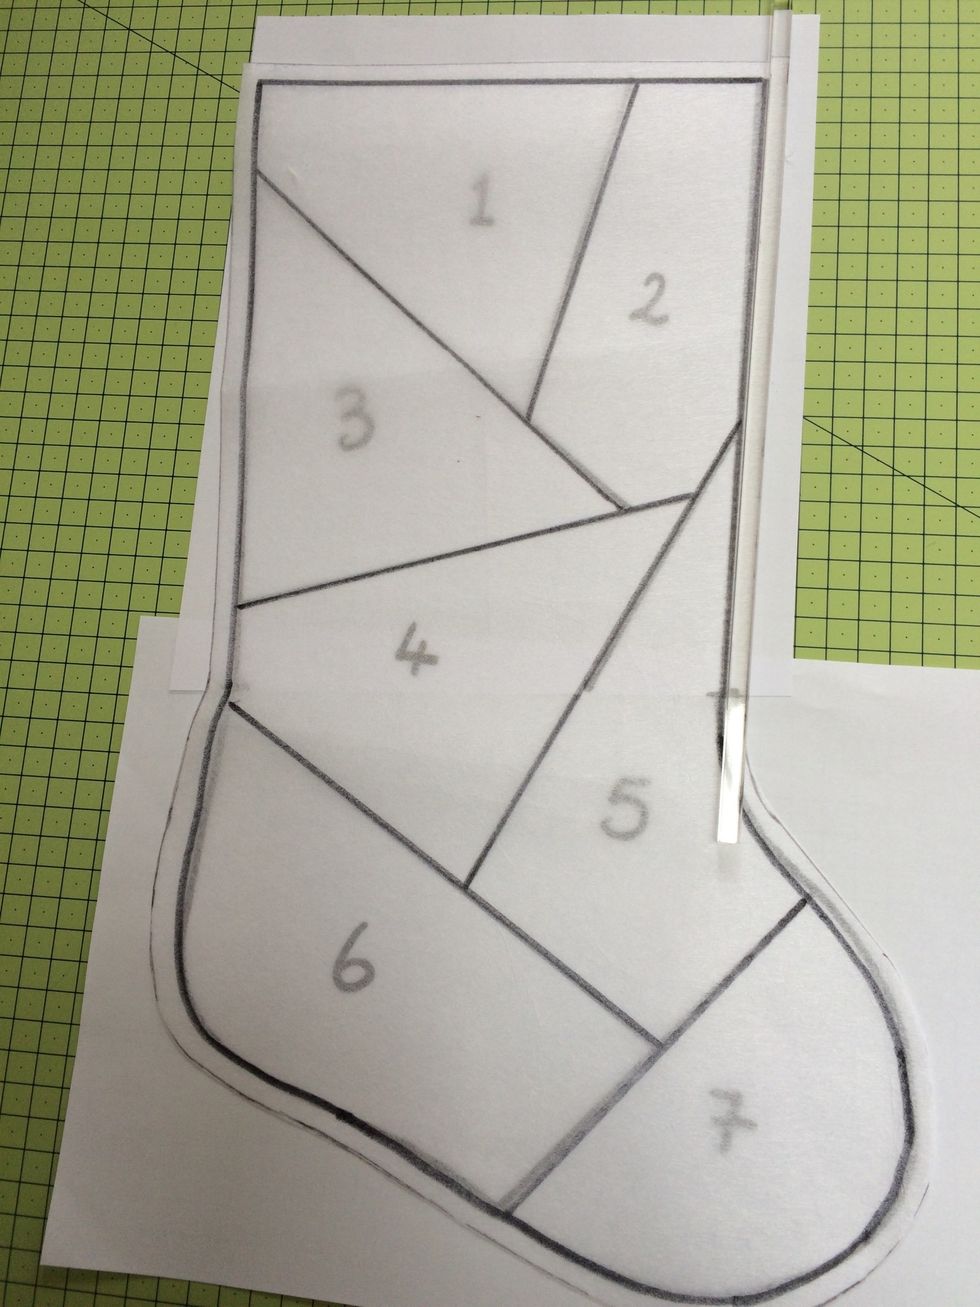
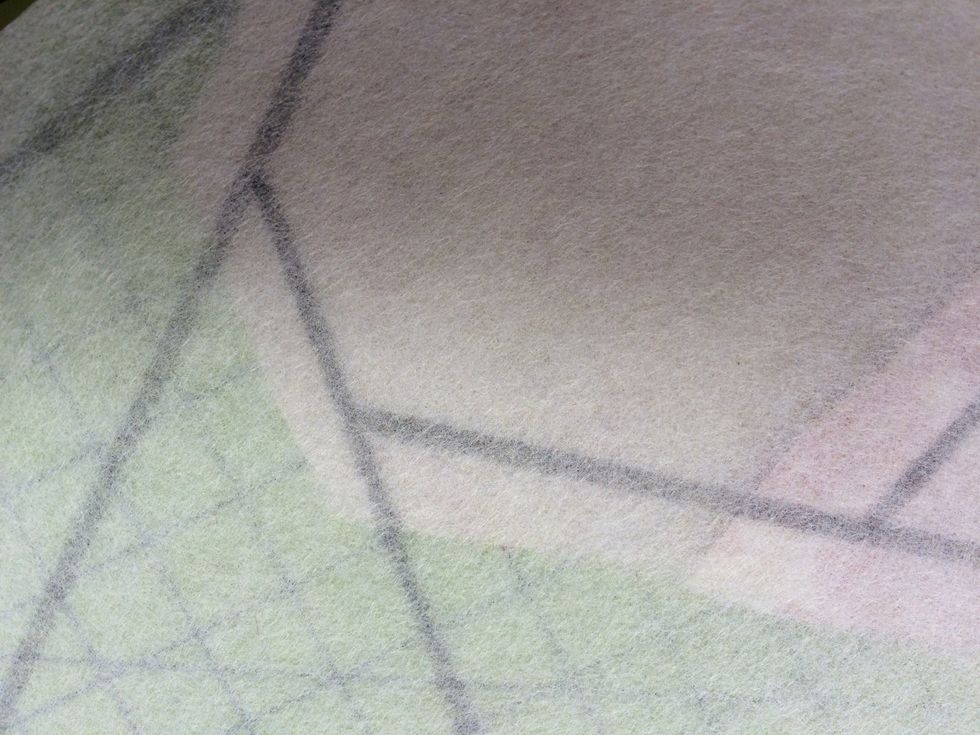
Trace on stitch & tear
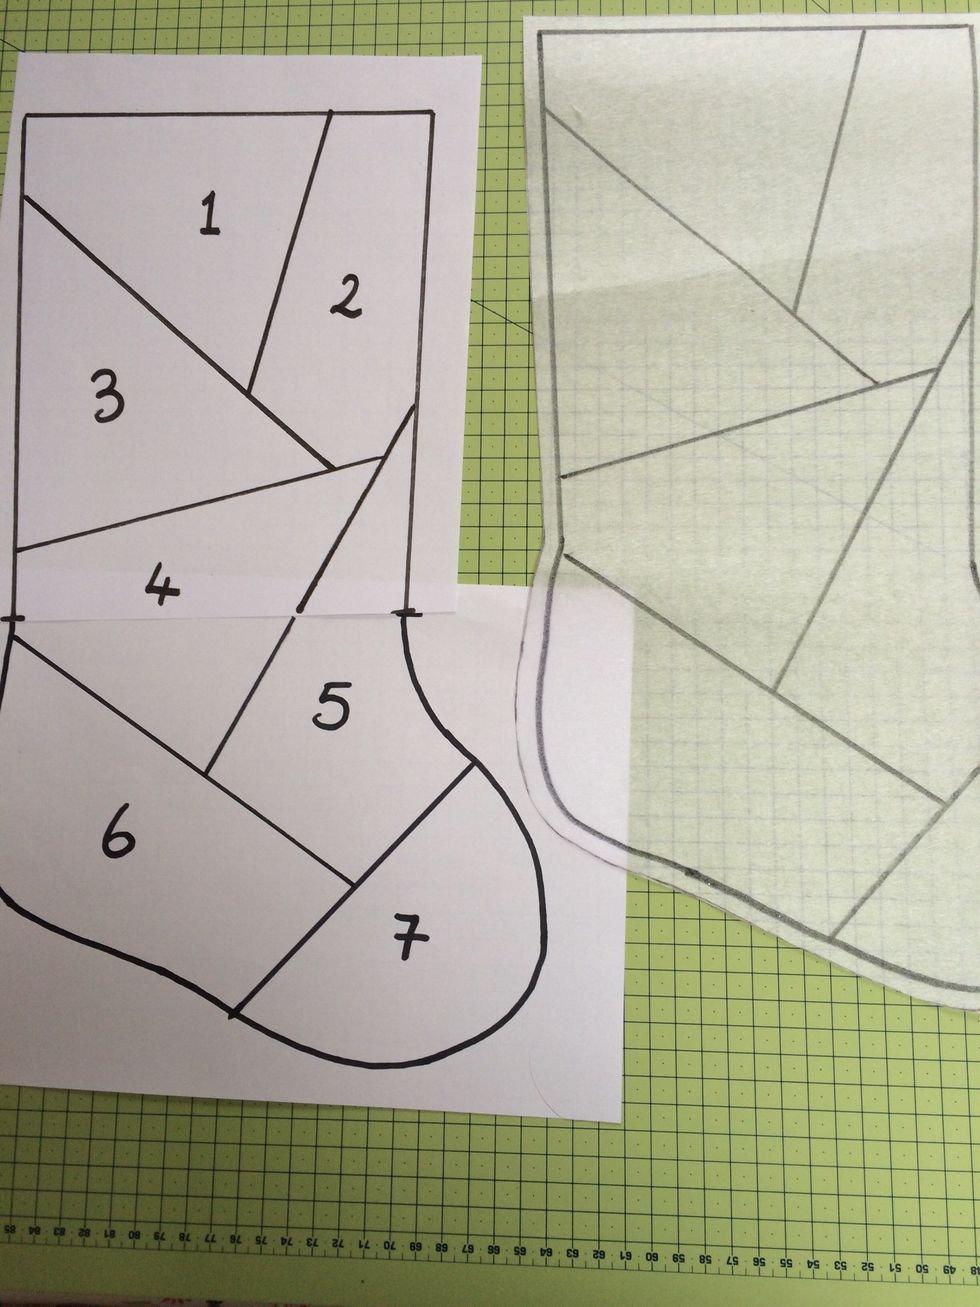
Cut out stitch & tear adding 1/4 inch seam allowance

Cut up the paper template into the 7 shapes
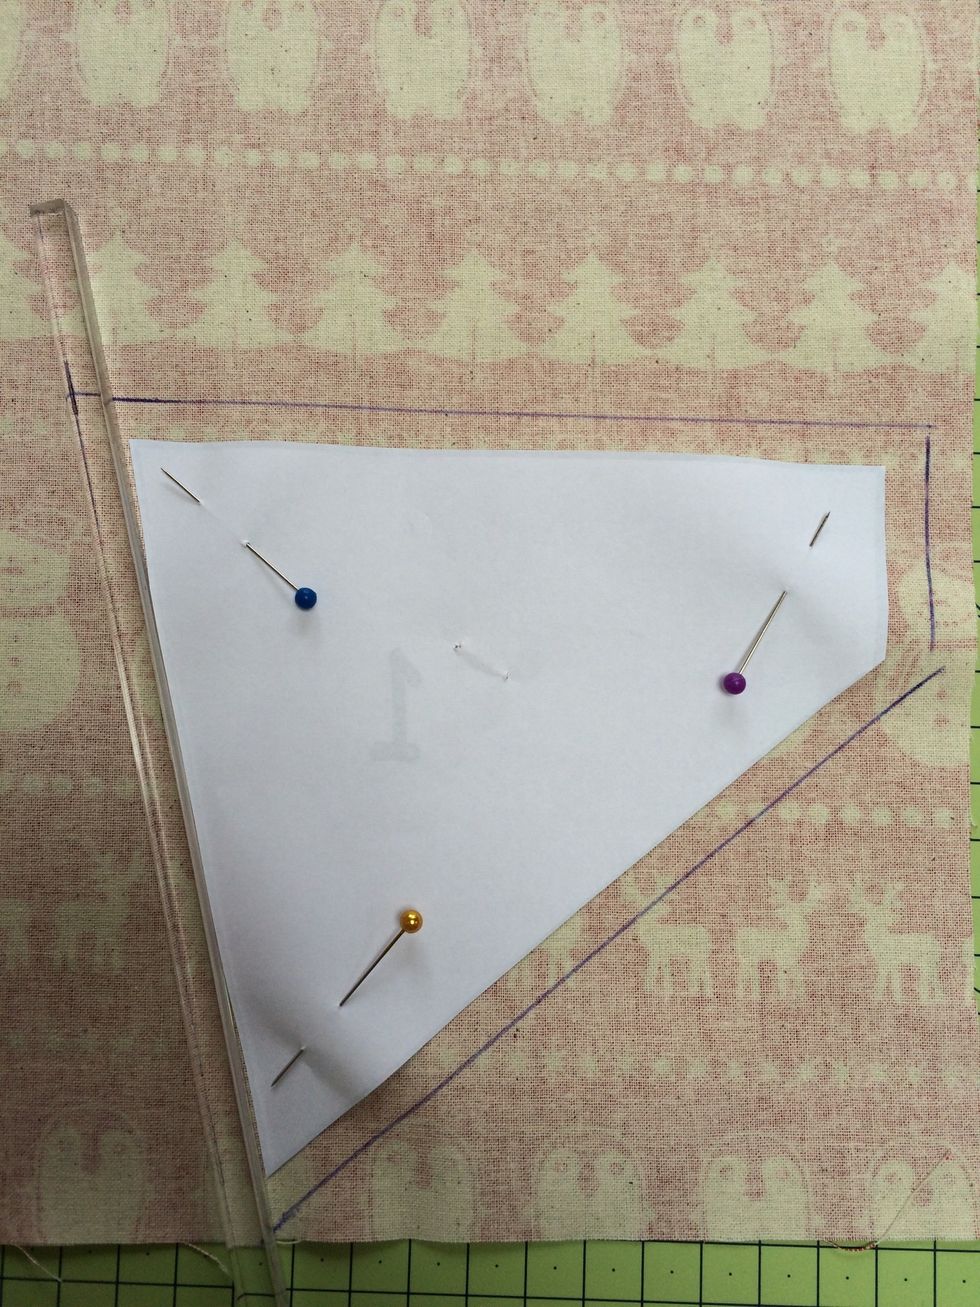
Reverse the shapes and trace onto wrong side of fabric adding 1/4 seam allowance

Right sides of shape and fabric should match
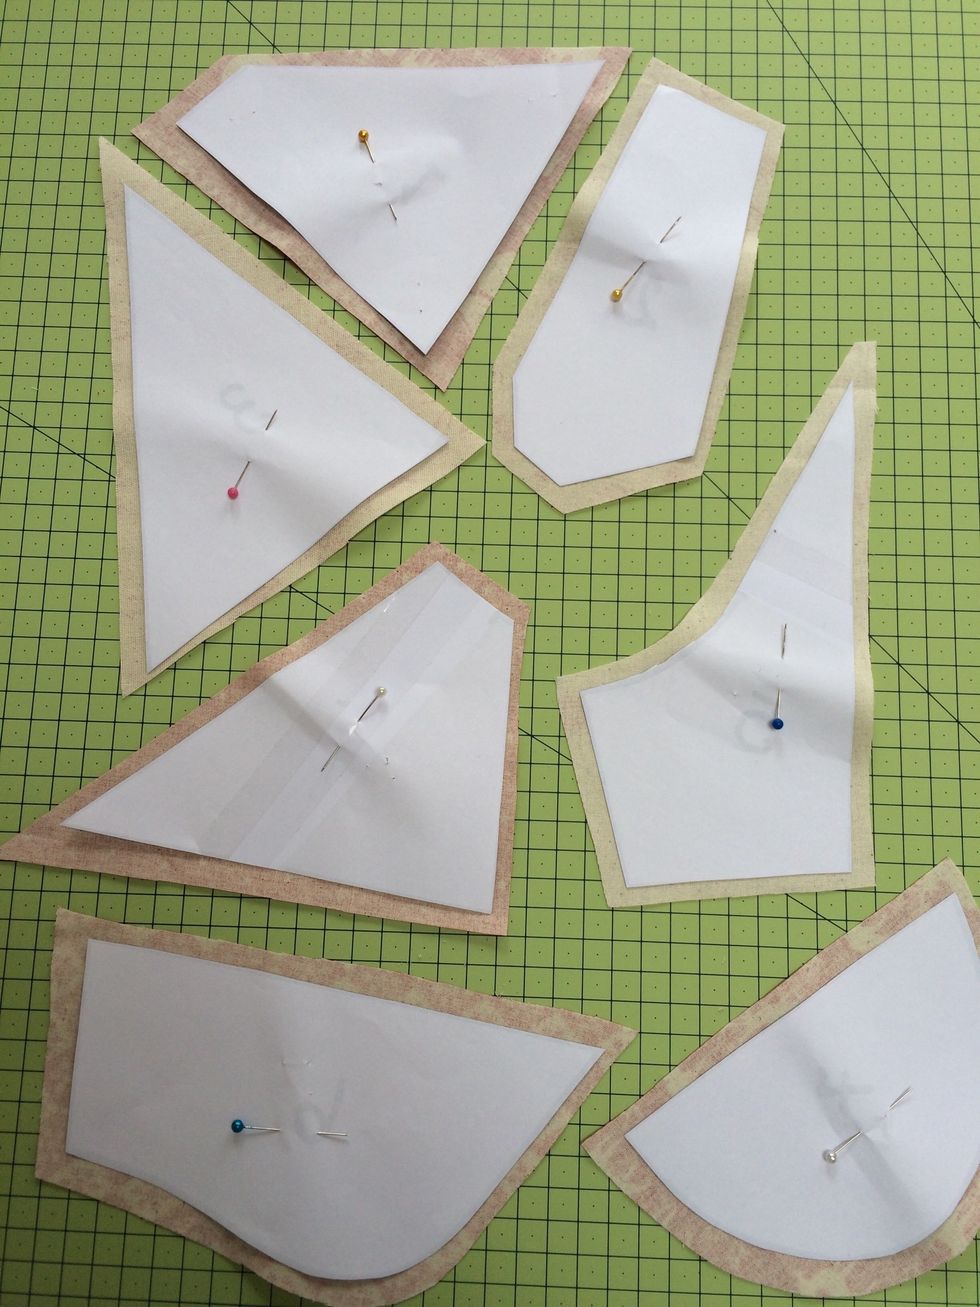
Repeat for all 7 shapes

7 shapes with seam allowance shown
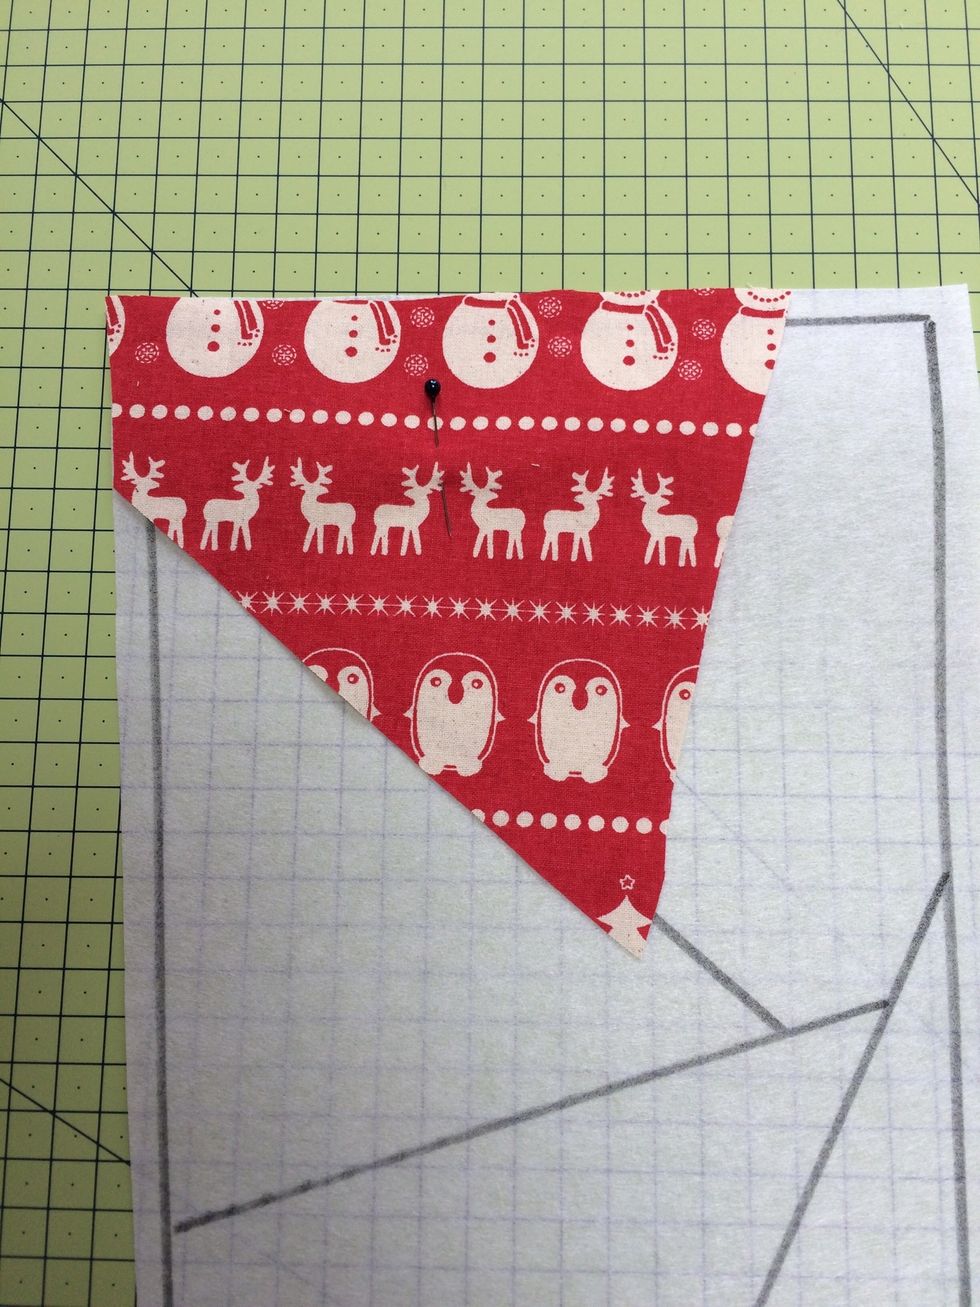
Place fabric no 1 on stitch & tear
Turn over and check seam allowance is correct
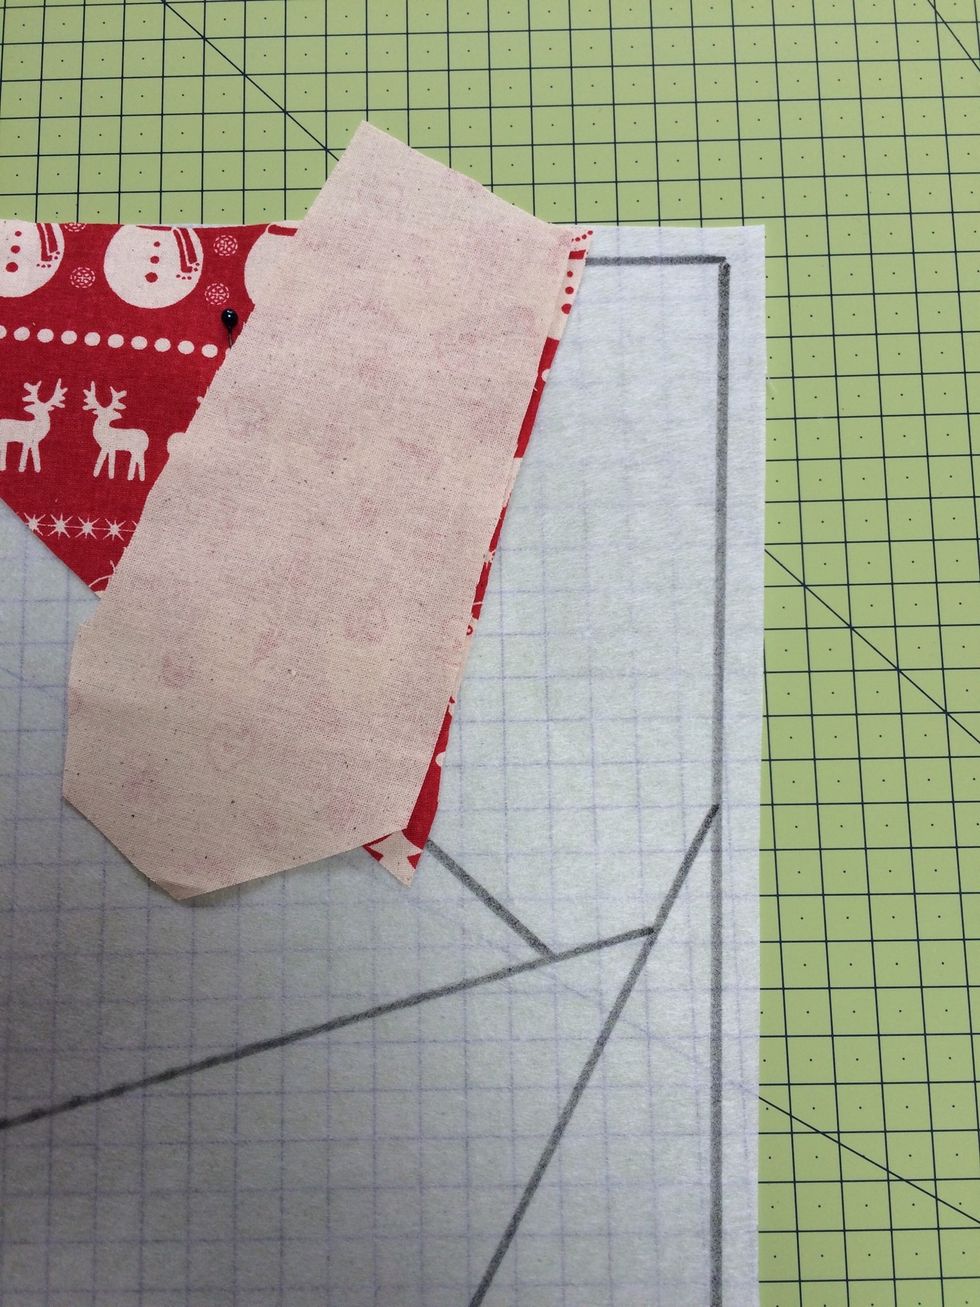
Place fabric no 2 in place
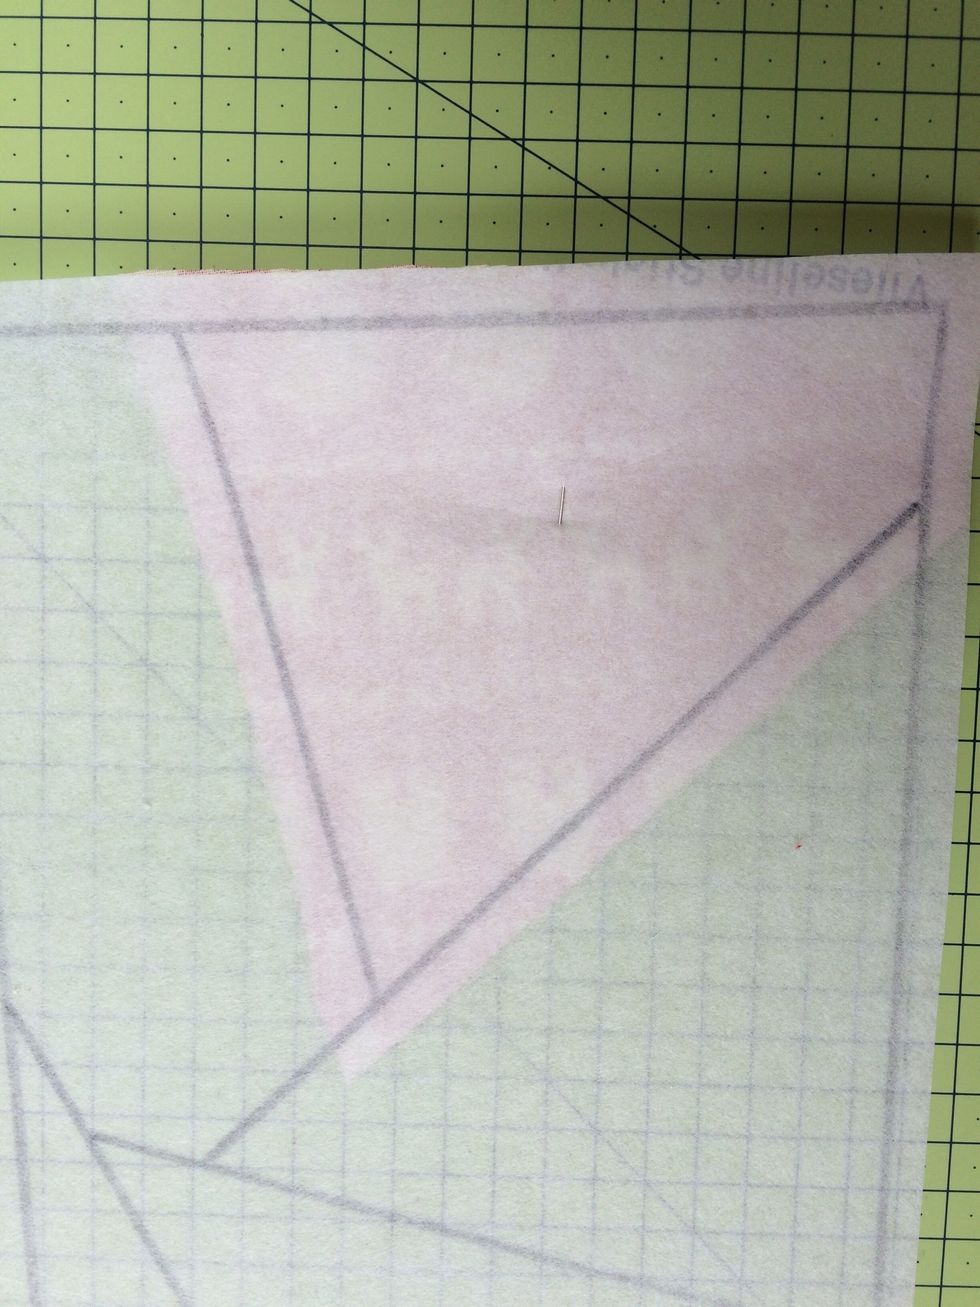
Fold back and check seams are visible
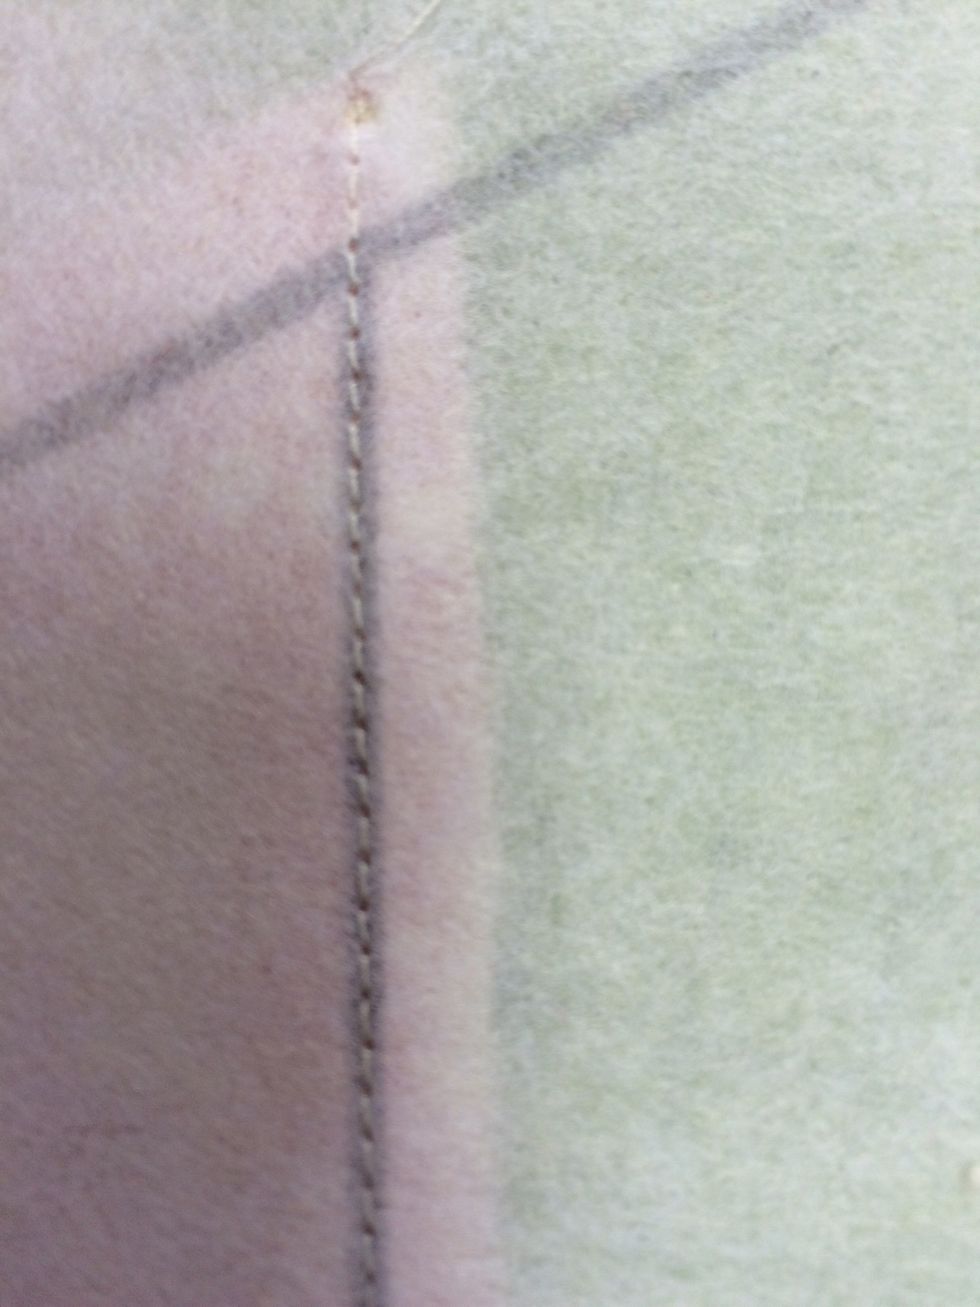
Sew into position along draw line

Iron into place
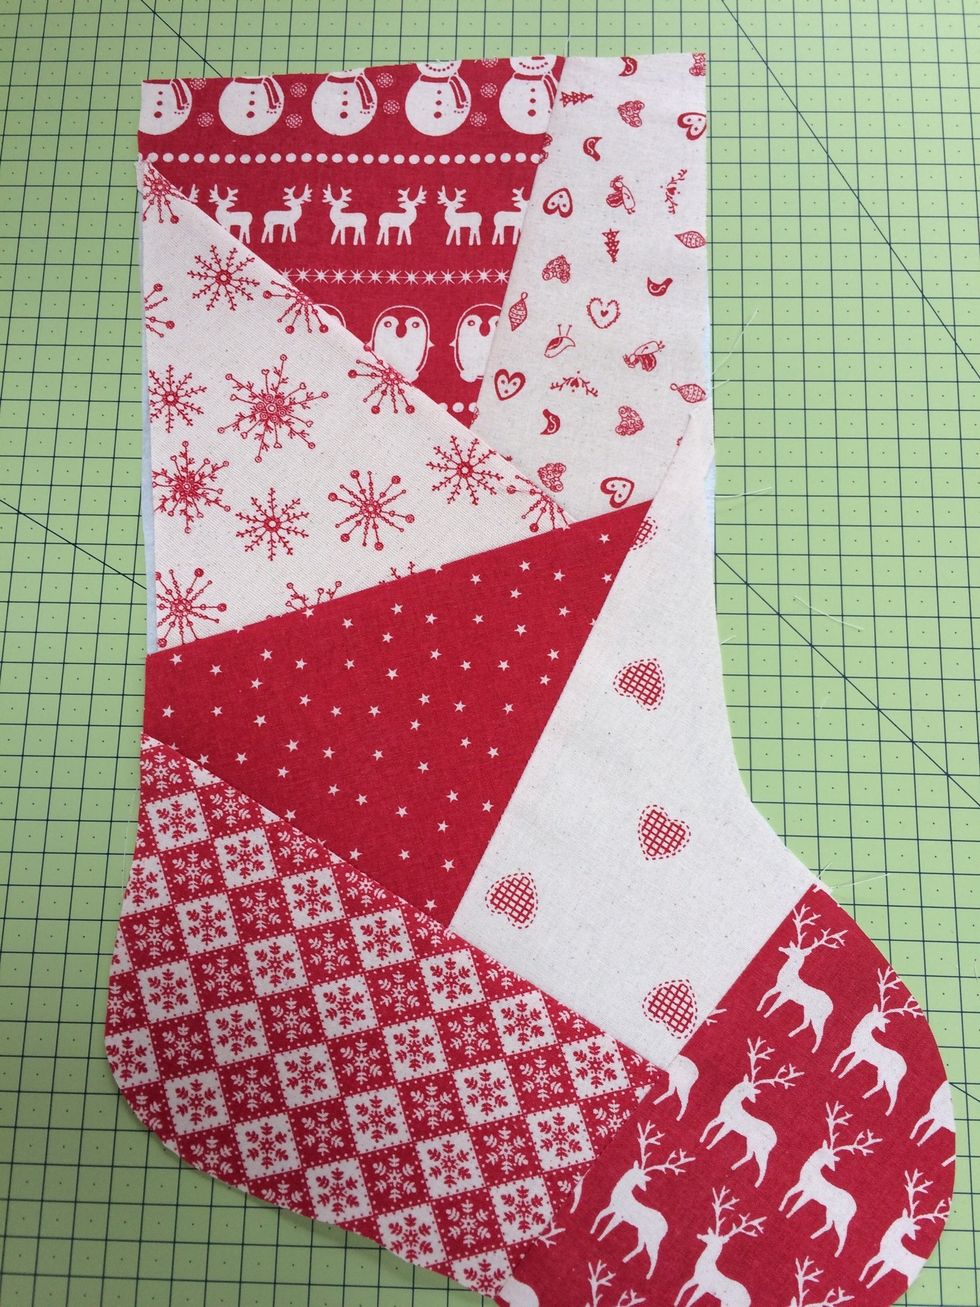
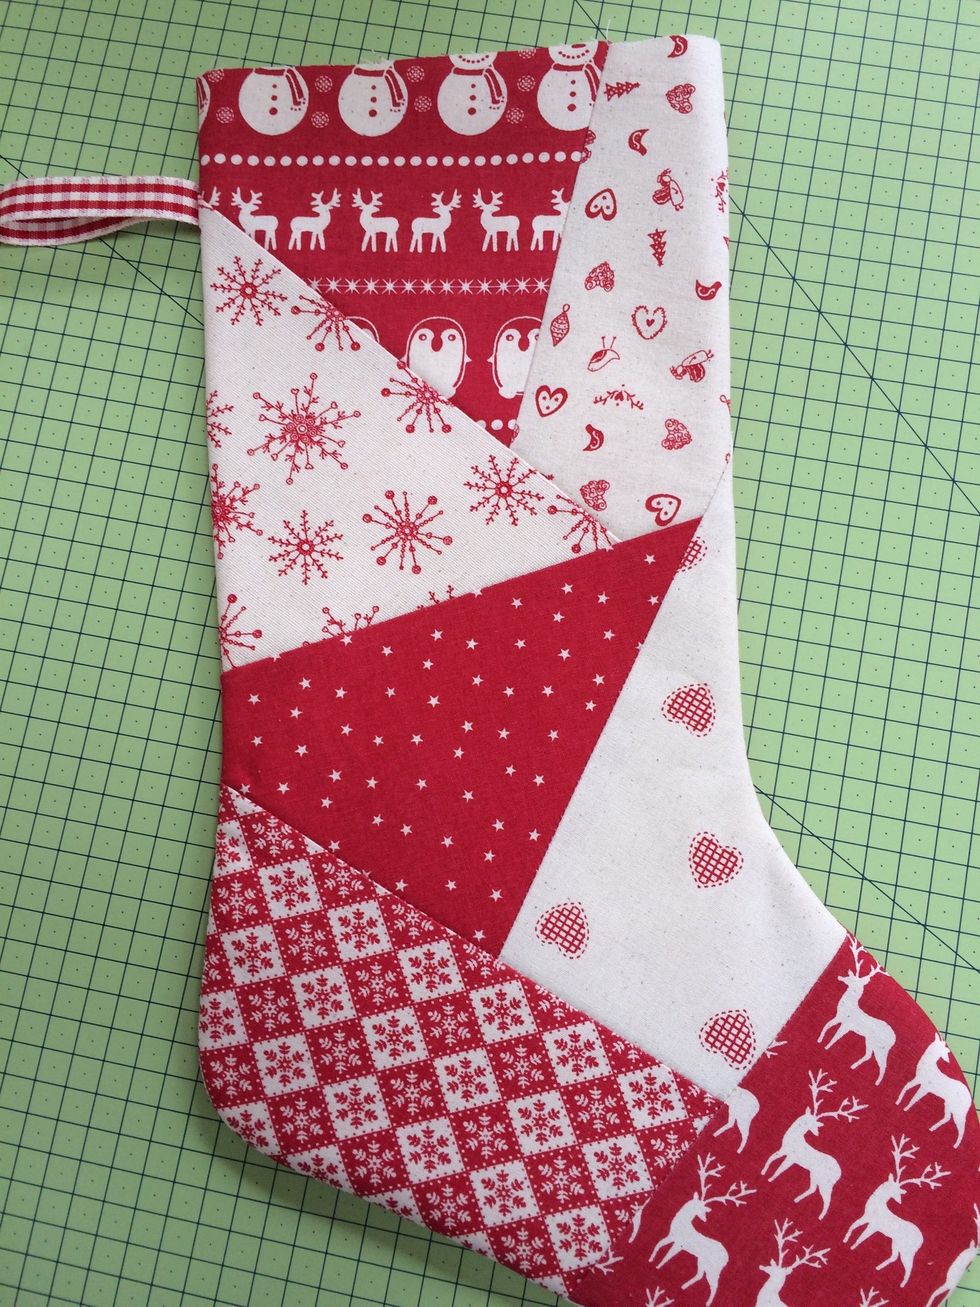
Continue to work in numerical order and sew all the pieces in place
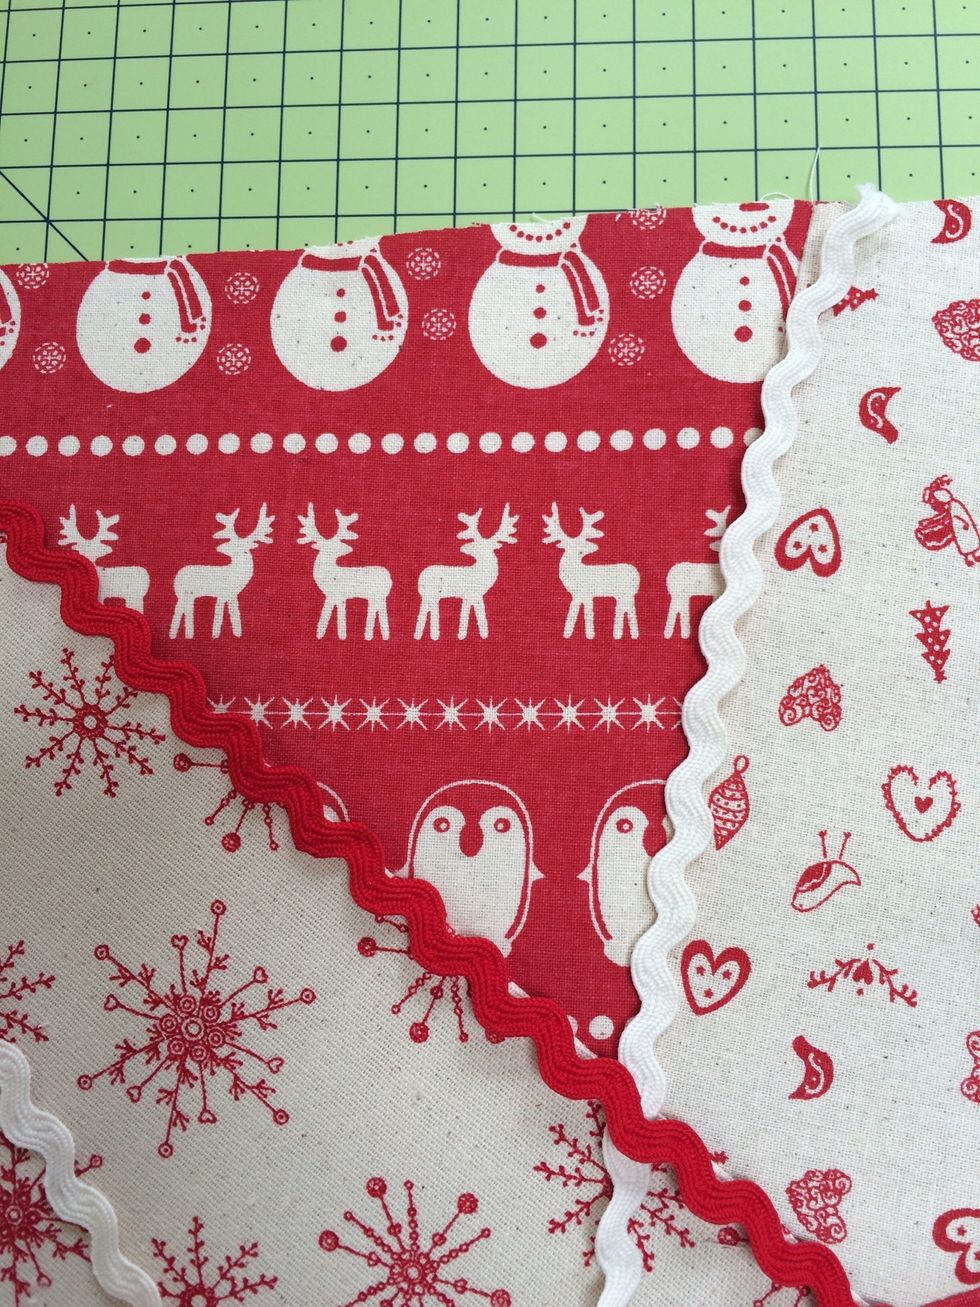
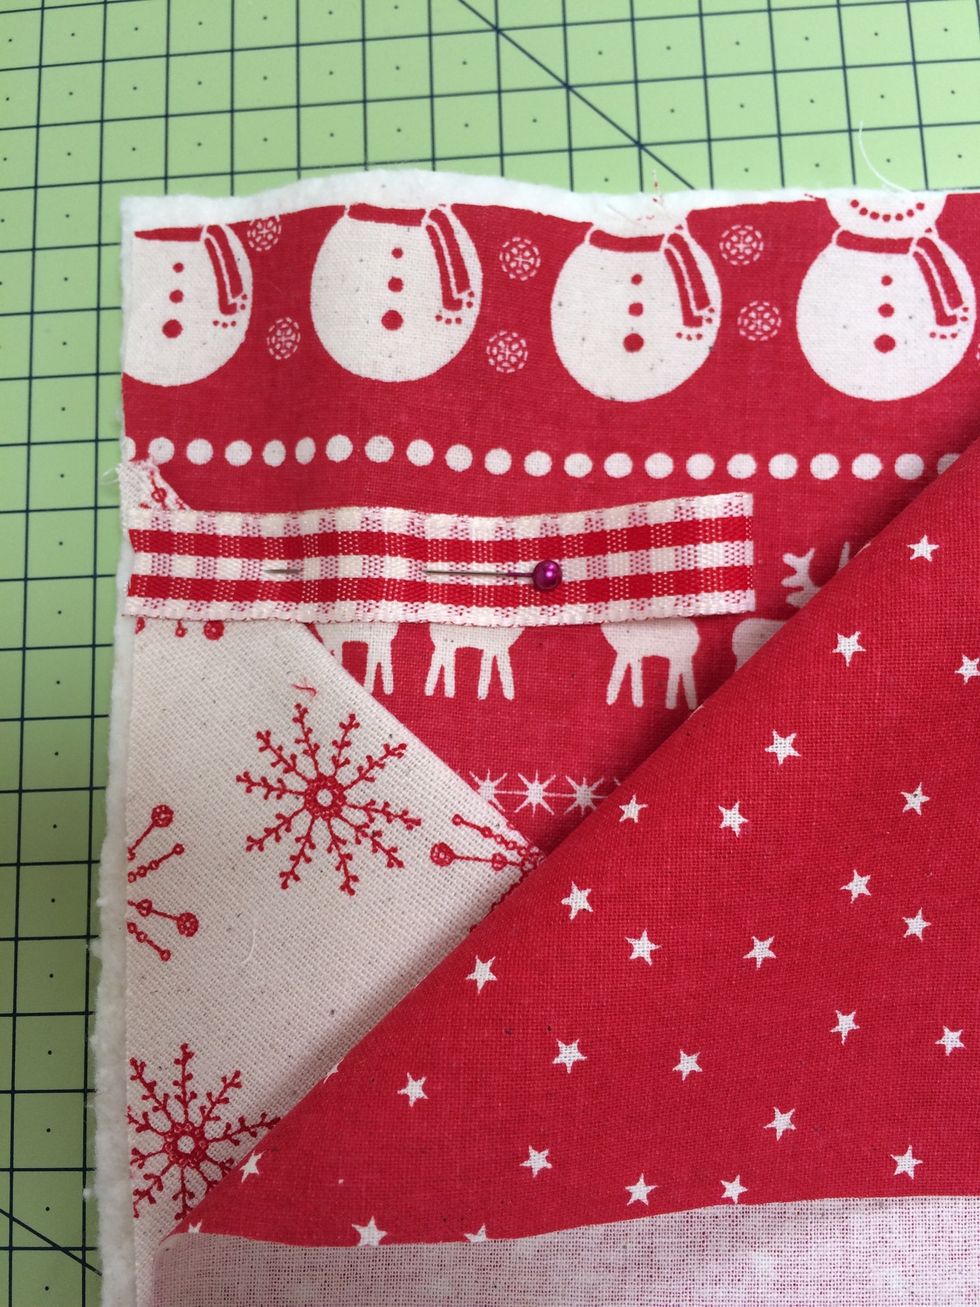
You can add extras if you want like ric rac ribbon , lace or buttons

Tear away the stitch & tear stabiliser
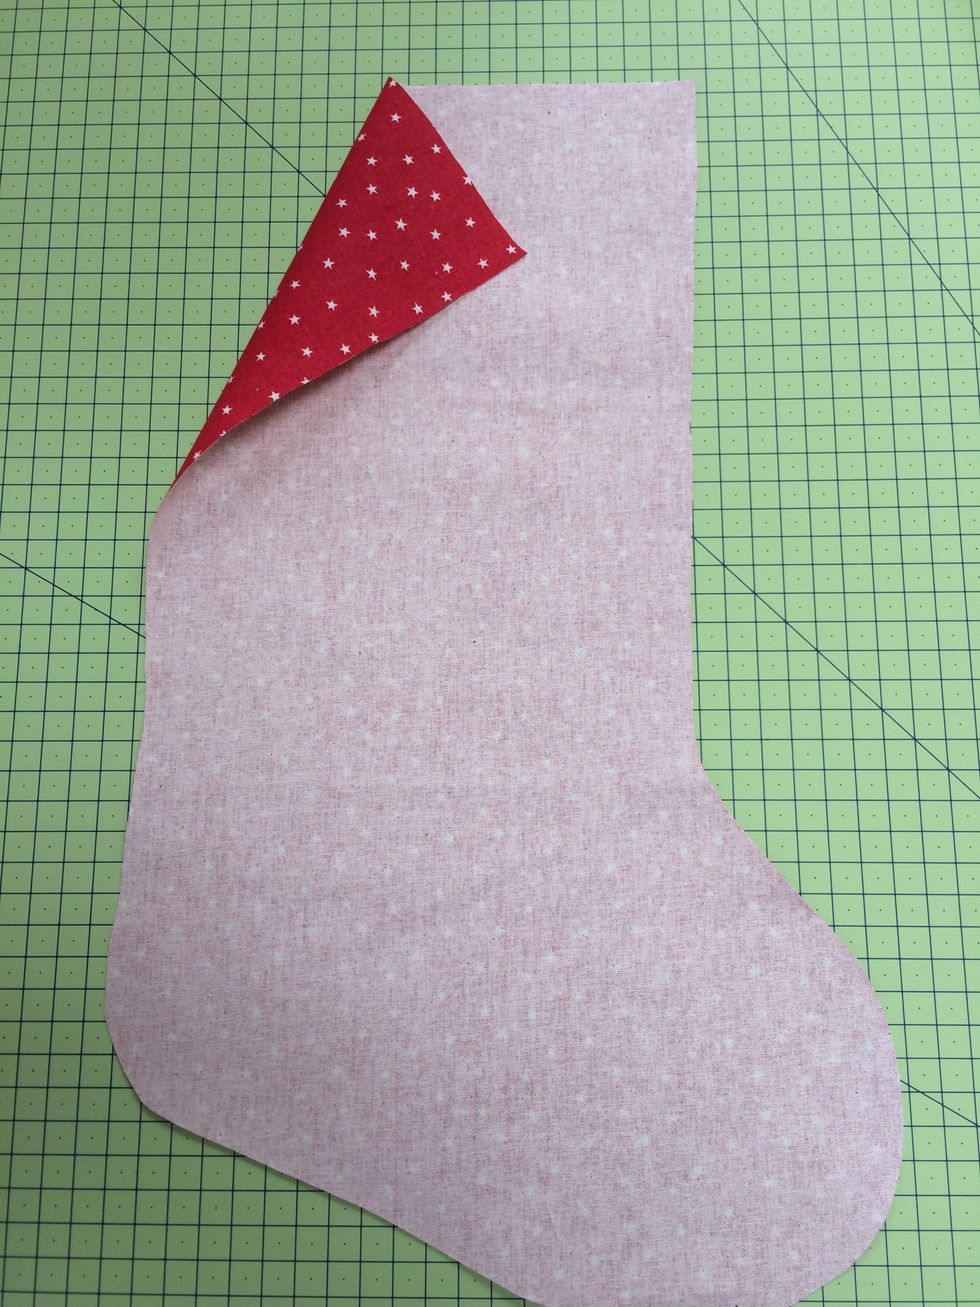
Cut out 1 back with 1/4 inch seam allowance
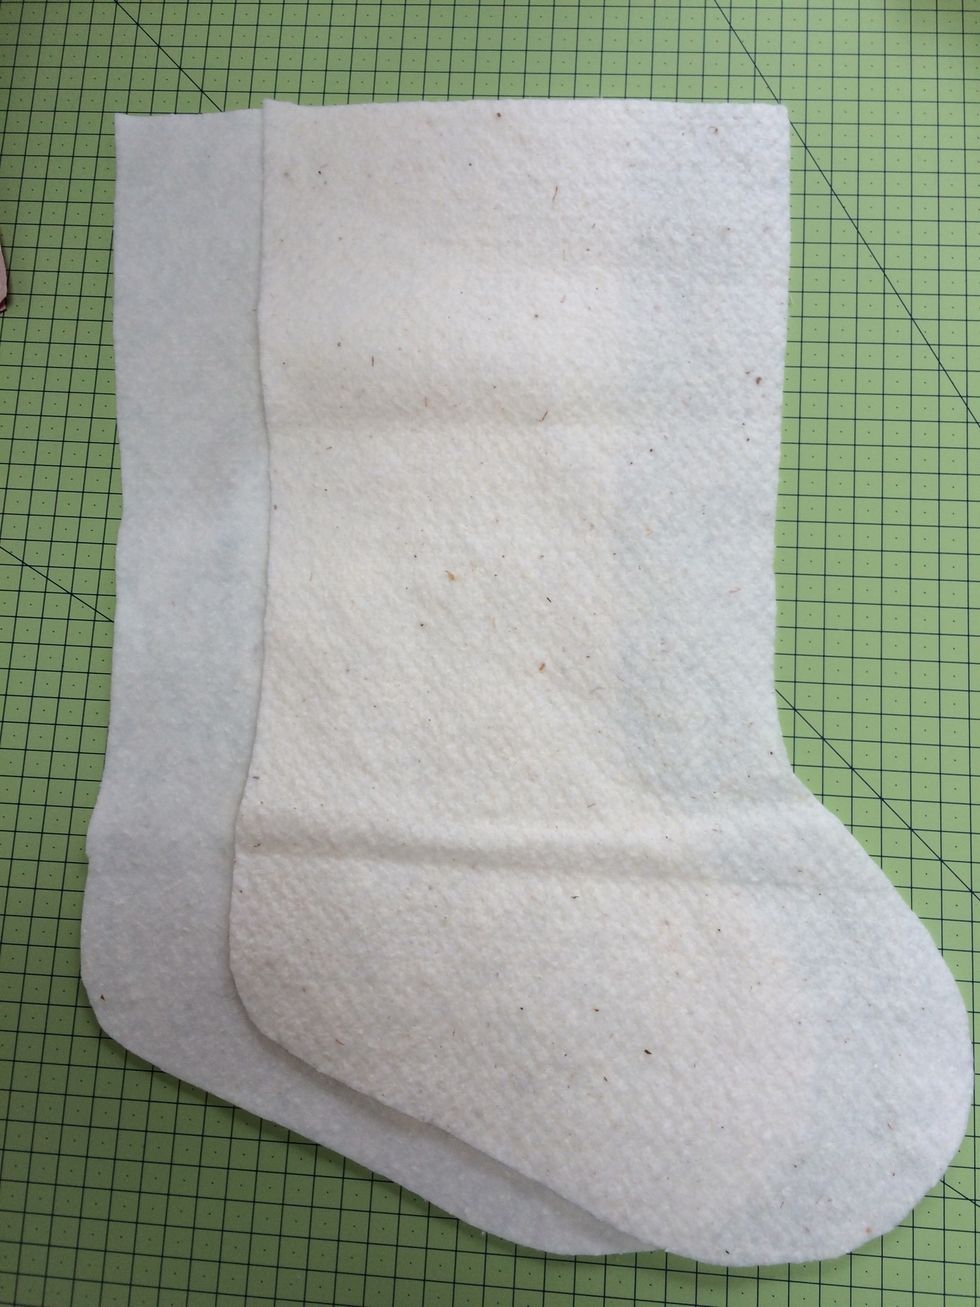
Cut out 2 batting with seam allowance

Cut out 2 lining with seam allowance
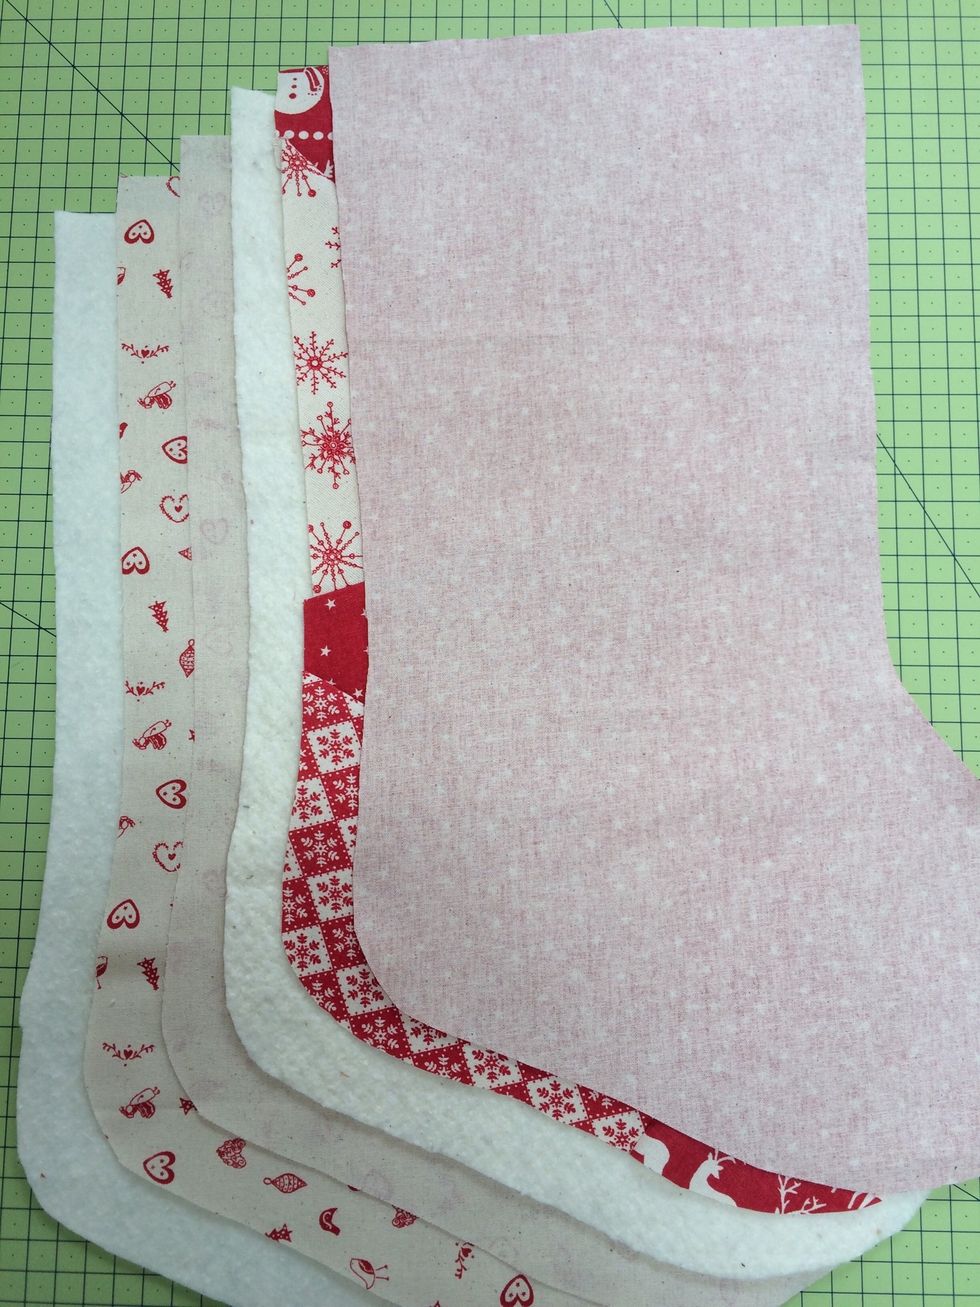
Layer as shown with right sides facing 1 batting, 2 lining,1 batting, front and back
Cut 6 inches of ribbon and insert between front and back

Sew around shape and trim

Turn back and front to right side out
Iron and trim to level neck opening if necessary

Bind neck opening with ribbon
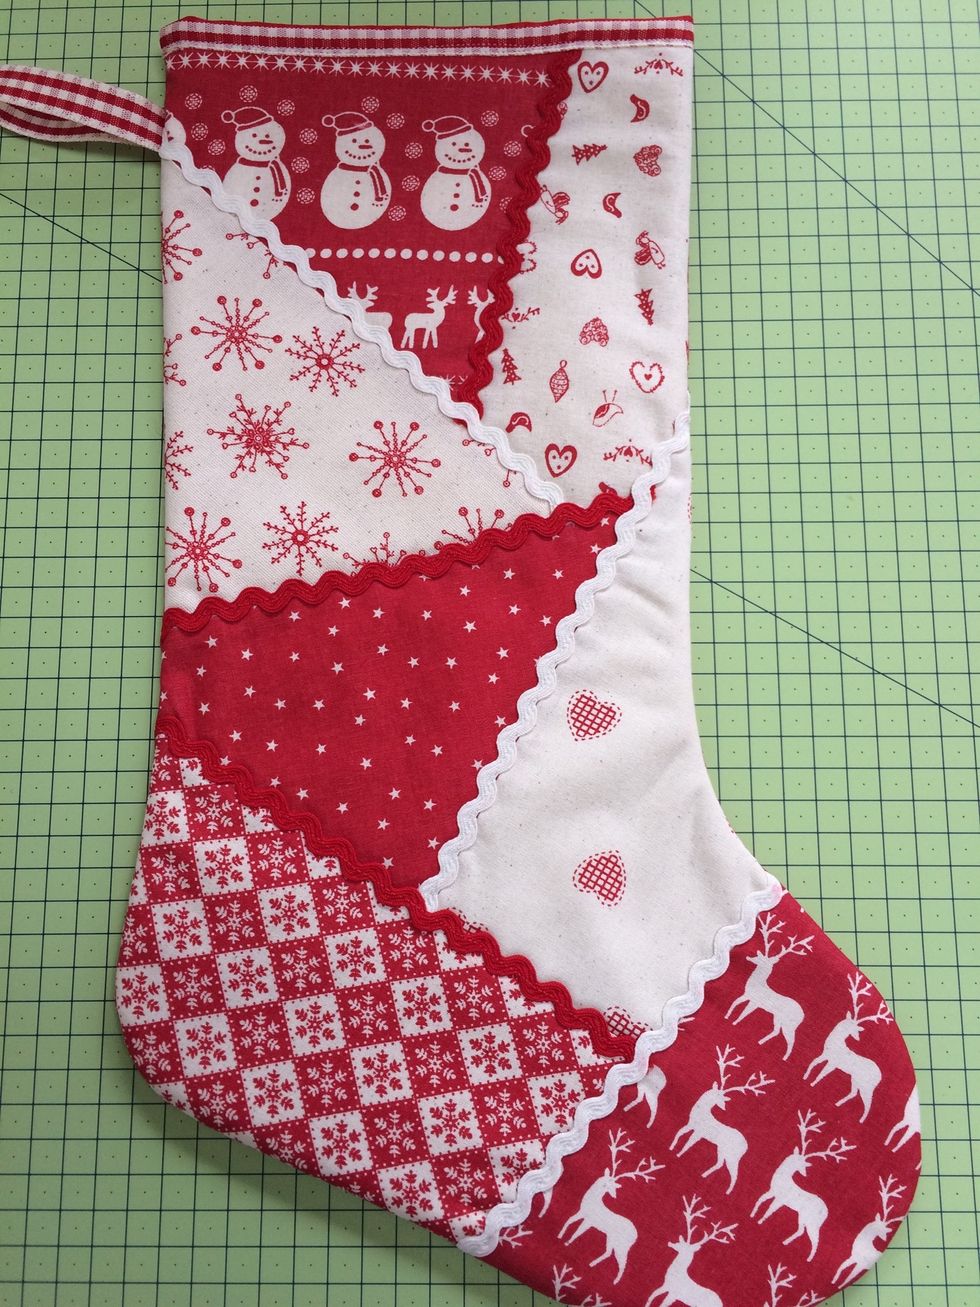
Finished stocking