The Conversation (0)
Sign Up
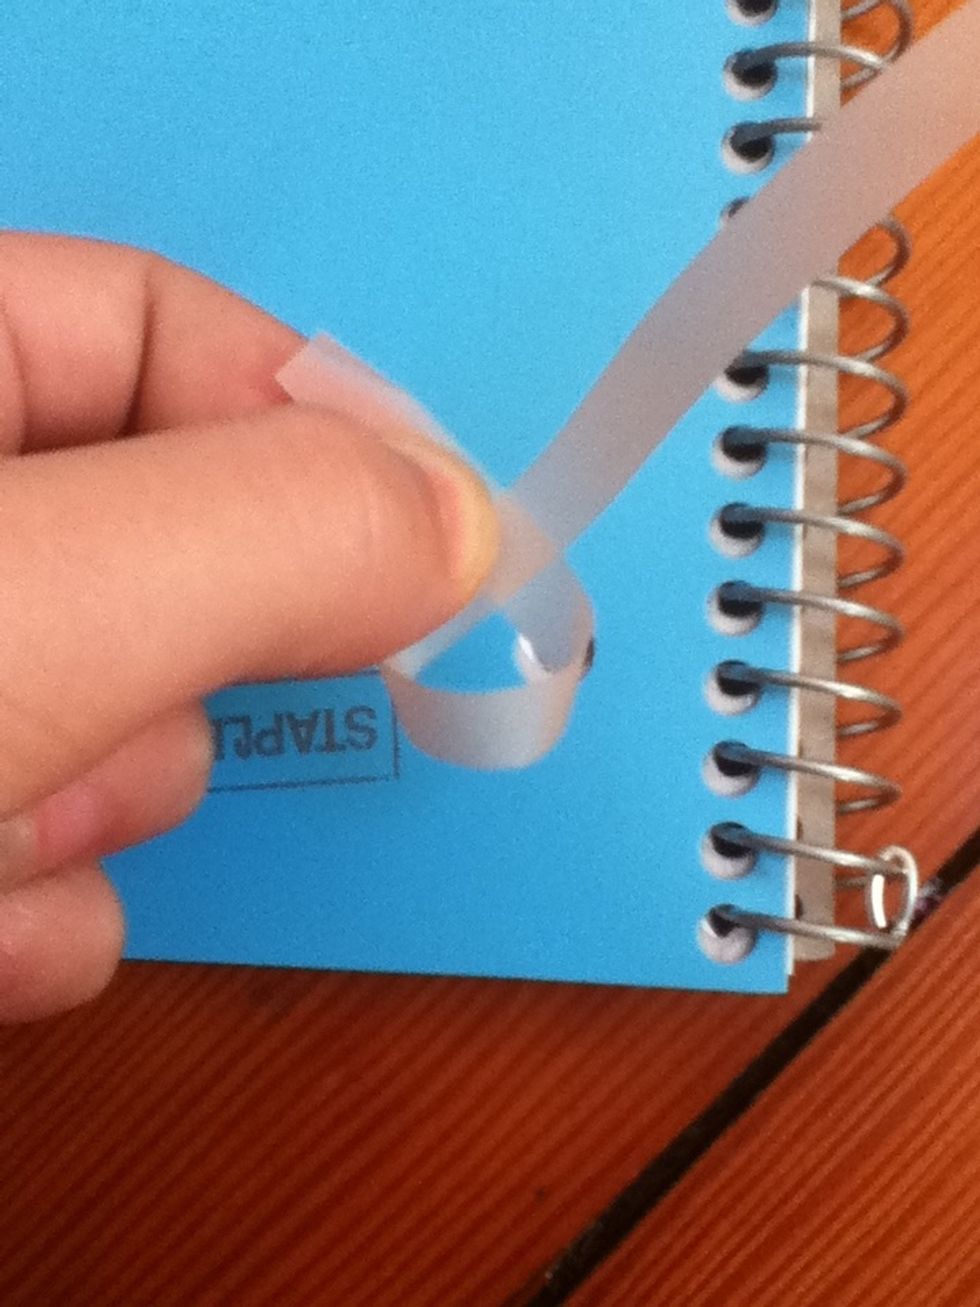
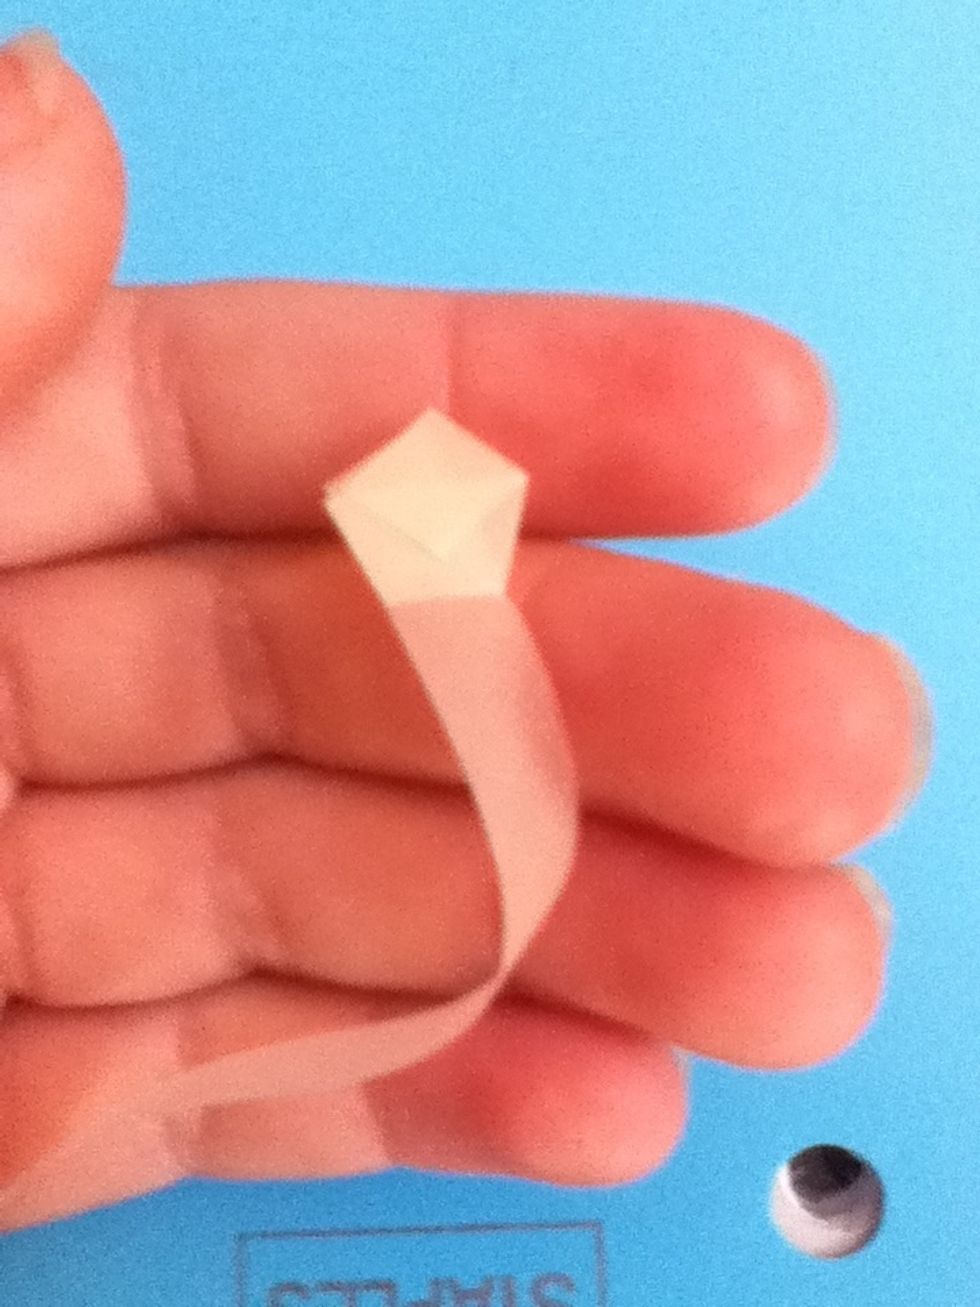
Cross the ends of the strip over. You should have a long end and a short end.
Tuck the short end through the hole, and pull both ends gently. In essence, you have just tied a simple knot with paper. Pull the ends until the knot is angular looking, and not too puffy.

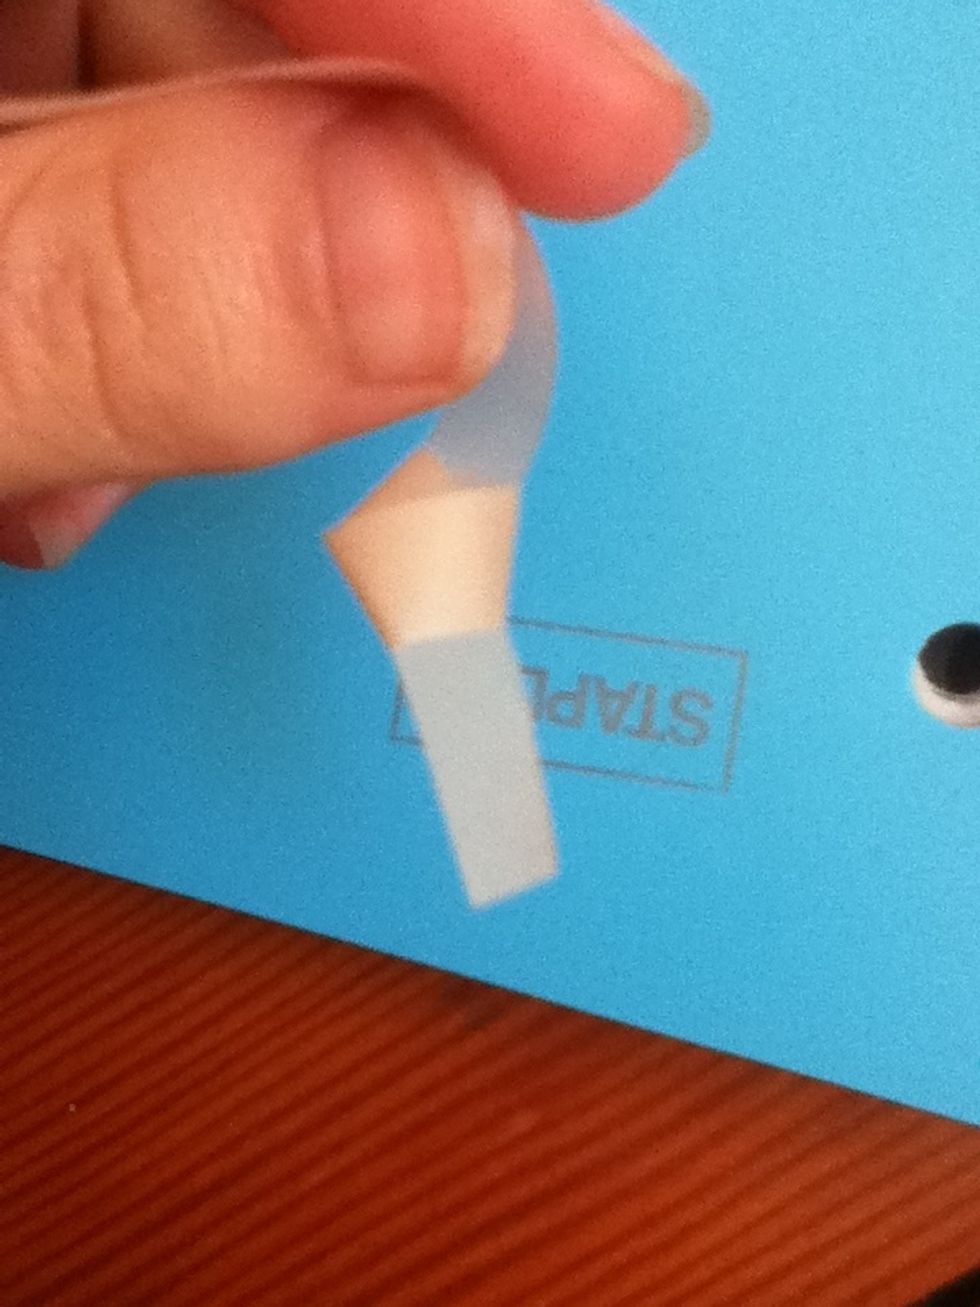
Flatten the knot by squishing it against a hard surface with your thumb.
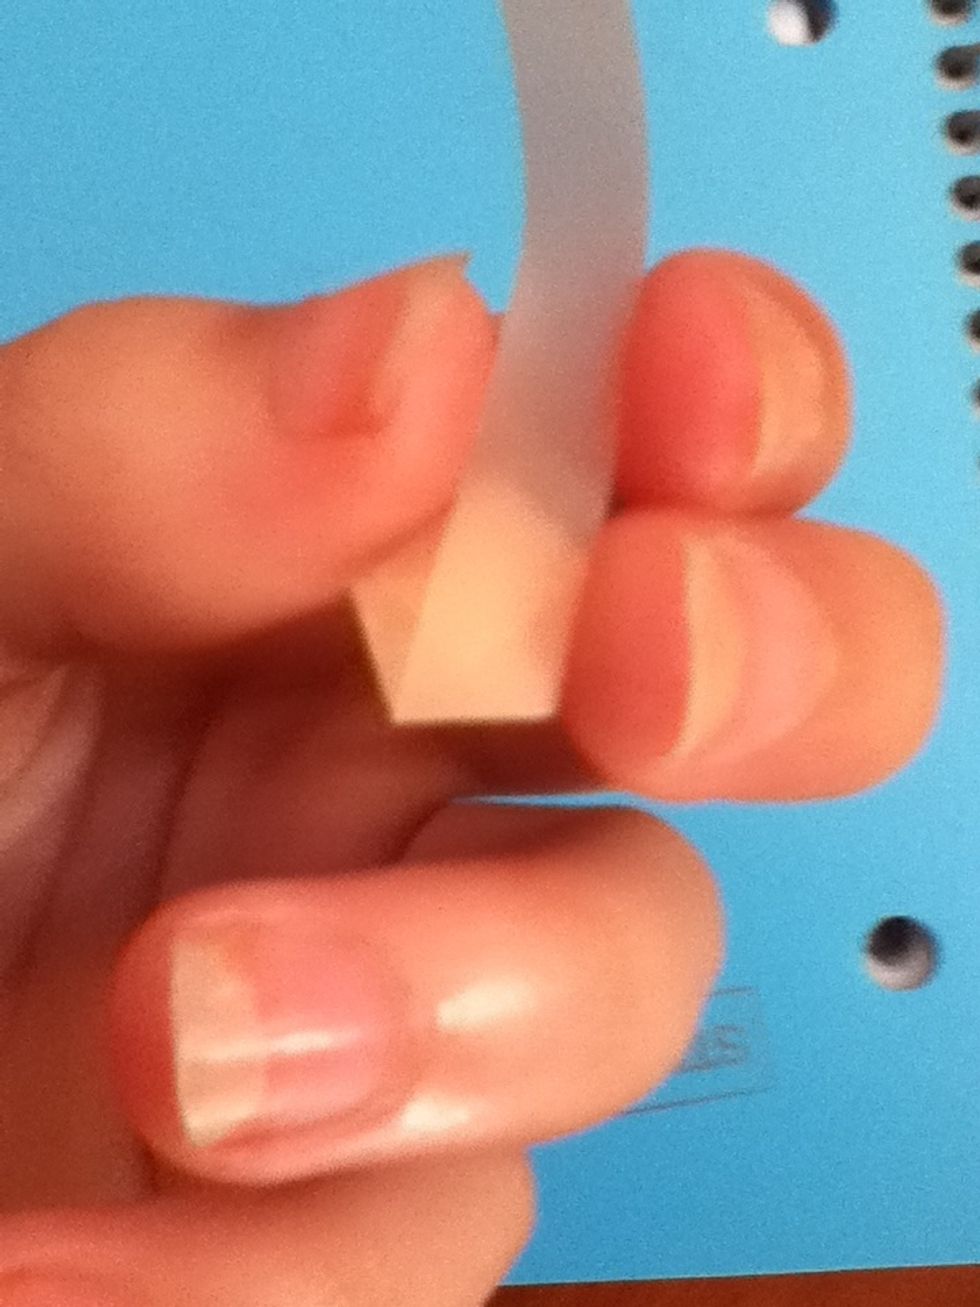
Turn it over, and position the short tail downward.
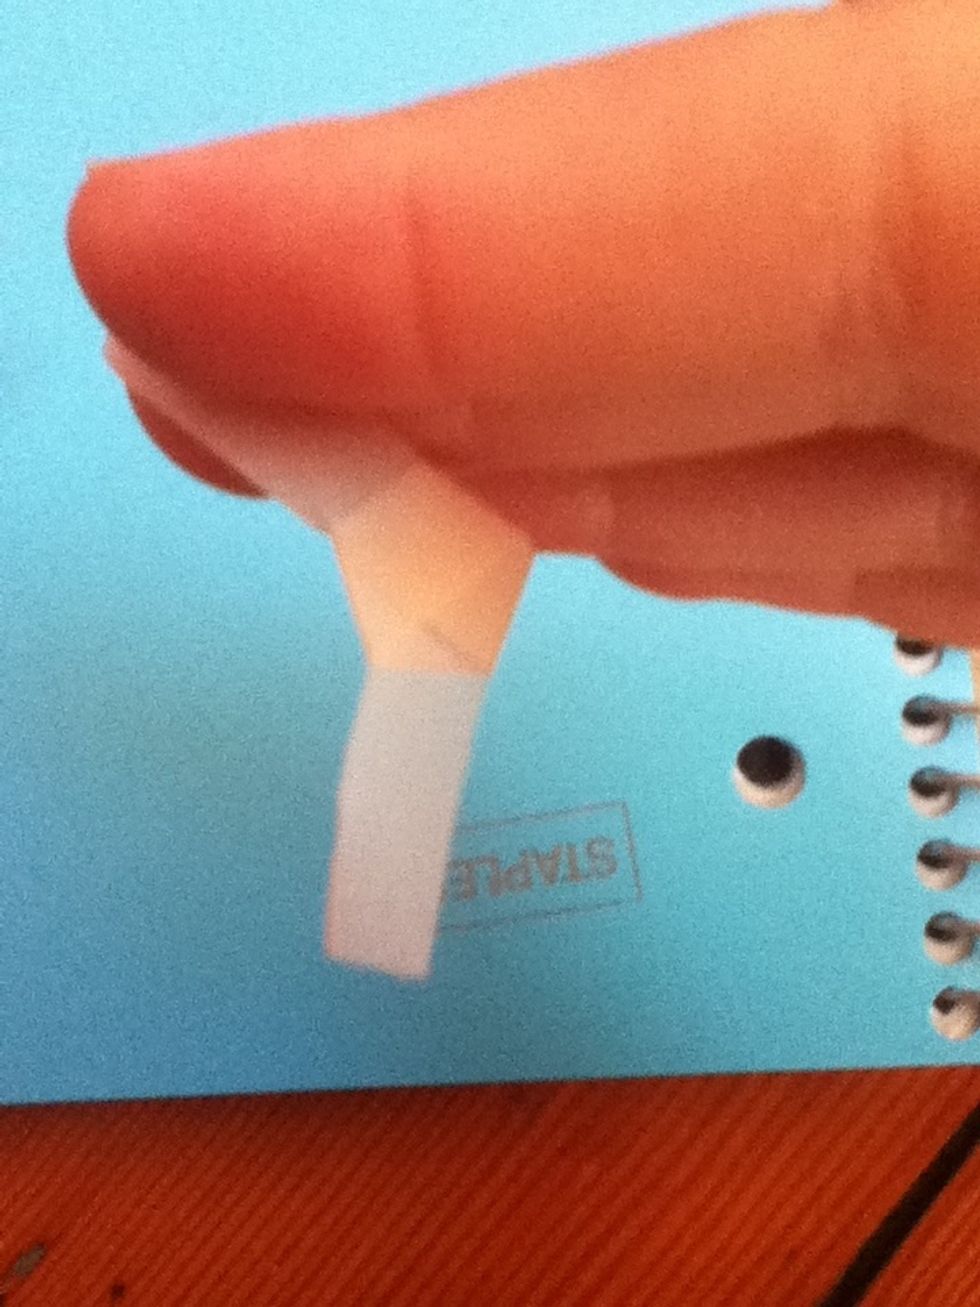
Fold the short tail up against the knot. If it is too long, just trim it a little.
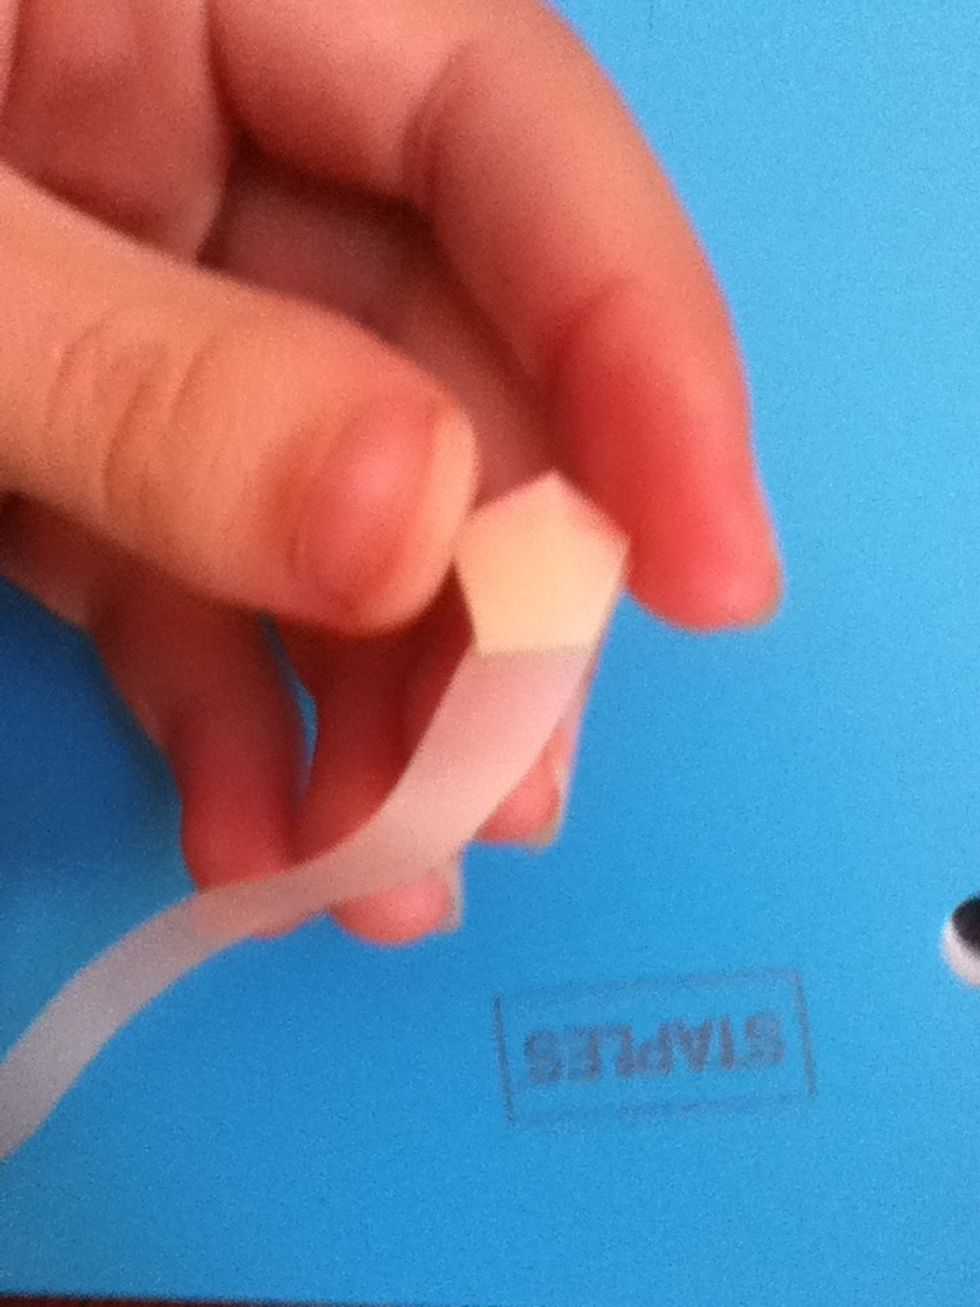
Flip it over, and make sure that the long tail is down.
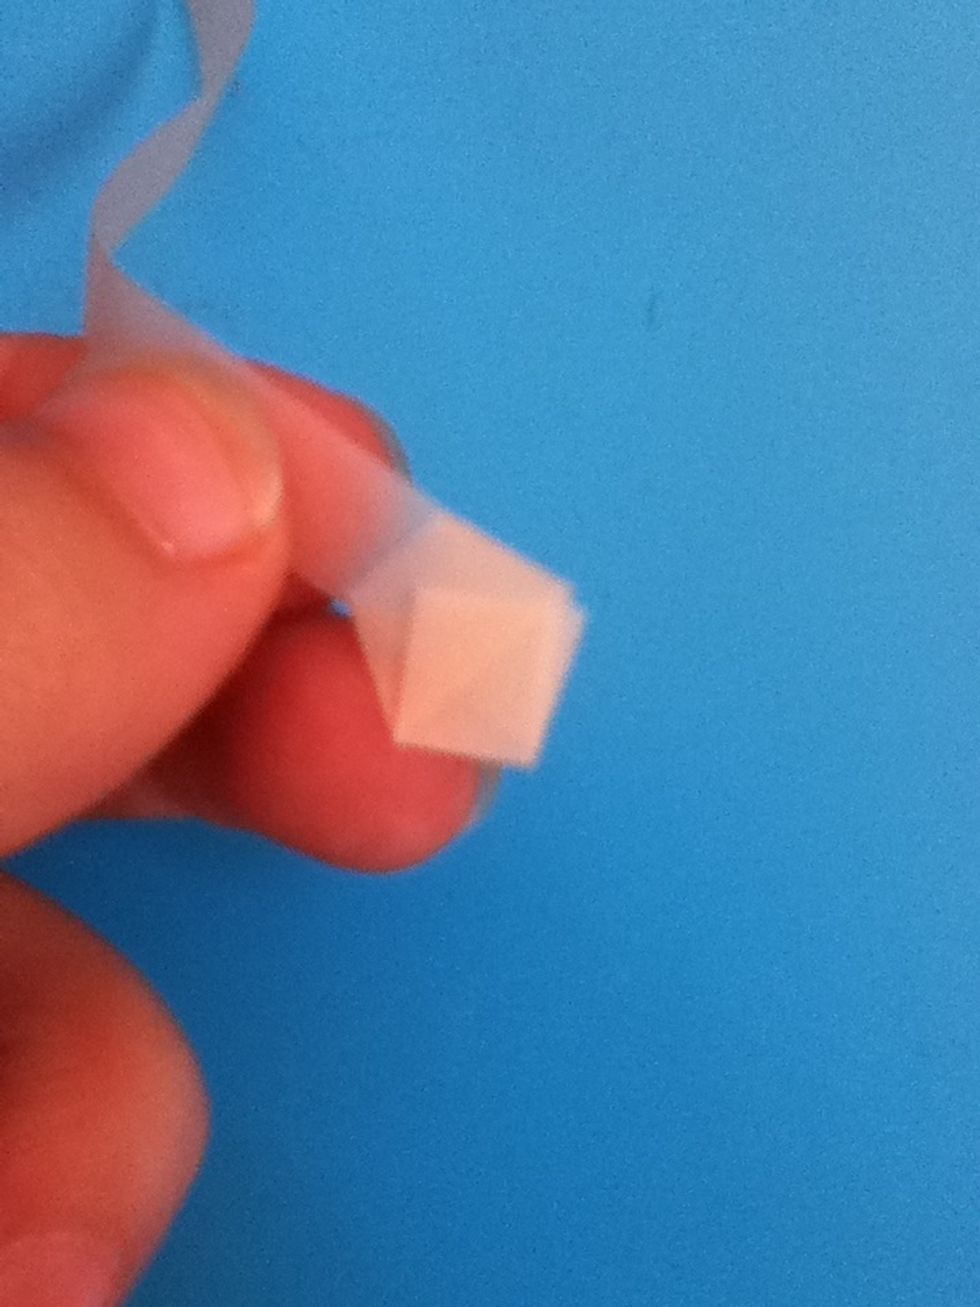
Fold the tail up to the right. Make sure you folds are crisp and taut.
Flip it over. Again, tail down.
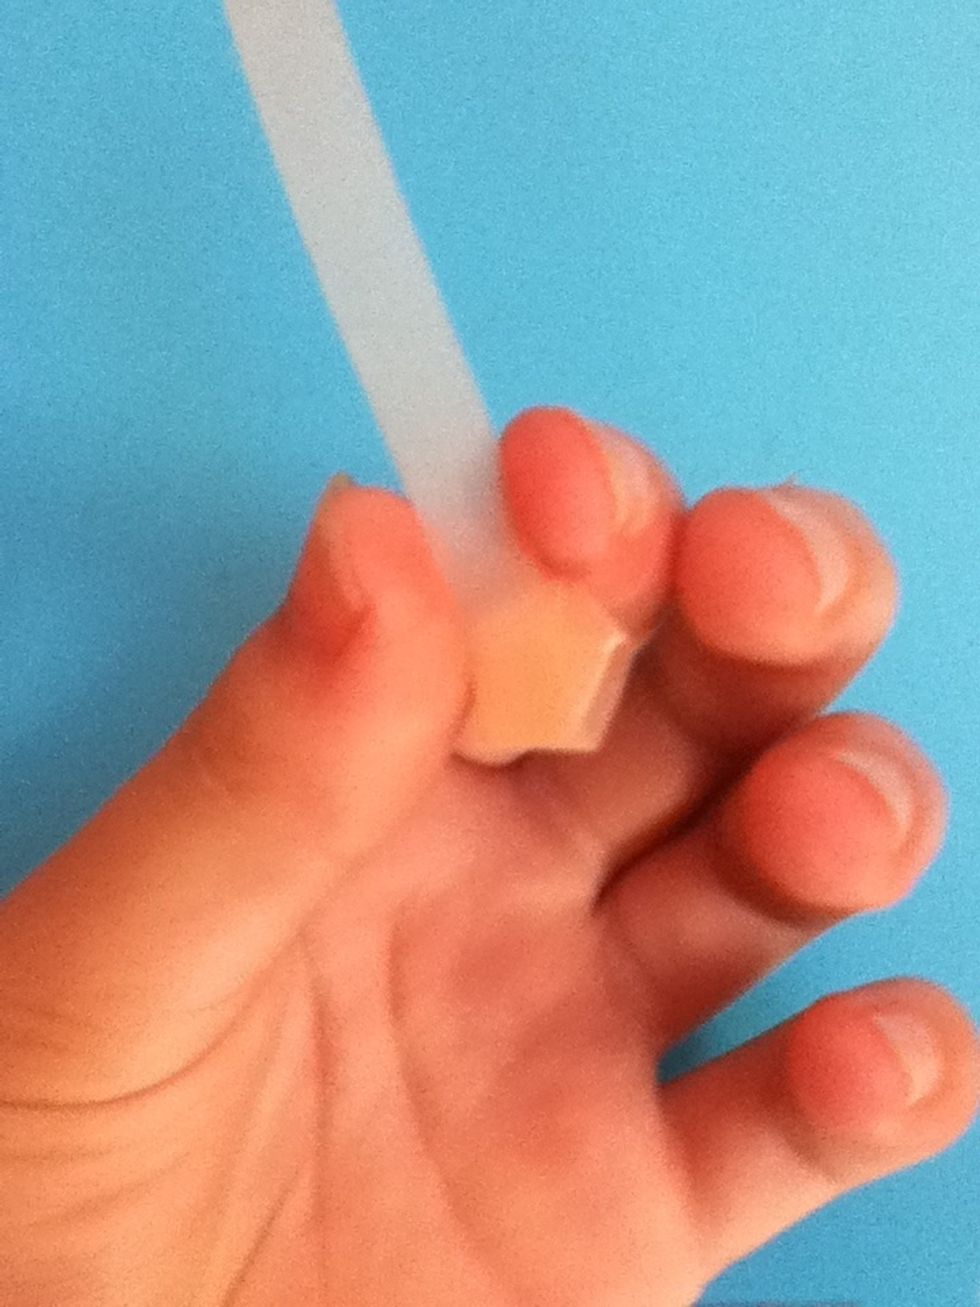
Fold the tail up to the left.
Flip it over.
Fold up to the right. Make sure these folds stay tight.

Flip it over.
Fold up to the left. Continue this pattern, left right, left, right, until...
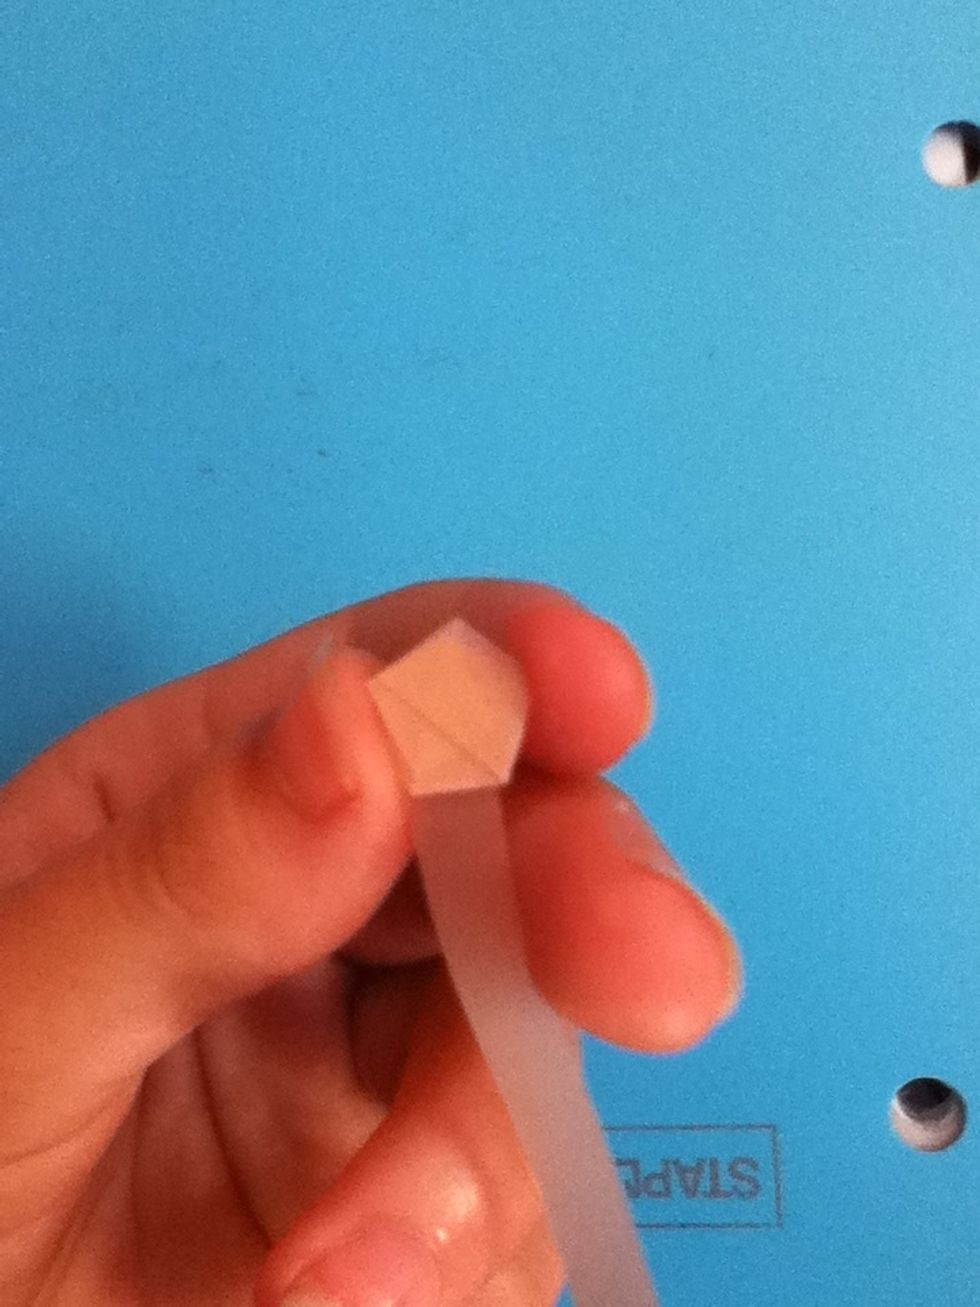
You have a short tail left. Flip your paper so that the tail is coming from the back, as though you were going to continue folding.
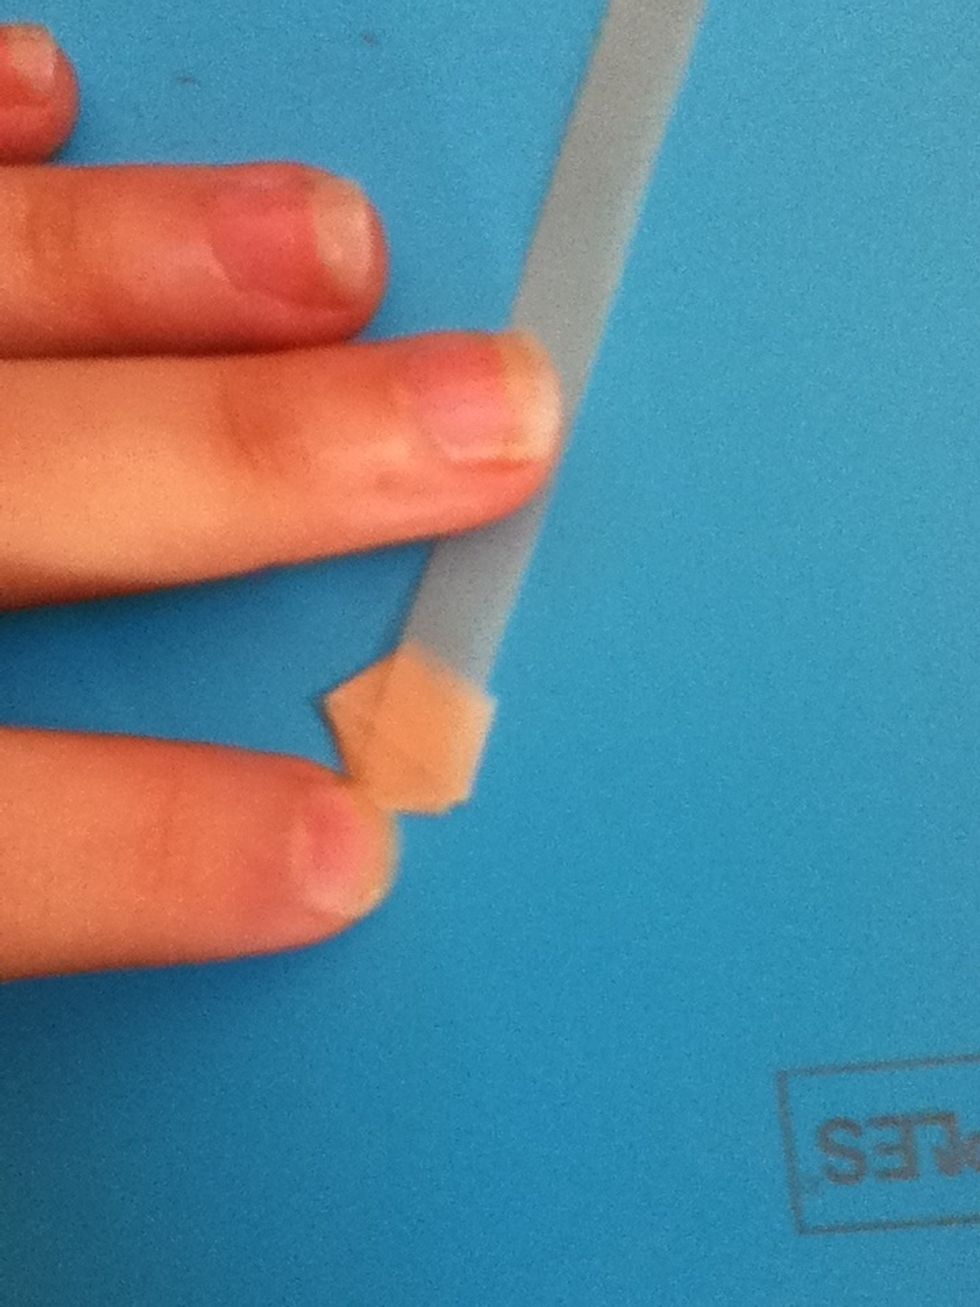
Notice the triangle shaped pocket formed by the overlapping paper. ( sorry about the blurry picture)
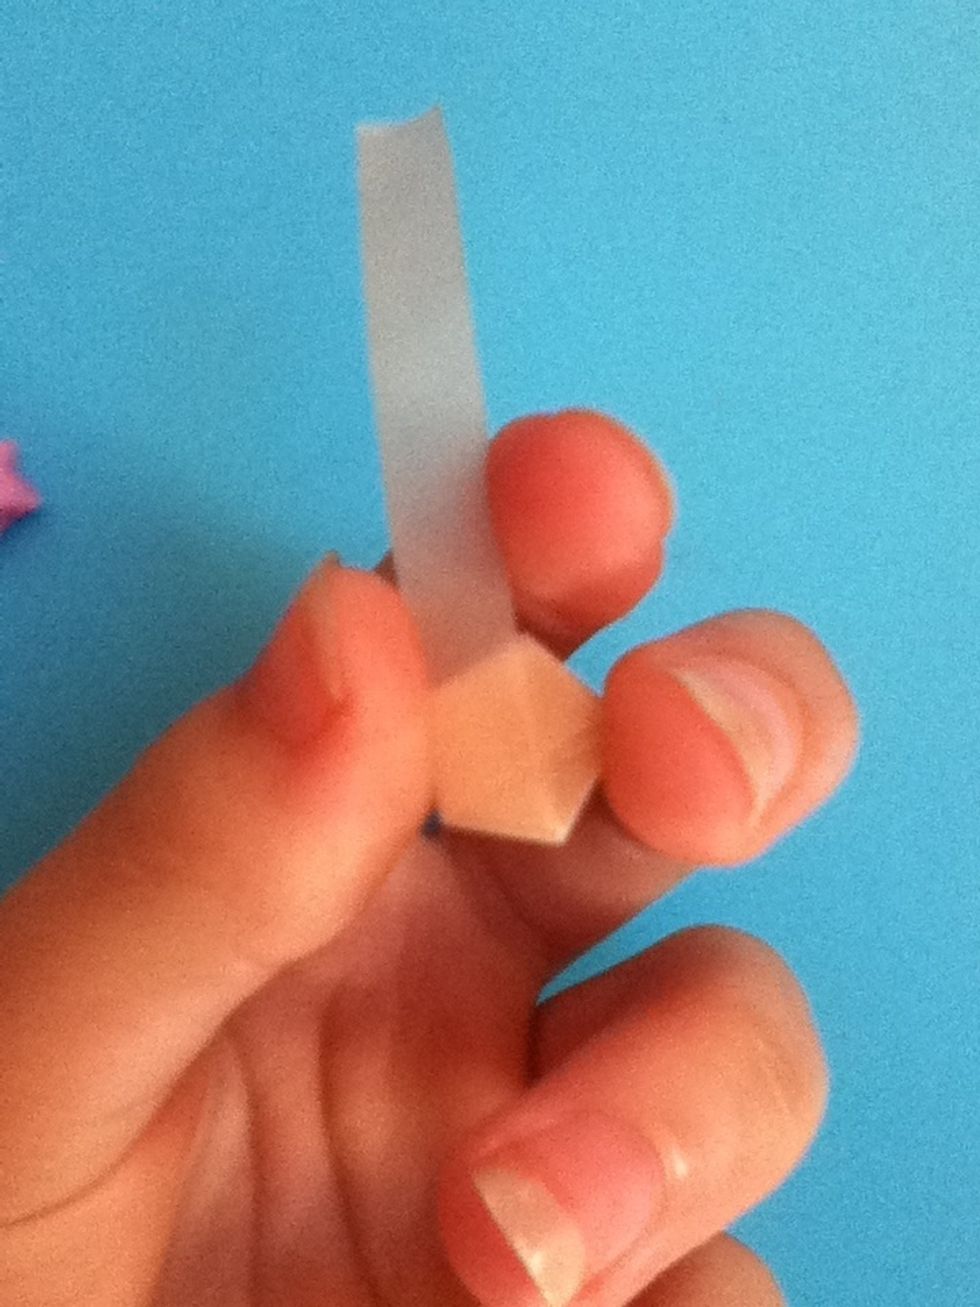
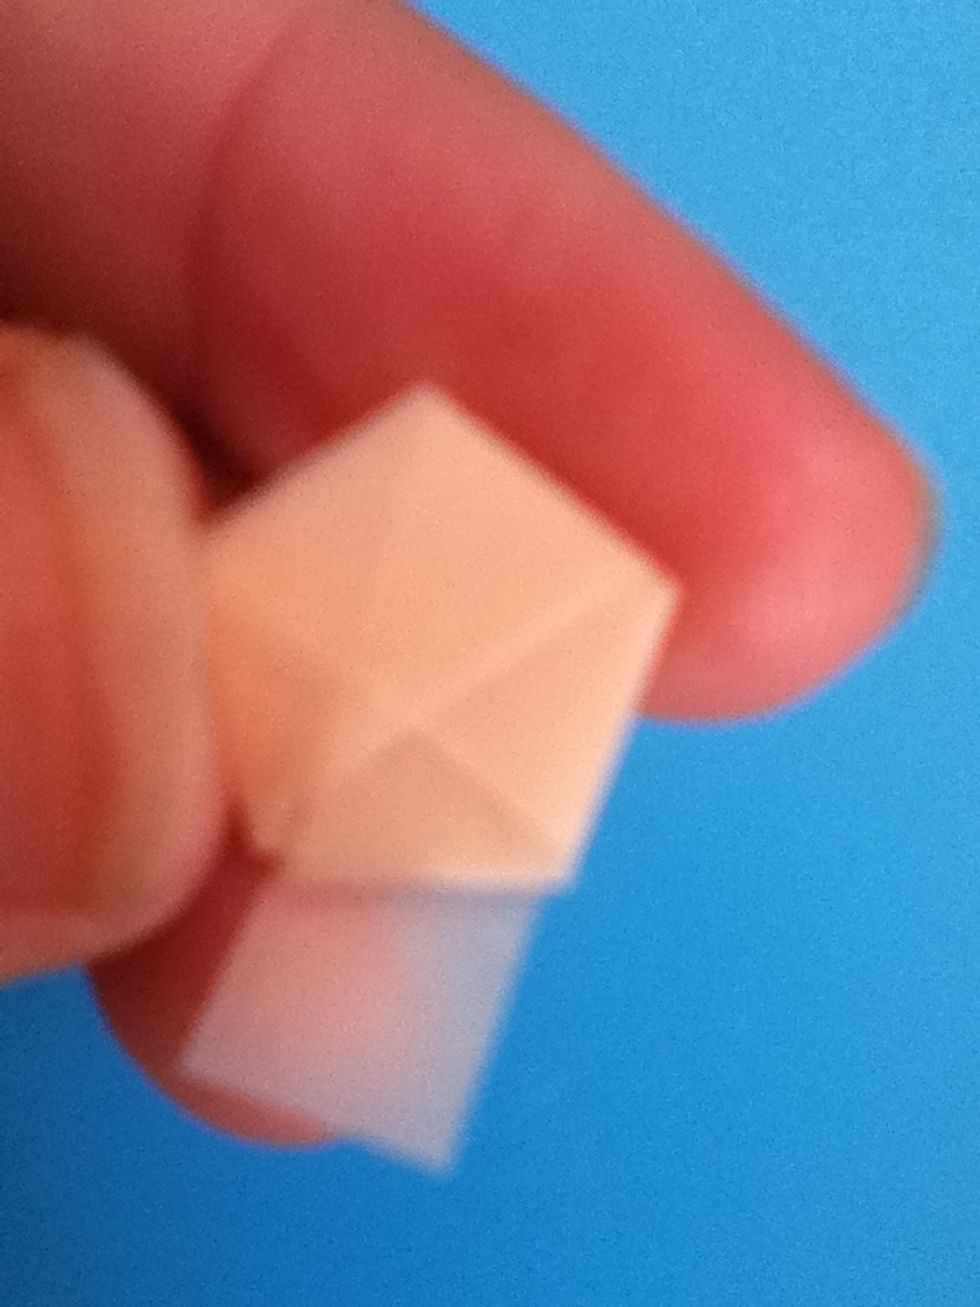
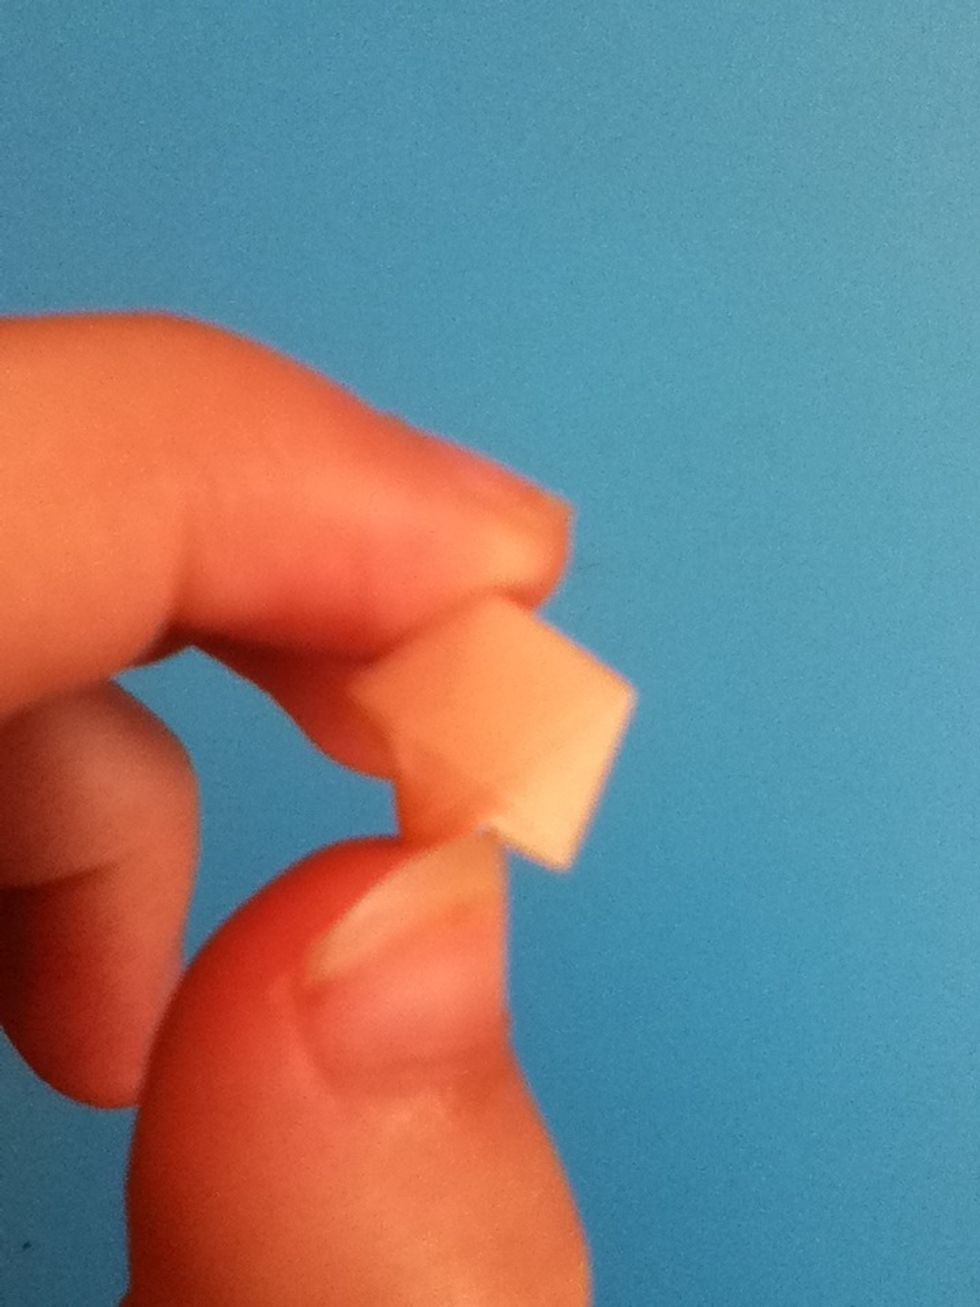
Tuck the tail into this pocket do that you end up with a neat little pentagon. Tucking into the pocket can be tricky, but don't give up!
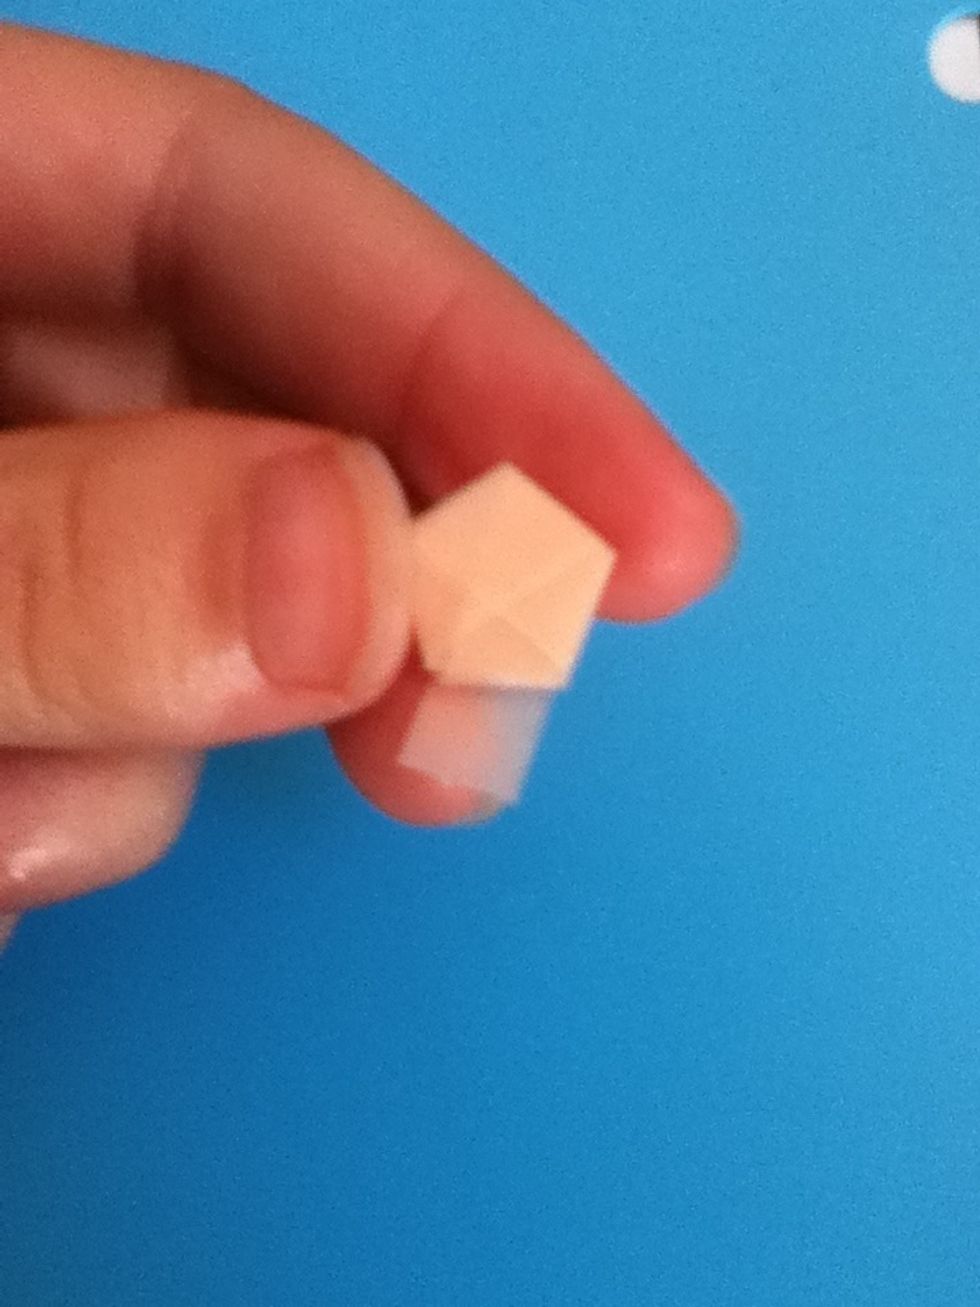
Use your fingernail to gently dent one of the side walls.
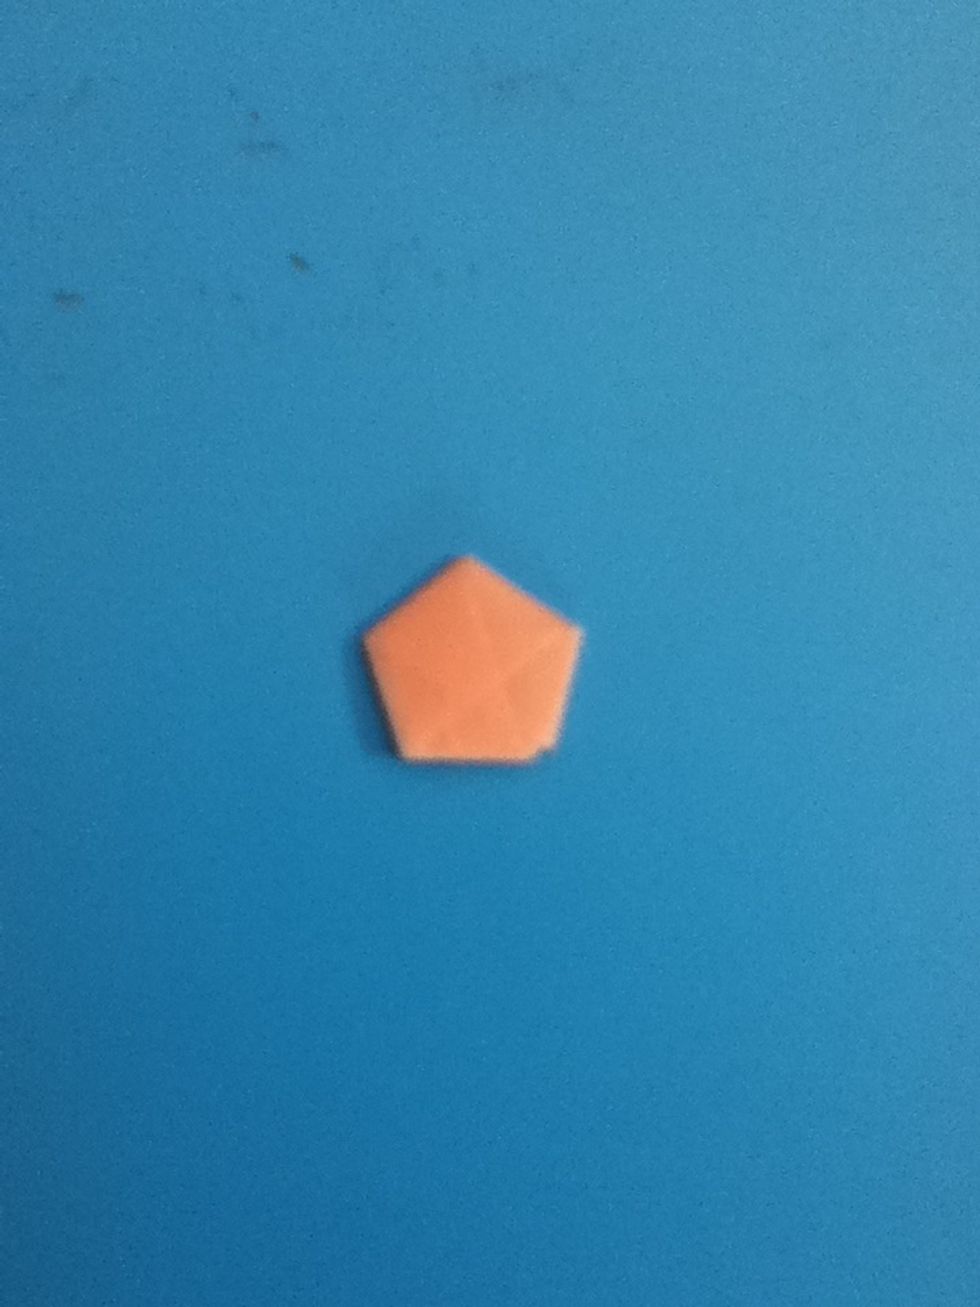
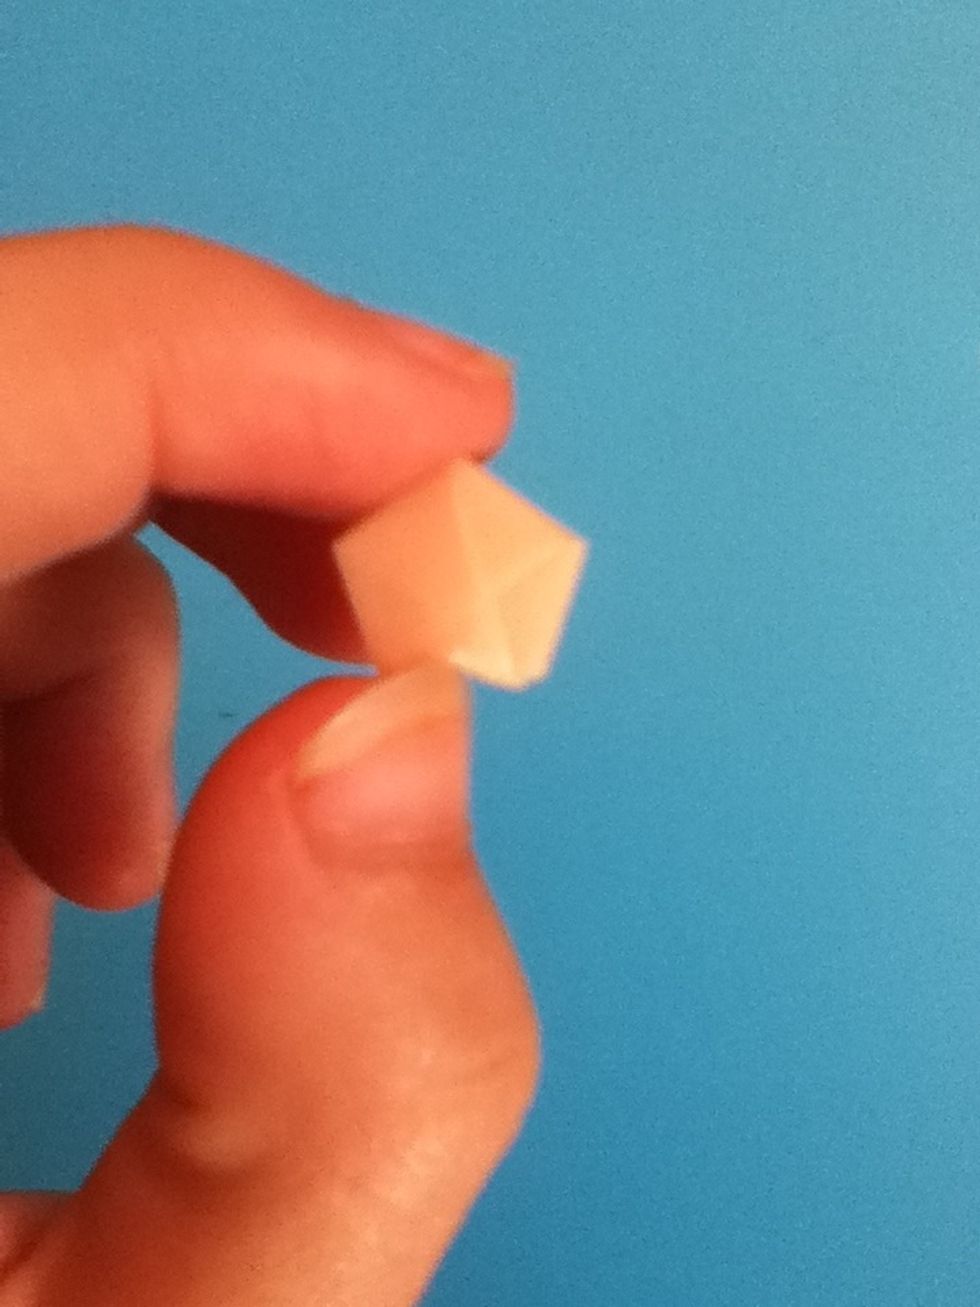
Turn you paper, and dent another side. The pentagon will begin to puff up.
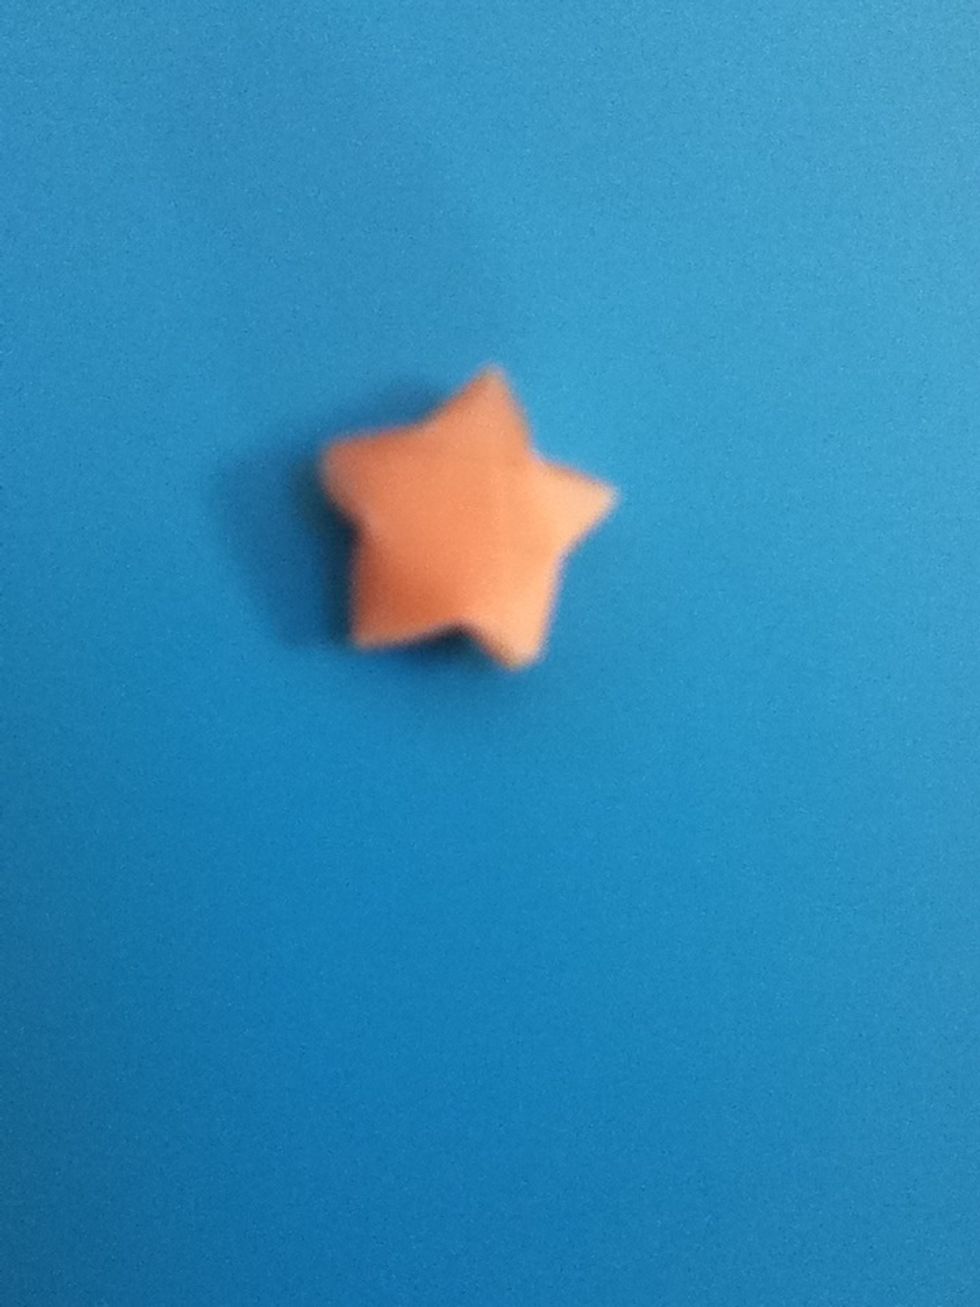
Continue turning and denting until you are happy with your star!
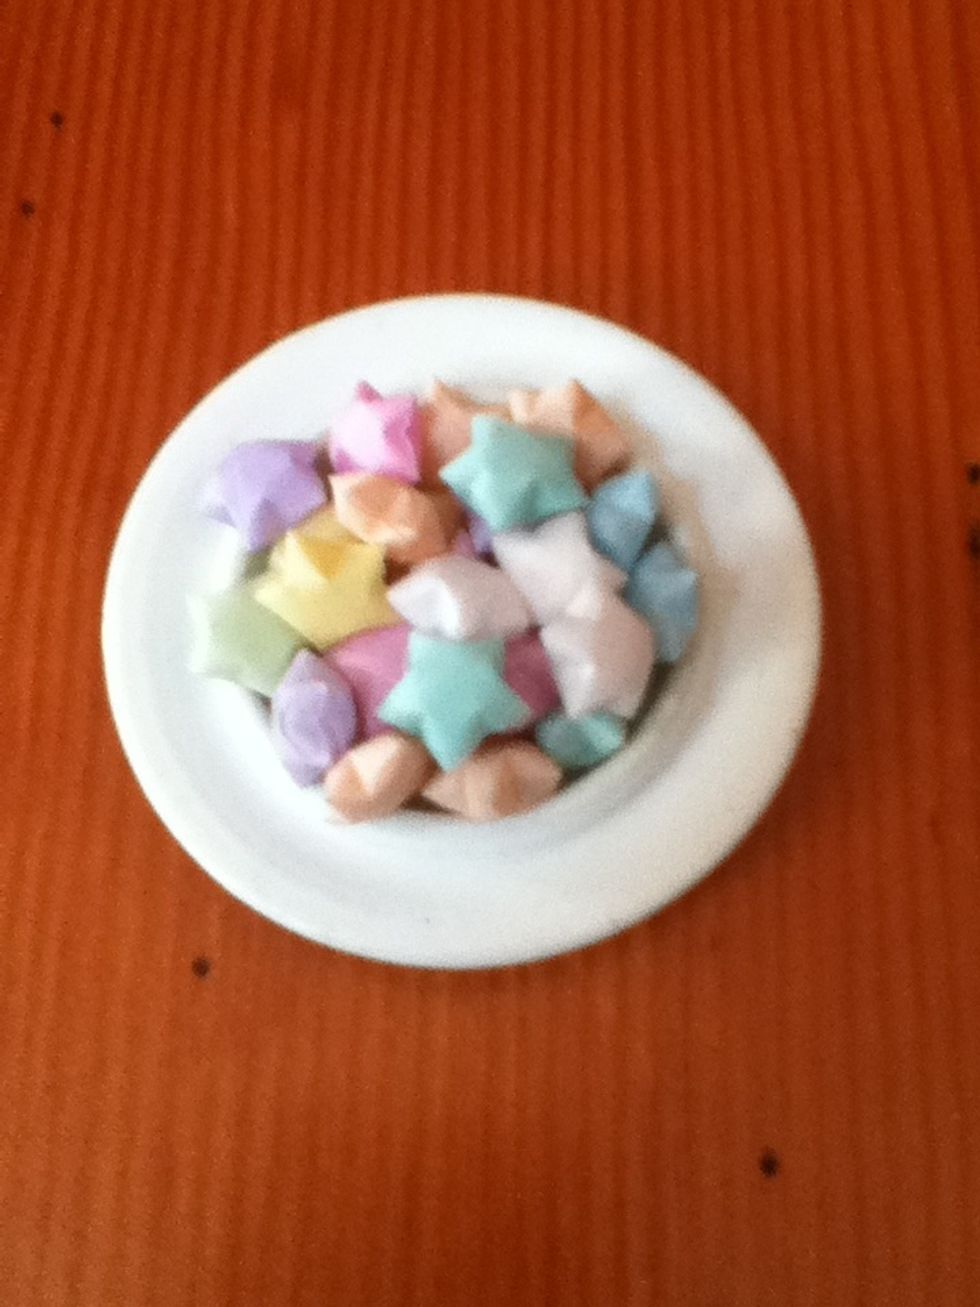
Make a bunch! If you have any questions or comments, let me know in the comments. I will try to help anyone who needs clarification. Let me know how you wishing stars turn out!