The Conversation (0)
Sign Up
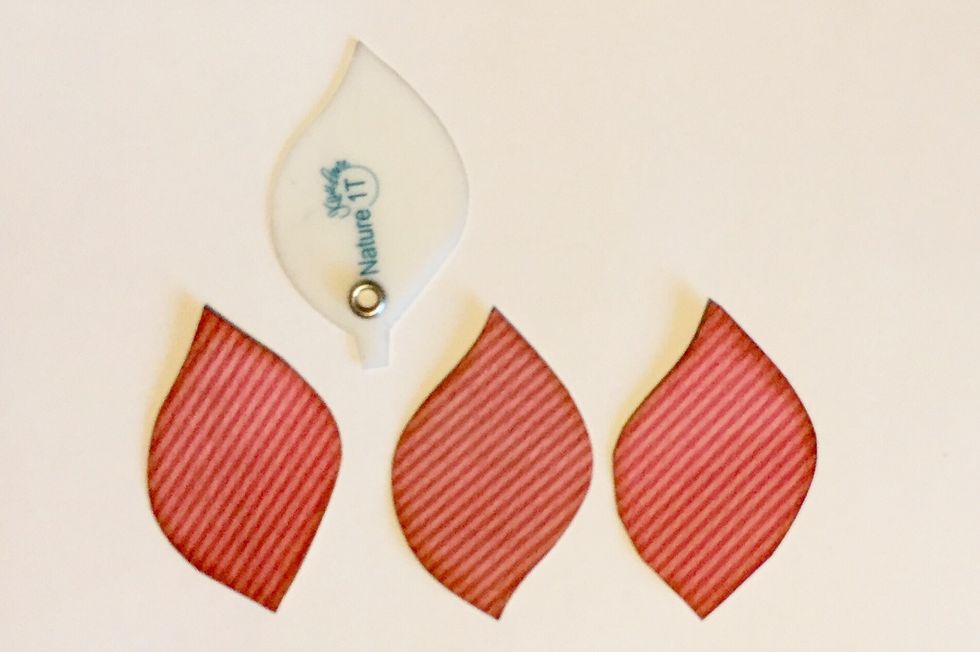
To start, we want to create our tulips. Use Tiny Nature 1T, cut three leafs out of your scraps of paper. Any color that you would like.
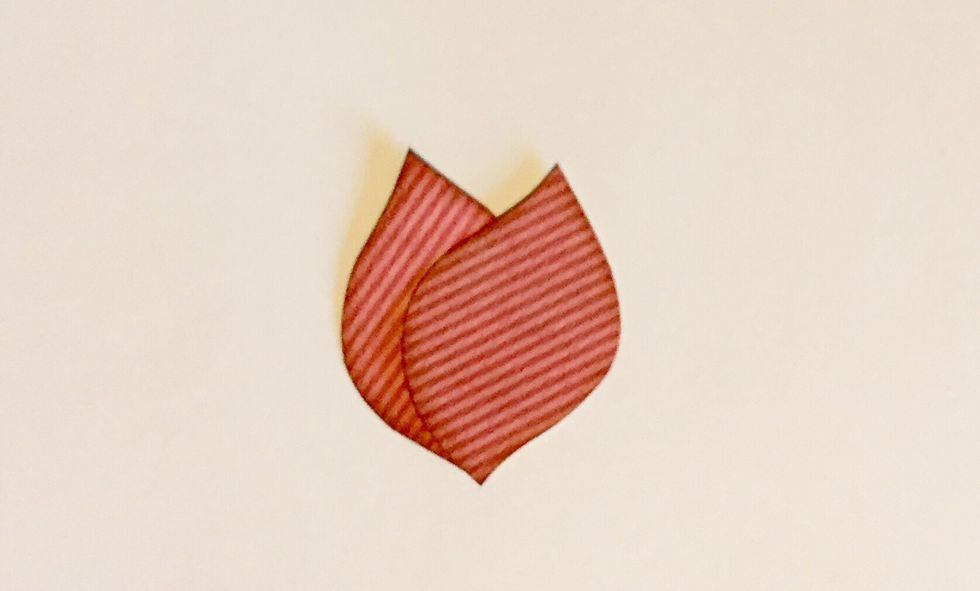
Layer two of them together, and add some adhesive.
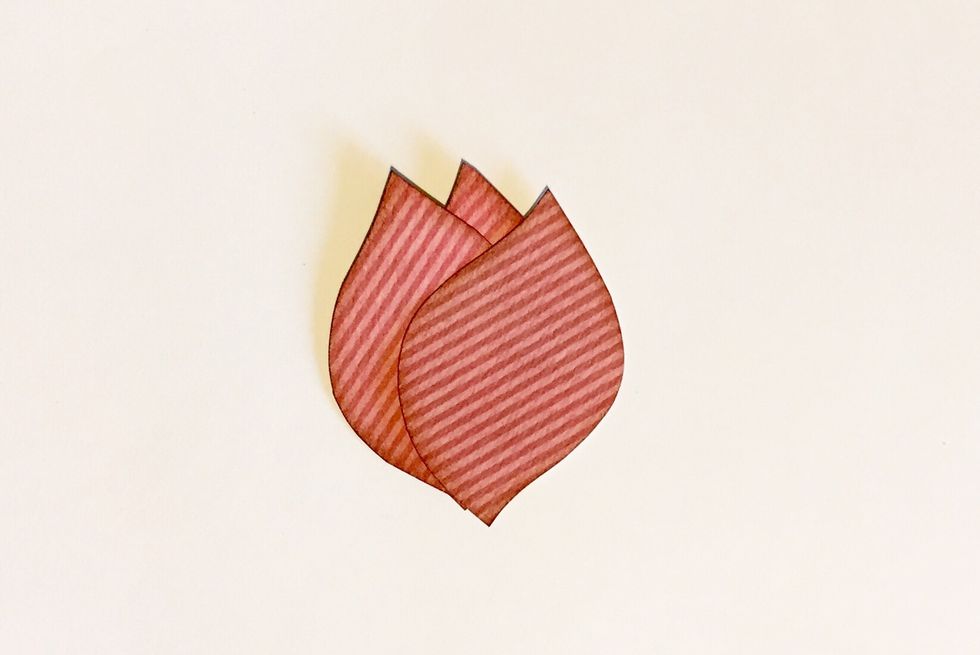
Add the third leaf behind the two, for the middle of the tulip.
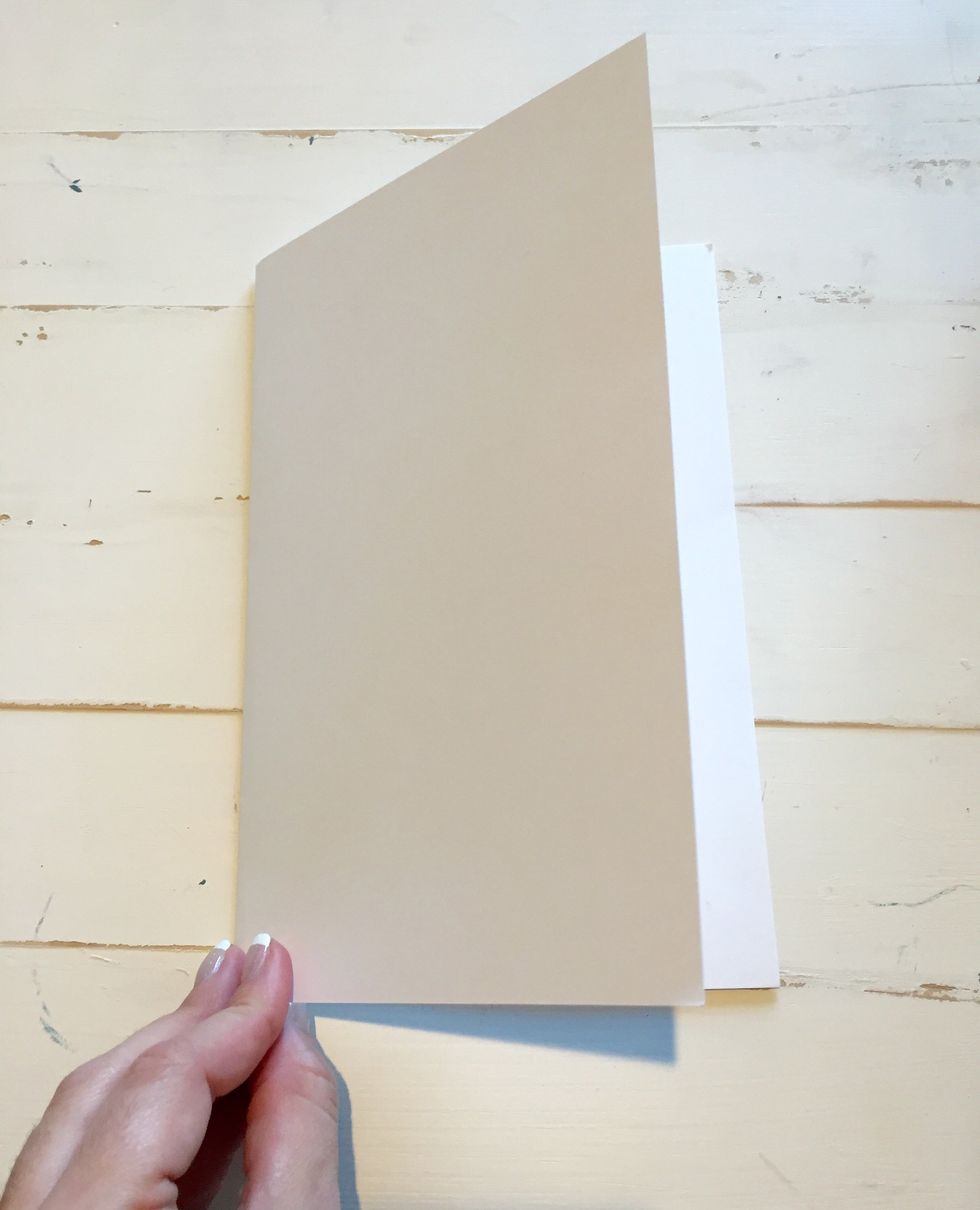
Fold a 8.5 x 11 piece of cardstock in half to create a card base.
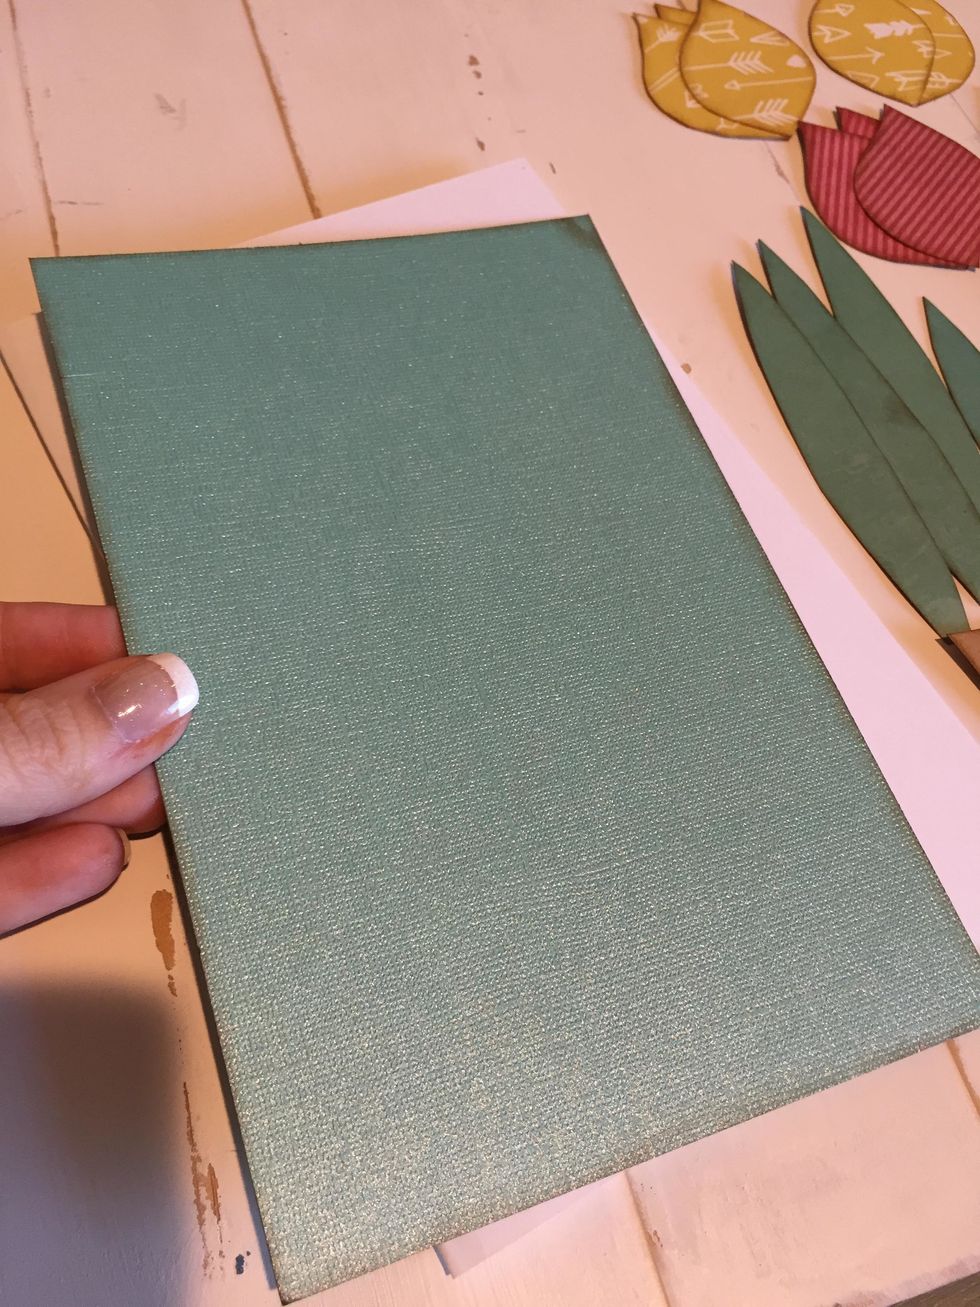
I wanted to add some color to the top of my card, so I cut a 8.25x5.25 piece of paper out of some color cardstock to layer on top.
Next we are going to create the pot for our tulips.
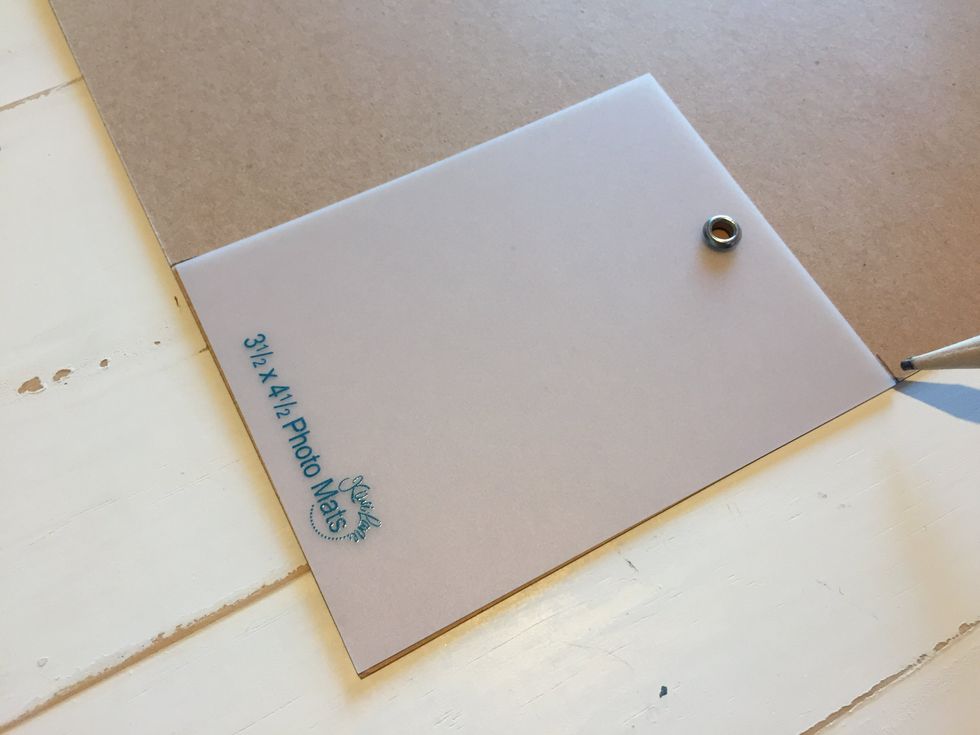
Cut out a 3.5 x 4.5 out of what ever color of paper you would like. I used a brown since most pots are that color.
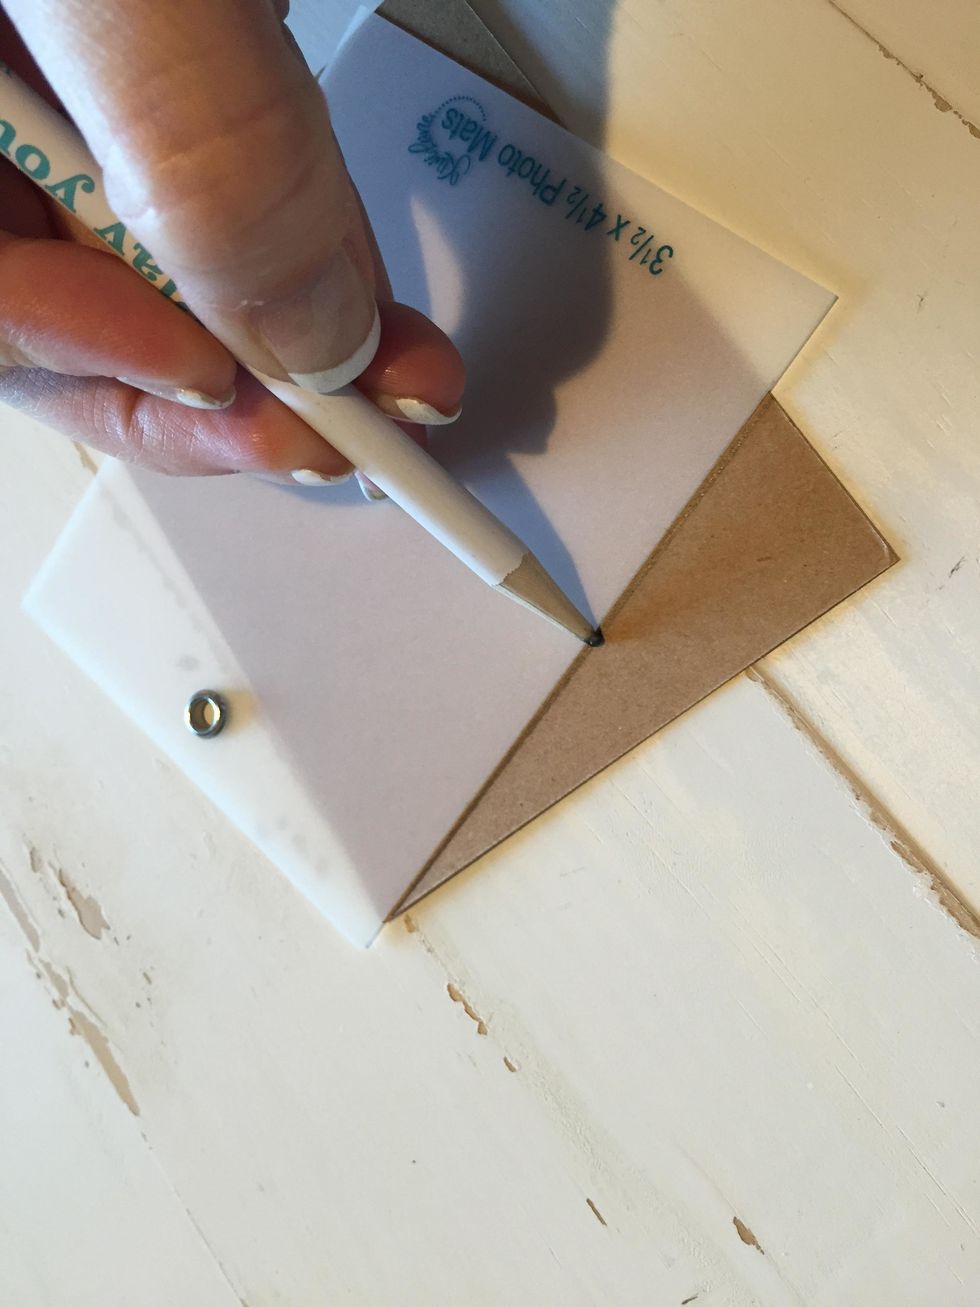
Using the Photo Template as a guide for a line, or you can use a ruler, trace from the top corners down to the middle.
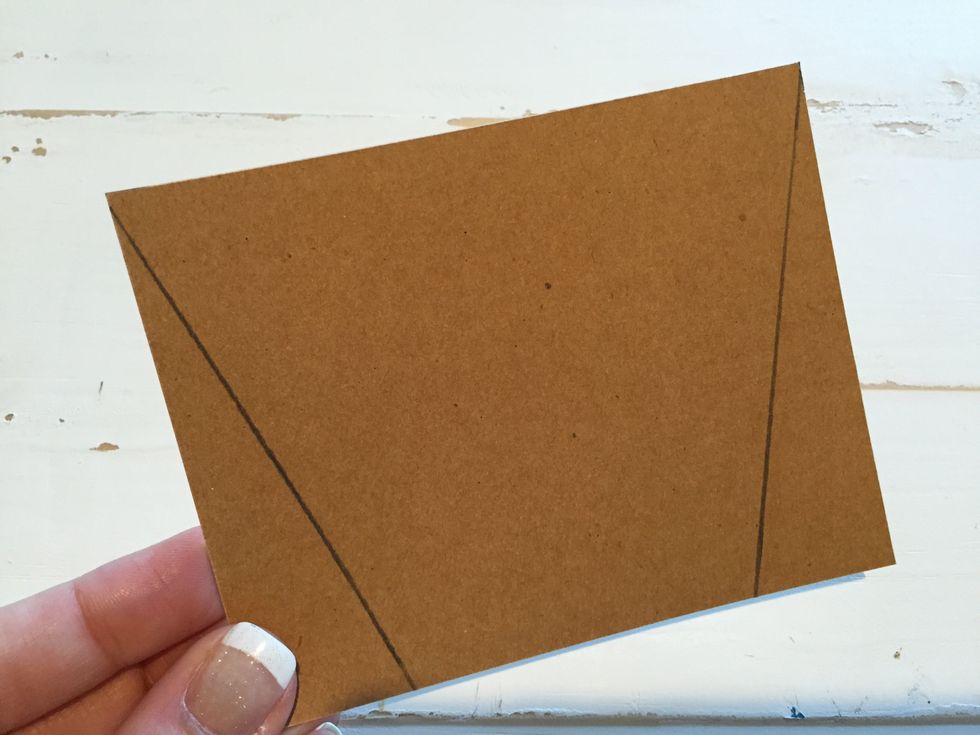
You will need to do this on both sides.
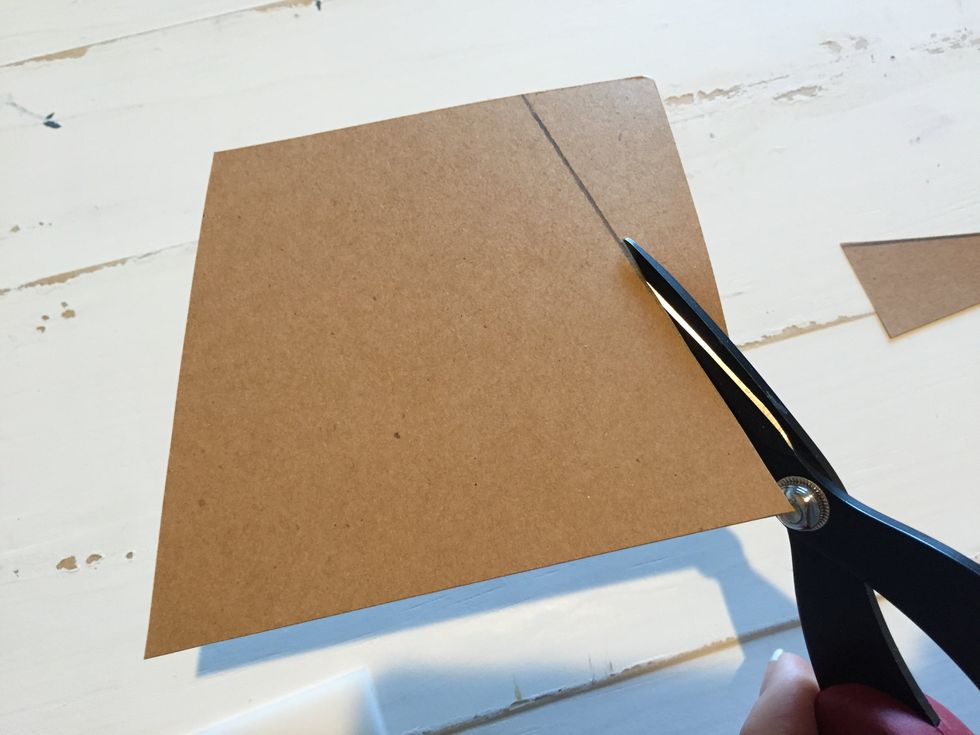
Cut out where you made the line.
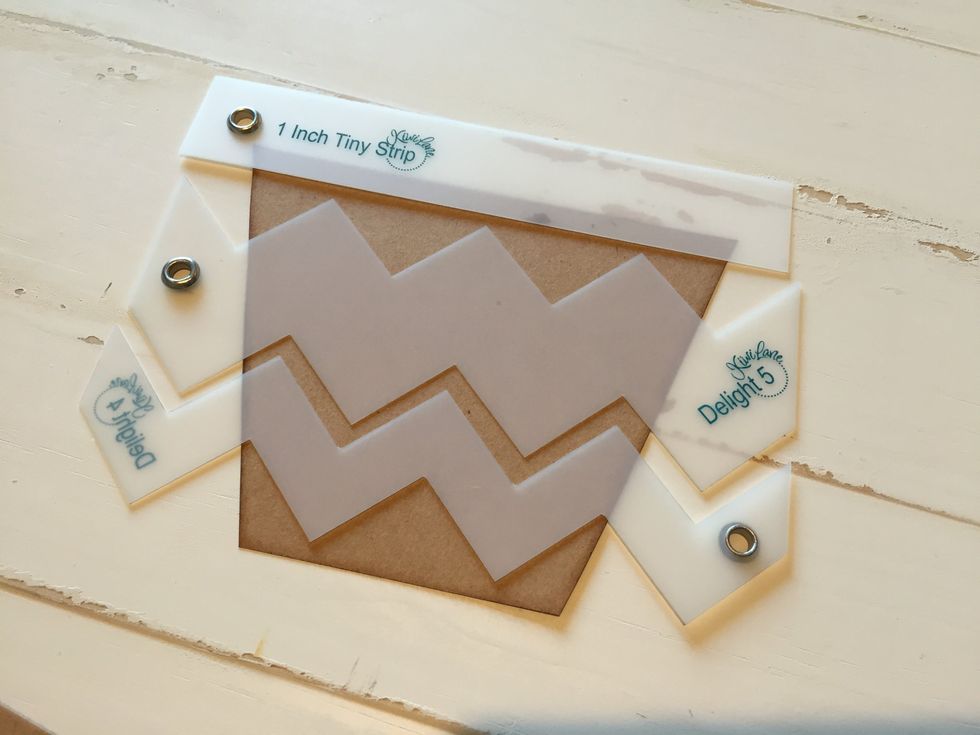
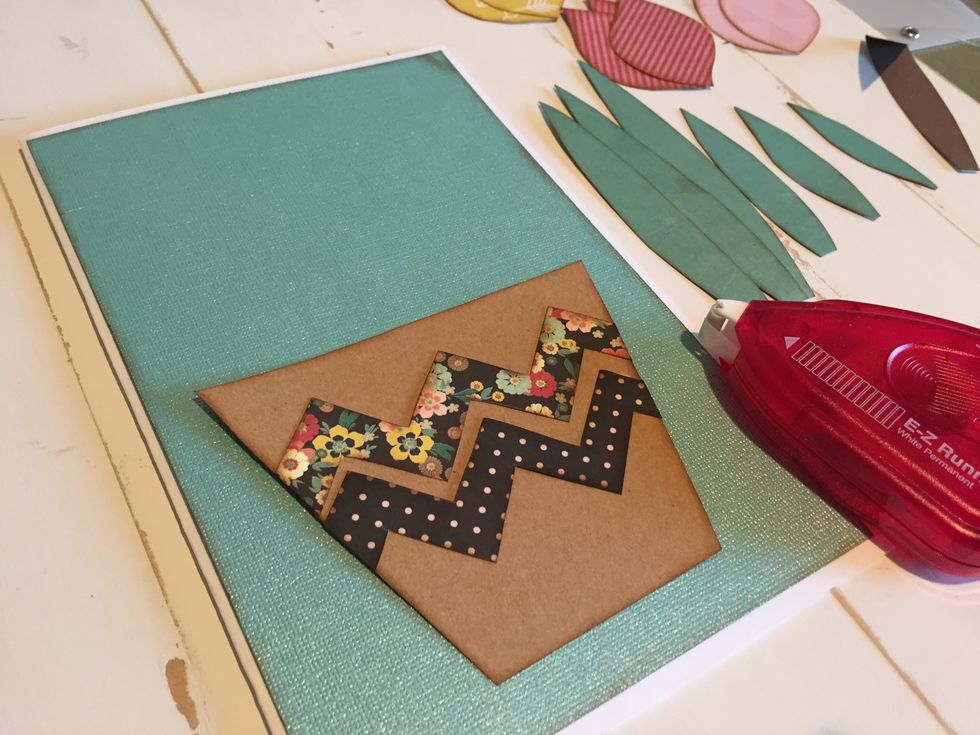
Now that we have a pot, you can use whatever Designer Templates you would like to dress it up a little.
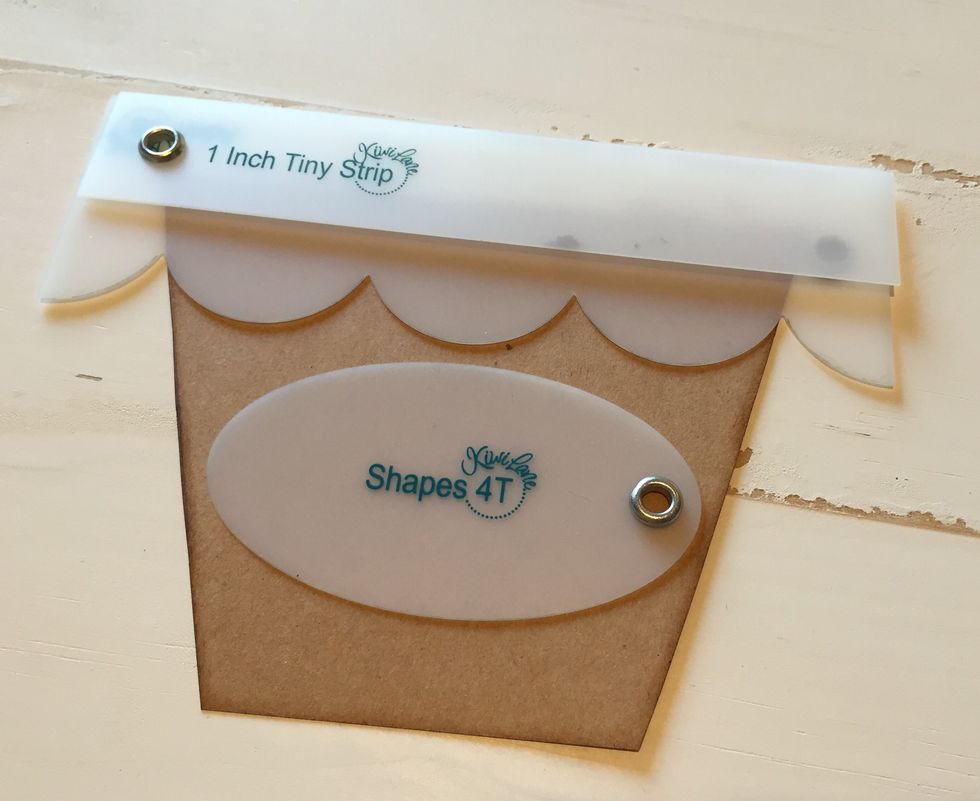
There are a lot of fun ways you can dress up your pot.

Once you have it designed, then go ahead and trace, and cut it out of your pattern paper. Then add some ink!
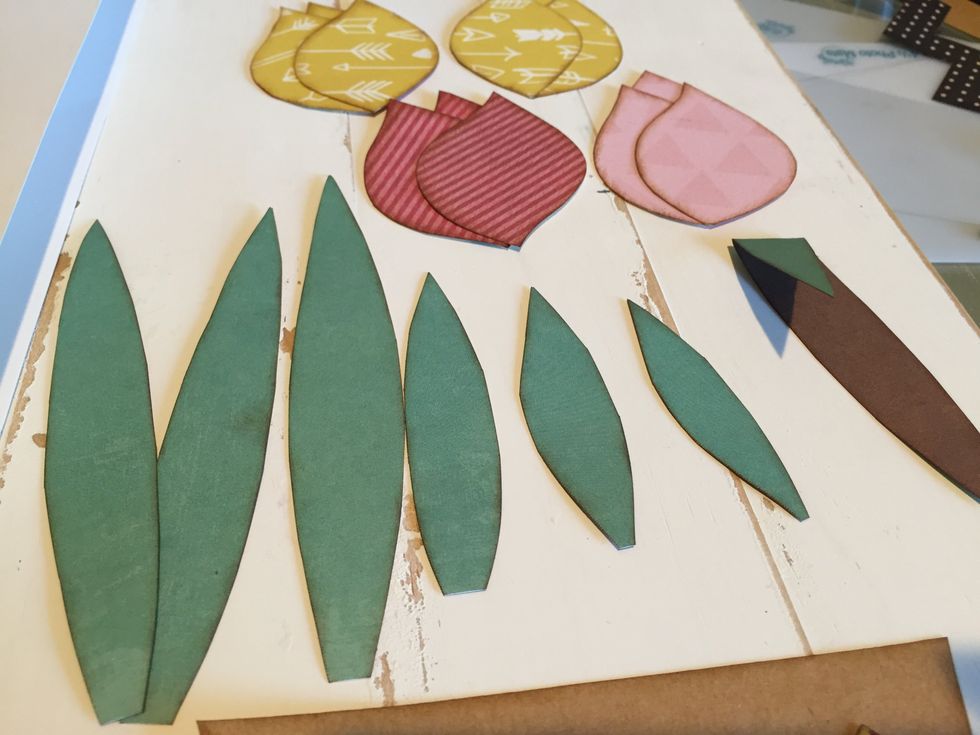
We are going to needs some leafs for our tulips. I just cut imperfect ovals out of some scraps of paper by hand.
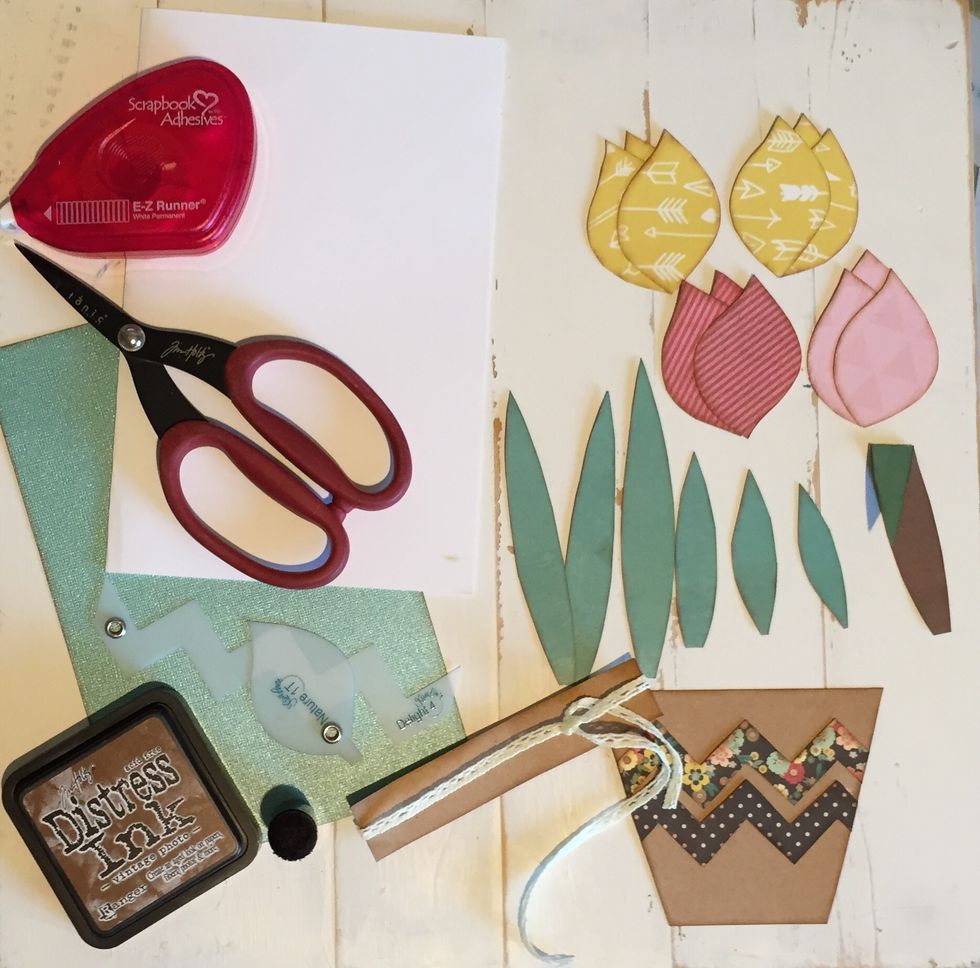
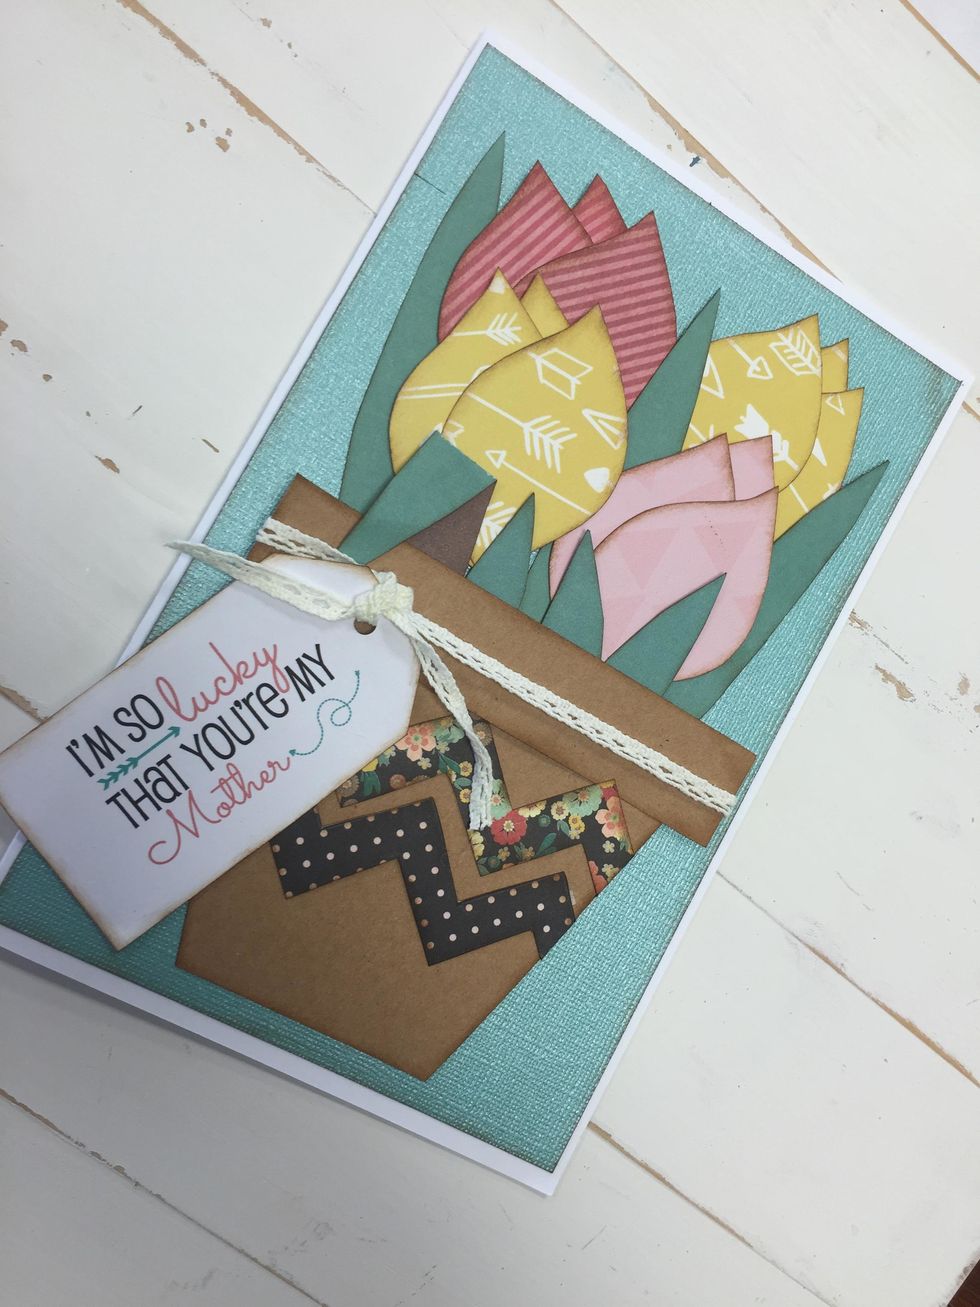
Now that we have everything we need, we are going to start adhering everything to our card base.
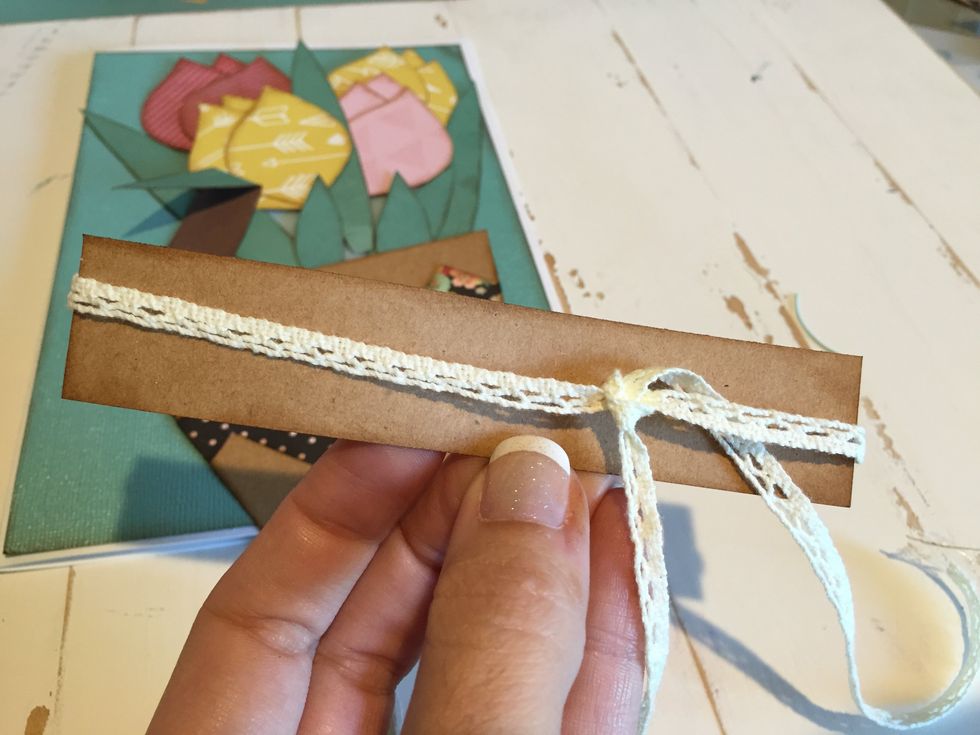
Cut a 1 x 5 " Strip for the top of your pot. I added some ribbon around mine.
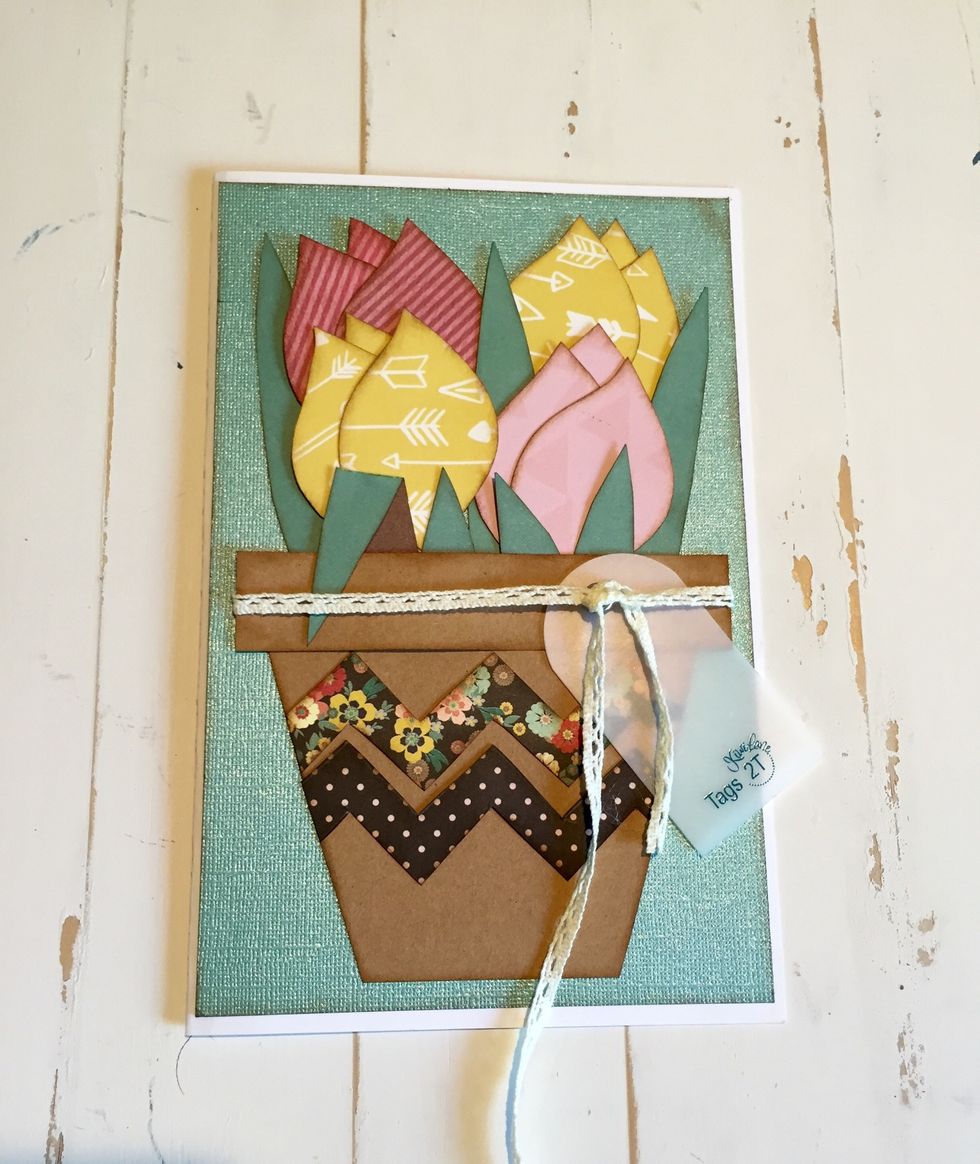
Now we just need to add a sentiment if you would like and your done.
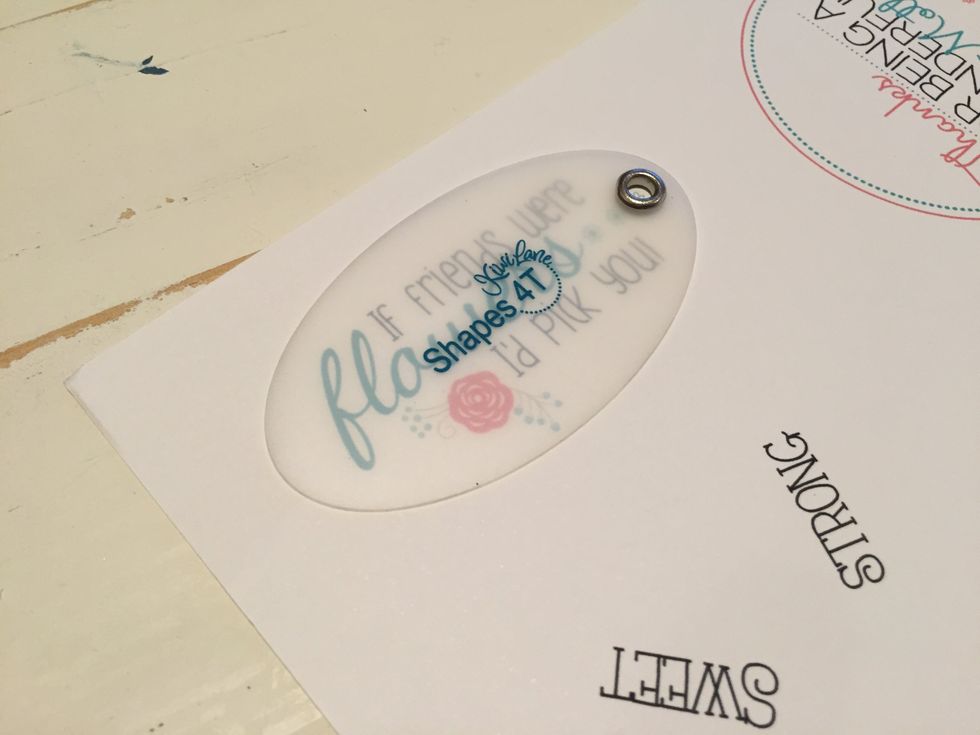
Or you could even add a sentiment that is perfect for a close friend, like..... "If friends were flowers I'd pick you!" You can find these printable for free on our blog at kiwilane.com
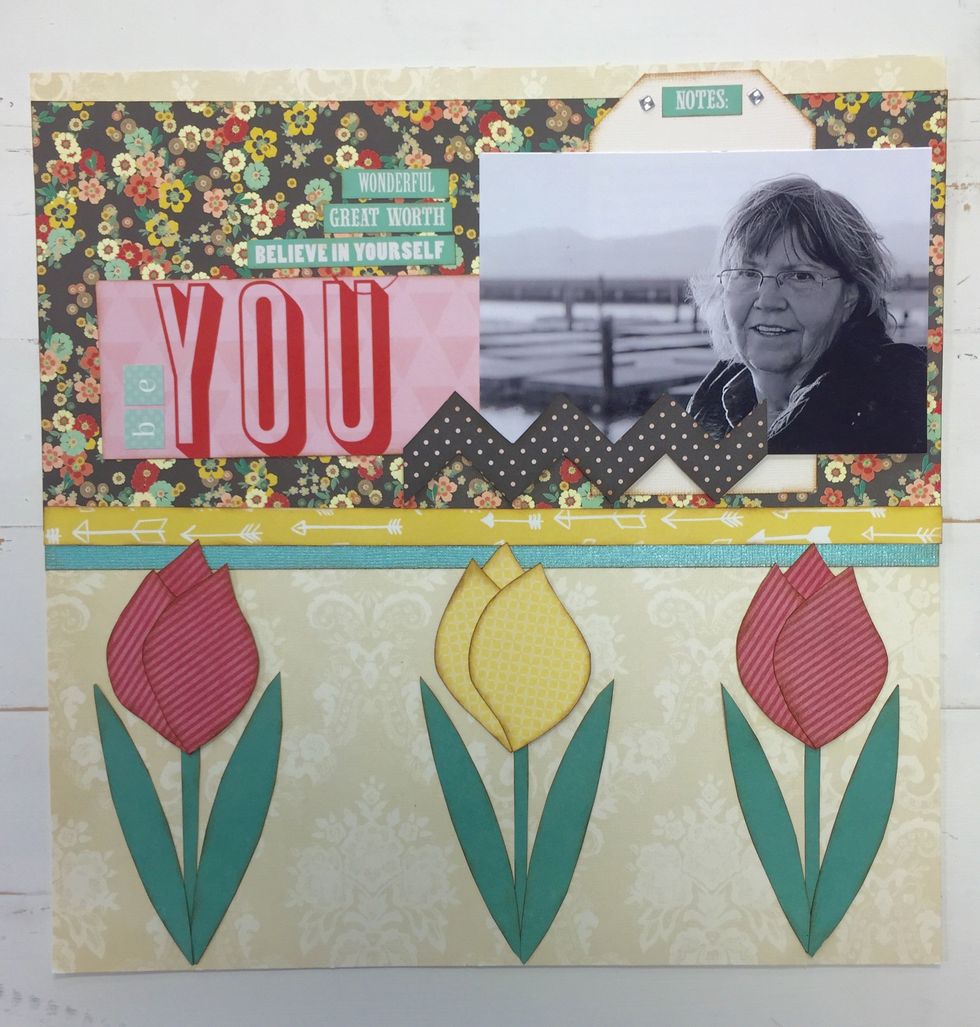
These paper tulips can also be really cute on your scrapbook layouts.