The Conversation (0)
Sign Up
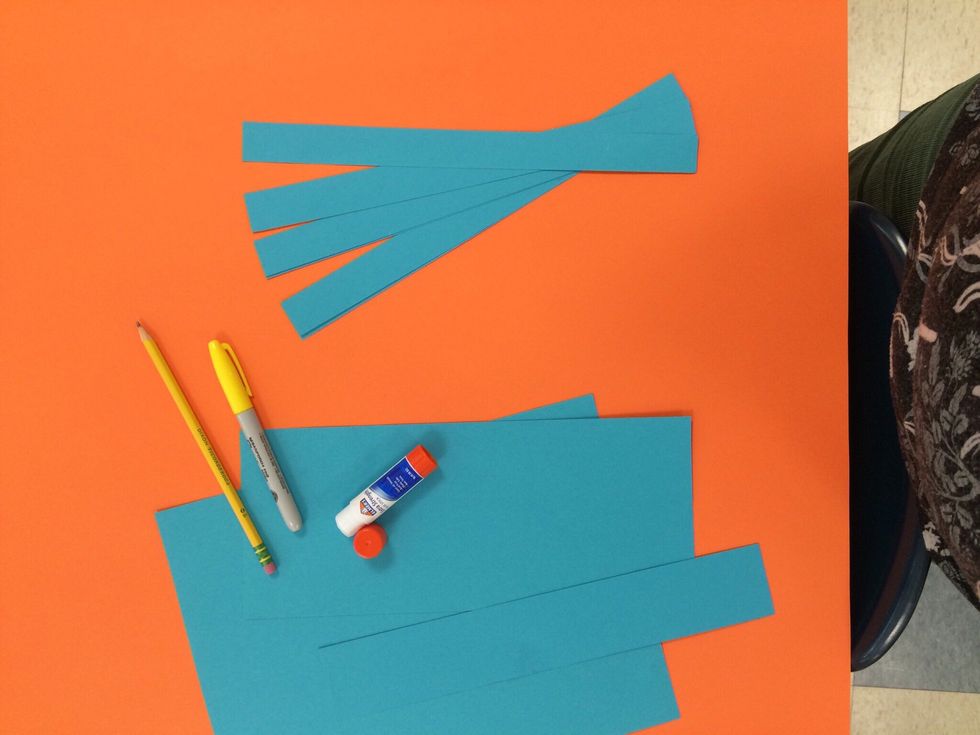
Gather your materials.
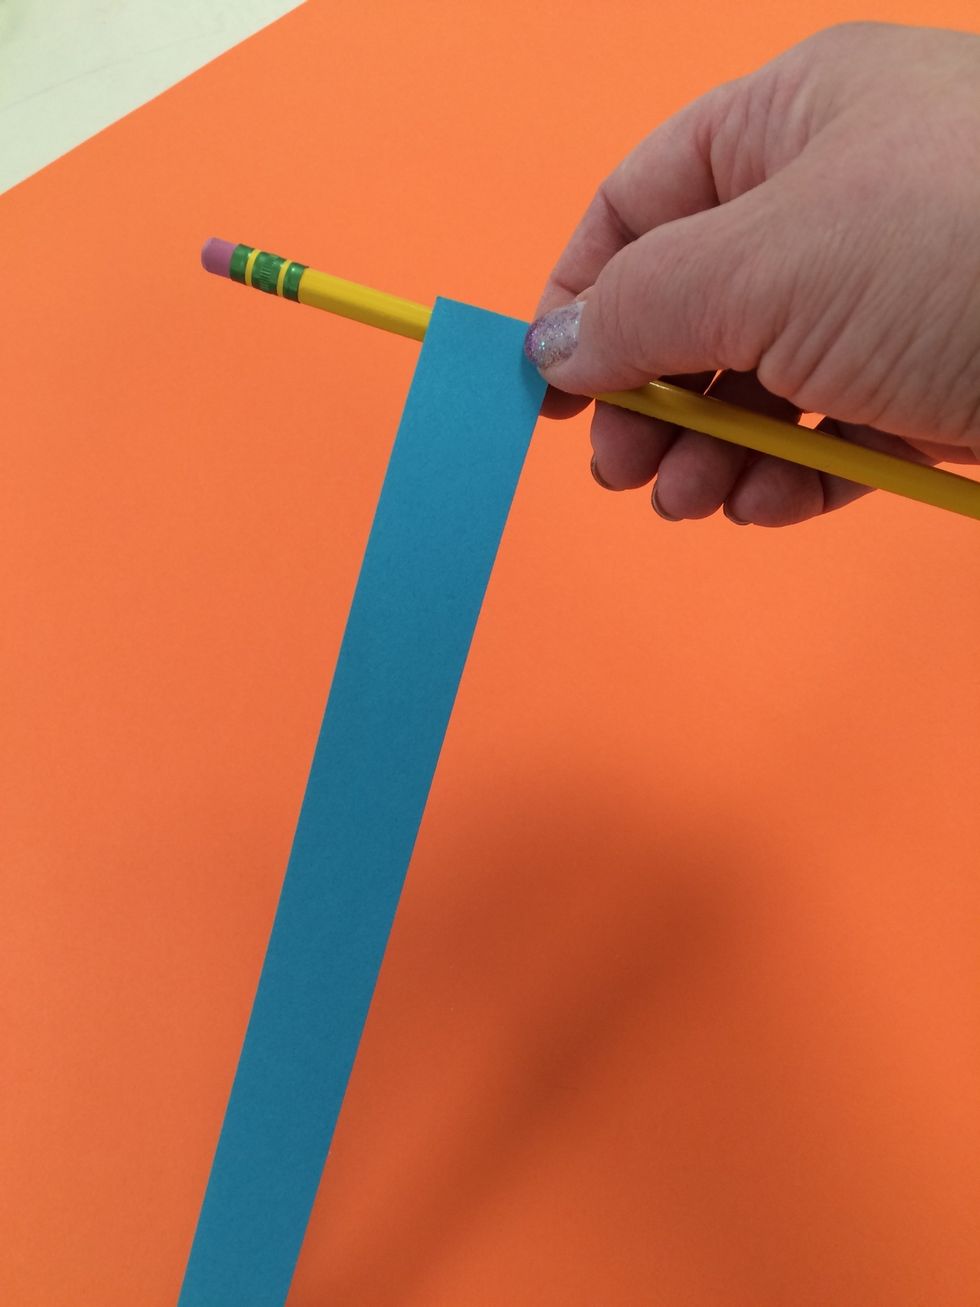
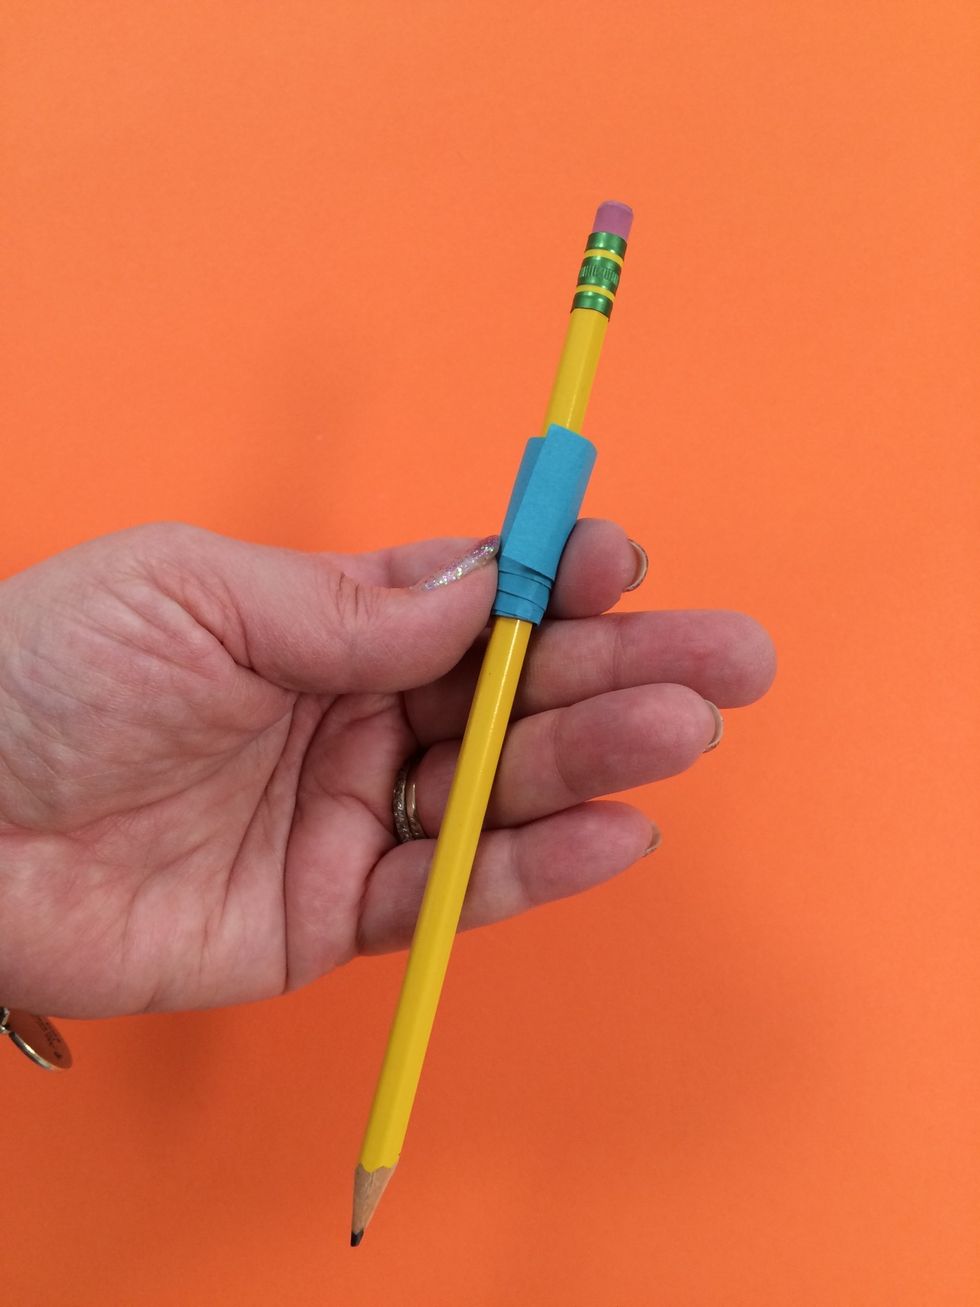
Hold one strip of paper up to a pencil or marker as shown.
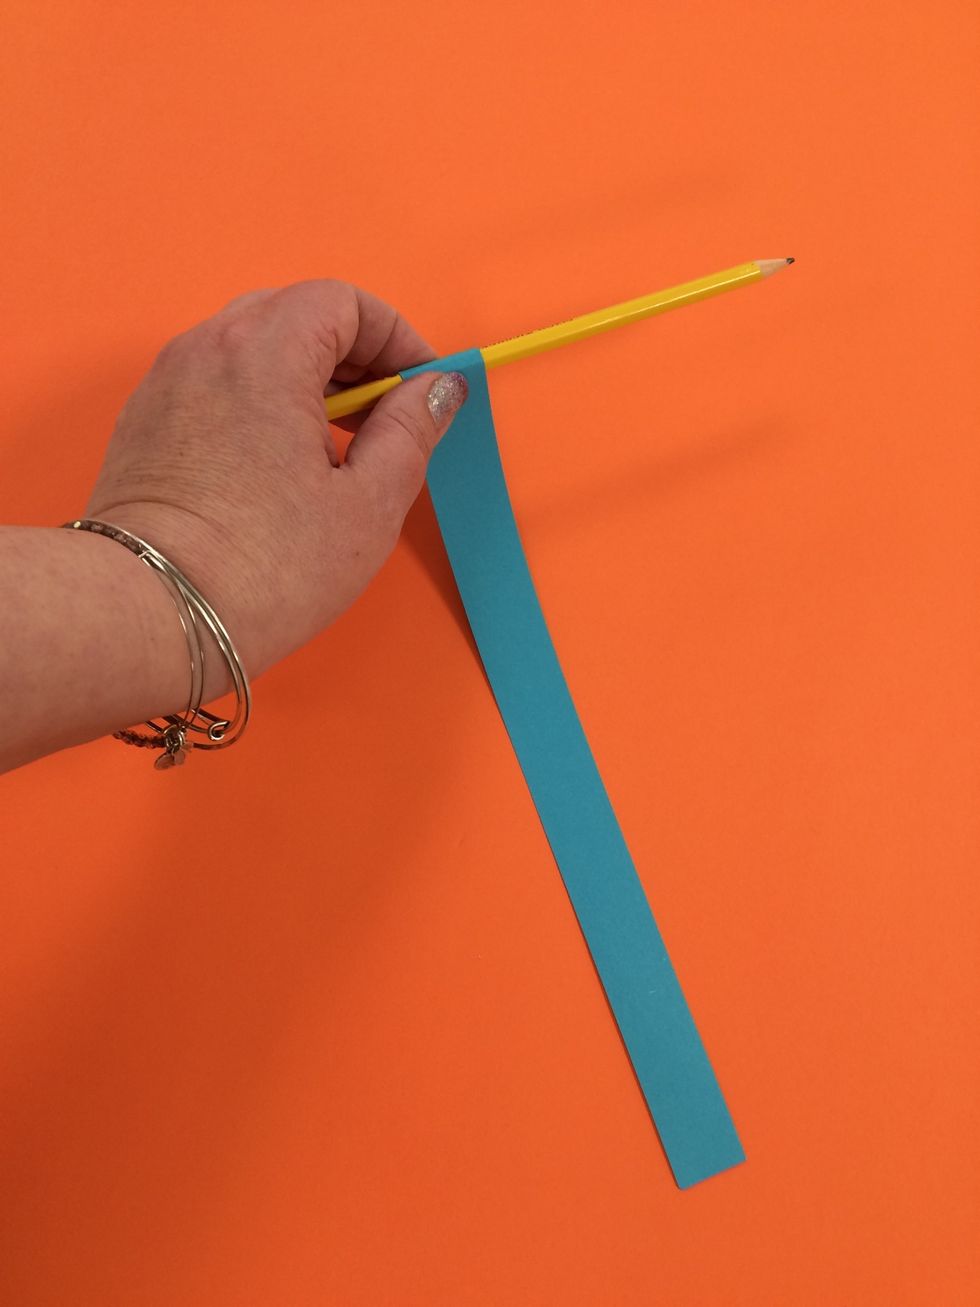
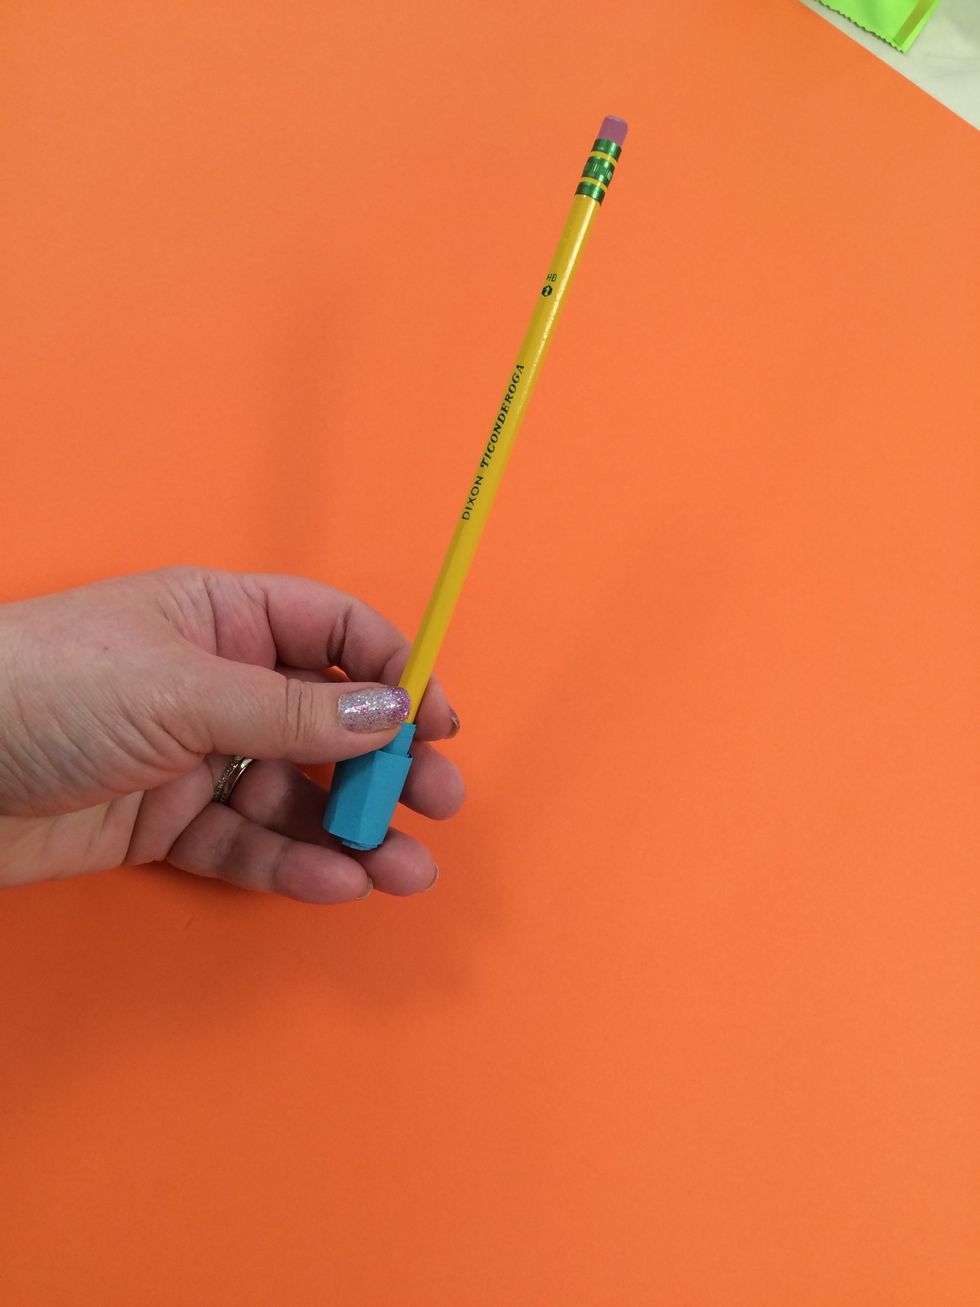
Practice rolling some strips around a pencil or marker.
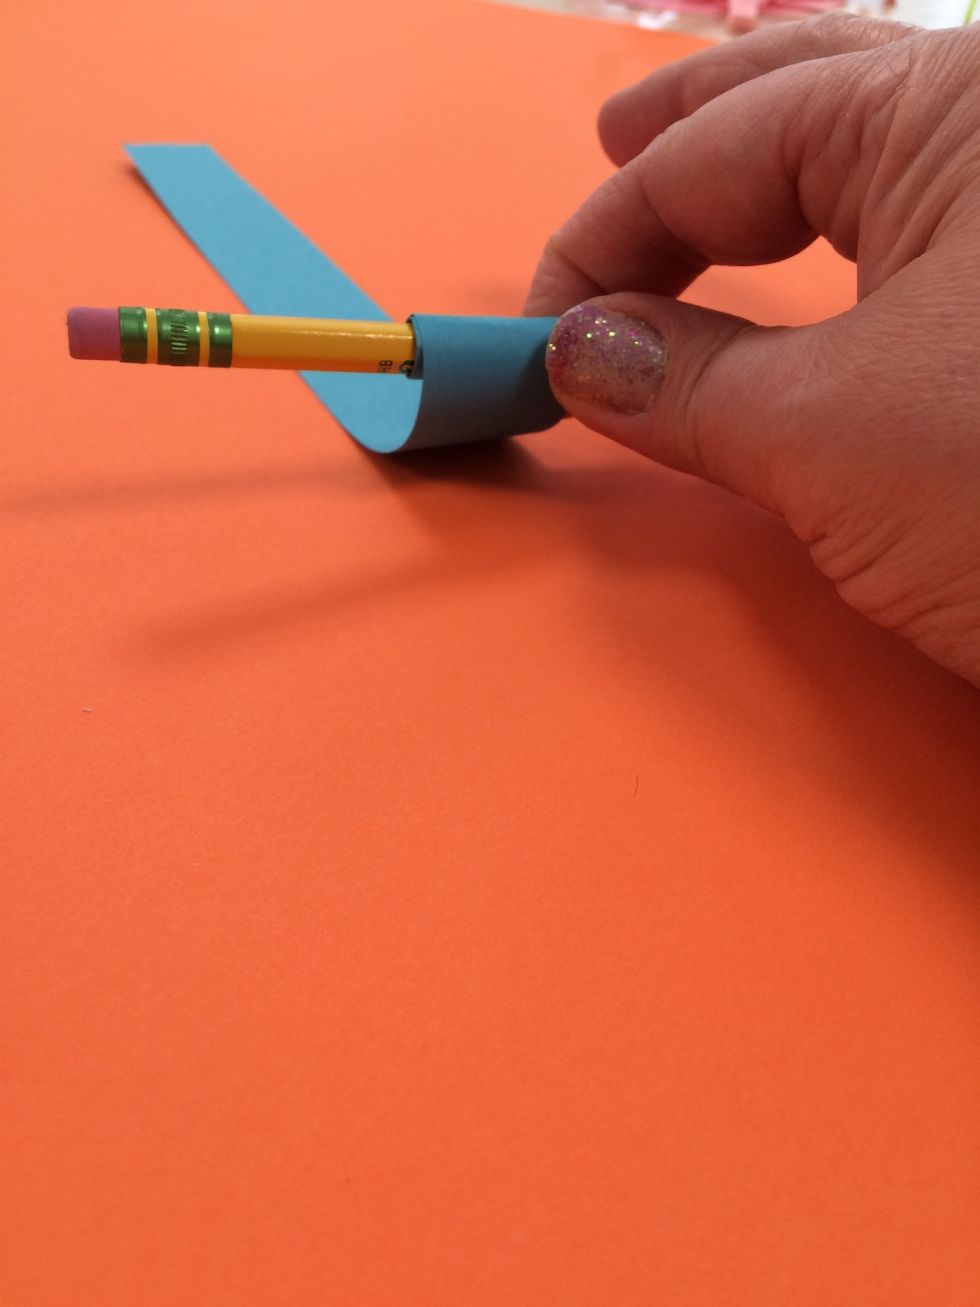
Finish wrapping.
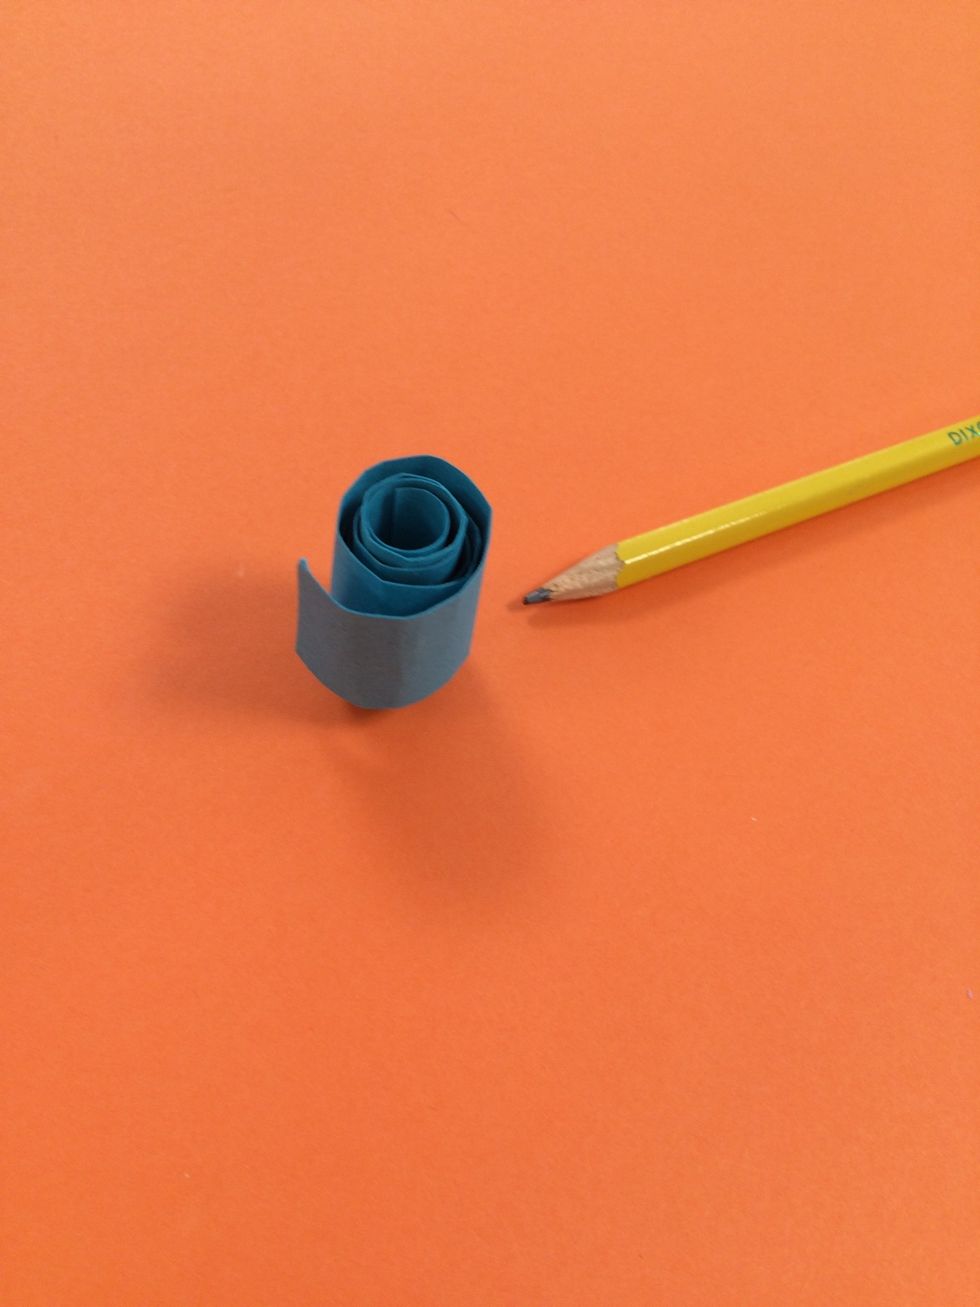
Slide the strip off the pencil.
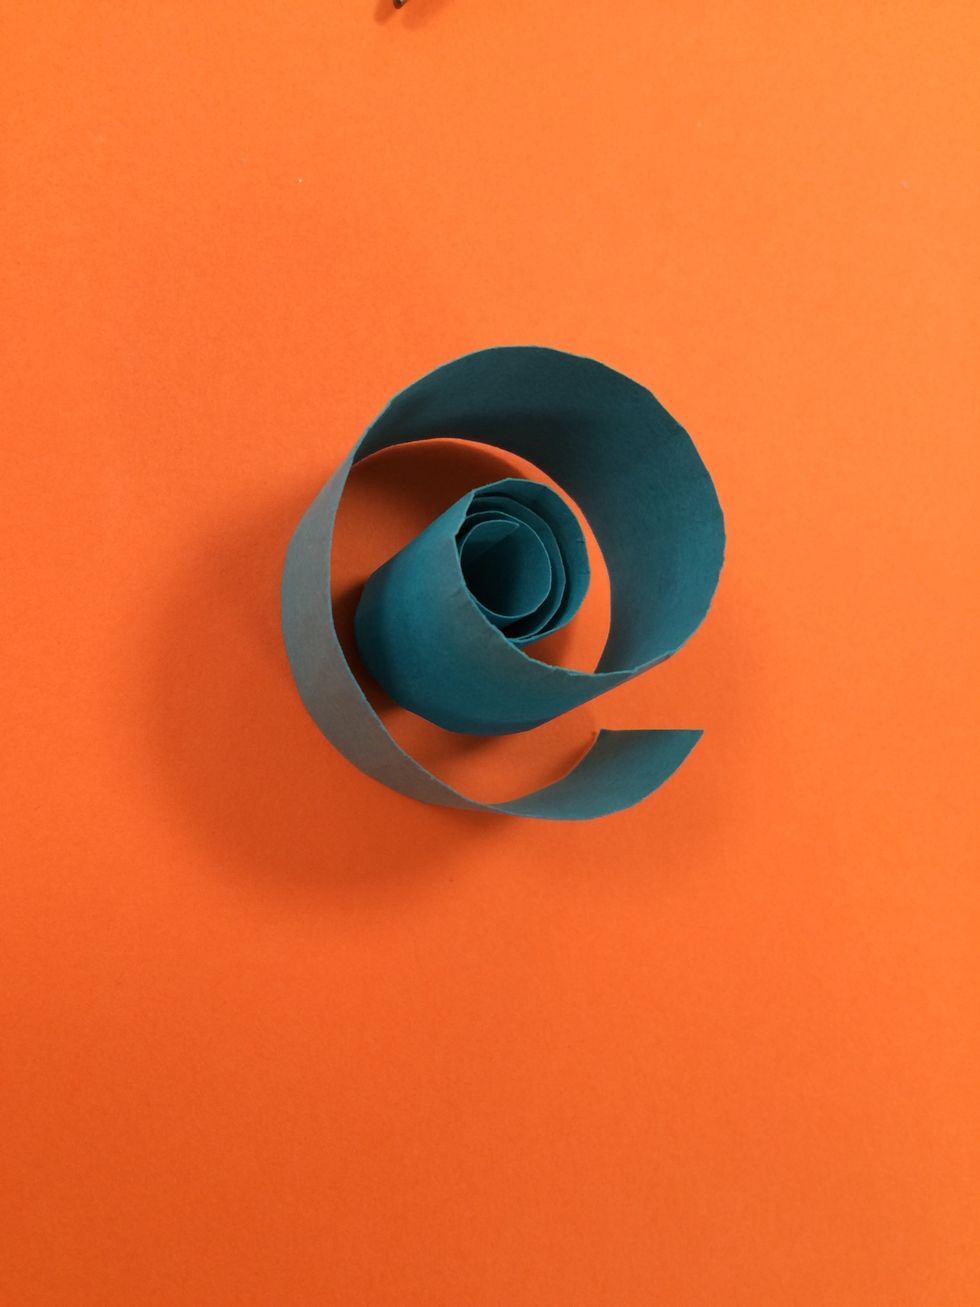
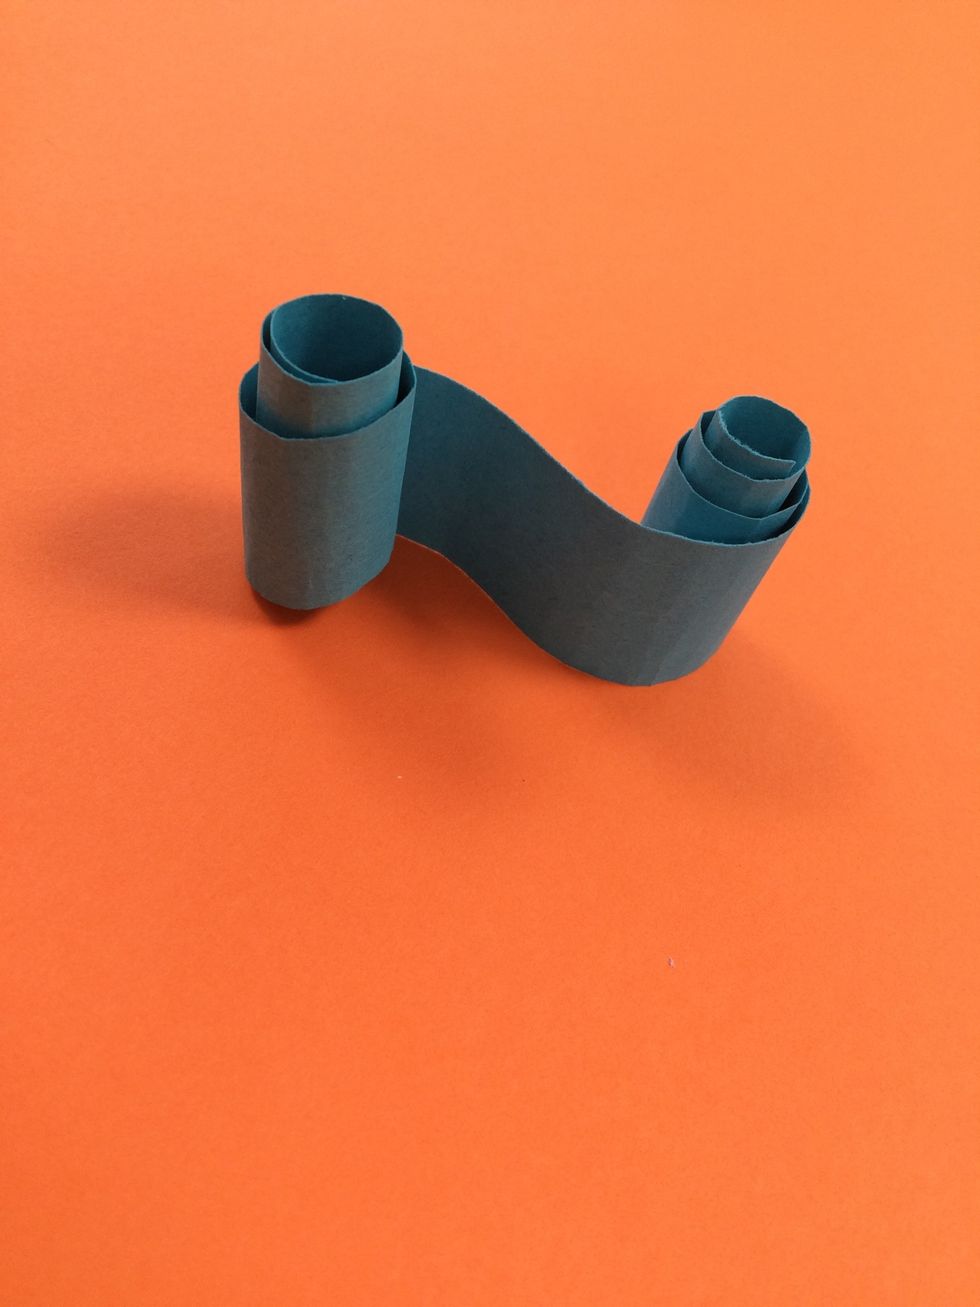
Here is a spiral.

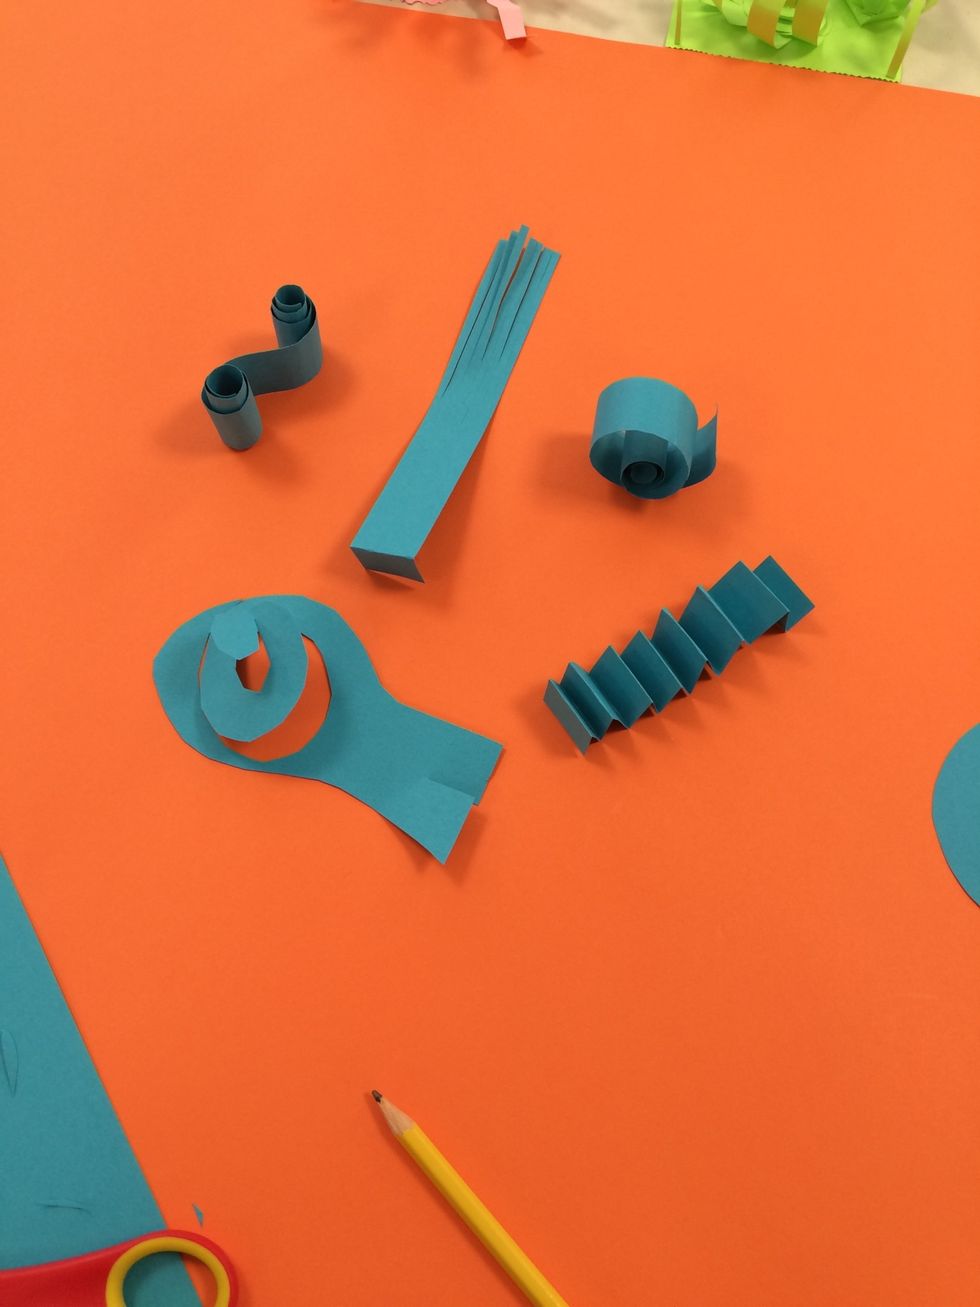
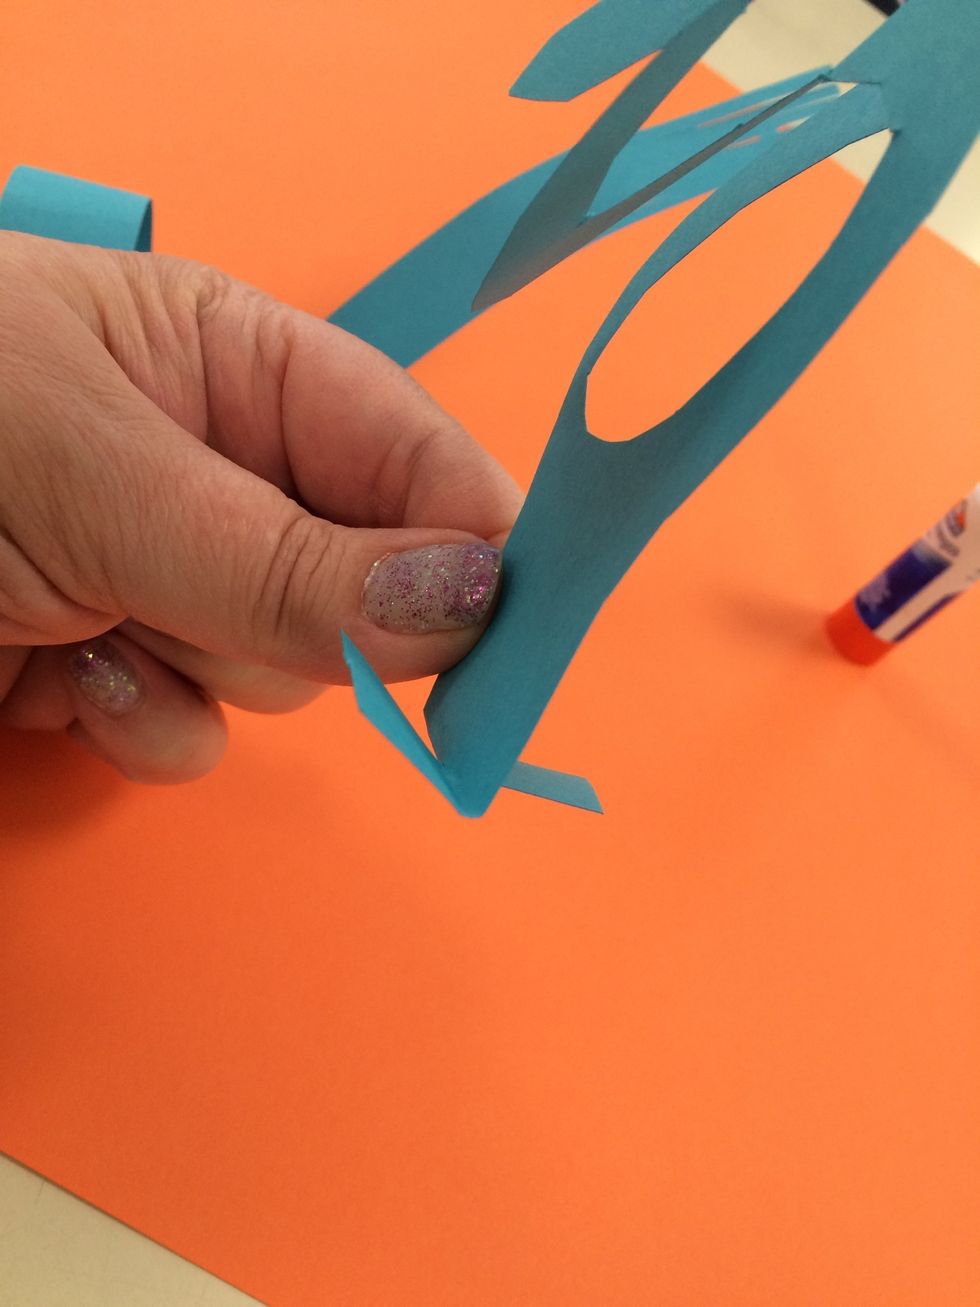
You can vary the technique!
Next, you will see an accordion fold.
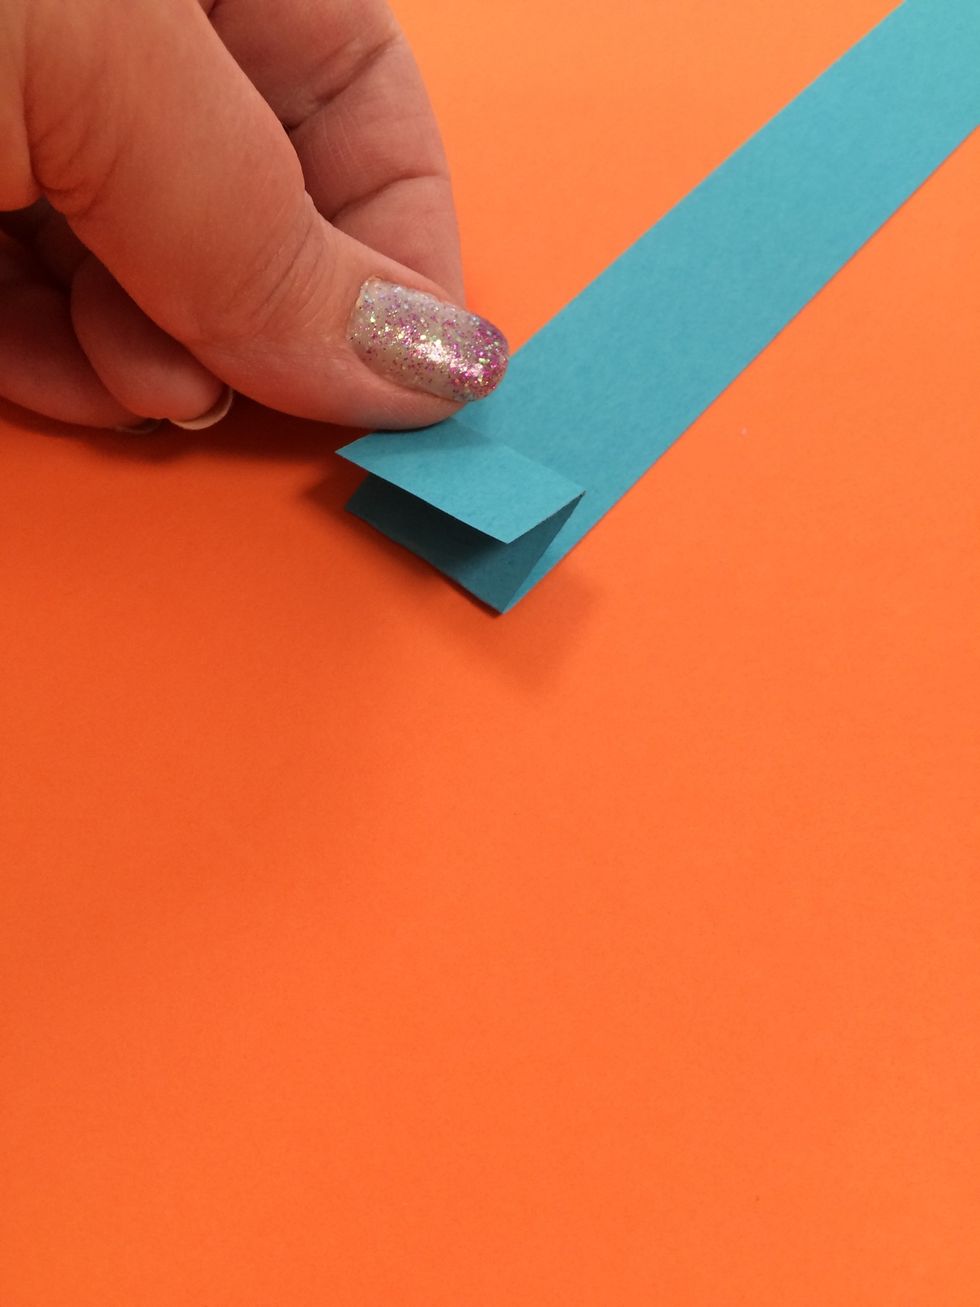
Flip the strip over after each fold.
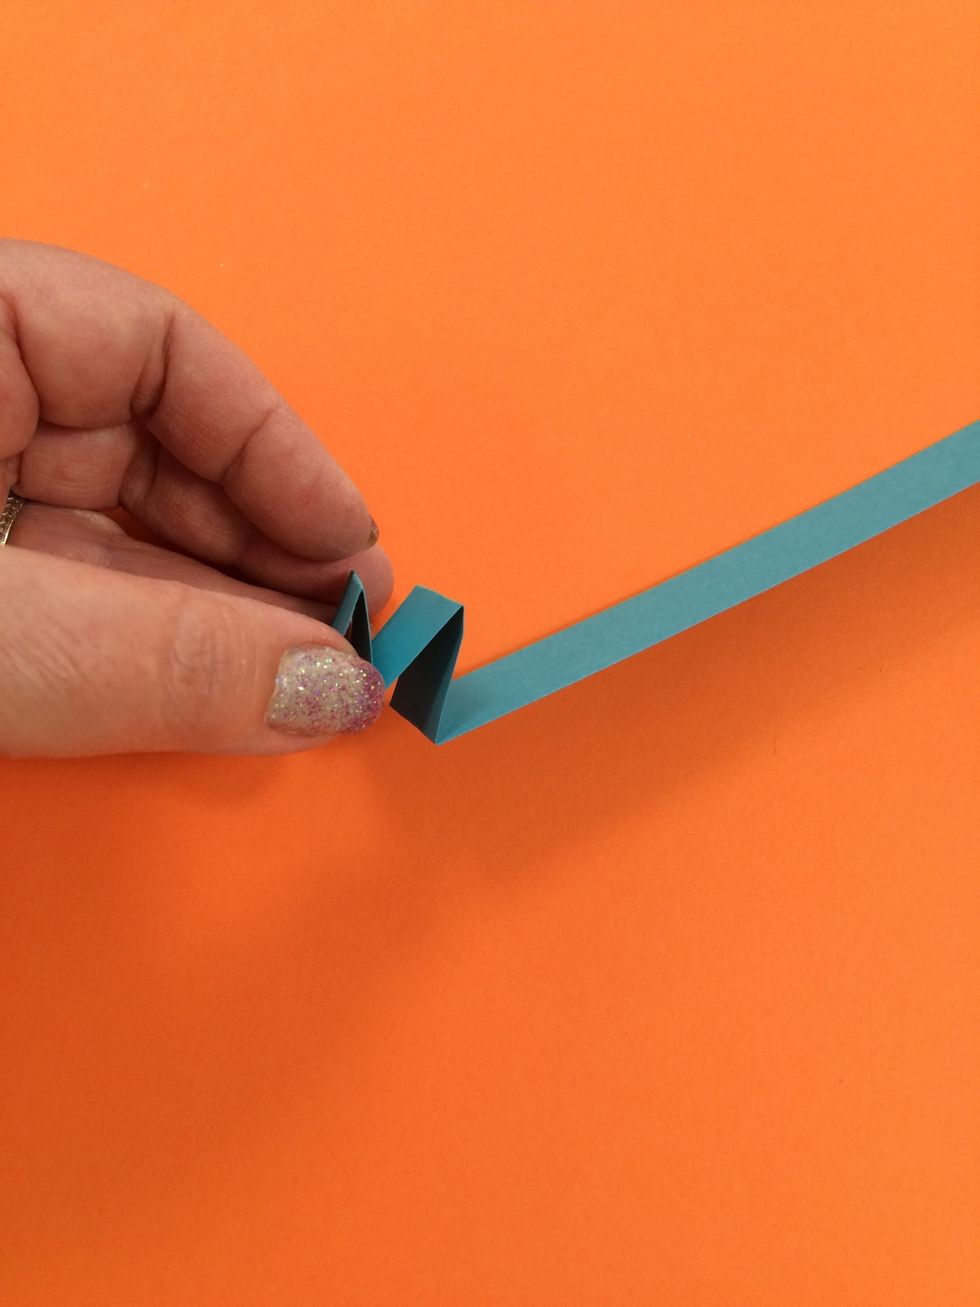
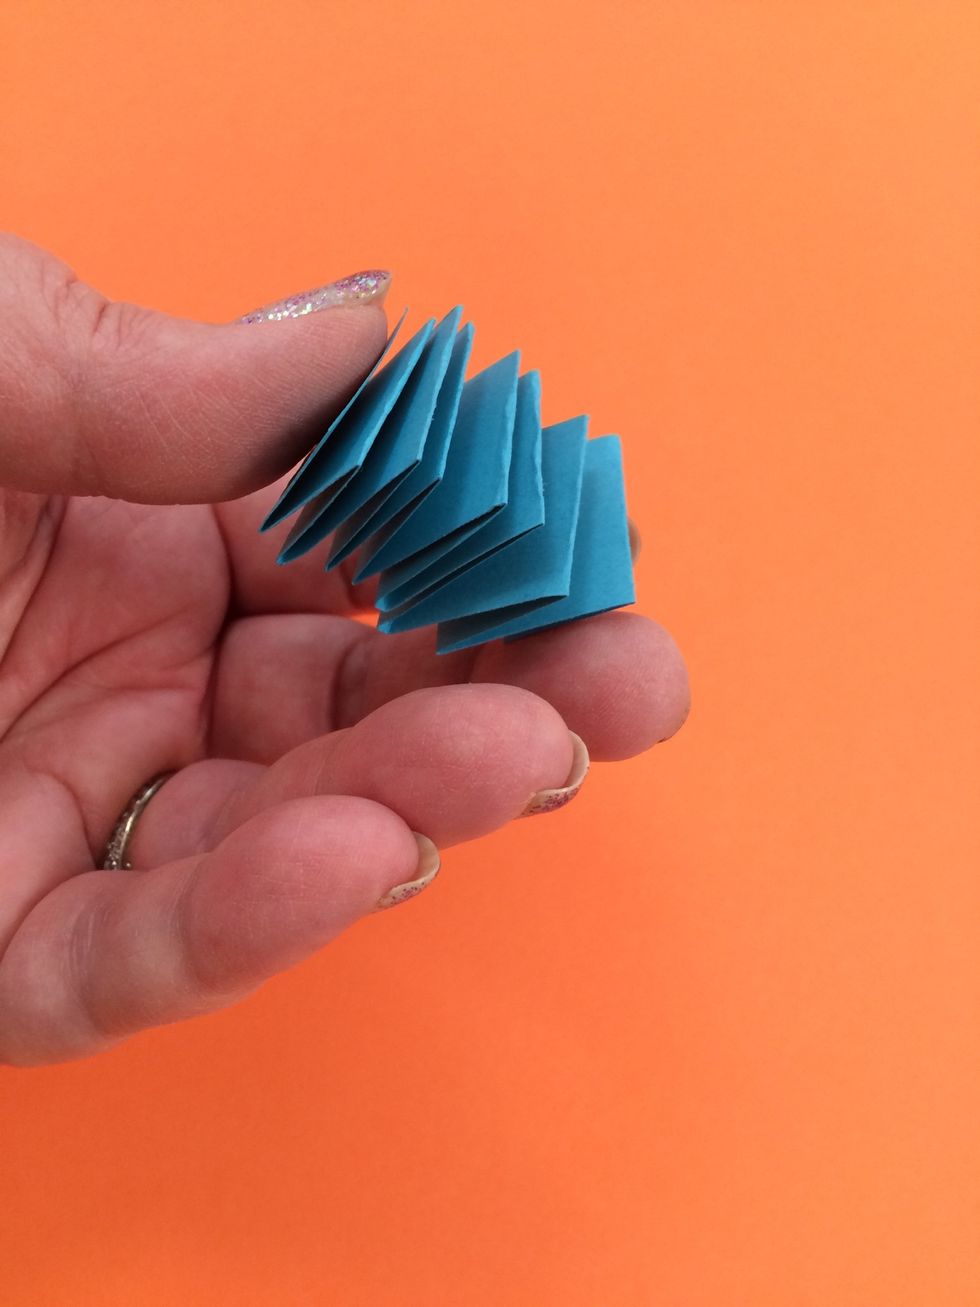
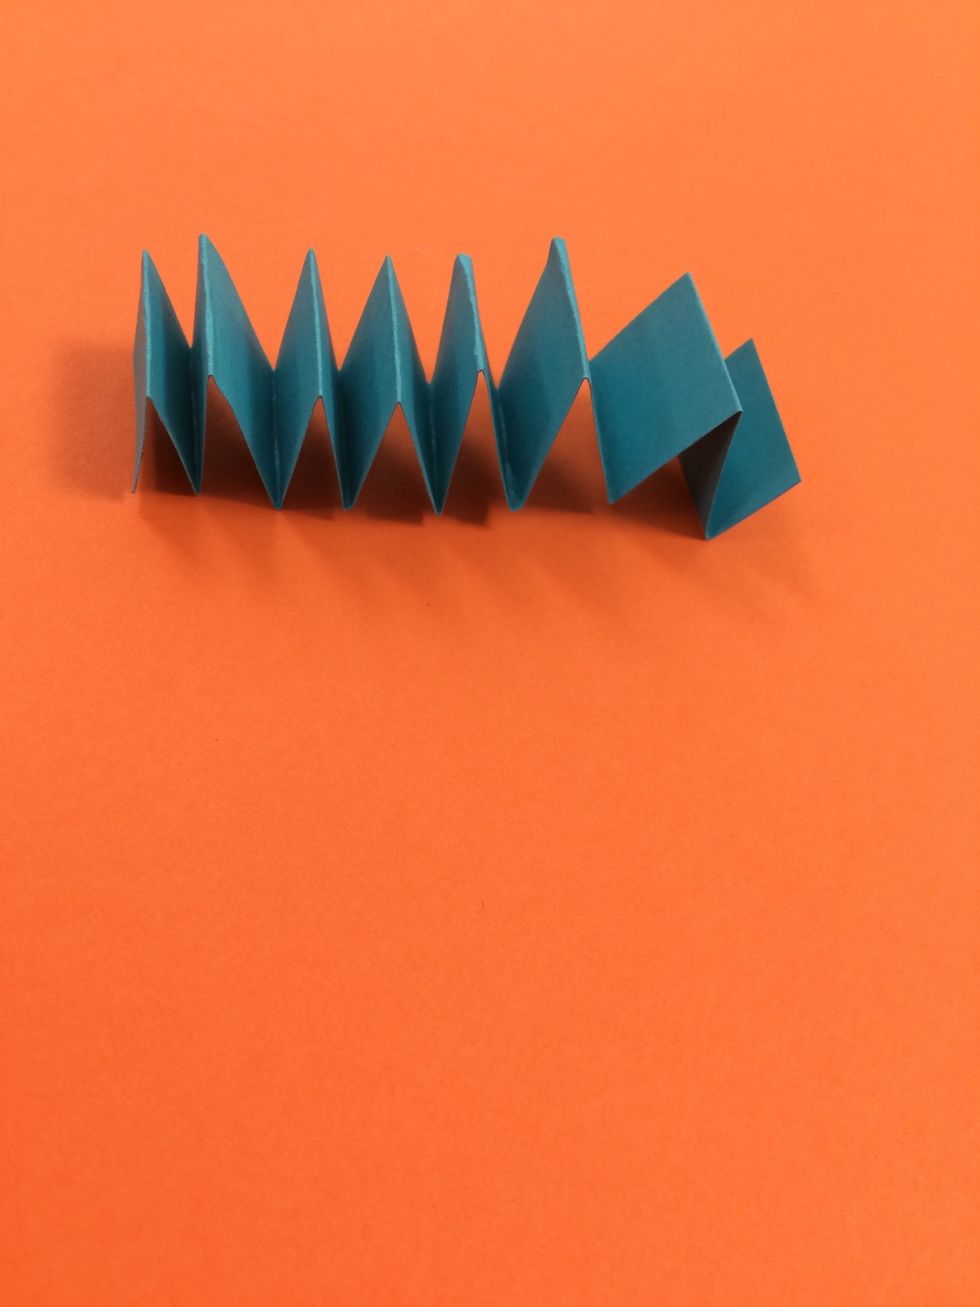
Here is a completed accordion fold.

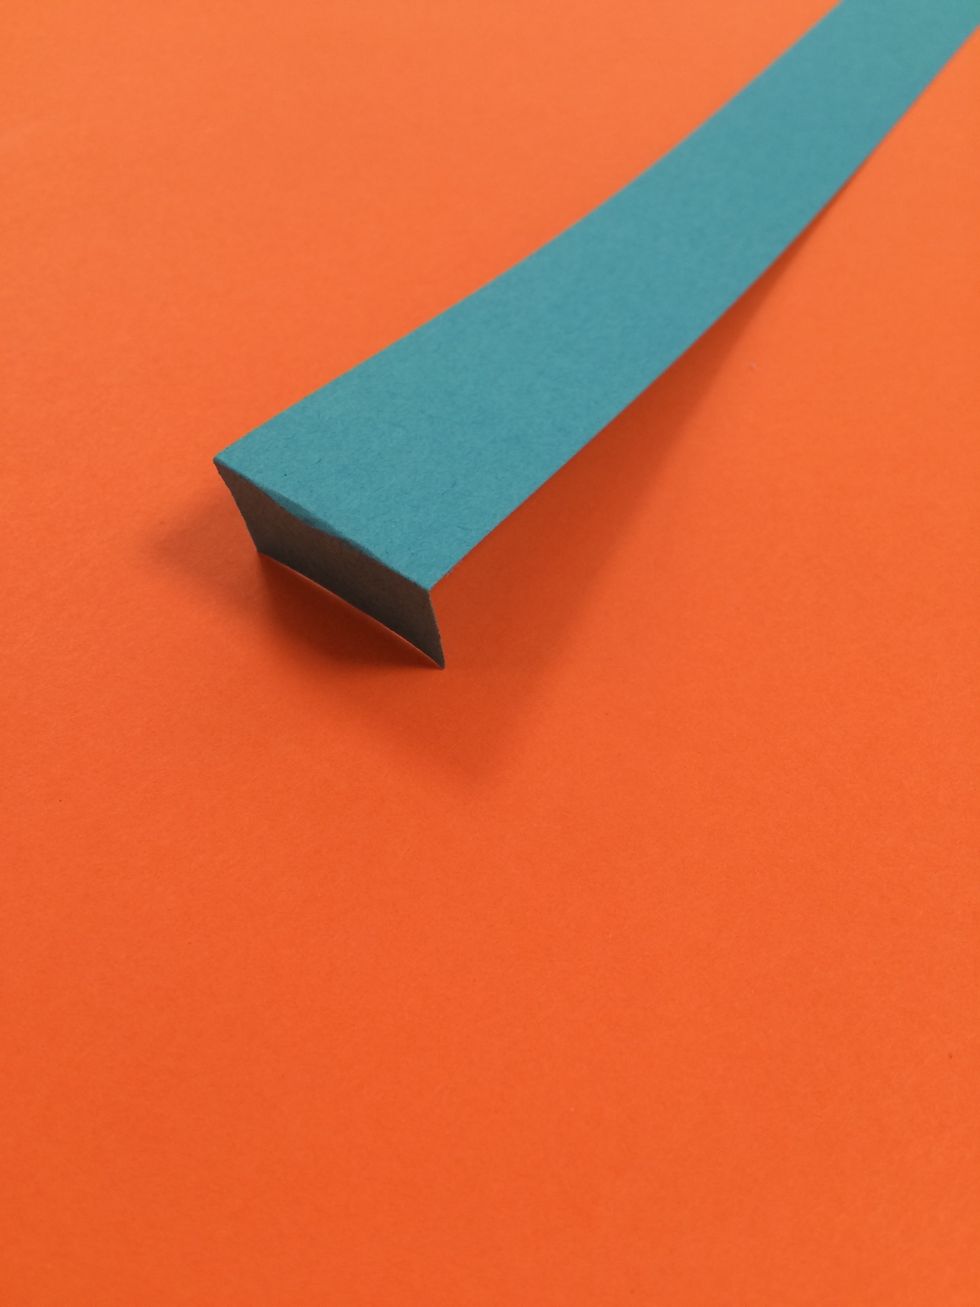
There are many ways to alter the card stock strips. Have fun experimenting! Here is a strip with long fringe.
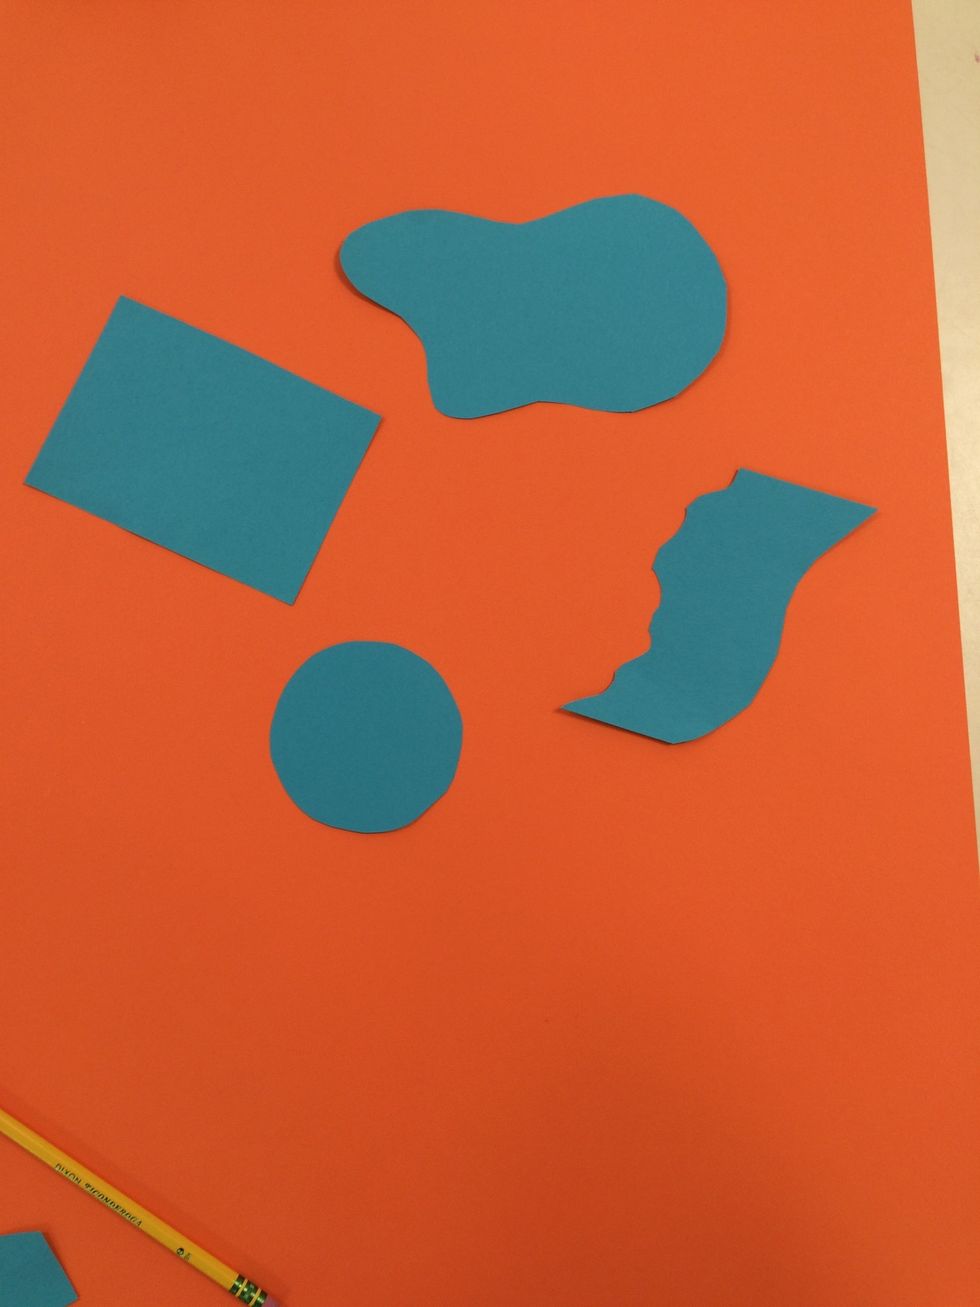
Cut a base for your paper relief.
Decide which pieces will be attached!
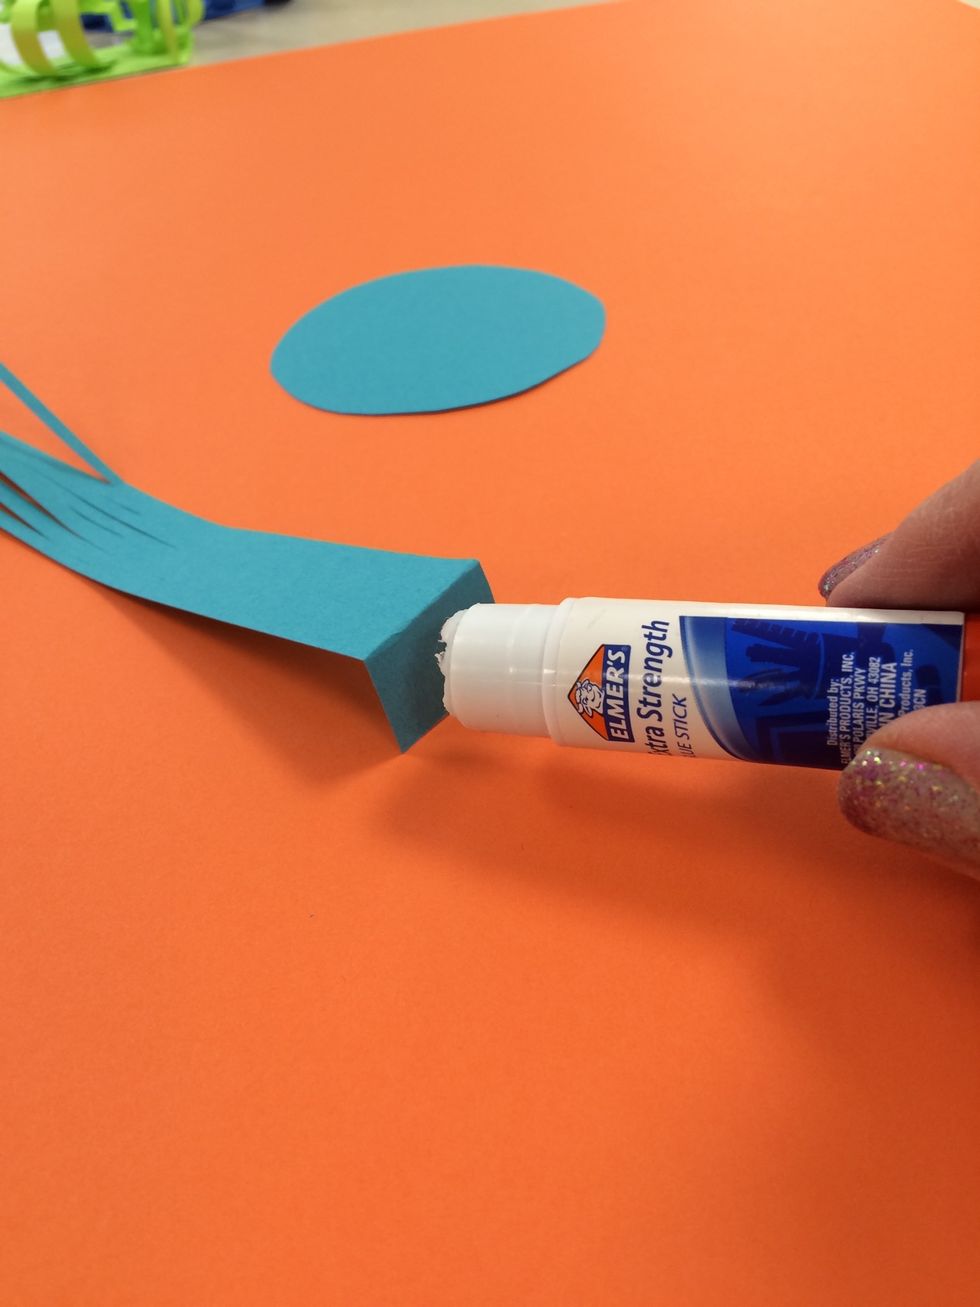
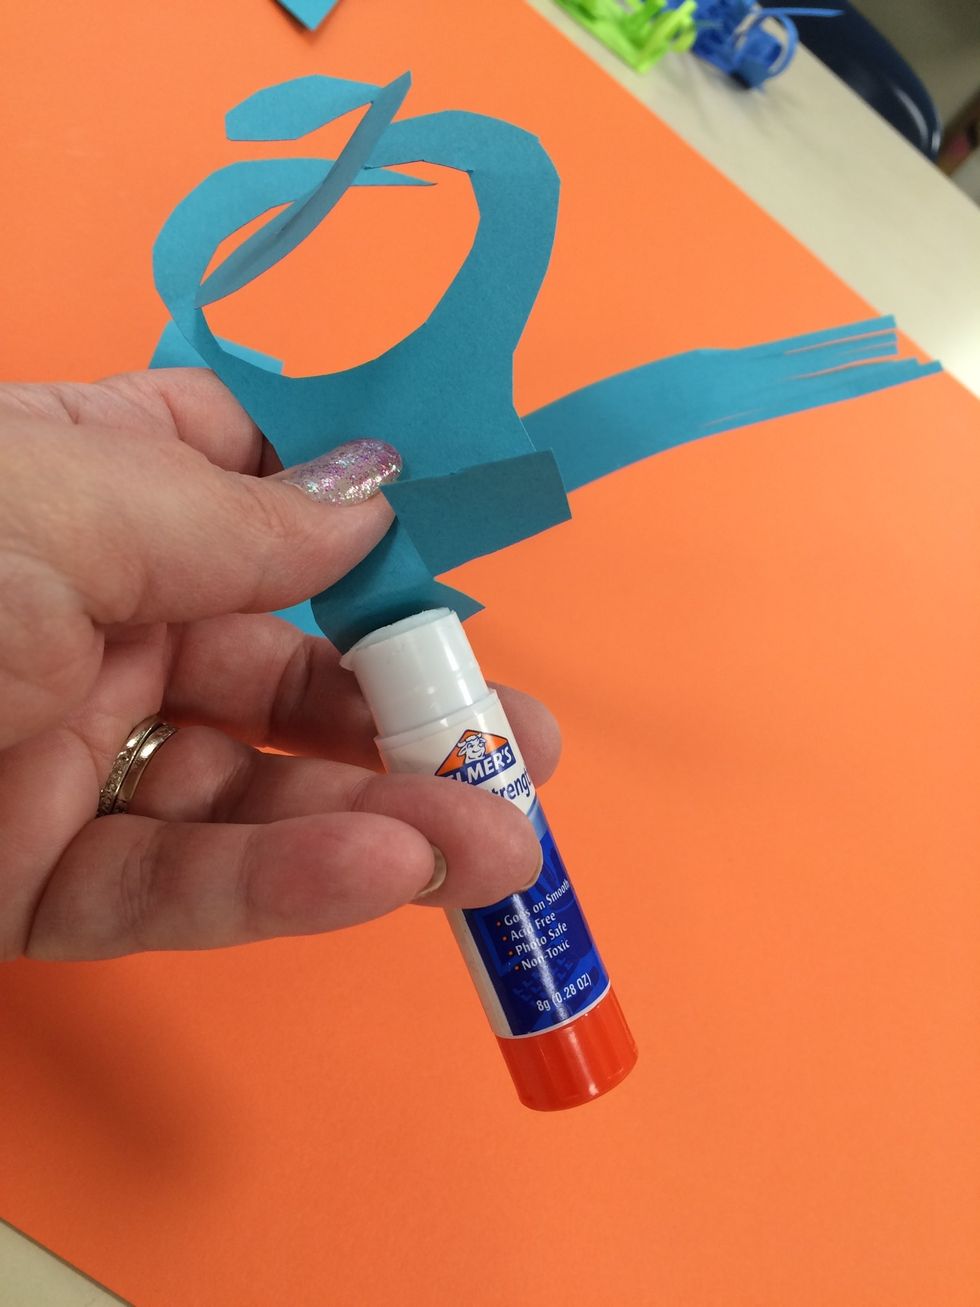
Folding a tab at the bottom of some shapes is necessary to help then attach to the base. Remember to use an extra strength glue stick. I use acid free.

Press each piece down firmly.
Here is another type of tab - you may to split the tab in half and glue in two spots.
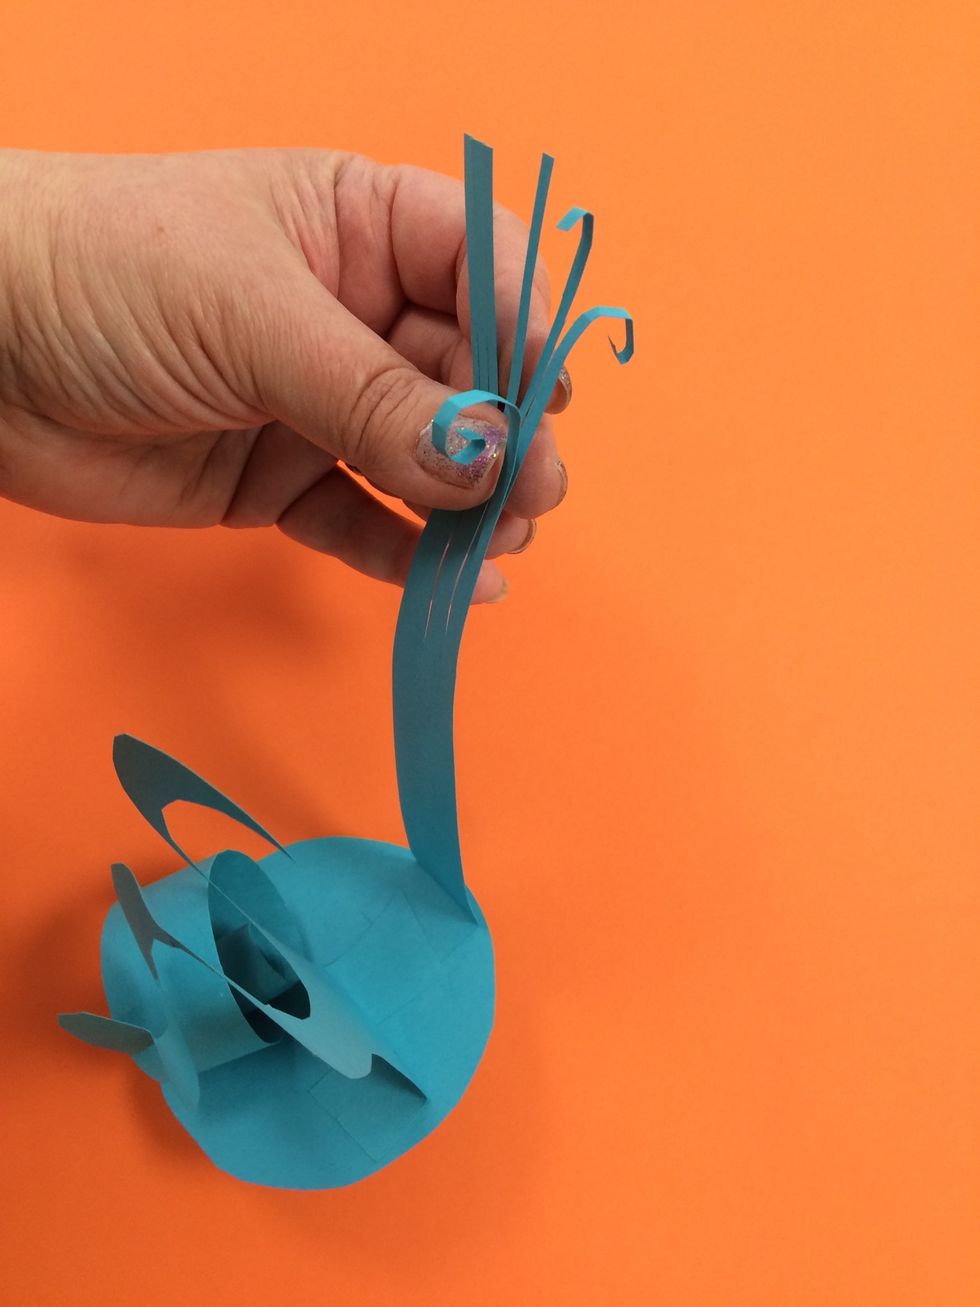
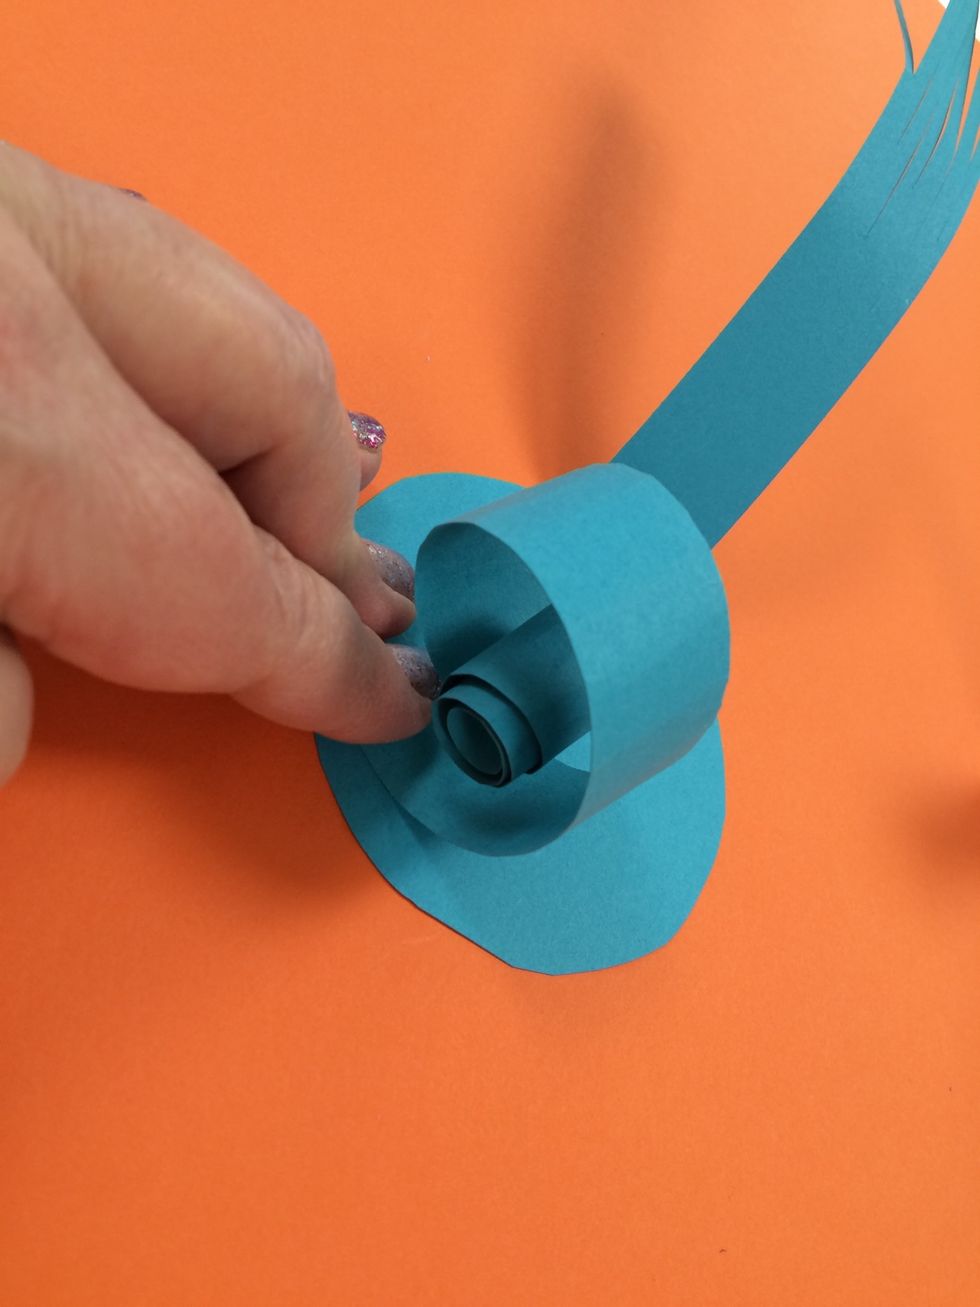
The fringe can be manipulated. Here is an example of spirals on the ends of the fringe.
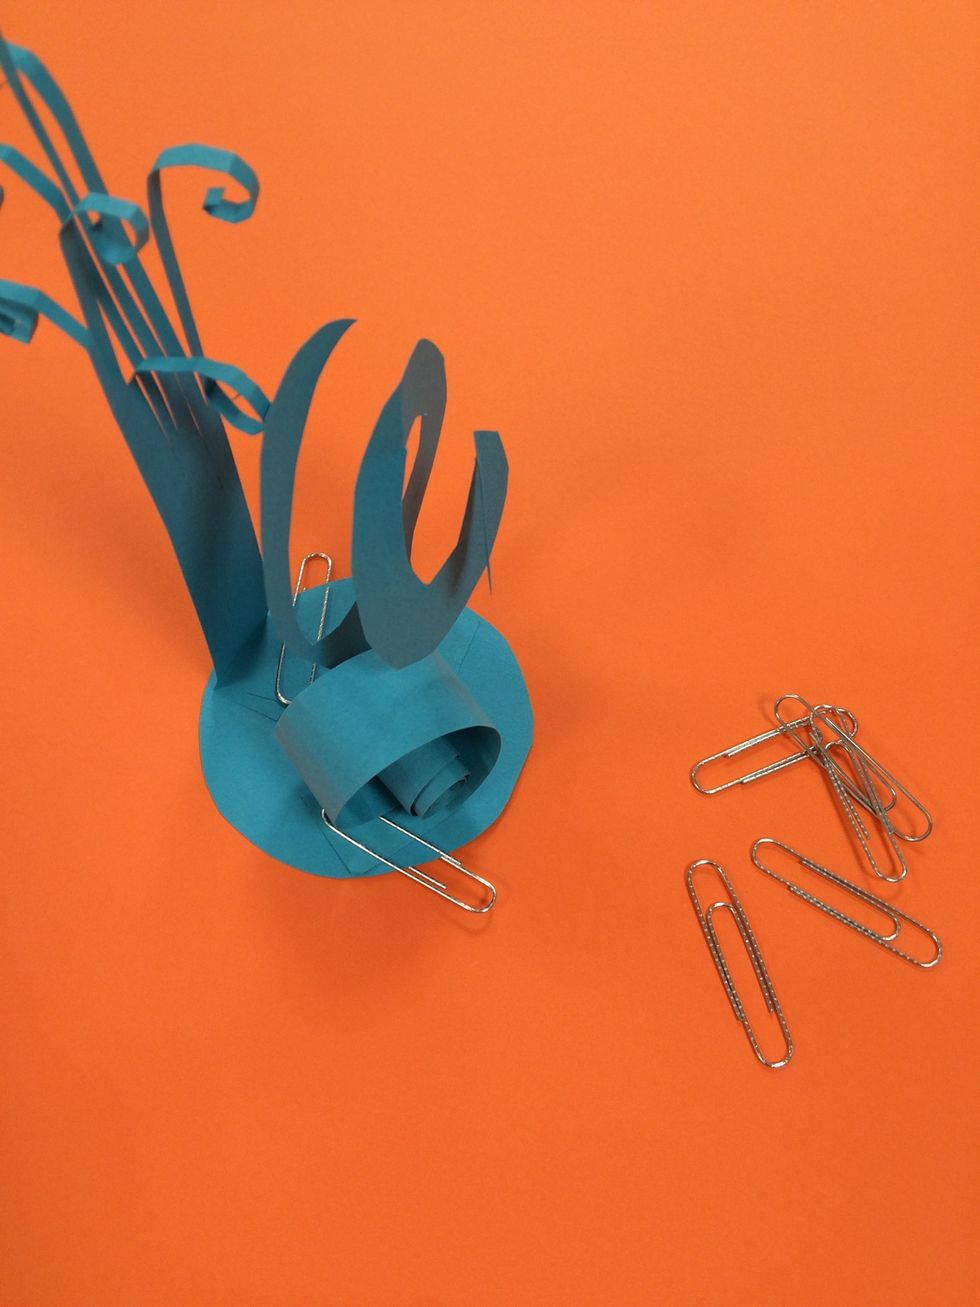
If pieces need a bit more support, you can use paper clips to hold them until the glue dries.

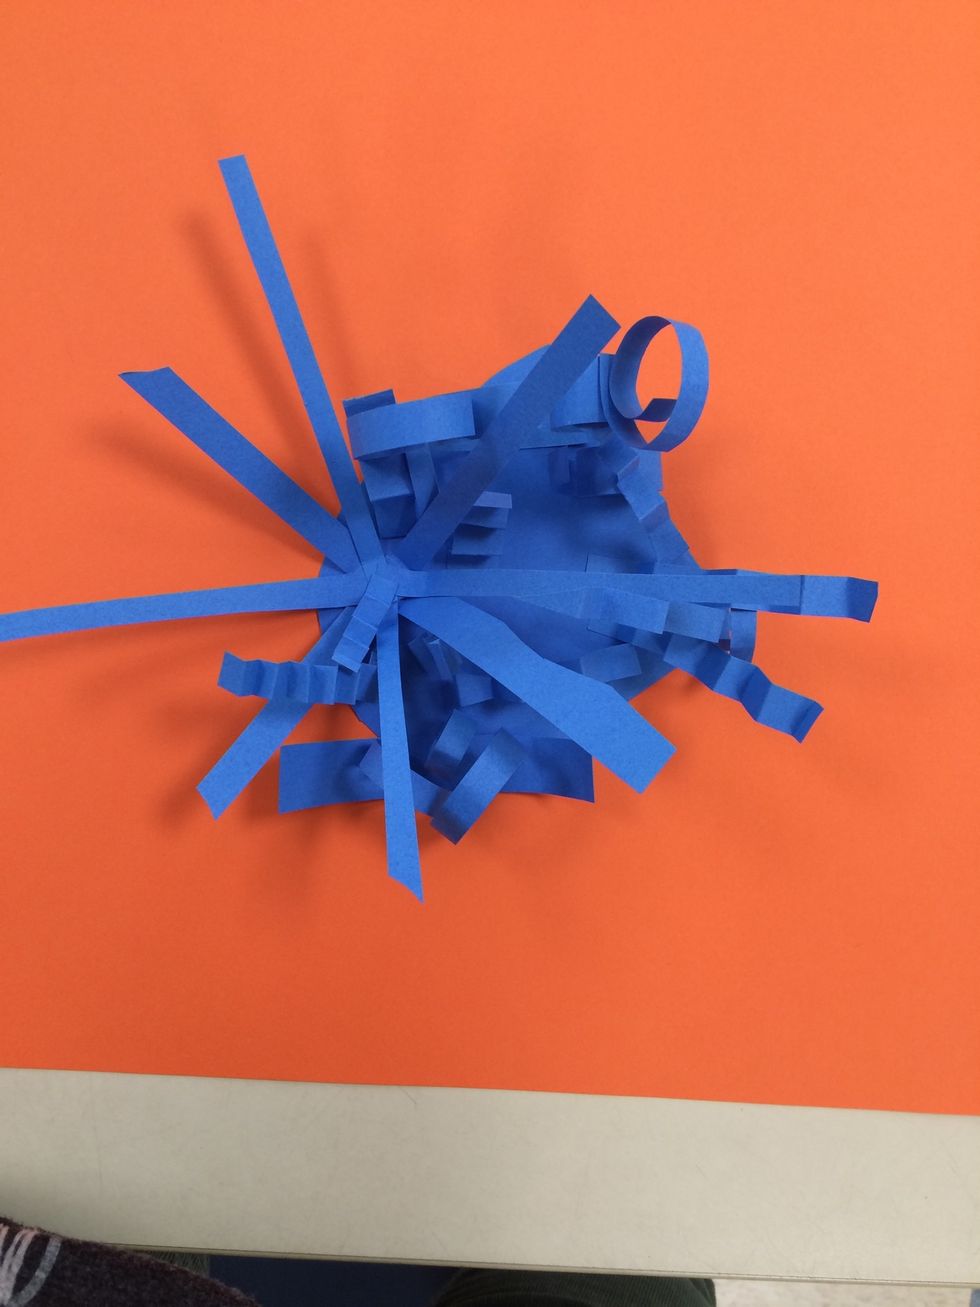
Here is the finished relief.
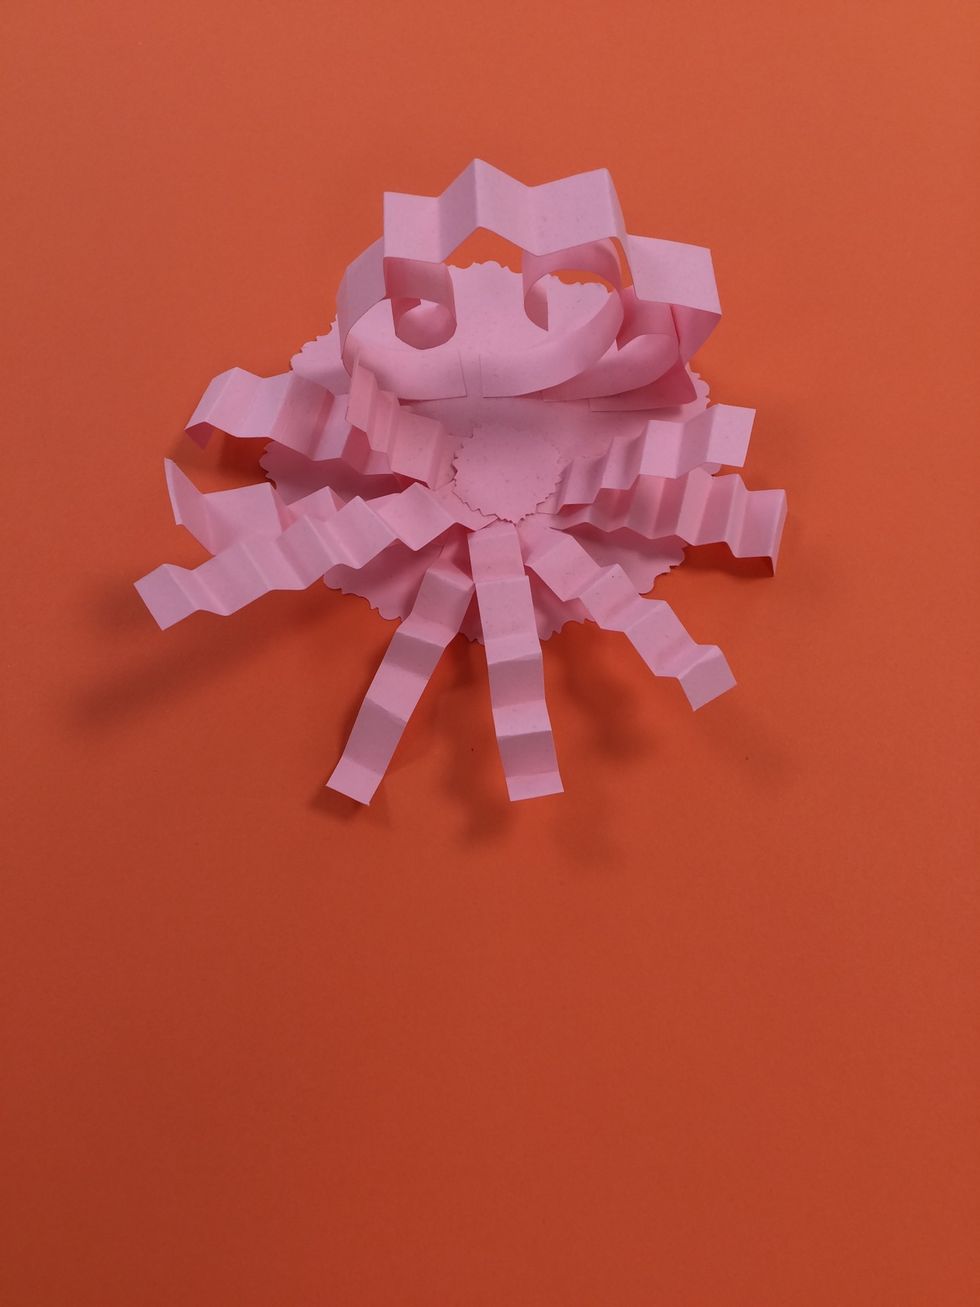
Next are three more samples in different colors!
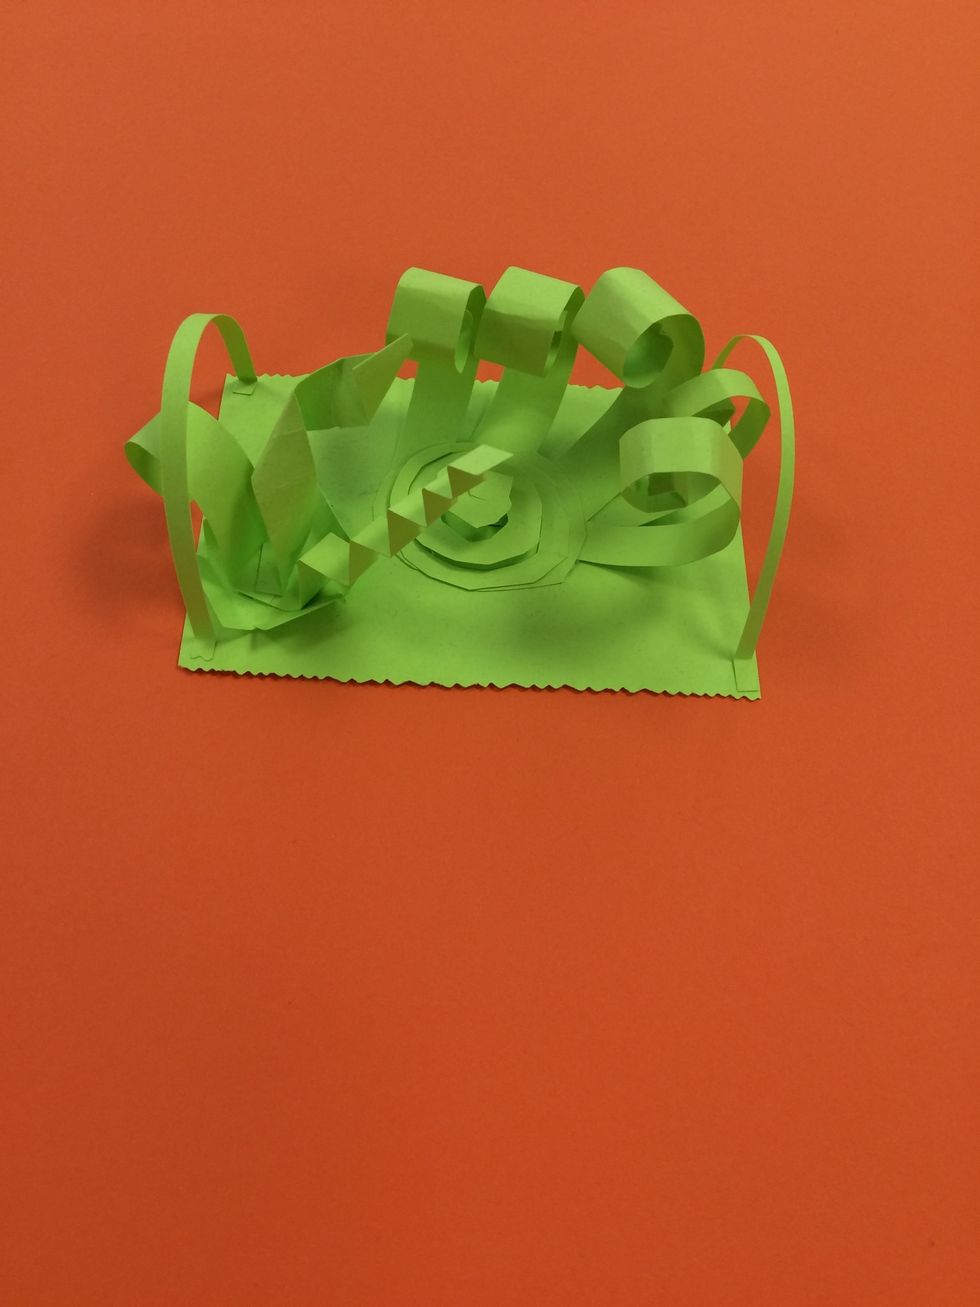
Although these samples are all done in one color, multicolored relief sculptures are also appealing.
The relief sculptures can be displayed as mounted works of art or as a table top sculpture.