The Conversation (0)
Sign Up
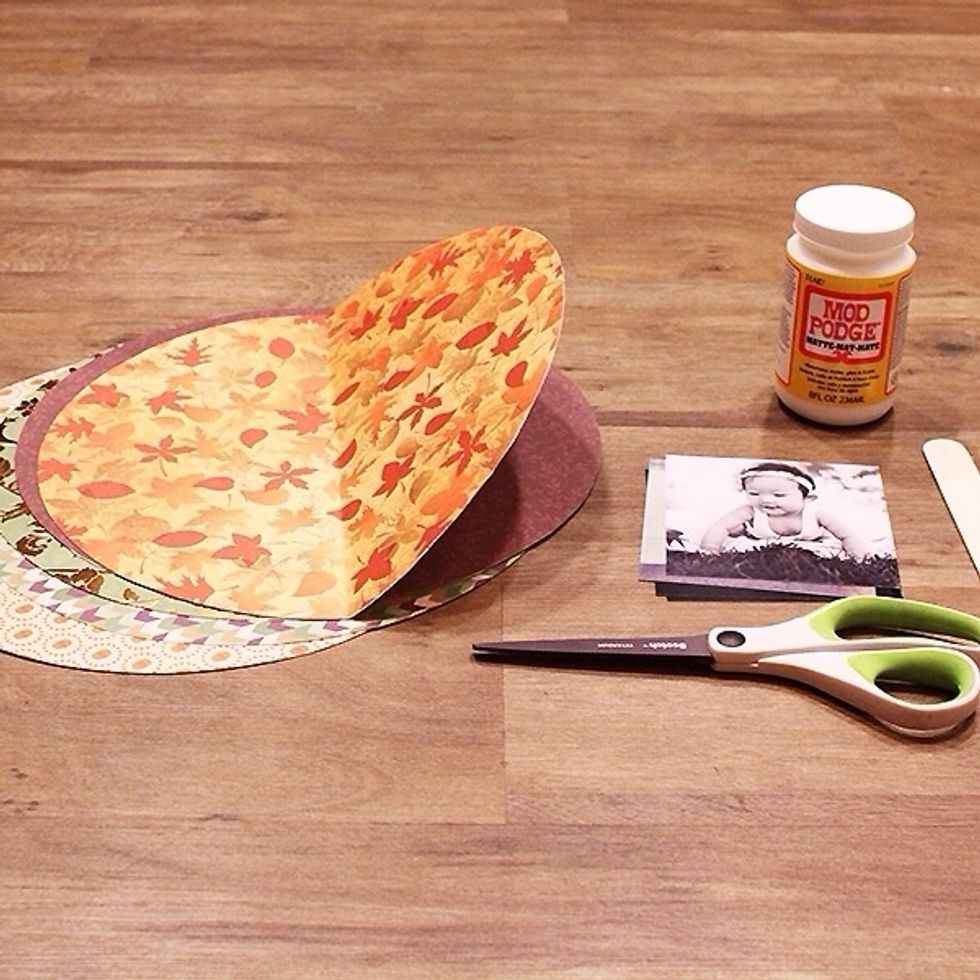
A glance at the supplies used in this DIY.
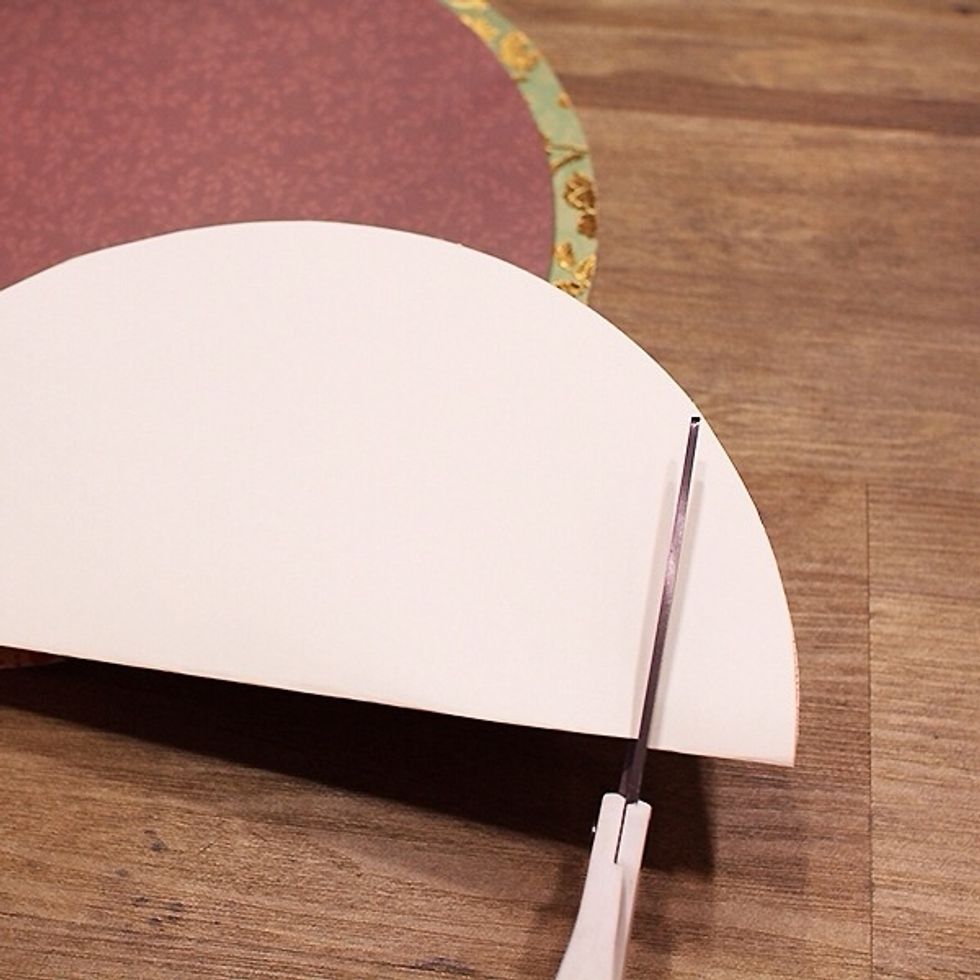
Cut a large circle into each of the 12×12 cardstock craft papers. Fold in half and cut off about an inch of the bottom to create the flat bottom of the pumpkin.
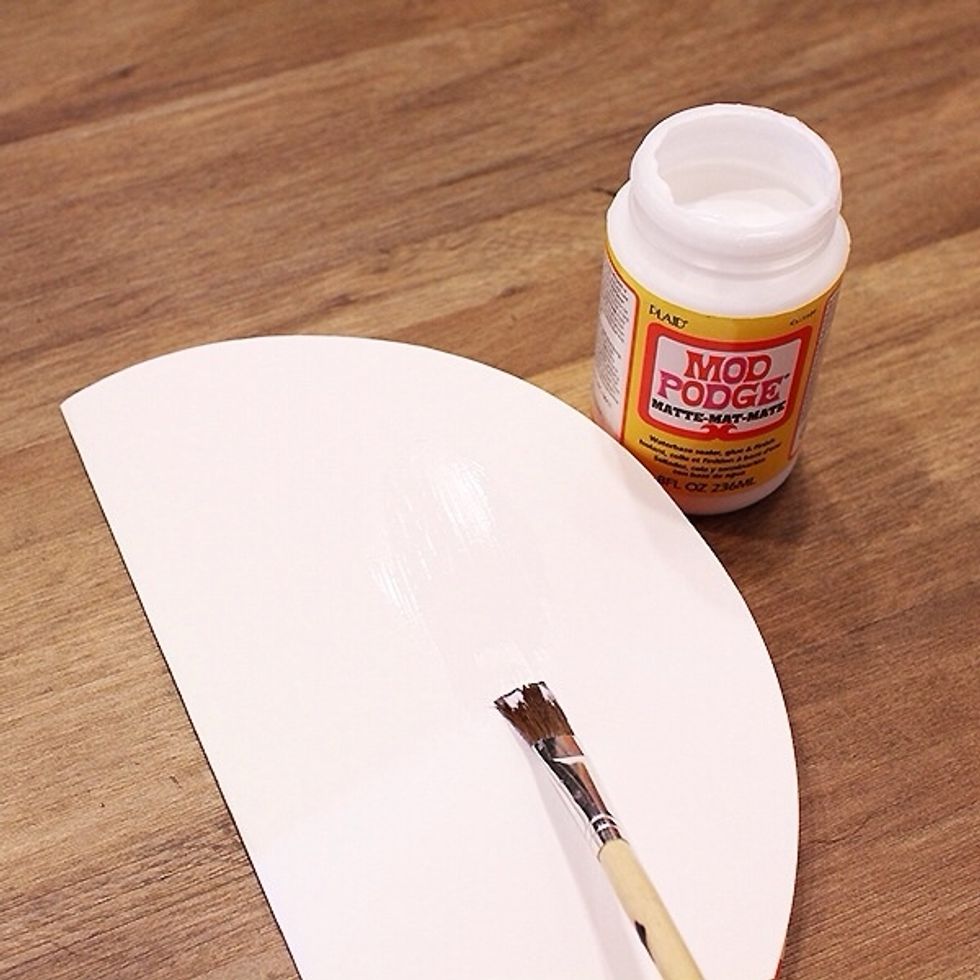
Spread glue thoroughly on each backside of the folded circle.
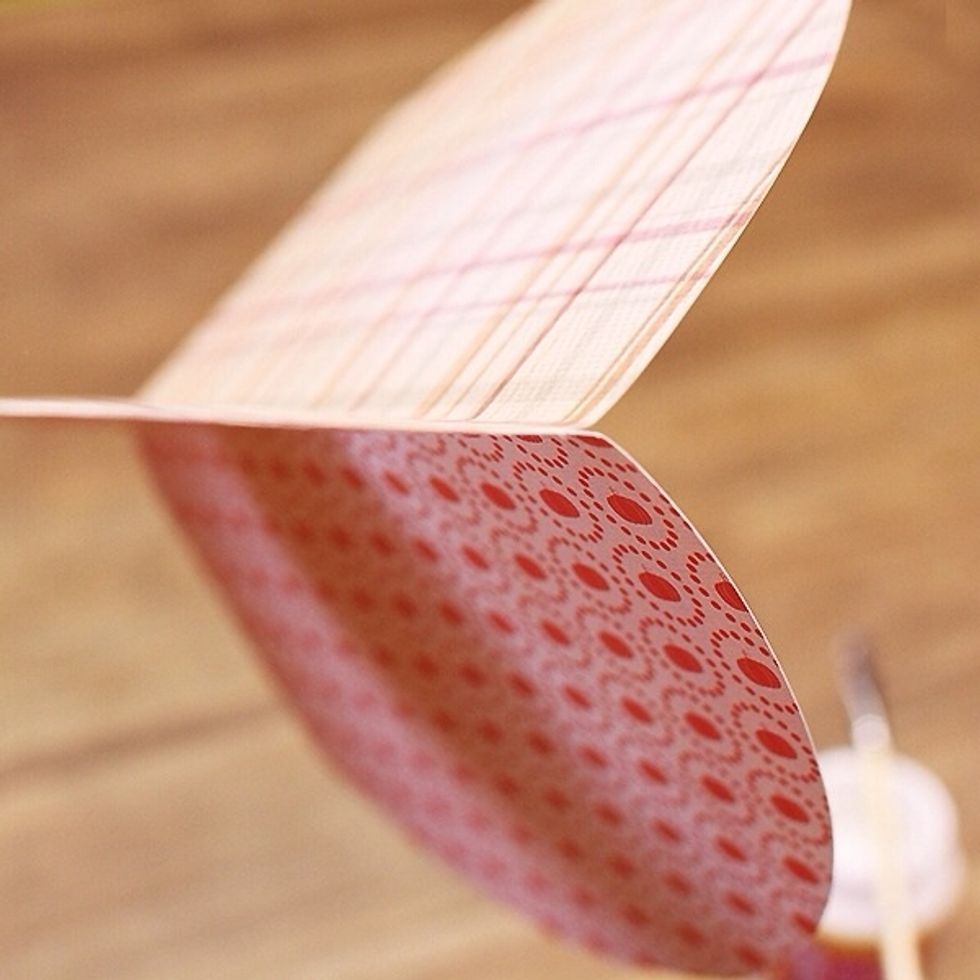
Carefully line up each side to adhere together until all half circles are glued together. If the papers don’t align properly, don’t worry! Scissors can trim them easily.
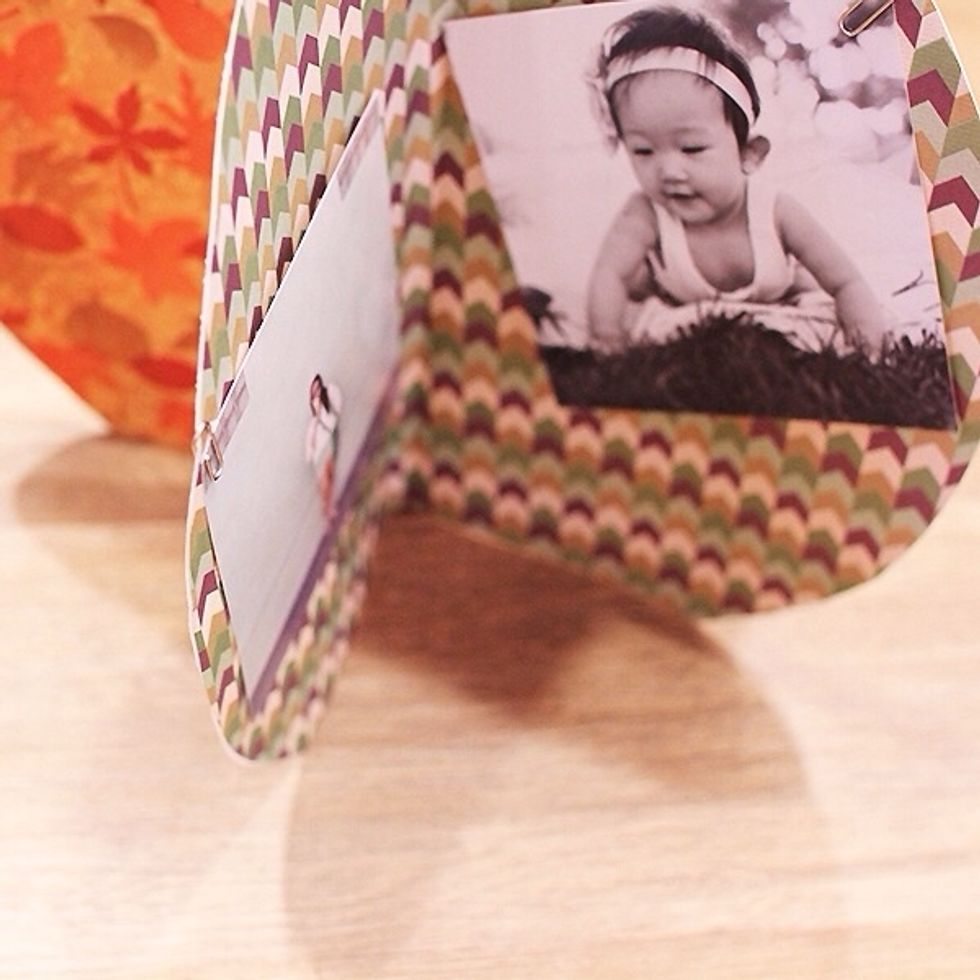
Let dry and attach (paperclips, glue, tape or clothespins are all easy options) your PostalPix mobile photo prints to each side.
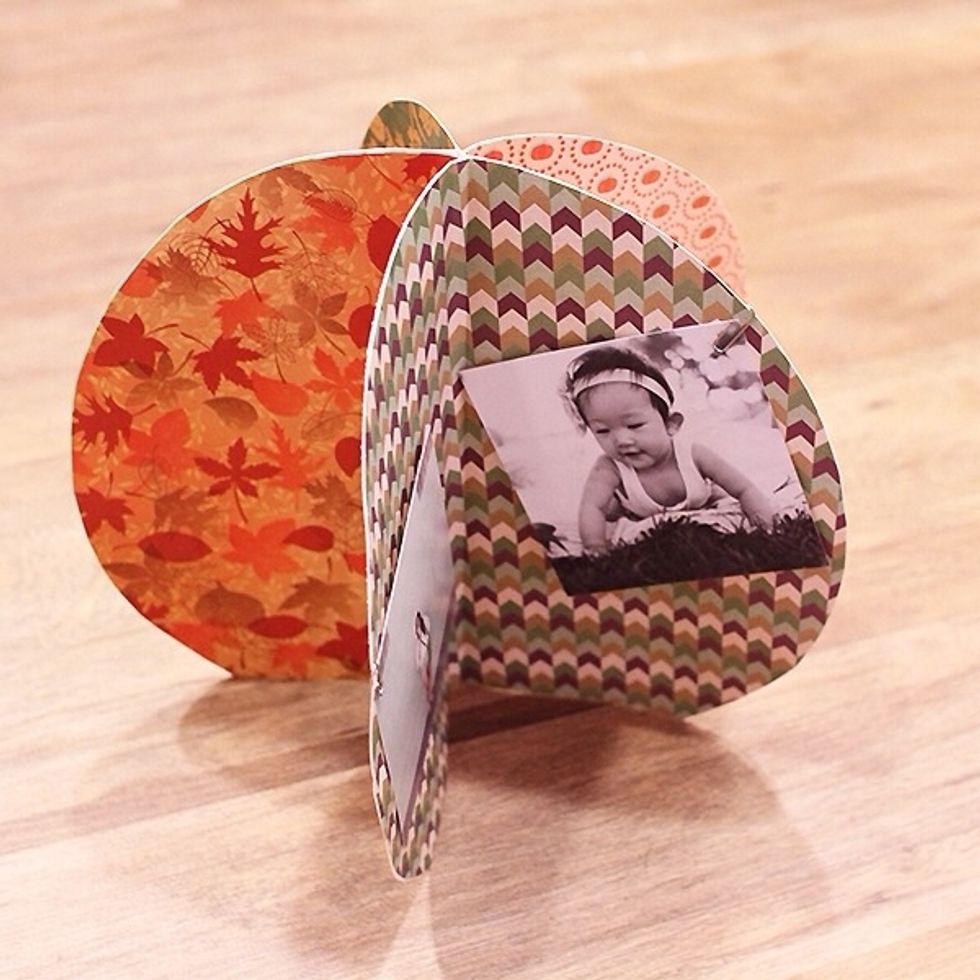
That’s it! Now you have no excuse in getting creative for Halloween this season with this kid-friendly and kid-fun project.