The Conversation (0)
Sign Up

Material
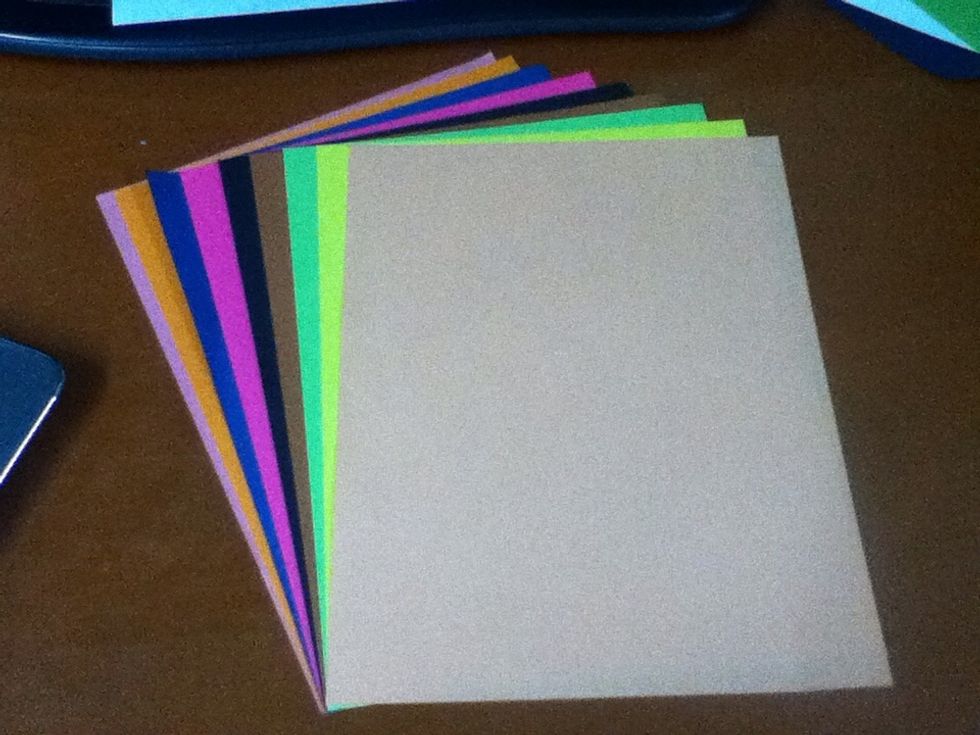
•Colores sheets *Note: choose two colors sheets to make your heart if they contrast is better.
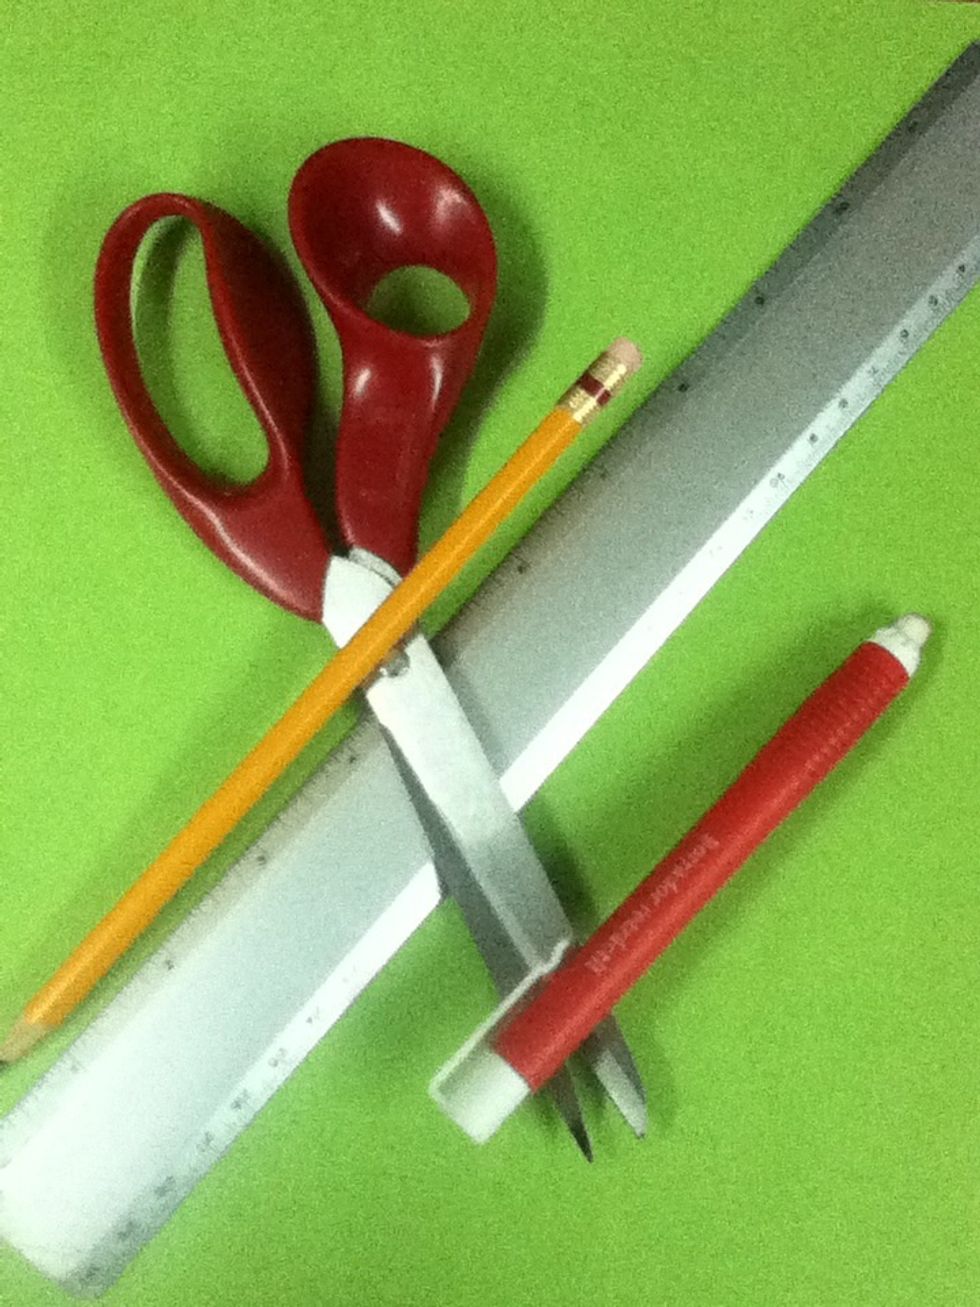
•Pencil ir Pen •Eraser •Ruler • Scissors
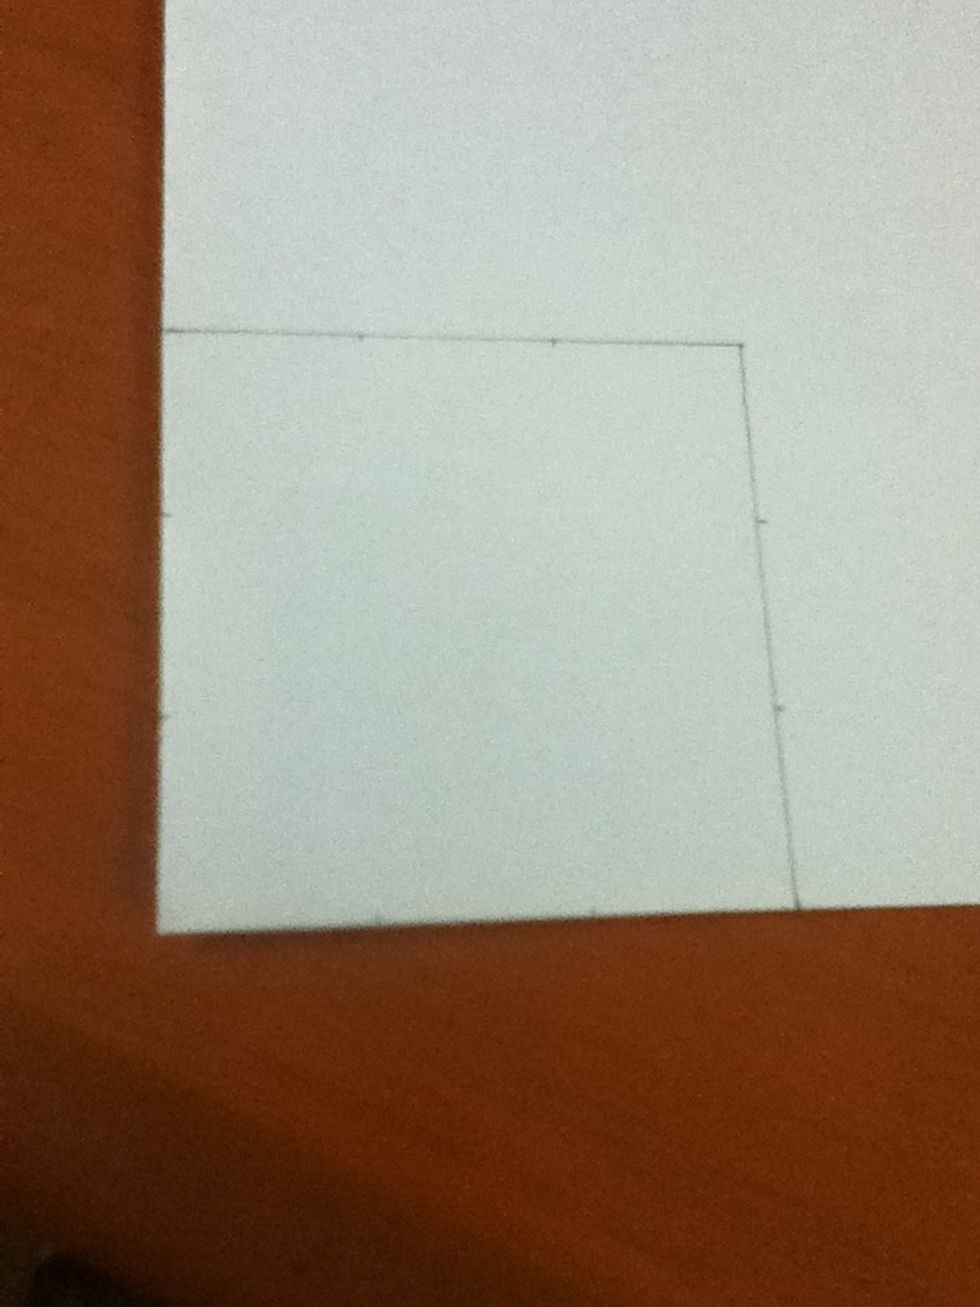
Now on the corner of you fold make a 6x6 square .Then make 3 marks of 2 centimeters each one and attach them.
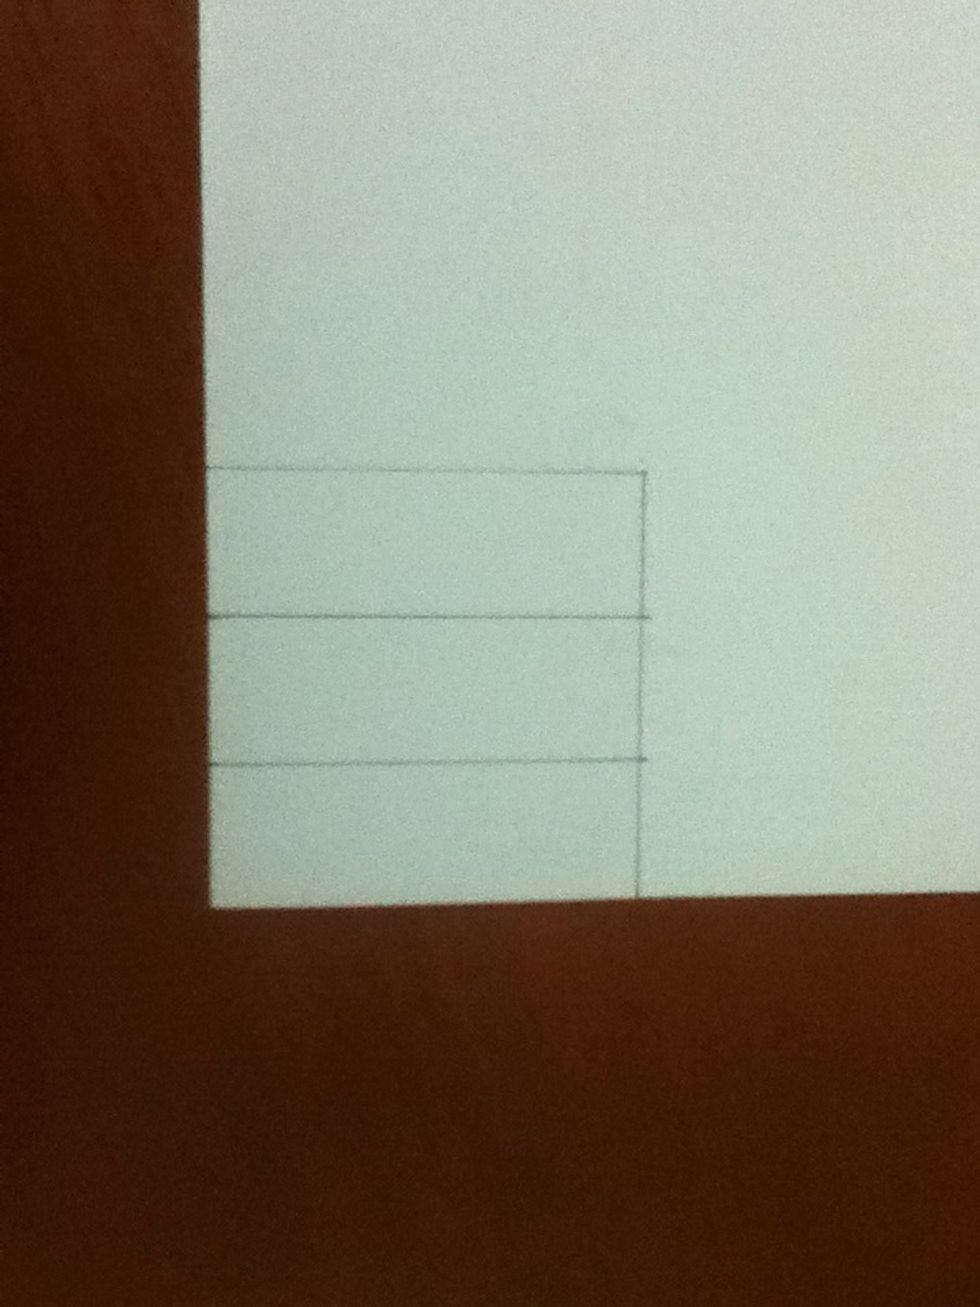
You will have something like this !!!!
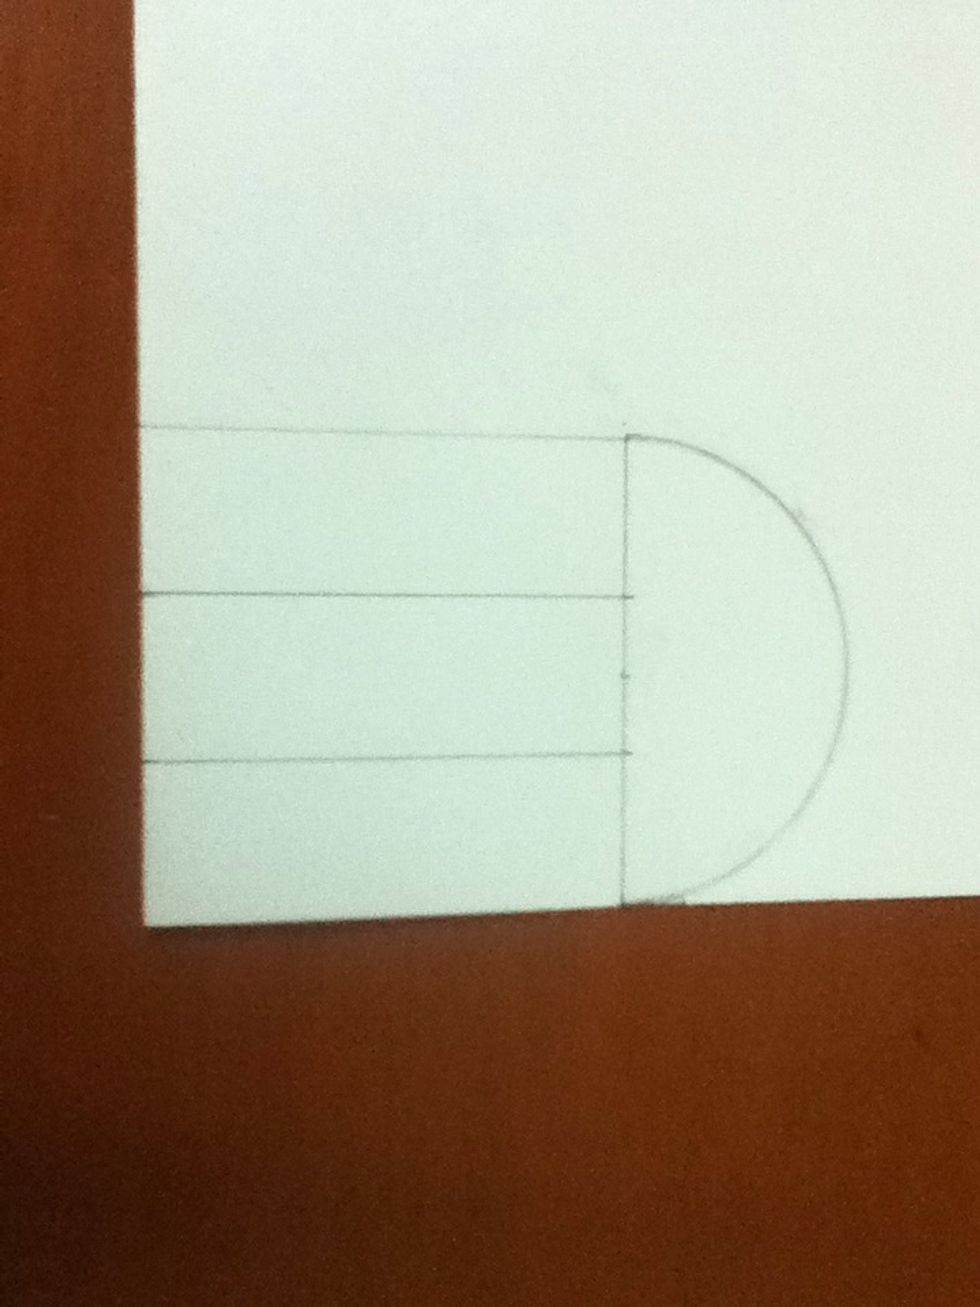
Next on top of your square draw a sermicircle which diameter will be the same as the long id the square . *You can use a compass to help you to trace te sermicircle.
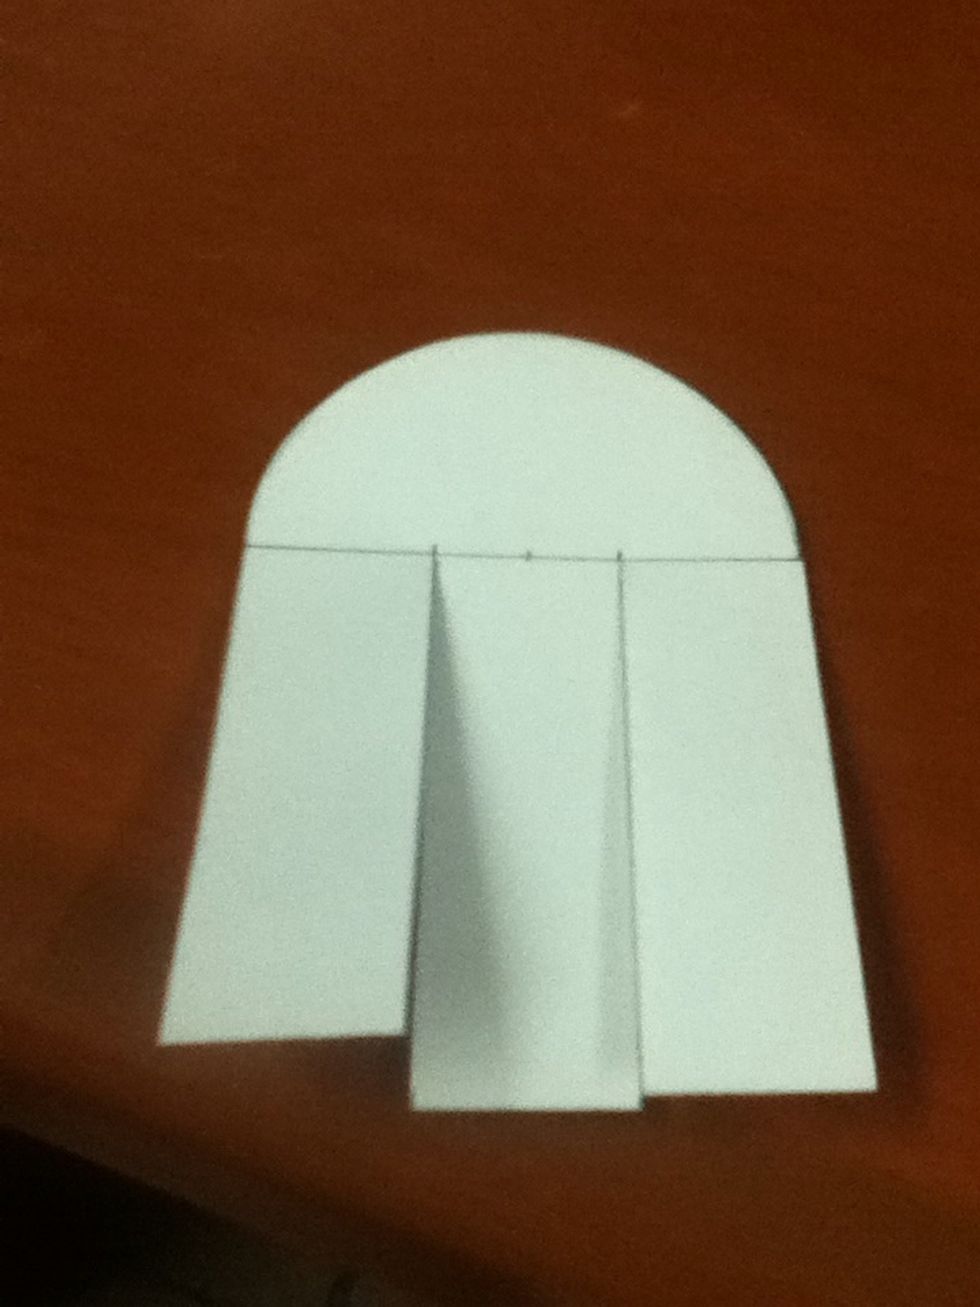
Then cut your figure. When you already have your shape cut the lines of the strips. *Cut lest tha one centimeter moré to help you to make the tissue.
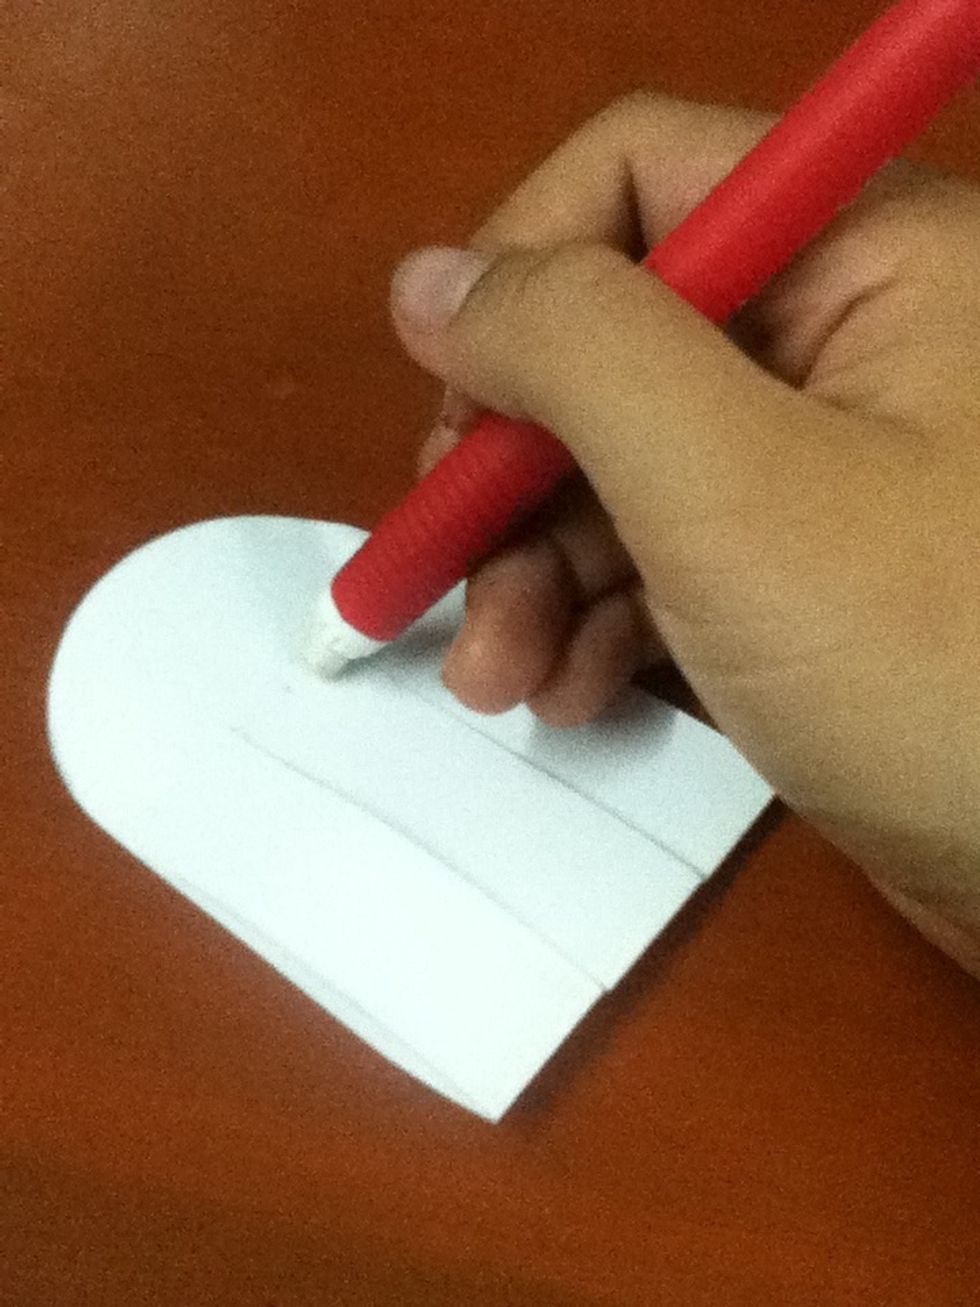
Take the eraser and erase all the lines.
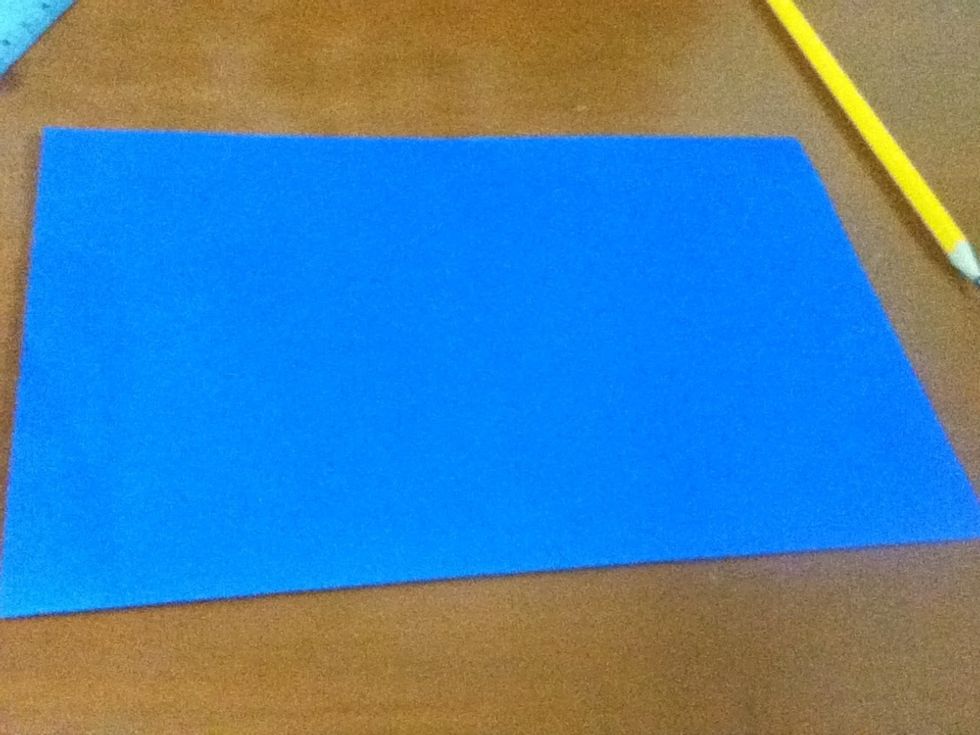
Repeats the process whit the other color.
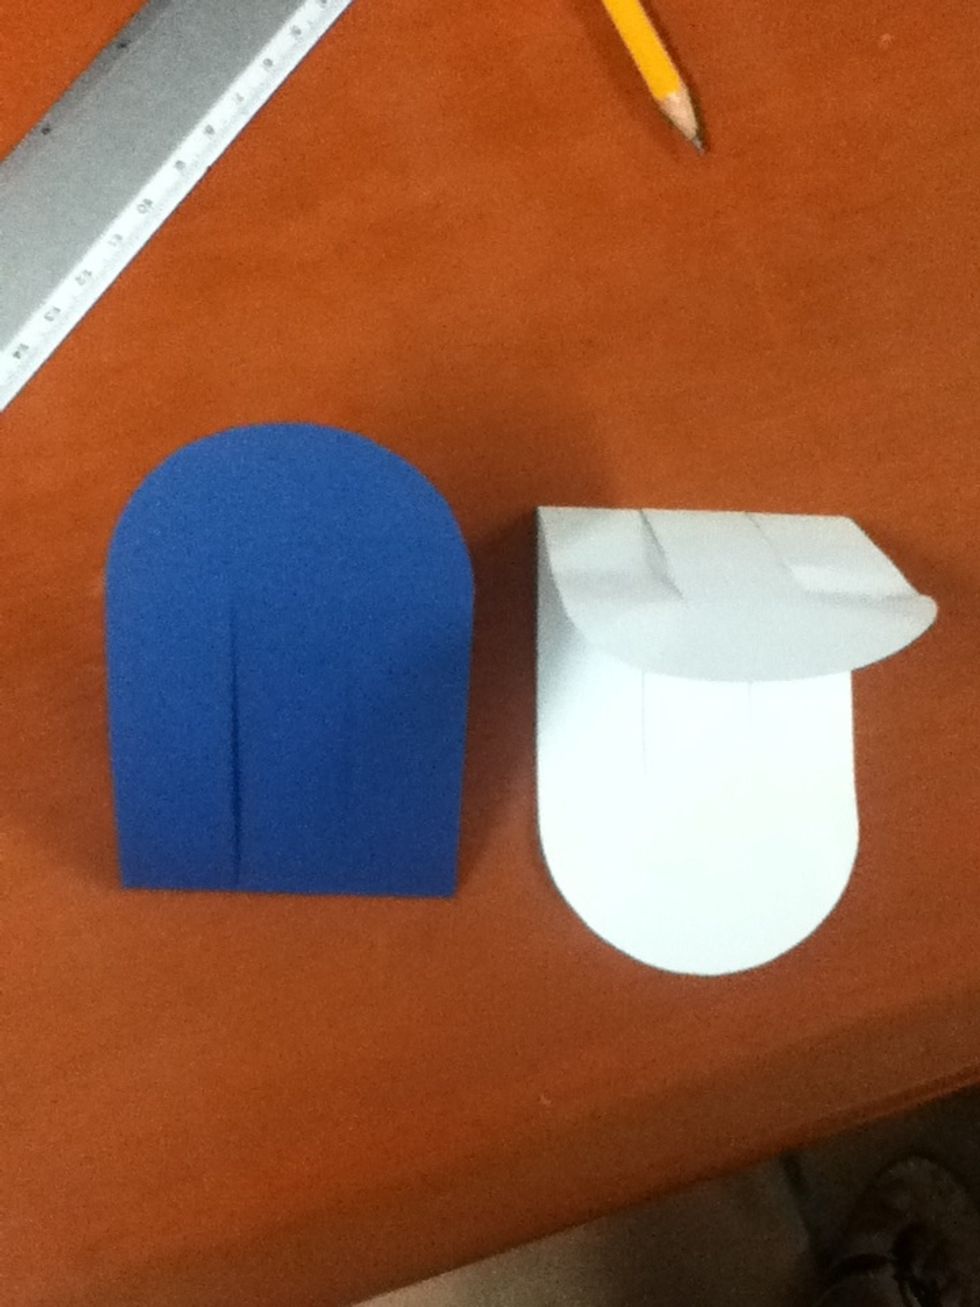
You will have something like this
Now we are going to start whit the tissue. For the next part we are going to call the blue one A and the wihte one B.
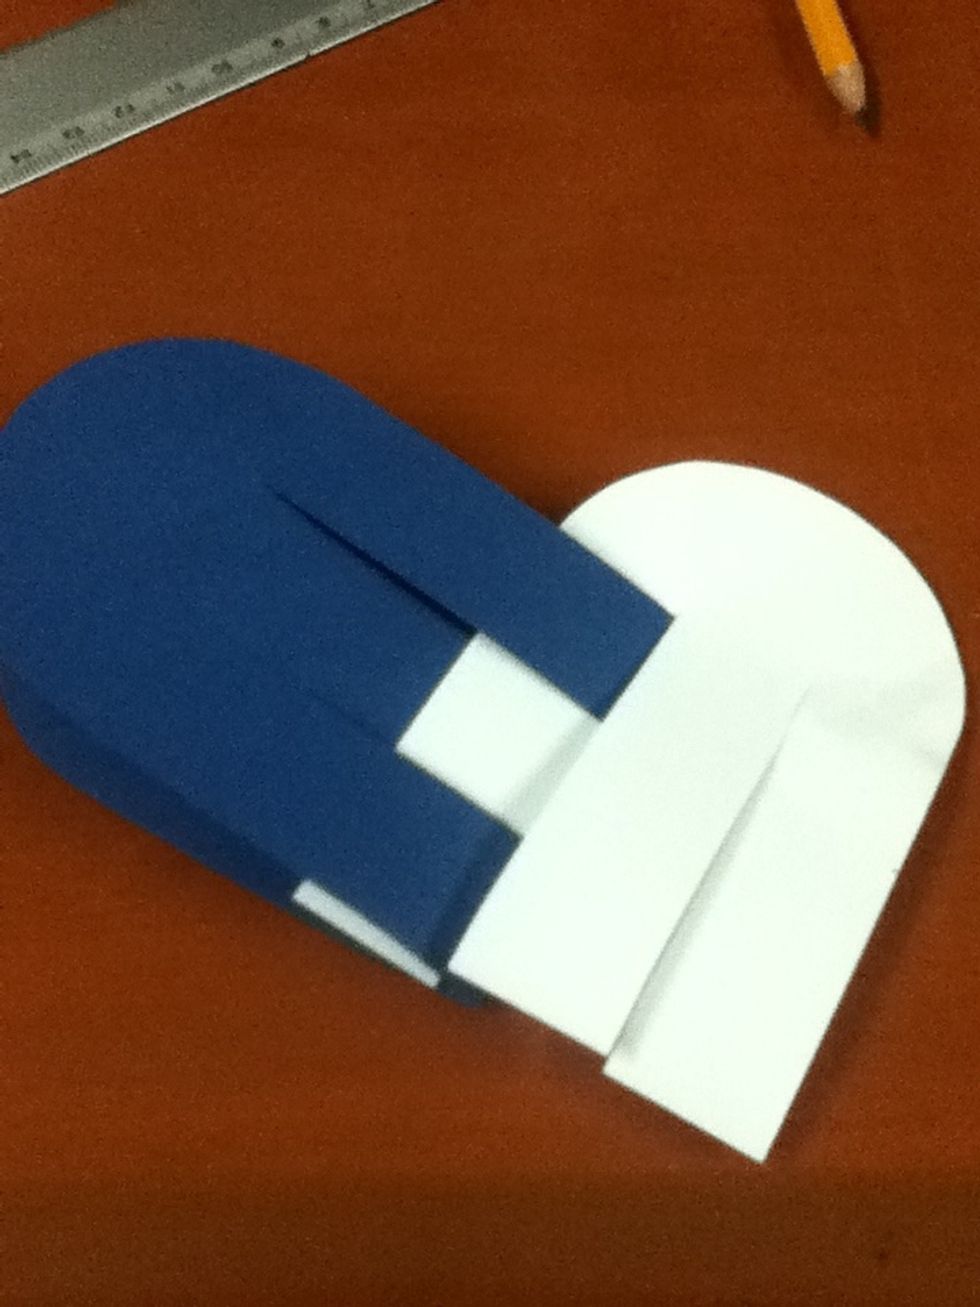
Take one strip of the color B and introduce ir into the color A, then introduce the color A into the color B, then again introduce the color B into the A.
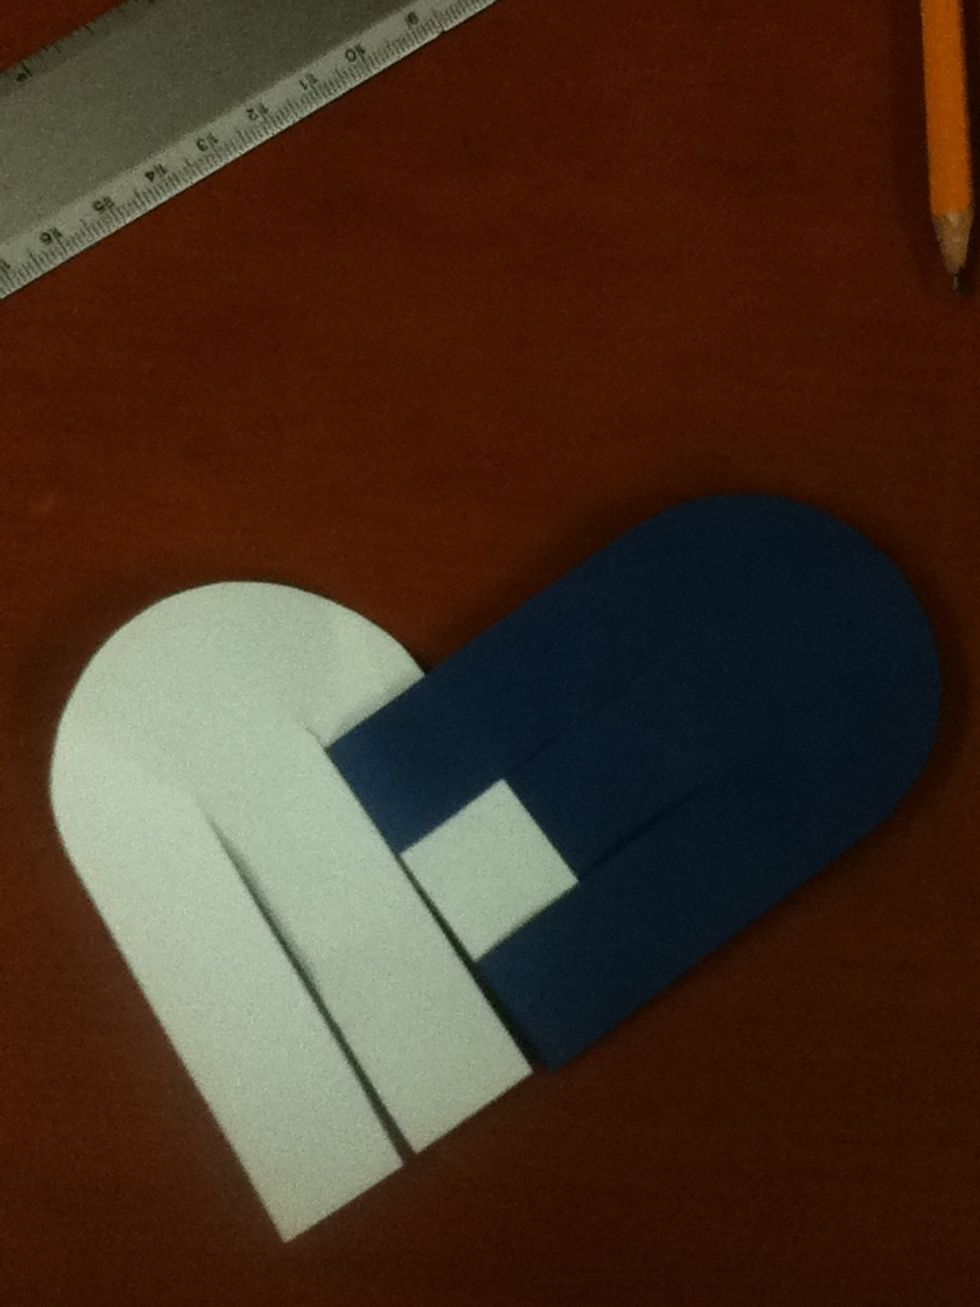
Now introduce the color A into the color B, then introduce the color B into the A, and then re introduce the color A into the B
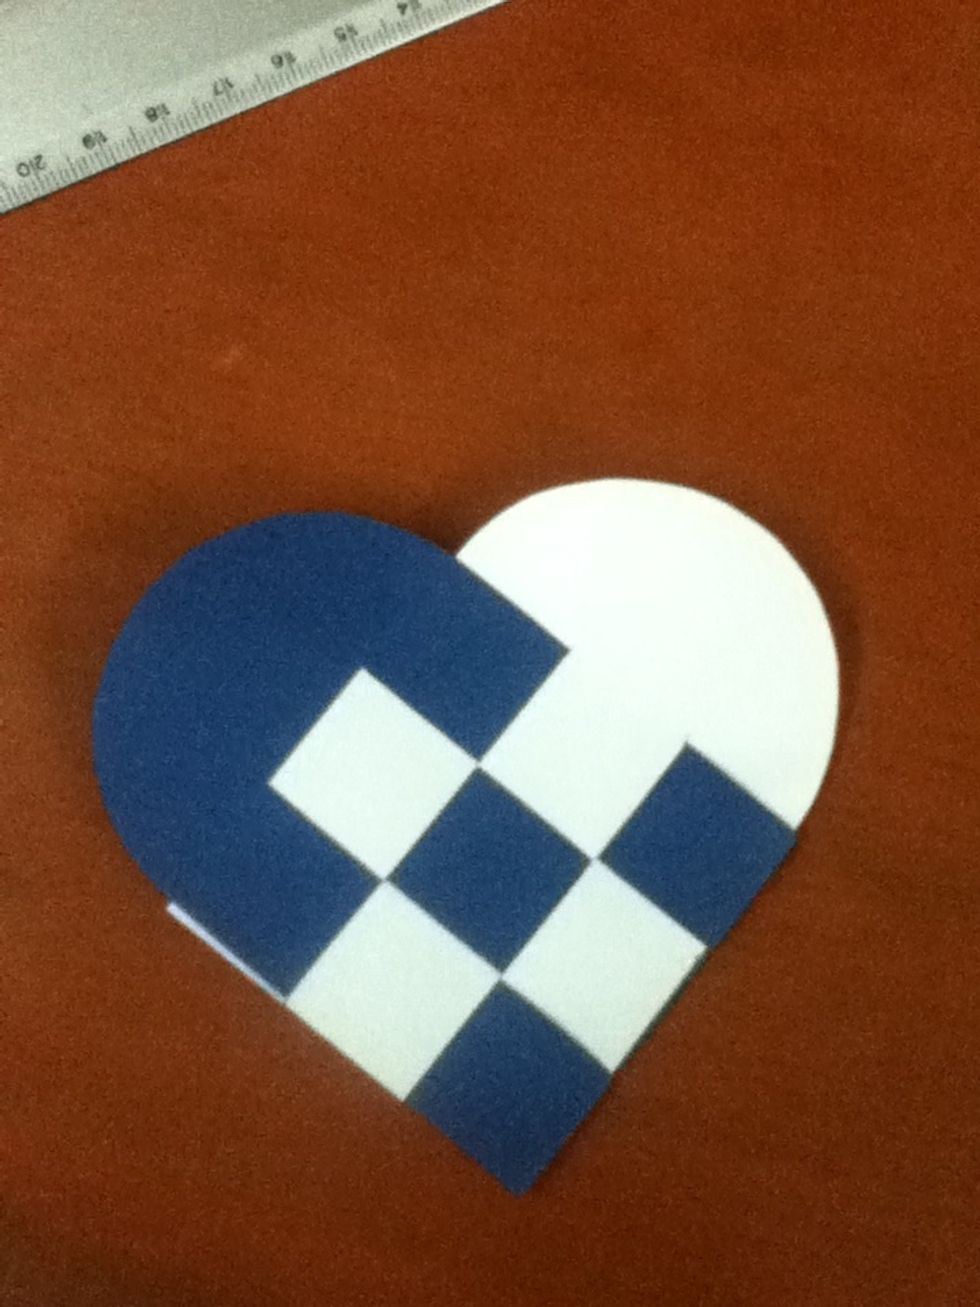
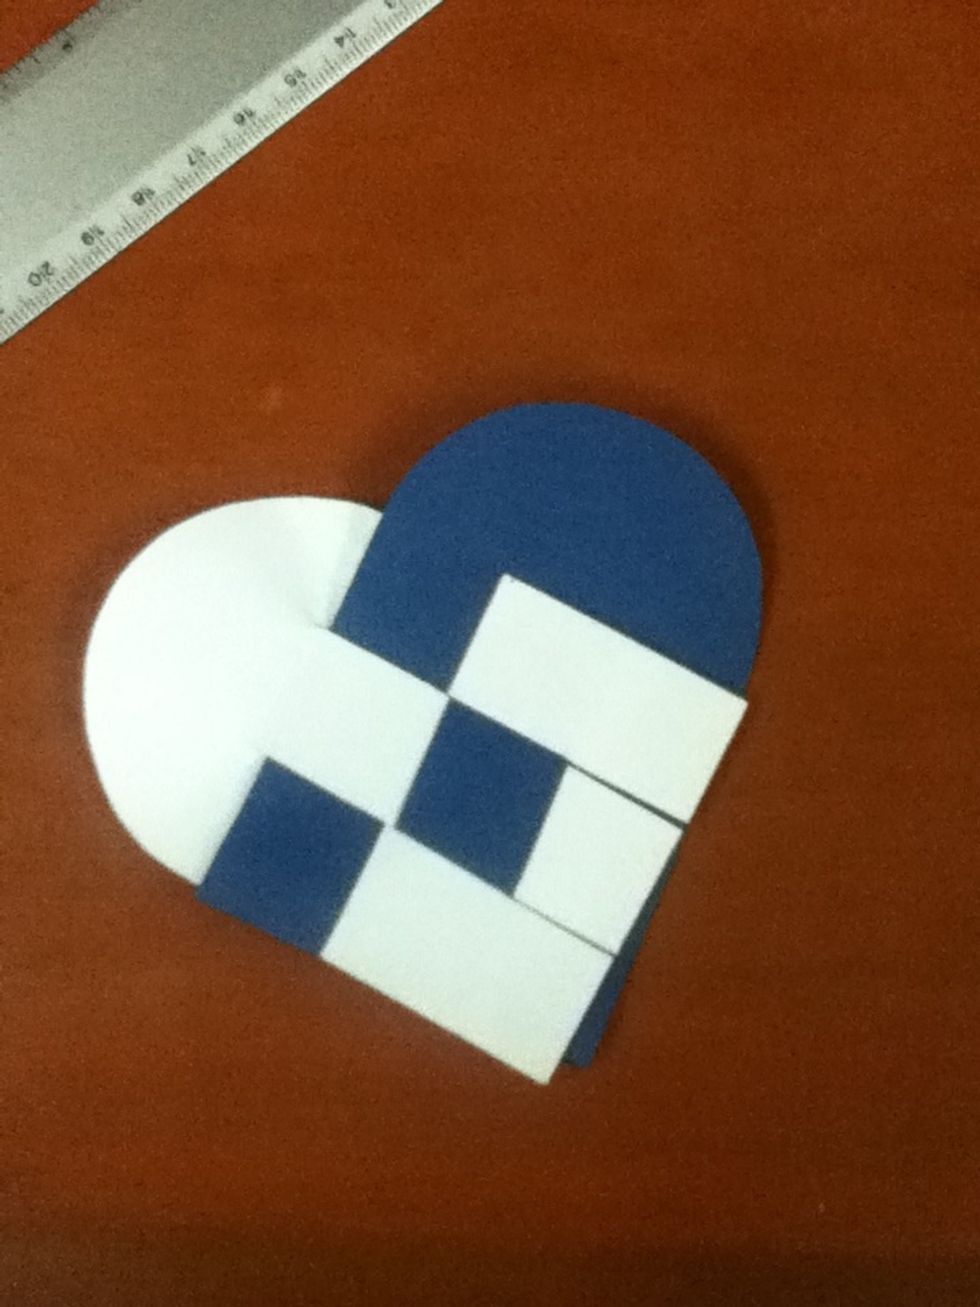
Now repet the step 13 but be careful to don't break the papers. At the end you will have something like this.
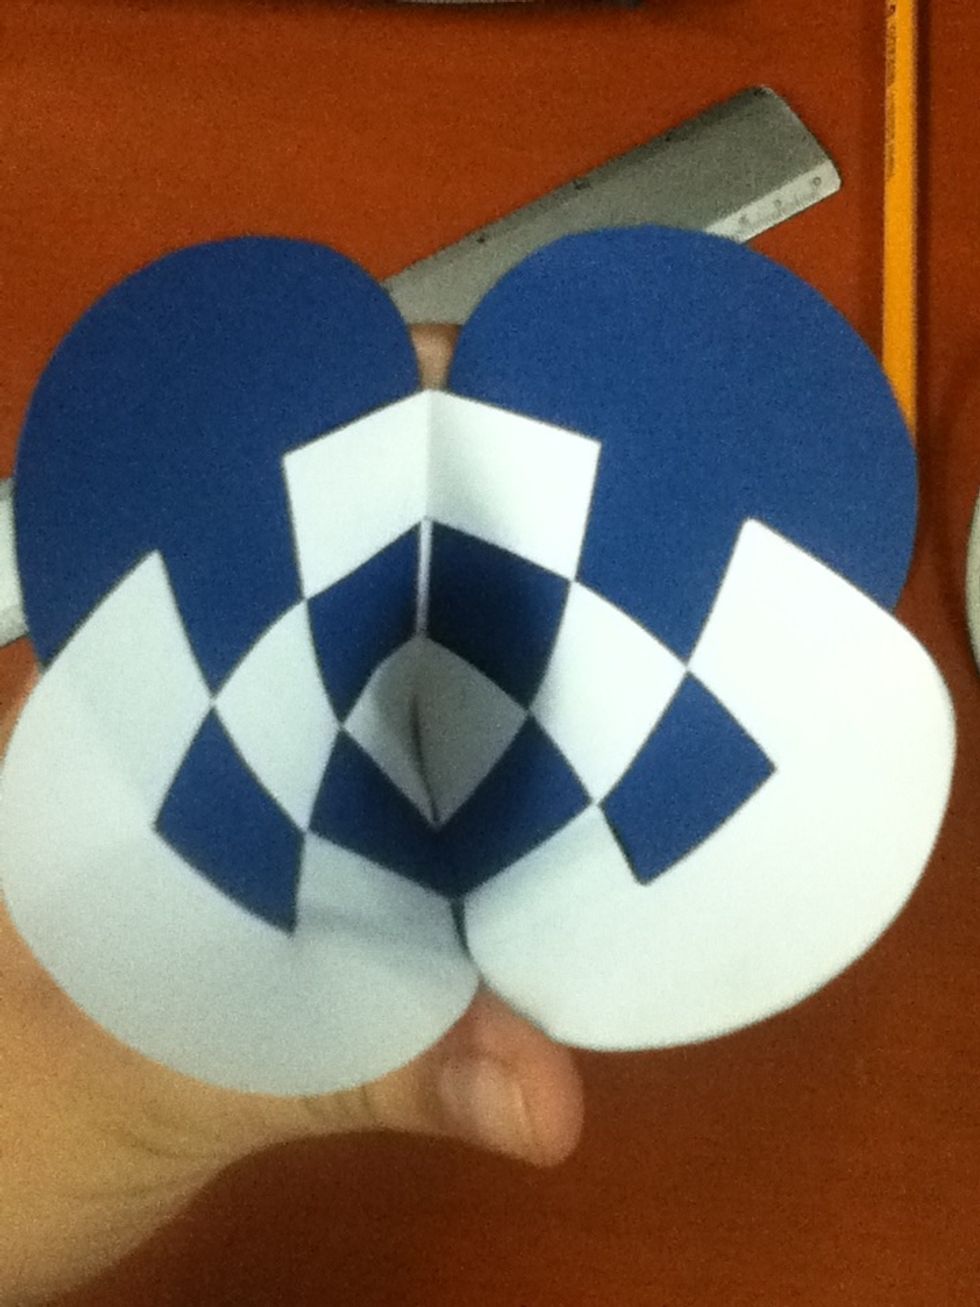
And if you open it ir would look like this !!! Beautiful ! No?