The Conversation (0)
Sign Up
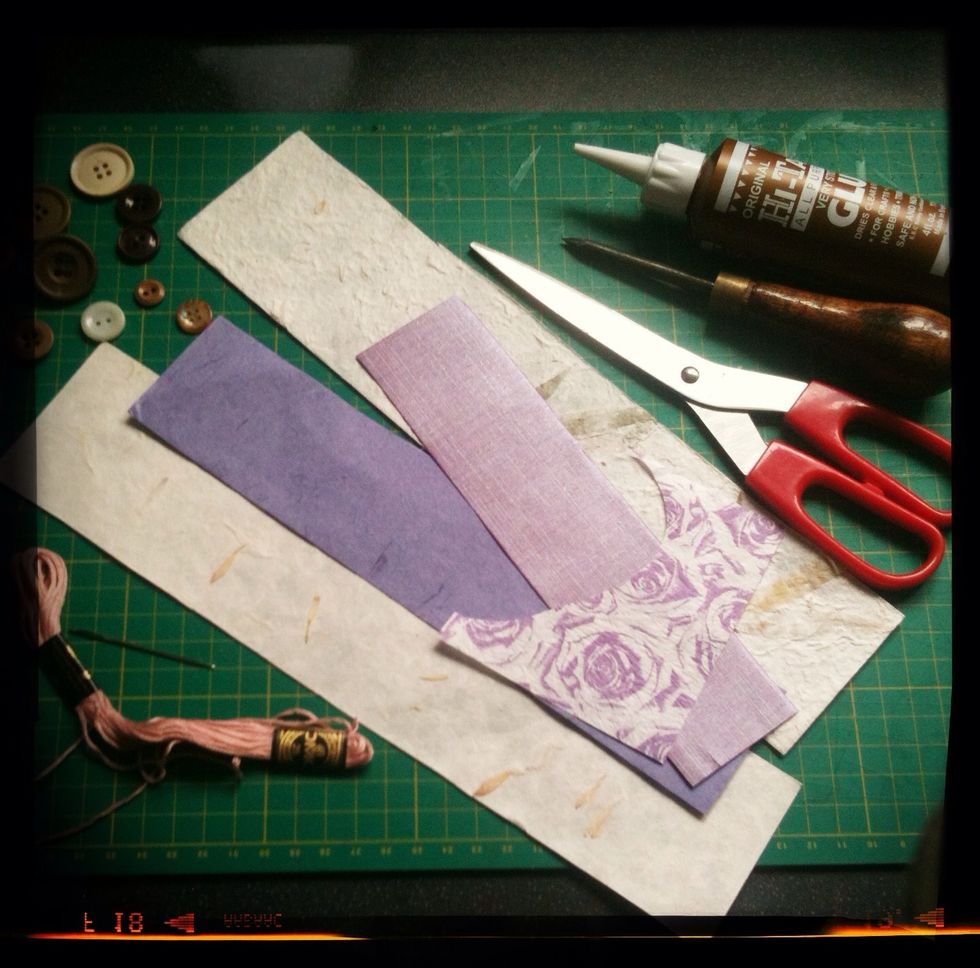
Gather your supplies together.
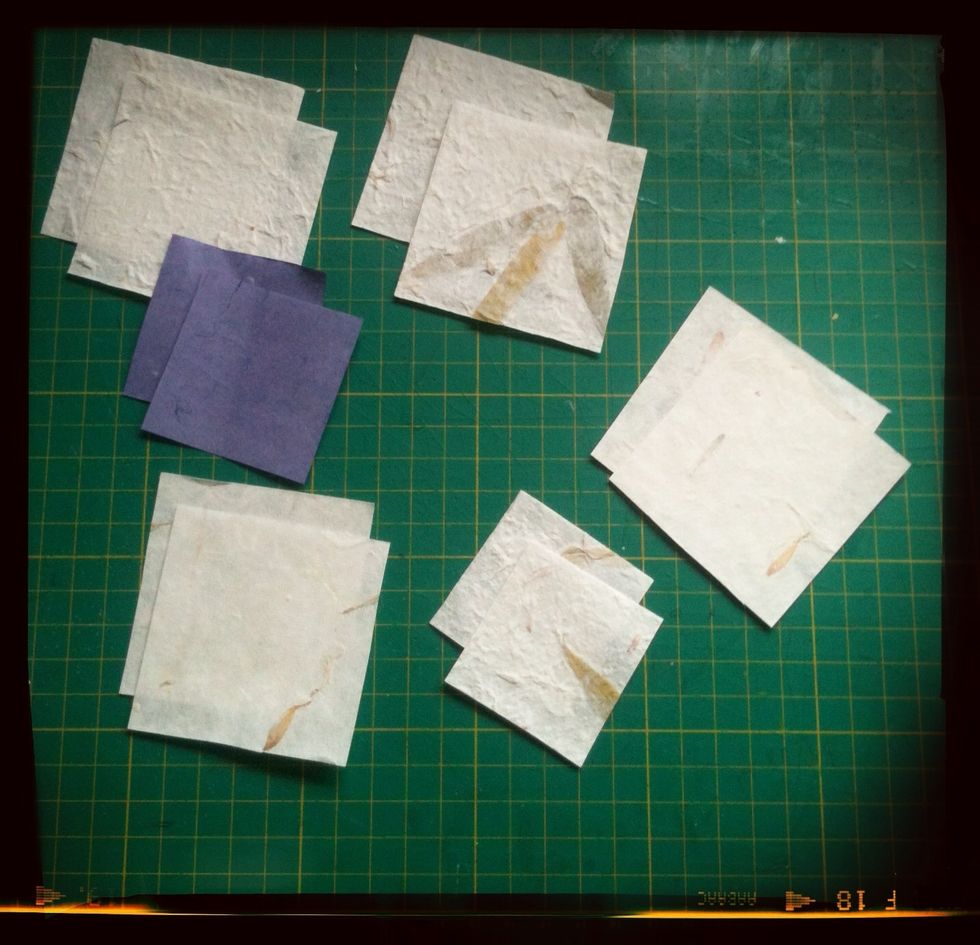
Cut the paper into squares, don't worry if they are not perfect. Make sure you have 2 squares in each size, I will be using 2 big squares and 2 small for this flower but feel free to experiment.
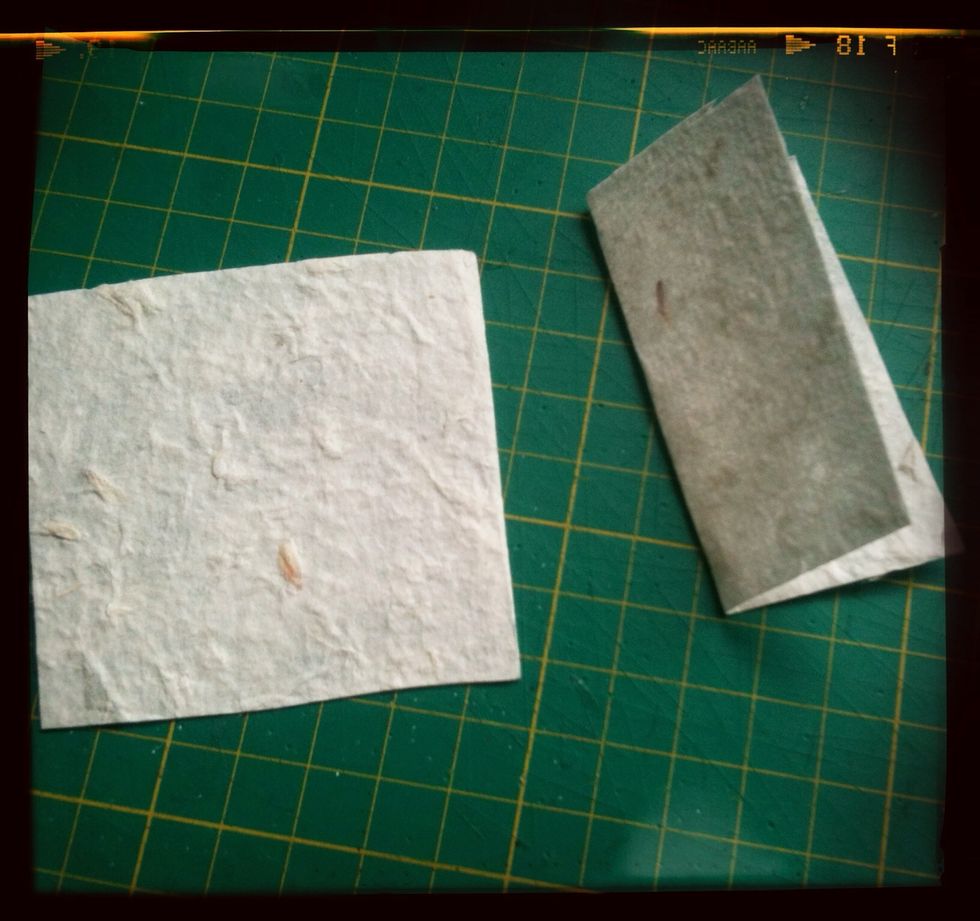
Take your first set of squares (the larger ones), fold them in half down the middle like this.
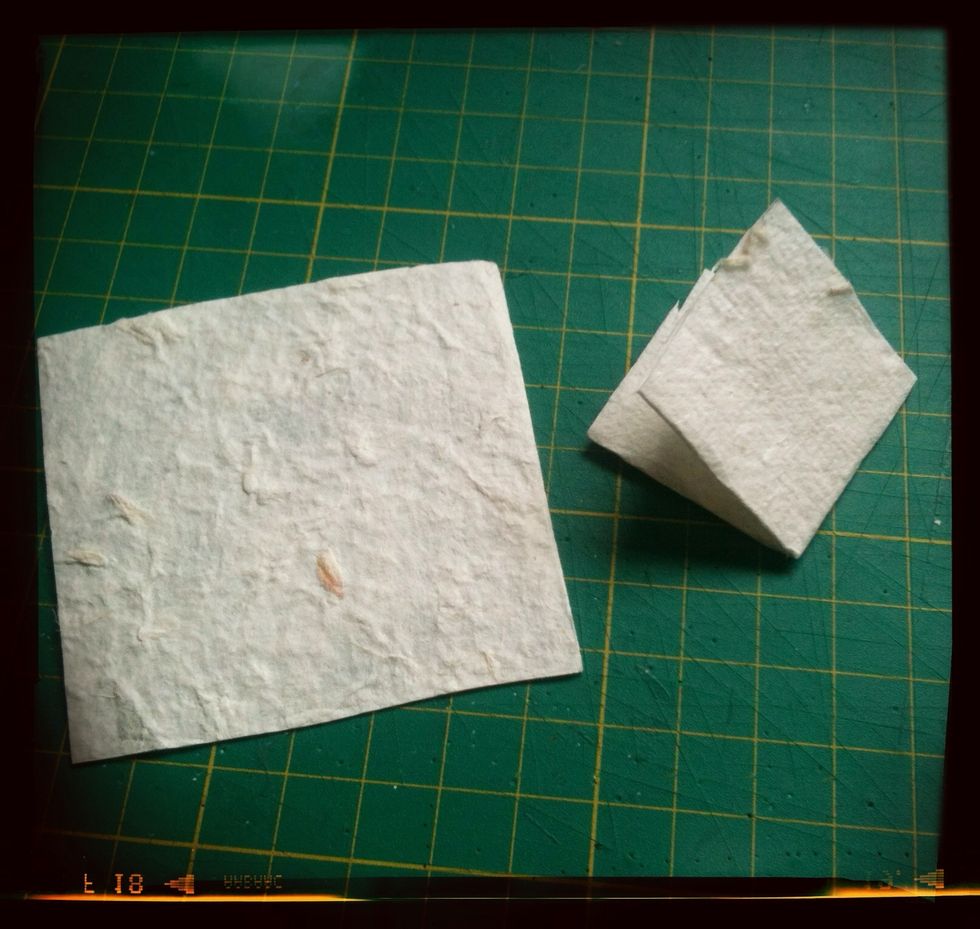
Now fold it over again so you end up with a little square.
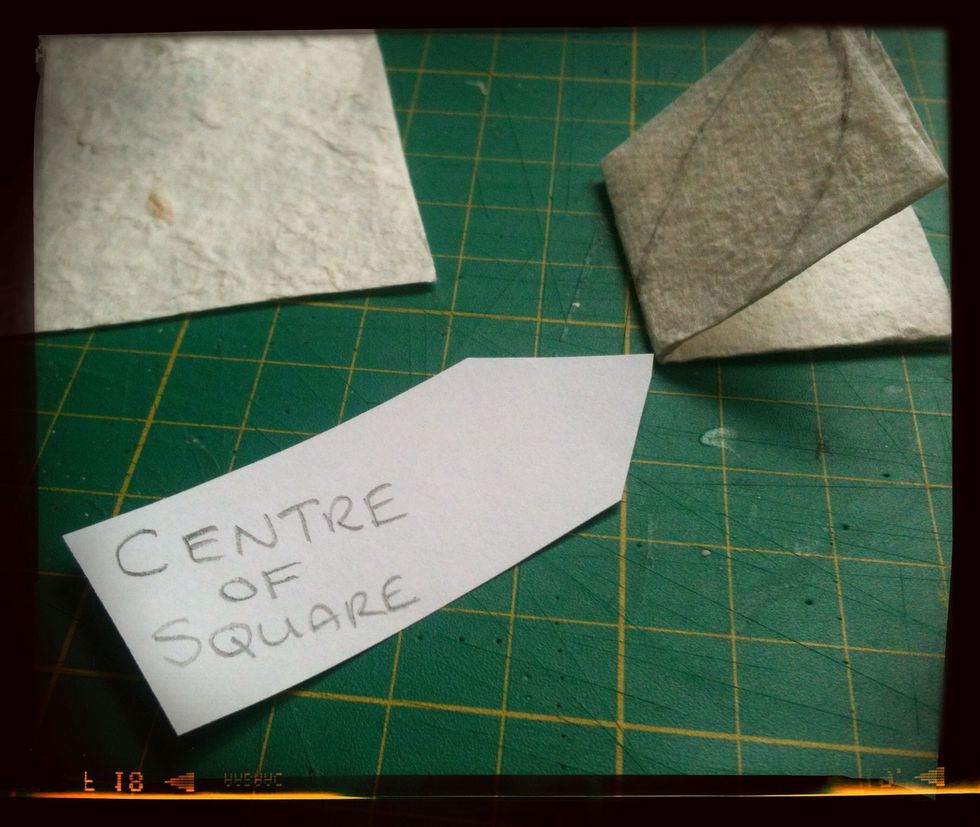
Now we need to find the centre (English Spelling) of the square, it's where all the folds meet, there should be NO open ends.
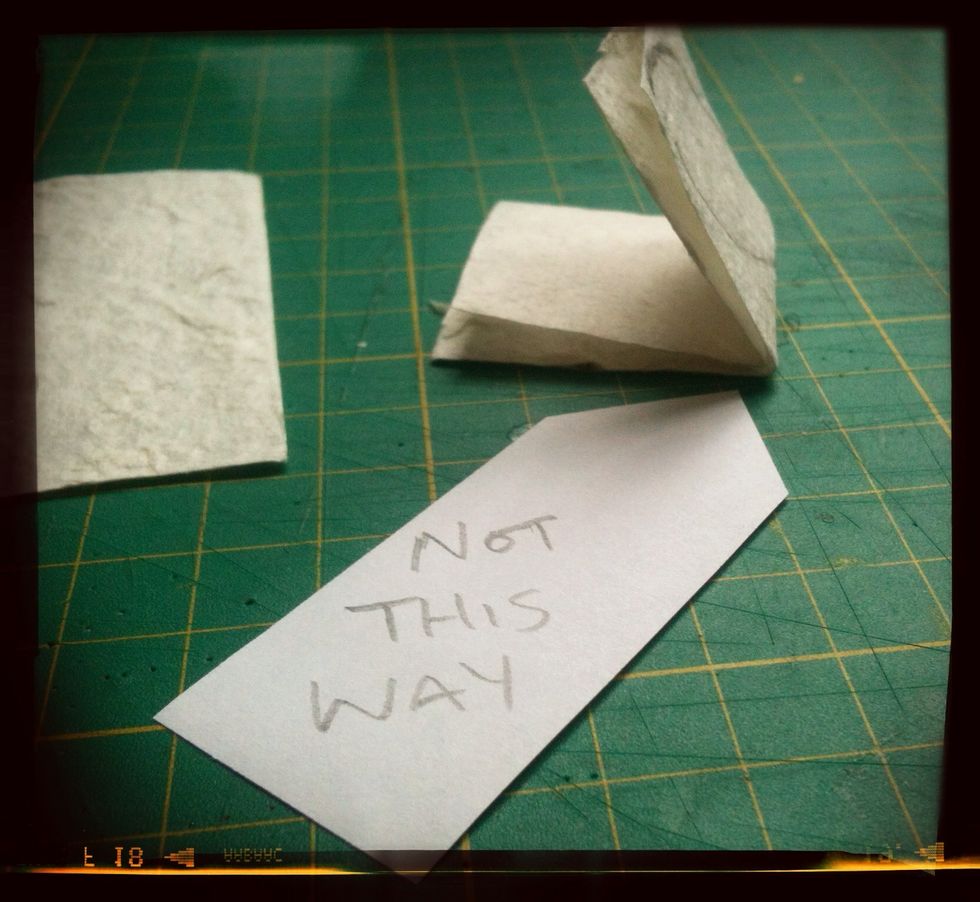
These are the open ends, this is the wrong way.
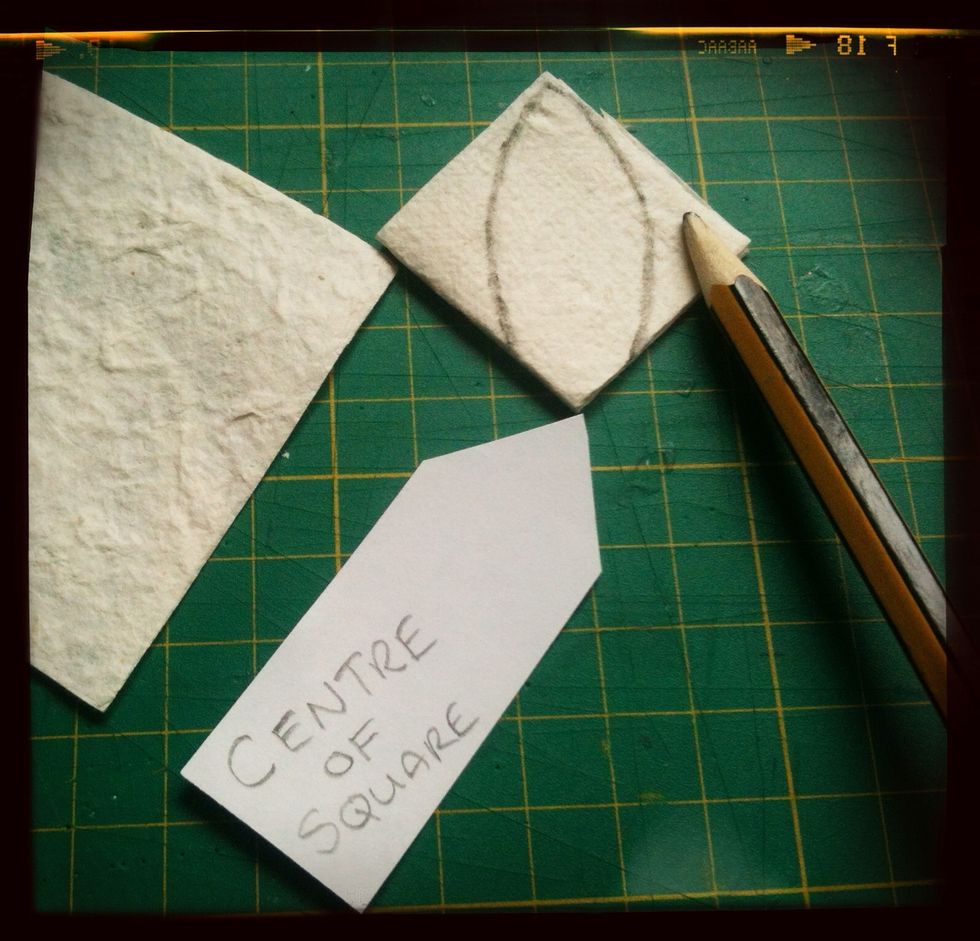
Draw a petal shape, starting just up from the centre of the square, all the way up to the open edges, be sure to leave an uncut gap at centre otherwise the flower will drop to bits.
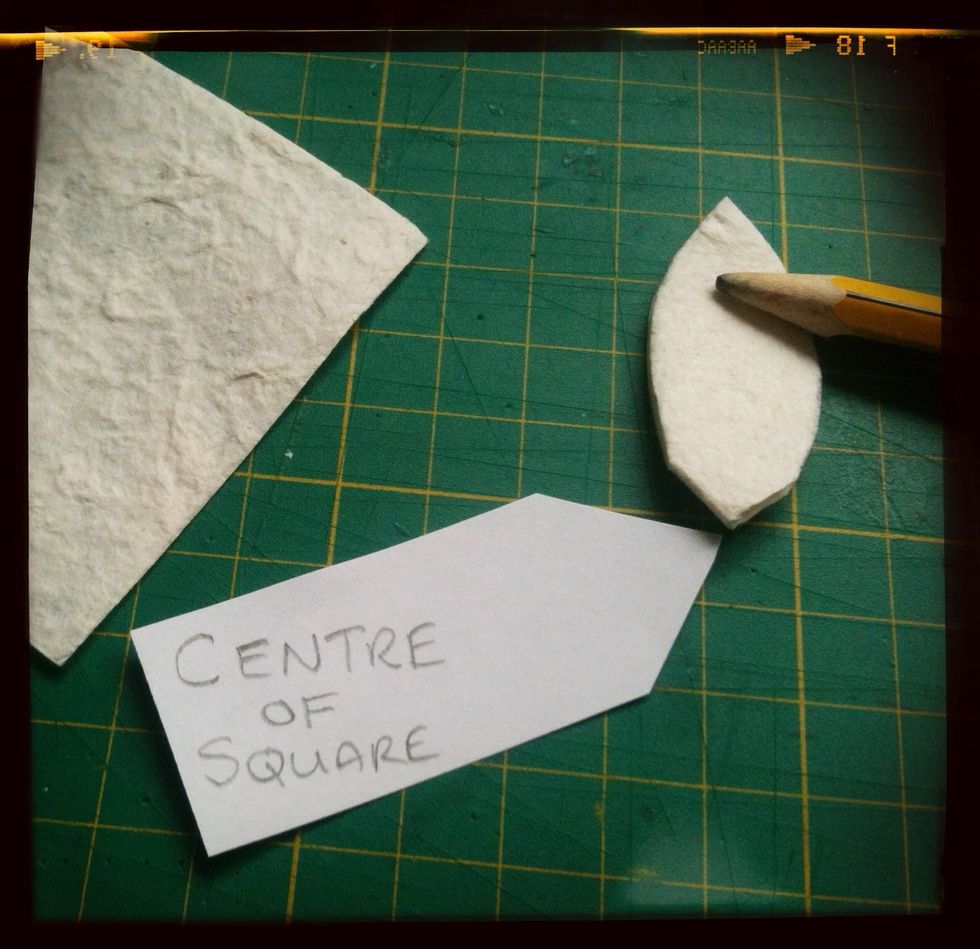
Now cut out the petal shape.
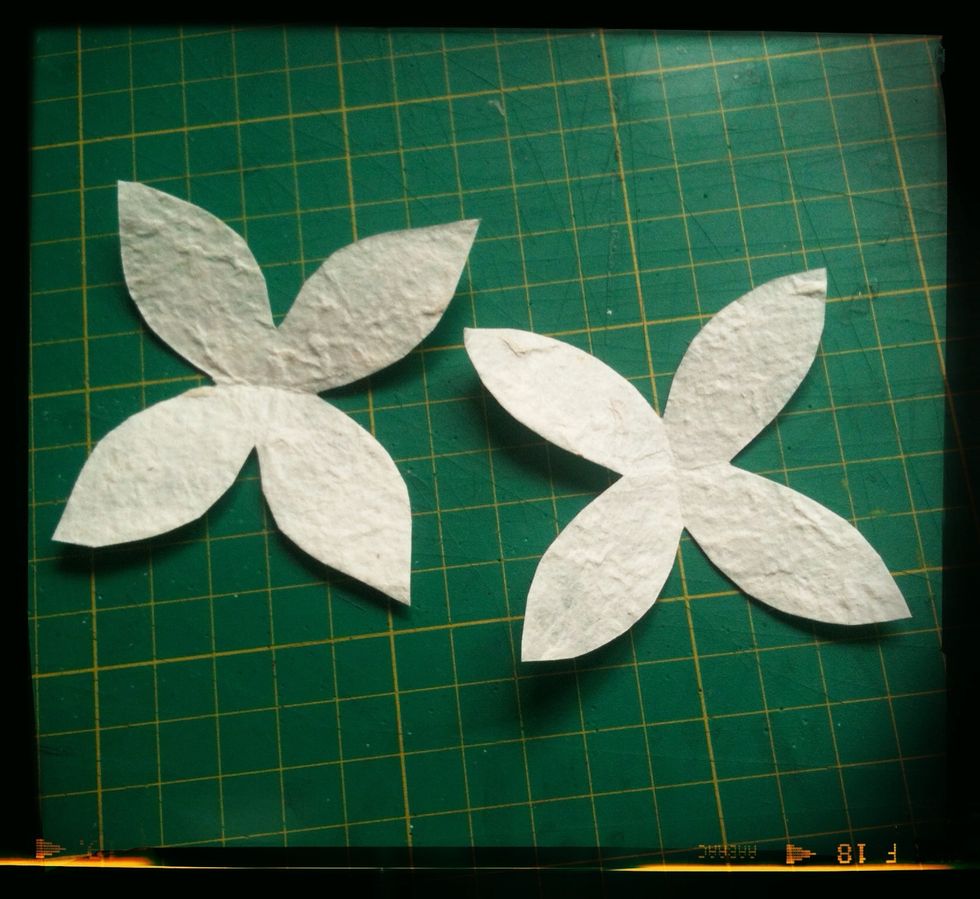
This is what you should have.
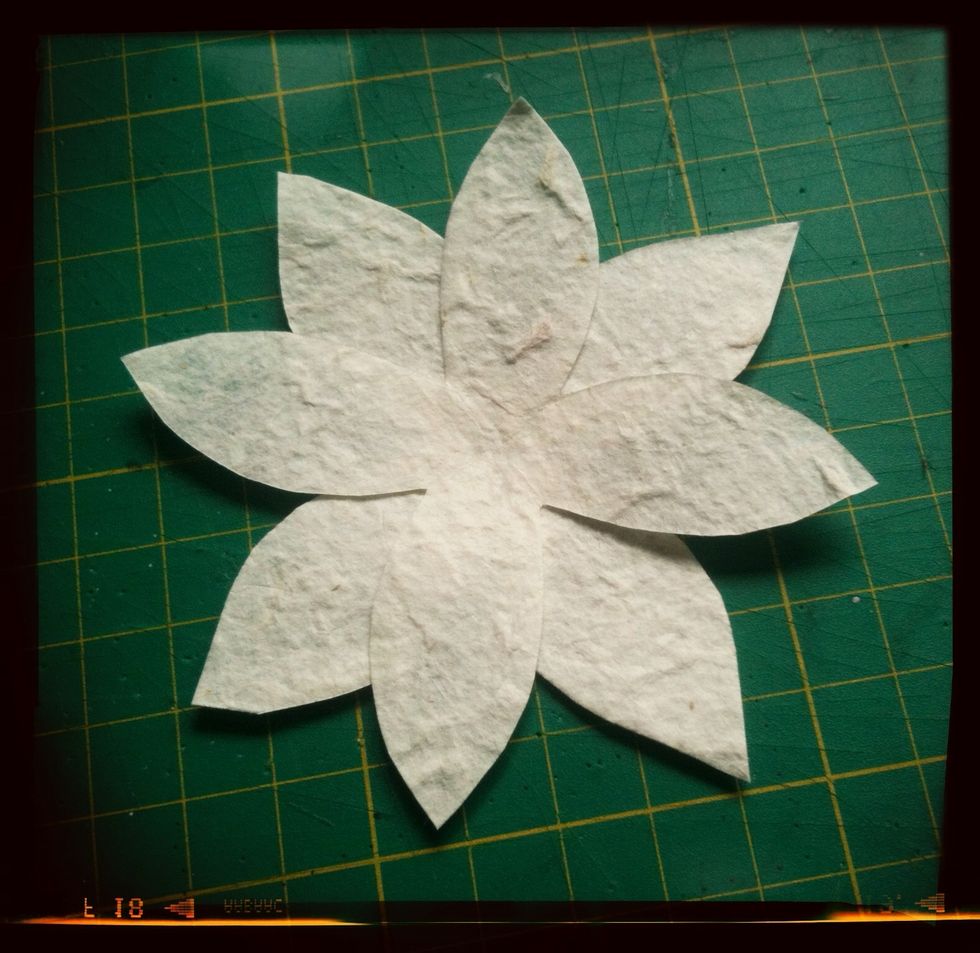
Overlap the flowers and glue in place, I used tacky glue because it sticks fast but most craft glues will work fine.
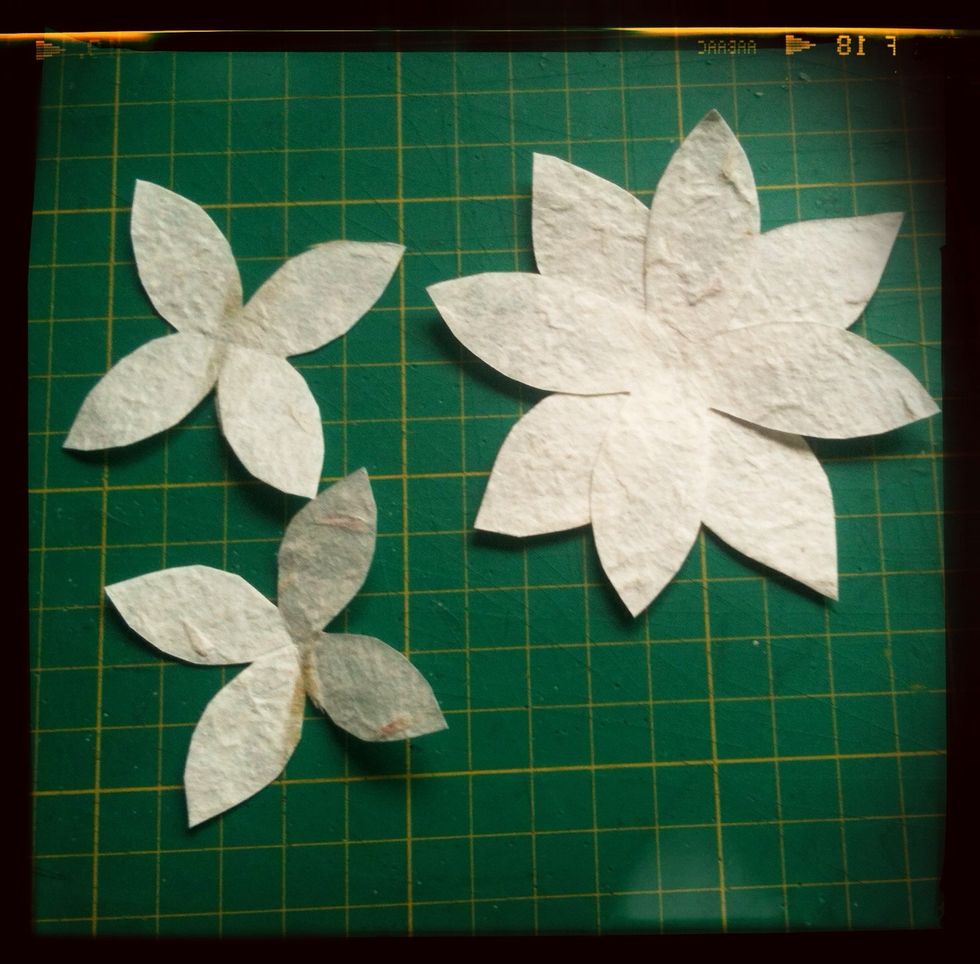
Now do stages 3-8 with the smaller squares so you end up with these.

Now overlap and glue the smaller flowers.
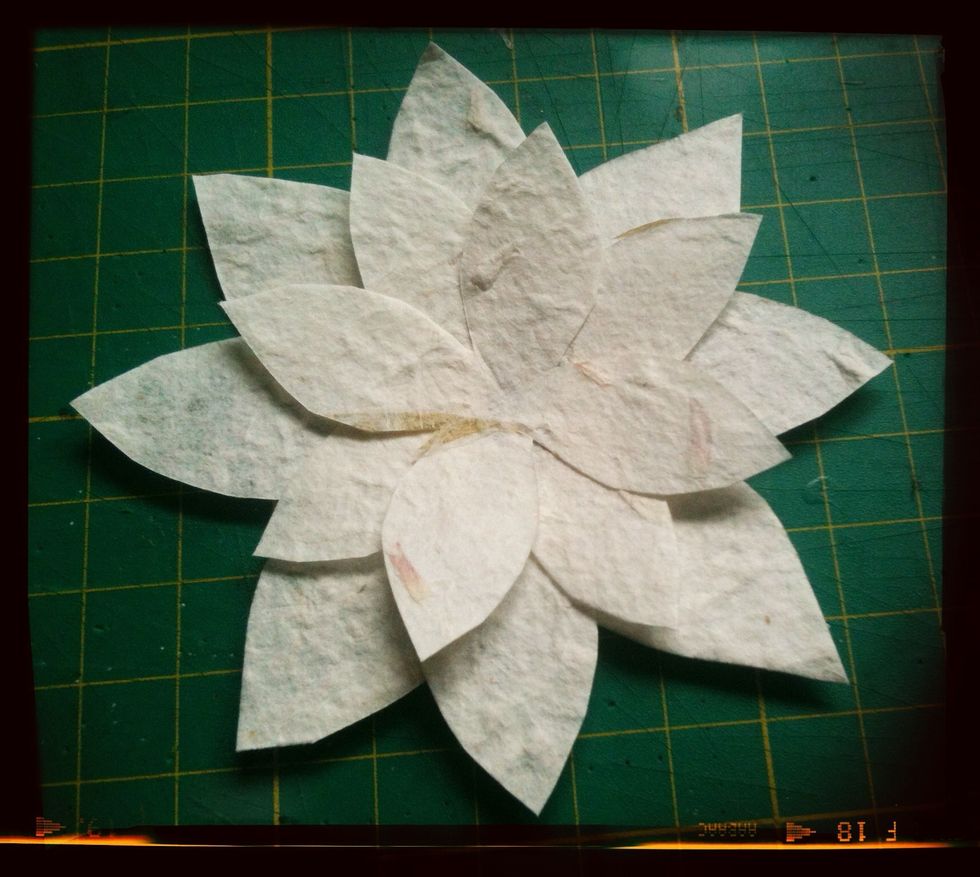
Place the smaller flower on top of the big one, rotate the small flower until you are happy with the positioning and then glue. Now leave to dry for a little while.
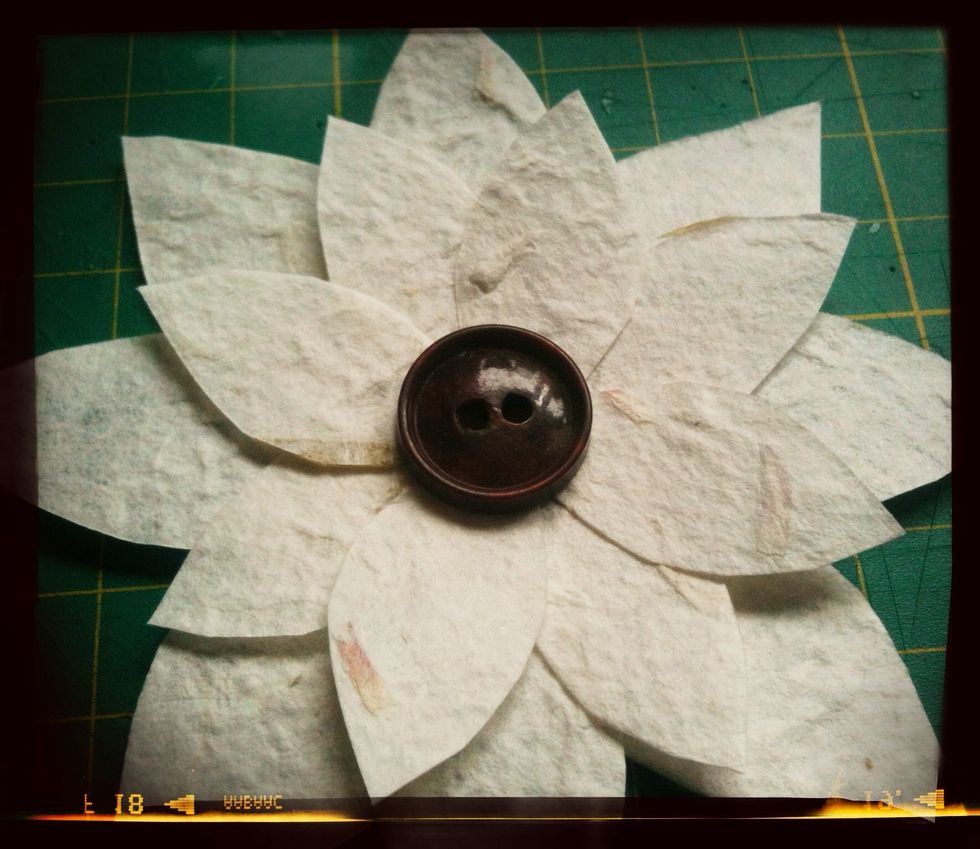
I'm using a vintage button to decorate my flower but feel free to use what you like. If using a button, place it in position and then use a needle or pencil to mark where the holes need to go.

I used my awl to push the holes through, make sure you have a cutting mat or thick piece of card underneath so you don't damage your work surface.
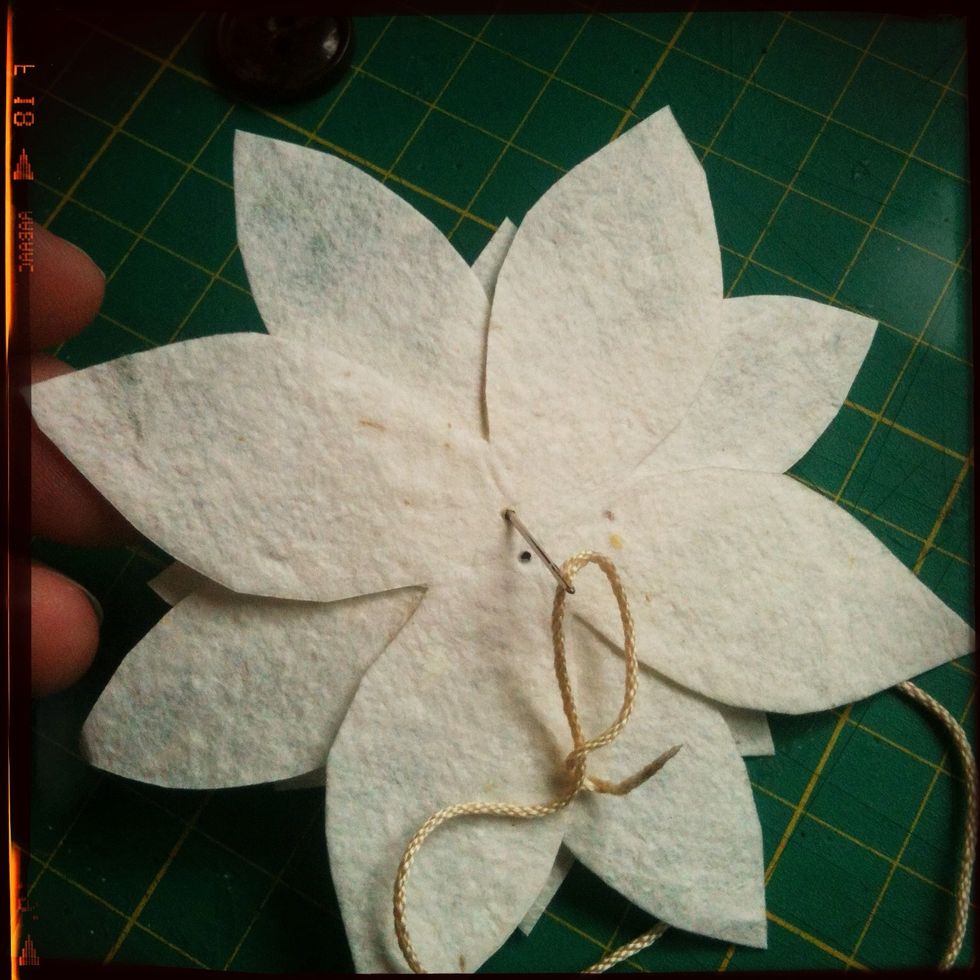
Now to stitch on that button. Push the needle through from the back of the flower, if it gets stuck because the hole is a little tight, give it a gentle wiggle.
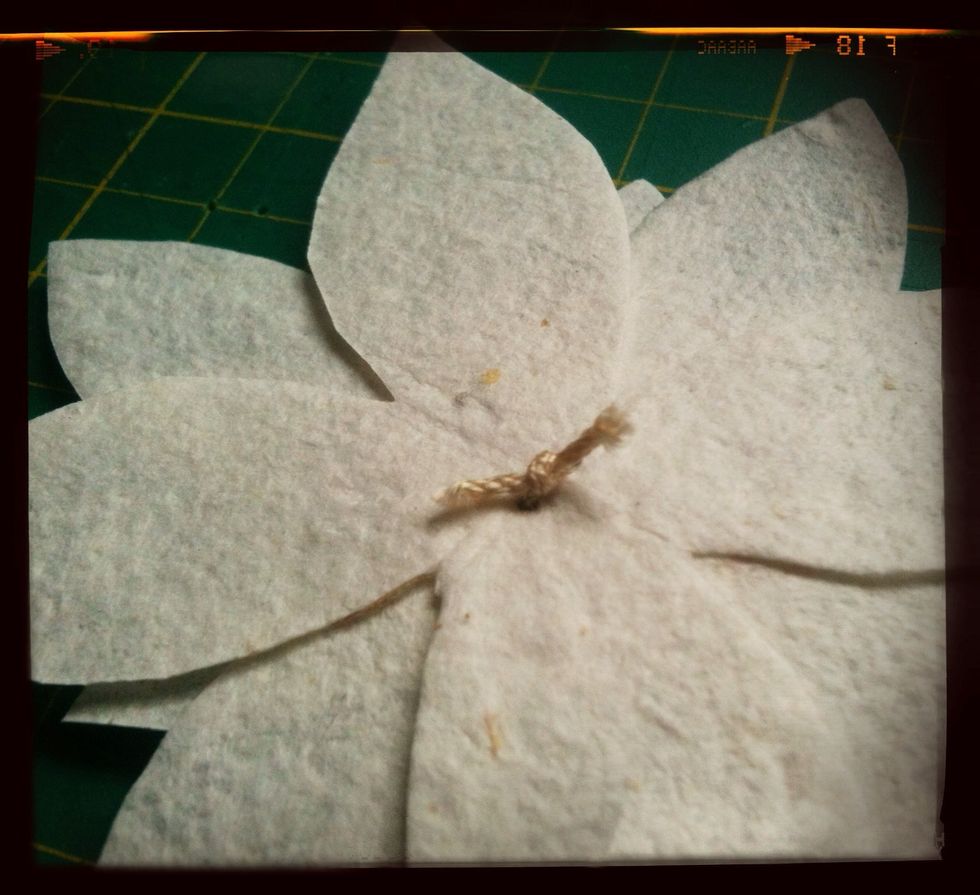
Once the button is on, tie a double knot to keep it secure and then trim the thread.
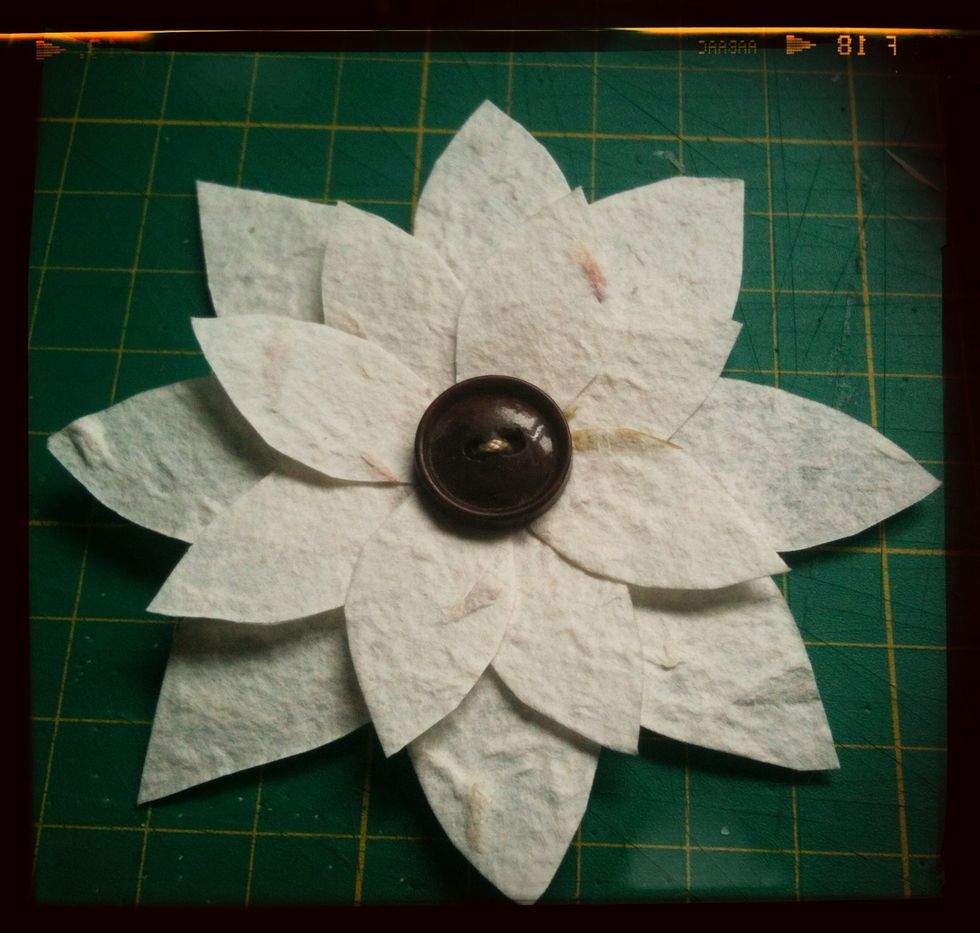
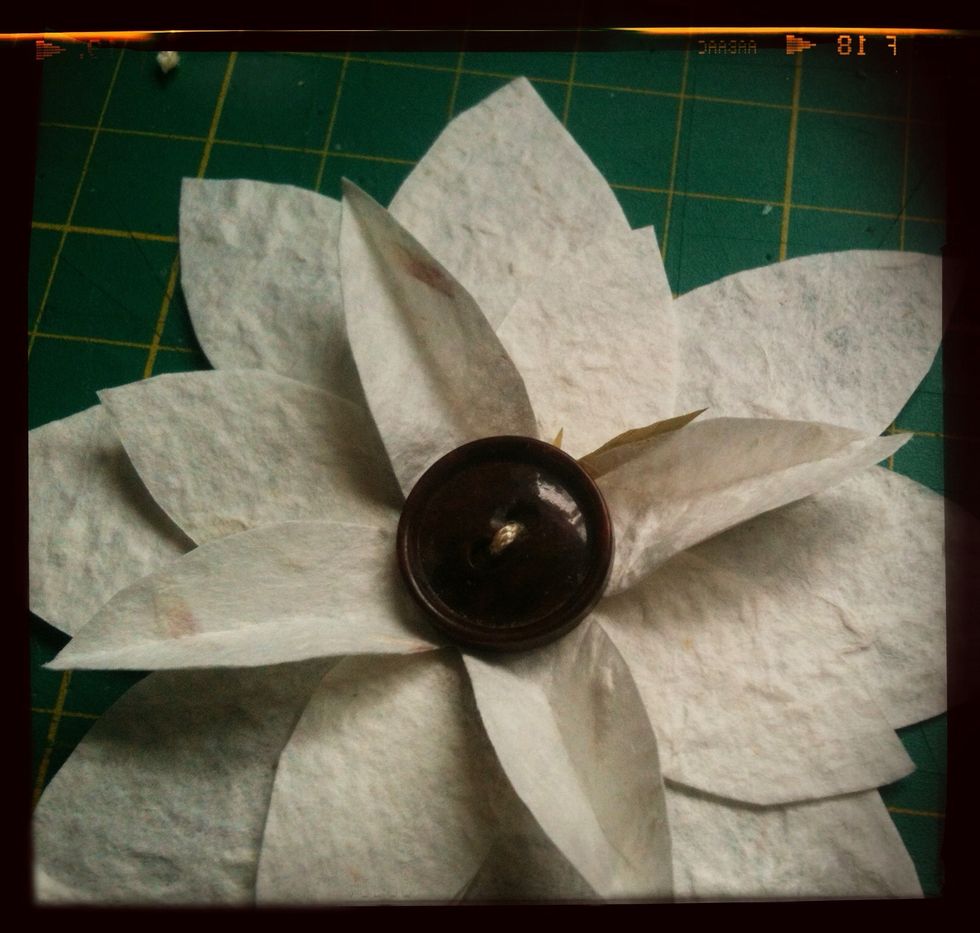
This is how the flower should look so far. Pretty but a bit flat, now lets add some substance.

Take one of the top petals and pinch it between your thumb and index finger, this should cause a crease and give the petal more depth.
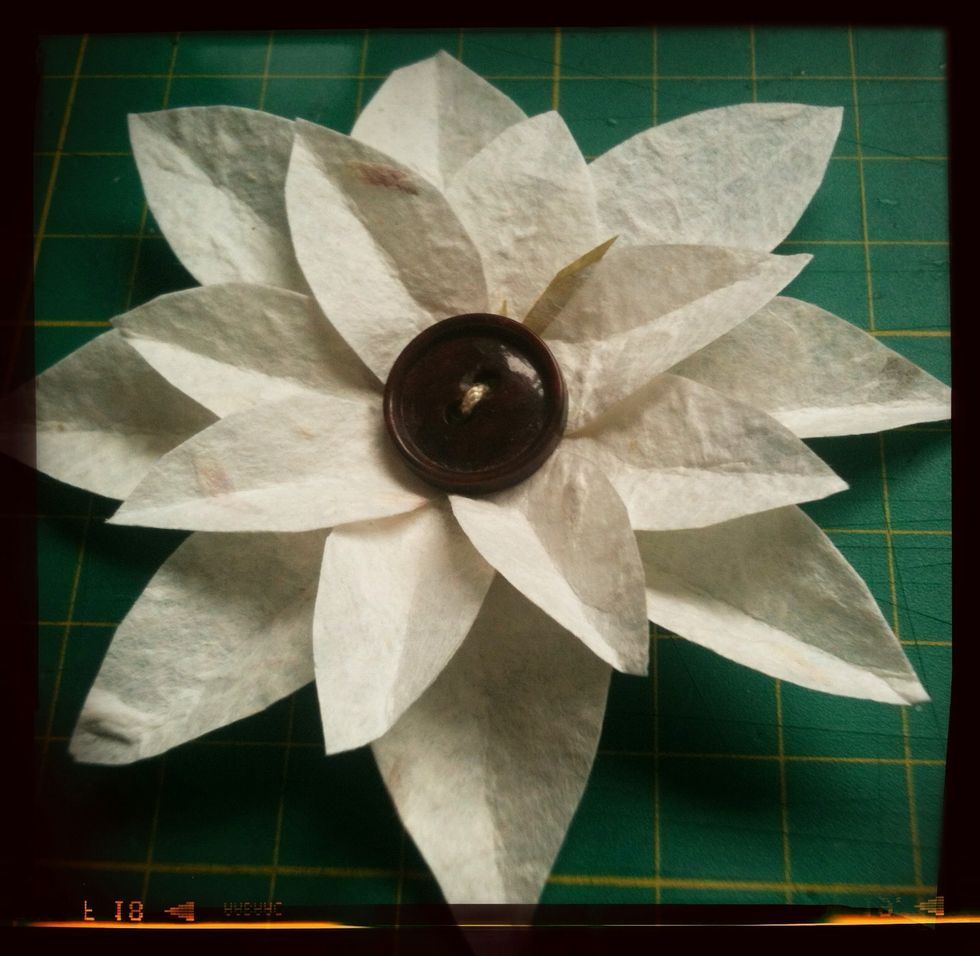
Continue around the top layer of petals, they should look like this.
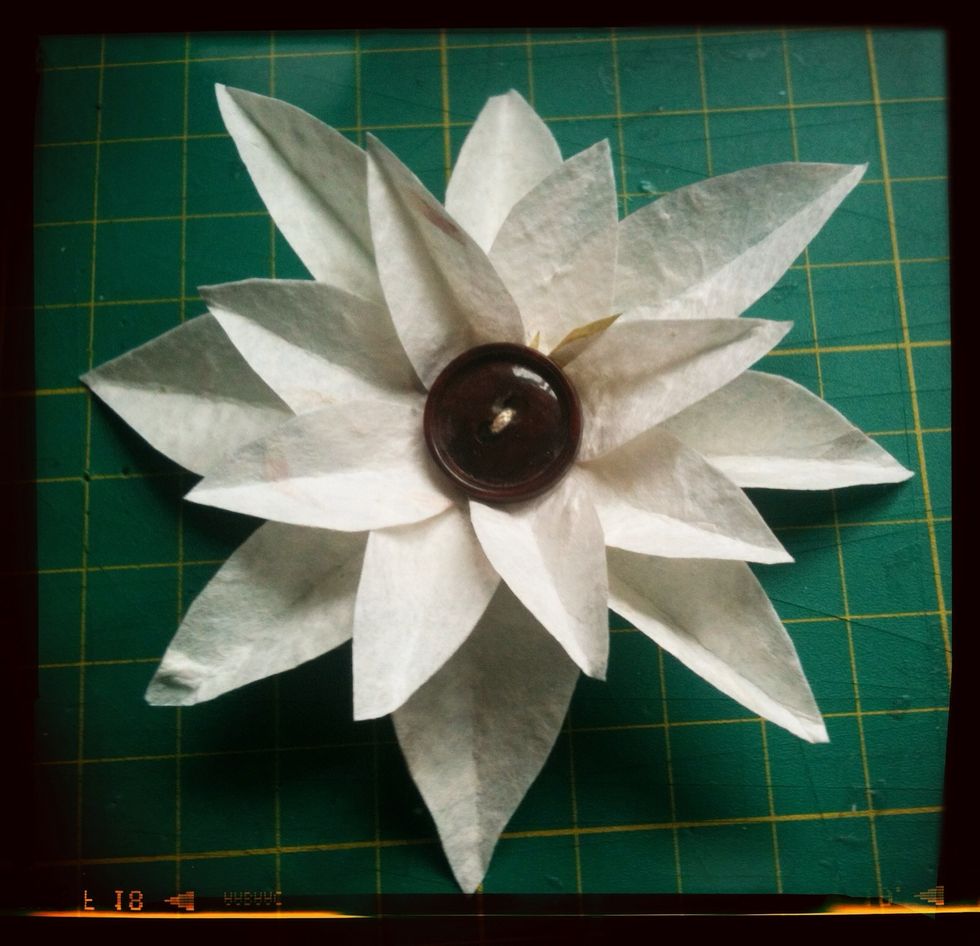
Now start on the next layer of petals and continue until the entire flower is done. Looking slightly pointy but don't worry.
Press down on the entire flower very lightly and you should end up with this beautiful bloom. Congratulation we're all done, now what shall we do with it?

I used mine to make a card.

And another one too.
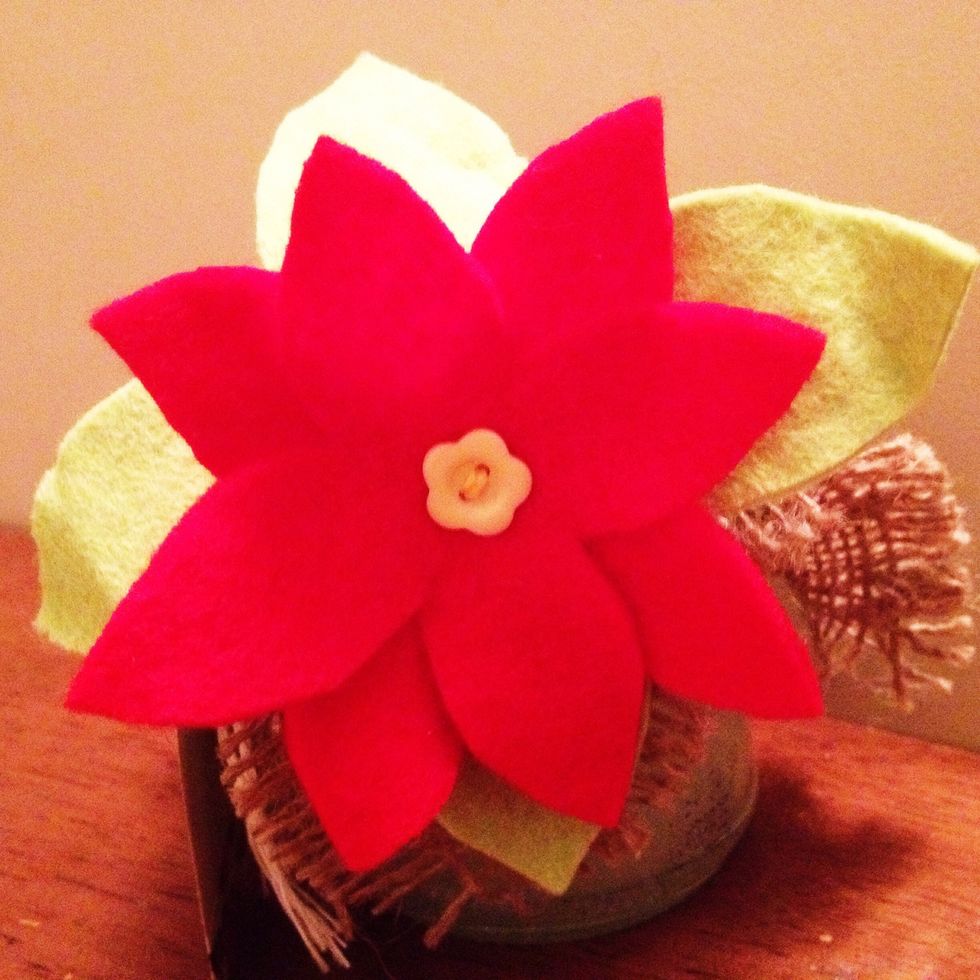
This technique works extremely well with felt too. Here's a felt poinsettia I made to decorate a christmas gift, I have also used these flowers on hair accessories and jewellery :-)
If you would like to share your creation, I would love to see it :-) Twitter @MyEternalBloved - email ellen.husband@hotmail.co.uk - website ellenhusband.co.uk Thank you so much.

Thank you x