The Conversation (0)
Sign Up
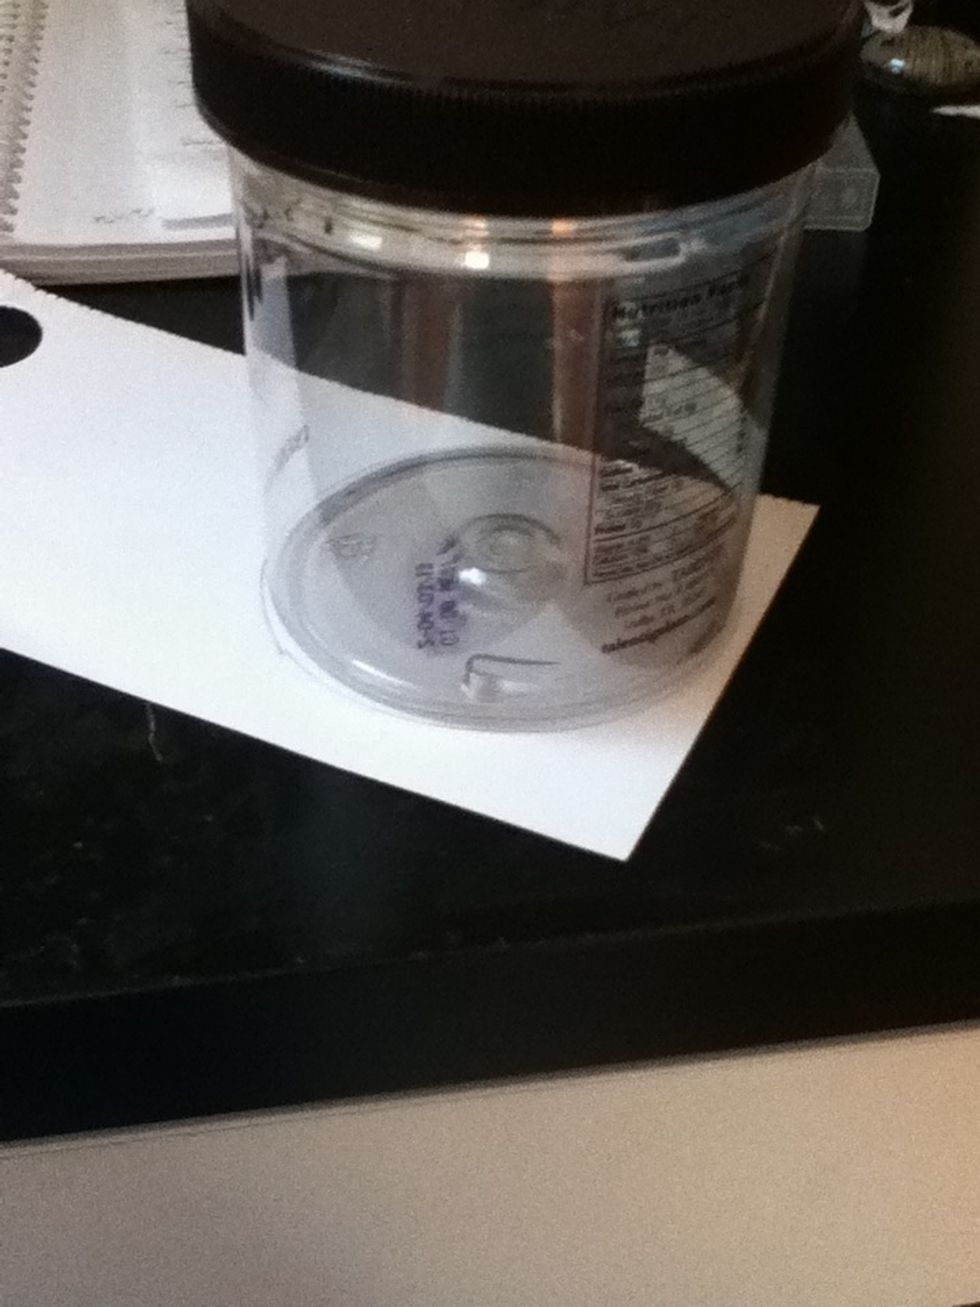
Trace the base of your cylinder onto your paper. It really doesn't matter how big it is.
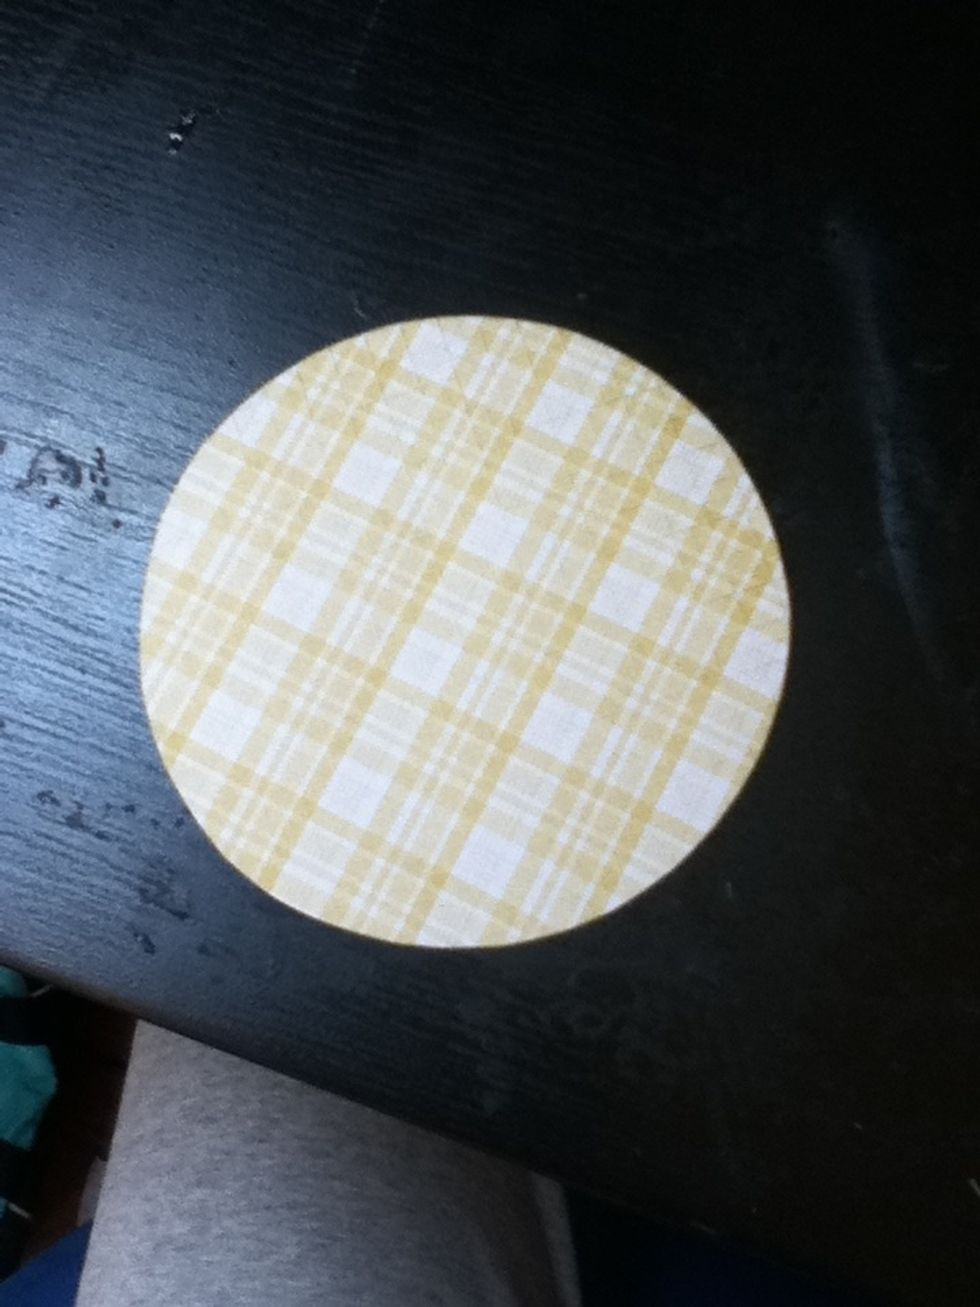
Cut out your circle.
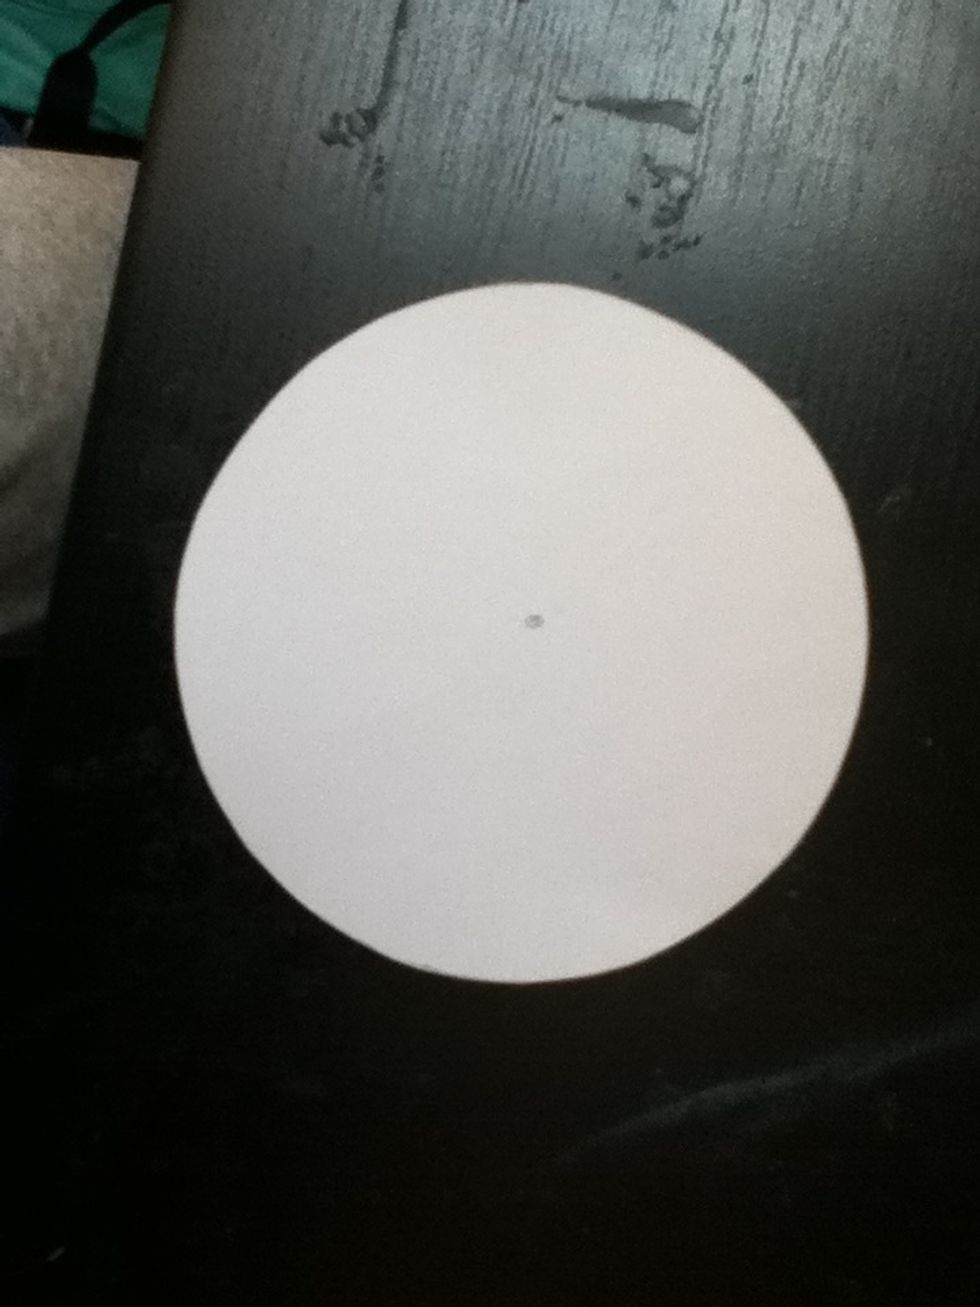
Put a dot about where you think the center is. Just eyeball it.
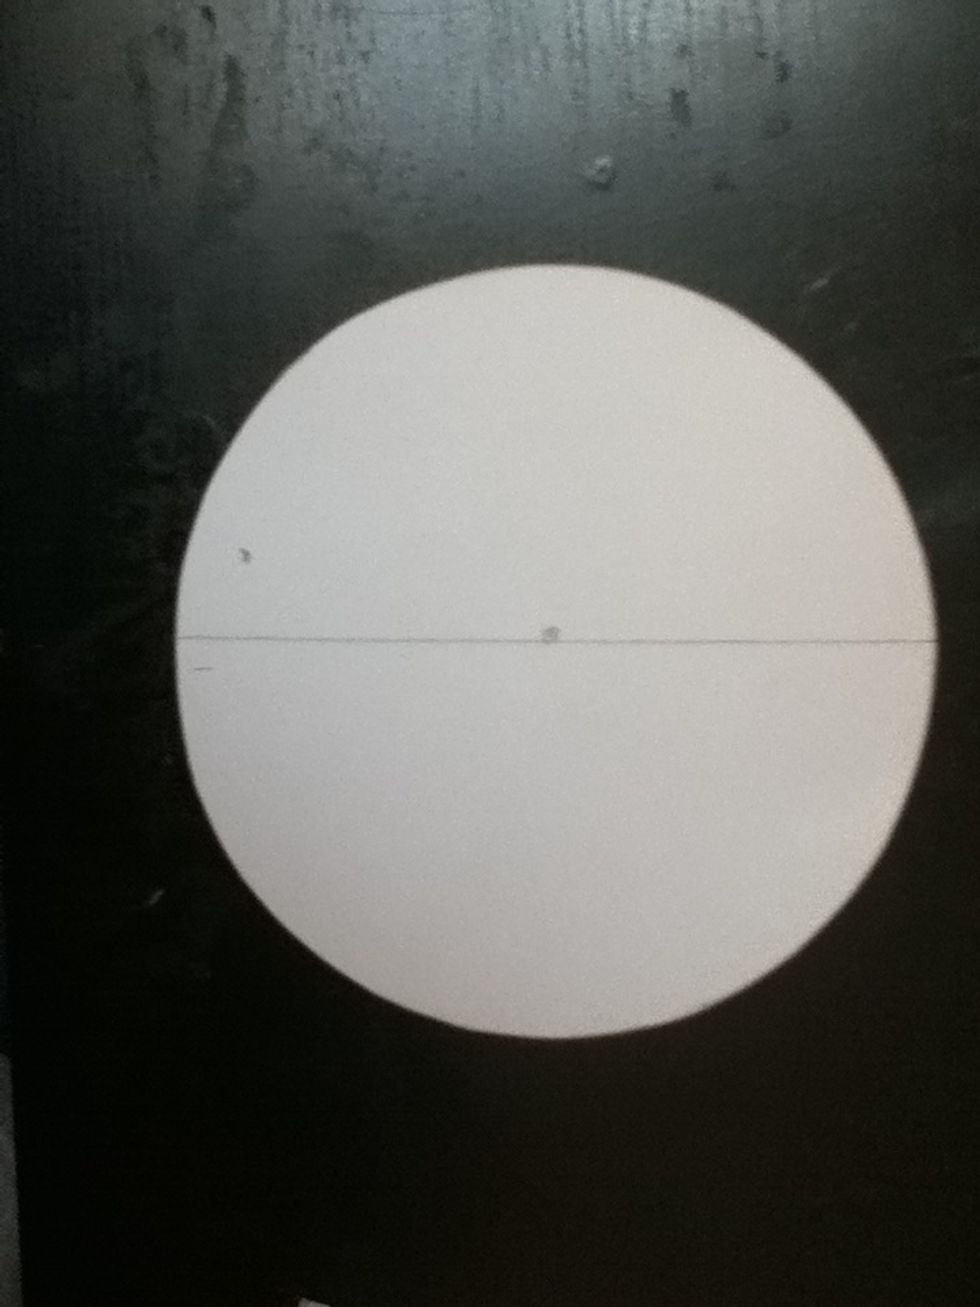
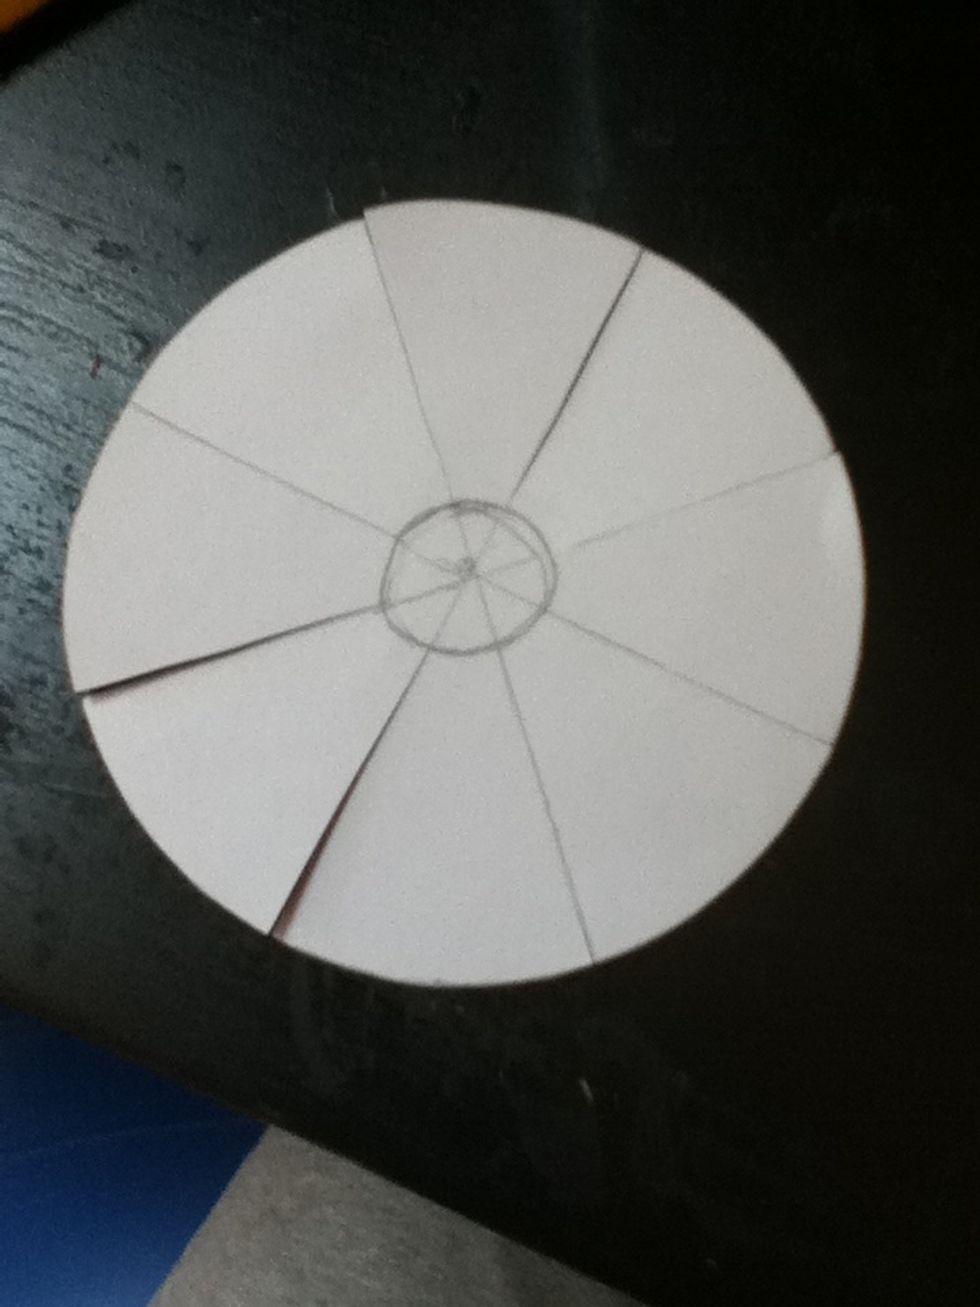
Using your straight edge, draw a line through your dot.
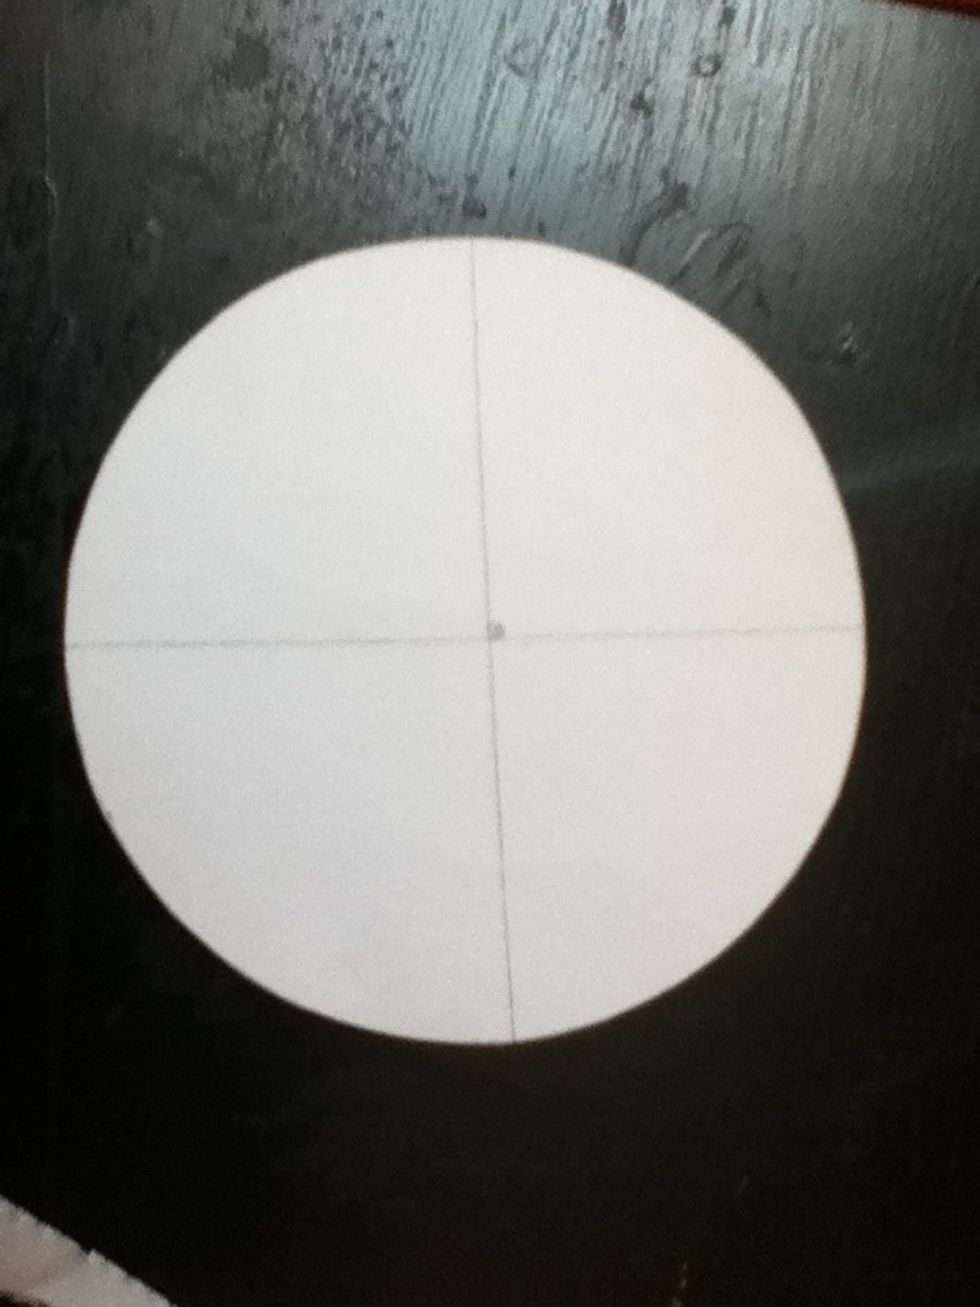
And the other way, to divide it roughly in fourths.
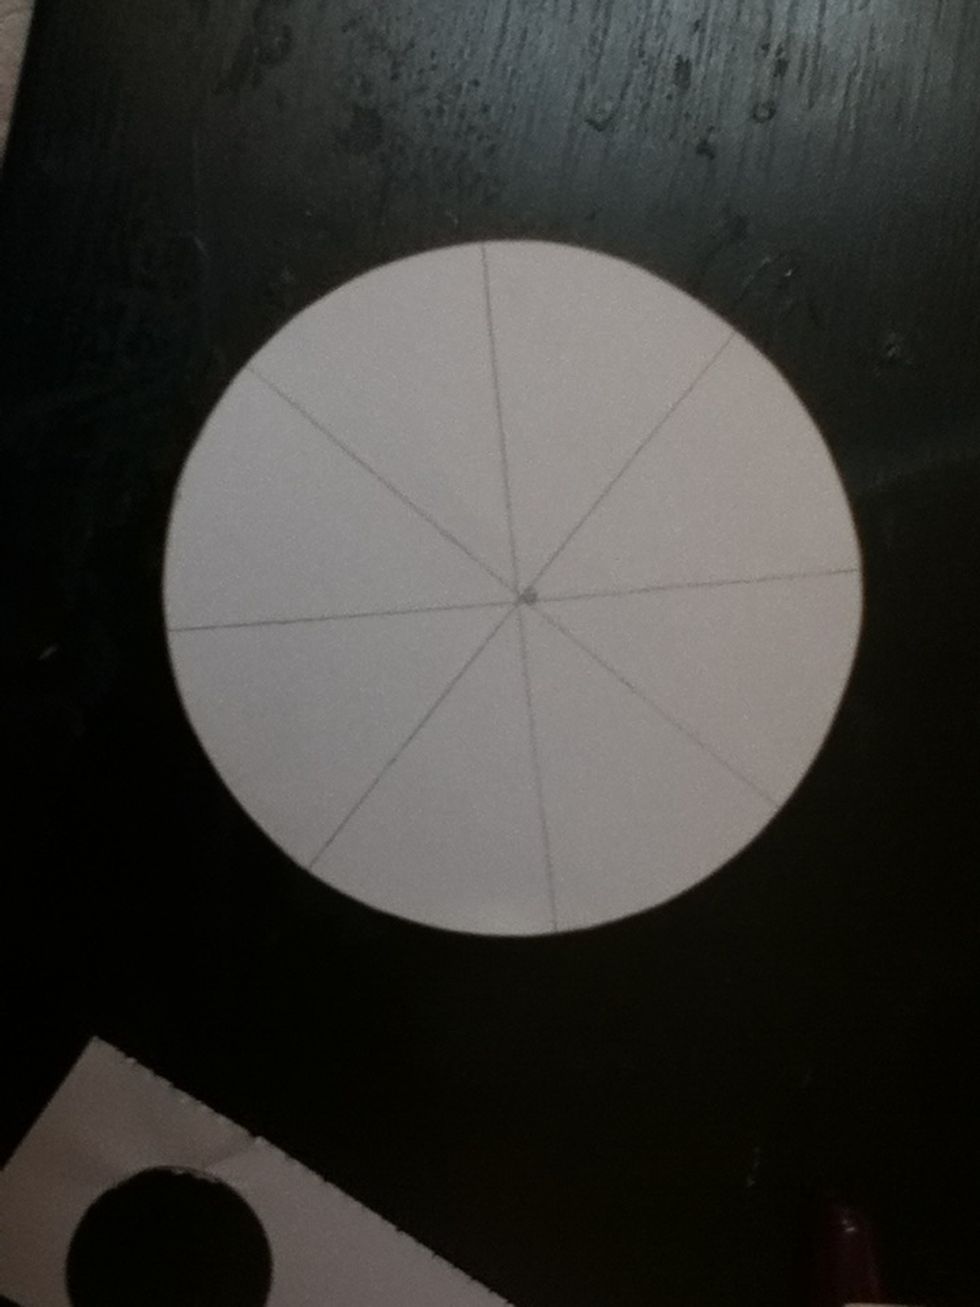
Draw two more lines to divide it in eighths.
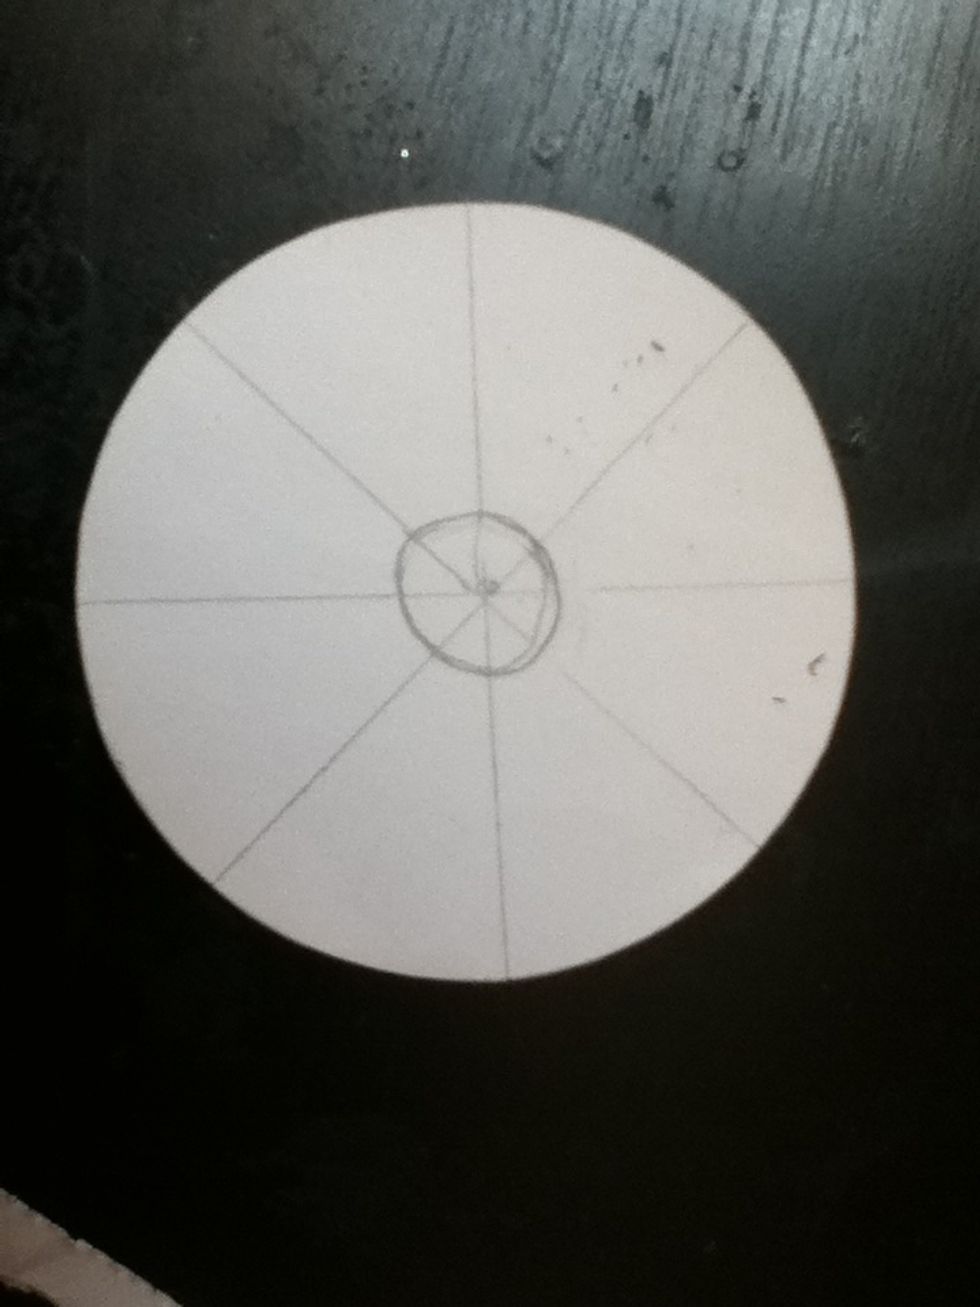
Draw something that slightly resembles a circle around the center dot.
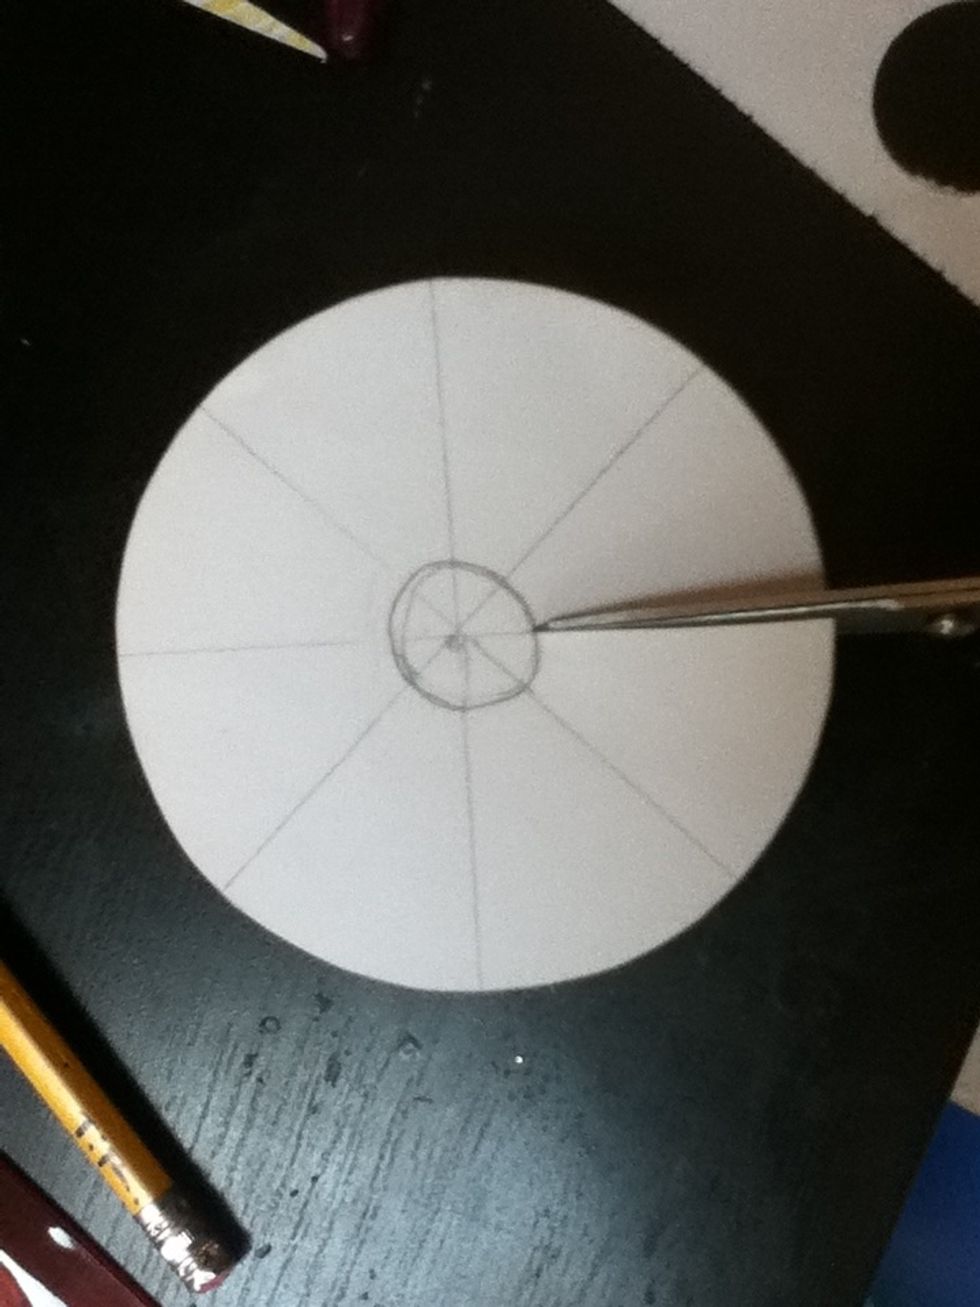
Cut on your lines, but only until you meet the rim of the circle. The cut should not go all of the way to your center dot.
Cut on all eight lines.
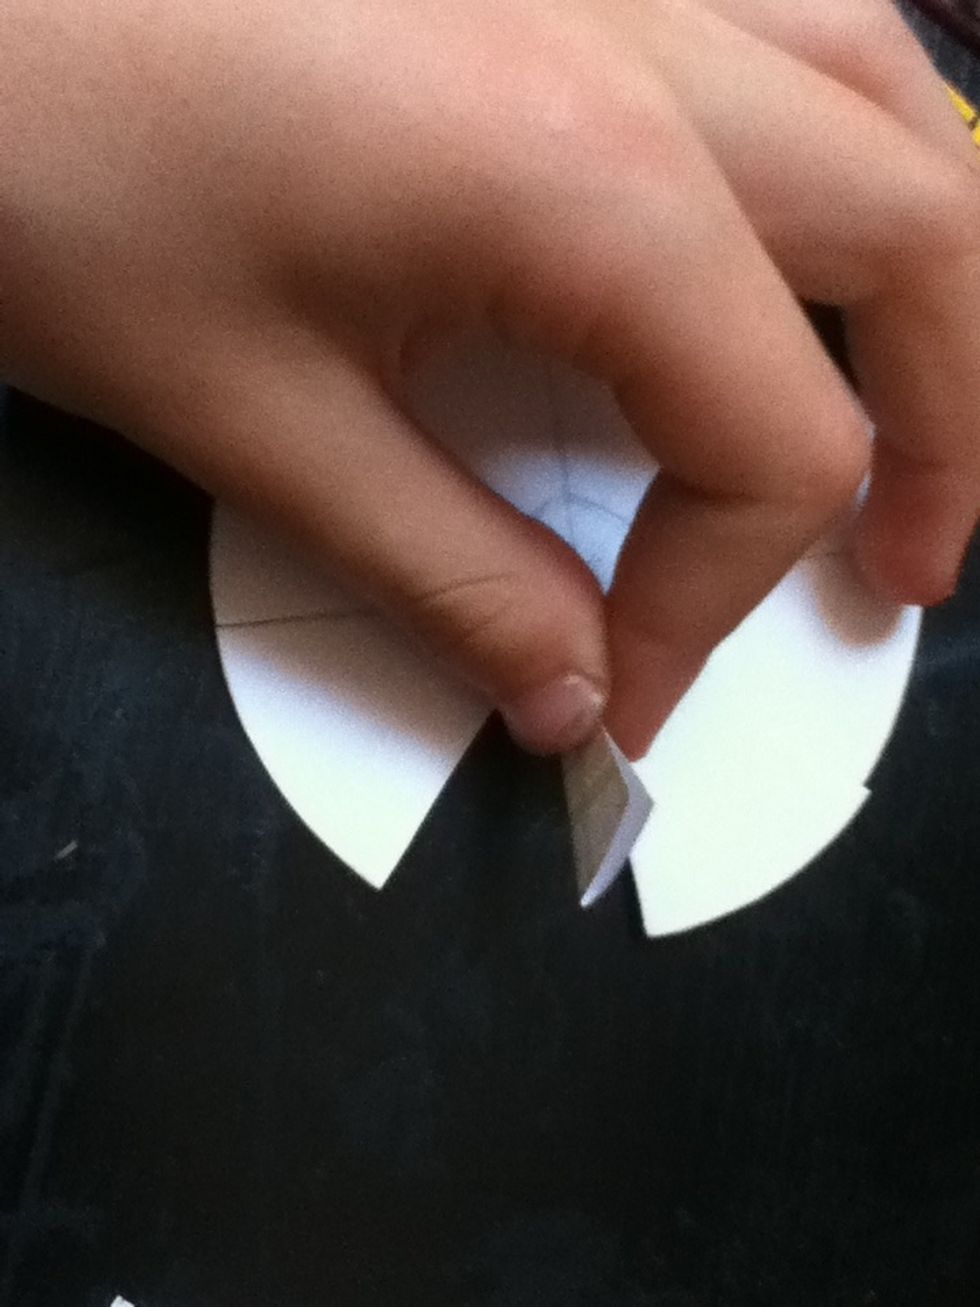
Take one of your segments, and pinch it in half.

Do that to all of your segments.
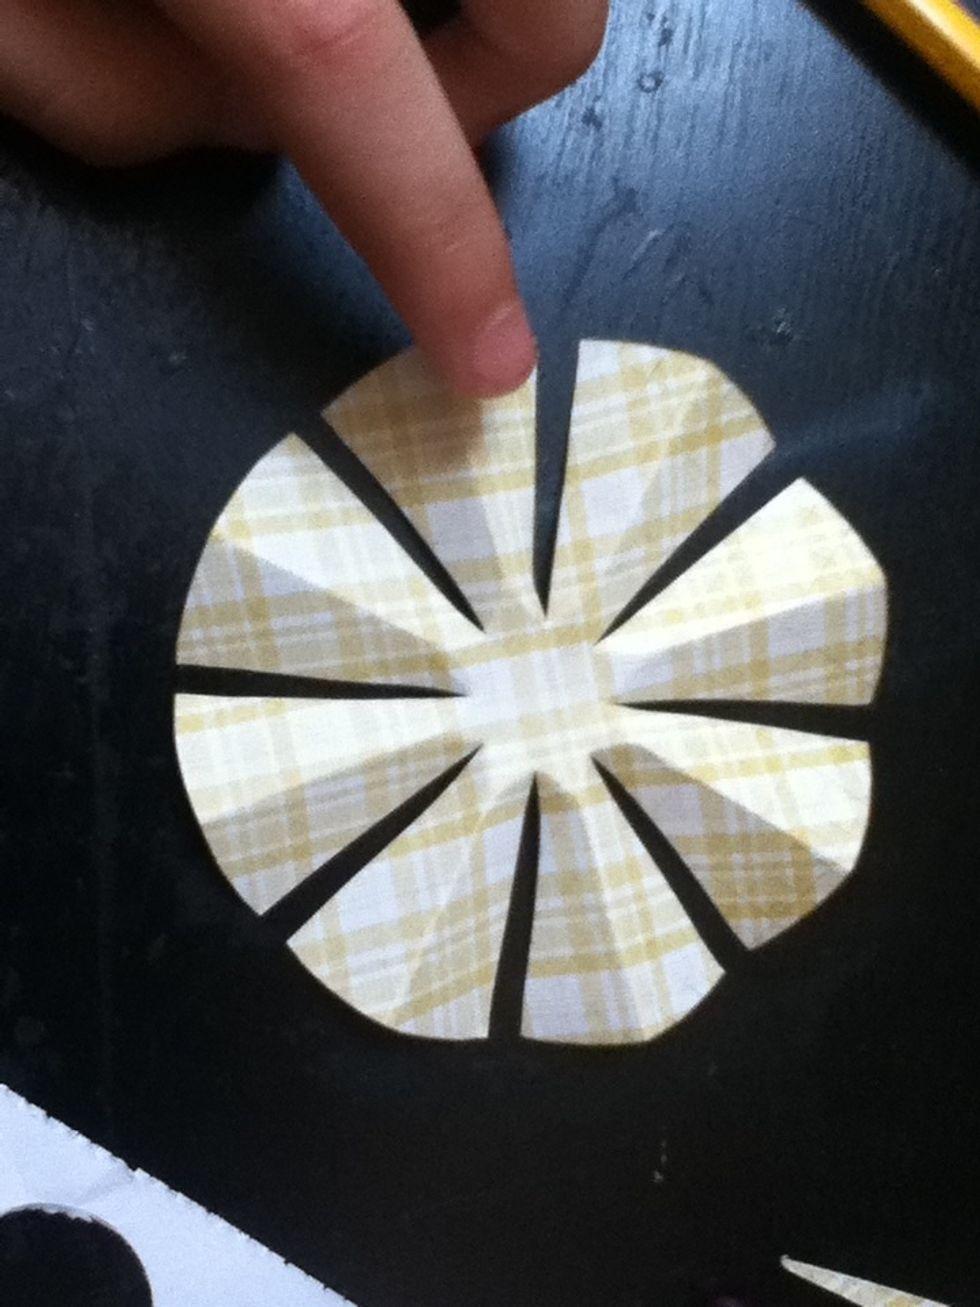
Turn it over, and gently flatten each segment to your liking.
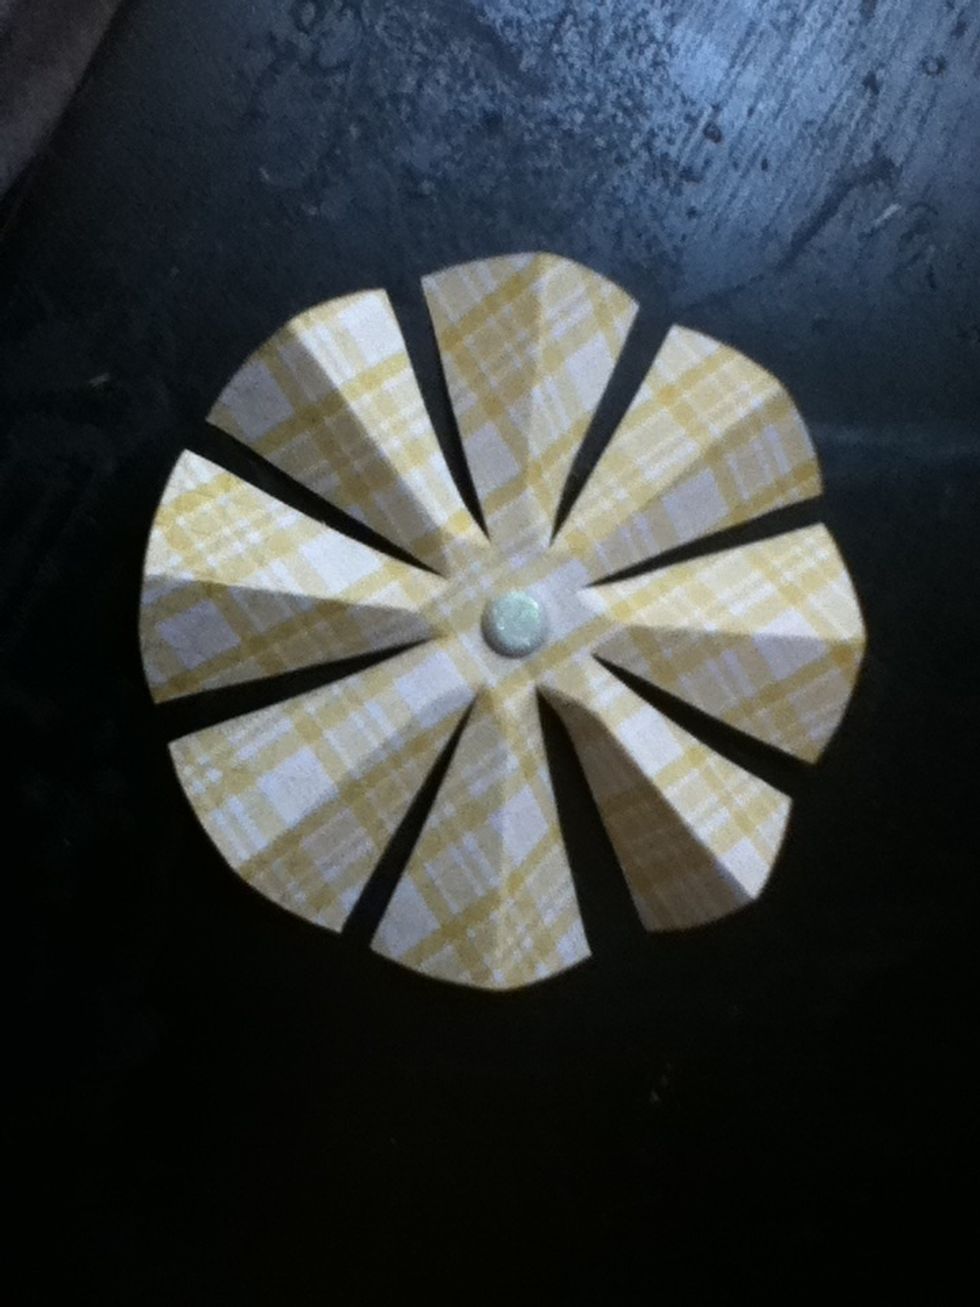
Affix a brad or some other embellishment to the center of your flower. These are quick to make, and are great for paper flower bouquets! Have fun, and tell me what you think of!